
Decadent Chocolate Layer Cake with Ganache Filling

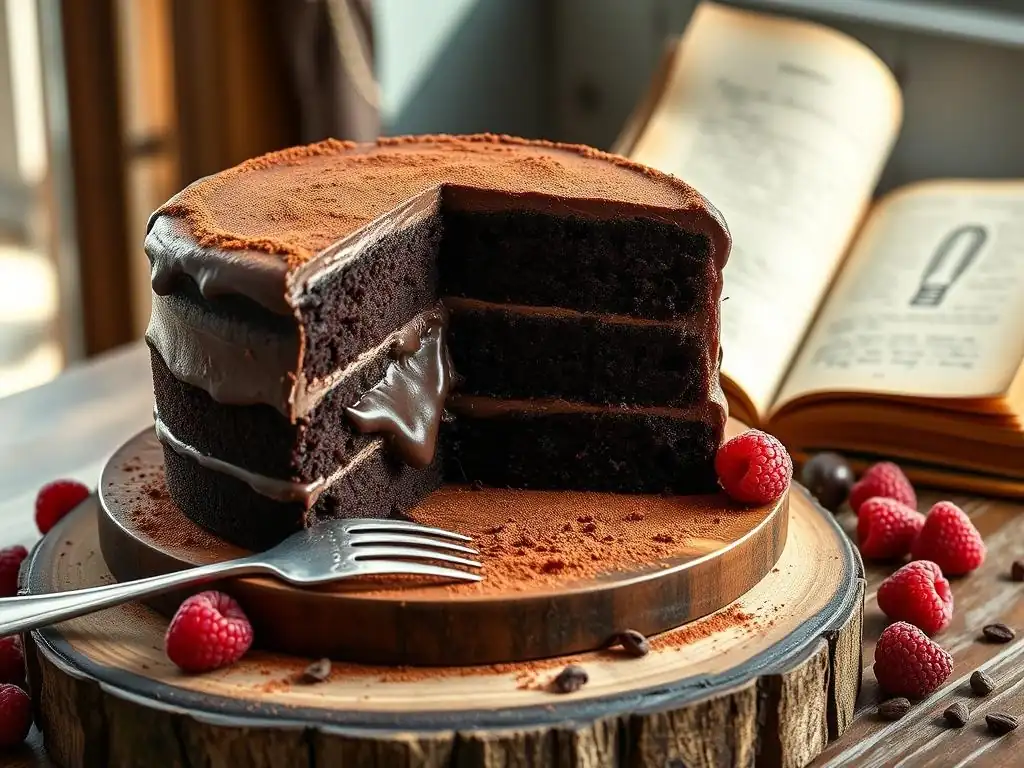
Welcome to BakeWithEase, your secret ingredient to baking brilliance! Ever dreamt of creating a show-stopping dessert that's surprisingly simple? You're in the right place. Dive into our easy chocolate layer cake recipe and discover how to craft a decadent, ganache-filled masterpiece that will impress everyone, without spending hours in the kitchen. Ready to unlock the secrets to effortless baking and create unforgettable treats? Let's get started!
- Flourless Chocolate Cake with Raspberry Coulis: A Gluten-Free Delight
- Introduction: The Ultimate Gluten-Free Chocolate Cake Recipe
- Ingredients for Your Flourless Chocolate Cake
- Step-by-Step Guide: Baking the Flourless Chocolate Cake
- Crafting the Luscious Raspberry Coulis
- Assembling Your Flourless Chocolate Cake
- Tips and Tricks for the Best Flourless Chocolate Cake
- Storing and Serving Your Flourless Chocolate Cake
- Conclusion: Enjoy Your Homemade Flourless Chocolate Cake!
-
Frequently Asked Questions
- How easy is the Decadent Chocolate Layer Cake with Ganache Filling recipe from BakeWithEase.com?
- What kind of chocolate should I use for the cake and ganache?
- Can I make the cake layers ahead of time?
- What if I don't have all the fancy baking equipment?
- What are some variations I can make to the recipe?
- Final Reflection: The Sweet Simplicity of Sharing
- Unleash Your Inner Pastry Chef!
Flourless Chocolate Cake with Raspberry Coulis: A Gluten-Free Delight
Introduction: The Ultimate Gluten-Free Chocolate Cake Recipe
Why This Flourless Chocolate Cake is a Must-Try for Gluten-Free Bakers
This flourless chocolate cake isn't just another dessert; it's a rich, intensely chocolatey experience that happens to be naturally gluten-free. Unlike many gluten-free baked goods that require a blend of alternative flours, this recipe relies on the magic of melted chocolate, eggs, and sugar to create its structure and signature dense, fudgy texture.
This simplifies the process considerably, making it a fantastic option for those new to gluten-free baking or anyone looking for an easy yet impressive dessert. The absence of flour means the pure flavor of high-quality chocolate shines through, delivering a depth of flavor that's hard to match with traditional cakes.
Furthermore, this easy flourless chocolate cake recipe is incredibly versatile. Its simplicity means fewer ingredients to measure and mix, reducing the chances of errors. For individuals with celiac disease or gluten sensitivity, finding truly decadent and safe dessert options can sometimes be a challenge. This gluten-free chocolate cake recipe provides a reliable and delicious solution, ensuring everyone at the table can enjoy a slice of pure chocolate bliss. It’s a staple in gluten-free baking for good reason, offering a foolproof path to a stunning dessert.
A Promise: Simple Baking, Stunning Results
Baking a show-stopping dessert doesn't have to be complicated, and this flourless chocolate cake with raspberry coulis is proof. We promise a process that is straightforward enough for beginners, yet yields results that look and taste incredibly sophisticated. You won't need advanced techniques or specialized equipment; just basic kitchen tools and a willingness to follow a few simple steps. The combination of the deep, dark chocolate cake and the bright, tangy raspberry coulis creates a harmonious balance of flavors that will impress your guests or simply provide a luxurious treat for yourself.
Our goal with this easy flourless cake recipe is to demystify what might seem like a complex dessert. We break down each stage, from melting the chocolate to whipping the eggs, into manageable steps. The result is a cake that consistently turns out moist, rich, and utterly satisfying. Paired with the vibrant, easy-to-make raspberry coulis, this dessert offers a beautiful contrast in color and flavor, elevating the simple chocolate cake into a truly memorable culinary creation. Get ready to bake with ease and achieve stunning results!
Ingredients for Your Flourless Chocolate Cake
The Flourless Chocolate Cake: What You'll Need
To create this intensely chocolatey flourless masterpiece, you'll need a few key ingredients that contribute to its rich flavor and dense texture. Start with high-quality bittersweet or semi-sweet chocolate, ideally with a cocoa content between 60% and 70%. You'll need approximately 8 ounces (about 225 grams) of finely chopped chocolate or chocolate chips.
This forms the backbone of the cake's structure and flavor. Butter is essential for richness and moisture; about 1 cup (2 sticks or 225 grams) of unsalted butter, cut into pieces, will be needed. Granulated sugar adds sweetness and helps create a delicate crust; plan for about 1 cup (200 grams).
The structure of this gluten-free chocolate cake comes primarily from eggs. You'll need 6 large eggs, separated into yolks and whites. The egg yolks contribute richness and help emulsify the mixture, while the whipped egg whites provide lift and lightness, preventing the cake from becoming too dense. A touch of vanilla extract, about 1 teaspoon, enhances the chocolate flavor. Finally, a pinch of salt, around 1/4 teaspoon, balances the sweetness and deepens the chocolate notes. Ensure your ingredients are at room temperature, especially the eggs, as this helps with emulsification and volume.
The Raspberry Coulis: Gathering Your Ingredients
The vibrant raspberry coulis provides a perfect tart counterpoint to the rich chocolate cake. It's incredibly simple to make, requiring just three ingredients: fresh or frozen raspberries, sugar, and a touch of lemon juice. You'll need approximately 10-12 ounces (about 300-350 grams) of raspberries. If using frozen raspberries, there's no need to thaw them beforehand; they can go straight into the pan.
For sweetness, start with about 1/4 to 1/2 cup (50-100 grams) of granulated sugar. The exact amount will depend on the sweetness of your raspberries and your personal preference. You can always add more sugar later if needed. A squeeze of fresh lemon juice, about 1-2 teaspoons, is crucial. It brightens the flavor of the raspberries and helps balance the sweetness. That's it! Three simple ingredients for a stunningly flavorful sauce that elevates this easy flourless chocolate cake recipe.
Essential Baking Supplies for a Perfect Cake
Having the right tools on hand makes baking this easy flourless chocolate cake a smooth and enjoyable process. You'll need a sturdy mixing bowl, preferably heatproof, for melting the chocolate and butter. A double boiler setup (a bowl set over a pot of simmering water) is the gentlest way to melt chocolate, or you can use a microwave in short intervals. You'll also need a separate large bowl for whipping the egg whites.
A whisk or an electric mixer (handheld or stand mixer) is essential for whipping the egg whites to stiff peaks, which is a critical step for the cake's texture. Measuring cups and spoons are, of course, necessary for accurate ingredient amounts. For baking, an 8-inch or 9-inch round cake pan is ideal.
Using a springform pan is highly recommended, as it makes removing the delicate cake much easier. Don't forget parchment paper to line the bottom of the pan for easy release, and non-stick cooking spray or butter to grease the sides. For the coulis, a small saucepan and a fine-mesh sieve will be needed to strain out the seeds for a smooth sauce.
Step-by-Step Guide: Baking the Flourless Chocolate Cake
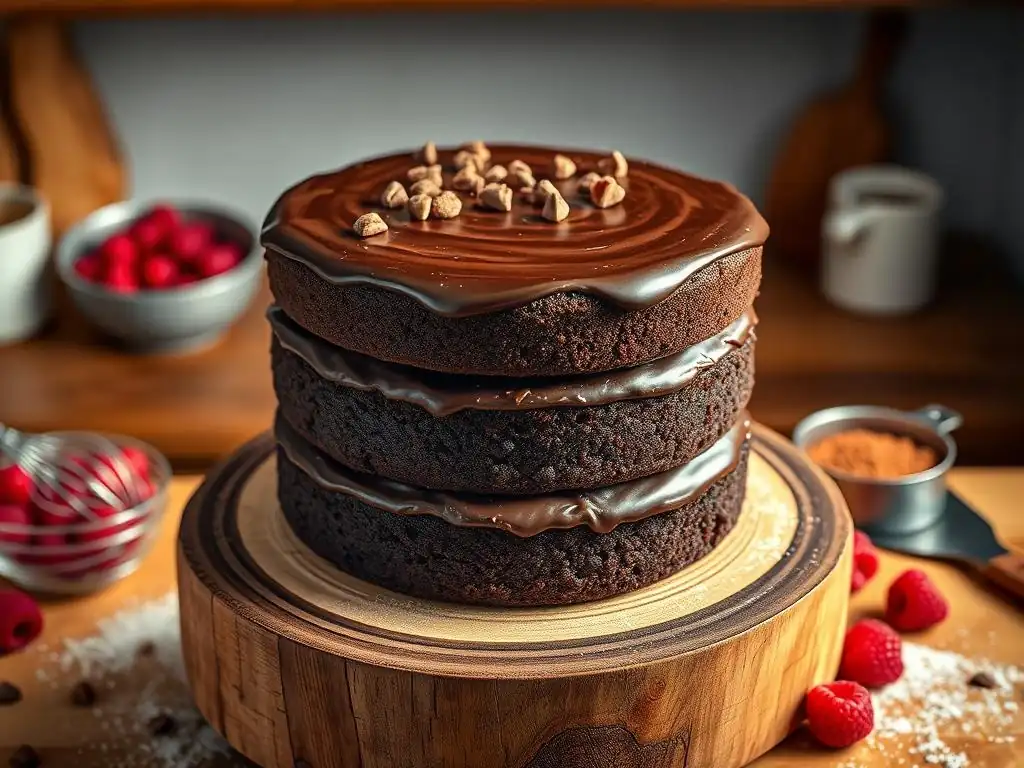
Preparing the Cake Batter: A Simple Mixing Process
Begin by preheating your oven to 350°F (175°C). Prepare your 8-inch or 9-inch springform pan by greasing the sides and lining the bottom with a circle of parchment paper. This crucial step ensures your delicate flourless chocolate cake releases cleanly after baking. Next, melt the chocolate and butter together.
Combine the chopped chocolate and cubed butter in a heatproof bowl set over a pot of gently simmering water (a double boiler). Stir occasionally until the mixture is completely smooth and glossy. Alternatively, you can microwave the chocolate and butter in 30-second intervals, stirring well after each, until melted. Once melted, remove from the heat and let it cool slightly for about 5-10 minutes.
While the chocolate mixture cools, separate your 6 large eggs. In a large bowl, whisk the egg yolks with the granulated sugar until the mixture is pale yellow and slightly thickened, about 2-3 minutes with an electric mixer or 5 minutes by hand. Stir in the vanilla extract and salt. Gradually whisk the slightly cooled melted chocolate mixture into the egg yolk mixture until fully combined and smooth. In a separate, clean bowl, beat the egg whites until stiff peaks form.
This usually takes 3-5 minutes with an electric mixer on medium-high speed. The peaks should stand straight up when the whisk is lifted. Gently fold about one-third of the whipped egg whites into the chocolate mixture to lighten it, then carefully fold in the remaining egg whites in two additions, being careful not to deflate the mixture. Stop folding as soon as no white streaks remain.
Baking the Flourless Chocolate Cake: Achieving Perfect Texture
Pour the prepared batter into the lined and greased springform pan. Gently smooth the top with a spatula if needed. Place the cake pan in the center of your preheated oven. The baking time for a flourless chocolate cake is typically shorter than for traditional cakes, usually between 30 and 40 minutes, depending on your oven and the size of the pan. For an 8-inch cake, aim for the longer end, around 35-40 minutes, while a 9-inch cake might be ready in 30-35 minutes.
You'll know the gluten-free chocolate cake is done when the edges appear set and slightly pulled away from the sides of the pan, but the center still looks a little soft and moist – it should not be liquid, but a toothpick inserted into the center won't come out completely clean; it should have moist crumbs attached. Overbaking will result in a dry cake, which is the opposite of the desired fudgy texture. The cake will continue to set as it cools. Avoid opening the oven door too frequently during baking, as this can cause the cake to sink.
Cooling the Cake: Essential for Easy Handling
Once the flourless chocolate cake is baked, it's crucial to let it cool properly. Remove the cake from the oven and place the springform pan on a wire rack. Let the cake cool in the pan for at least 20-30 minutes. During this time, the center will continue to set, and the cake will firm up. It's normal for the cake to sink slightly in the center as it cools; this is characteristic of many flourless cakes and creates a natural well for the coulis.
After the initial cooling period in the pan, carefully release the sides of the springform pan. If the cake is stuck anywhere, gently run a thin knife or offset spatula around the edge before releasing the clasp. Let the cake continue to cool completely on the wire rack. Attempting to move or handle the cake before it's fully cooled can cause it to break apart, as it is quite delicate when warm. Allow at least 1-2 hours for complete cooling before attempting to assemble or serve.
Crafting the Luscious Raspberry Coulis
Making the Coulis: A Simple Three-Ingredient Masterpiece
The raspberry coulis is a remarkably simple yet elegant sauce that perfectly complements the rich flourless chocolate cake. To make it, combine the raspberries (fresh or frozen), granulated sugar, and lemon juice in a small saucepan. Place the saucepan over medium heat. As the mixture heats, the raspberries will begin to break down and release their juices. Stir occasionally to help the sugar dissolve and prevent the fruit from sticking to the bottom of the pan.
Bring the mixture to a gentle simmer and let it cook for about 5-10 minutes, stirring periodically. The goal is to soften the raspberries completely and allow the flavors to meld. The mixture will thicken slightly as it cooks. Once the raspberries are soft and the sauce has a slightly reduced consistency, remove the saucepan from the heat. Taste the coulis at this point and adjust the sweetness or tartness if needed by adding a little more sugar or lemon juice.
Achieving the Perfect Coulis Consistency: Tips & Tricks
For a smooth and seedless raspberry coulis, you'll need to strain the mixture. Place a fine-mesh sieve over a bowl. Pour the warm raspberry mixture into the sieve. Using a spoon or a rubber spatula, press the solids against the sieve to force the liquid through into the bowl below. Continue pressing until only the seeds and pulp remain in the sieve. Discard the solids.
The resulting coulis should be a vibrant, smooth sauce. If you prefer a thinner coulis, you can add a tiny amount of water (about a teaspoon at a time) and stir to reach the desired consistency. If it's too thin, you can return it to the saucepan and simmer gently for a few more minutes to reduce it further, but be careful not to over-reduce.
The coulis will thicken slightly as it cools. Once strained, let the coulis cool completely before serving or using it to assemble the cake. Cooled coulis can be stored in an airtight container in the refrigerator for up to 5-7 days.
Assembling Your Flourless Chocolate Cake
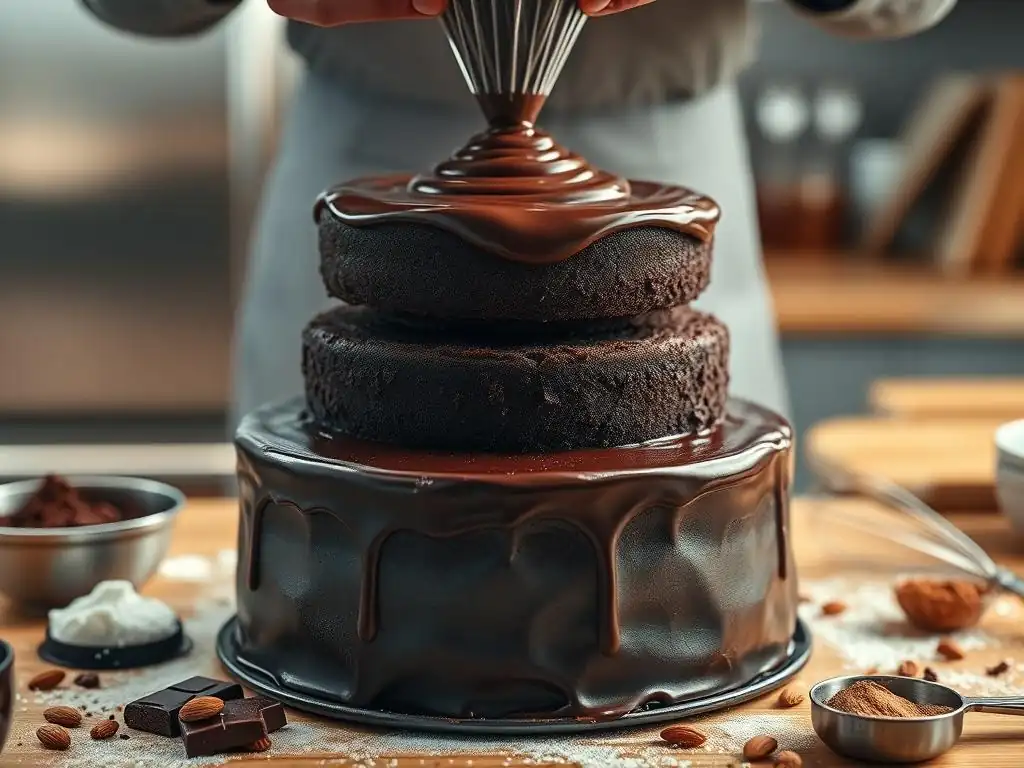
Preparing the Cake: Ensuring a Professional Finish
Once your flourless chocolate cake is completely cool, it's ready for assembly. If you used a springform pan and lined the bottom, you can carefully remove the parchment paper from the bottom of the cake by sliding a thin spatula underneath. If the cake stuck slightly to the sides after releasing the springform, you can gently trim any rough edges with a sharp knife, though the rustic look is also part of its charm.
Place the cooled cake on your serving plate or cake stand. Since this is a single-layer cake, there's no need for stacking. The natural slight dip in the center, characteristic of a flourless cake, is perfect for holding the raspberry coulis. Ensure the cake is stable on your serving surface before proceeding to the next step. A level surface is key for an even distribution of the coulis.
Drizzling the Raspberry Coulis: Layering for Deliciousness
Now for the beautiful finishing touch: the raspberry coulis. Ensure the coulis is cool before applying it to the cake. You can spoon the coulis directly onto the center of the cake, allowing it to naturally pool in the slight depression. Use the back of the spoon or a small offset spatula to gently spread the coulis across the top of the cake, leaving a border of chocolate cake visible around the edges, or extending it all the way to the edge for a more dramatic look.
The amount of coulis to use is a matter of preference. You can use just enough to fill the center well, or use a more generous amount for a richer raspberry flavor in each bite. A typical amount might be around 1/2 cup to 1 cup of coulis spread over the top. Reserve some coulis to serve alongside individual slices, allowing everyone to add more if they wish. The contrast in color between the dark chocolate and the vibrant red coulis is visually stunning.
Dusting with Cocoa Powder: Creating a Simple Finish
For a final touch of elegance and to enhance the chocolate flavor, lightly dust the top border of the cake (the part not covered by coulis) with unsweetened cocoa powder or powdered sugar. Cocoa powder offers a sophisticated, slightly bitter contrast to the sweet cake and tart coulis. Simply use a fine-mesh sieve or a sifter to sprinkle a thin, even layer over the cake's surface.
Alternatively, a dusting of powdered sugar can provide a softer look and an extra touch of sweetness. Hold the sieve a few inches above the cake and gently tap the side to release a fine mist of sugar. This simple finishing step adds a professional look to your easy flourless chocolate cake and makes it even more appealing. You can also place a stencil on the cake before dusting to create patterns, though a simple all-over dusting is classic and beautiful.
Tips and Tricks for the Best Flourless Chocolate Cake
Achieving Moist and Tender Flourless Chocolate Cake
The key to a moist and tender flourless chocolate cake lies in the quality of your ingredients and careful technique. Using high-quality chocolate with a good percentage of cocoa butter is essential; cheap chocolate can result in a greasy or less flavorful cake. Ensure your butter is also of good quality. When melting the chocolate and butter, do so gently to avoid scorching the chocolate, which can make it seize and become grainy.
Properly whipping the egg whites is another critical step for texture. They should be whipped to stiff peaks, but be careful not to overbeat them, as this can lead to a dry texture. When folding the whipped egg whites into the chocolate mixture, be as gentle as possible. Overmixing will deflate the whites, resulting in a dense, heavy cake. The goal is to incorporate the whites while retaining as much air as possible. Finally, avoid overbaking! The center should still look moist when you take it out of the oven, as it will continue to cook from residual heat.
Troubleshooting Common Flourless Chocolate Cake Baking Problems
One common issue with flourless chocolate cake is cracking on the surface during baking. This can happen if the oven temperature is too high or if the cake cools too quickly. While a slight crack is often hidden by the coulis, you can try placing a pan of water on the rack below the cake to create steam, which can help prevent cracking.
If your cake sinks excessively in the center (more than a slight dip), it could be due to underbaking or over-folding the egg whites. Ensure you bake until the edges are set and the center is just slightly wobbly.
If your cake seems too dense, it's likely due to deflated egg whites. Make sure your bowl and whisk are completely clean and free of any grease before whipping the whites, as even a tiny amount of fat can prevent them from whipping properly. Fold the whites in very gently and stop as soon as they are just incorporated. If the cake is dry, it was likely overbaked. Use the visual cues (set edges, slightly soft center) rather than relying solely on time, as oven temperatures can vary.
Variations and Customizations: Adapting the Recipe to Your Taste
While the classic flourless chocolate cake with raspberry coulis is divine, feel free to customize it! Instead of raspberry coulis, you could pair the cake with a simple vanilla bean crème anglaise, a dollop of whipped cream, or a warm chocolate ganache (though that adds complexity and isn't strictly flourless). For a different fruit pairing, a cherry sauce or a mixed berry coulis would also work beautifully.
You can also infuse the cake itself with other flavors. Add a teaspoon of espresso powder to the melted chocolate for a mocha twist, or a splash of orange extract or a pinch of ground chili for a hint of warmth. For a more festive touch, you can fold in a handful of chocolate chips or chopped nuts (if not avoiding nuts) into the batter before baking. The simplicity of this easy flourless cake recipe makes it a great canvas for your culinary creativity.
Storing and Serving Your Flourless Chocolate Cake
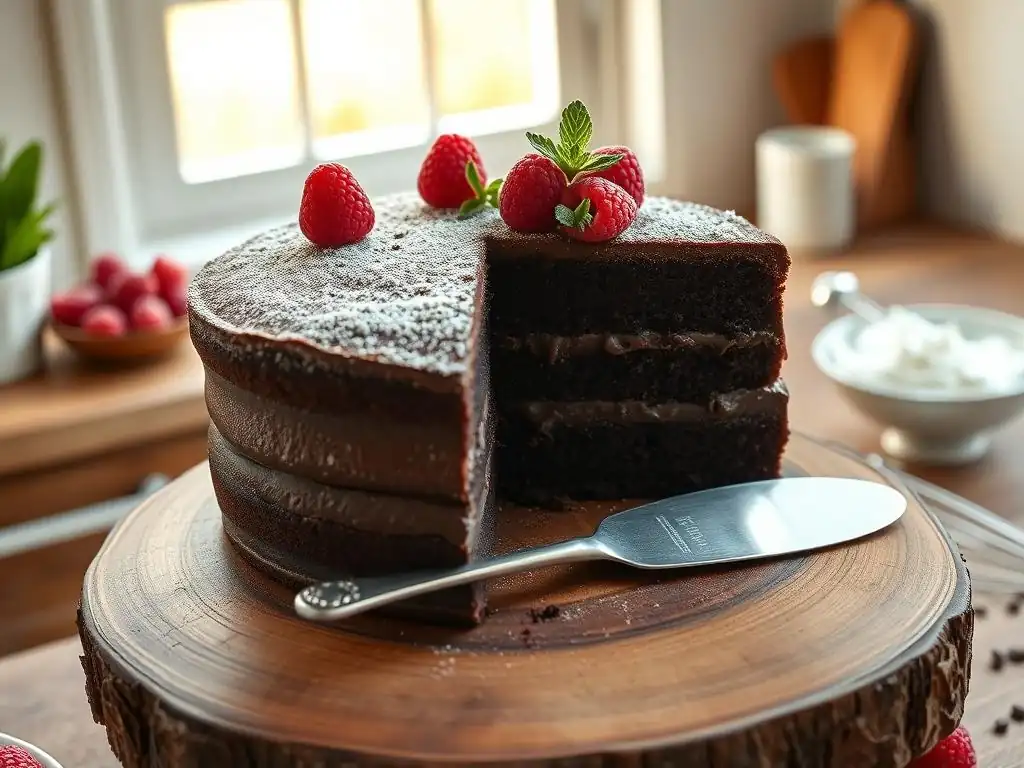
Proper Storage Techniques to Maintain Freshness
Flourless chocolate cake, due to its high fat content, stays moist and delicious for several days when stored correctly. If the cake is already assembled with the raspberry coulis, it's best to store it in an airtight container in the refrigerator. The moisture from the coulis can soften the cake over time, but it will still be enjoyable for 3-4 days.
If you have leftover cake without the coulis, wrap individual slices or the whole cake tightly in plastic wrap, then place it in an airtight container. It can be stored at room temperature for 1-2 days, but for longer storage and best quality, refrigerate it for up to 5 days. Flourless chocolate cake also freezes exceptionally well. Wrap cooled, unassembled cake slices or the whole cake tightly in plastic wrap, then in aluminum foil or place in a freezer-safe bag.
It can be frozen for up to 2-3 months. Thaw overnight in the refrigerator before serving. Store leftover coulis separately in an airtight container in the refrigerator for up to a week.
Serving Suggestions for the Perfect Chocolate Cake Experience
This easy flourless chocolate cake is best served at slightly below room temperature or even chilled, especially when paired with the cool raspberry coulis. Remove the cake from the refrigerator about 20-30 minutes before serving to allow the flavors and texture to soften slightly, though some prefer it straight from the fridge for a fudgier bite. Slice the cake using a sharp knife, wiping the knife clean between cuts for neat slices.
Serve each slice with a generous drizzle or a spoonful of the reserved raspberry coulis alongside. A dollop of freshly whipped cream or a scoop of vanilla bean ice cream makes a classic accompaniment that adds a creamy contrast. For an extra touch, garnish with a few fresh raspberries or a sprig of mint. This rich, gluten-free chocolate cake is perfect for special occasions or simply as a decadent treat to enjoy with coffee or tea.
Conclusion: Enjoy Your Homemade Flourless Chocolate Cake!
You've successfully created a truly decadent and surprisingly easy flourless chocolate cake! This gluten-free delight proves that baking without traditional flour can result in a dessert that is every bit as rich, moist, and flavorful as its conventional counterparts, if not more so. The intense chocolate flavor of the cake paired with the bright, tangy raspberry coulis is a classic combination that is sure to please any chocolate lover.
Whether you're baking for dietary reasons or simply because you appreciate the pure, unadulterated taste of chocolate, this easy flourless chocolate cake recipe is a reliable choice. It's a testament to the fact that simple ingredients and straightforward steps can yield truly stunning results. So go ahead, slice into your beautiful creation, drizzle on that vibrant coulis, and savor every fudgy, delicious bite. Happy baking!
Frequently Asked Questions
How easy is the Decadent Chocolate Layer Cake with Ganache Filling recipe from BakeWithEase.com?
The recipe is designed to be beginner-friendly, with clear step-by-step instructions and readily available ingredients. The focus is on an easy chocolate layer cake recipe that anyone can master.
What kind of chocolate should I use for the cake and ganache?
For the best flavor, BakeWithEase recommends using a high-quality dark chocolate for both the cake and the ganache. This will enhance the richness and depth of flavor.
Can I make the cake layers ahead of time?
Yes, absolutely! The cake layers can be baked a day or two in advance, wrapped tightly in plastic wrap, and stored at room temperature or even frozen. This helps with time management.
What if I don't have all the fancy baking equipment?
BakeWithEase emphasizes simplicity. While some equipment can be helpful, the recipe can be made with basic tools that most home bakers already possess. You don't need to be a professional baker.
What are some variations I can make to the recipe?
The recipe is a great base for experimentation! You can add different extracts, like peppermint or almond, or incorporate ingredients like chopped nuts or chocolate chips for a personalized touch.
Final Reflection: The Sweet Simplicity of Sharing
The decadent chocolate layer cake, far from being a culinary Everest, is surprisingly accessible, proving that extraordinary flavor doesn't require extraordinary effort. This recipe, designed for ease and deliciousness, highlights the power of simple ingredients elevated by careful technique. It's a testament to the fact that even the most impressive desserts can be within reach of the home baker.
The enduring appeal of a perfectly executed chocolate cake transcends mere indulgence; it's a symbol of celebration, comfort, and connection. It's a dish that brings people together, fostering memories and shared experiences around a table laden with sweetness. A cake is a celebration of life, a moment of joy, a reason to gather together.
This sentiment perfectly captures the emotional resonance of this seemingly simple dessert. The act of baking, and the subsequent sharing, creates a powerful sense of community and warmth.
Now, I invite you to consider your own baking journey. Perhaps you'll try this recipe, savoring the process and the delicious results. Or maybe this reflection will inspire you to explore other seemingly daunting culinary challenges, remembering that often, the most rewarding experiences are born from simple beginnings. Don't be afraid to embrace the joy of creation and the satisfaction of sharing your culinary triumphs with those you love. The sweetest moments are often the simplest.
Unleash Your Inner Pastry Chef!
Thanks for joining us on this delicious journey into decadent chocolate cake creation! You've just unlocked the secrets to a truly unforgettable dessert. Ready to take your baking skills to the next level?
- Bake the cake this weekend! Gather your ingredients and follow the recipe – the rich chocolate aroma alone is worth it.
- Share your masterpiece! Post a picture of your finished cake on social media and tag us – we'd love to see your baking brilliance! #BakeWithEase #ChocolateCake
- Challenge a friend: Dare them to try recreating this cake and share their results! Let the baking battles begin!
What's your favorite chocolate cake topping—ganache, fresh berries, or something else entirely? Let's hear your ideas in the comments below!