
Troubleshooting Common Beginner Drop Cookie Problems

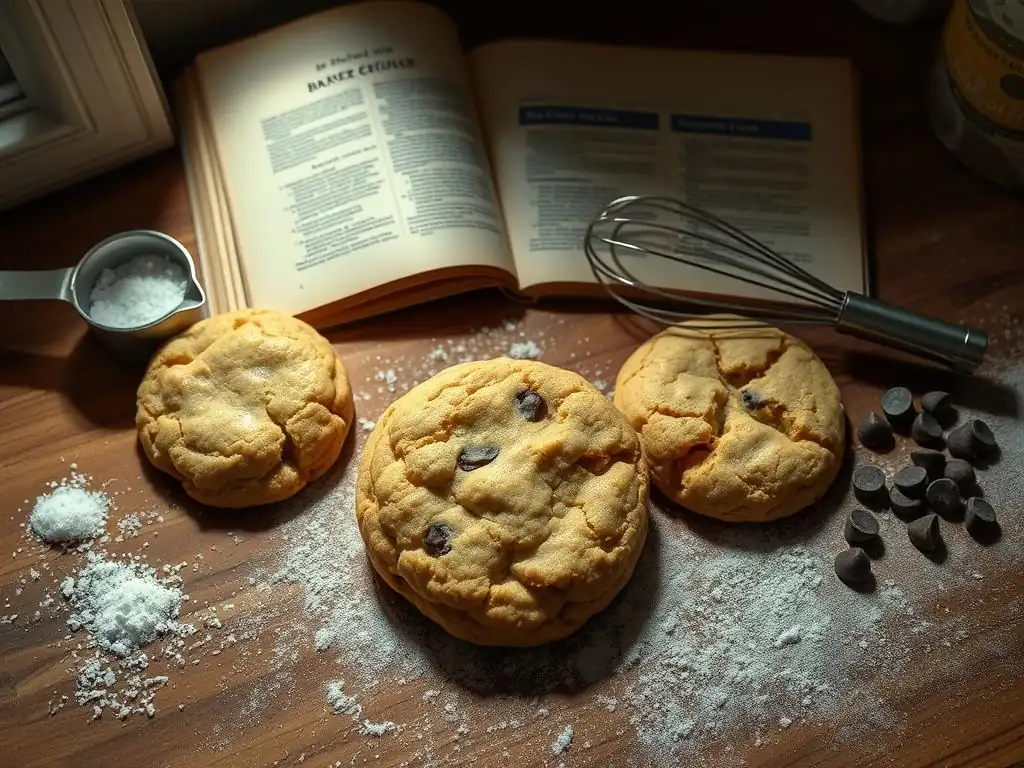
Welcome to BakeWithEase, where baking becomes a joy, not a chore! Ever wondered why your perfectly scooped drop cookies are spreading into flat, disappointing discs? You're not alone! This week, we're diving deep into common beginner baking pitfalls, starting with the mystery of drop cookie spreading too much. Discover the secrets to achieving perfectly shaped cookies every time, and unlock the confidence to conquer any recipe. Let's get baking!
- Troubleshooting Common Beginner Drop Cookie Problems: A BakeWithEase Guide
- Understanding Drop Cookie Spreading: Why Your Cookies Aren't Holding Their Shape
- Problem 1: Drop Cookie Spreading Too Much - Solutions and Prevention
- Problem 2: Flat and Crispy Drop Cookies: Identifying the Culprits
- Problem 3: Drop Cookies Not Spreading Enough: Achieving the Ideal Texture
- Problem 4: Drop Cookies Sticking to the Baking Sheet: Prevention and Solutions
- Essential Baking Tips for Perfect Drop Cookies: Beyond the Spread
- Mastering Drop Cookies: Achieving Baking Success with BakeWithEase
-
Frequently Asked Questions
- How do I prevent my drop cookies from spreading too much during baking?
- What role does oven temperature play in controlling drop cookie spread?
- Can the type of fat I use affect drop cookie spread?
- Is there a connection between the type of flour used and drop cookie spread?
- How does the creaming of butter and sugar impact drop cookie spread?
- Final Reflection: The Sweet Science of the Perfect Drop Cookie
- Unlock Your Perfect Drop Cookie!
Excessive spreading in drop cookies is a common frustration for beginner bakers, often resulting in thin, crispy discs instead of the desired chewy or soft centers. Several factors contribute to this issue, primarily related to the dough's composition and temperature, as well as oven conditions. One major culprit is the temperature of the dough itself; dough that is too warm, especially if it hasn't been adequately chilled, will cause the fat (like butter) to melt too quickly in the oven, leading to rapid and excessive spread before the structure of the cookie can set.
Another critical factor is the ratio of ingredients, particularly the balance between wet and dry components. Too much sugar, especially granulated sugar, can contribute to significant spreading because it melts and caramelizes during baking, causing the dough to flatten. Similarly, an imbalance with too much liquid or not enough flour provides insufficient structure to hold the cookie's shape as it bakes. Understanding these underlying causes is the first step in preventing your drop cookie spreading too much.
The specific ingredients used and their state are paramount in controlling how much your drop cookies spread. Butter, for instance, has a relatively low melting point compared to shortening. If butter is used and is too soft or melted before baking, it will liquefy rapidly in the oven, causing the cookie to spread significantly. Using cold, firm butter, or even partially substituting with shortening (which melts at a higher temperature), can help control spread.
Sugar type also plays a role. Granulated sugar contributes to spread and crispness as it melts completely. Brown sugar, with its molasses content, adds moisture and chewiness and tends to result in slightly less spread compared to an equal amount of granulated sugar.
Flour type and measurement are equally important; too little flour or incorrectly measured flour (e.g., scooping instead of weighing or spooning) can lead to a dough that lacks the necessary structure to resist spreading. A standard all-purpose flour provides a good balance for most drop cookies, typically requiring around 12-14% protein content to develop sufficient gluten structure.
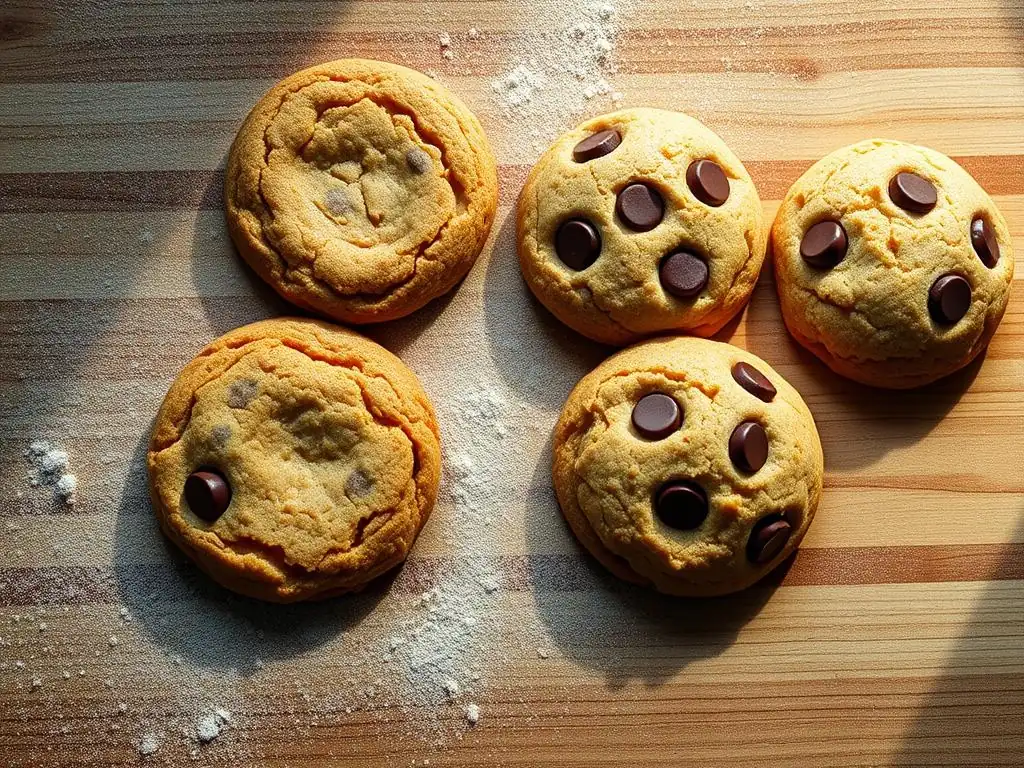
If you notice your drop cookie spreading too much while baking, there are a couple of things you can try immediately, though prevention is always better. One quick fix is to slightly reduce the oven temperature by about 15-25°F (around 8-14°C). A slightly lower temperature allows the edges of the cookie to set a bit more slowly, potentially limiting the rapid spread. However, this might increase the overall baking time and could affect the final texture.
Another technique, if you catch it early in the baking process (within the first few minutes), is to gently reshape the edges of the spreading cookies using a heatproof spatula or the back of a spoon. This is a manual intervention that can help coax the cookie back into a more desirable shape before it fully sets. While these aren't foolproof solutions, they can sometimes mitigate the issue when drop cookie spreading too much is already happening in the oven.
Preventing your drop cookie spreading too much starts before the dough even hits the baking sheet. The most effective measure is properly chilling your cookie dough. Refrigerating the dough for at least 30 minutes, or ideally several hours, solidifies the fat, which then melts more slowly in the oven, allowing the cookie's structure to set before significant spread occurs. Some recipes even call for chilling overnight.
Beyond chilling, ensuring your oven temperature is accurate is crucial. Ovens can often be off by as much as 25-50°F (14-28°C). Using an oven thermometer to verify and preheat properly is essential. Baking on a cool baking sheet (not one still hot from a previous batch) also prevents the dough from melting too quickly upon contact. Using parchment paper or silicone mats can also help create a more stable environment for the dough as it bakes.
Flat and crispy cookies are often a sign that the dough consistency wasn't quite right, frequently leaning towards being too soft or having too much liquid relative to dry ingredients. A dough that feels overly sticky or doesn't hold its shape well when scooped is likely too soft. This lack of structure means it collapses and spreads thin during baking, leading to a crispy texture because there's less mass to retain moisture.
To adjust a dough that seems too soft, you can gradually incorporate a small amount of additional flour, perhaps starting with 1-2 tablespoons per standard batch (e.g., a recipe calling for 2-3 cups of flour). Mix it in just until combined, being careful not to overwork the dough, which can develop too much gluten and result in tough cookies. Another strategy is ensuring your fat isn't too melted or soft when creaming; softened butter should still be cool to the touch and hold its shape, not be greasy or liquid.
Baking temperature plays a significant role in whether your drop cookies turn out flat and crispy or thicker and chewier. If your oven temperature is too low, the cookies will spread out excessively before the heat is sufficient to set their structure. This prolonged spreading time at a lower temperature results in thin cookies that become crispy as they cool because moisture evaporates readily from the thin layer.
Conversely, baking at the correct temperature, typically between 350°F and 375°F (175°C and 190°C) for most drop cookies, allows the edges to set relatively quickly while the center remains soft and slightly underbaked when removed from the oven. The residual heat finishes the baking process, resulting in a chewier texture. Using an oven thermometer to ensure your oven reaches and maintains the target temperature is a simple but effective step to prevent flat cookies.
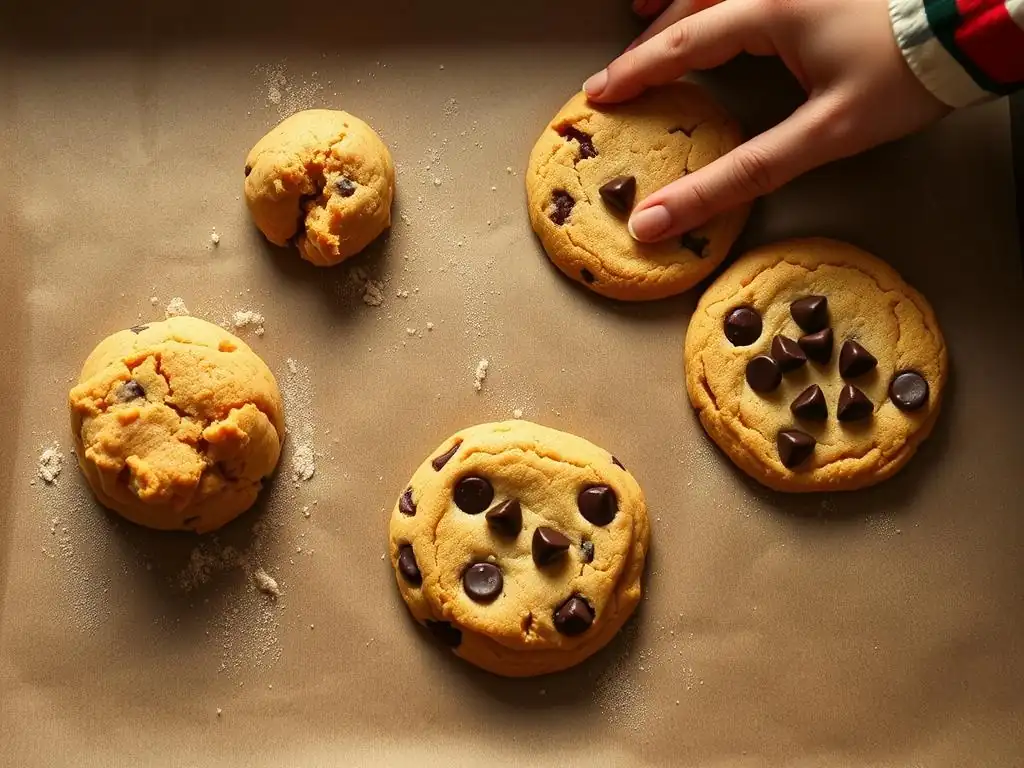
Sometimes the opposite problem occurs: your drop cookies don't spread enough, resulting in thick, often dry or cakey cookies. This is frequently due to a dough that is too stiff. A stiff dough can happen if you've added too much flour, used too little liquid (like milk or eggs), or perhaps overmixed the dough, developing too much gluten structure which resists spreading.
If your dough is too stiff, you can try adding a tiny amount of liquid, like a teaspoon of milk or a fraction of a beaten egg, and gently mix it in until the dough reaches a more pliable consistency. Be cautious not to add too much at once. Another factor can be the temperature of the dough; overly cold dough will spread less. Allowing the dough to sit at room temperature for 10-15 minutes before scooping can sometimes help.
Baking Time Adjustments: Optimizing Spread and Texture
The duration and temperature of baking are critical for achieving the desired spread and texture. If your cookies aren't spreading enough, it might be because you're baking them at too high a temperature, causing the edges to set too quickly, or for too short a time. While a higher temperature can limit excessive spread (Problem 1), too high a temperature can prevent adequate spread (Problem 3).
Try slightly increasing the baking time by a minute or two, while keeping an eye on the cookies. Allowing them to bake slightly longer gives the fat more time to melt and the dough more time to relax and spread before the structure fully sets. Ensure your oven temperature is accurate; if it's running hot, reducing the temperature slightly might also encourage more spread while still baking through.
Preventing Sticking: Choosing the Right Baking Sheet and Liners
Drop cookies sticking to the baking sheet can ruin their shape and lead to frustration. The primary way to prevent this is by properly preparing your baking surface. Bare, ungreased aluminum baking sheets are often the culprits for sticking, especially with doughs that have less fat. Using a non-stick baking sheet is a good start, but even then, some form of liner is highly recommended.
Parchment paper is an excellent non-stick liner that allows cookies to release easily. Silicone baking mats (like Silpats) are even more non-stick and reusable, providing a consistently reliable surface. Avoid greasing your baking sheet with butter or oil unless the recipe specifically calls for it, as excess fat can contribute to excessive spread (circling back to our initial problem of drop cookie spreading too much) and might not even prevent sticking effectively with certain doughs.
If, despite your best efforts, your drop cookies are stuck to the baking sheet, don't try to pry them off immediately after they come out of the hot oven. Cookies are most fragile when hot. Allow them to cool on the baking sheet for a few minutes (typically 5-10 minutes, depending on the recipe) before attempting to transfer them to a cooling rack. As they cool slightly, their structure firms up, making them less likely to break.
If they are still stuck after cooling slightly, use a thin, flat spatula to gently work your way under the edge of the cookie, moving around it to loosen it from the sheet. For stubborn cases, especially with caramel-like cookies where sugar might have melted and resolidified, you can try placing the baking sheet over a very low heat source (like a pilot light or a briefly warmed burner turned off) for just a few seconds to slightly warm the bottom of the sheet, which can help release the stuck sugar, then try the spatula again.
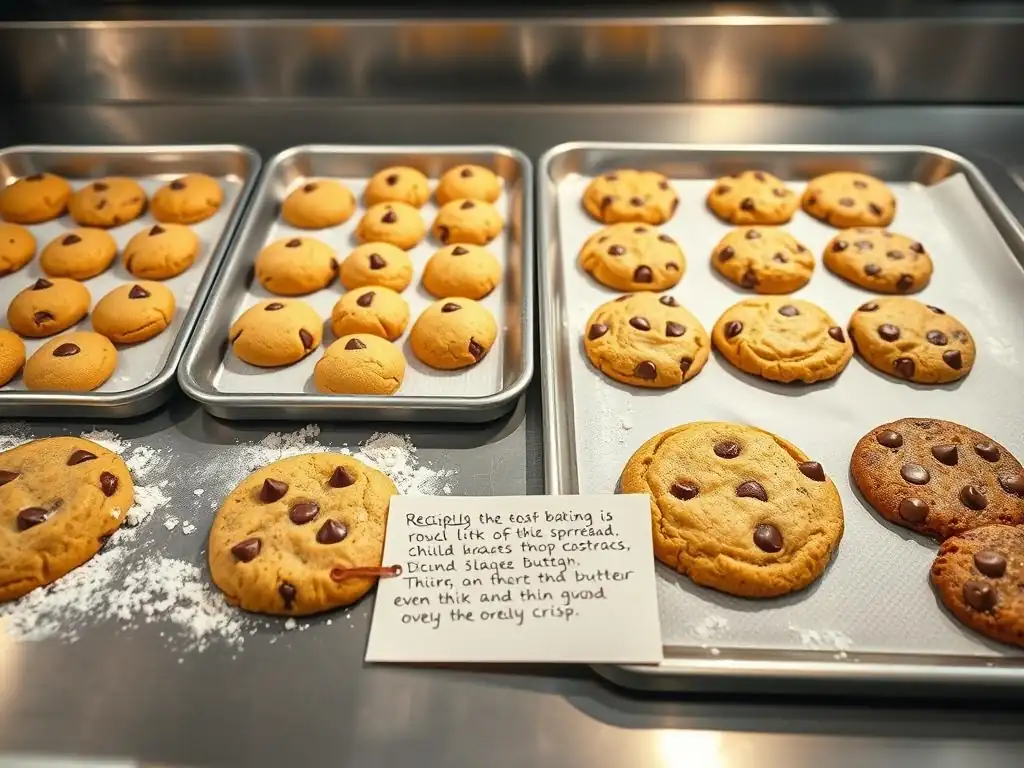
Precise measurement is arguably the single most important factor in preventing issues like drop cookie spreading too much or not spreading enough, and ensuring consistent results every time. Baking is a science, and the ratios matter. Using a kitchen scale to weigh ingredients, especially flour, sugar, and fats, is the most accurate method. Volume measurements (cups and spoons) can vary significantly depending on how ingredients are scooped or packed.
For example, scooping flour directly from the bag with a measuring cup can pack in significantly more flour than spooning it lightly into the cup and leveling it off. This difference could easily add 20-30% more flour, leading to a stiff dough that won't spread. Similarly, inaccurate sugar or fat measurements directly impact spread and texture. Invest in a simple digital scale for reliable, repeatable results.
Chilling drop cookie dough is a step often skipped by beginners but is crucial for controlling spread and enhancing flavor. Refrigerating the dough solidifies the fat, which means it melts more slowly in the oven. This gives the cookie's structure (from the flour and eggs) time to set before the fat fully liquefies, preventing excessive spreading. A standard chill time is at least 30 minutes, but many recipes benefit from 2-24 hours of refrigeration.
Beyond controlling spread, chilling allows the dry ingredients (especially flour) to hydrate more fully, resulting in a more tender crumb. It also gives the flavors, particularly from ingredients like vanilla, chocolate, and spices, time to meld and deepen, leading to a more flavorful cookie. So, if your drop cookie spreading too much is a persistent problem, chilling is your best friend.
The type of fat used significantly influences the spread, texture, and flavor of drop cookies. Butter provides superior flavor and tenderness but, due to its lower melting point and water content (around 15-18% water, 80-82% fat), it contributes to more spread and a crispier edge compared to shortening. As butter melts, the water turns to steam, creating lift and contributing to spread.
Shortening, on the other hand, is 100% fat and has a higher melting point. This means it stays solid longer in the oven, resulting in less spread and thicker cookies. Cookies made with shortening often have a softer, more uniform texture. Many recipes call for a combination of butter and shortening to balance flavor (from butter) with controlled spread and tenderness (from shortening), often using a 50/50 mix. Experimenting with these ratios can help you achieve your desired cookie characteristics.
Once you understand the principles behind ingredients and techniques, you can make simple adjustments to common drop cookie recipes to better control outcomes like drop cookie spreading too much. If a recipe consistently yields cookies that spread too much, try reducing the sugar slightly (e.g., by 10-20g per cup) or adding a tablespoon or two more flour. Substituting a portion of the butter with shortening can also help.
If your cookies are too thick and don't spread enough, ensure you're not adding too much flour and that your butter isn't too cold when creaming. You can also slightly increase the amount of leavening (baking soda or powder) by a tiny amount (e.g., adding an extra 1/4 teaspoon) or slightly reduce the flour. Small, incremental changes are key to dialing in a recipe to your preference.
With a solid understanding of basic drop cookie mechanics and how to troubleshoot common issues like drop cookie spreading too much, you're ready to explore the vast world of drop cookie variations! Once you have a reliable base recipe that gives you the desired spread and texture, you can start experimenting.
Consider adding different mix-ins like various types of chocolate chips, nuts, dried fruits, or even candies. Try incorporating different extracts beyond vanilla, such as almond, peppermint, or orange. You can also play with spices like cinnamon, nutmeg, ginger, or cardamom. Altering the sugar type (e.g., using more brown sugar for chewiness) or adding ingredients like oats or cocoa powder will change the texture and flavor profile, allowing you to create an endless array of delicious drop cookies right in your own kitchen.
Frequently Asked Questions
Spreading can be caused by too much butter or sugar, or not enough flour in the dough. Chilling the dough before baking can also help prevent excessive spreading.
Baking at the correct temperature is crucial. An oven that's too low will cause the cookies to spread before they set, while one that's too high can burn the edges.
Yes, definitely! Using melted butter instead of softened butter can contribute to spreading. Also, using oil-based substitutes may not provide the needed structure.
Yes, all-purpose flour has a lower protein content than bread flour. If you're still having problems, try adding a tablespoon or two of flour to your dough to improve the structure.
Over-creaming the butter and sugar can incorporate too much air. This air can expand in the oven, leading to excessive spreading. Cream until just combined.
The seemingly simple drop cookie holds a surprising amount of scientific complexity, and mastering its delicate balance is a journey of culinary discovery. Understanding the factors that contribute to excessive spreading—from ingredient ratios to baking temperature—is crucial for achieving that picture-perfect, chewy-crisp result we all crave. This knowledge isn't just about aesthetics; it's about unlocking the potential for consistent, delicious baking success.
The quest for the perfect drop cookie transcends mere recipe following; it's a reflection of our desire for control and mastery over a seemingly simple process. The subtle interplay of ingredients, the precise timing of baking, and the careful observation of texture and color all contribute to a deeply satisfying experience. As Julia Child wisely said, A party without cake is just a meeting.
And for many, that cake, or in this case, that cookie, is the heart of the gathering, a symbol of comfort, celebration, and shared joy. The frustration of a spread-out cookie, therefore, is more than just a baking mishap; it's a disruption of this carefully crafted experience.
So, the next time you find yourself facing a pan of flat, disappointing cookies, remember the lessons learned here. Don't be discouraged! Instead, view it as an opportunity to refine your technique, to experiment with different approaches, and to ultimately achieve that perfect, golden-brown, delightfully chewy cookie that you envisioned. Embrace the science, trust the process, and savor the sweet rewards of your baking journey. The perfect drop cookie awaits!
Thanks for taking the time to troubleshoot those baking woes! We hope you now feel more confident in creating deliciously perfect drop cookies. Ready to put your newfound knowledge into practice?
- Bake a batch of your favorite drop cookies using your newly acquired skills! Experiment with different flavors or techniques to perfect your recipe.
- Share your baking triumphs (or hilarious fails!) with us on social media using #BakeWithEaseDropCookies. We'd love to see what you create!
- Consider exploring our other baking guides for more tips and tricks – you might discover your new signature recipe!
What's your favorite drop cookie flavor to bake, and what's one tip you’ll use from today’s article?