
Working with Fondant? These Are Your MustHave Decorating Tools

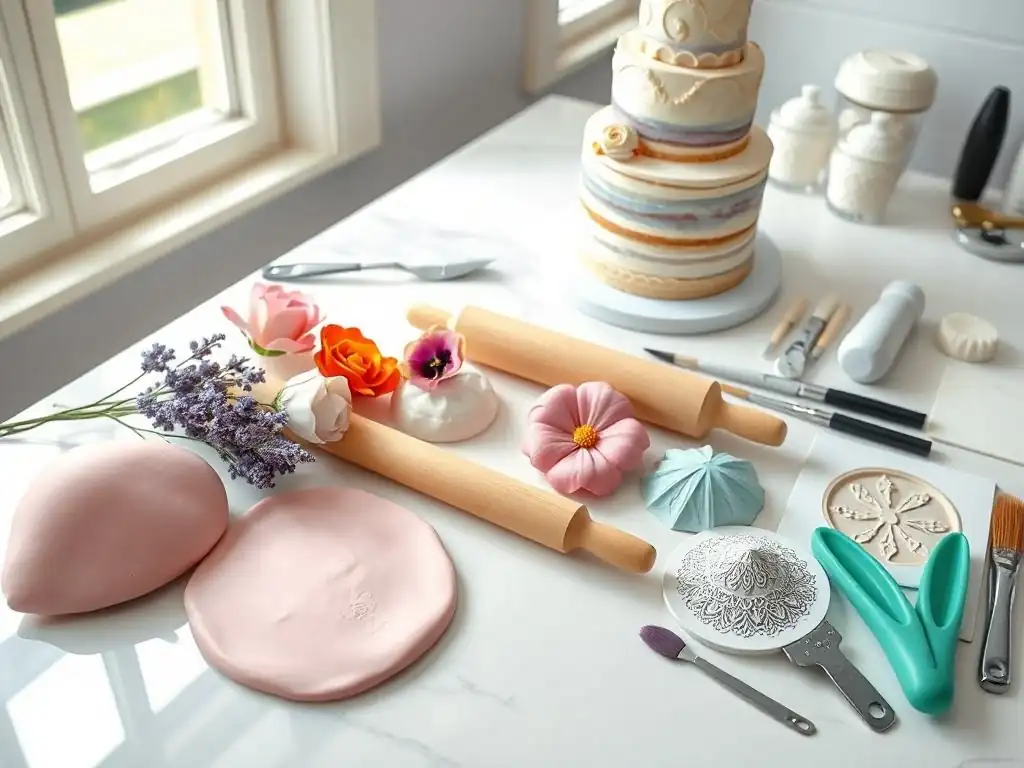
Welcome to BakeWithEase, your baking sanctuary!
Ever wondered how professional bakers achieve those flawless fondant finishes? Unlock the secrets to stunning cake designs with our guide to Fondant Decorating Tools. From smoothing perfection to intricate details, discover the must-have equipment that will elevate your creations and make your fondant dreams a delicious reality. Intrigued? Keep reading to find out which tools are essential for your baking journey...
- Mastering Cake Decorating: Essential Tools for Working with Fondant
- Essential Fondant Tools for Cake Artists
- Achieving a Flawless Fondant Finish: Smoothers and Techniques
- Rolling Fondant to Perfection: Pins and Techniques
- Creating Intricate Fondant Designs: Cutters and Molds
- Sculpting Realistic Fondant Creations: Modeling Tools
- Finishing Touches: Edible Glue and Dusting Powders
- Essential Support: Turntables and Work Surfaces
- Maintaining Your Fondant Decorating Tools for Longevity
- Frequently Asked Questions
- Final Reflection: Mastering the Art of Fondant, One Tool at a Time
- Unleash Your Inner Cake Artist!
Mastering Cake Decorating: Essential Tools for Working with Fondant
Essential Fondant Tools for Cake Artists
Elevate Your Cake Designs with the Right Equipment
Diving into the world of cake decorating with fondant can transform your creations from simple baked goods into edible works of art. However, achieving those smooth finishes, sharp edges, and intricate details requires more than just skill; it demands the right set of tools. Think of it like painting – you wouldn't expect to create a masterpiece with just one brush.
Similarly, a comprehensive collection of fondant decorating tools is fundamental to success, making the process smoother, faster, and significantly improving the final aesthetic of your cakes. Having the proper equipment at your fingertips allows you to confidently tackle everything from covering a multi-tiered wedding cake to crafting delicate sugar flowers.
Selecting quality tools designed specifically for working with fondant is a wise investment for any aspiring or experienced cake artist. While some general kitchen tools might suffice for basic tasks, specialized fondant tools offer precision and ease that are unmatched. For example, a dedicated fondant smoother provides an even pressure distribution across the surface, something a hand or rolling pin simply cannot replicate effectively.
Similarly, purpose-built cutting tools ensure clean edges without tearing or stretching the fondant. Building your collection of essential fondant decorating equipment will not only save you frustration but also open up a world of creative possibilities, enabling you to bring even complex cake visions to life with professional results.
Achieving a Flawless Fondant Finish: Smoothers and Techniques
Types of Fondant Smoothers for Different Cake Shapes
Fondant smoothers are arguably the most critical tools for achieving that signature, pristine finish on a fondant-covered cake. These simple yet effective tools come in various shapes and sizes, each suited for different aspects of the smoothing process.
The most common type is a flat, rectangular smoother, often made of durable plastic, which is perfect for applying even pressure across large, flat surfaces like the top and sides of standard round or square cakes. Some smoothers feature rounded edges on one side to avoid marking the fondant, while others have sharper corners designed for creating crisp angles, particularly useful for square cakes.
Beyond the basic flat smoothers, you'll find specialized versions like angled smoothers or sets that include smaller tools for working on curved surfaces or tight spots. Angled smoothers, for instance, can be particularly helpful for getting a clean join where the side fondant meets the cake board or for smoothing edges on contoured cakes.
Silicone smoothers offer a slightly different feel, sometimes preferred for their flexibility and grip. Many smoothers are designed to be held comfortably in the hand, allowing you to work systematically around the cake, pushing out air bubbles and pressing the fondant firmly against the buttercream or ganache layer underneath, ensuring a smooth, bump-free surface.
Step-by-Step Guide: Using Fondant Smoothers for Professional Results
Using a fondant smoother effectively is key to eliminating imperfections and achieving a professional look. Here's a basic approach:
- Cover the cake: Ensure your cake is properly covered with a thin layer of buttercream or ganache and chilled. Carefully drape the rolled fondant over the cake, smoothing the top first with your hands.
- Initial Side Smoothing: Begin smoothing the sides, working from the top edge downwards. Hold one smoother in your dominant hand and gently but firmly press against the side of the cake, moving it back and forth or in a circular motion. Use your other hand to support the fondant at the bottom edge, gently pulling it taut as you smooth downwards.
- Addressing Air Bubbles: As you smooth, you might notice air bubbles forming. Gently prick these bubbles with a fine pin or needle, then immediately smooth over the area with your smoother to release the trapped air and reseal the fondant.
- Creating Sharp Edges (Top): To achieve a sharp top edge, hold one smoother flat on the top surface of the cake, extending slightly over the edge. Use a second smoother held perpendicular to the side, pressing it firmly upwards against the first smoother. Work your way around the top edge, using this two-smoother technique to push the side fondant upwards and create a defined edge.
- Final Polish: Continue smoothing all surfaces until the fondant is perfectly smooth and adheres completely to the cake. For very large cakes, you might need to work in sections. Remember to use steady, even pressure throughout the process.
Rolling Fondant to Perfection: Pins and Techniques
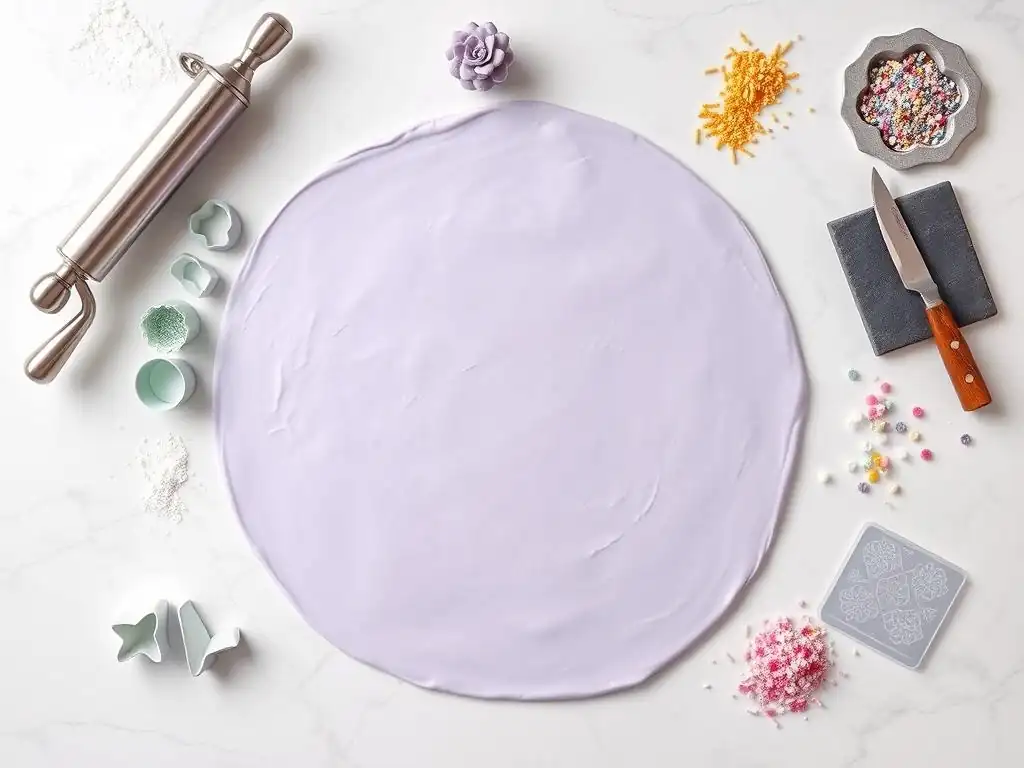
Non-Stick Rolling Pins: Ensuring a Smooth, Even Roll
Rolling fondant to the correct thickness and size without it sticking is crucial for successful cake covering and decorating. This is where a non-stick rolling pin becomes an indispensable tool. Traditional wooden rolling pins often require copious amounts of cornstarch or powdered sugar to prevent sticking, which can dull the color and sometimes dry out the fondant. Non-stick rolling pins, typically made from materials like high-density plastic, silicone, or metal with a non-stick coating, drastically reduce or eliminate the need for dusting powders, resulting in a cleaner, more vibrant finish on your fondant.
These non-stick properties allow the fondant to glide smoothly as you roll, making it easier to achieve an even thickness across a large sheet. Some non-stick rolling pins come with adjustable guides or rings that slip onto the ends, allowing you to consistently roll fondant to specific thicknesses, such as 1/8 inch (approximately 3 mm) for covering cakes or even thinner for delicate decorations.
This consistency is vital for both the look and the structural integrity of the fondant layer on your cake. Using a non-stick pin is a fundamental part of any effective fondant decorating tools guide, simplifying one of the most basic yet critical steps.
Choosing the Right Rolling Pin: Size and Material Considerations
Selecting the appropriate rolling pin depends on the scale of your projects and personal preference. Rolling pins for fondant typically range in length from about 9 inches (23 cm) for small tasks to 20 inches (50 cm) or more for covering large cakes or multiple tiers. A longer rolling pin is generally better for rolling out large sheets of fondant evenly, as it covers more surface area with each pass. Diameter also varies; thicker pins can be easier to handle and apply even pressure with, while thinner ones offer more control for smaller pieces.
Material is another key consideration. As mentioned, non-stick plastic or silicone is highly recommended for fondant due to its release properties. Some decorators prefer solid plastic pins for their weight and rigidity, while others like the feel of a silicone-coated pin. Wood, while traditional, is less ideal for fondant unless it's specifically treated or used with significant dusting.
Many professional decorators opt for a long, smooth, non-stick rolling pin, often without handles, as this allows for uniform pressure across the width of the fondant. Consider the size of the cakes you typically make when choosing the length of your rolling pin; a 15-inch (approx. 38 cm) pin is a versatile size for many common cake sizes.
Creating Intricate Fondant Designs: Cutters and Molds
Alphabet and Number Cutters: Personalizing Cakes with Messages
Adding personalized messages to cakes is a popular way to celebrate birthdays, anniversaries, or other special occasions. Alphabet and number cutters make this task significantly easier and more professional-looking than trying to hand-cut letters. These come in various sizes and fonts, from simple block letters to elegant script styles, allowing for great versatility in design. Typically made from plastic or metal, they provide clean cuts through rolled fondant, ensuring sharp, well-defined shapes.
Using these cutters involves rolling the fondant to the desired thickness (often about 1/8 inch or 3 mm), then pressing the cutter firmly down to cut out the shape. For intricate fonts or smaller cutters, sometimes a plunger mechanism is included, which helps release the cut shape from the cutter without distortion.
Sets often include multiple copies of common letters and numbers to allow for spelling out longer names or dates without having to cut and re-roll fondant repeatedly. These cutters are essential fondant tools for anyone looking to add custom text to their cake decorations, ensuring legibility and a polished appearance.
Flower and Shape Molds: Adding Detailed Embellishments
Fondant molds and impression mats are fantastic tools for quickly creating detailed and consistent decorative elements. Silicone molds, in particular, are popular for producing realistic-looking flowers, leaves, figures, borders, and other intricate shapes. You simply press fondant into the mold, scrape away any excess, and then carefully unmold the piece. The flexible nature of silicone makes releasing the delicate shapes relatively easy, especially if the mold is lightly dusted with cornstarch or powdered sugar.
Impression mats work differently, pressing a texture or pattern onto the surface of rolled fondant. These can mimic lace, fabric, wood grain, or other intricate designs, adding visual interest to cake tiers or panels. Cutters often come in sets with coordinating molds or impression veins (like for flower petals) to help add realistic detail after cutting the basic shape.
For example, a rose petal cutter might be paired with a veining tool or mold to imprint the natural lines of a petal. These tools allow decorators to produce complex designs with relative speed and consistency, significantly enhancing the overall look of a cake.
Tips for Using Fondant Cutters and Molds Effectively
Getting the best results from your fondant cutters and molds involves a few key techniques:
- Prepare the Fondant: Ensure your fondant is well-conditioned and rolled to an even thickness. Fondant that is too soft or too hard will not cut or mold cleanly.
- Dusting is Key: Lightly dust your work surface, rolling pin, the fondant itself, and the inside of intricate molds with cornstarch or powdered sugar. This prevents sticking and allows for easy release. Use a soft brush to remove excess dust from the cut shapes.
- Firm, Even Pressure: When using cutters, press down firmly and evenly to ensure a complete cut through the fondant. Wiggle the cutter slightly if needed, but avoid twisting too much which can distort the shape.
- Clean Release: For cutters without plungers, gently tap the cutter on your work surface to help release the shape. For molds, gently flex the mold to loosen the fondant before peeling it out. For very delicate shapes, you might need to chill the molded piece briefly in the freezer (just for a minute or two) to firm it up before unmolding.
- Remove Excess: Use a small knife or palette knife to carefully trim away any excess fondant around cut shapes before lifting them. For molds, scrape off excess fondant from the back before attempting to unmold.
Sculpting Realistic Fondant Creations: Modeling Tools
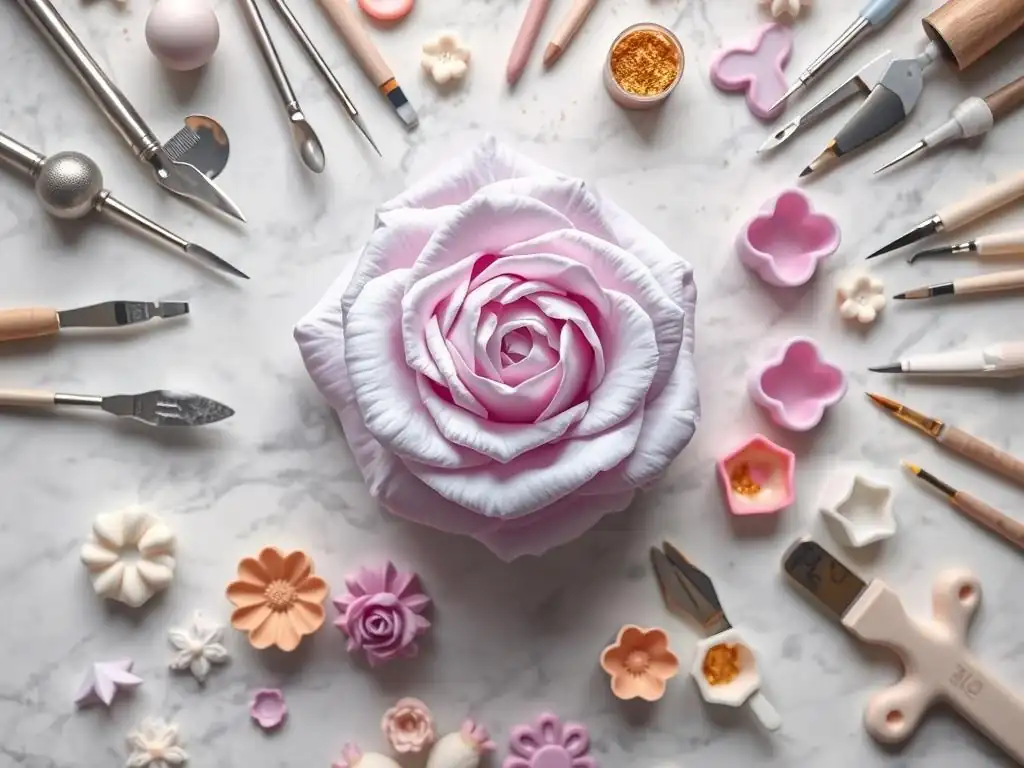
Ball Tools: Shaping and Thinning Fondant for Realistic Forms
Modeling tools are essential for adding dimension, texture, and realism to sculpted fondant figures, flowers, and other embellishments. The ball tool is one of the most fundamental in any fondant decorating tools guide. It typically has a ball on each end, often of different sizes, and is used to shape and thin the edges of fondant. By gently pressing and rolling the ball tool along the edge of a cut shape, such as a flower petal, you can create a delicate, ruffled edge that mimics the look of real petals.
Ball tools are also used for making indentations, shaping cavities (like the center of a flower), and smoothing small areas on figures. The different sizes of the balls allow for working on various scales, from large petals to tiny details on a face. These tools are commonly made of stainless steel or durable plastic. Using a ball tool on a foam pad designed for sugar flowers helps support the fondant and allows for more effective thinning and shaping of edges without sticking to the work surface.
Veining Tools: Adding Intricate Details to Flowers and Leaves
To make sugar flowers and leaves look truly lifelike, adding realistic veins is crucial. Veining tools are specifically designed for this purpose. These tools often have a pointed or slightly bladed tip that can be pressed or dragged onto the surface of fondant to create lines and textures that resemble natural veins found on petals and leaves. Some veining tools come in sets with various tip shapes to mimic different types of foliage or floral patterns.
Alternatively, silicone veiners (molds with vein patterns) can be used. You press the cut fondant shape between two halves of the veiner to imprint the texture. However, handheld veining tools offer more artistic control and allow for freehand detailing. Whether using a simple pointed tool or a more specialized veiner, adding these intricate lines elevates a fondant decoration from a simple shape to a detailed, realistic element. These tools are vital for creating botanically accurate sugar work.
Bone Tools: Creating Depth and Dimension in Fondant Figures
The bone tool is another versatile modeling tool, characterized by its rounded, bone-like shape on one or both ends. This tool is excellent for smoothing, shaping, and creating indentations in fondant, particularly useful when sculpting figures or creating drapery effects. The rounded ends are perfect for blending seams on fondant figures, smoothing out joins where different pieces meet, or creating soft curves and contours.
The narrower end can be used for smaller details, while the wider end is effective for larger areas. Bone tools can also be used to create dimples, eye sockets, or other subtle depressions in sculpted fondant. Their smooth, hard surface allows for precise manipulation of the fondant without leaving sharp marks. Along with ball and veining tools, the bone tool is a fundamental part of any complete set of fondant modeling tools, enabling decorators to add depth, expression, and realism to their edible sculptures.
Finishing Touches: Edible Glue and Dusting Powders
Securing Fondant Decorations with Edible Glue
Once your fondant decorations are sculpted, cut, or molded, you need a way to attach them securely to the cake or to each other. Edible glue is the standard adhesive used in cake decorating for this purpose. Made from food-grade ingredients, typically CMC (carboxymethyl cellulose) powder mixed with water, it creates a clear, odorless, and tasteless adhesive. A little goes a long way; applying too much can make the fondant soggy and cause decorations to slip.
Edible glue is best applied with a fine brush to the back of the decoration or the spot where it will be placed. It works well for attaching small pieces like letters, dots, or small flowers directly onto a fondant-covered cake. It is also used to assemble multi-part decorations, such as attaching petals to build a flower or joining limbs onto a fondant figure.
For heavier decorations, sometimes royal icing or melted chocolate is used, but edible glue is the go-to for most standard fondant attachments due to its subtlety and ease of use. It's an essential item in any fondant decorating tools guide.
Adding Color and Sheen with Lustre and Petal Dusts
To add depth, realism, and sparkle to fondant decorations, edible dusting powders are indispensable. Lustre dusts contain mica particles and add a shimmering, metallic, or pearlescent finish. They are perfect for highlighting details, adding sparkle to jewelry elements, or giving a subtle sheen to flowers. Petal dusts are finely milled, matte-finish powders used primarily for coloring sugar flowers and adding realistic shading and depth. They allow you to build up color gradually, mimicking the natural variations found in real petals and leaves.
These dusts can be applied dry with a soft brush, which is ideal for shading and soft color application. For a more intense color or opaque finish, they can be mixed with a clear alcohol (like vodka or rejuvenator spirit) or lemon extract to create an edible paint. This paint can be brushed onto the fondant surface. Using a combination of petal dusts for shading and lustre dusts for highlights can transform a simple white fondant flower into a vibrant, lifelike bloom. These finishing powders are crucial for bringing your fondant creations to life.
Essential Support: Turntables and Work Surfaces
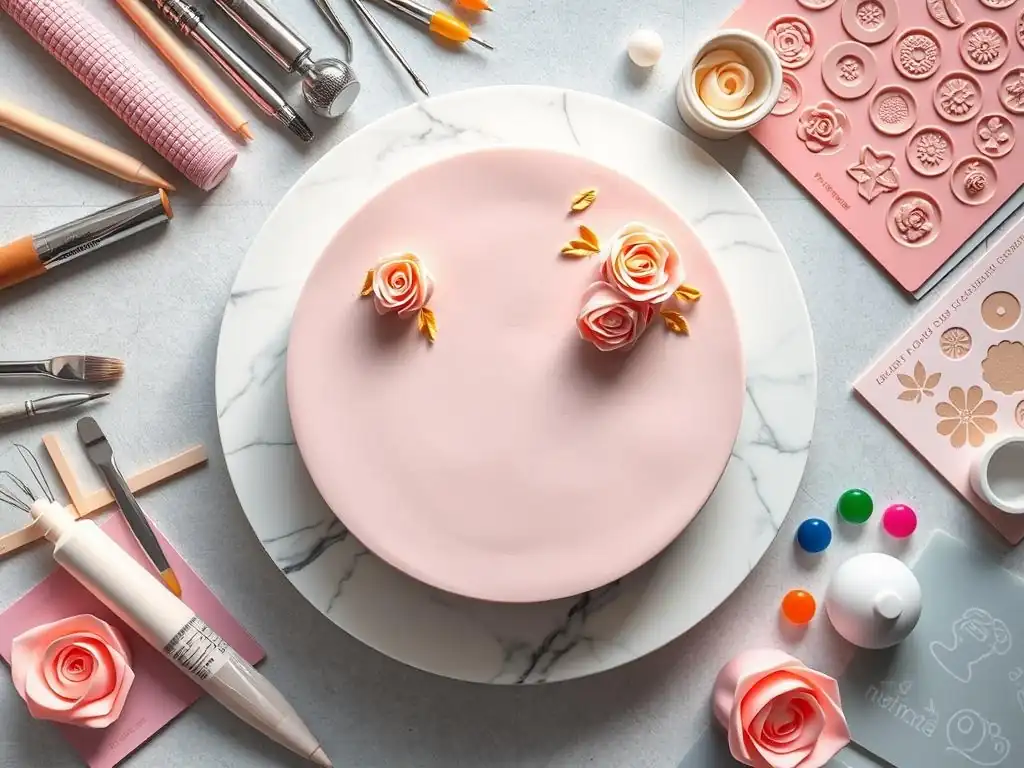
Rotating Cake Turntables: Ensuring Even Fondant Application
While not strictly a "fondant tool" in the sense of direct manipulation, a rotating cake turntable is an invaluable piece of equipment when working with fondant, especially for covering cakes. A smooth-spinning turntable allows you to easily rotate the cake as you apply and smooth the fondant. This ensures that you can work consistently around the entire circumference of the cake without having to lift or reposition it repeatedly, which can damage the delicate fondant layer.
Using a turntable helps maintain even tension as you smooth the fondant down the sides, preventing creases and tears. It also makes it much easier to achieve a sharp bottom edge where the fondant meets the cake board, as you can steadily press the fondant against the board while rotating the cake. For decorating, a turntable allows you to easily access all sides of the cake for attaching decorations, piping borders, or airbrushing. Investing in a sturdy, smoothly rotating turntable is a game-changer for anyone frequently covering cakes with fondant.
Fondant Mats: Creating a Non-Stick, Clean Workspace
Working directly on a countertop can be problematic when rolling fondant; surfaces can be porous, not perfectly smooth, or require excessive dusting to prevent sticking. A dedicated fondant mat provides a large, non-stick, and clean surface specifically designed for rolling out fondant. These mats are often made from silicone or a non-stick plastic material and provide an ideal surface that requires minimal, if any, cornstarch or powdered sugar.
Many fondant mats feature printed guidelines, circles of common cake sizes, and measurement rulers, which are incredibly helpful for rolling fondant to the correct size and thickness for covering specific cakes. They also protect your countertop from scratches and make cleanup significantly easier – spilled fondant can often be peeled right off the mat. A good quality fondant mat is a fundamental part of a functional fondant decorating setup, providing the necessary workspace to handle large sheets of fondant cleanly and effectively.
Maintaining Your Fondant Decorating Tools for Longevity
Cleaning and Storing Fondant Tools for Optimal Performance
Proper care and maintenance are essential for keeping your fondant decorating tools in top condition and extending their lifespan. After each use, clean your tools promptly. Most plastic and metal tools can be washed in warm, soapy water. Use a soft brush to remove any stubborn bits of dried fondant. Avoid using abrasive scrubbers that can scratch the surface of your tools, especially non-stick rolling pins or delicate modeling tools.
Rinse all tools thoroughly and dry them immediately with a soft cloth. Allowing metal tools, particularly, to air dry can lead to rust. Silicone mats and molds can also be washed in warm, soapy water and should be dried completely before storage. Proper cleaning prevents residue buildup that can affect future use and maintains the hygienic quality of your tools. Storing tools in a clean, dry place is also important; consider using a tool caddy, drawer organizers, or even a dedicated toolbox to keep them organized and protected from damage.
Extending the Lifespan of Your Fondant Tool Collection
Beyond regular cleaning, a few practices can help ensure your fondant tools last for years. Avoid exposing plastic tools to excessive heat, such as dishwashers (unless specifically marked as dishwasher safe), as this can cause warping or degradation. Store silicone mats and molds flat or loosely rolled to prevent creasing or distortion. Keep sharp cutters separate from other tools to avoid dulling their edges or scratching softer materials.
For tools with moving parts, like some plunger cutters, ensure they are completely dry before storage. Periodically inspect your tools for any signs of wear or damage. A cracked smoother or a bent modeling tool can make decorating more difficult and affect the quality of your work. Treating your fondant decorating tools with care, cleaning them properly, and storing them appropriately will not only make your current projects easier but also ensure that your investment in quality equipment continues to pay off for many cakes to come.
Frequently Asked Questions
What are the essential fondant decorating tools for beginners?
For beginners, the essential tools include a rolling pin for fondant, a smooth fondant smoother, and a basic set of sculpting tools to create simple shapes.
How do I prevent fondant from sticking to my work surface?
Dust your work surface lightly with powdered sugar or cornstarch. Alternatively, use a silicone mat designed for rolling fondant.
What kind of tools are best for creating detailed fondant decorations?
For intricate details, invest in small sculpting tools with varying tips, edible markers for drawing, and precision cutters for clean shapes.
How do I store fondant decorating tools properly?
Clean and dry your tools thoroughly after each use. Store them in a cool, dry place in an airtight container to prevent damage.
Can I use regular clay sculpting tools for fondant?
While some may be similar, it's best to use tools specifically designed for fondant. Food-grade tools are essential to ensure safety and prevent contamination.
Final Reflection: Mastering the Art of Fondant, One Tool at a Time
The world of cake decorating is constantly evolving, but the foundational skill of working with fondant remains a timeless pursuit. Mastering this delicate art form opens doors to breathtaking creations, from intricate floral designs to perfectly smooth surfaces, transforming ordinary cakes into edible masterpieces. The right tools are crucial to achieving this level of artistry, and understanding their function is the key to unlocking your creative potential.
The impact of fondant artistry extends far beyond the simple act of decorating a cake. It's a testament to human creativity, a way to express emotions and celebrate special occasions. It's a skill that connects us to a rich history of pastry arts, bridging generations through the shared experience of creating something beautiful and delicious. The best things in life are the people we love, the places we've been, and the memories we've made along the way.
While this quote doesn't directly relate to fondant, it speaks to the emotional resonance of creating and sharing something beautiful, which is precisely what fondant artistry allows us to do.
Now, it's your turn. Consider the tools you already possess and the techniques you've learned. Perhaps you'll experiment with a new smoother, try your hand at a more intricate design, or even teach someone else the joy of working with fondant. Don't be afraid to explore, to experiment, and to let your creativity flow. The world of fondant awaits, ready to be shaped by your unique vision and the tools you choose to wield. Embrace the process, celebrate your successes, and remember that even the smallest detail can make all the difference in creating a truly unforgettable cake.
Unleash Your Inner Cake Artist!
Thanks for joining us on this fondant-focused adventure! We hope you've gained some valuable insights into the essential tools that will transform your baking game. Ready to create stunning cakes?
- Master the art of fondant: Practice the techniques we discussed, experimenting with different tools and designs. Challenge yourself to create a masterpiece!
- Share your creations: Show us your fondant-decorated cakes on social media using #BakeWithEaseFondant! We love seeing your baking journey.
- Explore more: Dive deeper into our extensive library of cake decorating tutorials on BakeWithEase.com – discover new techniques and expand your skillset!
What incredible fondant creation will you tackle next?