
Effortless Cake Batter: Mix Like a Pro with Your Hand Mixer

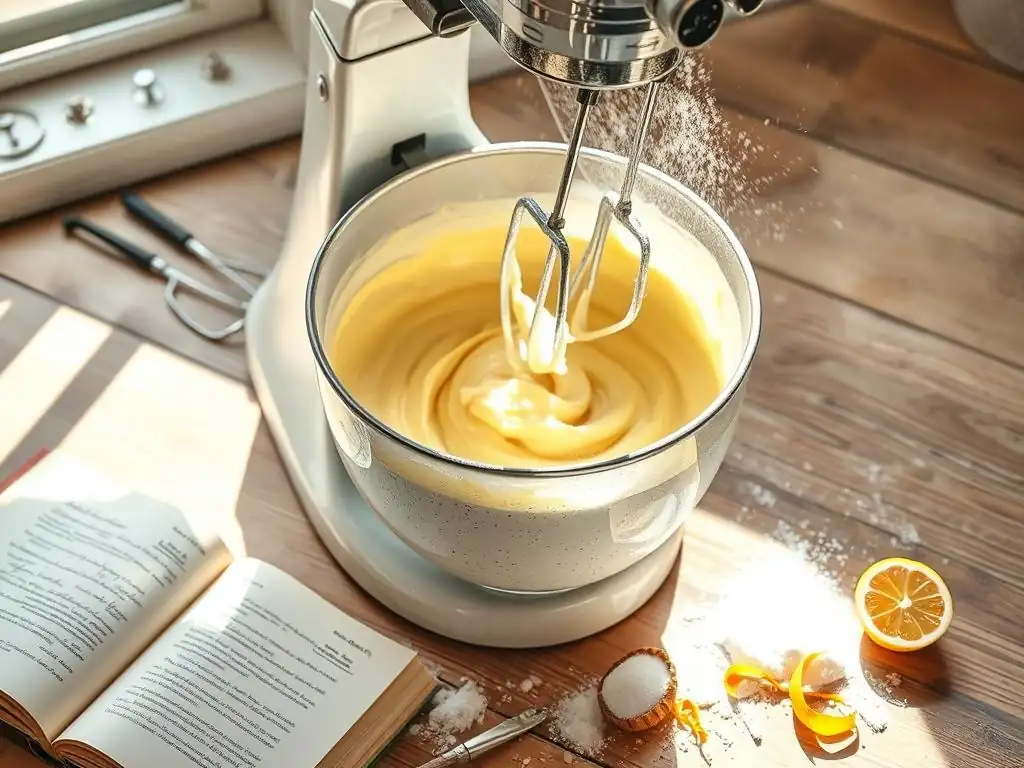
Welcome to BakeWithEase, your friendly guide to unlocking baking brilliance! Ever wondered if you could achieve bakery-worthy cake batter without the fuss? In this guide, we're diving deep into the secrets of the Hand Mixer Cake Batter Recipe, revealing how this simple tool can become your best friend in the kitchen. Get ready to ditch the guesswork and whip up cakes that are consistently light, fluffy, and absolutely delicious. Intrigued? Let's get mixing!
- BakeWithEase' Guide to Perfect Cake Batter with a Hand Mixer
- Understanding Hand Mixers for Cake Baking
-
The Ultimate Hand Mixer Cake Batter Recipe: A Step-by-Step Guide
- Ingredients for the Perfect Hand Mixer Cake Batter Recipe
- Step 1: Preparing Your Ingredients for a Smooth Cake Batter
- Step 2: Creaming Butter and Sugar with Your Hand Mixer
- Step 3: Incorporating Eggs into the Cake Batter using a Hand Mixer
- Step 4: Adding Dry Ingredients: Achieving the Right Consistency with Your Hand Mixer
- Step 5: The Final Touches: Mixing in Liquids and Flavorings
- Hand Mixer Cake Batter Recipe: Troubleshooting Common Issues
- Tips and Tricks for Baking Cakes with a Hand Mixer
- Hand Mixer Cake Batter Recipe Variations: Beyond the Basics
- Maintaining Your Hand Mixer for Long-Lasting Cake Baking Success
- Mastering the Art of Cake Baking with Your Hand Mixer: Conclusion
-
Frequently Asked Questions
- How does using a hand mixer affect the texture of my cake batter compared to a stand mixer?
- What speed settings should I use on my hand mixer for different stages of the Hand mixer cake batter recipe?
- Can I use this Hand mixer cake batter recipe if I don't have all the exact ingredients listed?
- How do I prevent my cake batter from splattering when using a hand mixer?
- What are some common mistakes to avoid when making cake batter with a hand mixer?
- Final Reflection: The Sweet Science of Effortless Baking
- Unlock Your Inner Cake Boss: Master the Hand Mixer!
BakeWithEase' Guide to Perfect Cake Batter with a Hand Mixer
Creating delicious, moist cake batter doesn't always require a heavy-duty stand mixer. For many home bakers, the humble hand mixer is a powerful and versatile tool perfectly capable of producing excellent results. It's especially ideal for smaller batches, quick baking projects, or when kitchen space is limited. This guide will walk you through everything you need to know to master the art of making hand mixer cake batter recipe, ensuring your cakes turn out light, fluffy, and consistently wonderful every time you bake.
Using a hand mixer effectively is about understanding the right techniques and speeds for each stage of the mixing process. From creaming butter and sugar to gently incorporating dry ingredients, your hand mixer can handle it all. We'll cover essential tips, common pitfalls to avoid, and even how to adapt various cake batter recipes to work seamlessly with your hand mixer, proving that professional-quality results are well within reach for any home baker.
Understanding Hand Mixers for Cake Baking
Why Choose a Hand Mixer for Your Cake Batter?
Hand mixers offer several distinct advantages that make them a popular choice for preparing hand mixer cake batter. One of the most significant benefits is their affordability and accessibility. Compared to stand mixers, hand mixers are considerably less expensive, making them an excellent entry point for beginner bakers or those on a budget. They are also compact and lightweight, requiring minimal storage space, which is a major plus in smaller kitchens or apartments.
Beyond cost and size, hand mixers provide a level of control and portability that stand mixers cannot match. You can move the mixer around the bowl, ensuring that all ingredients are thoroughly combined, especially scraping down the sides as you mix. This manual control allows you to feel the consistency of the batter as it develops, helping you avoid overmixing. For many standard cake batter recipes, a quality hand mixer provides ample power to cream butter and sugar, whip eggs, and blend ingredients smoothly and efficiently.
Hand Mixer vs. Stand Mixer: Which is Right for Your Cake?
Deciding between a hand mixer and a stand mixer for your cake batter recipe depends largely on your baking habits, kitchen space, and budget. Stand mixers are powerful workhorses, ideal for large batches, stiff doughs (like bread dough or thick cookie dough), and recipes requiring extensive whipping, such as meringue or marshmallow fluff. Their hands-free operation allows you to perform other tasks while the mixer runs, which can be a time-saver for complex recipes or frequent baking.
However, for everyday baking, particularly for standard cakes, cupcakes, and lighter batters, a hand mixer is often more than sufficient. They are quicker to set up and clean than stand mixers. While a stand mixer excels at prolonged, high-speed mixing, a hand mixer gives you fine-tuned control over shorter mixing periods, crucial for preventing overmixing delicate hand mixer cake batter. Ultimately, for most home bakers focused on cakes and similar pastries, a hand mixer is a practical, efficient, and perfectly capable tool for achieving excellent results with their cake batter recipes.
The Ultimate Hand Mixer Cake Batter Recipe: A Step-by-Step Guide
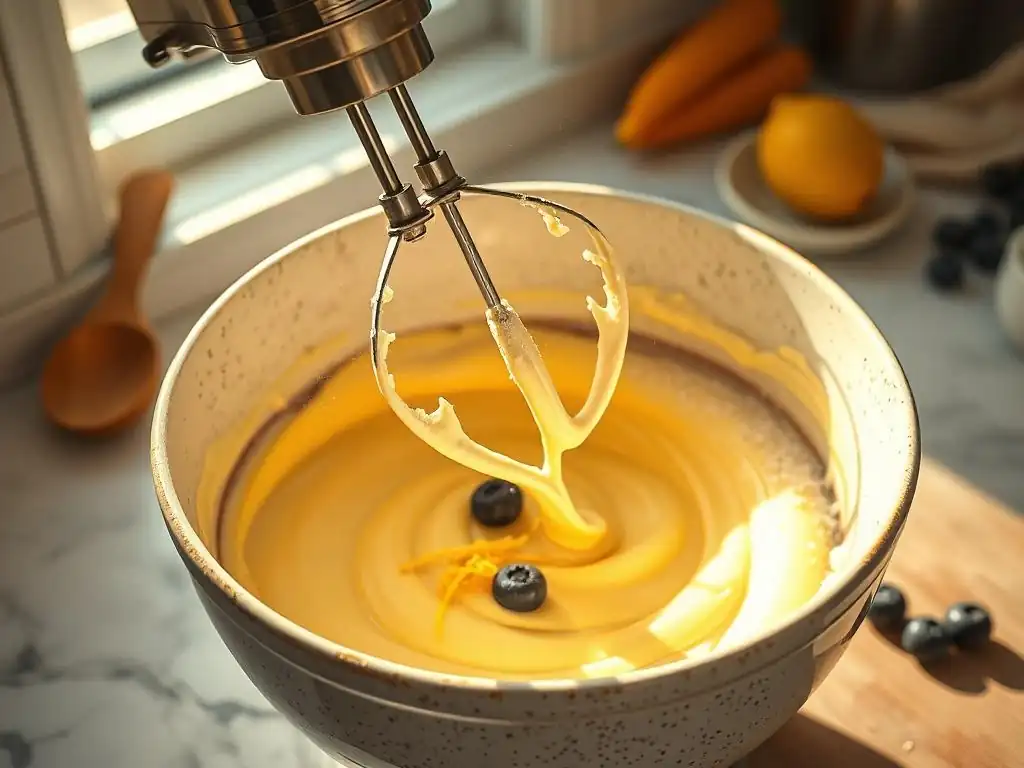
Ingredients for the Perfect Hand Mixer Cake Batter Recipe
To create a classic, moist vanilla cake batter using your hand mixer, you'll need a few standard pantry staples. These ingredients should ideally be at room temperature for optimal mixing and emulsification. Using room temperature ingredients ensures they combine smoothly and evenly, leading to a finer crumb texture in the finished cake.
Here is a typical list for a basic two-layer cake:
- 1 cup (2 sticks) unsalted butter, softened to room temperature
- 1 ¾ cups granulated sugar
- 3 large eggs, at room temperature
- 2 teaspoons pure vanilla extract
- 2 ¼ cups all-purpose flour
- 1 teaspoon baking powder
- ½ teaspoon baking soda
- ½ teaspoon salt
- 1 ¼ cups buttermilk, at room temperature
Step 1: Preparing Your Ingredients for a Smooth Cake Batter
Preparation is key to any successful hand mixer cake batter recipe. Start by ensuring all your cold ingredients, like butter, eggs, and buttermilk, are brought to room temperature. This usually takes about 30-60 minutes for eggs and buttermilk out of the refrigerator, and slightly longer for butter. Room temperature ingredients emulsify better, creating a smoother, more stable batter that bakes evenly.
Next, measure out all your dry ingredients: flour, baking powder, baking soda, and salt. Whisk them together in a separate bowl. This pre-mixing step helps distribute the leavening agents and salt evenly throughout the flour, preventing pockets of concentrated baking powder or salt in your hand mixer cake batter. Having everything measured and ready before you start mixing makes the process much smoother and less prone to errors.
Step 2: Creaming Butter and Sugar with Your Hand Mixer
This is a crucial step in many hand mixer cake batter recipes that builds structure and incorporates air. In a large mixing bowl, combine the softened butter and granulated sugar. Use your hand mixer fitted with beaters to cream these ingredients together. Start on a low speed to combine initially, then increase to medium-high speed.
Continue mixing for 3 to 5 minutes, or until the mixture is light, fluffy, and pale yellow. Scrape down the sides and bottom of the bowl occasionally with a spatula to ensure even mixing. This process creates tiny air pockets in the butter, which expand during baking, contributing to the cake's light texture. Properly creaming butter and sugar is fundamental to a successful hand mixer cake batter.
Step 3: Incorporating Eggs into the Cake Batter using a Hand Mixer
Once the butter and sugar are beautifully creamed, it's time to add the eggs. Add the eggs one at a time, mixing well with your hand mixer after each addition. Use a medium speed for this step. Mix until each egg is fully incorporated into the batter before adding the next one. Adding eggs gradually helps to maintain the emulsification and prevents the batter from separating or looking curdled.
After all eggs have been added, mix for another minute or so until the batter is smooth and glossy. Be sure to scrape down the sides of the bowl again to catch any unmixed bits. Finally, mix in the vanilla extract. The batter should now be a homogenous, creamy mixture, ready for the dry and wet ingredients to be added to complete your hand mixer cake batter recipe.
Step 4: Adding Dry Ingredients: Achieving the Right Consistency with Your Hand Mixer
Now, you will alternate adding the dry ingredients mixture and the buttermilk to the creamed mixture. This method helps the batter come together smoothly and prevents the gluten in the flour from developing excessively, which can lead to a tough cake. Begin by adding about one-third of the dry ingredients to the bowl.
Mix on the lowest speed of your hand mixer just until the flour is mostly incorporated. Avoid overmixing at this stage. Then, add half of the buttermilk and mix on low speed until combined. Repeat this process: add the second third of the dry ingredients, mix on low, then add the remaining buttermilk, mix on low. Finish by adding the last third of the dry ingredients and mixing on the lowest speed just until no dry streaks of flour remain. This minimal mixing prevents the development of tough gluten, ensuring a tender crumb for your hand mixer cake batter.
Step 5: The Final Touches: Mixing in Liquids and Flavorings
After the alternating steps of adding dry and wet ingredients, your hand mixer cake batter should be nearing completion. Ensure all ingredients are just combined, with no pockets of dry flour or unmixed liquid. A gentle final mix on the lowest speed for no more than 10-15 seconds is usually sufficient.
At this point, you can gently fold in any additional flavorings or add-ins by hand with a spatula, such as citrus zest, chocolate chips, or nuts. Overmixing after adding the dry ingredients is the most common mistake that leads to tough cakes, so rely on your visual cues – stop mixing as soon as the batter looks uniform. Your perfectly mixed hand mixer cake batter is now ready to be poured into prepared pans and baked according to your recipe's instructions.
Hand Mixer Cake Batter Recipe: Troubleshooting Common Issues
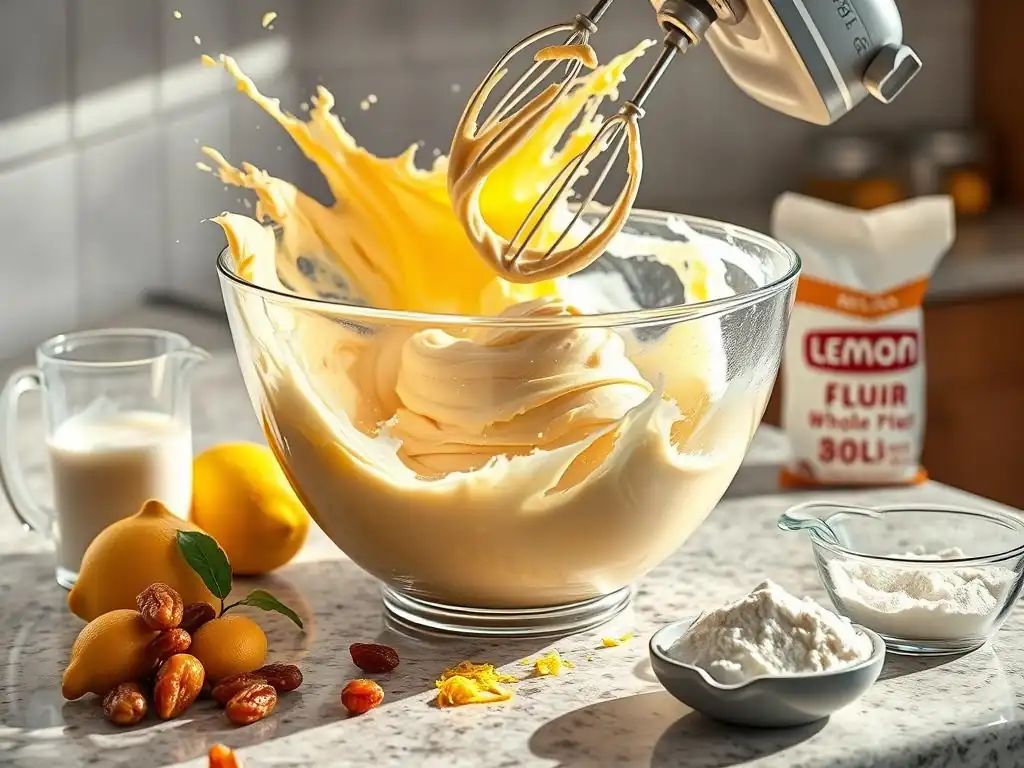
Lumpy Cake Batter: How to Fix It with Your Hand Mixer
Lumpy hand mixer cake batter can be frustrating, but it's often fixable. The most common causes are ingredients not being at room temperature, especially butter, or not mixing enough during the creaming stage. If your butter was too cold, it won't cream properly with the sugar, leaving small lumps. Ensure butter is truly soft (you should be able to easily indent it with your finger) before starting.
If you find small lumps of flour after adding dry ingredients, it means you haven't mixed quite enough to incorporate them. Use your hand mixer on the lowest speed for a few more seconds, moving it around the bowl, focusing on the sides and bottom. However, be cautious not to overmix in an attempt to get rid of every tiny lump, as this can develop gluten and make the cake tough. A few small, pea-sized lumps are sometimes acceptable if they are just flour and will likely dissolve during baking.
Overmixing Cake Batter: Prevention and Correction Tips
Overmixing is a common pitfall when using a hand mixer, particularly after adding the dry ingredients. When flour is mixed vigorously for too long, gluten strands develop, resulting in a cake with a tough, chewy texture instead of a light, tender one. The key to preventing overmixing is to mix on the lowest speed once the dry ingredients are added and to stop mixing as soon as no dry streaks of flour are visible. This usually takes only 30-60 seconds total after the final addition of dry ingredients.
Unfortunately, once hand mixer cake batter is significantly overmixed and the gluten has developed, it's difficult to fully correct the texture. The best approach is prevention. Pay close attention during the final mixing stages. If you suspect you might have slightly overmixed, you can sometimes mitigate the effect by letting the batter rest for 10-15 minutes before baking. This allows some of the gluten strands to relax slightly, although it won't completely reverse the damage.
Achieving the Right Cake Batter Consistency: A Visual Guide
Knowing what hand mixer cake batter should look like at each stage is key to success. After creaming butter and sugar, the mixture should be pale yellow, fluffy, and almost doubled in volume. After adding eggs, it should be smooth, emulsified, and lighter in color.
Once dry and wet ingredients are incorporated using the alternating method, the final batter should be thick but pourable, smooth, and homogenous. It shouldn't be watery or excessively stiff. If it looks very thick or dry, you might need a tiny splash more liquid (like milk or buttermilk), but add it cautiously. If it looks too thin, it might be due to incorrect measurement of liquids or flour. The batter should fall in thick ribbons from the beaters when lifted. This visual cue helps confirm you've achieved the desired consistency for your hand mixer cake batter recipe.
Tips and Tricks for Baking Cakes with a Hand Mixer
Choosing the Right Hand Mixer Speed for Different Cake Batter Stages
Selecting the appropriate speed on your hand mixer is crucial for developing the perfect cake batter. Most hand mixers have multiple speed settings, usually ranging from 1 (low) to 5 or more (high). Start on low speed whenever you introduce new ingredients, especially dry ones, to avoid a cloud of flour or splattering liquids.
Use medium to medium-high speed for creaming butter and sugar and for whipping eggs. This incorporates air effectively. However, switch to the lowest speed as soon as you begin adding the dry ingredients and liquid alternately. Mixing on low speed at this stage minimizes gluten development and ensures the ingredients are just combined, preventing a tough cake texture. Always finish mixing on the absolute lowest speed, stopping the moment the ingredients are incorporated.
Preventing Splatter: Hand Mixer Techniques for a Clean Kitchen
Mixing hand mixer cake batter can sometimes lead to ingredients splattering out of the bowl, especially when starting or using higher speeds. To minimize mess, always begin mixing on the lowest speed. Once the initial ingredients (like butter and sugar, or flour and liquid) are just combined, you can gradually increase the speed if needed for creaming or whipping, but be mindful of the bowl size and fill level.
Using a deep mixing bowl with high sides is highly recommended to contain the batter. You can also place a kitchen towel loosely over the top of the bowl while mixing, being careful not to let it get caught in the beaters. When adding dry ingredients, slowly pour them in while the mixer is on the lowest speed, or stop the mixer briefly to add a portion, then resume on low speed. These simple techniques help keep your workspace clean while you prepare your hand mixer cake batter.
Adapting Your Favorite Cake Recipes for a Hand Mixer
Most standard cake batter recipes designed for a stand mixer can be easily adapted for a hand mixer. The main difference lies in the mixing times and speeds used, particularly during the final stages. While a stand mixer might call for mixing on medium speed for several minutes after adding dry ingredients, you must significantly reduce this time and speed when using a hand mixer.
Focus on the visual cues described earlier – creaming until light and fluffy, mixing eggs until incorporated, and adding dry ingredients just until combined on the lowest speed. If a recipe calls for a long mixing time after adding flour, understand that this is likely for powerful stand mixers; a hand mixer requires a much gentler touch and shorter duration at that stage. By paying attention to the batter's appearance and texture rather than strictly adhering to stand mixer timings, you can successfully adapt almost any cake batter recipe for your hand mixer.
Hand Mixer Cake Batter Recipe Variations: Beyond the Basics
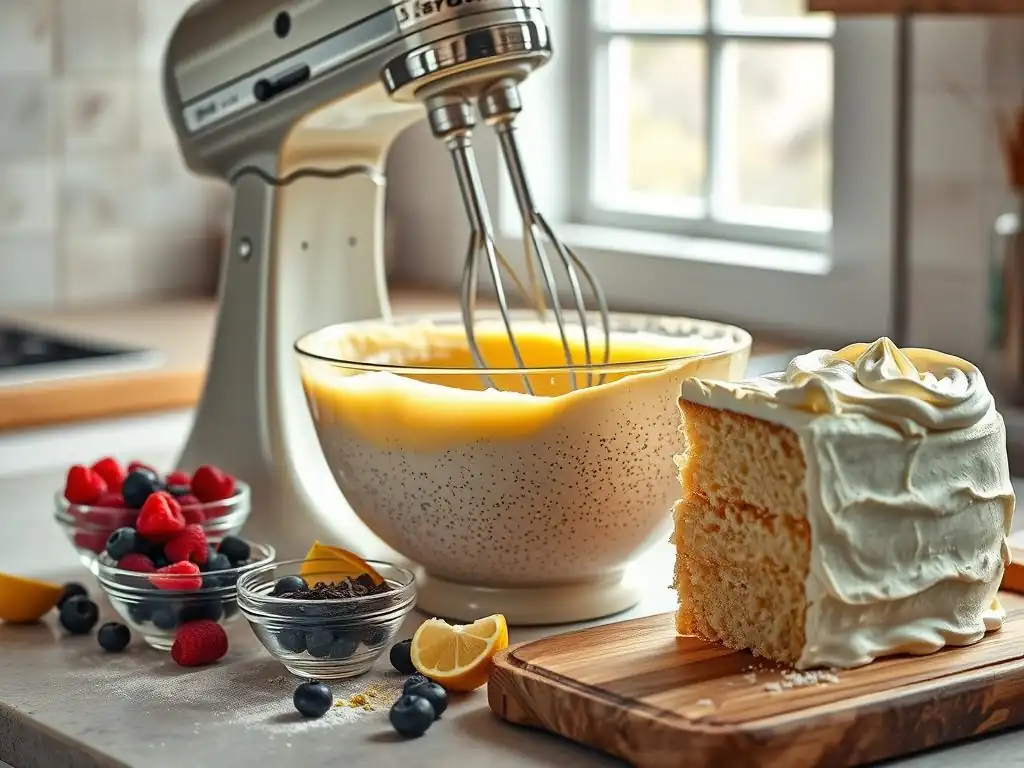
Chocolate Cake Batter with a Hand Mixer: A Rich and Decadent Recipe
Creating a rich chocolate hand mixer cake batter is just as straightforward as making vanilla. The process follows the same fundamental steps: creaming butter and sugar, adding eggs, and then alternating dry and wet ingredients. The key difference is the inclusion of cocoa powder in the dry ingredients.
For a typical chocolate cake, you might add ¾ cup of unsweetened cocoa powder along with the flour, baking powder, baking soda, and salt. Ensure the cocoa powder is whisked thoroughly with the other dry ingredients in Step 1. When adding the dry ingredients mixture to the wet, follow the same low-speed, minimal-mixing rule as with the vanilla hand mixer cake batter recipe. Some chocolate recipes also call for hot liquid (like hot water or coffee) added at the end; mix this in gently on low speed until just combined.
Vanilla Cake Batter with a Hand Mixer: A Classic and Versatile Recipe
The vanilla hand mixer cake batter recipe described in the step-by-step guide is a perfect example of a classic, versatile base. It uses the creaming method, which is standard for butter-based cakes, resulting in a tender crumb and rich flavor. This basic batter is ideal for countless variations simply by changing the extract or adding other flavorings.
You can enhance the vanilla flavor by using vanilla bean paste instead of extract, or add almond extract for a different profile. This foundational hand mixer cake batter can be baked into layers for a classic celebration cake, cupcakes, or even a simple sheet cake. Its reliability makes it a go-to recipe for anyone looking to master baking with a hand mixer before exploring more complex flavors or techniques.
Gluten-Free Cake Batter with a Hand Mixer: Delicious and Allergy-Friendly
Adapting a hand mixer cake batter recipe to be gluten-free is entirely possible and results in delicious cakes suitable for those with sensitivities. The main substitution involves replacing the all-purpose flour with a gluten-free all-purpose flour blend. Look for blends that are specifically designed for baking and contain a mix of flours (like rice flour, potato starch, tapioca starch) and often a binder like xanthan gum.
When using a gluten-free blend in your hand mixer cake batter, follow the same creaming method for butter and sugar, and incorporate eggs as usual. When adding the dry gluten-free mixture and liquid, the principle of minimal mixing on low speed is even more important than with wheat flour. Gluten-free flours can become gummy if overmixed. Mix just until the ingredients are combined, and the batter looks uniform. The resulting cake will be moist and tender, proving that dietary needs don't have to limit your ability to bake wonderful cakes with your hand mixer.
Maintaining Your Hand Mixer for Long-Lasting Cake Baking Success
Cleaning Your Hand Mixer After Baking a Cake
Proper cleaning is essential to keep your hand mixer in good working condition and ready for your next hand mixer cake batter recipe. Immediately after use, unplug the mixer. Remove the beaters or whisk attachments. Most attachments are dishwasher safe, but check your manual. If washing by hand, soak them in warm, soapy water for a few minutes to loosen any stuck-on batter, then scrub clean with a sponge or brush.
For the mixer unit itself, use a damp cloth or sponge to wipe down the exterior. Avoid getting water into the motor vents. If there are stubborn spots of dried batter, a slightly damp cloth with a small amount of dish soap can help, but ensure the cloth is wrung out well. Never submerge the hand mixer unit in water. Cleaning promptly prevents batter from hardening on the unit and attachments, making the task much easier.
Storing Your Hand Mixer Properly
Storing your hand mixer correctly protects it from damage and keeps it organized. Many hand mixers come with a storage case or a clip-on attachment holder. Utilize these if available. If not, ensure the beaters are clean and dry before storing them with the mixer unit.
Store the hand mixer in a dry place, away from excessive heat or humidity. Avoid wrapping the cord tightly around the unit, as this can damage the cord over time. Instead, loosely coil the cord and secure it with a twist tie or the integrated cord clip if your model has one. Proper storage ensures your hand mixer is protected from dust and physical damage, keeping it ready to whip up your next hand mixer cake batter.
Hand Mixer Maintenance Tips to Extend Its Lifespan
Beyond regular cleaning and proper storage, a few simple maintenance tips can help extend the life of your hand mixer. Always refer to your manufacturer's manual for specific care instructions. Avoid running the mixer continuously for extended periods, especially when mixing thicker batters or doughs that may strain the motor. If the motor feels hot, give it a short break.
Inspect the cord regularly for any signs of wear or damage. Ensure the beaters are properly inserted and locked into place before turning the mixer on. If the mixer starts making unusual noises or seems to be losing power, consult the troubleshooting section of your manual or contact customer support. Gentle handling and not pushing the mixer beyond its intended capacity (e.g., attempting to knead heavy bread dough with standard beaters) will ensure your hand mixer remains a reliable tool for countless cake batter recipes.
Mastering the Art of Cake Baking with Your Hand Mixer: Conclusion
Frequently Asked Questions
How does using a hand mixer affect the texture of my cake batter compared to a stand mixer?
A hand mixer allows for more control and precision, especially with smaller batches. While a stand mixer might be faster, a hand mixer prevents over-mixing, which can lead to a tough cake.
What speed settings should I use on my hand mixer for different stages of the Hand mixer cake batter recipe?
Generally, use low speed for combining dry ingredients and creaming butter and sugar. Then, increase to medium speed for incorporating eggs and wet ingredients, avoiding over-mixing.
Can I use this Hand mixer cake batter recipe if I don't have all the exact ingredients listed?
While following the recipe closely is recommended, some substitutions are possible. Researching suitable substitutes for ingredients like flour or sugar can help you adapt the recipe.
How do I prevent my cake batter from splattering when using a hand mixer?
Start mixing on low speed and gradually increase it. Ensure the beaters are submerged in the batter before turning on the mixer. Using a deep bowl can also minimize splattering.
What are some common mistakes to avoid when making cake batter with a hand mixer?
Avoid over-mixing the batter, as this develops the gluten and results in a tough cake. Also, ensure all ingredients are at room temperature for proper emulsification and a smooth batter.
Final Reflection: The Sweet Science of Effortless Baking
The humble hand mixer, often overlooked in the age of stand mixers, remains a powerful tool for achieving perfectly smooth and delicious cake batter. Its accessibility and ease of use make it the perfect entry point for aspiring bakers, proving that creating culinary magic doesn't require expensive equipment or complicated techniques.
The joy of baking, particularly the satisfying process of whipping together a cake batter, transcends mere culinary creation; it's a tactile experience, a connection to tradition, and a source of immense personal satisfaction. Baking is at once child's play and adult joy. And love, of course.
This quote perfectly encapsulates the feeling of creating something beautiful and delicious with your own two hands, a sentiment amplified by the simplicity and directness of using a hand mixer. The rhythmic whirring and the gradual transformation of ingredients into a smooth, luscious batter is a meditative process, a reminder of the simple pleasures in life.
Now, I invite you to consider your own baking journey. Will you embrace the simplicity and efficiency of the hand mixer, unlocking the potential for countless delicious cakes? Perhaps you'll experiment with different recipes, discovering new flavor combinations and techniques. Remember, the most important ingredient in any recipe is passion – the passion to create, to experiment, and to share the joy of baking with those you love. So, grab your hand mixer, gather your ingredients, and let the sweet science of effortless baking begin!
Unlock Your Inner Cake Boss: Master the Hand Mixer!
Thanks for taking the time to elevate your baking game! You now possess the secrets to perfectly mixed cake batter every time. Ready to put your newfound skills to the test?
- Whip up your dream cake: Choose your favorite recipe and let that hand mixer shine. Don't be afraid to experiment with flavors and frostings!
- Share your creations: Post a picture of your masterpiece on social media and tag #BakeWithEase – let's inspire each other!
- Challenge a friend to a baking duel: See who can create the most impressive cake using just a hand mixer. (Don't forget to share the results!)
What incredible cake creations will you conjure up next?