
Your Easy Summer Fruit Galette (Berries Included)

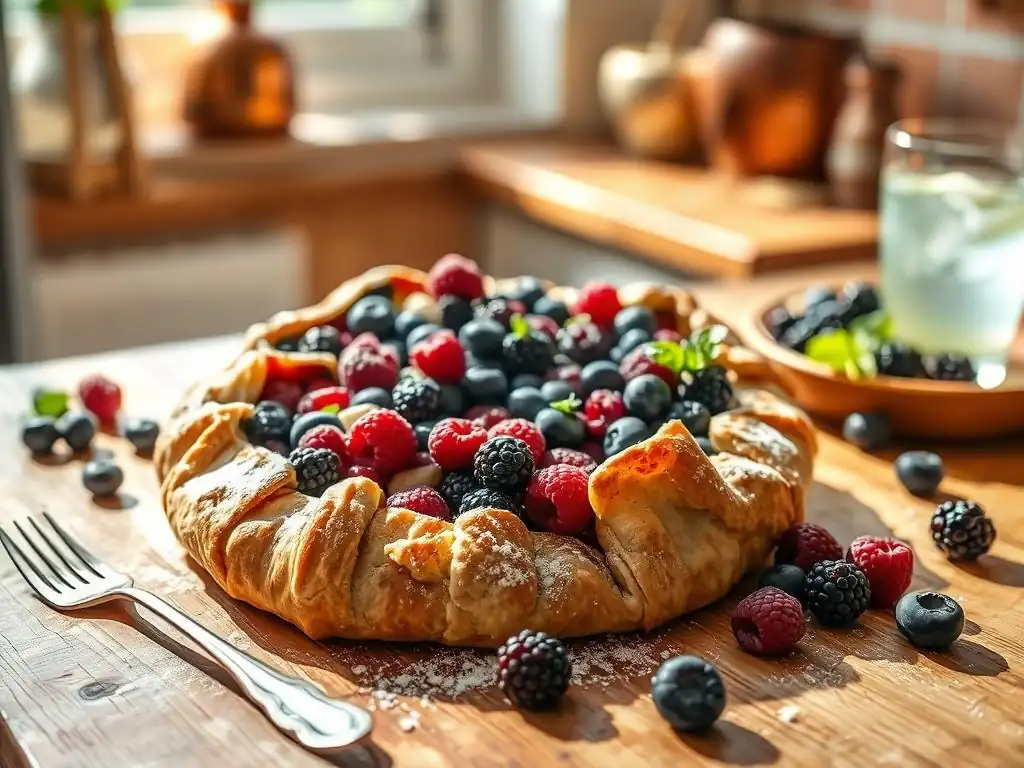
Welcome to BakeWithEase, where delicious baking becomes effortlessly achievable! Ever dreamt of creating a stunning dessert that's both rustic and refined? This week, we're diving into the delightful world of seasonal baking with our easy summer berry galette. But what makes this galette so special? Discover the secrets to a perfectly flaky crust and a vibrant, juicy filling that will have everyone asking for seconds. Read on to unlock the simple steps and elevate your baking game!
- Your Easy Summer Fruit Galette (Berries Included) - BakeWithEase.com
- Introduction to Easy Summer Berry Galettes
- Mastering the Easy Summer Berry Galette Recipe
- Tips and Tricks for the Best Summer Fruit Galette
- Easy Summer Berry Galette Variations
- Serving and Storing Your Easy Summer Berry Galette
- Troubleshooting Common Galette Baking Issues
- Conclusion: Enjoying Your Effortless Summer Berry Creation
- Frequently Asked Questions
- Final Reflection: The Sweet Simplicity of Summer
- Unlock Your Inner Baker: Make This Galette Today!
Your Easy Summer Fruit Galette (Berries Included) - BakeWithEase.com
Introduction to Easy Summer Berry Galettes
Why Summer is Perfect for Baking with Fresh Berries
Summer ushers in a season of abundance, especially when it comes to delicious, ripe berries. This is the time when strawberries, blueberries, raspberries, and blackberries are at their peak, bursting with natural sweetness and vibrant color. Baking with these fresh, in-season fruits means you get the best flavor possible, often requiring less added sugar than if you were using less flavorful or frozen alternatives. The high water content and natural sugars of summer berries make them ideal for simple, rustic desserts like an easy summer berry galette, where their natural goodness can truly shine.
Furthermore, summer often means warmer weather, which can sometimes make complex baking projects feel daunting. Focusing on simple recipes that highlight fresh, seasonal ingredients aligns perfectly with this relaxed vibe. Using berries straight from a farmer's market or your own garden connects you directly to the season, making the baking process more rewarding. The minimal preparation required for berries – usually just a quick rinse – fits perfectly into the ease we champion at BakeWithEase, allowing you to spend less time prepping and more time enjoying the sunshine and your delicious creation.
The Appeal of a Rustic Berry Galette: Simplicity and Flavor
The beauty of a rustic berry galette lies in its charming imperfection. Unlike a perfectly crimped pie, a galette is freeform, allowing the natural shape and color of the fruit to be showcased. This inherent simplicity makes it incredibly approachable for bakers of all skill levels, especially those new to pastry. There's no need for pie plates or intricate lattice work; you simply fold the dough casually over the fruit filling. This ease of assembly directly contributes to the galette's rustic appeal, giving it a homemade, unfussy look that is incredibly inviting.
Beyond its simple structure, the flavor profile of an easy summer berry galette is wonderfully balanced. The slightly tart, juicy berries nestled in a buttery, flaky crust create a delightful contrast in textures and tastes. A sprinkle of sugar and perhaps a touch of lemon zest enhances the berries' natural flavors without overpowering them. This focus on letting the main ingredients speak for themselves is a hallmark of great summer baking. It’s a dessert that feels both elegant and down-to-earth, perfect for a casual backyard gathering or a quiet evening treat.
BakeWithEase's Approach to Easy Summer Baking
At BakeWithEase, our philosophy centers on making baking accessible and enjoyable for everyone, and this extends perfectly to summer baking. We believe that creating delicious treats shouldn't require complicated techniques or hard-to-find ingredients. Our approach to the easy summer berry galette, and indeed all our summer recipes, is about simplifying the process while maximizing flavor. We focus on clear, step-by-step instructions that build confidence, whether you're a complete novice or looking to refine your skills.
We also emphasize using fresh, seasonal ingredients because they naturally enhance the quality of your bakes. For our easy summer berry galette, this means highlighting how simple it is to transform a handful of ripe berries and a basic dough into something truly special. We provide tips on choosing the best fruit, handling dough with ease, and achieving perfect results without stress. Our goal is to empower you to embrace summer baking, creating beautiful and delicious desserts like this berry galette with minimal effort and maximum enjoyment.
Mastering the Easy Summer Berry Galette Recipe
Key Ingredients for a Delicious Berry Galette
Fresh Summer Berries: The Star of the Show
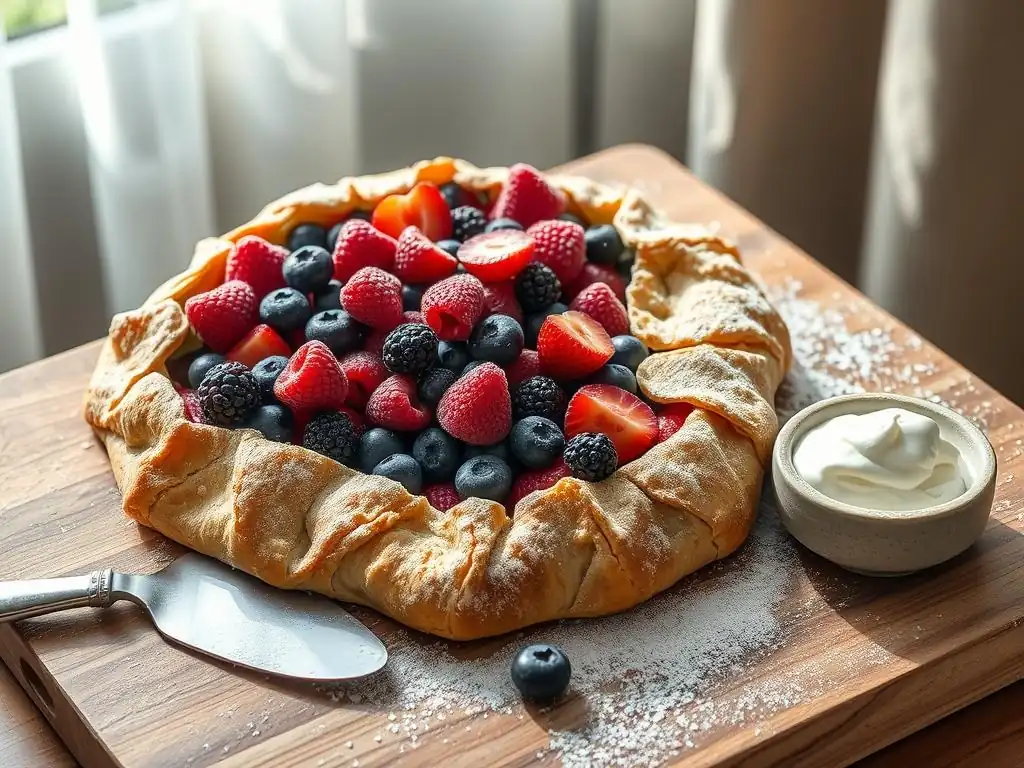
The heart of any great berry galette is, of course, the berries themselves. For a standard 9 or 10-inch galette, you'll typically need about 4 to 5 cups of mixed or single-variety fresh summer berries. This quantity ensures a generous, juicy filling that holds its shape reasonably well once baked. Opting for berries that are firm, plump, and deeply colored guarantees the best flavor and texture. While you can certainly use frozen berries, fresh ones require less draining and often have a brighter, more intense taste, making them ideal for this easy summer berry galette recipe.
Mixing different types of berries adds complexity to the flavor. For example, a combination of sweet strawberries (around 2 cups), slightly tart raspberries (about 1.5 cups), and earthy blueberries (around 1.5 cups) creates a wonderful balance. Ensure your berries are washed gently and patted dry before using them. Excess moisture can lead to a soggy filling, so taking an extra minute to dry them is a worthwhile step in crafting your easy summer berry galette.
Galette Dough Ingredients: Keeping it Simple
A reliable and easy galette dough is crucial for a successful easy summer berry galette. Our simple recipe typically calls for just a few basic ingredients: all-purpose flour (around 1.5 cups), unsalted butter (about 1/2 cup or 1 stick), a pinch of salt (about 1/4 teaspoon), and ice water (around 1/4 to 1/2 cup). The key to a flaky crust is using very cold butter, cut into small pieces, and minimal handling of the dough. Some recipes might also include a tablespoon or two of sugar in the dough for a touch of sweetness that complements the fruit.
Using cold butter helps create steam pockets as the dough bakes, resulting in those desirable flaky layers. The ice water binds the dough together without developing too much gluten, which can make the crust tough. We recommend starting with the smaller amount of ice water and adding just enough until the dough comes together. Overmixing is the enemy of a flaky crust, so mixing until just combined is the goal. This straightforward ingredient list and technique make preparing the dough for your easy summer berry galette surprisingly simple.
Optional Additions: Lemon Zest, Almond Extract, and More
While fresh berries and a simple dough form the core of an easy summer berry galette, optional additions can elevate the flavor profile significantly. A common and highly recommended addition is lemon zest, typically from one small lemon. The bright, citrusy notes of the zest enhance the natural acidity of the berries, making their flavors pop and balancing the sweetness. You can add this directly to the berry filling along with the sugar and any thickening agent.
Other delightful additions include a splash of vanilla extract or a few drops of almond extract (around 1/2 teaspoon). Almond extract pairs particularly well with berries, adding a subtle, sophisticated layer of flavor. For added texture and flavor, consider sprinkling a tablespoon or two of ground almonds or almond flour onto the rolled-out dough before adding the filling; this can also help absorb some of the berry juices, preventing a soggy bottom. These simple additions allow you to customize your easy summer berry galette to your personal taste.
Step-by-Step Guide to Making Your Easy Summer Berry Galette
Preparing the Galette Dough: A Simple Method
Creating the dough for your easy summer berry galette starts with combining the dry ingredients: flour and salt (and sugar, if using). In a large bowl, whisk them together. Next, cut in the very cold, cubed butter. You can use a pastry blender, a fork, or even your fingertips (working quickly to keep the butter cold) to cut the butter into the flour until the mixture resembles coarse crumbs with some pea-sized pieces of butter remaining. This step is crucial for flakiness.
Now, gradually add the ice water, one tablespoon at a time, mixing with a fork or your hands until the dough just comes together. Be careful not to add too much water. The dough should be moist enough to hold together when squeezed but not sticky.
Gather the dough into a disk, wrap it tightly in plastic wrap, and refrigerate for at least 30 minutes, or up to 2 days. Chilling the dough is essential; it allows the gluten to relax and the butter to firm up, making it easier to roll and resulting in a flakier crust for your easy summer berry galette.
Assembling the Berry Filling: Combining Flavors
While the dough chills, prepare your berry filling. In a medium bowl, gently combine your washed and dried fresh summer berries. Add sugar – the amount will depend on the sweetness of your berries and your preference, but start with about 1/4 to 1/2 cup. If your berries are particularly juicy or you prefer a firmer filling, add a thickening agent like cornstarch or flour, typically 1 to 2 tablespoons. Adding lemon zest (from about half a lemon) is highly recommended at this stage to brighten the flavors.
Gently toss the berries, sugar, thickening agent, and lemon zest together using a spoon or spatula, being careful not to crush the delicate fruit. Let the mixture sit for about 5-10 minutes. This allows the sugar to start drawing out some of the berry juices, which will combine with the thickener to create a lovely, slightly thickened sauce as the galette bakes. This simple assembly is key to a flavorful filling for your easy summer berry galette.
Shaping the Galette: Achieving the Rustic Look
Once your dough is chilled and your filling is ready, it's time to assemble your easy summer berry galette. Lightly flour a clean work surface or a piece of parchment paper. Roll the chilled dough into a rough circle, about 12 to 14 inches in diameter and approximately 1/8 inch thick. Don't worry about making a perfect circle; the rustic look is part of the galette's charm. If using parchment paper, you can roll it directly on the paper that you will bake on, which makes transferring much easier.
Transfer the rolled dough to a baking sheet if you didn't roll it on parchment. Spoon the berry filling onto the center of the dough, leaving a border of about 2 inches clear around the edges. Distribute the berries evenly. Now, gently fold the edge of the dough up and over the filling, pleating it as you go. The pleats don't need to be uniform; the goal is simply to enclose the filling while leaving the center exposed. This creates the signature rustic look of your easy summer berry galette.
Baking the Galette: Achieving Golden Perfection
Preheat your oven to 375°F (190°C). If you used parchment paper to roll the dough, simply slide the parchment with the assembled galette onto a baking sheet. If you rolled directly on the surface, carefully transfer the galette to a parchment-lined baking sheet. For a golden, slightly crisp crust and a beautiful finish, you can brush the exposed dough with an egg wash (one egg beaten with a tablespoon of water or milk) and sprinkle it with coarse sugar, like turbinado or sanding sugar.
Bake the easy summer berry galette for 35 to 45 minutes, or until the crust is golden brown and the berry filling is bubbly. Baking time can vary depending on your oven and the juiciness of your berries. Keep an eye on it towards the end of the baking time.
If the crust edges start browning too quickly, you can loosely tent the galette with foil. Once baked, remove the galette from the oven and let it cool on the baking sheet for at least 15-20 minutes before slicing. This cooling period allows the filling to set slightly, preventing it from being too runny when you cut into your perfect easy summer berry galette.
Tips and Tricks for the Best Summer Fruit Galette
Pro Tips for a Flaky Galette Crust
Achieving a wonderfully flaky crust for your easy summer berry galette hinges on a few key techniques. Firstly, ensure your butter is very cold and cut into small pieces (pea-sized or slightly larger) before incorporating it into the flour. Some bakers even recommend freezing the butter and grating it directly into the dry ingredients. The cold butter melts slowly in the oven, creating steam that pushes apart the layers of dough, resulting in that coveted flakiness. Handle the dough as little as possible during mixing and rolling to avoid developing tough gluten strands.
Secondly, use ice water to bring the dough together. The cold temperature helps keep the butter solid. Add just enough water until the dough barely comes together; it should look shaggy, not smooth and wet. Overworking the dough or adding too much liquid are common pitfalls that result in a tough crust.
Finally, chilling the dough for at least 30 minutes before rolling is non-negotiable. This resting period allows the gluten to relax and the fat to firm up, making the dough easier to handle and contributing significantly to a flaky texture when baked. Following these steps will dramatically improve the crust of your easy summer berry galette.
Preventing a Soggy Bottom: Dough Sealing Techniques
A common challenge with fruit galettes, especially those made with juicy summer berries, is preventing a soggy bottom crust. Fortunately, there are effective ways to combat this. One simple technique is to sprinkle a thin layer of something absorbent onto the rolled-out dough before adding the berry filling. Options include a tablespoon or two of fine breadcrumbs, cornmeal, almond flour, or crushed cookies (like graham crackers or vanilla wafers). This layer acts as a barrier, soaking up excess juices released by the berries during baking.
Another crucial step is properly sealing the edges when you fold the dough over the filling. While the galette is rustic, ensure the pleats are pressed down firmly against the dough base to create a seal. This helps contain the juices within the center of the galette as it bakes.
Additionally, ensuring your berry filling includes a sufficient amount of thickening agent (cornstarch, flour, or tapioca starch, typically 1-2 tablespoons per 4-5 cups of fruit) is vital. Toss the berries gently with the thickener and sugar, allowing them to sit for a few minutes to release some juice before adding them to the dough. These steps combined will help ensure your easy summer berry galette has a lovely, crisp bottom crust.
Choosing the Right Berries for Your Galette
The success of your easy summer berry galette heavily depends on the quality and type of berries you choose. For the best flavor, always opt for fresh, in-season berries. Farmer's markets are a fantastic source for peak-season fruit. Look for berries that are plump, firm, and have vibrant, consistent color. Avoid berries that are bruised, soft, or moldy. A mix of berries often provides the most interesting flavor profile – strawberries offer sweetness, raspberries and blackberries add tartness, and blueberries contribute earthiness and structure.
Consider the natural juice levels of different berries. Strawberries and raspberries tend to release more juice than blueberries. If using a mix heavy on strawberries or raspberries, you might want to slightly increase the amount of thickening agent (cornstarch or flour) in your filling to manage the moisture. Approximately 1.5 tablespoons of cornstarch per 4 cups of a juicy berry mix is a good starting point. Ultimately, experiment with your favorite berry combinations to find the perfect blend for your easy summer berry galette.
Sweetness Level: Adjusting Sugar to Your Preference
Adjusting the sugar level in your easy summer berry galette is key to balancing the tartness of the fruit with the richness of the crust. The amount of sugar needed will vary significantly depending on how sweet your berries are naturally. Berries picked at peak ripeness in the height of summer will require less sugar than those picked earlier or later in the season. A good starting point for 4-5 cups of mixed berries is typically 1/4 to 1/2 cup of granulated sugar.
Taste a few of your berries before adding the sugar. If they are quite tart, lean towards the higher end of the sugar range. If they are very sweet, you might only need 1/4 cup or even slightly less.
Remember that the dough itself might contain a little sugar, and you may sprinkle coarse sugar on the crust before baking, adding more sweetness. It's better to start with less sugar in the filling and add a bit more if needed, as you can always add more, but you can't take it away. Finding the perfect sweetness level ensures your easy summer berry galette is perfectly balanced.
Easy Summer Berry Galette Variations
Different Berry Combinations: Explore Flavor Profiles
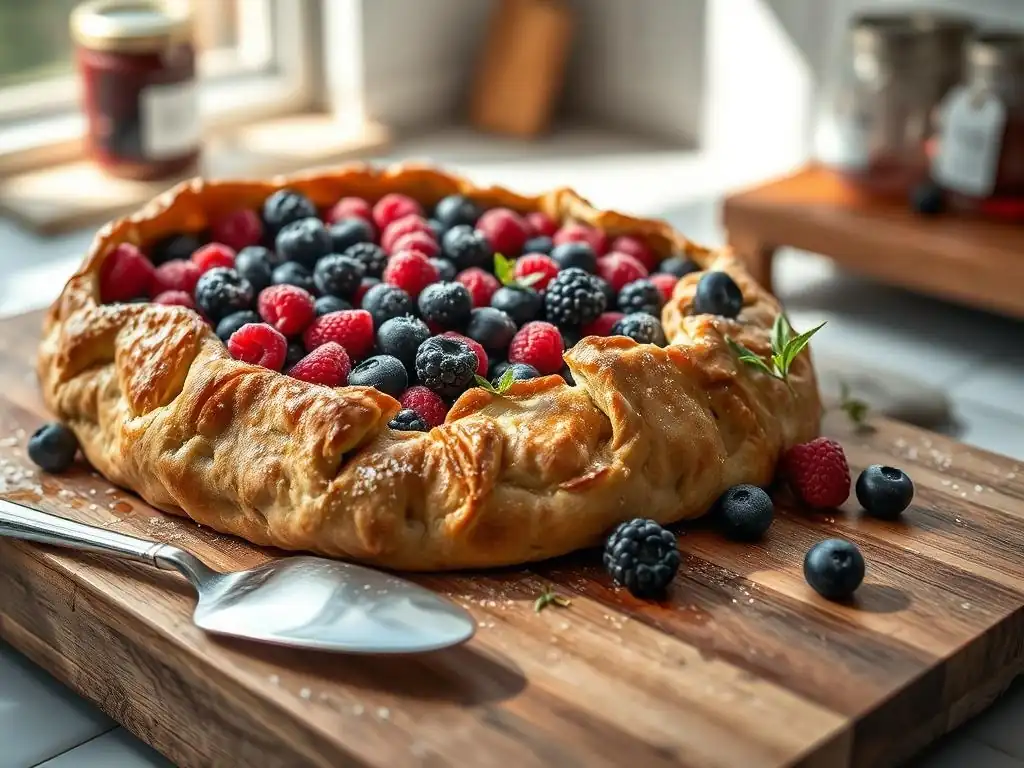
One of the joys of making an easy summer berry galette is the flexibility it offers in terms of fruit combinations. While a mix of strawberries, blueberries, raspberries, and blackberries is classic, don't hesitate to experiment. A galette made solely with ripe blueberries can be wonderfully sweet and jammy. A mix of raspberries and red currants (if available) offers a delightful tart punch that pairs exceptionally well with a scoop of vanilla ice cream. Consider a combination of strawberries and rhubarb for a classic sweet-tart pairing, though rhubarb often requires a bit more sugar to balance its tartness.
Think about texture as well as flavor. Blueberries hold their shape nicely, while raspberries and blackberries can break down more, creating a saucier filling. Strawberries offer a good balance. Combining fruits with different textures ensures an interesting bite. For example, a blend of firm blueberries (2 cups) with softer raspberries (2 cups) creates a lovely contrast. Exploring these different berry combinations allows you to create a unique easy summer berry galette every time you bake.
Stone Fruit Galette: Peaches, Plums, and Nectarines
While this article focuses on the easy summer berry galette, the galette format is incredibly versatile and works beautifully with other summer fruits, particularly stone fruits. Peaches, plums, nectarines, and cherries (pitted, of course!) make fantastic galette fillings. The process is similar to making a berry galette, though stone fruits typically need to be sliced or chopped. For a peach galette, you might need about 4-5 medium peaches, peeled and sliced about 1/2 inch thick.
Stone fruits often require a bit more sugar than ripe berries, perhaps 1/2 to 3/4 cup per 5 cups of sliced fruit, depending on their sweetness. They also benefit greatly from flavor enhancers like cinnamon, nutmeg, or a splash of almond extract. Like berries, they release juice, so incorporating 1-2 tablespoons of flour or cornstarch is usually necessary to thicken the filling. A galette made with sweet, juicy peaches or slightly tart plums offers a delightful alternative to the classic easy summer berry galette, showcasing the best of summer's bounty.
Adding a Crumble Topping: Extra Texture and Flavor
For those who love a little extra crunch and sweetness, adding a crumble topping to your easy summer berry galette is a fantastic variation. Instead of just folding the dough over, you can leave the fruit filling completely exposed and top it with a simple streusel mixture. A basic crumble topping is made by combining flour (about 1/2 cup), sugar (1/4 cup granulated or brown sugar), and cold butter (1/4 cup), rubbed together until crumbly.
After placing the berry filling on the dough (leaving the border clear for folding), sprinkle the crumble topping generously over the fruit before folding the dough edges up. Bake as directed. The crumble topping adds a wonderful textural contrast to the soft, juicy berries and the flaky crust. It creates a dessert that is a delightful hybrid between a galette and a crisp, offering another delicious take on the easy summer berry galette concept.
Vegan and Gluten-Free Options: Adapting the Recipe
Adapting the easy summer berry galette recipe to be vegan or gluten-free is quite achievable with a few simple substitutions. For a vegan galette, the main change is replacing the butter in the dough with a plant-based butter substitute or solid coconut oil. Ensure the substitute is cold and follow the same method for cutting it into the flour. For the egg wash used on the crust, a mixture of plant-based milk (like almond or soy) and a touch of maple syrup or agave nectar can be used for browning and shine.
For a gluten-free easy summer berry galette, substitute the all-purpose flour with a good quality gluten-free all-purpose flour blend. Look for a blend that contains xanthan gum, or add about 1/2 teaspoon of xanthan gum per cup of flour if the blend doesn't include it. This helps provide structure to the dough, which gluten normally provides. Follow the same steps for mixing the dough, ensuring all ingredients are cold and handling the dough minimally. Both vegan and gluten-free versions allow more people to enjoy the simple pleasure of an easy summer berry galette.
Serving and Storing Your Easy Summer Berry Galette
Serving Suggestions: Warm or Cold with Toppings
An easy summer berry galette is delicious served warm or at room temperature. If serving warm, allow it to cool for at least 15-20 minutes after baking so the filling can set slightly. A warm slice is absolutely divine on its own, but it becomes an extra special treat with a dollop of something creamy. Classic pairings include a scoop of vanilla ice cream, a spoonful of freshly whipped cream, or a drizzle of crème fraîche. The cold, creamy topping provides a wonderful contrast to the warm, fruity galette.
Serving at room temperature allows the flavors to meld beautifully and the filling to set completely, making it easier to slice cleanly. This is ideal if you're making the galette ahead of time for a picnic or gathering. A simple dusting of powdered sugar just before serving adds an elegant touch. Whether warm or cool, the vibrant colors of the berry filling make the easy summer berry galette a visually appealing dessert that's sure to impress with minimal effort.
Storing Leftover Galette: Maintaining Freshness
If you happen to have any leftover easy summer berry galette (a rare occurrence! ), proper storage is key to maintaining its freshness and texture. Once the galette has cooled completely to room temperature, wrap it loosely but securely in plastic wrap or aluminum foil, or place it in an airtight container. Storing it at room temperature is generally fine for 1-2 days, especially if your kitchen isn't too warm.
For longer storage, or if your kitchen is warm, refrigerate the galette. Stored in the refrigerator, it should remain fresh for 3-4 days. Be aware that the crust may soften slightly in the refrigerator due to the moisture from the filling. While the texture might change a bit, the flavor will still be wonderful. Always ensure the galette is completely cool before storing to prevent condensation, which can make the crust soggy.
Reheating Instructions: Preserving the Crust's Texture
To bring leftover easy summer berry galette back to life and crisp up the crust, reheating is recommended. Avoid using a microwave, as this will make the crust soft and potentially rubbery. The best method for reheating is in the oven or a toaster oven. Preheat your oven to around 300-325°F (150-160°C). Place the slice(s) of galette directly on the oven rack or on a baking sheet.
Heat for about 10-15 minutes, or until the galette is warmed through and the crust has regained some of its crispness. Keep an eye on it to prevent burning. This gentle reheating method ensures that the delicious, flaky crust you worked to achieve for your easy summer berry galette is preserved as much as possible, making the leftovers nearly as enjoyable as the freshly baked dessert.
Troubleshooting Common Galette Baking Issues
My Dough is Too Sticky: Solutions and Prevention
Encountering sticky dough is a common issue when making pastry, including the dough for an easy summer berry galette. If your dough feels too sticky after mixing, it likely means you added too much water or the butter has started to melt. The best immediate solution is to resist the urge to add excessive amounts of flour while kneading or rolling, as this can make the crust tough. Instead, wrap the sticky dough tightly and refrigerate it for at least 30-60 minutes. Chilling the dough helps the butter firm up and makes it much easier to handle.
To prevent sticky dough in the first place, be precise with your liquid measurement. Start with the minimum amount of ice water recommended in the recipe (often around 1/4 cup for a standard galette dough) and add more only a tablespoon at a time, mixing until the dough just comes together. Stop adding water as soon as the dough holds its shape when squeezed. Also, ensure your butter is very cold and work quickly when cutting it into the flour to prevent it from melting before the dough is formed and chilled.
My Filling is Too Runny: Thickening Agents to the Rescue
A runny berry filling is another frequent challenge with fruit galettes. This happens when the berries release a lot of juice during baking, and there isn't enough thickening agent to absorb it. If your filling looks excessively juicy before baking, you can gently stir in an additional teaspoon or two of your chosen thickener (cornstarch, flour, or tapioca starch). Be careful not to overmix, which can crush the fruit.
If you've already baked the galette and the filling is still too runny, unfortunately, it's difficult to fix post-baking without altering the galette's structure. However, for future easy summer berry galettes, ensure you are using the correct amount of thickener (typically 1-2 tablespoons per 4-5 cups of fruit).
Letting the fruit sit with the sugar and thickener for 5-10 minutes before assembling can also help you gauge how much juice is being released and whether you might need a little more thickener. Using a thin layer of breadcrumbs or almond flour on the dough before adding the filling can also help absorb excess moisture.
My Crust is Burning: Adjusting Baking Time and Temperature
A common issue is the galette crust edges browning too quickly or even burning while the center (and filling) is still not fully baked. This often indicates the oven temperature is too high or the galette is baking for too long without protection. If you notice the edges are getting too dark about halfway through the baking time (around 20-25 minutes), you can loosely tent the entire galette with aluminum foil. This shields the crust edges from direct heat, allowing the center to continue baking without the edges burning.
Alternatively, you can use pie crust shields or strips of foil wrapped just around the exposed crust edges from the beginning of the baking process. Ensure your oven temperature is accurate by using an oven thermometer; ovens can sometimes run hotter or cooler than their setting indicates. If this is a persistent issue, you might consider slightly lowering the oven temperature (e.g., to 350°F/175°C) and increasing the baking time slightly to ensure everything cooks through evenly. Adjusting these factors will help you achieve a perfectly golden, not burnt, crust on your easy summer berry galette.
Conclusion: Enjoying Your Effortless Summer Berry Creation
The Joy of Easy Summer Baking with BakeWithEase
Baking in the summer should feel like a pleasure, not a chore. At BakeWithEase, we believe that creating delicious, seasonal treats like the easy summer berry galette is one of the simplest ways to celebrate the season's bounty. Our focus on clear instructions, minimal fuss, and maximum flavor aims to remove the intimidation factor from baking, allowing you to confidently create impressive desserts with ease. There's a unique satisfaction in transforming fresh, simple ingredients into something beautiful and delicious right in your own kitchen.
This easy summer berry galette is a perfect example of our approach – it's forgiving, adaptable, and incredibly rewarding. It doesn't demand perfect technique, celebrating instead the charm of its rustic appearance and the pure taste of summer berries. We hope this guide has empowered you to try this wonderful recipe and discover just how easy and enjoyable summer baking can be.
One of the greatest pleasures of baking is sharing the fruits of your labor. Your homemade easy summer berry galette, with its inviting rustic look and vibrant berry filling, is the perfect dessert to share with friends and family. Whether served warm from the oven with a scoop of ice cream at a backyard barbecue or brought to a picnic, it's a dessert that feels special yet unpretentious. The act of sharing something you've made with care adds an extra layer of warmth and connection to any gathering.
Imagine the smiles as you present your beautifully baked galette, the sweet aroma of berries filling the air. It's a simple gesture that brings joy and deliciousness to those around you. Don't worry about perfect slices; the freeform nature of the galette makes it easy to cut and serve casually. Sharing your easy summer berry galette is about sharing a taste of summer and the simple pleasure of homemade goodness.
Further Baking Adventures: Exploring Other Summer Recipes on BakeWithEase.com
Mastering this easy summer berry galette is just the beginning of your summer baking journey with BakeWithEase. Our website is filled with a variety of simple, delicious recipes designed to help you make the most of seasonal ingredients. From other fruit-focused desserts like cobblers and crisps to light and airy cakes and muffins, there's a wealth of inspiration waiting for you.
We encourage you to explore our "Summer Baking with Berries" subcategory for more ways to use these fantastic fruits, or venture into other seasonal sections. Each recipe is crafted with ease and enjoyment in mind, providing the clear guidance you need to succeed. Continue building your baking skills and discovering new favorite treats. Your easy summer berry galette is a testament to what you can create with a little guidance and fresh ingredients, and we're excited to support your future baking adventures.
Frequently Asked Questions
What makes this galette recipe "easy"?
This recipe focuses on simple ingredients and a straightforward method, minimizing complex techniques to ensure a relaxed baking experience. We use readily available summer berries, too!
Can I use different fruits besides berries in this galette?
Absolutely! While this recipe highlights berries, you can substitute with other summer fruits like peaches, plums, or nectarines. Just be sure to adjust the sugar levels if needed based on the fruit's sweetness.
What kind of pastry dough is best for a galette?
Our recipe recommends a basic pie crust dough, either homemade or store-bought. The key is to keep the dough cold for a flaky and tender result.
How do I prevent the galette crust from becoming soggy?
To avoid a soggy crust, brush the bottom of the crust with melted butter or egg wash before adding the fruit filling. This creates a barrier against the fruit juices.
How should I store leftover galette?
Leftover galette should be stored in an airtight container in the refrigerator. It's best enjoyed within 2-3 days. You can also gently warm it up before serving.
Final Reflection: The Sweet Simplicity of Summer
The ease of crafting a beautiful and delicious berry galette perfectly mirrors the carefree spirit of summer itself. This seemingly simple dessert, as detailed in this guide, transcends mere culinary creation; it becomes a symbol of embracing uncomplicated pleasures and savoring the fleeting moments of the season. The abundance of fresh, seasonal berries readily available during summer months makes this recipe not only achievable but also deeply satisfying.
The joy of baking, particularly a galette, lies not just in the final product but in the process itself. The gentle crumble of the crust, the vibrant hues of the berries, the comforting aroma filling the kitchen – these are the sensory experiences that weave themselves into the fabric of summer memories. Summer is a state of mind.
This simple truth resonates deeply when considering the impact of this recipe; it's a reminder to slow down, appreciate the simple things, and find joy in the everyday.
Now, I invite you to consider the possibilities. Don't just bake this galette; experience it. Let the process be a mindful escape, a moment of calm amidst the busyness of life. Share it with loved ones, creating memories as sweet as the berries themselves. This summer, let the easy summer berry galette be more than just a recipe; let it be a symbol of embracing the simple joys and creating lasting memories.
Unlock Your Inner Baker: Make This Galette Today!
Thanks for taking the time to explore our easy summer fruit galette recipe! We hope you enjoyed discovering a delicious and surprisingly simple dessert. Now it's time to put your new skills to the test!
- Bake your own masterpiece: Grab those berries and follow the recipe – we promise it’s easier than you think!
- Share your creation: Post a picture of your finished galette on social media and tag us @BakeWithEase – we love seeing your baking triumphs!
- Challenge a friend: Dare a friend to bake this galette with you – it's even more fun with company!
What’s your favorite summer fruit to add to this delicious galette? Let us know in the comments below!