
Sourdough Starter in a Bread Machine? We Tested How to Do It!

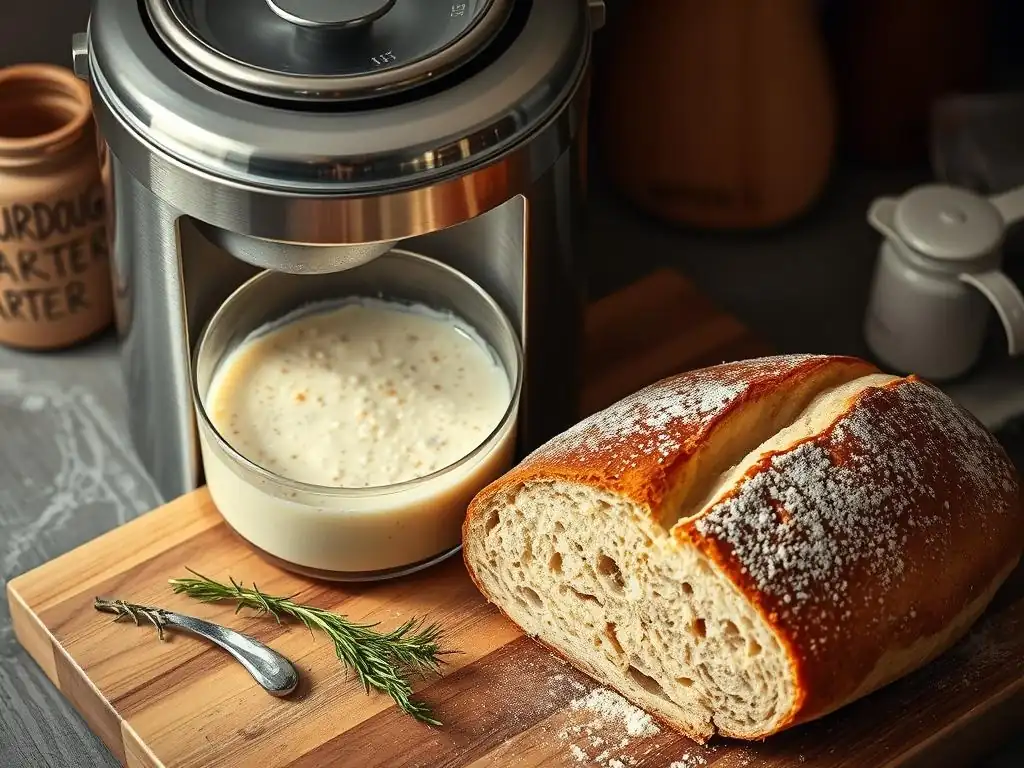
Welcome to BakeWithEase, your trusted guide to the delightful world of baking! Ever wondered if you could harness the magic of sourdough in your trusty bread machine? Dive into our latest article where we put it to the test! Discover our Sourdough Starter Bread Machine Tips and learn how to create delicious, tangy loaves with minimal effort. Ready to unlock the secrets? Let's get baking!
- Developing Sourdough Starter in a Bread Machine: A Practical Guide
- The Bread Machine Advantage: Controlled Fermentation for Sourdough
-
Step-by-Step: Cultivating Sourdough Starter in a Bread Machine
- Preparing the Bread Machine Container
- Ingredients: Flour and Water Ratios for Bread Machine Starter
- Initial Mixing: Combining Ingredients in the Bread Machine
- Fermentation Cycle: Utilizing the Bread Machine's Warm Setting
- Feeding Schedule: Maintaining Starter Activity in the Bread Machine
- Assessing Readiness: Determining Starter Maturity in the Bread Machine
- Troubleshooting Sourdough Starter Issues in a Bread Machine
- Utilizing Bread Machine Sourdough Starter in Baking
- Bread Machine vs. Traditional Sourdough Starter Methods
- Is a Bread Machine Suitable for Sourdough Starter Development?
- Cleaning and Maintaining Your Bread Machine After Starter Development
- Conclusion: Efficient Sourdough Starter Development with a Bread Machine
-
Frequently Asked Questions
- Can I really make sourdough starter in a bread machine?
- What are the benefits of using a bread machine for sourdough starter?
- What settings should I use on my bread machine for sourdough starter?
- How often do I need to feed my sourdough starter when using a bread machine?
- What are some common problems when making sourdough starter in a bread machine, and how can I avoid them?
- Final Reflection: The Unexpected Joy of Sourdough, Even in a Machine
- Unleash Your Inner Baker: Master Sourdough, Effortlessly!
Developing Sourdough Starter in a Bread Machine: A Practical Guide
Developing a vibrant, active sourdough starter is the cornerstone of authentic sourdough baking. Traditionally, this process involves weeks of patient feeding and observation at room temperature. However, for those seeking a more controlled environment, especially concerning temperature, the humble bread machine offers an intriguing alternative. While not its primary function, the consistent warmth settings of many bread machines can provide an ideal environment for microbial activity, potentially accelerating and stabilizing the starter development process. This guide explores how to harness your bread machine for this unique purpose.
The Bread Machine Advantage: Controlled Fermentation for Sourdough
Creating a healthy sourdough starter relies heavily on maintaining a stable, warm environment. Wild yeast and beneficial bacteria thrive within a specific temperature range, typically between 75°F and 80°F (24°C - 27°C). Fluctuations outside this range can slow down development, encourage unwanted mold, or even kill the nascent microbial colony. This is where a bread machine can offer a significant advantage over simply leaving a jar on the counter.
Benefits of Using a Bread Machine for Sourdough Starter
One of the primary benefits of using a bread machine for cultivating a sourdough starter is the ability to provide a consistent, controlled temperature. Many bread machines have a "Yogurt" or "Proof" setting, or even just a "Keep Warm" function that maintains a temperature ideal for fermentation.
This stability significantly reduces the guesswork involved in traditional methods, where ambient room temperature can vary wildly depending on the season or even the time of day. For instance, maintaining a temperature around 78°F (25.5°C) can lead to more vigorous activity and a faster establishment of the desired microbial balance compared to a cooler 68°F (20°C) environment.
Furthermore, the enclosed environment of the bread machine bucket can offer protection from drafts and airborne contaminants that might interfere with the starter's development. This can be particularly helpful in kitchens where multiple fermentation projects are underway or where air quality is a concern. While not hermetically sealed, the lid provides a barrier.
Anecdotal evidence from bakers experimenting with this method suggests that using a bread machine can shave several days off the initial development phase compared to a cooler room temperature method, often seeing significant activity within 3-5 days rather than the typical 7-14. These sourdough starter bread machine tips focus on leveraging the machine's capabilities.
Temperature Stability and Consistent Results
Temperature is perhaps the most critical factor in successful sourdough starter development. Wild yeasts and lactic acid bacteria, the key players, have optimal temperature ranges for growth and activity. For example, Lactobacillus sanfranciscensis, a common and desirable bacterium in sourdough, performs best around 77°F (25°C). Maintaining a consistent temperature within the 75-80°F (24-27°C) range encourages these beneficial microbes to outcompete less desirable ones like molds or spoilage bacteria. This leads to a more reliable and robust starter.
A bread machine's "Proof" or "Yogurt" cycle is designed to maintain a steady, warm temperature, often within this optimal range. This eliminates the need for external warming mats, ovens with pilot lights, or finding a consistently warm spot in your home. Testing with different bread machines shows that "Proof" settings often hold temperatures between 75°F and 85°F (24-29°C), offering excellent stability over many hours. This consistency translates directly into more predictable starter development, reducing the chances of a stalled or weak starter, providing crucial sourdough starter bread machine tips for beginners.
Step-by-Step: Cultivating Sourdough Starter in a Bread Machine
Developing a sourdough starter in a bread machine requires a slight adaptation of the traditional method but follows the same fundamental principles: combining flour and water and providing a suitable environment for fermentation. The bread machine primarily serves as a temperature-controlled incubator.
Preparing the Bread Machine Container
Before you begin, ensure your bread machine bucket and paddle (if using the mixing function initially) are spotlessly clean. Any residual soap or food particles can harm the delicate microbial ecosystem you are trying to cultivate. Wash them thoroughly with hot water and dry completely.
While some methods suggest leaving the paddle in for initial mixing, it's often best to remove it after the first mix or even perform the mixing manually in a separate bowl and then transfer the mixture to the clean bread machine bucket. This prevents the paddle from becoming encrusted with starter, which can be difficult to clean and might interfere with the machine's function if you later use it for baking bread.
The bread machine bucket itself acts as the primary vessel for the starter. You will not be using the machine's baking cycle at all; only the warming functions are relevant. Place the clean, dry bucket back into the machine. It's recommended to place a loose-fitting lid or even a piece of plastic wrap secured with a rubber band over the bucket opening, rather than closing the bread machine's main lid tightly, to allow for some gas exchange while preventing the starter from drying out or attracting fruit flies.
Ingredients: Flour and Water Ratios for Bread Machine Starter
The basic ingredients for any sourdough starter are simply flour and water. The type of flour matters; a good quality, unbleached all-purpose flour or whole wheat flour is often recommended initially as they contain more natural microbes. Rye flour is also excellent for kickstarting a starter due to its high enzyme content. A common starting ratio is 1:1 by weight (e.g., 50 grams flour to 50 grams water). Using filtered or non-chlorinated water is crucial, as chlorine can inhibit microbial growth.
For your first mix in the bread machine bucket, you might start with 50g of unbleached all-purpose flour and 50g of lukewarm water (around 75-80°F or 24-27°C). Weighing your ingredients is far more accurate than using volume measurements, ensuring the correct hydration level for your starter. Consistency in your flour and water sources throughout the process is also beneficial for stable development. Following these sourdough starter bread machine tips on ingredients is key.
Initial Mixing: Combining Ingredients in the Bread Machine
Once your flour and water are measured, add them to the bread machine bucket. If your machine has a very short "Dough" or "Mix" cycle without heat, you could use this for about 30-60 seconds just to combine the ingredients into a thick, pasty batter. Alternatively, and often preferably to avoid mess, you can simply mix the flour and water together in the bread machine bucket using a non-metal spoon or spatula until no dry flour remains. Ensure you scrape down the sides of the bucket to incorporate all the flour.
After the initial mix, if you used the machine's paddle, carefully remove it. Scrape any starter clinging to it back into the bucket. Cover the bucket loosely as described earlier – plastic wrap or a breathable cloth secured with a band works well. Now, you are ready to utilize the bread machine's warming function for the initial fermentation phase.
Fermentation Cycle: Utilizing the Bread Machine's Warm Setting
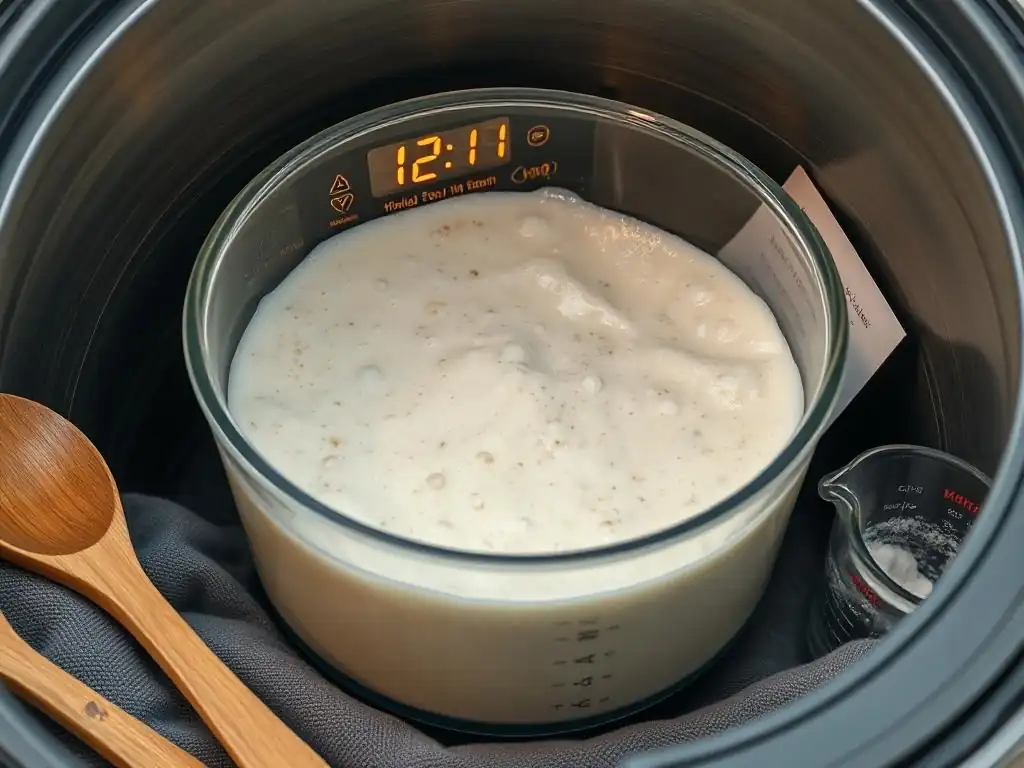
The core benefit of using the bread machine is its ability to maintain a consistent, warm temperature. Select a program that provides steady, low heat, such as a "Yogurt," "Proof," or even a "Keep Warm" setting if it stays within the 75-85°F (24-29°C) range. Avoid any setting that involves baking or high heat. Place the loosely covered bucket inside and run the chosen program.
The duration you run the program will depend on the specific machine and setting. For initial fermentation (Day 1-2), you might run a "Yogurt" cycle (which can be 8-12 hours or longer) or manually turn on a "Keep Warm" setting for several hours, perhaps 8-12 hours per day, turning it off overnight if the ambient temperature is not too cold. The goal is to keep the starter consistently warm to encourage activity. Monitor the temperature inside the bucket if possible, using an instant-read thermometer, to ensure it's within the optimal range.
Feeding Schedule: Maintaining Starter Activity in the Bread Machine
After the initial 24-48 hours, you should start a regular feeding schedule. This typically involves discarding a portion of the starter and feeding the remainder with fresh flour and water. A common ratio for feeding is 1:1:1 (starter: flour: water by weight). For example, discard all but 50g of your starter, then add 50g of fresh flour and 50g of fresh water. Mix thoroughly.
Place the freshly fed starter back into the bread machine bucket and run your chosen warming cycle again. In the early days (Days 2-4), you might feed once every 24 hours. As the starter becomes more active (you'll see bubbles and growth), you might need to increase feeding frequency to every 12 hours or even more often if it's peaking quickly within the warm environment.
This accelerated feeding schedule, often necessary due to the warm temperature, is a key sourdough starter bread machine tip. Continue feeding regularly until the starter consistently doubles or triples in size within 6-12 hours after feeding and smells pleasantly yeasty and slightly acidic.
Assessing Readiness: Determining Starter Maturity in the Bread Machine
Determining when your sourdough starter is ready to bake with involves looking for several key indicators of maturity and activity. A healthy, mature starter should reliably double or even triple in volume within a few hours after being fed, especially in the warm environment of the bread machine. You should see numerous bubbles throughout the starter, not just on the surface, indicating active fermentation.
The smell is also a crucial indicator. A young starter might smell like wet flour, glue, or even have an unpleasant acetone-like odor. A mature starter will have a pleasant, tangy, slightly acidic aroma, often described as fruity or yogurt-like. You can also perform the "float test": drop a small spoonful of starter into a glass of water.
If it floats, it's typically ready to bake with, as the trapped gas makes it buoyant. If it sinks, it likely needs more time or more frequent feeding. Consistent doubling/tripling and a pleasant smell are the most reliable signs of a ready-to-bake starter developed with these sourdough starter bread machine tips.
Troubleshooting Sourdough Starter Issues in a Bread Machine
Even with the controlled environment of a bread machine, starter development can sometimes encounter issues. Recognizing and addressing these problems promptly is key to cultivating a healthy, active culture. Common problems include lack of activity, unusual smells, or the appearance of mold.
Temperature Fluctuations and Starter Development
While the bread machine aims for temperature stability, external factors or the specific machine's performance can still lead to fluctuations. If your machine's "Keep Warm" setting is too hot (above 85°F or 29°C), it can actually kill the yeast and bacteria or favor less desirable microbes. Conversely, if the setting is too cool, development will be slow or stalled. For example, a temperature consistently below 70°F (21°C) will significantly prolong the time it takes for the starter to become active and robust, potentially taking several weeks rather than days.
Monitor the temperature inside the bucket periodically with a thermometer if possible. If it's too hot, try cycling the warming function on and off, or place a folded towel under the bucket to slightly insulate it from the heating element. If it's too cool, ensure the machine's main lid is down (though the bucket lid should be loose) and perhaps place the machine in a warmer spot in your house. Consistency is more important than hitting an exact number, as long as it's within the optimal 75-80°F (24-27°C) range. These sourdough starter bread machine tips emphasize temperature control.
Preventing Unwanted Bacteria Growth
Unwanted bacteria or mold can sometimes appear in a starter, often indicated by off smells (like strong acetone, cheese, or rancid odors) or visible fuzzy patches of green, black, or orange mold. This is usually a sign that the desired lactic acid bacteria haven't yet established dominance, or that the starter is not being fed frequently enough, allowing undesirable organisms to take hold. Using clean equipment and non-chlorinated water is the first line of defense.
If you see mold, unfortunately, you must discard the entire starter and start over with thoroughly cleaned equipment. Off smells (other than mild acetone in the very early stages) can sometimes be corrected by increasing feeding frequency (feeding every 12 hours or even more often) and ensuring the starter is kept consistently warm. Using a small amount of rye flour for a few feedings can also help boost microbial activity and outcompete unwanted guests. Regularly discarding a portion before feeding is also crucial as it removes metabolic waste products that can inhibit beneficial microbes and dilutes any undesirable ones.
Addressing Inactivity: Troubleshooting Tips for Stalled Starters
A common issue is a starter that shows initial promise (maybe a few bubbles on day 2 or 3) but then becomes inactive or "stalls." This often happens around days 4-7, sometimes called the "dormant phase." It doesn't necessarily mean your starter is dead; it might just be going through a transition as different microbial populations compete and establish themselves.
First, double-check your temperature. Is the bread machine maintaining a consistent 75-80°F (24-27°C)? If it's too cool, increase the warming time. Ensure you are using good quality, unbleached flour and non-chlorinated water.
Try switching to rye flour for a few feedings, as its enzymes can help stimulate activity. Increase the feeding frequency to every 12 hours, ensuring you are consistently discarding most of the old starter before feeding. Patience is also key; sometimes a starter just needs a few more days and consistent care to become vigorous. Avoid the temptation to add commercial yeast – the goal is to cultivate wild yeast.
Utilizing Bread Machine Sourdough Starter in Baking
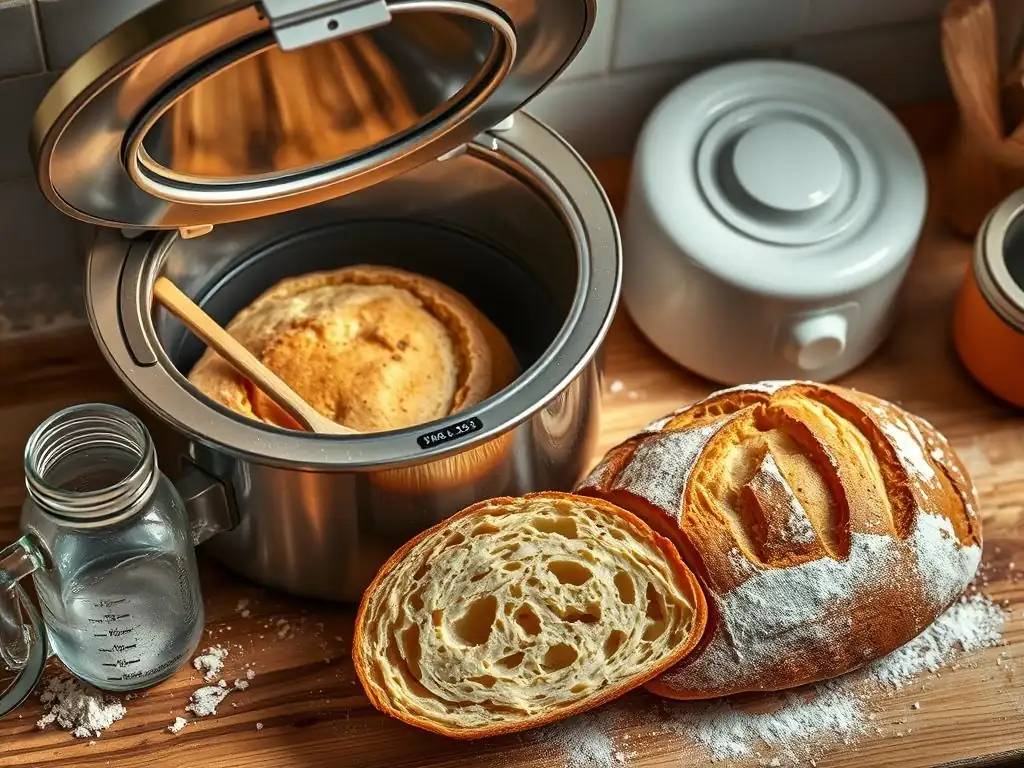
Once your sourdough starter, developed using these sourdough starter bread machine tips, is consistently doubling or tripling within 6-12 hours after feeding and passes the float test, it's ready to be used for baking! Using a bread machine-developed starter is no different from using one developed traditionally. The key is to use it when it is at its peak activity – typically a few hours after feeding, when it has reached its maximum volume before starting to fall.
Adapting Starter for Sourdough Bread Recipes
Most sourdough bread recipes call for a specific amount of "active" or "ripe" starter. This refers to starter that has been fed within the last 4-12 hours (depending on temperature and starter vigor) and is bubbly and active. Your bread machine-developed starter, when mature, will behave just like any other healthy starter. Simply measure out the amount called for in your chosen recipe.
Remember that starter is essentially a 1:1 (or other ratio) mix of flour and water, plus microbes. When incorporating it into a recipe, you are adding both flour and water from the starter into your dough.
For instance, if a recipe calls for 100g of 100% hydration starter (equal parts flour and water), you are adding approximately 50g of flour and 50g of water from the starter into your dough's total hydration and flour weight. Some advanced recipes may require adjusting the main dough's flour and water slightly to account for the starter's contribution, but for most standard recipes, you can simply substitute the called-for active starter amount.
Sourdough Bread Recipe: Using Bread Machine-Developed Starter
Here is a basic sourdough bread recipe adapted for using your active bread machine-developed starter. This recipe assumes you have about 100g of active starter ready to go.
Ingredients:
- 100g active sourdough starter (developed in your bread machine)
- 350g lukewarm water (around 80-85°F or 27-29°C)
- 500g strong bread flour
- 9g fine sea salt
Instructions:
- Mix: In a large bowl, whisk together the active starter and water until the starter is mostly dissolved. Add the flour and salt. Mix with a spoon or your hand until a shaggy dough forms and no dry flour remains.
- Autolyse (Optional but Recommended): Cover the bowl and let the dough rest for 30-60 minutes. This allows the flour to hydrate fully.
- Knead/Stretch & Folds: Turn the dough out onto a lightly floured surface and knead for 5-10 minutes until smooth and elastic, or perform a series of stretch and folds in the bowl every 30 minutes for 2-3 hours. Place the dough in a lightly oiled bowl, cover, and let it bulk ferment.
- Bulk Fermentation: Let the dough rise at room temperature (around 75-80°F or 24-27°C is ideal) until it has increased in volume by about 50-75% and is bubbly. This can take anywhere from 4 to 12 hours depending on your starter's strength and room temperature.
- Shape: Gently turn the dough out, shape it into a boule or batard, and place it seam-side up in a floured proofing basket (banneton).
- Cold Proof: Cover the basket and refrigerate for 12-24 hours. This develops flavor and makes the dough easier to score.
- Bake: Preheat your oven to 450°F (230°C) with a Dutch oven or baking stone inside for at least 30 minutes. Carefully invert the dough onto parchment paper or directly into the hot Dutch oven. Score the top.
- Baking: Bake in the covered Dutch oven for 20 minutes. Remove the lid and bake for another 20-25 minutes, or until the crust is deep golden brown and the internal temperature reaches 205-210°F (96-99°C). Let cool completely on a wire rack before slicing.
Bread Machine vs. Traditional Sourdough Starter Methods
Comparing the bread machine method to traditional room-temperature development highlights differences primarily in time, control, and potentially flavor nuance. Both methods can yield a viable starter, but they offer different experiences and outcomes.
Time Efficiency: Comparing Bread Machine and Traditional Approaches
One of the most significant advantages of using a bread machine's warming function is the potential for accelerated starter development. Because the temperature is consistently maintained within the optimal range for yeast and bacteria activity (75-80°F or 24-27°C), the microbes reproduce and ferment more quickly. A starter that might take 7-14 days to become robust at a typical room temperature of 68-72°F (20-22°C) can often reach baking maturity in just 5-7 days when kept consistently warmer in a bread machine.
This time efficiency is a major draw for bakers eager to start baking sourdough bread sooner. While traditional methods are forgiving of occasional temperature dips, they require more patience. The bread machine method, leveraging specific sourdough starter bread machine tips, offers a shortcut provided the temperature is managed correctly.
Flavor Profile: Impact of Bread Machine Fermentation on Sourdough Taste
The temperature at which a sourdough starter ferments can influence its flavor profile. Higher temperatures, like those maintained in a bread machine, tend to favor lactic acid bacteria that produce more lactic acid, resulting in a milder, less aggressively sour flavor. Lower temperatures, typical of traditional room-temperature or cold-proofed starters, often promote bacteria that produce more acetic acid, which contributes a sharper, more vinegary tang.
Therefore, a starter developed quickly in a warm bread machine might produce bread with a milder tang compared to bread made with a starter nurtured more slowly at cooler temperatures. However, the final flavor of your sourdough bread is also heavily influenced by the bulk fermentation time, cold proofing duration, and the specific flour used in the dough itself. While the starter's development temperature plays a role, it's just one piece of the complex flavor puzzle.
Is a Bread Machine Suitable for Sourdough Starter Development?

Using a bread machine for sourdough starter development is certainly possible and can be effective, but it's not universally applicable or necessarily superior to traditional methods. It's a tool that offers specific advantages for certain individuals or situations.
Ideal Users: Who Benefits from this Method?
The bread machine method for sourdough starter development is particularly well-suited for individuals who live in cooler climates or during colder months when maintaining a consistent warm temperature naturally is challenging. It's also beneficial for those who want to accelerate the starter development process and begin baking sourdough bread sooner. Bakers who appreciate a more controlled and predictable process may also find this method appealing, as it removes some of the variables associated with ambient temperature fluctuations. Following sourdough starter bread machine tips can provide a reliable path for these users.
However, if you enjoy the traditional, patient process of nurturing a starter at room temperature, or if your kitchen naturally stays warm, you may not need or want to use a bread machine. It's an alternative approach, not a mandatory one, offering a specific solution to temperature control.
Beginner Tips for Bread Machine Sourdough Starter
For beginners attempting this method, here are a few key sourdough starter bread machine tips:
- Cleanliness is Paramount: Ensure your bread machine bucket and any utensils are impeccably clean to prevent mold or unwanted bacteria.
- Monitor Temperature: If possible, use a thermometer to check the actual temperature inside the bucket when the warming cycle is on. Adjust the cycle duration or use insulation if needed to stay within the 75-80°F (24-27°C) range.
- Use Good Quality Ingredients: Start with unbleached flour and non-chlorinated water. Consistency helps.
- Don't Expect Miracles Instantly: While potentially faster, starter development still takes days. Don't get discouraged if you don't see bubbles on day one.
- Feed Regularly: Be diligent with your feeding schedule, especially as the starter becomes active. In a warm environment, it might need feeding every 12 hours or more frequently.
- Trust Your Senses: Pay attention to the smell and appearance. A healthy starter smells pleasant and tangy.
Cleaning and Maintaining Your Bread Machine After Starter Development
After successfully developing your sourdough starter in the bread machine bucket, proper cleaning and maintenance are essential before using the machine for baking or other purposes. Sourdough starter residue, being a living culture, can be sticky and acidic, potentially affecting future bakes or harboring unwanted microbes if not removed thoroughly.
Eliminating Sourdough Residue and Odors
Sourdough starter can leave a tenacious, sticky residue on the bread machine bucket. The best way to tackle this is to soak the bucket immediately after transferring your mature starter to its permanent jar. Fill the bucket with hot, soapy water and let it sit for at least 30 minutes, or longer if needed. This softens the dried starter, making it much easier to scrub away.
Use a non-abrasive sponge or brush to clean the inside and outside of the bucket. Pay close attention to the area around where the paddle attaches and any seams or crevices. If there's a lingering sourdough odor, a soak in a mixture of water and white vinegar (about a 4:1 ratio) can help neutralize it. Ensure the bucket is thoroughly rinsed with clean water afterward and dried completely before storage or reuse.
Maintaining Bread Machine Hygiene
Beyond cleaning the bucket, it's a good practice to wipe down the inside of the bread machine cavity itself, especially if any starter overflowed or splashed. Use a damp cloth to wipe away any flour dust or residue. Avoid getting water into the heating element or mechanical parts.
Regular cleaning after any use, whether for starter or baking, prolongs the life of your appliance and ensures hygienic food preparation. While using the bread machine for starter development is a unique application, the standard cleaning protocols for the machine's bucket and interior still apply and are crucial for maintaining your equipment in good working order.
Conclusion: Efficient Sourdough Starter Development with a Bread Machine
Utilizing a bread machine's warming function offers a practical and efficient alternative for developing a sourdough starter. By providing a stable, warm environment, typically between 75-80°F (24-27°C), it can significantly accelerate the process compared to traditional room-temperature methods, often yielding a bake-ready starter in about a week. The controlled temperature minimizes the impact of ambient conditions, offering predictability and reducing the risk of stalled development or mold growth for those following sourdough starter bread machine tips.
While the flavor profile might lean towards a milder tang due to favoring lactic acid bacteria, the resulting starter is perfectly viable for baking delicious sourdough bread. This method is particularly advantageous for beginners, those in cooler climates, or anyone seeking a faster path to baking with their own wild yeast culture. With careful attention to cleanliness, temperature, and regular feeding, your bread machine can become a valuable tool not just for baking loaves, but for bringing your sourdough journey to life from the very beginning.
Frequently Asked Questions
Can I really make sourdough starter in a bread machine?
Yes, you can! While not its primary function, a bread machine can provide a consistent and warm environment ideal for sourdough starter development. Just follow our guidelines!
What are the benefits of using a bread machine for sourdough starter?
The bread machine offers a controlled temperature and protected environment, which helps promote consistent and predictable starter activity. This can be particularly useful for beginners.
What settings should I use on my bread machine for sourdough starter?
Look for a dough-only setting or a setting with a long, low-temperature rise. If neither are available, a warm setting with the paddle removed may work.
How often do I need to feed my sourdough starter when using a bread machine?
You'll likely need to feed it once or twice a day, depending on your machine and room temperature. Monitor the starter's activity and adjust feeding schedules accordingly.
What are some common problems when making sourdough starter in a bread machine, and how can I avoid them?
Overheating is a risk. Ensure your machine doesn't get too hot. You can also reduce the amount of starter initially and monitor closely, making sure the dough doesn't overflow.
Final Reflection: The Unexpected Joy of Sourdough, Even in a Machine
The humble sourdough starter, once a symbol of artisanal baking, is now finding its place in the modern kitchen, even within the confines of a bread machine. This surprising adaptability challenges our preconceived notions about traditional baking methods and opens up a world of convenience without sacrificing flavor. The ease of using a bread machine, combined with the unique tang of sourdough, creates a delicious paradox that deserves further exploration.
The journey of making sourdough in a bread machine has highlighted for me the beautiful intersection of technology and tradition. It's a testament to human ingenuity, our ability to adapt age-old techniques to modern tools. This process isn't about replacing the artistry of hand-kneading, but rather about expanding access to the joys of sourdough baking. The best bread is the bread you bake yourself,
a sentiment often echoed in baking circles, now feels even more accessible thanks to this innovative approach.
So, what's next? I encourage you, dear reader, to experiment! Don't be afraid to try this method yourself, to tweak the recipes, and to discover your own perfect sourdough loaf, whether it's crafted by hand or with the assistance of a trusty bread machine. Embrace the unexpected, the fusion of old and new, and savor the delicious results. The journey of baking, like life itself, is about the process as much as the product. Let the aroma of freshly baked sourdough fill your home, a testament to your own culinary adventure.
Unleash Your Inner Baker: Master Sourdough, Effortlessly!
Thanks for joining us on this sourdough journey! We hope you now feel empowered to tackle this classic baking technique. Ready to take the next step?
- Start your own sourdough starter TODAY! Follow our step-by-step guide (easily adaptable to your bread machine!) to begin your bubbly adventure.
- Share your sourdough successes (or even your struggles!) with our community on social media using #BakeWithEaseSourdough. Let's inspire each other!
- Experiment with different flours and hydration levels – the possibilities are endless!
What unique flavor will your sourdough starter unlock?