
Why a Stand Mixer Will Transform Your Baking (and Save You Time)

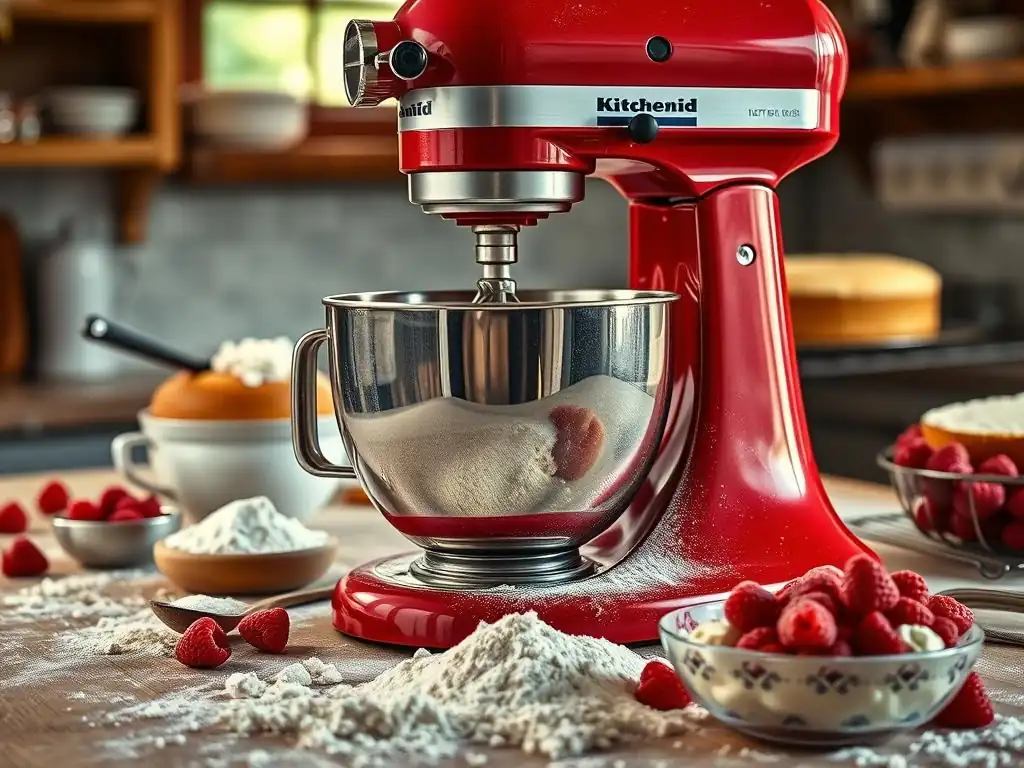
Welcome to BakeWithEase, your companion in the kitchen! Ever wondered how to achieve that perfectly smooth batter or effortlessly kneaded dough? This guide unveils the secret weapon of countless bakers: the stand mixer. Discover how this versatile tool can revolutionize your creations and significantly cut down on prep time. Dive in to unlock our top stand mixer baking tips and elevate your baking game today!
- Introduction: Elevate Your Baking with a Stand Mixer
- Understanding the Power of a Stand Mixer for Baking
- Time-Saving Benefits of Using a Stand Mixer
- Stand Mixer Baking Tips for Beginners
- Unlock a World of Baking Possibilities with a Stand Mixer
- Choosing the Right Stand Mixer for Your Baking Needs
- Cleaning and Maintaining Your Stand Mixer for Longevity
- Conclusion: Invest in a Stand Mixer for a More Enjoyable and Efficient Baking Experience
-
Frequently Asked Questions
- What are the main benefits of using a stand mixer for baking, as opposed to mixing by hand?
- Can a stand mixer be used for all types of baking recipes, or are there some exceptions?
- What are some essential attachments to have for a stand mixer to maximize its baking potential?
- How does using a stand mixer help improve the quality of baked goods?
- What are some common mistakes people make when using a stand mixer for baking, and how can they be avoided?
- Final Reflection: The Joy of Kneading (and Not Kneading!)
- Unleash Your Inner Baker: Level Up Your Baking Game!
Introduction: Elevate Your Baking with a Stand Mixer
Baking is a wonderful blend of science and art, a process that brings warmth and delicious aromas into our homes. While traditional methods relying on manual effort have their charm, the demands of modern life often leave us seeking efficiency without sacrificing quality. This is where a stand mixer becomes an indispensable tool, transforming your baking journey from potentially strenuous to effortlessly enjoyable.
Whether you're just starting out or looking to refine your techniques, understanding how to use this powerful appliance is key to unlocking new possibilities and saving precious time. Mastering essential stand mixer baking tips can truly elevate your creations.
For anyone serious about improving their baking game, investing in a stand mixer is often cited as a pivotal moment. It frees up your hands, handles tough jobs like kneading dough with ease, and ensures a level of consistency that's hard to replicate manually. From delicate meringues to robust sourdoughs, the right stand mixer baking tips can help you achieve professional-level results in your own kitchen. Let's dive into why this appliance is a game-changer and how you can harness its full potential.
Understanding the Power of a Stand Mixer for Baking
What is a Stand Mixer and Why is it a Baker's Best Friend?
A stand mixer is an electric kitchen appliance that uses a gear-driven mechanism to rotate an attachment within a stationary bowl. Unlike a hand mixer, which you hold and move, a stand mixer sits on your counter, providing stable, powerful, and hands-free operation. The core design typically features a heavy base housing the motor, a mixing head (either tilt-head or bowl-lift), and a bowl that locks into place. This robust construction allows it to handle tasks that would be physically demanding or impossible with manual methods or a hand mixer, such as kneading stiff bread dough for extended periods.
For bakers, a stand mixer is a best friend because it consistently delivers the power and endurance needed for crucial steps in many recipes. Need to cream butter and sugar until light and fluffy? A stand mixer can do it for several minutes without tiring your arm, achieving better aeration than manual mixing.
Making brioche or challah? The stand mixer's dough hook can knead the enriched dough for the 10-15 minutes often required to develop strong gluten, saving you from a significant workout and ensuring a smooth, elastic dough necessary for a perfect rise and texture. These capabilities make it an invaluable asset for serious home baking.
Exploring the Versatility of Stand Mixers: More Than Just Mixing
While their primary function is mixing, stand mixers boast impressive versatility thanks to a range of available attachments. Beyond the standard dough hook, paddle, and whisk, many models offer a power hub that connects to various accessories, transforming the mixer into a multi-purpose kitchen machine. While our focus is on baking, it's worth noting this expandability.
Within the realm of baking specifically, the versatility is evident in the sheer variety of doughs and batters a stand mixer can handle. It effortlessly shifts from gently combining dry and wet ingredients for muffins to vigorously whipping egg whites for a stiff meringue or creaming large quantities of butter and sugar for a double batch of cookies.
This means one piece of equipment can help you prepare everything from a delicate angel food cake requiring significant aeration to a dense rye bread needing intense kneading, proving its worth across the entire spectrum of baking tasks. Mastering various stand mixer baking tips for different attachments is key to unlocking this potential.
Time-Saving Benefits of Using a Stand Mixer
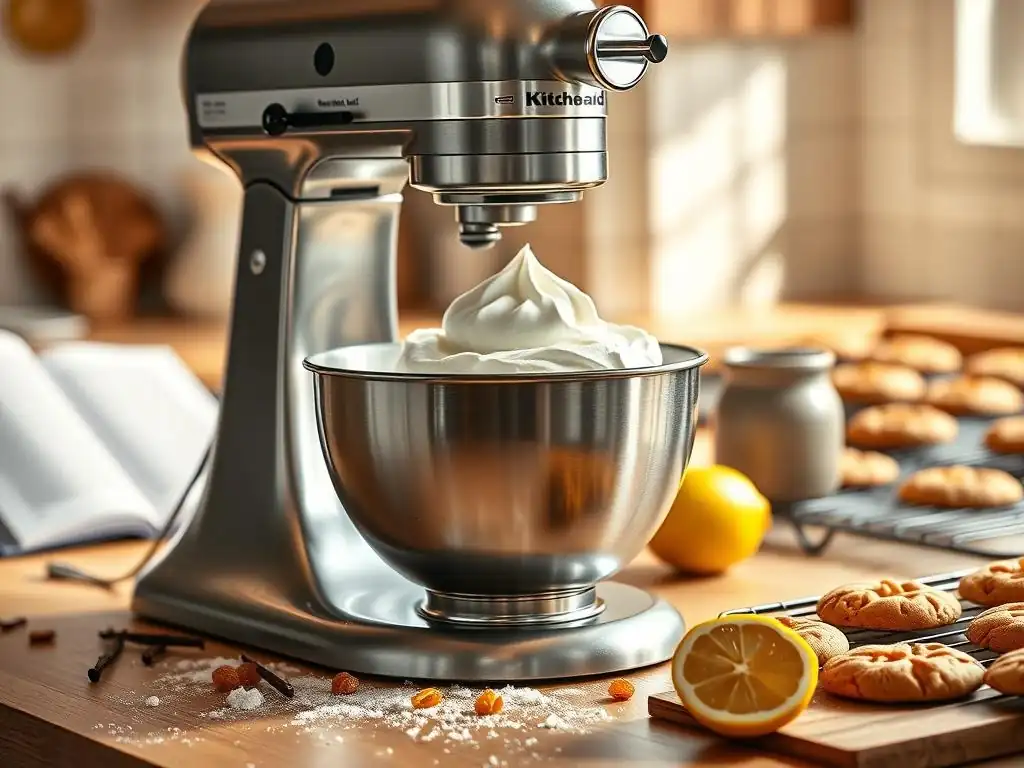
Streamlining Your Baking Process: Reducing Prep Time
One of the most significant advantages of using a stand mixer is the substantial reduction in active prep time. Tasks that previously required sustained manual effort, like kneading bread dough, can now be completed by the machine while you focus on other steps. For instance, a recipe might call for 10-12 minutes of hand kneading; a stand mixer can often achieve the same level of gluten development in 6-8 minutes on a low speed, and you don't have to stand over it the entire time. This time saving allows you to move efficiently through your recipe.
Consider making multiple batches of cookies or cupcakes. Manually creaming butter and sugar for each batch is tiring and time-consuming. A stand mixer handles large quantities with ease, allowing you to cream enough butter and sugar for several batches simultaneously or quickly move from one batch to the next. This ability to process larger volumes or work faster on single batches directly translates into getting your baked goods into the oven sooner and finishing your baking projects more quickly. Applying efficient stand mixer baking tips makes your workflow smoother.
Hands-Free Mixing: Multitask While Your Stand Mixer Works
Perhaps the most celebrated benefit of a stand mixer is its hands-free operation. Once you've added your ingredients and started the mixer, it continues working on its own, freeing you up to perform other necessary tasks in the kitchen. This is invaluable in baking, which often requires precise timing and multiple steps happening concurrently.
While the mixer is kneading dough or whipping cream, you can measure out the next set of ingredients, prepare baking pans, preheat the oven, or even start cleaning up. This ability to multitask dramatically improves efficiency and reduces the overall time spent in the kitchen. It transforms baking from a single, engrossing activity into a more manageable process where different stages can overlap, making complex recipes feel less daunting and more accessible for busy schedules. Utilizing hands-free stand mixer baking tips lets you maximize your kitchen productivity.
Consistent Results, Every Time: The Key to Efficient Baking
Consistency is paramount in baking, and a stand mixer excels at providing it. Manual mixing can vary in speed and intensity depending on fatigue, but a stand mixer maintains a constant speed for as long as needed. This consistent mechanical action ensures uniform incorporation of ingredients, predictable gluten development in doughs, and reliable aeration in batters and creams.
This consistency leads to predictable outcomes, reducing the likelihood of failed bakes due to under- or over-mixing. When your dough or batter is mixed perfectly every time, your baked goods will have the intended texture, rise, and structure. This not only saves time by avoiding do-overs but also builds confidence in your baking, allowing you to tackle more challenging recipes knowing your mixer will handle the foundational work reliably. Consistent stand mixer baking tips contribute directly to your success.
Stand Mixer Baking Tips for Beginners
Mastering Basic Techniques with Your Stand Mixer
Getting started with a stand mixer is exciting, and mastering a few basic techniques will set you up for success. Always ensure your bowl is securely locked in place and the attachment is properly fitted before starting the mixer. Begin mixing on the lowest speed to initially combine dry and wet ingredients, preventing flour from flying out of the bowl. Gradually increase the speed as needed for the specific task, whether it's creaming, whipping, or kneading.
One essential tip is to periodically scrape down the sides and bottom of the bowl with a spatula, especially when making batters like cakes or cookies. This ensures all ingredients are fully incorporated and prevents pockets of unmixed flour or sugar. Understanding when your dough or batter has reached the correct consistency is also crucial – for example, dough should be smooth and elastic, while whipped cream should hold stiff peaks. Practice these fundamental stand mixer baking tips with simple recipes first.
Choosing the Right Attachments for Different Baking Tasks
Your stand mixer typically comes with three primary attachments, each designed for specific mixing jobs. Using the correct attachment is one of the most important stand mixer baking tips you'll learn, as it directly impacts the outcome of your bake.
Dough Hook: Perfecting Bread and Pizza Dough
The dough hook is shaped like a hook or a spiral and is specifically engineered for kneading yeast doughs, such as bread, pizza dough, and enriched doughs like brioche or challah. Its action mimics hand kneading, stretching and folding the dough against the sides of the bowl to develop gluten structure.
Using the dough hook on a low speed (usually speed 2 on most mixers) allows the gluten network to form gradually and evenly. Kneading times vary by recipe, but typically range from 6 to 10 minutes for a stand mixer, significantly less than the 10-15+ minutes required for hand kneading. Proper use results in a smooth, elastic dough that passes the "windowpane test," indicating sufficient gluten development for a good rise.
Paddle Attachment: Ideal for Cakes, Cookies, and Batters
The paddle attachment, often called the flat beater, is your go-to for most general mixing tasks. It's perfect for creaming butter and sugar, mixing cake batters, cookie doughs, quick breads, and even making frostings and mashed potatoes (though we're focusing on baking! ).
Its flat design effectively incorporates ingredients without adding excessive air, making it ideal for developing structure in cakes and cookies. When creaming butter and sugar, the paddle's action incorporates air bubbles into the fat, which are crucial for leavening. For cookie dough, it brings together the ingredients into a cohesive mass. Using the paddle on medium speeds (like 4 or 6) is common for creaming and mixing batters.
Whisk Attachment: Achieving Light and Airy Meringues and Cream
The whisk attachment, or wire whip, is designed to incorporate air into mixtures, making it essential for tasks requiring lightness and volume. It's used for whipping egg whites into meringue, whipping cream, making airy frostings, and sometimes for light batters like génoise.
The wire loops of the whisk rapidly beat air into liquids, increasing their volume dramatically. For whipping egg whites, start on a low speed to break up the whites, then gradually increase to high speed (often 8 or 10) to achieve stiff, glossy peaks. Similarly, for whipping cream, start low and increase speed until soft or stiff peaks form, being careful not to overwhip. Mastering the whisk is key for delicate baked goods.
Controlling Speed and Consistency: Avoiding Overmixing
Understanding your mixer's speed settings and their effect on ingredients is a vital stand mixer baking tip. Most mixers have multiple speeds, typically numbered 1 through 10. Speed 1 is usually for gentle stirring, speed 2 for kneading dough, speeds 4-6 for creaming and mixing batters, and speeds 8-10 for whipping. Always start on a low speed when adding dry ingredients to wet to avoid a mess.
Overmixing is a common pitfall, especially for beginners. Overmixing cake batter can develop too much gluten, resulting in a tough, dense cake. Overmixing cookie dough can lead to cookies that don't spread properly. Overwhipping cream or meringue can cause them to break or become grainy. Pay attention to the visual cues described in your recipe (e.g., "mix until just combined," "mix until glossy peaks form") and stop the mixer as soon as the desired consistency is achieved. It's better to slightly undermix and finish by hand than to overmix with the machine.
Unlock a World of Baking Possibilities with a Stand Mixer
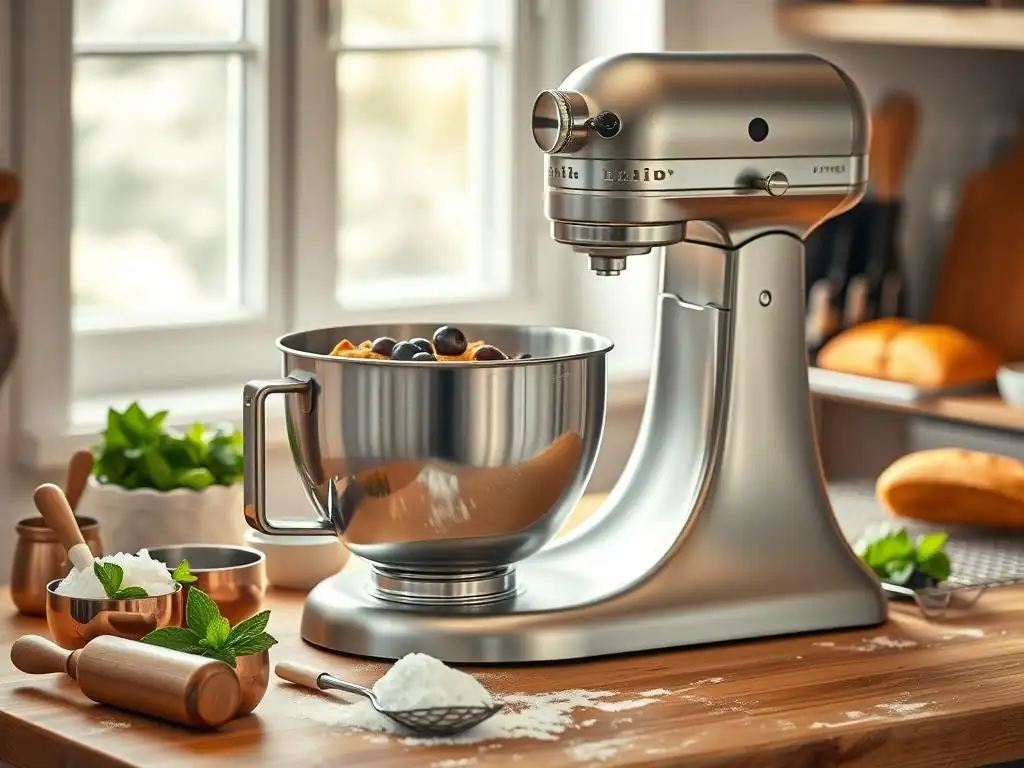
Expanding Your Baking Repertoire: From Bread to Pastries
A stand mixer doesn't just make existing recipes easier; it empowers you to tackle recipes that might have seemed too challenging or time-consuming before. Recipes requiring long periods of kneading, like artisan bread, enriched doughs, or pasta dough, become much more accessible. The mixer handles the hard work, allowing you to explore a wider variety of baked goods.
Beyond doughs, the precise and consistent mixing capabilities open doors to delicate pastries and confections. Think about macarons, which require perfectly whipped egg whites, or elaborate cakes requiring stable buttercreams. These recipes rely heavily on achieving specific textures through mixing, which a stand mixer performs reliably, allowing you to expand your skills and impress yourself (and others!) with your creations. Applying specialized stand mixer baking tips for these recipes is crucial.
Swiss Meringue Buttercream Made Easier with a Stand Mixer
Swiss Meringue Buttercream (SMBC) is renowned for its silky texture and stability, but it requires whipping egg whites and sugar over heat, then whipping the mixture for a considerable time until it cools and forms stiff peaks before adding butter. Manually whipping for this duration is practically impossible.
A stand mixer with a whisk attachment is indispensable for SMBC. After heating the egg white and sugar mixture (to about 160°F or 71°C), you transfer it to the stand mixer bowl and whip on high speed. This can take 10-15 minutes or even longer depending on the mixer and room temperature, until the meringue is glossy, has stiff peaks, and the bowl is completely cool to the touch. Only then can you gradually add the butter. The mixer handles the lengthy whipping, ensuring the meringue is stable and voluminous, which is critical for a successful, non-soupy buttercream.
Sourdough Bread Perfectly Executed Using a Stand Mixer
While many sourdough purists advocate for hand mixing, a stand mixer can be a fantastic tool for sourdough, especially for higher hydration doughs which can be very sticky and difficult to knead by hand. It can efficiently develop the gluten structure needed for a good oven spring and crumb.
For sourdough, you might use the stand mixer for the initial mixing phase after the autolyse (a rest period after mixing flour and water). Using the dough hook on a low speed (speed 2) for 5-8 minutes can effectively develop gluten. Some bakers even use the mixer for incorporating the starter and salt, followed by a few minutes of kneading.
While you might still perform stretch-and-folds during the bulk fermentation for structure and strength, the initial mechanical kneading significantly reduces the manual effort and can lead to a well-developed dough structure, contributing to that coveted open crumb in your loaf. These stand mixer baking tips specifically for sourdough can simplify the process.
Choosing the Right Stand Mixer for Your Baking Needs
Key Features to Consider When Buying a Stand Mixer
Selecting a stand mixer involves considering several factors to ensure it meets your baking habits. Motor wattage is a key indicator of power, especially important if you plan to make stiff doughs frequently. Mixers typically range from 250 watts for basic models up to 600 watts or more for heavy-duty machines. Bowl capacity is another critical feature; common sizes are 4.5 quarts (suitable for most home baking, handling dough for 1-2 loaves of bread) and 5-7 quarts (better for larger batches or stiffer doughs).
The type of mixing action (planetary is standard and ensures the attachment reaches all parts of the bowl), the number of speed settings (more offers finer control), and the construction (metal gears are more durable than plastic) are also important. Consider whether a tilt-head (easier to access the bowl) or bowl-lift (more stable for very heavy loads) design suits your needs and available counter space. Looking at these features will help you find the best fit.
Budget-Friendly Options vs. High-End Models
Stand mixers come in a wide price range, from under $200 to over $800. Budget-friendly models, often around $150-$300, are excellent for occasional bakers or those making smaller batches of less demanding recipes like cookies and cakes. They typically have lower wattage motors (e.g., 250-325 watts) and smaller bowl capacities (4.5-5 quarts). While they can handle dough, they might struggle with large or very stiff batches and may not be as durable for frequent, heavy use.
Mid-range to high-end mixers ($300-$800+) offer more power (325-600+ watts), larger capacities (5-7 quarts), and sturdier construction, often with metal components designed for longevity and frequent use. These are better suited for avid bakers who regularly make bread, large batches, or challenging recipes. While the initial investment is higher, their durability and capability make them worthwhile for serious enthusiasts. Your budget and baking frequency will guide your decision.
Understanding Stand Mixer Capacity and Power
Understanding the relationship between bowl capacity and motor power is crucial for effective stand mixer baking tips. A 5-quart mixer, a popular size, can typically handle dough made with up to 4-6 cups of flour, sufficient for a standard loaf of bread or a batch of pizza dough. However, if the motor wattage is low (e.g., 275 watts), it might strain or overheat when kneading a full bowl of dense dough consistently.
Larger mixers, like 6 or 7-quart models, are designed to handle dough made with 8-10 cups of flour or more. These usually come equipped with higher wattage motors (500 watts and up) to power through larger, stiffer loads without issue. Matching the mixer's power to its capacity and the type of baking you do most often ensures the machine performs efficiently and lasts longer. Don't buy a large capacity mixer with low power if you plan on baking multiple loaves of dense rye bread weekly.
Cleaning and Maintaining Your Stand Mixer for Longevity
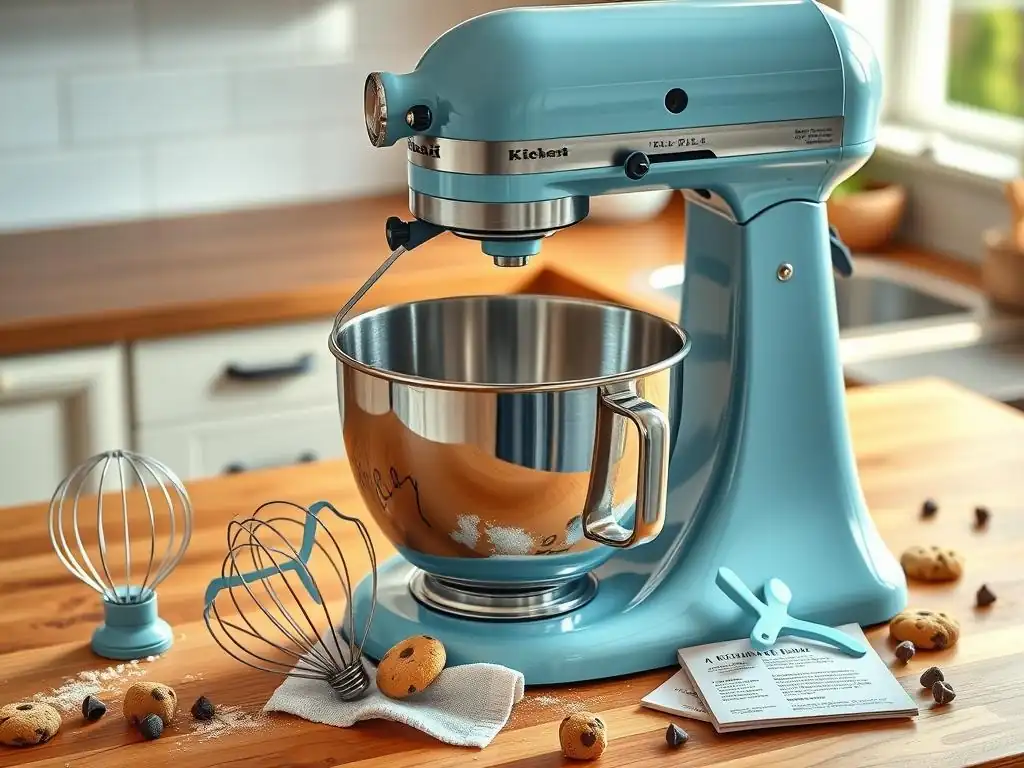
Simple Steps for Keeping Your Stand Mixer in Top Condition
Proper cleaning and maintenance are key to ensuring your stand mixer remains a reliable workhorse for years to come. Always unplug the mixer before cleaning. Remove the bowl and attachment immediately after use. Most stainless steel bowls and standard attachments (paddle, dough hook) are dishwasher safe, but always check your manual. The whisk attachment is often hand-wash only to protect the delicate wires.
Wipe down the mixer head and base with a damp cloth, avoiding getting water into vents or electrical components. Clean any dried-on dough or batter promptly. Periodically check the attachment shaft and wipe away any residue. Some older mixers might require occasional lubrication of specific parts, but modern machines are often sealed. Following these simple steps keeps your mixer clean and prevents build-up that could affect performance.
Troubleshooting Common Stand Mixer Issues
While stand mixers are generally robust, you might encounter occasional issues. If your mixer seems to be "walking" on the counter when kneading heavy dough, it's often due to the sheer force of the dough. Ensure the mixer is on a stable, flat surface. For very heavy doughs or larger batches, a bowl-lift model is generally more stable than a tilt-head.
If the motor sounds strained or the mixer stops during kneading, you might be overloading it with too much dough or a mixture that is too stiff for its power rating and capacity. Reduce the batch size or adjust the recipe consistency. If attachments aren't reaching the bottom of the bowl, check your manual for instructions on adjusting the attachment height – this is a common adjustment needed over time to ensure proper mixing and scraping of the bowl bottom. Consulting your user manual is the first step for most troubleshooting.
Conclusion: Invest in a Stand Mixer for a More Enjoyable and Efficient Baking Experience
Investing in a stand mixer is more than just buying another kitchen gadget; it's investing in your passion for baking. It provides the power, consistency, and hands-free operation that can dramatically improve your results and save you valuable time and effort. From effortlessly kneading dough for perfect bread to whipping up stable meringues for delicate pastries, a stand mixer opens up a world of baking possibilities that might have seemed out of reach before.
By understanding its capabilities, choosing the right model for your needs, and applying essential stand mixer baking tips, you'll find your baking process becomes smoother, more enjoyable, and incredibly efficient. Say goodbye to tired arms and inconsistent results, and hello to beautiful, delicious baked goods achieved with greater ease. A stand mixer is truly a transformative tool for any home baker looking to elevate their craft.
Frequently Asked Questions
What are the main benefits of using a stand mixer for baking, as opposed to mixing by hand?
A stand mixer offers consistent mixing and hands-free operation, saving you time and effort. It also allows for better incorporation of ingredients, leading to improved textures in your baked goods.
Can a stand mixer be used for all types of baking recipes, or are there some exceptions?
Stand mixers are versatile and suitable for most baking recipes, from whipping cream to kneading bread dough. However, very small batches or delicate mixtures may be better suited for hand mixing to avoid over-mixing.
What are some essential attachments to have for a stand mixer to maximize its baking potential?
The paddle attachment is great for creaming butter and sugar, while the whisk attachment is ideal for whipping air into eggs or cream. The dough hook is essential for kneading bread dough efficiently.
How does using a stand mixer help improve the quality of baked goods?
Stand mixers ensure ingredients are thoroughly combined, which results in a more uniform texture and prevents pockets of unmixed ingredients. This consistent mixing leads to better rise, crumb, and overall quality.
What are some common mistakes people make when using a stand mixer for baking, and how can they be avoided?
Over-mixing is a common pitfall, leading to tough baked goods. Always follow the recipe's instructions carefully and monitor the mixing time closely. Avoid using too high of a speed for too long.
Final Reflection: The Joy of Kneading (and Not Kneading!)
The humble stand mixer, once a luxury appliance, is rapidly becoming a kitchen essential for bakers of all levels. Its ability to effortlessly handle even the toughest doughs, freeing up precious time and energy, is transforming the baking experience for countless home cooks. This isn't just about convenience; it's about unlocking a world of baking possibilities previously inaccessible to many.
The impact of the stand mixer extends beyond mere efficiency; it's fundamentally altered the way we approach baking. It has democratized the process, allowing aspiring bakers to tackle complex recipes with confidence. The ease of use encourages experimentation and creativity, leading to a wider variety of baked goods in our homes and communities. Baking is at its heart a labor of love, and the stand mixer allows that love to shine through, unburdened by the physical demands of the process.
This quote perfectly encapsulates the shift in baking culture the stand mixer has facilitated.
Now, consider your own baking journey. Are you ready to embrace the possibilities a stand mixer offers? Perhaps you've been hesitant, intimidated by the initial investment or the perceived complexity. But I urge you to reconsider. Take the leap, explore the recipes you've always dreamed of making, and experience the joy of effortless baking. The time saved, the consistent results, and the sheer satisfaction of creating delicious baked goods will be a reward in themselves. Let the stand mixer be your partner in the kitchen, helping you create memories, one perfectly risen loaf at a time.
Unleash Your Inner Baker: Level Up Your Baking Game!
Thanks for taking the time to explore the world of stand mixers with us! We hope you now see how much easier (and more fun!) baking can be. Ready to take the next step?
- Invest in your baking happiness: Research different stand mixer models and find the perfect fit for your needs and budget. Consider features and accessories that best suit your baking style.
- Share your baking journey: Tell us (and other baking enthusiasts!) about your experience with stand mixers. What recipes are you most excited to try? Share your thoughts in the comments below!
- Challenge yourself: Pick a new recipe – something ambitious you might have avoided before – and use your new stand mixer knowledge to make it a success!
What delicious creation will your stand mixer help you bake first?