
Simple Homemade Chocolate Cake Pops

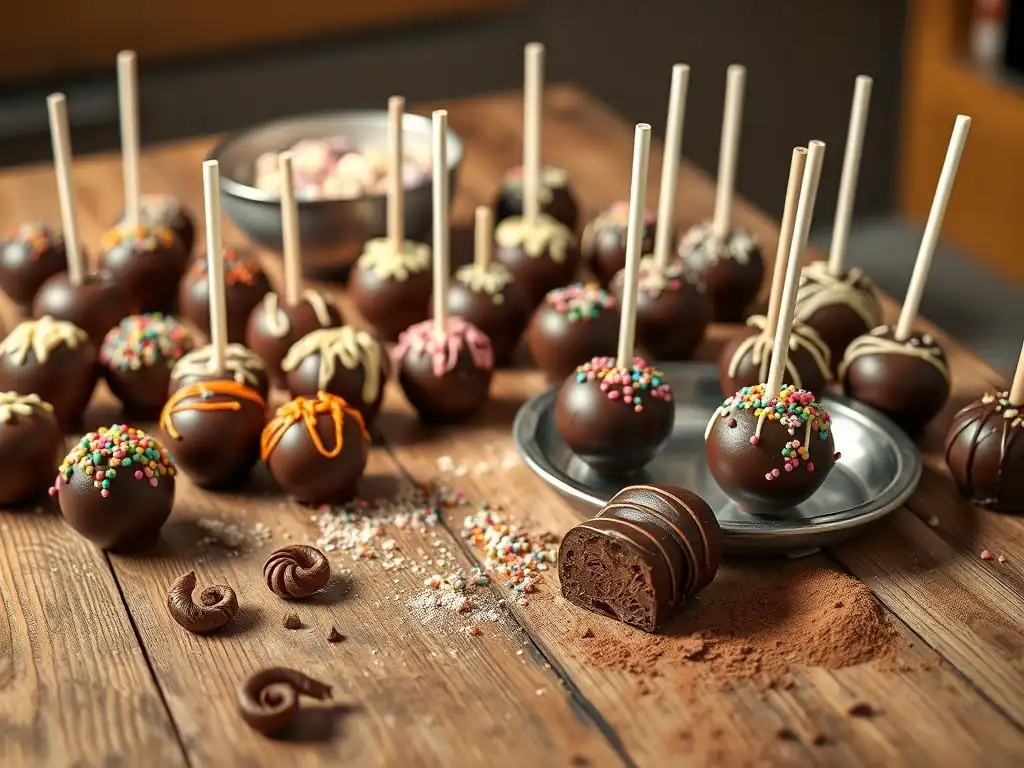
Welcome to BakeWithEase.com, your friendly guide to the delightful world of baking! Ever dreamed of effortlessly creating those irresistible treats you see in bakeries? Well, you're in the right place. Dive into our collection of simple recipes and expert techniques designed to empower bakers of all skill levels. Starting with a craving for something sweet? Our Easy Chocolate Cake Pop Recipe is the perfect place to begin. But there's so much more to discover... what other delicious creations await?
- Simple Homemade Chocolate Cake Pops: An Easy Recipe from BakeWithEase
- BakeWithEase Presents: The Easiest Chocolate Cake Pop Recipe
- What are Chocolate Cake Pops and Why Bake Them?
- Ingredients for the Perfect Homemade Chocolate Cake Pops
- Step-by-Step Guide to Making Easy Chocolate Cake Pops
- Tips and Tricks for Baking the Best Chocolate Cake Pops
- Variations and Adaptations of the Easy Chocolate Cake Pop Recipe
- Enjoy Your Delicious and Easy Chocolate Cake Pops!
-
Frequently Asked Questions
- What makes this chocolate cake pop recipe "easy"?
- Can I substitute ingredients in this easy chocolate cake pop recipe?
- How long do these homemade chocolate cake pops last?
- What are some tips for preventing my cake pops from falling off the sticks?
- What kind of chocolate is best for dipping cake pops in this easy recipe?
- Final Reflection: The Enduring Allure of Simple Sweets
- Unleash Your Inner Pastry Chef!
Simple Homemade Chocolate Cake Pops: An Easy Recipe from BakeWithEase
BakeWithEase Presents: The Easiest Chocolate Cake Pop Recipe
Welcome to BakeWithEase! We believe that baking should be fun, accessible, and, yes, easy. That's why we're thrilled to share our simple guide to making delicious homemade chocolate cake pops. Forget complicated techniques; this easy chocolate cake pop recipe is designed for anyone, from absolute beginners to seasoned bakers looking for a quick win. Get ready to create delightful, bite-sized treats that are perfect for parties, gifts, or just because!
This recipe breaks down each step, ensuring you understand the process from baking the cake to decorating your finished pops. By following these instructions, you'll gain the confidence to tackle cake pops and impress your friends and family with your baking prowess. Let's dive into the sweet world of making cake pops easy and enjoyable!
What are Chocolate Cake Pops and Why Bake Them?
The Allure of Cake Pops: A Bite-Sized Dessert
Cake pops are essentially crumbled cake mixed with frosting, rolled into balls, placed on a stick, and dipped in melted chocolate or candy coating. They offer a delightful combination of moist cake and rich coating in a convenient, portable format. Originating in the early 2000s, they quickly became a popular trend due to their versatility in decoration and appealing presentation.
Their bite-sized nature makes them incredibly appealing, especially for gatherings or as a fun alternative to traditional cake slices. They are perfect for portion control (if you can stop at just one!) and provide a burst of flavor and texture in every bite. Plus, the stick makes them less messy to eat, which is a huge plus for parties, especially with children.
Why This Easy Chocolate Cake Pop Recipe is Perfect for Beginners
Many recipes for cake pops can seem intimidating, involving precise measurements and techniques. However, this easy chocolate cake pop recipe simplifies the process considerably. We focus on using readily available ingredients and straightforward steps that don't require specialized equipment.
Our approach minimizes common pitfalls, such as dry cake or cracked coatings, by providing clear, actionable tips at each stage. We guide you through creating the perfect cake base, achieving the right mixture consistency, and mastering the dipping process. This makes getting started with homemade chocolate cake pops not just possible, but genuinely enjoyable for anyone new to the craft.
Ingredients for the Perfect Homemade Chocolate Cake Pops
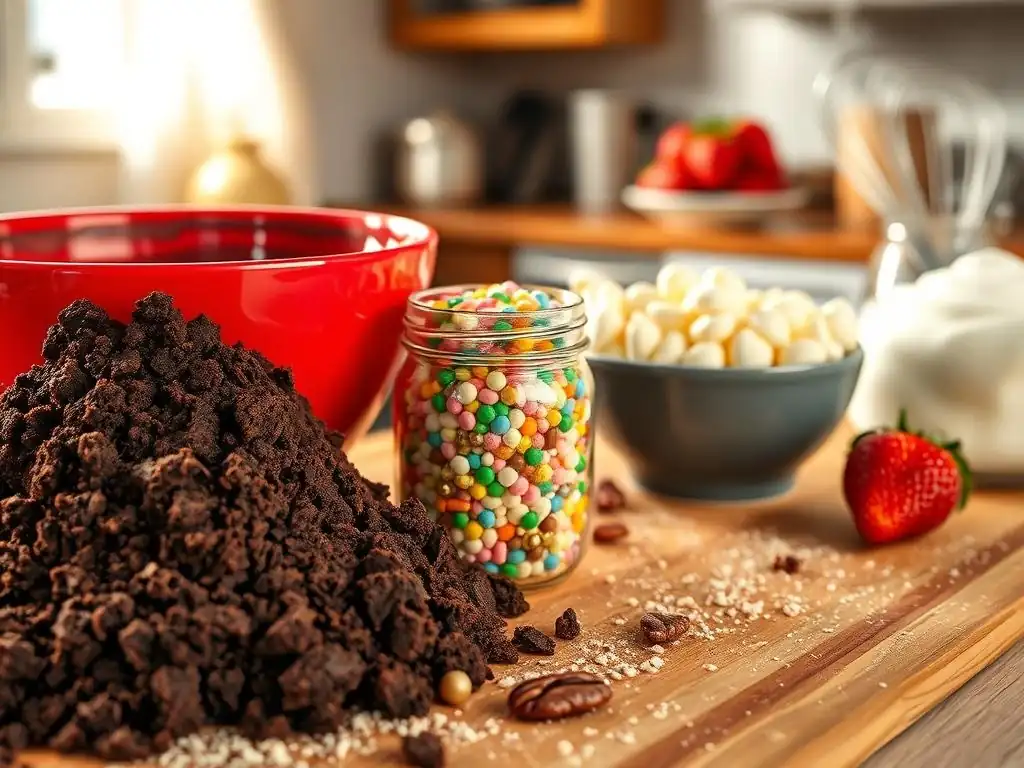
Cake Ingredients: What You'll Need for the Chocolate Cake Base
For our easy chocolate cake pop recipe, we'll start with a simple, moist chocolate cake. You can use your favorite homemade chocolate cake recipe or even a quality store-bought mix for ultimate ease. A standard 8 or 9-inch round cake or half a standard sheet cake is usually sufficient to yield about 25-30 cake pops, depending on size.
Typical ingredients for a simple chocolate cake include all-purpose flour (around 1.5 to 2 cups), granulated sugar (about 1.5 to 2 cups), unsweetened cocoa powder (around 0.5 to 0.75 cups), baking powder (1-2 teaspoons), baking soda (0.5-1 teaspoon), salt (a pinch), eggs (2-3 large), milk or buttermilk (around 1 cup), vegetable oil (0.5-0.75 cups), and vanilla extract (1-2 teaspoons). Using buttermilk or adding a splash of vinegar to regular milk can help create a tender crumb ideal for cake pops.
Frosting Ingredients: Creating the Perfect Binding Agent
The frosting is crucial as it binds the cake crumbs together to form the cake pop mixture. For this easy chocolate cake pop recipe, a simple buttercream or cream cheese frosting works best. You won't need a large quantity – typically about 0.5 to 0.75 cups of frosting is sufficient for one 8 or 9-inch cake.
Ingredients for a basic buttercream frosting usually include unsalted butter (softened, about 0.5 cups), powdered sugar (around 2-3 cups), milk or cream (1-2 tablespoons), and vanilla extract (0.5-1 teaspoon). The key is to use just enough frosting to make the cake crumbs cohesive and moldable, but not so much that the mixture becomes too wet or greasy. This balance is essential for perfectly formed, easy chocolate cake pops.
Coating Ingredients: Choosing Your Chocolate and Decorations
The coating is what gives your homemade chocolate cake pops their signature look and adds another layer of flavor. The most common coatings are candy melts or chocolate. Candy melts are often preferred for their ease of melting and smooth finish without needing tempering, available in various colors. For a richer flavor, good quality chocolate (like semi-sweet or milk chocolate chips or bars) can be used, though it may require careful tempering for a shiny, crack-free finish. You'll typically need about 10-12 ounces of coating per batch of cake pops.
Selecting the Right Chocolate for Coating
When choosing chocolate for coating your easy chocolate cake pops, consider both flavor and workability. Chocolate chips often contain stabilizers that make them harder to melt smoothly compared to chocolate bars or wafers designed for melting. For a truly simple process, candy melts are the easiest option. If using chocolate, ensure it's a type suitable for melting and dipping. Using a double boiler or microwave with short intervals is key to melting it without burning.
Using a high-quality chocolate will significantly impact the final taste of your homemade chocolate cake pops. While candy melts are easy, they have a different flavor profile. Experiment with different types of chocolate – dark, milk, or white – to find your favorite. Ensure you have enough coating; not having enough melted chocolate makes dipping difficult and messy.
Fun and Festive Cake Pop Decorations
Decorating your easy chocolate cake pops is where you can let your creativity shine! Simple options include sprinkles, chopped nuts, or a drizzle of contrasting melted chocolate. You'll want to have your decorations ready before you start dipping, as the coating sets relatively quickly.
Popular decorations include rainbow sprinkles, nonpareils, sparkling sugar, crushed cookies, or even edible glitter. For a more elaborate look, you can use piping bags with different colored melted chocolate to create stripes or patterns. Having a variety of decorations on hand allows you to customize each homemade chocolate cake pop and make them perfect for any occasion.
Step-by-Step Guide to Making Easy Chocolate Cake Pops
Step 1: Baking the Chocolate Cake
Start by preparing your chocolate cake according to your chosen recipe or mix instructions. Preheat your oven to the specified temperature, typically around 350°F (175°C). Grease and flour your cake pan to prevent sticking.
Pour the batter into the prepared pan and bake for the recommended time, usually between 30 to 40 minutes for a standard cake, or until a toothpick inserted into the center comes out clean. Once baked, let the cake cool in the pan for about 10-15 minutes before inverting it onto a wire rack to cool completely. Ensure the cake is entirely cool before moving on to the next step; a warm cake will create a greasy, difficult-to-work-with mixture.
Pro Tip: Preventing a Dry Cake for Cake Pops
A slightly moist cake base is ideal for homemade chocolate cake pops. If your cake tends to be dry, consider slightly underbaking it by a minute or two (ensure it's still cooked through) or adding an extra tablespoon or two of oil or buttermilk to the batter. A dry cake will result in crumbly cake pops that don't hold their shape well.
Another tip is to use a recipe known for its moisture content, perhaps one using oil instead of butter, or incorporating ingredients like sour cream or yogurt. For this easy chocolate cake pop recipe, moisture is your friend, as it helps create that smooth, truffle-like texture when mixed with frosting.
Step 2: Preparing the Cake Pop Mixture
Once the cake is completely cooled, it's time to crumble it up. This is perhaps the most fun part! Break the cake into small pieces and place them in a large bowl.
Using your hands or a fork, crumble the cake until it resembles fine crumbs, similar to coarse sand. Ensure there are no large lumps left. This step is crucial for achieving a smooth, uniform texture in your homemade chocolate cake pops.
Crumbling the Cake Perfectly
The goal is to get the cake crumbs as fine and consistent as possible. Large pieces will make the mixture lumpy and harder to roll into smooth balls. You can even use a food processor for this step to get very fine crumbs quickly, pulsing until the desired consistency is reached.
Work through the entire cake, making sure every piece is broken down. This meticulous crumbling is a key step in ensuring your easy chocolate cake pop recipe results in perfectly smooth, bite-sized treats.
Mixing with Frosting: Achieving the Right Consistency
Now, add your frosting to the bowl of cake crumbs. Start with about half the amount you think you'll need (e.g., 1/4 cup if you estimate needing 1/2 cup total) and mix it into the crumbs using your hands or a sturdy spatula.
The mixture should be moist enough to come together when squeezed, similar to playdough or cookie dough, but not so wet that it's sticky or greasy. Add more frosting, a tablespoon at a time, mixing thoroughly after each addition, until the mixture holds its shape when rolled into a ball. It's better to err on the side of slightly less frosting than too much. This balance is critical for the structure of your homemade chocolate cake pops.
Step 3: Forming the Cake Pops
Once your cake and frosting mixture is ready, it's time to roll it into balls. Using a small cookie scoop (about 1.5 to 2 tablespoons) can help create uniform sizes, typically yielding pops weighing around 30-40 grams each.
Scoop out portions of the mixture and roll them between your palms to form smooth, dense balls. Avoid making them too large, as they can become heavy and fall off the stick. Aim for a size slightly smaller than a golf ball.
Rolling and Shaping Your Cake Pops
Apply gentle but firm pressure as you roll the balls to ensure they are compact and solid. This helps prevent them from cracking or falling apart later. Place the rolled balls onto a baking sheet lined with parchment paper.
Continue rolling until all the mixture is used. Having uniform sizes makes the dipping process much easier and ensures consistent cooking (or rather, setting) times if you were to chill or freeze them. This step is vital for the structure of your easy chocolate cake pop recipe.
Chilling the Cake Pops for Stability
After rolling, the cake balls need to chill to firm up. This makes them much easier to dip and helps them stay securely on the sticks. Place the baking sheet with the rolled cake balls into the refrigerator for at least 30-60 minutes, or in the freezer for about 15-20 minutes.
They should be firm to the touch but not frozen solid. Chilling is a non-negotiable step for successful homemade chocolate cake pops, preventing them from falling apart when dipped into warm coating.
Step 4: Coating the Cake Pops in Chocolate
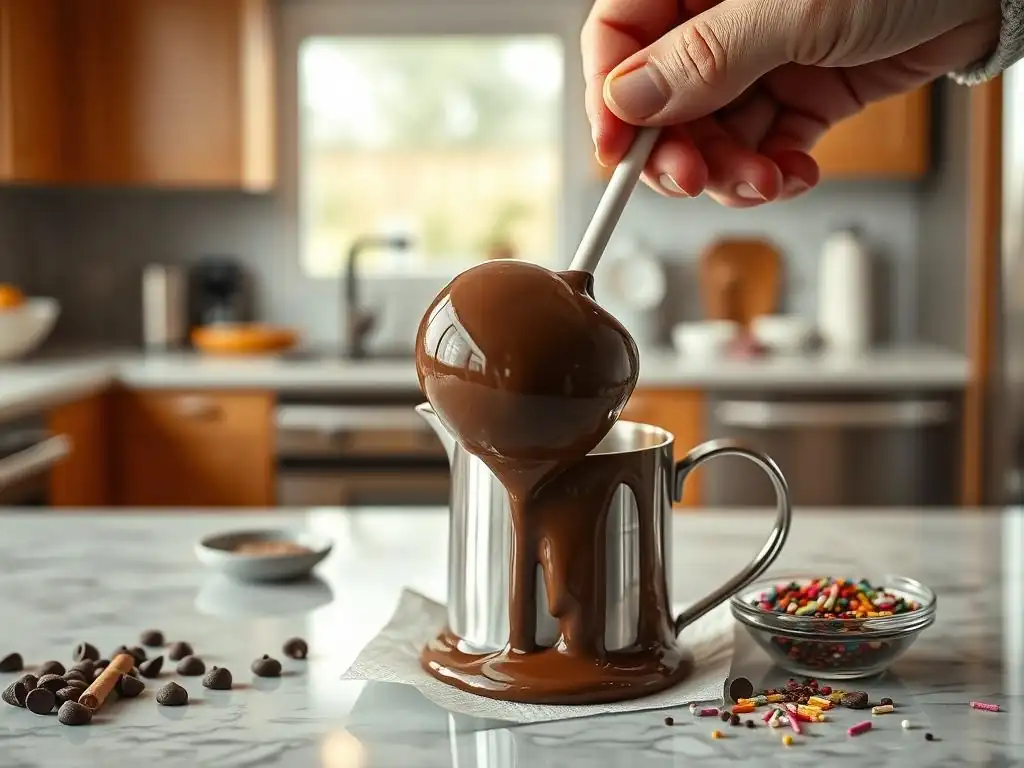
While the cake balls are chilling, prepare your coating. Melt your chosen chocolate or candy melts in a deep, narrow container. A mug or a tall glass works well, as it allows you to dip the entire cake pop easily.
Melt the coating gently, either using a double boiler over simmering water or in the microwave in 30-second intervals, stirring after each, until smooth and fully melted. Be careful not to overheat, as this can cause the chocolate to seize or burn.
Melting the Chocolate Smoothly
Achieving a smooth, fluid consistency in your melted coating is essential for a flawless finish on your easy chocolate cake pops. If using chocolate and it seems too thick, you can add a small amount of vegetable shortening or coconut oil (about 1 teaspoon per cup of chocolate) to thin it out slightly, but be cautious not to add too much.
For candy melts, follow the package instructions. They are designed to melt smoothly. Ensure the melted coating is warm enough to be liquid but not so hot that it melts the cake pop. Around 90-100°F (32-38°C) is a good temperature range for dipping.
Dipping and Coating Techniques for Flawless Cake Pops
Once the cake balls are chilled and the coating is melted, it's time to dip. Take a cake pop stick and dip about 1/2 inch of the tip into the melted coating, then insert it about halfway into a cake ball. This acts as glue to secure the ball to the stick.
Let this "glue" set for a few seconds before dipping the entire cake pop. Dip the cake pop straight down into the melted coating until fully submerged. Lift it out and gently twist and tap the stick against the rim of the container to let excess coating drip off. This tapping helps remove air bubbles and ensures a smooth finish. Work quickly but carefully.
Step 5: Decorating Your Homemade Cake Pops
After dipping, while the coating is still wet, add your chosen decorations. This is the fun part of making easy chocolate cake pops!
Sprinkle on sprinkles, roll in chopped nuts, or drizzle with a contrasting color of melted chocolate. Be creative and have fun personalizing each pop!
Creative Cake Pop Decoration Ideas
Beyond basic sprinkles, consider using edible markers to draw faces or patterns, attaching small candies with a dab of melted coating, or using edible glitter for sparkle. For themed events, you can match sprinkle colors or shapes.
Another idea is to dip only half the pop and leave the other half plain, or create stripes by drizzling melted chocolate over the coated pop. The possibilities are vast, allowing you to make truly unique homemade chocolate cake pops.
Setting the Chocolate and Decorations
Once decorated, you need to let the coating set completely. The easiest way is to stand the cake pops upright in a styrofoam block or a tall glass. Ensure they don't touch each other while setting.
Allow them to set at room temperature or, for faster setting, place them back in the refrigerator for about 15-20 minutes. Once the coating is firm and dry to the touch, your easy chocolate cake pops are ready to be enjoyed!
Tips and Tricks for Baking the Best Chocolate Cake Pops
Making homemade chocolate cake pops can be simple, but a few tips can elevate your results. Attention to detail at each stage, from crumbling the cake to dipping, makes a significant difference.
Ensuring your cake base is moist but not greasy, your mixture has the right consistency, and your coating is properly melted are foundational elements. Patience during chilling and setting stages is also key.
Troubleshooting Common Cake Pop Problems
Even with an easy chocolate cake pop recipe, you might encounter issues. Don't get discouraged! Common problems include cake pops falling off the stick, cracking coating, or a lumpy finish.
Most issues can be traced back to temperature or mixture consistency. If pops are falling off, they likely weren't chilled enough, or the "glue" wasn't set. Cracking often happens if the cake pop is too cold when dipped into warm coating, causing a temperature shock. Lumps usually result from not crumbling the cake finely enough or not tapping off excess coating.
Preventing Cake Pops from Cracking
To prevent cracking, ensure your chilled cake balls are not too cold when you dip them; refrigerator temperature is usually perfect, but straight from the freezer might be too extreme. Also, make sure your melted coating isn't excessively hot.
Dipping quickly and allowing excess to drip off smoothly helps create a uniform layer that is less prone to cracking as it sets. This step is crucial for achieving beautiful, smooth homemade chocolate cake pops.
Achieving a Smooth Chocolate Coating
A smooth coating starts with properly melted chocolate or candy melts. Avoid getting any water into the melting chocolate, as this can cause it to seize and become unusable. Stir gently while melting.
When dipping, ensure the cake ball is fully submerged, then lift and tap gently to remove air bubbles and excess coating. Dip only one or two pops at a time before reheating the coating slightly if it starts to thicken.
Storage Tips for Homemade Chocolate Cake Pops
Once the coating is fully set, homemade chocolate cake pops can be stored at room temperature in an airtight container for 2-3 days. If your frosting or coating requires refrigeration (like cream cheese frosting in warm weather), store them in the refrigerator.
For longer storage, they can be kept in the refrigerator for up to a week or frozen for up to a month. If freezing, layer them in an airtight container separated by parchment paper. Thaw them in the refrigerator before bringing to room temperature to serve.
Variations and Adaptations of the Easy Chocolate Cake Pop Recipe
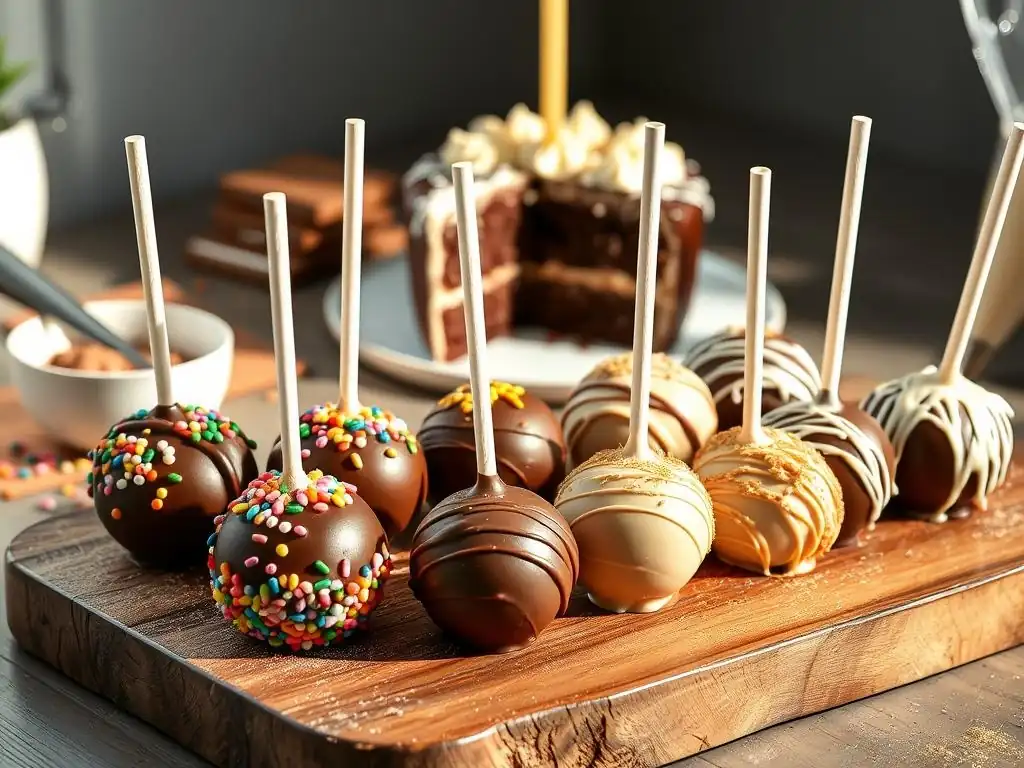
This easy chocolate cake pop recipe is a fantastic base for countless variations. Once you master the basic technique, feel free to experiment with different flavors and ingredients.
Whether you want to switch up the cake flavor, the frosting, or the coating, the possibilities are endless. This recipe is designed to be adaptable, encouraging you to get creative in the kitchen.
Flavor Variations: Beyond Chocolate
While chocolate is classic, you can make cake pops from almost any cake and frosting combination! Try using vanilla cake with vanilla frosting and white chocolate coating, red velvet cake with cream cheese frosting, or even spice cake with caramel frosting.
The core technique remains the same: bake, crumble, mix with frosting, roll, chill, and dip. This versatility makes the easy chocolate cake pop recipe a gateway to creating a wide array of delightful treats.
Adding Extracts and Zests for Unique Flavors
Infuse extra flavor into your cake pops by adding extracts or zests to the cake or frosting mixture. A little peppermint extract in the chocolate cake/frosting mix creates a mint chocolate pop. Orange zest adds a bright note to chocolate.
Consider almond extract, coffee extract, or even a touch of liqueur (like rum or Kahlúa, used sparingly) for adult-friendly versions. These additions can transform a simple chocolate cake pop into something truly unique and memorable.
Dietary Adaptations: Gluten-Free and Vegan Options
With readily available ingredients, you can easily adapt this easy chocolate cake pop recipe for various dietary needs. Use a gluten-free chocolate cake mix or recipe and ensure your frosting is made with gluten-free ingredients.
For vegan options, use a vegan chocolate cake recipe (many use oil and plant-based milk/buttermilk substitutes) and a vegan frosting (typically made with vegan butter and plant-based milk). Ensure your coating is also vegan-friendly, such as dairy-free chocolate chips or vegan candy melts. The process for making the pops remains the same.
Enjoy Your Delicious and Easy Chocolate Cake Pops!
Congratulations! You've successfully made homemade chocolate cake pops using our easy recipe. These delightful treats are sure to bring smiles to anyone who enjoys them.
Whether you made them for a special occasion or just for fun, take a moment to appreciate your work. Baking should be a rewarding experience, and mastering this simple chocolate cake pop recipe is definitely something to be proud of. Enjoy sharing your creations!
Frequently Asked Questions
What makes this chocolate cake pop recipe "easy"?
This recipe prioritizes simple steps and readily available ingredients. We focus on a straightforward baking process and easy-to-handle chocolate melting techniques.
Can I substitute ingredients in this easy chocolate cake pop recipe?
Yes, you can! Feel free to experiment with different types of chocolate or flavor extracts. However, significant substitutions might affect the final texture and taste.
How long do these homemade chocolate cake pops last?
Properly stored in an airtight container, these cake pops will last for up to a week at room temperature. For longer storage, consider refrigerating them for up to two weeks.
What are some tips for preventing my cake pops from falling off the sticks?
Ensure the cake balls are firm and chilled before dipping. Dip the stick in melted chocolate before inserting it into the cake ball for a stronger hold.
What kind of chocolate is best for dipping cake pops in this easy recipe?
Melting chocolate or candy melts are ideal because they melt smoothly and harden quickly. You can also use chocolate chips, but you may need to add a small amount of shortening to help them melt more easily.
Final Reflection: The Enduring Allure of Simple Sweets
The ease of making delicious treats at home is more relevant than ever in today's fast-paced world. A simple chocolate cake pop recipe, like the one detailed above, offers a delightful escape from the complexities of daily life, proving that joy can be found in the simplest of creations. It's a reminder that sometimes, the most satisfying experiences are the ones that require the least amount of effort.
The enduring appeal of homemade treats goes beyond mere convenience; it's about connection and shared experiences. These little pops of chocolatey goodness are perfect for sharing with loved ones, creating memories around a simple act of baking and decorating. They represent a return to simpler times, a time when the pleasure of creating something delicious with your own hands was valued above all else. The best things in life are simple.
This sentiment rings truer than ever when considering the joy a homemade chocolate cake pop can bring.
Now, I invite you to consider the possibilities. Don't just limit yourself to the recipe provided; let it inspire you to experiment, to personalize, to create your own unique twist on this classic treat. Imagine the smiles on the faces of your friends and family as you present them with these delightful little bites of happiness. The power to create joy, one cake pop at a time, is entirely in your hands. So, gather your ingredients, put on some music, and let the baking begin!
Unleash Your Inner Pastry Chef!
Thanks for joining us on this delicious journey into the world of homemade chocolate cake pops! We hope you gained some valuable tips and tricks to create your own irresistible treats. Now it's time to put your newfound skills to the test!
- Dive right in and make your own batch of cake pops! Use the recipe and techniques you just learned to create a personalized masterpiece. Experiment with different toppings and flavors – the possibilities are endless!
- Share your creations! Show us your beautiful cake pops on social media using #BakeWithEaseCakePops. We’d love to see what you come up with.
- Challenge a friend to a cake pop-off! Who can create the most creative and delicious cake pop?
What unique flavor combination will you try first? Let us know in the comments below!