
Foolproof Lemon Tart: Tangy Perfection Made Easy

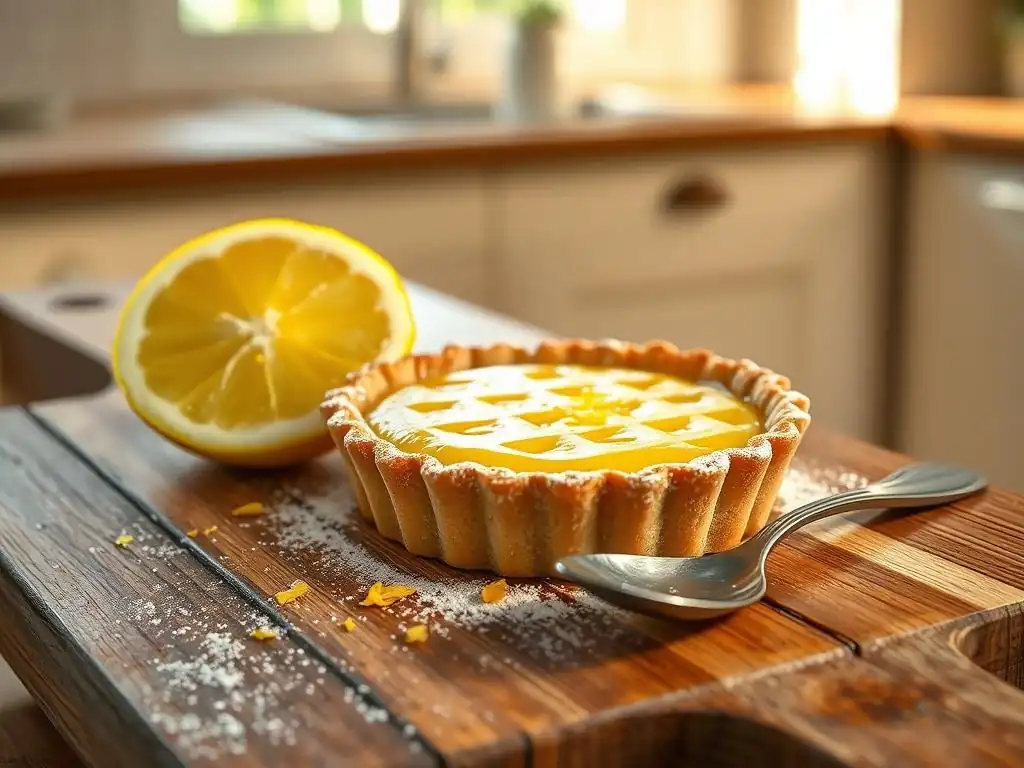
Welcome to BakeWithEase, your kitchen companion for all things delicious! Ever dreamt of creating a show-stopping dessert that's both impressive and surprisingly simple? Then you're in the right place. Dive into our guide and discover our foolproof lemon tart recipe easy - it's tangier, brighter, and easier than you ever imagined. Ready to unlock the secrets to pastry perfection? Let's get baking!
- BakeWithEase Presents: The Easiest Lemon Tart Recipe Ever
- Mastering the Lemon Tart: A Step-by-Step Guide
- Tips and Tricks for Lemon Tart Success
- Storing and Serving Your Homemade Lemon Tart
- The Ultimate Easy Lemon Tart Recipe: You Can Do It!
- Frequently Asked Questions
- Final Reflection: The Enduring Allure of a Perfect Lemon Tart
- Unlock Your Inner Pastry Chef: Bake the Perfect Lemon Tart Today!
BakeWithEase Presents: The Easiest Lemon Tart Recipe Ever
Welcome to BakeWithEase, where we believe that delicious baking should be accessible to everyone, regardless of skill level. Today, we're tackling a classic dessert that often intimidates home bakers: the lemon tart. While many recipes can be finicky, leading to soggy bottoms or runny fillings, we've developed a truly foolproof lemon tart recipe that promises tangy perfection with minimal stress. Get ready to impress yourself and your loved ones with a dessert that's bright, zesty, and surprisingly simple to master.
This easy lemon tart is designed with the beginner in mind, breaking down each step into manageable parts. We'll guide you through creating a simple, flaky crust and a vibrant, smooth lemon filling. Forget complicated techniques; our method focuses on clear instructions and reliable results. Whether you're baking for a special occasion or just craving a delightful treat, this homemade lemon tart is your new go-to recipe for tangy satisfaction.
Why This Lemon Tart Recipe is Truly Foolproof
Our approach to this foolproof lemon tart recipe easy focuses on simplifying the steps where most tarts go wrong. For instance, the crust method is designed to minimize handling, which is key to preventing toughness. By using simple techniques like cutting in cold butter and chilling the dough adequately, we ensure a flaky, tender base without the need for complex rolling or shaping maneuvers that can frustrate novice bakers. This streamlined process significantly reduces the risk of a dense or hard crust, a common pitfall in traditional tart making.
Furthermore, the lemon filling technique in this recipe is calibrated for reliability. Instead of relying solely on egg yolks, which can be tricky to cook without curdling, we utilize whole eggs and a precise cooking method that ensures the filling thickens beautifully and sets properly every time.
We provide clear visual cues and approximate temperatures (like aiming for around 180-185°F or 82-85°C) to take the guesswork out of the process. This careful balance of ingredients and technique results in a velvety smooth filling that is perfectly tangy and sets firm once cooled, eliminating the dreaded runny center often associated with homemade lemon tarts.
Mastering the Lemon Tart: A Step-by-Step Guide
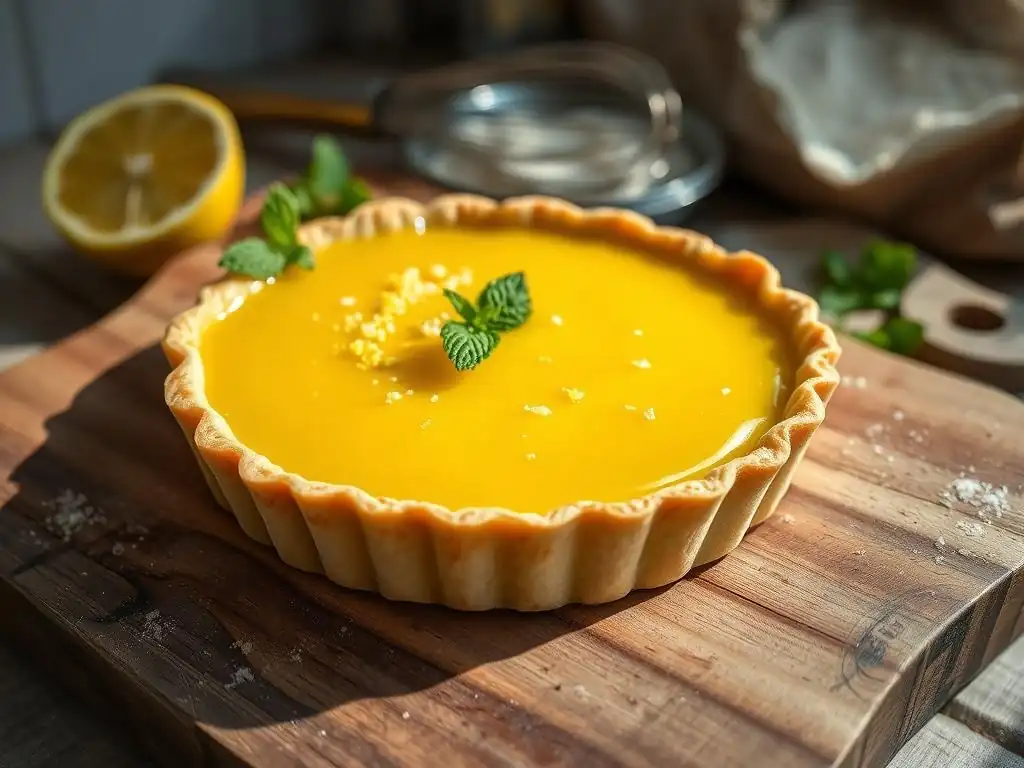
Part 1: Crafting the Perfect Tart Crust
Creating a stable and delicious base is the first step to a successful homemade lemon tart. Our method for the tart crust is designed for ease and reliability, ensuring a flaky texture that complements the tangy filling beautifully. Starting with chilled ingredients is crucial, as cold butter creates steam pockets during baking, resulting in those desirable flaky layers. You'll find this part of our foolproof lemon tart recipe surprisingly straightforward.
We recommend using a food processor for speed and minimal handling, but a pastry blender or even your fingertips work well too. The key is to work quickly and avoid overmixing the dough. Once combined, the dough needs time to rest and chill, typically for at least 30 minutes. This resting period allows the gluten to relax, making the dough easier to roll or press into the tart pan and preventing shrinkage during baking. A well-chilled dough is less sticky and holds its shape better, contributing to the foolproof nature of this easy lemon tart recipe.
Ingredients for a Flaky Tart Crust
- 1 ¼ cups (about 150g) All-purpose flour
- ½ teaspoon Salt
- ½ cup (1 stick or 113g) Unsalted butter, very cold, cut into small cubes
- 2-4 tablespoons Ice water
Step-by-Step Instructions for the Tart Crust
- Combine flour and salt in a bowl or food processor.
- Cut in cold butter until the mixture resembles coarse crumbs with some pea-sized pieces remaining.
- Add ice water, 1 tablespoon at a time, mixing until the dough just comes together. Do not overmix.
- Gather dough into a disc, wrap tightly in plastic wrap, and chill for at least 30 minutes.
- Lightly flour a surface and roll dough into a 12-inch circle or press directly into a 9-inch tart pan with a removable bottom, pressing evenly up the sides.
- Trim excess dough and prick the bottom of the crust all over with a fork.
- Chill the formed crust in the pan for another 20-30 minutes before blind baking.
Blind Baking the Tart Crust: Achieving a Crisp Base
Blind baking is a non-negotiable step for preventing a soggy bottom in your foolproof lemon tart. It involves partially or fully baking the crust before adding the filling. This pre-baking sets the crust's structure and creates a barrier against the moist lemon filling. To blind bake effectively, first line the chilled crust with parchment paper or foil, gently pressing it into the corners and up the sides.
Fill the lined crust with pie weights, dried beans, or uncooked rice, ensuring they fill the pan completely to support the sides and prevent shrinkage. Bake in a preheated oven at around 375°F (190°C) for about 15-20 minutes, or until the edges are lightly golden. Then, carefully remove the weights and lining and bake for another 5-10 minutes until the bottom is dry and lightly golden. This two-stage process ensures the bottom crust is fully cooked and crisp, laying the foundation for a truly perfect and easy lemon tart.
Part 2: Preparing the Tangy Lemon Filling
The heart of any lemon tart is its filling – it needs to be perfectly tangy, sweet, and smooth. Our foolproof lemon tart recipe makes this step straightforward, focusing on simple techniques to achieve that luscious, creamy texture without any curdling or lumps. We'll guide you through combining fresh ingredients to unlock maximum flavor and achieve the ideal consistency that sets beautifully.
Using fresh lemon juice and zest is paramount for that vibrant, tangy punch. Bottled juice simply won't deliver the same bright flavor profile. Combining the wet and dry ingredients correctly is also key to a smooth filling. We'll show you how to whisk everything together effectively before cooking, minimizing the chance of a lumpy texture later on. This careful preparation ensures your homemade lemon tart filling is both delicious and structurally sound.
Ingredients for the Zesty Lemon Filling
- ¾ cup (150g) Granulated sugar
- 2 tablespoons All-purpose flour or Cornstarch
- ¼ teaspoon Salt
- ½ cup (120ml) Fresh lemon juice (from about 3-4 lemons)
- Zest of 1-2 large lemons
- 3 large Eggs
- 4 tablespoons (½ stick or 57g) Unsalted butter, cut into pieces
Combining the Ingredients: Achieving the Right Consistency
Achieving a smooth consistency before cooking is vital for a silky lemon filling in your foolproof lemon tart. Start by whisking the sugar, flour (or cornstarch), and salt together in a medium saucepan or the top of a double boiler. This step helps distribute the dry ingredients evenly and prevents lumps from forming when the wet ingredients are added. Ensure there are no visible clumps of sugar or starch at this stage.
Next, gradually whisk in the fresh lemon juice and lemon zest until well combined. The mixture will still be quite liquid. Then, whisk in the eggs one at a time until fully incorporated and the mixture is uniform in color and texture. For extra insurance against any tiny lumps from the zest or egg whites, you can strain the mixture through a fine-mesh sieve before cooking. This simple step guarantees a perfectly smooth and professional-looking filling for your easy lemon tart.
Cooking the Lemon Filling: Avoiding a Soggy Tart
Cooking the lemon filling correctly is perhaps the most critical step to avoid a runny tart. The goal is to thicken the mixture until it reaches a custard-like consistency that will set firmly upon cooling. While some recipes use a double boiler, you can cook the filling directly in a saucepan over medium-low heat, provided you stir constantly. Use a whisk to keep the mixture moving, paying special attention to the bottom and edges of the pan where it's most likely to scorch or curdle.
Continue cooking and stirring until the filling thickens significantly, coats the back of a spoon, and reaches an internal temperature of around 180-185°F (82-85°C). This temperature range is crucial because it's hot enough to cook the eggs and activate the thickening agents but below the point where eggs scramble. Once thickened, remove the pan from the heat and whisk in the cold butter, one piece at a time, until it's fully melted and incorporated. This adds richness and helps create that smooth, glossy finish characteristic of a perfect homemade lemon tart filling.
Tips for a Smooth and Creamy Lemon Filling
Ensuring your lemon filling is smooth and creamy elevates your foolproof lemon tart from good to spectacular. One key tip is using room temperature eggs (or whisking cold eggs vigorously) as they incorporate more evenly into the mixture than cold ones. As mentioned, straining the mixture before cooking is an excellent preventative measure against any small solids or imperfections, resulting in a truly silky texture.
After the filling is cooked and the butter is whisked in, pouring it immediately into the prepared crust is best. Avoid letting it sit in the pan for too long, as it can continue to thicken and potentially develop a skin. If you must wait a moment, cover the surface directly with plastic wrap to prevent skin formation. Finally, allowing the tart to cool completely, first at room temperature and then in the refrigerator, is essential for the filling to set properly into that firm yet creamy consistency expected of a perfect easy lemon tart.
Part 3: Assembling and Baking the Lemon Tart
With your crisp, blind-baked crust ready and your smooth, tangy filling prepared, the final stage is assembling and baking your foolproof lemon tart to perfection. This step is relatively quick but crucial for ensuring the filling sets correctly within the baked shell. The gentle heat of the oven helps to finish setting the custard without overcooking it, which could lead to a rubbery texture.
Pouring the warm filling into the pre-baked crust is straightforward, but handling the tart carefully during the final bake and cooling is important. We'll outline the optimal temperature and time to achieve that delicate balance between a fully set filling and a beautifully golden crust. Knowing how to check for doneness is also key, ensuring you pull the tart from the oven at just the right moment for that ideal creamy texture.
Pouring the Lemon Filling into the Baked Tart Crust
Carefully pour the warm lemon filling into the blind-baked and cooled tart crust. The filling should come up to just below the rim of the crust. If you strained the filling, do so directly into the tart shell.
Baking Time and Temperature: Achieving the Perfect Set
Baking the assembled lemon tart at a lower temperature, typically around 325°F (160°C), is recommended to gently set the filling without cracking the surface or over-baking the edges. The bake time can vary depending on your oven, but it's usually between 20 to 30 minutes. This gentle heat allows the custard to solidify evenly from the edges inwards.
During this final bake, the edges of the filling will appear set and slightly puffed, while the center will still have a slight wobble. It's essential not to over-bake the tart, as this can result in a less creamy texture and potential cracks in the filling. Trust the process; the residual heat and refrigeration will continue to set the center after it's removed from the oven, completing the transformation of your easy lemon tart.
How to Tell When Your Lemon Tart is Done
Knowing exactly when your foolproof lemon tart is done is key to achieving the perfect texture. The most reliable indicator is to gently nudge the tart pan. The filling should appear set around the edges, perhaps an inch or two in from the crust, but the very center (a circle about 2-3 inches wide) should still have a slight, jiggly wobble. It shouldn't be liquid, but it shouldn't be completely firm either.
Another visual cue is that the surface might look slightly matte rather than glossy, especially around the edges. Avoid baking until the entire surface is completely firm, as this means the filling will likely be rubbery once cooled. Remember, the filling continues to set significantly as it cools, first at room temperature for an hour or two, and then fully in the refrigerator for at least 2-3 hours (or preferably longer) before slicing. Patience during the cooling process is crucial for that ultimate tangy, creamy homemade lemon tart experience.
Tips and Tricks for Lemon Tart Success
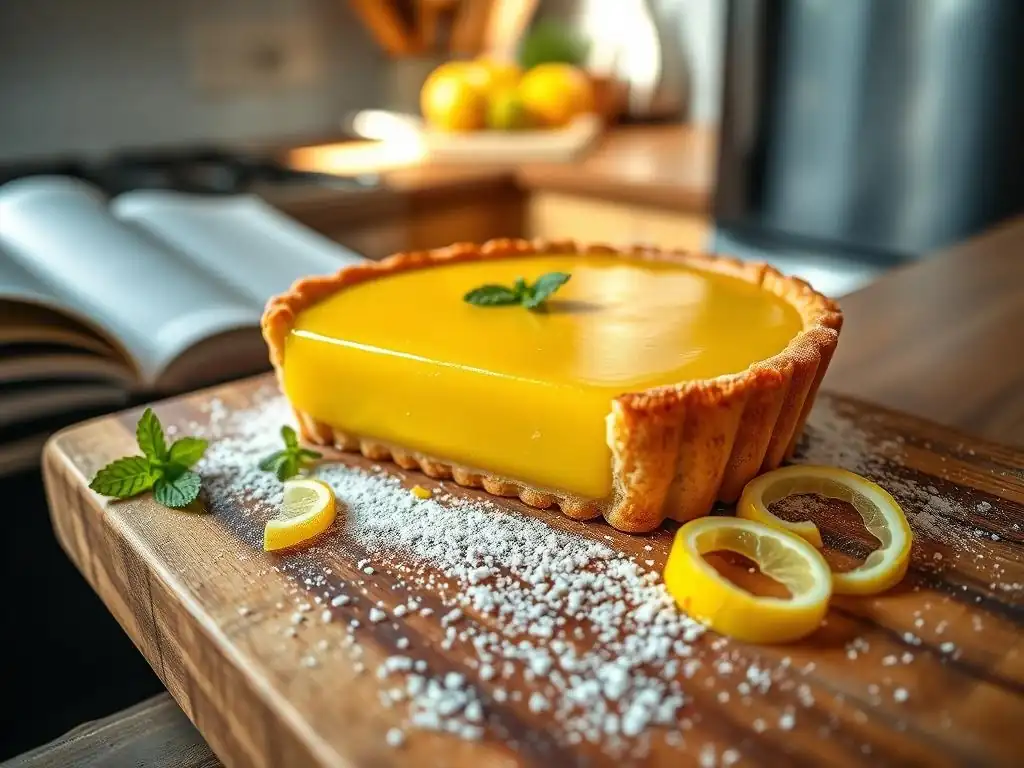
Even with a foolproof lemon tart recipe, a few extra tips can elevate your results and help you troubleshoot common issues. Understanding the why behind certain steps makes you a more confident baker. We've designed this easy lemon tart guide to anticipate potential problems and provide simple solutions, ensuring your baking journey is smooth and successful.
From preventing the dreaded soggy bottom to achieving that perfect balance of sweet and tart, these tips cover the essential elements of lemon tart mastery. We'll also explore fun ways to customize your homemade lemon tart, adding your personal touch to this classic dessert. Baking should be enjoyable, and these tricks are here to help you achieve tangy perfection every time.
Avoiding Common Lemon Tart Mistakes
Baking a lemon tart can sometimes present challenges, but recognizing common pitfalls helps you avoid them. One frequent issue is a crust that shrinks excessively during baking. This is often due to insufficient chilling time before blind baking. Ensuring your dough rests adequately in the refrigerator, both after mixing and again after forming it in the pan, is a simple yet effective way to minimize shrinkage and maintain a beautiful crust shape for your easy lemon tart.
Another common problem is a cracked filling surface. This usually happens if the tart is over-baked or cools too quickly. Baking at the recommended lower temperature helps prevent over-baking. When cooling, let the tart sit at room temperature for a significant period before refrigerating. Sudden temperature changes can stress the set custard, leading to cracks. By following these simple steps, you can significantly reduce the chances of these common issues, reinforcing the foolproof nature of this lemon tart recipe easy.
Preventing a Soggy Crust
Preventing a soggy crust is paramount for a truly great lemon tart. The most effective defense is proper blind baking, as detailed earlier. Fully pre-baking the bottom until it's dry and lightly golden creates a moisture barrier. Additionally, some bakers like to brush the hot, blind-baked crust with a thin layer of egg white immediately after removing the weights and before the final bake. This creates a seal that further protects against the moisture from the filling seeping in.
Ensuring the crust is completely cool before pouring in the filling can also help. A warm crust can cause the bottom layers of the filling to cook unevenly or release steam that makes the crust soggy. Combining thorough blind baking with adequate cooling time provides the best defense against a soggy bottom, guaranteeing a crisp base that supports your tangy, homemade lemon tart filling perfectly.
Troubleshooting a Runny Filling
A runny lemon filling is disappointing, but it's usually a sign of undercooking. The key to preventing this in our foolproof lemon tart recipe is ensuring the filling reaches the correct temperature (around 180-185°F or 82-85°C) and thickens sufficiently while cooking on the stovetop. It should be thick enough to coat the back of a spoon and leave a clear trail when you run your finger through it.
If you've cooked the filling properly but it still seems slightly soft after chilling, ensure you've given it ample time to set in the refrigerator, ideally 3-4 hours or even overnight. Cold is crucial for custard-based fillings to firm up. If it's still too soft, you might need to slightly increase the thickening agent (flour or cornstarch) the next time you make this easy lemon tart, or ensure your whisking was vigorous enough during cooking.
Achieving the Perfect Tangy-Sweet Balance
The hallmark of a great lemon tart is its vibrant tanginess, perfectly balanced by sweetness. This recipe is calibrated for a classic tangy flavor, but you can adjust it slightly to your preference. For a more intense tang, you can add an extra teaspoon or two of fresh lemon juice to the filling mixture before cooking. Be cautious not to add too much liquid, as it could affect the setting.
For a less intense tang, you can slightly reduce the amount of lemon juice used or increase the sugar by a tablespoon or two. Remember that the zest contributes significantly to the lemony flavor without adding acidity, so don't skimp on it! Tasting the filling mixture before adding the eggs and cooking can give you an idea of the flavor profile, although the tang will mellow slightly upon cooking and chilling. Finding your ideal balance ensures your homemade lemon tart is perfectly tailored to your taste buds.
Variations and Additions to Your Lemon Tart Recipe
While our foolproof lemon tart recipe is delicious on its own, experimenting with variations can add new dimensions and make it truly your own. Simple additions can transform the classic flavor or enhance its presentation. These ideas are easy to incorporate into the existing recipe structure, maintaining its foolproof nature while offering creative possibilities for your homemade lemon tart.
From adding a sweet topping to infusing the filling with complementary flavors, these variations provide opportunities to customize your easy lemon tart for different occasions or preferences. Don't be afraid to get creative – baking is also about personal expression!
Adding Meringue Topping for Extra Sweetness
A classic variation is adding a fluffy meringue topping to your tangy lemon tart. This provides a beautiful visual contrast and a sweet, airy counterpoint to the tartness of the lemon filling. You can make a simple French meringue (whipped egg whites and sugar) or a more stable Swiss or Italian meringue.
Once the lemon tart is baked and cooled, spread or pipe the meringue over the filling, ensuring it touches the edges of the crust to prevent shrinkage. Then, you can brown the meringue using a kitchen torch for a professional look or place the tart under a hot broiler for a minute or two (watch carefully to avoid burning!). This turns your easy lemon tart into a stunning lemon meringue tart.
Infusing the Lemon Filling with Different Flavors
You can easily infuse the tangy lemon filling with other complementary flavors. For example, adding a teaspoon of lavender extract or a tablespoon of finely chopped fresh lavender buds during the filling preparation can give your lemon tart a sophisticated floral note. Similarly, grating in some fresh ginger or adding a pinch of ground ginger can introduce a subtle warmth and spice that pairs wonderfully with citrus.
Other citrus flavors also work well. Consider adding the zest of an orange or lime along with the lemon zest for a more complex citrus profile. Just a teaspoon of orange blossom water or rosewater can also add a delicate, perfumed aroma. Experiment with small additions to find your favorite flavor combinations for your homemade lemon tart.
Garnishing Ideas for a Beautiful Lemon Tart
Presenting your foolproof lemon tart beautifully enhances the enjoyment. Simple garnishes can add color, texture, and extra flavor. A dusting of powdered sugar over the cooled tart is a classic, elegant finish. Use a small sieve for an even coating.
Fresh berries, such as raspberries or blueberries, arranged artfully on top of the set filling, add a pop of color and a complementary sweetness. A dollop of whipped cream or crème fraîche on each slice is another lovely addition, providing a creamy contrast to the tangy filling. Thinly sliced candied lemon peel or curls of white chocolate can also make for a stunning and delicious garnish for your easy lemon tart.
Storing and Serving Your Homemade Lemon Tart
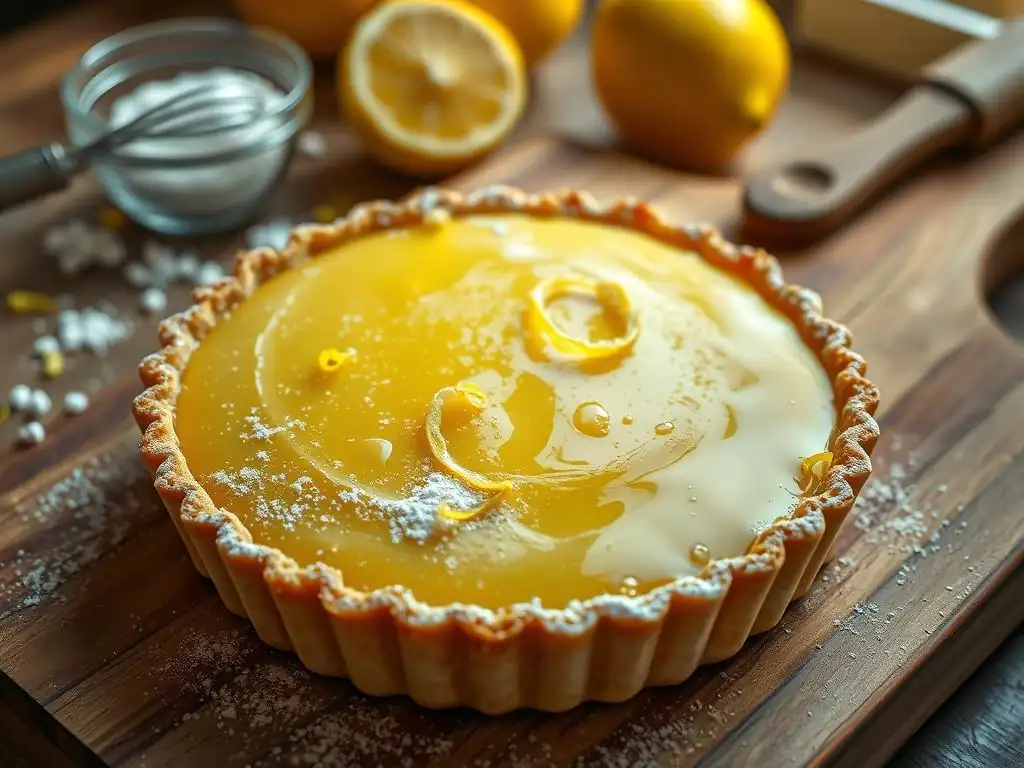
Once your foolproof lemon tart has cooled and set perfectly, you'll want to know how to store it properly to maintain its freshness and how best to serve it to truly appreciate its tangy perfection. Proper storage ensures that the crust remains crisp and the filling stays creamy and delicious for as long as possible.
Serving your homemade lemon tart at the right temperature and with thoughtful accompaniments can elevate the entire experience. Whether you're enjoying a slice on your own or serving it to guests, these tips will help you make the most of your baking success.
How to Store Leftover Lemon Tart for Maximum Freshness
To maintain the quality of your tangy homemade lemon tart, it should be stored in the refrigerator. Lemon tarts are custard-based and contain dairy and eggs, making refrigeration essential for food safety and freshness.
The best way to store leftover tart is to cover it loosely with plastic wrap or aluminum foil, or place individual slices in an airtight container. This protects the tart from absorbing odors from the refrigerator and prevents the crust from becoming stale too quickly. Stored correctly, your easy lemon tart will typically keep well for 3 to 4 days in the refrigerator. For longer storage, you can freeze individual slices wrapped tightly, though the texture of the filling and crust may change slightly upon thawing.
Serving Suggestions: Pairings and Presentation
Your foolproof lemon tart is best served chilled, directly from the refrigerator. Allowing it to sit at room temperature for just 10-15 minutes before slicing can slightly soften the filling to a perfect creamy consistency, but it's delicious cold too. Use a sharp knife dipped in hot water and wiped clean between cuts for clean slices.
Consider serving slices with a light dusting of powdered sugar, a small dollop of freshly whipped cream, or a spoonful of raspberry coulis. The bright red of the raspberry coulis provides a beautiful color contrast and a lovely tart-sweet pairing with the lemon. For a simple yet elegant presentation, garnish the plate with a fresh mint sprig or a few fresh berries. Enjoying this tangy, homemade lemon tart is a simple pleasure that requires little fuss to serve beautifully.
The Ultimate Easy Lemon Tart Recipe: You Can Do It!
You've now walked through every step of creating a truly foolproof lemon tart. From crafting a simple, flaky crust to cooking a smooth, tangy filling and ensuring a perfect set, this recipe is designed to remove the intimidation factor from baking this classic dessert. We've addressed common pitfalls and provided clear instructions, making tangy perfection achievable for bakers of all levels.
Remember the key takeaways: start with cold ingredients for the crust, blind bake properly to prevent a soggy bottom, cook the filling until it thickens significantly (around 180°F), and allow ample time for cooling and setting in the refrigerator. With this easy lemon tart recipe, you have the tools and knowledge to create a dessert that is vibrant, delicious, and a testament to your baking prowess.
Enjoy Your Tangy, Homemade Lemon Tart!
Frequently Asked Questions
What makes this lemon tart recipe "foolproof"?
The recipe is designed to be foolproof because it uses simple, clear instructions and easily accessible ingredients. We also focus on common baking pitfalls and provide solutions to avoid them.
What kind of lemons are best for this tart?
For the best flavor, use fresh, ripe lemons. Meyer lemons are a great option for a sweeter, less acidic tart, while standard lemons will provide a classic, tangy flavor.
Can I make this tart ahead of time?
Yes, you can! The lemon tart can be made one to two days in advance and stored in the refrigerator. This allows the flavors to meld together beautifully.
What's the secret to preventing a soggy crust?
To avoid a soggy crust, blind bake the crust thoroughly before adding the lemon filling. You can also brush the baked crust with melted chocolate for extra protection.
Can I substitute the ingredients with gluten-free options?
Yes, you can substitute the all-purpose flour in the crust with a gluten-free flour blend that is designed for baking. Ensure it contains xanthan gum or another binder for best results.
Final Reflection: The Enduring Allure of a Perfect Lemon Tart
The seemingly simple act of baking a lemon tart transcends mere culinary creation; it's a journey into the heart of comfort, precision, and ultimately, joy. This foolproof recipe, designed for ease and accessibility, aims to democratize the experience of creating this classic dessert, making it achievable for even the most novice bakers. The current popularity of baking, fueled by social media and a renewed appreciation for homemade treats, makes this accessible recipe more relevant than ever.
The enduring appeal of the lemon tart lies in its ability to evoke powerful memories and emotions. The bright, zesty flavor profile, coupled with the delicate pastry crust, creates a sensory experience that is both refreshing and deeply satisfying. A perfect dessert is a little bit of heaven on earth.
This sentiment, though simple, perfectly encapsulates the emotional resonance of a successfully baked lemon tart, a feeling amplified by the shared experience of creating and enjoying it with loved ones.
Now, I invite you to consider the power of simple pleasures. This recipe isn't just about creating a delicious dessert; it's about embracing the process, finding joy in the meticulous steps, and ultimately, savoring the fruits (or should I say, lemons?) of your labor. Don't be afraid to experiment, to adjust the recipe to your own taste, and to share your creation with those you cherish. The journey of baking a foolproof lemon tart is a journey worth taking, and the reward is a slice of pure, unadulterated happiness.
Unlock Your Inner Pastry Chef: Bake the Perfect Lemon Tart Today!
Thanks for joining us on this lemon-licious journey! We hope you now feel confident in tackling this classic dessert. Ready to transform your kitchen into a fragrant haven?
- Bake your own foolproof lemon tart: Gather your ingredients and follow our recipe – the tangy, creamy result is worth every minute!
- Share your baking triumph with us! Post a picture of your creation on social media using #BakeWithEaseLemonTart and tag @BakeWithEase (fictional social media handle).
- Try a creative twist: Experiment with different citrus fruits or add a sprinkle of lavender for a unique flavor profile.
What unexpected ingredient will you add to your next lemon tart to elevate it to the next level?