
Elegant Desserts You Can Prepare Ahead of Time

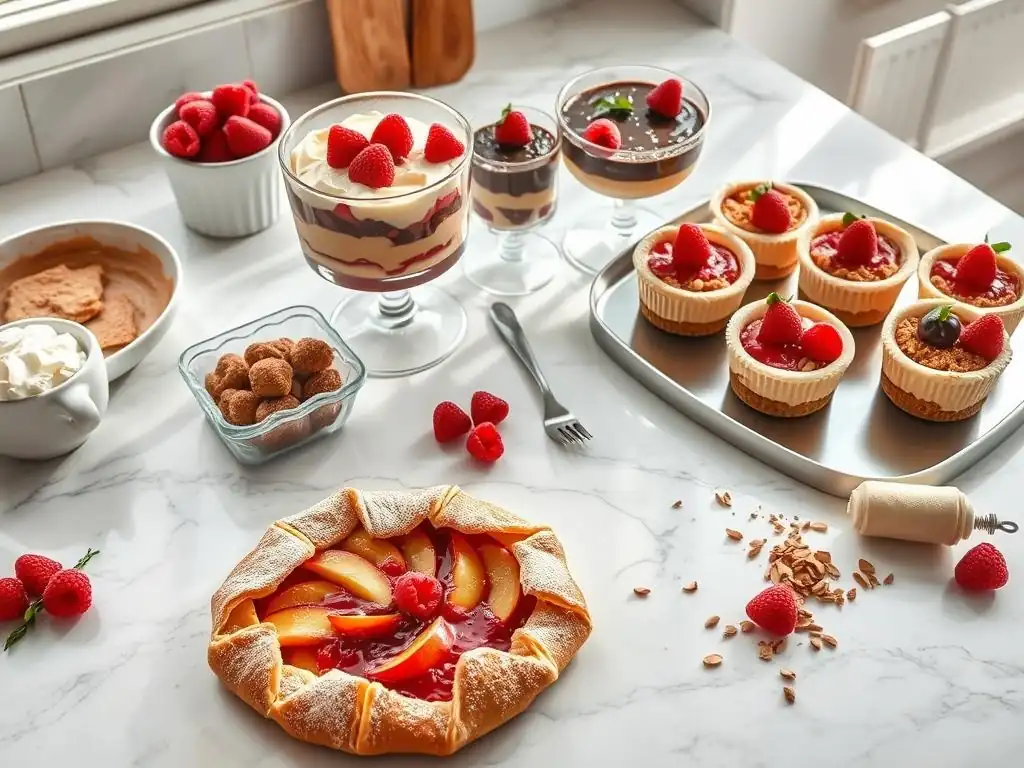
Welcome to BakeWithEase, your companion in the delightful world of baking!
Craving a show-stopping dessert without the last-minute frenzy? You've come to the right place. Discover how to create elegant and impressive desserts with our collection of easy desserts you can make ahead. Get ready to impress your guests (and yourself!) with stress-free sweets. Intrigued? Let's dive into the art of pre-prepared perfection!
- Elegant Desserts You Can Prepare Ahead of Time: Bake With Ease
- Introduction: Stress-Free Baking with Make-Ahead Elegant Desserts
- Why Choose Make-Ahead Desserts? The Benefits of Planning Ahead
- Key Ingredients for Successful Make-Ahead Desserts
- Recipe 1: Chocolate Lava Cakes - A Decadent Make-Ahead Treat
- Recipe 2: Lemon Posset - A Simple Yet Sophisticated Make-Ahead Dessert
- Recipe 3: Panna Cotta - A Classic Italian Make-Ahead Delight
- Recipe 4: Individual Cheesecakes - Easy and Elegant Make-Ahead Options
- Tips for Plating and Presenting Your Make-Ahead Desserts
- Troubleshooting Common Make-Ahead Dessert Challenges
- Conclusion: Enjoy Effortless Elegance with Make-Ahead Desserts
- Frequently Asked Questions
- Final Reflection: The Sweet Symphony of Preparation
- Unleash Your Inner Pastry Chef: Prepare Ahead & Impress!
Elegant Desserts You Can Prepare Ahead of Time: Bake With Ease
Introduction: Stress-Free Baking with Make-Ahead Elegant Desserts
Imagine hosting a dinner party or celebrating a special occasion without the last-minute scramble of preparing dessert. That's the magic of make-ahead elegant desserts! By shifting some or all of the preparation to hours or even days before, you free up valuable time and mental energy on the day of your event. This approach allows you to focus on other tasks, like perfecting the main course or simply enjoying your guests' company. Baking ahead doesn't mean sacrificing quality or presentation; in fact, many desserts benefit from chilling time, allowing flavors to deepen and textures to set beautifully.
Mastering the art of preparing desserts in advance is a game-changer for anyone who loves to bake but dislikes the pressure of tight deadlines. It's about smart planning and leveraging techniques that ensure your sweet finale is not only delicious but also looks stunning. Whether you're a beginner looking for simple options or a seasoned baker seeking elegant plated desserts, incorporating make-ahead strategies into your routine will transform your baking experience from stressful to effortlessly enjoyable. Let's dive into how easy desserts make ahead can become your new superpower in the kitchen.
Why Choose Make-Ahead Desserts? The Benefits of Planning Ahead
Opting for easy desserts make ahead offers a multitude of advantages beyond just saving time. When you prepare elements or entire desserts in advance, you reduce the potential for mistakes under pressure. Ingredients can be measured precisely, steps can be followed carefully, and chilling or setting times can be observed without rushing. This leads to more consistent and often superior results, ensuring your elegant plated desserts turn out exactly as planned, with perfect textures and well-developed flavors.
Furthermore, making desserts ahead allows for better organization and a cleaner workspace on the day of your event. You can tackle components like pastry creams, ganaches, or cookie doughs when you have dedicated time, minimizing clutter and stress later on. This proactive approach is particularly beneficial for multi-component desserts where different elements require varying preparation and chilling times. It truly embodies the "bake with ease" philosophy, turning potentially complex creations into manageable tasks spread over a convenient timeline.
Time-Saving Tips for Elegant Dessert Preparation
One of the most effective time-saving tips for elegant dessert preparation is mise en place the day before. This French culinary term means "putting in place," and it involves measuring out all your dry and wet ingredients, chopping nuts or fruits, and preparing any simple components like a crumb crust or simple syrup. Storing these prepped items in airtight containers in the refrigerator allows you to quickly assemble or bake the next day, drastically cutting down on active preparation time when you're likely busier.
Another powerful strategy is batch preparation and strategic freezing. For instance, many doughs (like cookie dough or tart crusts) can be made weeks in advance and frozen. Batters for certain cakes or muffins can sometimes be prepared and refrigerated overnight. Even complex elements like chocolate mousse or pastry cream can often be made a day ahead and chilled, ready to be assembled or piped. This forward-thinking approach means you're not starting from scratch on the day of serving, making even elaborate elegant plated desserts feel much more achievable.
Make-ahead desserts are truly indispensable when planning for parties and special occasions. They eliminate the need for last-minute baking when you should be mingling with guests or attending to other hosting duties. By selecting easy desserts make ahead, you ensure that your dessert course is ready to go, whether it needs a quick reheat, a simple garnish, or just to be brought out from the refrigerator. This allows you to present a stunning and delicious finale without any visible stress or rush.
Planning your dessert menu with make-ahead options also provides flexibility. You can prepare multiple desserts if you wish, offering guests a variety of choices, all completed well before the event begins. Consider a mix of textures and flavors – perhaps a rich chocolate lava cake (prepared and ready to bake), a bright and creamy lemon posset (chilled in individual glasses), and a classic panna cotta (set and ready for topping). This thoughtful planning ensures a memorable sweet ending to your celebration, all thanks to the convenience and reliability of preparing desserts ahead of time.
Key Ingredients for Successful Make-Ahead Desserts
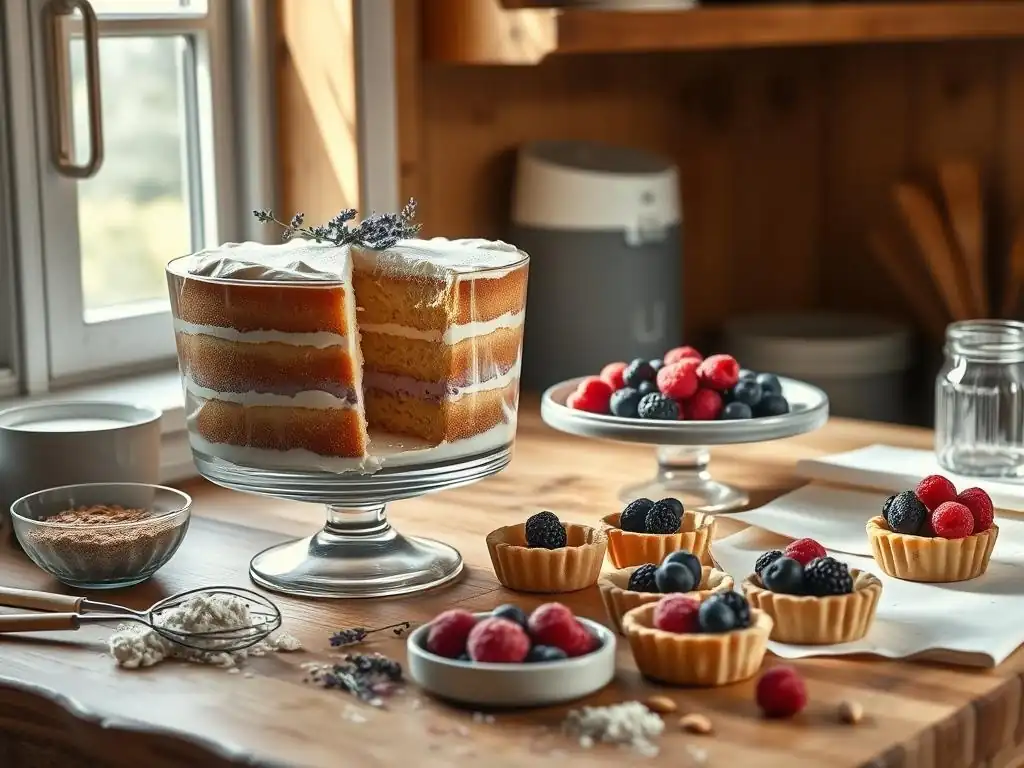
Success with easy desserts make ahead often hinges on understanding how ingredients behave over time and during storage. Ingredients like gelatin, cornstarch, and eggs are fundamental in many make-ahead recipes as they help set and stabilize textures, ensuring creams, custards, and mousses hold their shape even after extended chilling. High-quality fats like butter and cream are also crucial, contributing richness and a smooth mouthfeel that is maintained when stored properly. Using fresh, good-quality ingredients is always important, but it's particularly vital when flavors need to meld and develop over time.
Certain components are inherently well-suited for making ahead. Ganache, for example, can be made days in advance and stored in the refrigerator, ready to be whipped or gently reheated for various applications. Crumb crusts can be baked and stored airtight. Simple syrups infuse flavors beautifully when made ahead. Understanding which elements can be prepared and stored, and for how long, is key to building complex elegant plated desserts piece by piece over a convenient timeline.
Choosing the Right Ingredients for Optimal Flavor and Texture
Selecting the right type of ingredient is paramount for make-ahead success. For instance, when making a pastry cream or pudding that will be chilled, using a proper thickening agent like cornstarch or flour is essential to prevent weeping or separation. The ratio matters; too little, and it won't set; too much, and it can become gummy. Similarly, the fat content in dairy affects texture – full-fat cream or milk provides the richness needed for desserts like panna cotta or ganache that set beautifully when chilled.
Consider the impact of ingredients on texture over time. A crispy cookie element might become soft if added too early to a moist dessert. Components like fresh fruit are often best added just before serving to maintain their vibrant color and texture. Using stabilizers like gelatin in mousses ensures they remain airy and set firm even after a day or two in the refrigerator. Paying attention to these details when choosing and handling ingredients is what elevates a simple make-ahead dessert to an elegant, professional-looking creation.
Storage Tips for Maintaining Dessert Freshness
Proper storage is critical to maintaining the freshness, texture, and flavor of easy desserts make ahead. Airtight containers are your best friend, protecting desserts from absorbing odors from the refrigerator and preventing drying out. For desserts like panna cotta or posset served in individual glasses, covering each glass tightly with plastic wrap is the best approach. Larger desserts, like a whole cheesecake, should be cooled completely before being wrapped tightly in plastic wrap and then potentially foil for extra protection, especially if freezing.
Temperature control is also vital. Most make-ahead creamy or custardy desserts require refrigeration at a consistent cold temperature (around 35-40°F or 2-4°C). Freezing is an option for many baked items or batters, but ensure they are wrapped exceptionally well to prevent freezer burn. Labeling with the date is a simple yet essential step to keep track of how long items have been stored. Following these storage guidelines ensures that when it's time to serve, your elegant plated desserts taste as fresh and delicious as the moment they were made.
Recipe 1: Chocolate Lava Cakes - A Decadent Make-Ahead Treat
Chocolate lava cakes are a classic elegant dessert, and surprisingly, they are fantastic easy desserts make ahead. The key lies in preparing the batter and chilling or freezing the individual portions. This allows the chocolate to firm up slightly while keeping the center molten when baked. Using high-quality bittersweet or semi-sweet chocolate (around 60-70% cocoa content) is crucial for that rich, intense flavor and perfectly gooey center. A standard batter typically involves melted chocolate and butter, sugar, eggs, and a little flour.
The beauty of making lava cakes ahead is that they bake beautifully straight from the refrigerator or freezer. Baking from cold actually helps ensure the outside sets while the inside remains liquid. This dessert requires minimal active time on the day of serving – simply pop the prepared cakes into a hot oven for a short bake time. The contrast between the warm, molten chocolate center and the tender cake exterior is what makes this dessert so beloved, and it's entirely achievable with advance preparation.
Preparing the Chocolate Lava Cake Batter in Advance
To prepare chocolate lava cake batter ahead of time, start by melting your chocolate and butter gently. Whisk in sugar until dissolved, then incorporate the eggs one at a time, followed by a touch of vanilla and flour. The batter should be smooth and relatively thick. Once prepared, divide the batter among greased and floured ramekins or individual baking molds. Using molds ensures easy release after baking.
After pouring the batter into the molds, cover each one tightly with plastic wrap. At this stage, they can be refrigerated for up to 2-3 days or frozen for up to 2-3 weeks. Refrigeration is perfect for planning a dinner party a day or two out, while freezing offers flexibility for future cravings or impromptu gatherings. Ensure the plastic wrap is sealed well to prevent the batter from drying out or absorbing odors.
Freezing and Reheating Instructions for Perfect Lava Cakes
If freezing prepared lava cakes, place the covered ramekins on a level surface in the freezer until solid, typically a few hours. Once frozen, you can remove the plastic wrap and transfer the frozen cakes (still in their molds) to a freezer-safe bag or wrap them individually again in foil for extra protection against freezer burn. This saves space and keeps them ready to bake.
To bake from frozen, preheat your oven to the specified temperature (usually around 350-375°F or 175-190°C). Place the frozen cakes directly into the hot oven. The baking time will be longer than if baking from fresh or chilled, typically around 12-18 minutes, depending on the size of the ramekin and your oven. You're looking for the edges to be set and slightly pulled away from the sides, while the center still feels soft and jiggly. Baking from the refrigerator usually takes about 8-12 minutes.
Plating and Garnishing Ideas for Elegant Chocolate Lava Cakes
Plating a chocolate lava cake is where you add the final touch of elegance to this easy dessert make ahead. Once baked, let the cakes rest in their ramekins for just 1-2 minutes before inverting them onto serving plates. A quick tap on the bottom of the ramekin usually helps the cake slide out cleanly. The goal is to serve them warm so the center remains molten.
Garnishes elevate the presentation and add complementary flavors. Consider a simple dusting of powdered sugar, a dollop of freshly whipped cream, or a scoop of vanilla bean ice cream that will melt slightly into the warm chocolate. A few fresh raspberries or a drizzle of raspberry sauce adds a lovely tart contrast. For extra decadence, drizzle a little warm ganache or caramel sauce around the plate.
Recipe 2: Lemon Posset - A Simple Yet Sophisticated Make-Ahead Dessert
Lemon posset is the epitome of an easy dessert make ahead. This traditional English dessert requires only a few ingredients – typically cream, sugar, and lemon juice – and relies on the acidity of the lemon to thicken the heated cream into a silky-smooth, set custard. It's naturally gluten-free and incredibly simple to prepare, making it a perfect candidate for elegant plated desserts that require minimal effort on the day of serving.
The magic of posset lies in its texture: a rich, creamy set that melts in your mouth, balanced by the bright, zesty flavor of lemon. Because it requires several hours (preferably overnight) to set in the refrigerator, it is inherently designed to be made ahead. This chilling time allows the chemical reaction between the acid and the cream to fully take place, resulting in that characteristic smooth, firm-but-not-stiff consistency that defines a perfect posset.
The Secret to a Smooth and Creamy Lemon Posset
The secret to achieving a perfectly smooth and creamy lemon posset lies in the simmering and chilling process. Start by gently heating heavy cream and sugar together in a saucepan. Bring the mixture to a gentle simmer and let it simmer for about 3-5 minutes, stirring occasionally. This reduces the cream slightly and ensures the sugar is fully dissolved. It's important not to boil vigorously, as this can affect the final texture.
After simmering, remove the cream from the heat and let it cool slightly for just a moment before whisking in the fresh lemon juice. The acidity of the lemon juice is what causes the cream to thicken as it cools. Whisk gently but thoroughly to incorporate the juice. Avoid over-whisking once the juice is added, as this can sometimes lead to a less smooth texture.
Make-Ahead Tips for the Perfect Lemon Posset Consistency
Once the lemon juice is whisked in, immediately strain the mixture through a fine-mesh sieve into your serving dishes. Straining removes any potential bits of lemon pulp or zest and ensures the posset is incredibly smooth. Pouring directly into individual glasses, ramekins, or elegant shot glasses makes for easy serving later.
Cover each serving dish tightly with plastic wrap to prevent a skin from forming on top and to keep the posset fresh. Refrigerate for at least 4 hours, but preferably overnight, until completely set. The posset will firm up into a delicate, spoonable custard. This long chilling time is essential for the texture to fully develop. Lemon posset is one of those easy desserts make ahead that truly improves with time in the fridge.
Creative Variations: Adding Flavors and Toppings to Lemon Posset
While classic lemon posset is delightful on its own, you can easily create variations to suit different tastes. Consider infusing the cream with other flavors during the simmering stage, such as a vanilla bean, a cinnamon stick, or even some fresh ginger slices. Simply strain them out before adding the lemon juice. Lime or orange juice can be substituted for lemon for a different citrus profile, though the acidity levels might require slight adjustments.
Toppings are where you can add extra elegance and texture just before serving. A sprinkle of fresh berries (like raspberries or blueberries), a few thin slices of candied lemon peel, a delicate shortbread cookie, or a crumble of pistachios or almonds add visual appeal and complementary flavors. A sprig of fresh mint provides a pop of color. These simple additions transform the already sophisticated posset into truly stunning elegant plated desserts.
Recipe 3: Panna Cotta - A Classic Italian Make-Ahead Delight
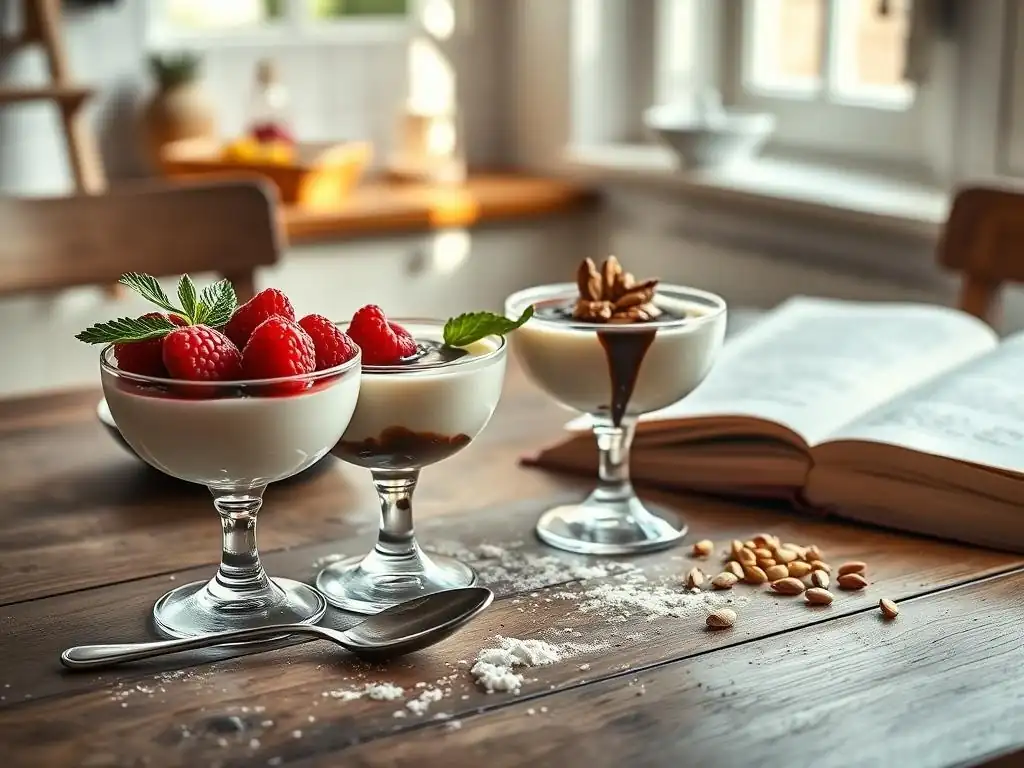
Panna cotta, meaning "cooked cream" in Italian, is another superb example of an easy dessert make ahead. This simple dessert consists of sweetened cream thickened with gelatin and then molded and chilled until set. Its smooth, wobbly texture and rich flavor make it a favorite for elegant plated desserts, and its reliance on chilling time makes it ideal for preparing well in advance of any event.
The beauty of panna cotta lies in its simplicity and versatility. The base is subtly sweet, providing a perfect canvas for various flavorings and toppings. Mastering the correct ratio of cream to gelatin is key to achieving that signature delicate wobble – too little gelatin and it won't set; too much and it becomes rubbery. Once you have the basic technique down, you can easily experiment with different infusions and sauces.
Mastering the Art of Panna Cotta: A Step-by-Step Guide
Mastering panna cotta starts with properly blooming the gelatin. Sprinkle powdered gelatin over a small amount of cold liquid (like water, milk, or a portion of the cream) and let it sit for 5-10 minutes until it swells and becomes spongy. This process ensures the gelatin dissolves smoothly when heated, preventing grainy texture.
Next, gently heat the remaining cream with sugar and any desired flavorings (like vanilla bean, citrus zest, or coffee beans) until the sugar dissolves and the cream is warm but not boiling. Remove from the heat and whisk in the bloomed gelatin until completely dissolved. Strain the mixture through a fine-mesh sieve into your desired molds or serving glasses. Chilling is essential; refrigerate for at least 4-6 hours, or preferably overnight, until fully set.
Make-Ahead Storage and Serving Suggestions for Panna Cotta
Panna cotta is designed for make-ahead convenience. Once poured into individual molds or glasses and chilled until set, cover each one tightly with plastic wrap. They can be stored in the refrigerator for up to 2-3 days without significant loss of quality. This makes them perfect for preparing a day or two before a dinner party.
For serving, panna cotta can be presented in the glass it set in, or if using molds, you can carefully unmold it onto a plate. To unmold, briefly dip the bottom of the mold in hot water (just a few seconds) and invert onto the plate. The gelatin should allow it to release cleanly. Serve chilled directly from the refrigerator.
Flavor Variations and Topping Ideas for Panna Cotta
The basic panna cotta recipe is highly adaptable. Infuse the cream with coffee or espresso powder for a coffee panna cotta, steep tea bags in the warm cream for a delicate tea-flavored version, or add cocoa powder for chocolate panna cotta. Coconut milk or other non-dairy milks can be used for a dairy-free option, though the gelatin ratio might need slight adjustment depending on the fat content.
Toppings are where you add the finishing touch to these elegant plated desserts. A classic pairing is a vibrant berry compote or fresh berries. A drizzle of caramel sauce, chocolate sauce, or fruit coulis (like raspberry or mango) adds color and flavor. Toasted nuts, chocolate shavings, or a sprig of mint also make excellent garnishes. The simplicity of the panna cotta base allows the topping to truly shine.
Recipe 4: Individual Cheesecakes - Easy and Elegant Make-Ahead Options
Individual cheesecakes are fantastic easy desserts make ahead because they portion perfectly, bake relatively quickly, and benefit significantly from chilling time. Unlike a large cheesecake which can be intimidating to slice cleanly, individual portions are ready to serve directly from the refrigerator. They are ideal for parties, allowing each guest to have their own elegant plated dessert.
Whether you prefer a baked or no-bake version, cheesecakes generally require several hours, if not overnight, to set properly in the refrigerator. This mandatory chilling period makes them inherently make-ahead friendly. Using muffin tins lined with paper liners or individual ramekins simplifies both baking and serving, ensuring a beautiful presentation with minimal fuss.
Baking Mini Cheesecakes: A Convenient Make-Ahead Solution
Baking mini cheesecakes in muffin tins or ramekins is a convenient make-ahead solution. Prepare your crust (often a graham cracker or cookie crumb mixture pressed into the bottom) and bake it for a few minutes until set. Prepare the cheesecake filling by beating cream cheese with sugar, eggs, vanilla, and often a touch of sour cream or heavy cream for richness and smooth texture. Pour the filling over the cooled crusts.
Bake the mini cheesecakes in a water bath (placing the muffin tin or ramekins in a larger pan filled with hot water) to ensure even cooking and prevent cracking. Bake until the centers are just set but still slightly wobbly. Once baked, cool them completely at room temperature before chilling them in the refrigerator for at least 4-6 hours, or preferably overnight.
Make-Ahead Freezing and Thawing Instructions for Cheesecakes
Individual cheesecakes freeze exceptionally well, making them incredibly flexible easy desserts make ahead. Once completely chilled and set, remove them from the muffin tin (if using liners) or leave them in their ramekins. Wrap each individual cheesecake tightly in plastic wrap, ensuring no surface is exposed. For longer storage or extra protection, wrap them again in aluminum foil or place them in an airtight freezer container.
Frozen individual cheesecakes can be stored for up to 1-2 months. To thaw, transfer the wrapped cheesecakes to the refrigerator and let them thaw slowly, which usually takes several hours or overnight. Avoid thawing at room temperature, as this can affect the texture. Once thawed, they are ready to be topped and served, tasting just as fresh as when they were first baked and chilled.
Topping and Decoration Ideas for Individual Cheesecakes
The beauty of individual cheesecakes as elegant plated desserts is how easily they can be customized with toppings. Apply toppings just before serving to maintain optimal texture and appearance. Fresh fruit, such as berries, sliced strawberries, or a mix of tropical fruits, is a classic and refreshing choice.
Other delicious topping ideas include fruit compotes or sauces (like cherry, blueberry, or raspberry), a drizzle of chocolate or caramel sauce, whipped cream, or toasted nuts. For a festive touch, add chocolate curls or edible flowers. Offering a variety of toppings allows guests to customize their own elegant dessert, adding an interactive element to your party.
Tips for Plating and Presenting Your Make-Ahead Desserts
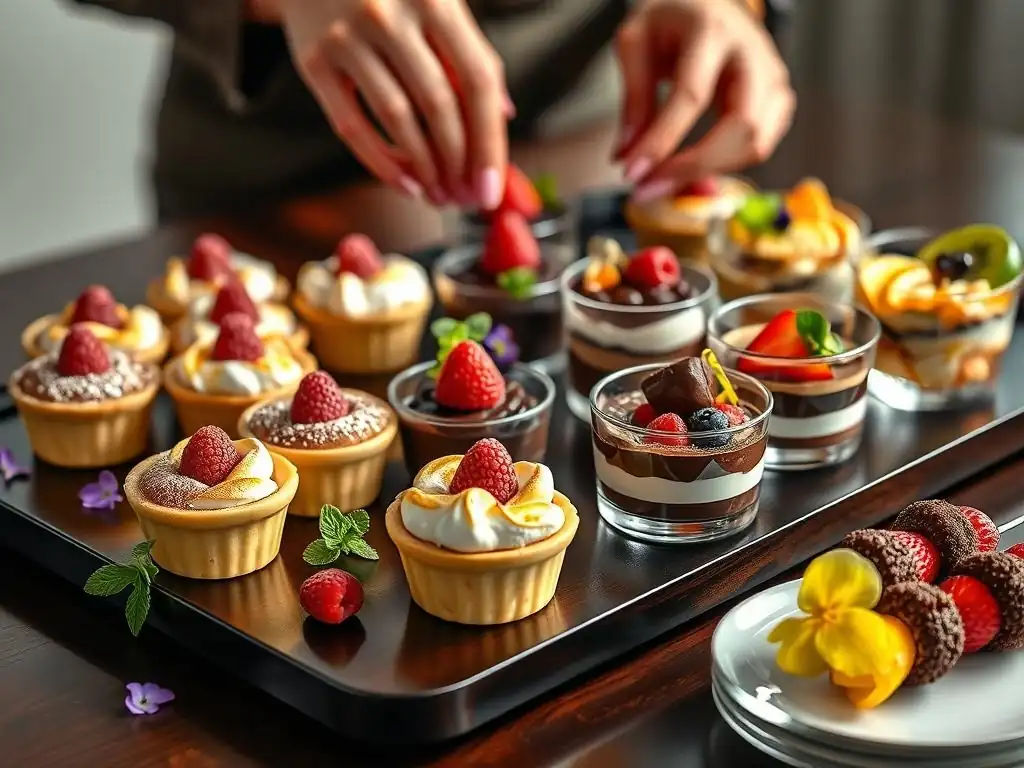
Even the simplest make-ahead dessert can be transformed into elegant plated desserts with thoughtful presentation. Plating is about more than just putting food on a plate; it's about creating a visual experience that complements the taste. Consider the colors, textures, and shapes of your dessert and its components. A clean plate is essential, free of drips or smudges.
Think about how the dessert sits on the plate. Does it need height? Can you use a sauce to create a swipe or pool? Should the garnish be placed directly on the dessert or alongside it? These small details make a big difference in elevating the perceived value and elegance of your easy desserts make ahead, impressing your guests before they even take the first bite.
Simple Plating Techniques to Elevate Your Dessert
- The Swipe: Use a spoon to create a smooth swipe of sauce (like fruit coulis or chocolate sauce) across the plate before placing the dessert.
- Off-Center Placement: Placing the dessert slightly off-center rather than directly in the middle can add visual interest and dynamism.
- Creating Height: For desserts like panna cotta or mousse, consider serving them in tall glasses or adding a garnish like a cookie or chocolate shard that stands upright.
- Layering: If your dessert has layers (like a parfait), showcase them in a clear glass.
These techniques, while simple, require a steady hand and a little practice, but they significantly enhance the presentation of your elegant plated desserts.
Choosing the Right Garnishes for Visual Appeal
Garnishes are the jewelry of desserts – they add sparkle, color, and sometimes complementary flavors and textures. When choosing garnishes for your easy desserts make ahead, think about what will enhance, not overpower, the main dessert. Fresh berries are almost always a good choice, providing vibrant color and a burst of freshness.
Consider texture: a sprinkle of crunchy nuts on a creamy posset, or a delicate shortbread cookie alongside a soft panna cotta. Color contrast is also important: a bright red raspberry sauce on a white cheesecake, or green mint leaves on a chocolate lava cake. Ensure garnishes are fresh and applied just before serving for the best visual impact.
Creating a Stunning Dessert Table with Make-Ahead Treats
If hosting a larger gathering, showcasing your easy desserts make ahead on a dedicated dessert table can create a stunning focal point. Use varying heights by placing some desserts on cake stands or pedestals. Arrange individual portions neatly, perhaps grouping similar items together.
Add decorative elements like fresh flowers (non-toxic, of course), elegant serving spoons, or small labels describing each dessert. The fact that all these elegant plated desserts were prepared ahead allows you to arrange them calmly and beautifully before guests arrive, ensuring a welcoming and impressive display that invites everyone to indulge.
Troubleshooting Common Make-Ahead Dessert Challenges
Even with careful planning, challenges can sometimes arise when preparing easy desserts make ahead. One common issue is texture degradation, such as a crispy component becoming soggy or a creamy dessert becoming watery. Another is ensuring flavors remain vibrant after storage. Understanding the potential pitfalls helps you take preventative measures.
Proper technique during the initial preparation is key to avoiding many issues. For example, ensuring custards are cooked correctly to the right temperature prevents weeping later. Cooling items fully before storing prevents condensation which can lead to sogginess. By anticipating these challenges, you can adjust your process to ensure your elegant plated desserts are successful every time.
Preventing Soggy Crusts and Loss of Texture
Preventing soggy crusts, particularly in tarts or cheesecakes with crumb bases, is a common make-ahead challenge. One solution is to blind bake the crust partially or fully before adding the filling. For crumb crusts, ensuring the butter is well distributed and the crust is pressed firmly before baking helps create a sturdier base.
For desserts with multiple textures, like a trifle with cake and cream layers, consider assembling it closer to serving time if sogginess is a concern. Alternatively, use components that hold up well to moisture, such as brownies instead of delicate sponge cake. Storing components separately until just before assembly is often the best strategy for maintaining distinct textures in complex elegant plated desserts.
Ensuring Proper Storage and Reheating Techniques
Incorrect storage is a primary cause of make-ahead dessert failures. Always use airtight containers or wrap desserts meticulously to prevent air exposure, which leads to drying out, freezer burn, or absorption of other food odors. Ensure desserts are cooled completely before covering and refrigerating or freezing, as residual heat creates condensation.
When reheating desserts like chocolate lava cakes, follow specific instructions (like baking from frozen or chilled) to achieve the desired result. Avoid microwaving most elegant plated desserts, as it can unevenly heat and ruin delicate textures. For creamy desserts served chilled, simply transfer them from the refrigerator to the serving area shortly before guests are ready for dessert.
Adjusting Recipes for Make-Ahead Success
Sometimes, minor adjustments to a standard recipe can make it more suitable as an easy dessert make ahead. For instance, you might slightly increase the amount of gelatin in a panna cotta if you know it will be stored for several days, ensuring it remains perfectly set. For baked goods that might dry out, slightly increasing the fat content can help retain moisture.
Consider the stability of flavorings. Fresh herbs or delicate floral notes might fade over time, while extracts or spices tend to hold their flavor better. If a recipe calls for a component that doesn't store well (like a very delicate meringue), plan to make that element on the day of serving. Thinking critically about each ingredient and step through the lens of "making ahead" allows you to proactively adapt recipes for optimal results.
Conclusion: Enjoy Effortless Elegance with Make-Ahead Desserts
Embracing the concept of easy desserts make ahead opens up a world of possibilities for creating stunning and delicious sweet finales without the last-minute stress. From decadent chocolate lava cakes ready to bake on demand to silky-smooth lemon possets and classic panna cottas simply waiting in the fridge, preparing elegant plated desserts in advance allows you to host with confidence and truly enjoy your own events.
By utilizing smart preparation techniques, choosing appropriate ingredients, and mastering proper storage methods, you can ensure your make-ahead creations are not only convenient but also boast perfect flavor and texture. So go ahead, plan your menu, get a head start in the kitchen, and delight your guests (and yourself!) with effortlessly elegant desserts that prove that planning ahead tastes just as good as it looks.
Frequently Asked Questions
What are some benefits of making desserts ahead of time?
Making desserts ahead allows for stress-free entertaining and the flavors often meld and deepen over time. It also saves you valuable time on the day of your event.
What types of desserts are best suited for making ahead?
Desserts like cheesecakes, trifles, mousses, and some cakes are ideal because they benefit from chilling. Also, cookies and brownies can often be baked and frozen for later use.
How far in advance can I prepare these "easy desserts make ahead"?
Many of these desserts can be prepared 1-3 days in advance. Some, like frozen desserts, can even be made weeks ahead and stored properly.
What's the best way to store desserts I've made ahead of time?
Proper storage is key! Use airtight containers for cakes and cookies. For chilled desserts, ensure they are covered tightly to prevent them from absorbing odors.
Can I freeze all "easy desserts make ahead"?
Not all desserts freeze well. Cream-based desserts can sometimes change in texture. Always check the recipe for freezing instructions before attempting to freeze.
Final Reflection: The Sweet Symphony of Preparation
The art of elegant desserts needn't be confined to the last-minute rush; in fact, planning ahead unlocks a world of delicious possibilities. Mastering the "make-ahead" method transforms dessert preparation from a stressful sprint into a relaxed, enjoyable process, allowing you to savor the moments leading up to the sweet finale. This is especially relevant today, with our increasingly busy lives demanding efficient yet impressive solutions for entertaining and self-care.
The ability to prepare elegant desserts in advance significantly impacts our social interactions and personal well-being. It allows us to focus on our guests and truly enjoy the occasion, rather than being stuck in the kitchen. The freedom from last-minute stress is invaluable. The best things in life are the people we love, the places we've been, and the memories we've made along the way.
This quote resonates deeply because preparing ahead allows us to create more meaningful memories, free from the pressure of culinary deadlines.
Now, consider your own dessert repertoire. What elegant creations have you always dreamed of making? I encourage you to choose one recipe from this article, plan it into your week, and experience the joy of effortless elegance. Embrace the power of preparation; it's not just about saving time, but about enriching your life with delicious moments and the satisfaction of creating something beautiful without the usual stress. Let the sweet symphony of preparation begin!
Unleash Your Inner Pastry Chef: Prepare Ahead & Impress!
Thanks for taking the time to explore these elegant, make-ahead desserts! We hope you've found some delicious inspiration to elevate your next gathering. Now it's time to put your newfound skills to the test!
- Master the art of make-ahead baking: Choose your favorite recipe from the article and start prepping – you'll be amazed at how much time you save! This is your chance to showcase your culinary creativity.
- Share your baking triumphs: Post a picture of your masterpiece on social media and tag us @BakeWithEase – we’d love to see your creations!
- Explore our recipe archive: Dive deeper into our collection of time-saving desserts, designed for busy bakers just like you.
Ready to transform your dessert game? What’s the first make-ahead dessert you're going to tackle?