
Your Thanksgiving Baking Timeline: Simple Steps to Success

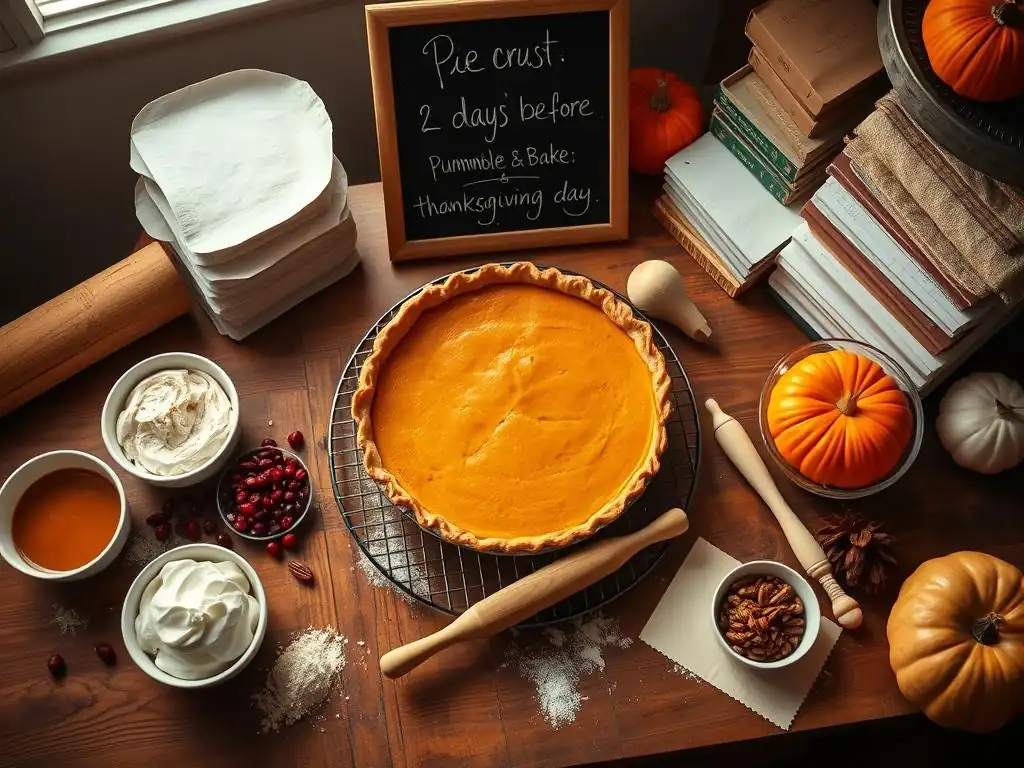
Welcome to BakeWithEase, your trusted companion in the kitchen! Intrigued about pulling off a flawless Thanksgiving feast without the stress? Our Thanksgiving baking timeline guide offers a simple, step-by-step approach to ensure your pies, pastries, and desserts are perfectly timed and utterly delicious. Discover secrets to effortless holiday baking and let's create a memorable Thanksgiving together – one delectable treat at a time. Let the baking begin!
- Thanksgiving Baking Timeline: A Strategic Approach
- Achieving Baking Success for Thanksgiving
- Understanding Your Baking Timeline
- The Ultimate Baking Timeline: Days Before Thanksgiving
- Thanksgiving Day: The Final Countdown
- Baking Tips for Success
- Adapting to Your Needs
-
Frequently Asked Questions
- What is a Thanksgiving baking timeline and why is it important?
- How far in advance should I start my Thanksgiving baking?
- What are some Thanksgiving baking tasks that can be done days in advance?
- What Thanksgiving baked goods are best made fresh on Thanksgiving Day?
- Where can I find easy-to-follow Thanksgiving baking recipes and tips?
- Final Reflection: The Sweetness of Preparation, the Joy of Sharing
- Unlock Your Thanksgiving Baking Bliss!
Thanksgiving Baking Timeline: A Strategic Approach
Achieving Baking Success for Thanksgiving
Thanksgiving is a time for gathering, gratitude, and, of course, delicious food, with baked goods often stealing the show. The aroma of pumpkin pie, the comforting warmth of freshly baked rolls, and the sweet indulgence of festive cookies are all part of the holiday magic. However, trying to bake everything on Thanksgiving Day itself can turn that magic into chaos. A well-thought-out Thanksgiving baking timeline is your secret weapon for a stress-free and successful holiday dessert spread. It allows you to spread tasks over several days, ensuring everything is perfectly baked and ready to enjoy without the last-minute rush.
Planning your Thanksgiving baking timeline effectively means you can enjoy the process rather than feeling overwhelmed. It’s about understanding which components can be made ahead, which need fresh baking, and how to juggle oven space and cooling times. This guide will walk you through creating a strategic Thanksgiving baking schedule, helping you achieve baking success and truly savor the holiday with your loved ones, rather than being stuck in the kitchen.
Understanding Your Baking Timeline
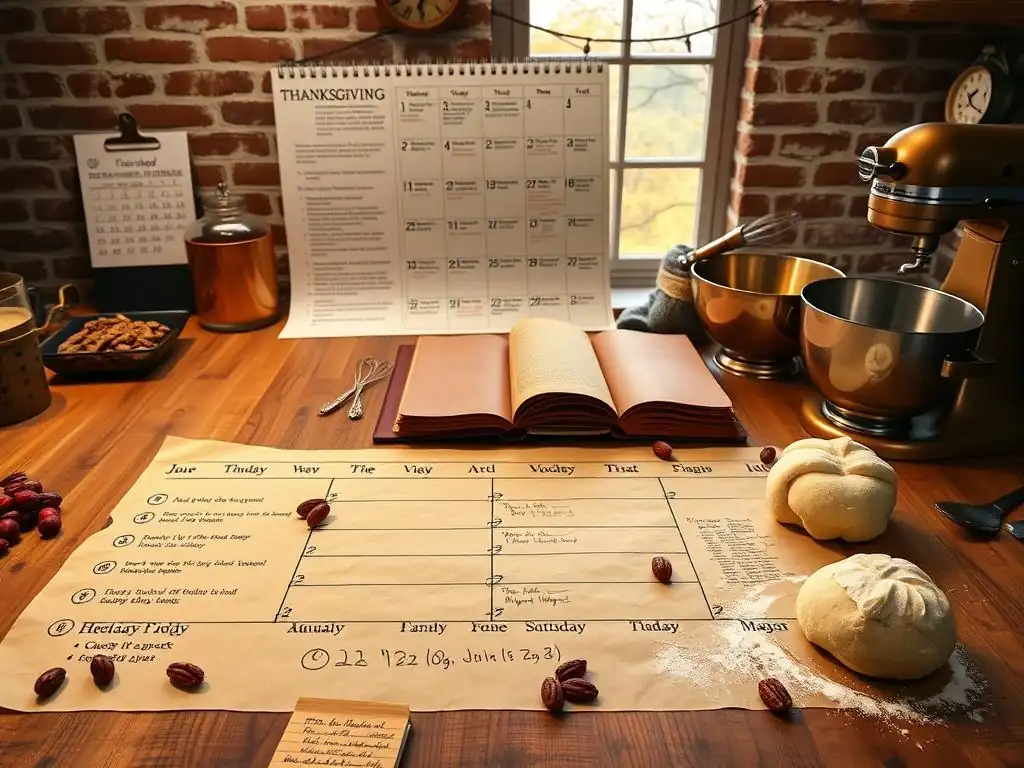
Why Planning is Essential for Thanksgiving Baking
Planning your Thanksgiving baking timeline is more than just writing down recipes; it's about strategic preparation to avoid holiday stress. Thanksgiving often involves multiple baked goods, from pies and cakes to breads and cookies, each requiring specific ingredients, steps, and oven time.
Without a clear Thanksgiving baking timeline guide, you risk forgetting ingredients, mismanaging oven space, or, worst of all, running out of time to complete everything before guests arrive. A planned approach allows you to tackle tasks when you have time, like making pie dough a week ahead or baking cookies days in advance, storing them properly until the big day.
Moreover, certain baked goods actually benefit from being made ahead of time. For instance, many cookie doughs develop deeper flavor when chilled for 24-72 hours. Fruit pies often set better and are easier to slice when they've had time to cool completely, sometimes even overnight. By incorporating these nuances into your Thanksgiving baking timeline, you not only reduce your workload on Thursday but also potentially improve the quality and taste of your finished treats. It’s about working smarter, not just harder, to create a memorable Thanksgiving feast.
Key Factors Influencing Your Schedule [Guest Count, Oven Capacity, Skill Level]
Several key factors significantly influence how you structure your Thanksgiving baking timeline. The number of guests you're hosting is paramount; a small gathering of 6 might only require two pies and some rolls, whereas a large family reunion of 25+ could necessitate multiple types of pies (perhaps 4-5 total), several dozen cookies, a large cake, and multiple batches of bread.
This directly impacts the sheer volume of ingredients needed and the time required for mixing, assembling, and baking. For a large group, you might need to dedicate an entire afternoon just to making pie fillings or mixing multiple batches of cookie dough, tasks that would be much quicker for a smaller gathering.
Oven capacity is another critical constraint when developing your Thanksgiving baking timeline guide. A standard home oven typically fits only 2-3 pie plates or 1-2 large sheet pans at a time. If your menu includes items that require different baking temperatures (e.g., a pie at 350°F and rolls at 375°F), you'll need to bake them sequentially, adding considerable time.
Understanding your oven's limitations helps you schedule tasks like baking pies the day before or utilizing cooler temperatures for items that can bake together. Finally, your personal baking skill level plays a role; a novice baker might budget 2 hours for a simple apple pie, including making the crust, while an experienced baker might complete the same task in under an hour, especially if using pre-made components or having perfected their technique. Be realistic about how long complex recipes will take you.
The Ultimate Baking Timeline: Days Before Thanksgiving
5-7 Days Before: Early Preparations
Taking care of certain tasks a week or so before Thanksgiving can dramatically lighten your load as the holiday approaches. This is the ideal time to tackle components that either improve with chilling or freeze well. Think about items like pie crusts or cookie doughs that require significant chilling time or can be prepped in bulk. Finalizing your menu and checking ingredient availability are also crucial steps best done early to avoid last-minute grocery store rushes, which are notoriously chaotic the week of Thanksgiving.
This early phase of your Thanksgiving baking timeline guide is also perfect for deep cleaning your kitchen, especially your oven. A clean oven bakes more evenly and prevents smoke from burnt residue. Consider this your organizational period – ensure you have enough cooling racks, baking sheets, pie plates, and mixing bowls for everything on your menu. Having your tools ready alongside prepped doughs makes the subsequent days much smoother.
Making Pie Crusts: A Head Start
Pie crust dough is an excellent candidate for early preparation in your Thanksgiving baking timeline. Most standard pie crust recipes benefit significantly from chilling, often requiring at least 30 minutes to an hour before rolling to allow the gluten to relax and the fat to firm up. Making dough 5-7 days ahead allows for extended chilling, which can result in a flakier crust. A basic double-crust recipe typically takes about 15-20 minutes to prepare by hand or in a food processor, plus the chilling time.
Once made, pie dough can be wrapped tightly in plastic wrap and stored in the refrigerator for up to 3-4 days or frozen for up to 2-3 months. If freezing, wrap the dough disc additionally in foil or place it in a freezer bag. Thaw frozen dough in the refrigerator overnight before use. By prepping all your pie crusts (e.g., 3-4 double crusts for various pies) a week out, you save valuable time and reduce mess closer to Thanksgiving, a key strategy in any effective Thanksgiving baking timeline guide.
Preparing Cookie Dough: Simplify the Process
Many types of cookie dough, especially those for roll-and-cut sugar cookies, gingerbread, or even chocolate chip cookies, can be prepared well in advance as part of your Thanksgiving baking timeline. Like pie dough, chilling cookie dough helps firm up the fat, making it easier to handle and preventing excessive spreading during baking. More importantly, for many recipes, chilling allows the dry ingredients to fully hydrate and the flavors to meld and intensify. Some bakers swear by chilling cookie dough for 48-72 hours for optimal flavor development.
Prepare your desired cookie doughs (e.g., 2-3 different types for variety). Shape dough for slice-and-bake cookies into logs, wrap tightly, and refrigerate or freeze. Roll-and-cut dough can be shaped into discs or rectangles, wrapped, and chilled or frozen. Most cookie doughs will keep in the refrigerator for 3-5 days or in the freezer for several months. Having pre-made cookie dough ready means you can simply slice and bake or roll and cut fresh cookies closer to the holiday, saving significant time on mixing and cleanup during the busiest days of your Thanksgiving baking timeline.
Finalizing Your Menu: Ensuring Ingredient Availability
About a week before Thanksgiving is the absolute latest you should finalize your baking menu. This step is critical for creating an accurate grocery list and ensuring you have every ingredient needed. Review each recipe planned in your Thanksgiving baking timeline guide, from the main pies and cakes to smaller items like dinner rolls or shortbreads. List every ingredient, noting quantities. Then, compare this list to your pantry and refrigerator stock.
Create a comprehensive shopping list of everything you need. Aim to purchase non-perishables like flour, sugar, spices (check expiration dates! ), chocolate, nuts, and canned pumpkin 5-7 days ahead. Perishables like eggs, butter, and fresh dairy can be bought 3-4 days out. Shopping early helps you avoid crowded stores and potential stock-outs of popular holiday items. For example, if you're making a specific pecan pie recipe, ensure you have the right type and quantity of pecans listed. This proactive approach is fundamental to a smooth Thanksgiving baking timeline.
3-4 Days Before: Intermediate Preparations
As Thanksgiving week begins, your Thanksgiving baking timeline shifts to tasks that require a bit more assembly or are best done a few days ahead for optimal texture or to save oven space. This phase often involves baking items that store well or preparing components that will be assembled and baked closer to the day. It's also a good time to start thinking about any doughs that need initial proofing.
This period is crucial for managing your workflow. By tackling tasks like baking and freezing pies now, you free up your oven for items that must be baked fresh on Wednesday or Thursday. It’s about strategic delegation of tasks across your Thanksgiving baking schedule to prevent a baking marathon right before guests arrive.
Baking and Freezing Pies: Time Optimization
Many types of pies, particularly fruit pies like apple or cherry, can be baked entirely 3-4 days before Thanksgiving and frozen. Baking pies ahead is a major time-saver in your Thanksgiving baking timeline. Bake the pie according to your recipe instructions until the crust is golden brown and the filling is bubbly. Allow the pie to cool completely on a wire rack – this is essential to prevent condensation when freezing. Once fully cool, wrap the pie tightly in plastic wrap, then in foil, and freeze.
To serve, thaw the frozen baked pie in the refrigerator overnight (about 12-24 hours). Reheat in a preheated oven at around 300-325°F (approximately) for 15-25 minutes, or until warmed through. This method works exceptionally well for fruit pies. Cream-based or custard pies (like pumpkin or pecan) are generally best baked 1-2 days ahead and refrigerated, as freezing can affect their texture, but baking the crusts blind ahead of time and refrigerating them is still a good strategy within your Thanksgiving baking timeline guide.
Preparing Bread Dough: Initial Proofing
For yeast breads like dinner rolls or challah, preparing the dough 3-4 days ahead can be a convenient part of your Thanksgiving baking timeline. Many bread recipes allow for a slow, cold proof in the refrigerator, which can actually enhance the flavor and texture of the final loaf. Mix your bread dough according to the recipe, knead it, and complete the first rise (bulk fermentation) at room temperature.
After the first rise, punch the dough down gently, shape it (into rolls or loaves), and place it in the refrigerator for a long, slow proof. This cold proof can last anywhere from 24 to 72 hours, depending on the recipe. On Thanksgiving morning or the day before, take the shaped dough out of the refrigerator about 1-2 hours before baking to allow it to warm up slightly and complete its final proofing at room temperature. This eliminates the need for kneading and lengthy proofing on a busy day, streamlining your Thanksgiving baking schedule.
2 Days Before: Fine-Tuning
With Thanksgiving just two days away, your Thanksgiving baking timeline guide should focus on preparing components that require minimal effort on the final day or finishing items that hold up well when made slightly ahead. This is a great time to make fillings, toppings, and sauces, as well as to organize your baking space for maximum efficiency.
This phase is about getting ahead on tasks that can be done without compromising freshness. It's also your last chance to ensure your kitchen is set up for the final push, making Wednesday's and Thursday's baking much smoother.
Preparing Fillings and Toppings: Streamlining Assembly
Many pie fillings, dessert sauces, and crumble toppings can be prepared 2 days before Thanksgiving. For instance, apple or cherry pie fillings (made with fruit, sugar, spices, and thickeners) can be cooked or mixed, cooled, and stored in airtight containers in the refrigerator. This saves significant time on the day you assemble and bake the pies. Similarly, cranberry sauce, caramel sauce, or chocolate ganache can be made now and simply gently reheated or used at room temperature later.
Crumble toppings for pies or crisps, typically a mixture of flour, sugar, butter, and sometimes oats or nuts, can also be made ahead. Mix the ingredients until crumbly, then store in a sealed container in the refrigerator. Having these components ready means that on baking day, you only need to assemble the pie or dessert and bake it off, drastically reducing prep time. This is a key element of an efficient Thanksgiving baking timeline guide.
Setting Up Your Baking Area: Organization is Key
Two days before Thanksgiving is the perfect time to ensure your baking area is fully organized and ready for high-volume production. Clear countertops, gather all necessary tools (measuring cups, spoons, mixing bowls, whisks, spatulas, baking pans, cooling racks), and arrange them logically. Check your supply of parchment paper and cooking spray. Ensure your stand mixer attachments are clean and accessible.
Consider setting up different stations if your kitchen allows – one for mixing, one for assembly, and one for cooling. Having everything you need within easy reach minimizes searching and reduces stress during the busiest baking hours. This organizational step, often overlooked, is vital for keeping your Thanksgiving baking timeline on track and making the process feel manageable and enjoyable.
1 Day Before: The Final Push
Wednesday before Thanksgiving is typically the busiest baking day for many households following a comprehensive Thanksgiving baking timeline guide. This is when you bake items that are best served relatively fresh but don't need to be hot out of the oven, such as cakes, quick breads, and many pies (especially custard-based ones).
This day is about execution. With your doughs and fillings prepped, you can focus on the actual baking process, managing oven space effectively to get everything done before the holiday itself.
Baking Cakes and Quick Breads: Freshness Assurance
Cakes and quick breads (like pumpkin bread or cornbread) are often best baked the day before Thanksgiving. This allows them ample time to cool completely before frosting or slicing, while still being very fresh. Most standard cakes (like a pound cake or layer cake) bake in about 30-50 minutes at 350°F (approximate). Quick breads typically take 50-70 minutes depending on the size of the loaf pan.
Once baked, allow cakes to cool in their pans for 10-15 minutes before inverting them onto wire racks to cool completely. Quick breads should also cool thoroughly before slicing. Properly cooled cakes can be wrapped tightly in plastic wrap to maintain moisture and stored at room temperature. Quick breads can be stored in airtight containers. Baking these items on Wednesday ensures they are ready for finishing touches on Thursday morning, fitting perfectly into your Thanksgiving baking timeline.
Preparing Dessert Components: Crumbles and Sauces
While some sauces can be made earlier, Wednesday is a good day to make or finalize components that are best fresh or require heating just before serving. This might include making a fresh batch of whipped cream (though this is often best done right before serving), preparing a simple glaze, or getting toppings like toasted nuts or chocolate shavings ready in separate containers.
If you are making a dessert that requires a last-minute element, like a meringue topping for a pie (which should be added and browned just before serving), you might prepare the meringue mixture ingredients now, ready to whip up quickly on Thursday. This stage of the Thanksgiving baking timeline is about ensuring all the small, but crucial, finishing touches are prepped and ready for final assembly.
Thanksgiving Day: The Final Countdown
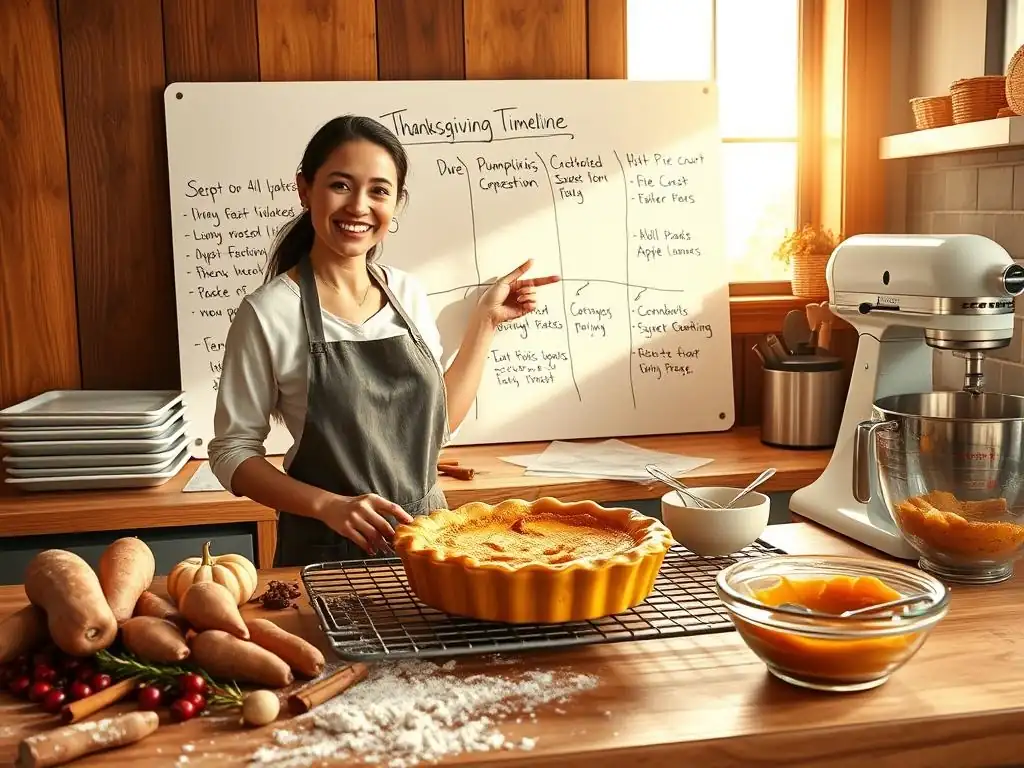
Thanksgiving Day itself should ideally be about minimal baking and maximum enjoyment. Your Thanksgiving baking timeline guide should have front-loaded most of the work, leaving only tasks that require freshness or quick assembly.
The focus shifts from baking to finishing, warming, and presenting your beautiful creations.
Morning: Final Preparations
Thanksgiving morning is about bringing everything together.
Baking Pies and Breads: Ensuring Optimal Freshness
If your Thanksgiving baking timeline included baking some pies or breads on Wednesday, Thanksgiving morning is when you might bake off any items that truly benefit from being served warm or fresh. This could include yeast rolls that had a cold proof overnight, or perhaps a last-minute apple crisp. Plan these items to go into the oven first thing in the morning, allowing them time to bake and cool slightly before the meal.
For instance, rolls might bake for 15-20 minutes at 375°F (approximate), while a crisp might take 30-40 minutes at the same temperature. Coordinate oven use carefully if the main meal is also being cooked. If you baked pies ahead and froze or refrigerated them, this is also the time to start the gentle reheating process if desired.
Assembling Desserts: Frosting and Topping Application
With cakes and quick breads baked, Thanksgiving morning is the time to apply frostings, glazes, or simple dustings of powdered sugar. Frosting a cake typically takes 15-30 minutes depending on complexity. Assemble layered desserts, add crumble toppings to fruit fillings if not baked with them, or whip fresh cream for pies.
This is also the moment to add any delicate garnishes like fresh berries, mint leaves, or chocolate curls. These final touches, guided by your Thanksgiving baking timeline, complete the visual appeal of your desserts before they are placed on display.
Afternoon: Completion and Presentation
As the main meal approaches, the focus shifts to ensuring baked goods are at the right temperature and beautifully presented.
Reheating Pies and Desserts: Temperature Control
Baked fruit pies that were refrigerated or thawed from frozen can be gently reheated in a low oven (around 300-325°F) for 15-25 minutes to warm the filling and crisp the crust slightly. Custard pies like pumpkin are generally served chilled or at room temperature, so they only need to come out of the refrigerator about an hour before serving. Quick breads and cakes are typically served at room temperature.
Understanding the ideal serving temperature for each item is key to maximizing flavor and texture. Your Thanksgiving baking timeline guide should account for this final warming step if needed.
Final Dessert Presentation: Enhancing the Visual Appeal
The final step in your Thanksgiving baking timeline is the presentation. Arrange your pies, cakes, cookies, and breads on platters or cake stands. Add simple decorations like a sprinkle of cinnamon, a dollop of whipped cream just before serving, or a garnish of fresh cranberries or herbs.
Consider using festive linens or serving dishes. A beautiful presentation enhances the dining experience and is a rewarding culmination of all your planning and baking efforts following your detailed Thanksgiving baking timeline guide.
Baking Tips for Success
Beyond the timeline, a few general baking tips can ensure your Thanksgiving creations turn out perfectly.
Baking Ahead: Freezing and Thawing Guidelines
Mastering baking ahead and proper storage is crucial for a successful Thanksgiving baking timeline. As mentioned, many doughs (pie, cookie, some bread) freeze exceptionally well. Baked fruit pies can be frozen. Baked cakes (unfrosted) can also be wrapped tightly and frozen for several weeks. Thaw frozen baked goods in the refrigerator overnight. Cookie dough logs can be sliced and baked directly from frozen, often requiring just a minute or two extra baking time.
- Freezing Dough: Wrap tightly in plastic wrap, then foil or a freezer bag. Label with content and date.
- Freezing Baked Items: Ensure items are completely cool. Wrap tightly to prevent freezer burn.
- Thawing: Best done slowly in the refrigerator. Avoid thawing delicate items at room temperature.
Storing Baked Goods: Maintaining Quality
Proper storage is key to keeping your baked goods fresh and delicious after they've been completed according to your Thanksgiving baking timeline.
- Pies: Fruit pies can be stored loosely covered at room temperature for 1-2 days, or refrigerated for up to 4 days. Custard/cream pies must be refrigerated and are best consumed within 3-4 days.
- Cakes: Unfrosted cakes can be wrapped tightly and stored at room temperature for 2-3 days. Frosted cakes are often best stored in an airtight container at room temperature for 2-3 days, unless the frosting is perishable (like cream cheese frosting), in which case they should be refrigerated.
- Cookies: Store cooled cookies in airtight containers at room temperature. Different types of cookies are best stored separately to prevent flavors from mingling. Crispy cookies can be stored with a piece of parchment paper between layers; soft cookies can benefit from a piece of bread in the container to maintain moisture.
- Breads/Rolls: Store cooled breads in bread boxes, airtight containers, or wrapped tightly. Best consumed within 1-3 days of baking.
Troubleshooting Common Baking Issues: Addressing Potential Problems
Even with a great Thanksgiving baking timeline, issues can arise. Knowing how to troubleshoot quickly is invaluable.
- Pie Crust Shrinking: Ensure you don't overwork the dough and allow adequate chilling time (at least 30-60 mins, ideally longer).
- Soggy Pie Bottom: Blind bake the crust partially before adding filling, especially for wet fillings like pumpkin. Bake pie on the lowest oven rack or on a preheated baking sheet.
- Cake Sinking in Middle: Could be underbaking, oven temperature too low, or opening oven door too early. Ensure oven is properly preheated and test for doneness with a skewer.
- Cookies Spreading Too Much: Dough wasn't chilled enough, oven temperature is too low, or too much leavening was used. Ensure dough is well-chilled and oven is accurately preheated.
Being aware of these potential pitfalls and having a plan (or knowing where to look up solutions quickly) is part of a robust Thanksgiving baking timeline guide.
Adapting to Your Needs
Every baker and every Thanksgiving is unique. Your Thanksgiving baking timeline guide should be flexible and adaptable.
Baking Timeline for Beginners: Simplified Steps
If you're new to Thanksgiving baking, keep your Thanksgiving baking timeline simple. Focus on 2-3 key items you feel comfortable with.
- Week Before: Finalize a small menu (e.g., 1 pie, 1 quick bread, store-bought rolls), buy all ingredients.
- 3-4 Days Before: Make pie dough (or buy pre-made).
- 2 Days Before: Make pie filling.
- 1 Day Before: Assemble and bake the pie. Bake the quick bread.
- Thanksgiving Day: Serve! Don't add extra stress with last-minute baking. Use a simple Thanksgiving baking timeline focusing on achievable goals.
Baking Timeline for Experienced Bakers: Advanced Techniques
Experienced bakers can leverage their skills to maximize efficiency in their Thanksgiving baking timeline.
- Week Before: Prepare multiple types of doughs (pie, cookie, laminated pastries like croissants if on the menu), freeze components.
- 3-4 Days Before: Bake and freeze fruit pies. Start cold-proofing bread doughs. Make complex sauces or curds.
- 2 Days Before: Bake cakes, make frostings. Prepare fillings for pies that will be baked on Wednesday.
- 1 Day Before: Bake remaining pies (custard, pecan). Bake quick breads. Shape and cold-proof any remaining bread doughs.
- Thanksgiving Day: Bake cold-proofed breads/rolls. Assemble and finish desserts (frosting, garnishes). Reheat items as needed. Your Thanksgiving baking timeline can be packed, but manageable with experience.
Baking Timeline: Gluten-Free and Dairy-Free Adaptations
Adapting your Thanksgiving baking timeline for dietary restrictions requires careful ingredient planning and potentially different timings based on specific recipe requirements.
- Ingredient Sourcing: Allow extra time (perhaps 7-10 days out) to find specialty ingredients like gluten-free flour blends or dairy-free butter alternatives, as these might not be readily available at all stores.
- Recipe Testing: If using new-to-you adapted recipes, consider doing a test run a few weeks before Thanksgiving, especially for items like gluten-free pie crusts or dairy-free cakes, as they can behave differently than traditional recipes.
- Cross-Contamination: If serving mixed dietary needs, build time into your Thanksgiving baking timeline for thorough cleaning between preparing traditional and adapted items to prevent cross-contamination. For example, bake gluten-free items first, then traditional ones.
Adapting your Thanksgiving baking timeline guide for specific needs ensures everyone can enjoy the delicious holiday spread.
Frequently Asked Questions
What is a Thanksgiving baking timeline and why is it important?
A Thanksgiving baking timeline is a structured plan that helps you organize your baking tasks leading up to Thanksgiving Day. It's important because it prevents last-minute stress and ensures everything is fresh and delicious for your feast.
How far in advance should I start my Thanksgiving baking?
Ideally, you should start planning your Thanksgiving baking timeline at least one week in advance. Some items, like pie crusts, can be made and frozen even earlier, offering more flexibility and efficiency.
What are some Thanksgiving baking tasks that can be done days in advance?
Tasks like making pie crusts, preparing cranberry sauce, and baking some types of cookies can be done several days beforehand. This helps to break up the workload and reduce stress on Thanksgiving Day.
What Thanksgiving baked goods are best made fresh on Thanksgiving Day?
Items like dinner rolls and quick breads are best made fresh on Thanksgiving Day for optimal texture and flavor. This ensures they are warm and inviting when served with the meal.
Where can I find easy-to-follow Thanksgiving baking recipes and tips?
Websites like BakeWithEase.com offer simple recipes, techniques, and tips for bakers of all levels. Their Thanksgiving baking timeline guide is a great place to start for a stress-free and delicious holiday season.
Final Reflection: The Sweetness of Preparation, the Joy of Sharing
Mastering the Thanksgiving baking timeline isn't just about perfectly timed pies; it's about orchestrating a symphony of flavors and feelings. The meticulous planning detailed in this guide translates directly to a more relaxed and enjoyable Thanksgiving, allowing you to savor the process instead of being overwhelmed by it. This isn't just about baking; it's about mindful preparation for a cherished holiday.
The impact of a well-planned Thanksgiving extends far beyond the delicious aroma filling your home. It's about creating space for connection and togetherness, a precious commodity in our increasingly busy lives. The act of baking itself, with its measured steps and satisfying results, becomes a meditative practice, a way to ground oneself amidst the holiday hustle. As the great Julia Child once said, Find something you're passionate about and keep tremendously interested in it.
For many, that passion is found in the kitchen, particularly during the Thanksgiving season.
This Thanksgiving, I invite you to embrace the power of planning. Don't just bake; design your baking experience. Use this timeline as a springboard for your own creative culinary journey. Experiment with new recipes, involve loved ones in the process, and most importantly, savor every moment – from the first crack of the oven to the last bite of pie shared with those you cherish. Let the sweetness of preparation enhance the joy of sharing this Thanksgiving and beyond.
Unlock Your Thanksgiving Baking Bliss!
Thanks for joining us on this baking journey! We hope you now feel confident and prepared to create a Thanksgiving spread that will impress everyone. Ready to turn your newfound knowledge into delicious reality?
- Bake your showstopper pie (or two!) this weekend: Don't wait until the last minute! Get a head start and enjoy the process without the pressure.
- Share your baking plans (or triumphs!) with our community in the comments below. We love seeing what you create!
- Explore our collection of Thanksgiving side dish recipes for even more delicious inspiration. We've got something for every palate.
What's your favorite Thanksgiving baking tradition—and will you be trying a new recipe this year?