
Beyond Basic: 10 MustTry Recipes for Your Bread Machine

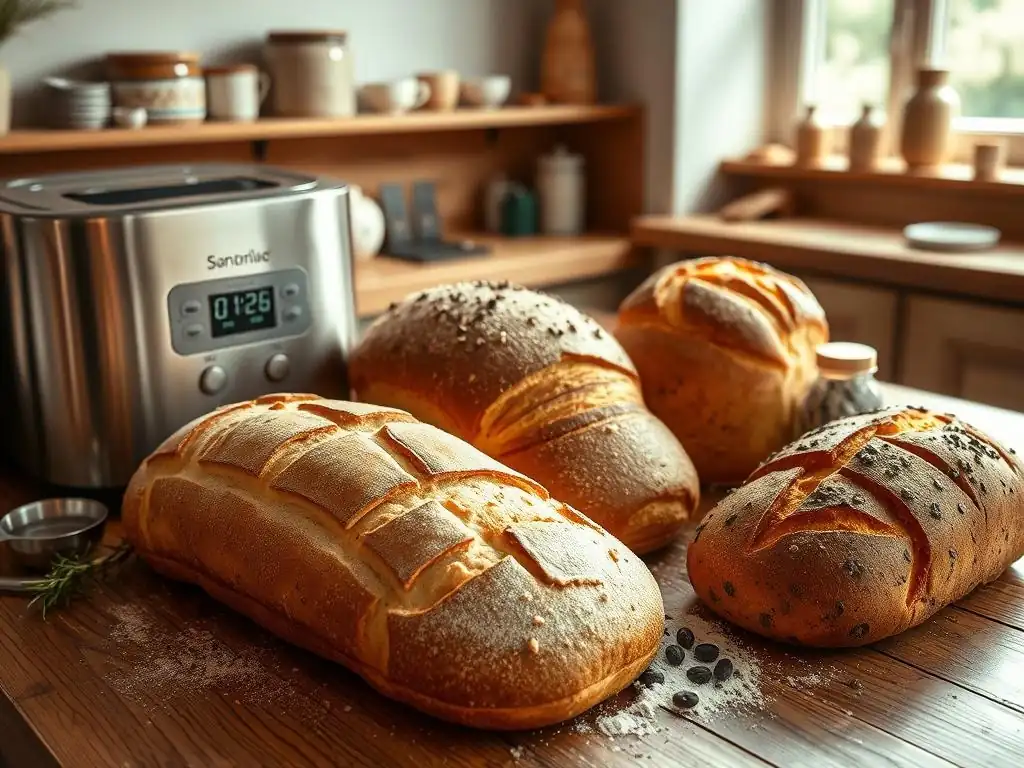
Welcome to BakeWithEase, your trusted guide to the delicious world of baking! Ever dreamt of effortlessly crafting perfect loaves at home? You're in the right place. Dive into our latest article, "Beyond Basic: 10 Must-Try Recipes for Your Bread Machine," where we unlock the secrets to amazing, easy bread machine recipes. Curious about how to transform simple ingredients into bakery-worthy bread with minimal effort? Let's get baking!
- BakeWithEase Presents: Elevate Your Bread Machine Baking
- Discover Delicious & Easy Bread Machine Recipes
-
10 Bread Machine Recipes That Go Beyond the Basics
- 1. Classic White Bread Recipe for Bread Machines: A Staple Reimagined
- 2. Whole Wheat Bread Machine Recipe: Healthy and Flavorful
- 3. Sourdough Bread in a Bread Machine: A Tangy Twist
- 4. Sweet Bread Machine Recipe: Cinnamon Raisin Swirl
- 5. Gluten-Free Bread Machine Recipe: Easy and Delicious
- 6. Italian Herb Bread Machine Recipe: Savory and Aromatic
- 7. Banana Bread in a Bread Machine: A Quick and Easy Treat
- 8. Pizza Dough Bread Machine Recipe: Perfect for Pizza Night
- 9. Rye Bread Machine Recipe: A Robust and Flavorful Option
- 10. Brioche Bread Machine Recipe: Rich and Decadent
- Bread Machine Baking Tips for Success
- Mastering Easy Bread Machine Recipes: Conclusion
- Frequently Asked Questions
- Final Reflection: The Joy of Effortless Baking
- Unleash Your Inner Baker: Level Up Your Bread Machine Skills!
BakeWithEase Presents: Elevate Your Bread Machine Baking
Your bread machine is a powerful tool, capable of producing far more than just a standard loaf. It can simplify the baking process dramatically, handling the kneading, rising, and baking cycles with minimal effort on your part. This frees you up to explore a wider variety of doughs and flavors than you might have thought possible. Think of it as your personal automated baker, ready to tackle everything from simple white bread to complex enriched doughs.
Moving beyond the basic settings unlocks a world of culinary possibilities. Many bread machines come with specialized cycles for dough, jam, cakes, and even gluten-free options. Understanding these cycles and how to adapt recipes for them is the key to maximizing your machine's potential. Whether you're aiming for rustic artisanal loaves or sweet, tender brioche, mastering a few key techniques and easy bread machine recipes can transform your home baking.
Discover Delicious & Easy Bread Machine Recipes
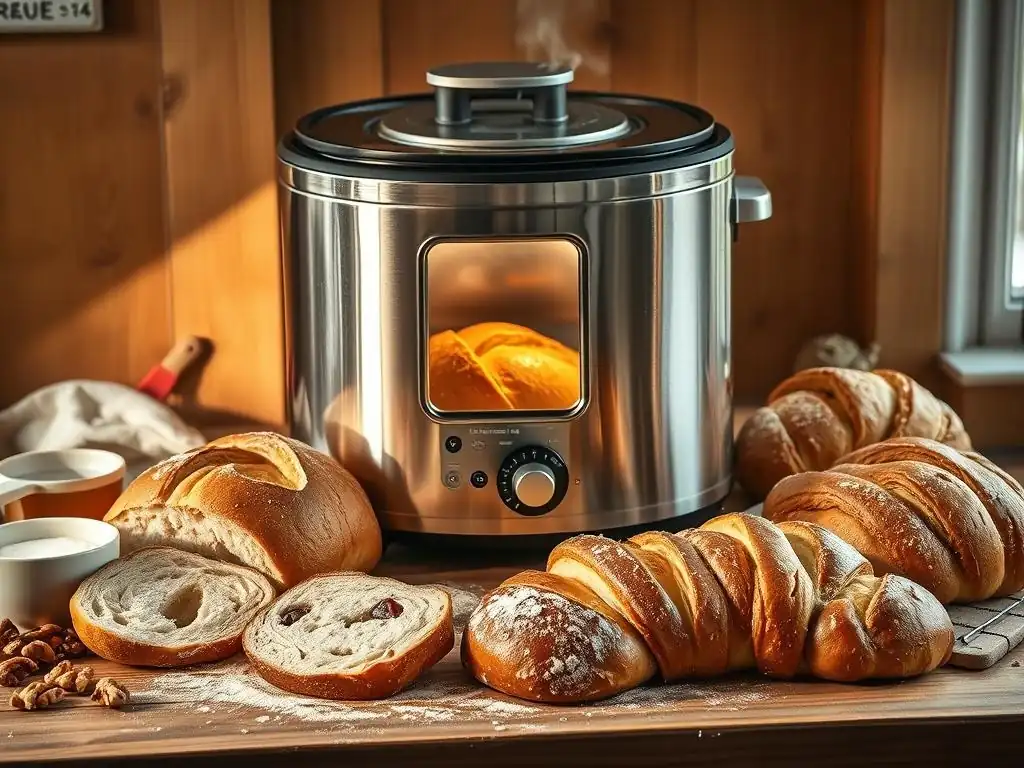
Embarking on your bread machine journey is exciting, especially when you realize how many delicious possibilities await. Forget the idea that your machine is only good for one type of loaf. With the right ingredients and a few simple adjustments, you can create an impressive array of breads, doughs, and even sweet treats. We're here to guide you through some fantastic options that are surprisingly simple to achieve.
Finding truly easy bread machine recipes can sometimes feel overwhelming with the sheer volume available online. Our goal is to curate a list that not only introduces you to new flavors and textures but also builds your confidence. These recipes are designed to be straightforward while still offering results that taste like they came from a bakery. Get ready to expand your baking repertoire with minimal fuss!
Simple Bread Machine Recipes for Beginners
Starting out with a bread machine is incredibly rewarding. The simplest recipes often involve just adding ingredients in a specific order, selecting a cycle, and pressing start.
A classic white bread or basic whole wheat loaf is usually the first venture for many, and for good reason – they teach you the fundamentals of ingredient ratios and the machine's basic operation. For instance, a typical beginner white bread recipe might call for around 1 cup of water, 2-3 cups of bread flour, 1-2 tablespoons of sugar, 1-2 tablespoons of oil or butter, 1 teaspoon of salt, and 1-1.5 teaspoons of active dry or instant yeast.
These foundational recipes build confidence and help you understand how different ingredients interact within the machine's environment. You learn about the importance of measuring accurately, the role of yeast, and how temperature can affect the rise. Many bread machines have a "Basic" or "White Bread" cycle that is perfectly calibrated for these simple mixtures, often completing the process in about 3-4 hours. Successfully baking a loaf from scratch with minimal effort is a fantastic entry point into the world of easy bread machine recipes.
Advanced Bread Machine Baking Techniques
Once you're comfortable with basic cycles, you can explore more advanced techniques using your bread machine. This often involves utilizing the "Dough" cycle, which mixes and kneads the dough, allowing you to shape and bake it in a traditional oven. This is perfect for things like pizza dough, dinner rolls, or even enriched doughs that benefit from specific shaping or toppings that aren't suitable for the machine's pan. Using the dough cycle for a standard pizza dough often takes about 1.5 to 2 hours, including kneading and the first rise.
Another advanced technique is understanding the timing of adding ingredients. Some recipes, like those with cheese, herbs, or dried fruits, might specify adding these items at a later stage during the mix cycle, often signalled by a beep from the machine. This prevents delicate ingredients from being overly broken down during the initial kneading.
Furthermore, experimenting with pre-ferments or sourdough starters before adding them to the machine for a final knead or bake cycle can add complexity and depth of flavor not achievable with a simple direct mix. These steps elevate your easy bread machine recipes to a new level.
10 Bread Machine Recipes That Go Beyond the Basics
1. Classic White Bread Recipe for Bread Machines: A Staple Reimagined
While it might seem basic, mastering a classic white bread in your machine is the foundation for many other easy bread machine recipes. A well-made white loaf should have a tender crumb and a soft crust. The key is often in the protein content of the flour (bread flour is recommended for better structure) and the precise balance of liquids, fats, and yeast. A typical recipe for a 1.5-pound loaf might use 1 cup warm water, 2 tablespoons milk powder, 2 tablespoons sugar, 1.5 tablespoons butter, 1.5 teaspoons salt, 3 cups bread flour, and 2 teaspoons active dry yeast.
This recipe, while simple, can be a benchmark for understanding your machine. The "Basic" or "White Bread" cycle is usually the setting of choice. Pay attention to the dough ball during the kneading phase; it should be smooth and elastic, not sticky or dry. If it's too wet, add a tablespoon of flour at a time; if too dry, add a teaspoon of water. Getting this right ensures a perfect rise and texture, making this essential for anyone exploring easy bread machine recipes.
Tips for Perfecting Your White Bread Machine Loaf
- Always add liquids first, followed by dry ingredients, and yeast last, placed on top of the flour away from salt and liquid, unless your machine manual specifies a different order.
- Use room temperature ingredients for a more consistent rise.
- Check the dough consistency about 5-10 minutes into the kneading cycle and adjust with tiny amounts of flour or water if needed.
- Allow the loaf to cool completely on a wire rack after baking for the best texture and ease of slicing.
2. Whole Wheat Bread Machine Recipe: Healthy and Flavorful
Whole wheat bread offers more fiber and nutrients than white bread, and making it in a bread machine is incredibly convenient. However, whole wheat flour absorbs liquid differently and contains the bran and germ, which can inhibit gluten development, potentially resulting in a denser loaf.
A good recipe balances whole wheat flour with a smaller amount of bread flour or uses ingredients like vital wheat gluten to help with structure. A common ratio for a 2-pound loaf is 1.25 cups water, 2 tablespoons honey or molasses, 2 tablespoons oil, 1.5 teaspoons salt, 3 cups whole wheat flour, 1 cup bread flour, and 2 teaspoons active dry yeast.
Achieving a light and airy whole wheat loaf requires careful measurement and often using the "Whole Wheat" cycle on your machine, which may have a longer kneading or rising time. Some recipes also benefit from adding a tablespoon of vital wheat gluten per cup of whole wheat flour used to improve the crumb structure. Don't be discouraged if your first whole wheat loaf is denser than white; it takes a little practice to find the perfect balance for your machine and ingredients. These are some of the most satisfying easy bread machine recipes to master.
Achieving a Soft Texture in Whole Wheat Bread Machine Baking
- Ensure your liquid is warm enough (around 105-115°F or 40-46°C) to properly activate the yeast, especially when working with denser whole wheat flour.
- Consider adding a tablespoon or two of milk powder or a little extra fat (like butter or oil) to the recipe; these can help tenderize the crumb.
- Using the "Whole Wheat" cycle is crucial as it's designed to handle the specific needs of this type of flour, often providing a longer resting period for the flour to absorb liquid fully.
- Check the dough ball consistency during the first knead; it should be slightly sticky but still form a ball. Adjust with small amounts of flour or water as needed.
3. Sourdough Bread in a Bread Machine: A Tangy Twist
Yes, you can make sourdough using your bread machine! While you won't get the super-crusty, open-crumb boule of a traditional oven bake, you can certainly achieve a delicious, tangy loaf with minimal effort. The bread machine is particularly useful for the initial mixing and kneading phases.
You'll typically need an active sourdough starter. A recipe might involve combining 1 cup active sourdough starter, 1 cup warm water, 2 tablespoons olive oil, 1.5 teaspoons salt, 4 cups bread flour, and optionally, a small amount (0.5 teaspoon) of instant yeast for a more reliable rise, especially if your starter isn't super vigorous.
Many people use the "Dough" cycle for sourdough, allowing the machine to do the hard work of kneading the somewhat sticky dough. After the cycle finishes (typically 1.5-2 hours), you remove the dough, shape it, and give it a final proof (rise) outside the machine, often for 1-3 hours depending on temperature and starter activity, before baking it in a conventional oven. Some machines even have a "Sourdough" cycle, which might integrate a fermenting period before the main cycle begins. This method makes tackling sourdough one of the more accessible easy bread machine recipes.
Bread Machine Sourdough Starter Tips
- Ensure your sourdough starter is active and bubbly before using it. Feed it 4-12 hours before you plan to start the bread machine cycle.
- Measure your starter by weight for greater accuracy (e.g., 200-250 grams) rather than volume, as its density can vary.
- If using the "Dough" cycle, consider adding a small amount of commercial yeast (0.5-1 teaspoon) as a backup, especially when starting out, to ensure a good rise.
- Experiment with the hydration level (water to flour ratio) in your recipe; a slightly higher hydration can improve the crumb, but makes the dough stickier to handle outside the machine.
4. Sweet Bread Machine Recipe: Cinnamon Raisin Swirl
Sweet breads are a delightful use of your bread machine, perfect for breakfast or a snack. A classic cinnamon raisin swirl is always a hit. These recipes typically include sugar, eggs, milk (or milk powder and water), and butter or oil, resulting in a softer, richer dough than standard bread. A recipe for a 1.5-pound loaf could include 1 cup milk, 2 eggs, 1/4 cup melted butter, 1/4 cup sugar, 1 teaspoon salt, 3 cups bread flour, and 1.5 teaspoons active dry yeast. Raisins and cinnamon are often added at the "add-in" beep.
The "Sweet" or "French" cycle on your machine is often suitable for this type of dough, although some prefer the "Basic" cycle with a light crust setting. Adding the raisins too early can result in them being chopped up, so wait for the machine's signal. For the swirl effect, you can let the machine complete the full cycle, but for a more defined swirl, use the "Dough" cycle, roll the dough out, sprinkle generously with cinnamon sugar and raisins, roll it up, and bake it in a conventional oven. This versatility makes sweet breads wonderful easy bread machine recipes.
Variations for Sweet Bread Machine Loaves
- Substitute raisins with dried cranberries, chopped dried apricots, or chocolate chips.
- Add spices like nutmeg, cardamom, or ginger along with the cinnamon.
- Incorporate citrus zest (orange or lemon) for brightness.
- Replace some of the milk with orange juice or apple cider for different flavor profiles.
- Consider adding a streusel topping if you use the "Dough" cycle and bake in the oven.
5. Gluten-Free Bread Machine Recipe: Easy and Delicious
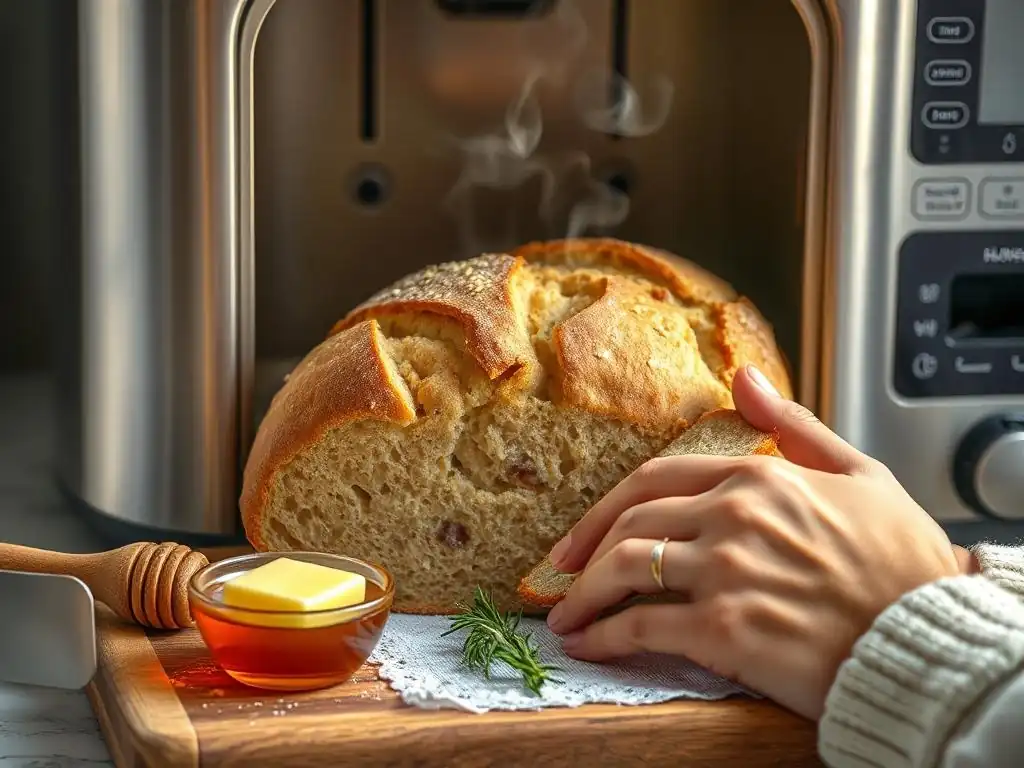
Making gluten-free bread can be tricky, as you lack the structure provided by gluten. However, bread machines excel at handling these often stickier doughs and providing a consistent temperature for rising and baking.
Gluten-free bread machine recipes rely on a blend of gluten-free flours, starches, and often binders like xanthan gum or psyllium husk to mimic gluten's properties. A typical recipe might use 1.5 cups warm liquid (water, milk, or plant-based milk), 2-3 tablespoons oil, 1-2 tablespoons sugar or honey, 1 teaspoon salt, 3-4 cups gluten-free flour blend (specific blends work best), 1-2 teaspoons xanthan gum (check if your blend contains it), and 1.5-2 teaspoons active dry or instant yeast.
It's crucial to use a specific "Gluten-Free" cycle if your machine has one, as these cycles are designed with different kneading, rising, and baking times suited for gluten-free doughs. The dough will often look more like a thick batter than traditional bread dough. Avoid opening the lid during the rise and bake cycles, as temperature fluctuations can cause the loaf to collapse.
Getting the liquid-to-flour blend ratio right is key, and recipes often specify weighing the flour blend for accuracy, as different blends have varying densities. Mastering gluten-free options expands the accessibility of easy bread machine recipes for those with dietary needs.
Gluten-Free Flour Blends for Bread Machines
- Look for commercially available all-purpose gluten-free flour blends specifically designed for bread baking. These often contain a mix of rice flour, sorghum flour, tapioca starch, potato starch, and sometimes binders.
- Ensure your blend includes a binder like xanthan gum or guar gum, or add it separately according to the recipe. Xanthan gum is commonly used at about 1/2 to 1 teaspoon per cup of gluten-free flour.
- Experiment with different blends as results can vary. Some popular options include King Arthur Baking Gluten-Free Bread Flour or Bob's Red Mill Gluten Free Bread Mix.
- Measure gluten-free flour blends by weight (grams) rather than volume (cups) for greater consistency, as packing can significantly affect the amount.
6. Italian Herb Bread Machine Recipe: Savory and Aromatic
Adding herbs and spices transforms simple bread into a flavorful experience. An Italian herb bread is wonderfully aromatic and pairs perfectly with pasta dishes or soups. This recipe starts with a basic white or slightly enriched dough base and incorporates dried herbs like oregano, basil, rosemary, and thyme, plus sometimes garlic powder or onion powder. A recipe for a 1.5-pound loaf might use 1 cup warm water, 2 tablespoons olive oil, 1 tablespoon sugar, 1.5 teaspoons salt, 3 cups bread flour, 1.5 teaspoons active dry yeast, and 1-2 tablespoons of dried Italian herbs.
The herbs are typically added at the "add-in" signal during the kneading cycle. You can use a "Basic" or "Herb Bread" cycle if available. For an extra punch of flavor, consider adding a teaspoon of garlic powder or a quarter cup of grated Parmesan cheese along with the herbs. Using fresh herbs is also an option, but they should be finely chopped and added at the same time as dried herbs. This is a fantastic example of how easy bread machine recipes can be customized for different meals.
Adding Herbs and Spices to Your Bread Machine Dough
- Use dried herbs for the most consistent results, adding them at the machine's "add-in" beep.
- If using fresh herbs, use approximately three times the amount of dried herbs called for and chop them very finely. Add them at the same point in the cycle.
- Consider blooming dried herbs in a tablespoon of warm water or oil for a few minutes before adding them to enhance their flavor.
- Don't add excessive amounts of herbs or spices, as they can interfere with gluten development if the ratio is too high. Stick to the recommended amounts in recipes (typically 1-3 tablespoons per loaf).
7. Banana Bread in a Bread Machine: A Quick and Easy Treat
While technically more of a quick bread or cake than a yeast bread, many bread machines have a "Quick Bread" or "Cake" cycle perfect for banana bread. This cycle typically involves mixing, a short rest, and then baking, without the lengthy kneading and rising of yeast breads.
It's an incredibly convenient way to use up overripe bananas. A typical bread machine banana bread recipe for a 1.5-pound loaf might include 2-3 very ripe mashed bananas (about 1 cup), 2 large eggs, 1/2 cup melted butter or oil, 1/2 cup sugar (or brown sugar), 1 teaspoon vanilla extract, 1.5 cups all-purpose flour, 1 teaspoon baking soda, 1/2 teaspoon salt, and optional additions like 1/2 cup chopped nuts or chocolate chips.
The process is usually as simple as adding wet ingredients to the pan, then dry ingredients on top, with the baking soda and salt separate from the wet ingredients until mixing begins. Select the "Quick Bread" or "Cake" cycle. The machine handles the mixing and baking, producing a moist, tender loaf. Adding nuts or chocolate chips can be done at the "add-in" beep if your machine has one for this cycle, or simply stirred in carefully before starting the cycle if not. This demonstrates the versatility of your machine beyond traditional easy bread machine recipes.
Making Moist Banana Bread in Your Bread Machine
- Use very ripe bananas; they are sweeter and contribute more moisture. Look for bananas with lots of brown spots.
- Measure your mashed bananas accurately; too little can result in a dry loaf, too much can make it dense. About 1 cup is standard for a 1.5-pound loaf.
- Ensure your baking soda is fresh, as it's the primary leavening agent in quick breads.
- Avoid opening the lid during the baking cycle to maintain a consistent temperature and prevent the loaf from sinking.
- Let the loaf cool in the pan for about 10-15 minutes before transferring to a wire rack to cool completely; this helps it set.
8. Pizza Dough Bread Machine Recipe: Perfect for Pizza Night
Using your bread machine to make pizza dough is a game-changer for homemade pizza night. The machine does all the messy kneading, resulting in a smooth, elastic dough ready for shaping. Most pizza dough recipes are lean, meaning they contain little to no fat or sugar, resulting in a chewier crust.
A standard recipe for dough sufficient for one large or two medium pizzas might use 1 cup warm water, 2.5-3 cups bread flour (or all-purpose), 1 teaspoon salt, and 1-1.5 teaspoons active dry or instant yeast. Some recipes include a tablespoon of olive oil for a slightly more tender crust.
Place ingredients in your bread machine according to your manual's instructions (usually liquids first, then dry, yeast last). Select the "Dough" cycle. This cycle typically kneads the dough and allows it to complete the first rise, often taking around 1.5 to 2 hours. Once the cycle is finished, the dough will be doubled in size and ready to be punched down, divided, shaped, and topped for baking in a hot oven (ideally 450-500°F or 230-260°C) on a pizza stone or baking sheet. This application makes easy bread machine recipes extend beyond just loaves.
Using Your Bread Machine for Pizza Dough
- Use the "Dough" cycle only; do not attempt to bake pizza dough in the bread machine pan.
- Flour your work surface generously when removing the dough, as it can be slightly sticky.
- Allow the dough to rest for 10-15 minutes after punching down before shaping; this relaxes the gluten and makes it easier to roll or stretch.
- For a crispier crust, preheat your oven to a high temperature (450°F/230°C or higher) and use a pizza stone or steel if possible.
- Consider making a double batch of dough and freezing half for a future quick pizza night.
9. Rye Bread Machine Recipe: A Robust and Flavorful Option
Rye bread, with its distinctive flavor and denser texture, is a wonderful addition to your bread machine repertoire. Rye flour contains less gluten than wheat flour, so rye bread often incorporates a significant portion of bread or all-purpose flour to provide structure.
Some recipes also use ingredients like molasses, caraway seeds, or even cocoa powder for color and depth of flavor. A recipe for a 1.5-pound loaf might use 1.25 cups warm water, 2 tablespoons molasses, 1.5 tablespoons oil, 1.5 teaspoons salt, 1.5 cups rye flour, 2 cups bread flour, 1.5 teaspoons active dry yeast, and 1-2 teaspoons caraway seeds (optional).
Many bread machines have a specific "Rye" or "Specialty Bread" cycle, which is often longer than the basic cycle to accommodate the unique properties of rye flour. If your machine doesn't have a dedicated rye cycle, the "Whole Wheat" cycle can sometimes work, but monitor the dough. Rye dough tends to be stickier. Don't expect a tall, airy loaf like white bread; rye bread is naturally more compact. The rich, earthy flavor makes it perfect for deli sandwiches or served with cheese. Exploring rye expands the range of easy bread machine recipes you can enjoy.
Techniques for Making Rye Bread in a Bread Machine
- Weighing your rye flour is particularly helpful, as its density can vary.
- Adding an acid, like a tablespoon of vinegar or lemon juice, can help improve the structure and texture of rye bread by assisting gluten development in the presence of pentosans (gummy substances in rye).
- If your machine struggles with a 100% rye recipe (which is very dense), start with a blend of rye and bread flour (e.g., 50/50 or 60/40 wheat to rye).
- Caraway seeds are a classic addition to rye bread; add them at the "add-in" beep.
10. Brioche Bread Machine Recipe: Rich and Decadent
Brioche is a classic French bread known for its rich, tender, and often slightly sweet crumb, thanks to a generous amount of butter and eggs. Making brioche dough by hand can be challenging due to its high fat content, which is where the bread machine's powerful kneading action becomes invaluable.
While you won't bake a traditional braided brioche in the machine, you can use it to create the perfect dough. A recipe for a 1.5-pound loaf's worth of dough might include 1/2 cup warm milk, 3-4 large eggs, 1/3 cup sugar, 1 teaspoon salt, 3 cups bread flour, 2 teaspoons active dry yeast, and 1/2 cup (1 stick) unsalted butter, softened and cut into pieces.
Use the "Dough" cycle. Add ingredients according to your machine's manual, often liquids first, then dry, yeast last, and the softened butter added gradually after the dough starts to come together (sometimes at the add-in beep, or just added with the initial ingredients if the manual allows for high-fat doughs). After the dough cycle finishes (usually 1.5-2 hours), remove the rich, soft dough, shape it (into rolls, loaves, or braids), give it a second rise, and bake it in a conventional oven until golden brown. This decadent dough is a highlight among more advanced easy bread machine recipes.
Achieving a Light and Airy Brioche in Your Bread Machine
- Ensure your butter is softened, not melted, and cut into small pieces. If your machine requires adding it later, wait for the beep.
- Allow the eggs and milk to come to room temperature before adding them to the machine.
- Use bread flour for better gluten development, which is essential to support the high fat and egg content.
- After the dough cycle, refrigerating the dough for at least 1-2 hours (or overnight) makes it much easier to handle and shape.
- Bake the shaped brioche in a preheated oven (often 350-375°F / 175-190°C) until deeply golden brown, which can take 20-40 minutes depending on the shape and size.
Bread Machine Baking Tips for Success
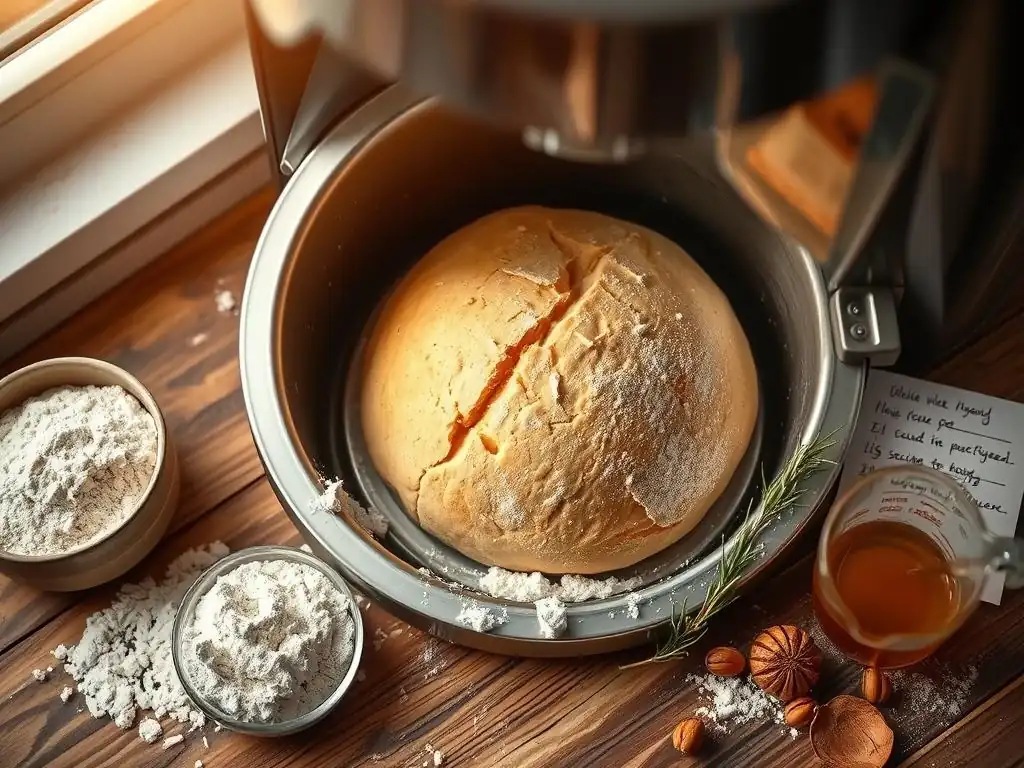
Troubleshooting Common Bread Machine Problems
Even with easy bread machine recipes, sometimes things don't go exactly as planned. One common issue is a loaf that doesn't rise properly. This is often due to inactive yeast (check the expiration date and use warm, but not hot, liquid), using too much salt (which inhibits yeast), or incorrect liquid-to-flour ratios. If your loaf sinks in the middle, it could be too much liquid, too much yeast, or sometimes humidity affecting the flour. For instance, in humid weather, you might need slightly less liquid or a tablespoon or two more flour than the recipe specifies.
Another frequent problem is the paddle getting stuck in the finished loaf. This is almost unavoidable but can be minimized by removing the loaf from the pan promptly after baking and using a non-stick spray on the paddle before adding ingredients. Dense loaves can result from too little liquid, too much flour, or using flour with too low a protein content (like cake flour instead of bread flour). By understanding these common pitfalls and making small adjustments, you can significantly improve your success rate with easy bread machine recipes.
Choosing the Right Ingredients for Your Bread Machine
The quality and type of ingredients you use have a significant impact on your bread machine results. For yeast breads, using bread flour (which has a higher protein content, typically 12-14%) is often recommended as it develops stronger gluten, resulting in a better structure and rise compared to all-purpose flour (around 10-12% protein).
However, many easy bread machine recipes for basic loaves work perfectly well with all-purpose flour. Yeast must be fresh; active dry yeast usually needs to be proofed (dissolved in warm liquid) unless the recipe specifies adding it directly, while instant yeast can typically be added directly with dry ingredients.
Liquids should be warm (around 105-115°F or 40-46°C for active dry yeast) to activate the yeast, but not too hot, which can kill it. Fats like butter or oil add tenderness and flavor; ensure butter is softened if the recipe calls for it. Salt is crucial for flavor and controlling yeast activity, but too much will inhibit the rise. Sugars (like granulated sugar, honey, or molasses) provide food for the yeast and contribute to browning. Using good quality ingredients, measured accurately, is fundamental to consistently successful and easy bread machine recipes.
Cleaning and Maintaining Your Bread Machine
Proper cleaning and maintenance are essential to keep your bread machine functioning optimally and ensure food safety. Always unplug the machine and allow it to cool completely before cleaning. The bread pan and kneading paddle usually have a non-stick coating and should be cleaned with warm, soapy water and a soft sponge. Avoid abrasive scrubbers that can damage the coating. For stubborn dough residue, soak the pan for a short period. Ensure the pan is completely dry before storing or using it again.
The interior of the machine itself, where the heating element is located, should be wiped clean with a damp cloth. Never immerse the machine's body in water. Check the kneading paddle shaft for any stuck dough and clean it gently. Occasionally, you may need to remove the paddle and clean underneath it. Refer to your machine's manual for specific cleaning instructions. Regular cleaning not only prolongs the life of your appliance but also prevents residue from affecting the flavor of your easy bread machine recipes.
Mastering Easy Bread Machine Recipes: Conclusion
Experimenting with Flavors and Ingredients in Your Bread Machine
Once you've mastered these ten recipes, don't stop there! Your bread machine is a fantastic platform for culinary creativity. You can easily adapt many traditional bread recipes by adjusting liquid and flour ratios to fit your machine's capacity and cycle types. Think about adding dried fruits, nuts, seeds, cheese, or different herbs and spices to your basic doughs. For instance, adding a quarter cup of sunflower seeds and a couple of tablespoons of flax seeds to a whole wheat loaf adds texture and nutrition.
Consider exploring different flours beyond wheat and rye, such as spelt, oat flour (often mixed with wheat), or using different types of yeast. You can also play with liquids, substituting water with milk, buttermilk, yogurt, or even fruit juice in sweet breads. The "Dough" cycle is your best friend for experimentation, allowing you to mix unique doughs in the machine and then shape and bake them using conventional methods. The possibilities for creating delicious and easy bread machine recipes are truly vast!
Frequently Asked Questions
What are some easy bread machine recipes for beginners?
For beginners, recipes like white bread, whole wheat bread, and pizza dough are great starting points. They require minimal ingredients and offer simple step-by-step instructions.
How can I ensure my bread machine recipes turn out perfect every time?
To achieve perfect results, always measure your ingredients accurately, follow the recipe instructions closely, and check the freshness of your yeast. Adjust settings according to your machine's manual.
Can I use gluten-free flour in bread machine recipes?
Yes, many bread machines have settings for gluten-free baking. Look for specific gluten-free recipes that use suitable flour blends to ensure the best texture and flavor.
How do I know when my bread is done baking in the machine?
Most bread machines have a bake cycle that indicates when the bread is finished. Additionally, you can check by tapping the bottom of the loaf; it should sound hollow when done.
What are some tips for storing homemade bread?
Store your homemade bread in a cool, dry place in an airtight container. For longer freshness, consider slicing and freezing it, which helps maintain its texture and flavor.
Final Reflection: The Joy of Effortless Baking
The humble bread machine, once a kitchen novelty, is experiencing a resurgence, and for good reason. In a world obsessed with convenience and instant gratification, the ability to create warm, crusty bread with minimal effort is incredibly appealing. This article explored ten recipes designed to elevate your bread-making experience beyond the basic loaf, proving that delicious, homemade bread is within everyone's reach.
The accessibility of bread making, once a skill passed down through generations, is now democratized through technology. This shift is more than just a culinary convenience; it's a reconnection with a fundamental aspect of food production and the satisfaction of creating something nourishing from simple ingredients. As the renowned chef Julia Child once said, Find something you're passionate about and keep tremendously interested in it.
For many, that passion lies in the simple act of baking bread, and the bread machine serves as the perfect gateway.
So, what will you bake next? Don't let the fear of failure or the perceived complexity of bread making hold you back. Explore the recipes in this article, experiment with different flours and add-ins, and discover the joy of creating something delicious and comforting with your own two hands (and a little help from your trusty bread machine). The aroma of freshly baked bread alone is worth the effort, a testament to the enduring power of simple pleasures.
Unleash Your Inner Baker: Level Up Your Bread Machine Skills!
Thanks for taking the time to explore these delicious bread machine recipes! We hope you've discovered some new favorites to elevate your baking game. Ready to get started?
- Bake your favorite recipe today! Grab your ingredients and let's transform those simple ingredients into something truly amazing. This is your chance to experiment with new flavors and techniques.
- Share your baking triumphs (or even your bloopers!) on social media. Use #BakeWithEase to connect with our community of bread-loving enthusiasts!
- Explore our other bread machine resources to further enhance your baking skills. Discover even more tips, tricks, and recipes to help you master the art of bread making.
What unique twist will you add to your next loaf? Let us know in the comments below!