
Foolproof Focaccia Dough: Use Your Bread Machine's Dough Cycle Effortlessly

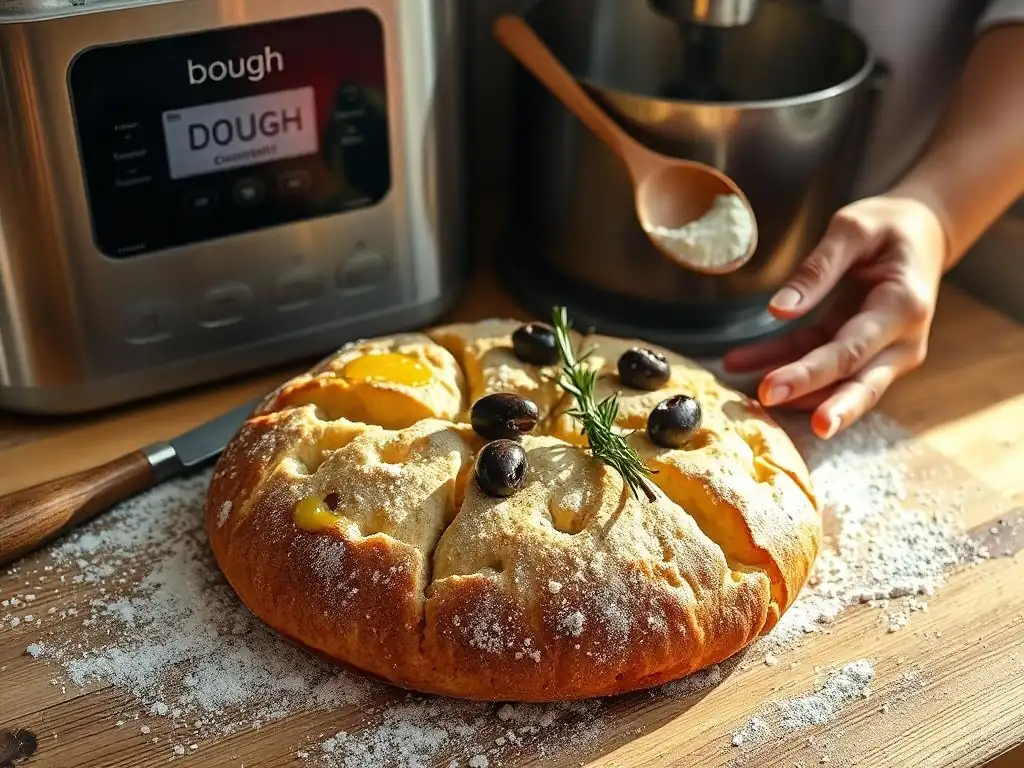
Welcome to BakeWithEase, where creating delicious baked goods is simpler than you think! Ever dreamt of perfectly airy focaccia, without the kneading hassle? Discover how to create foolproof focaccia dough using the magic of your bread machine. Our guide reveals all the secrets to effortlessly achieving that signature Italian flavor and texture. Ready to unlock the potential of your bread machine and bake your way to focaccia perfection?
- Bake Delicious Focaccia with Your Bread Machine: An Easy Guide
- Why Use a Bread Machine for Focaccia Dough?
- Easy Bread Machine Focaccia Recipe: Step-by-Step Guide
- From Bread Machine to Oven: Baking Your Focaccia
- Troubleshooting Your Bread Machine Focaccia
- Serving and Storing Your Homemade Focaccia
- Bread Machine Focaccia: A Beginner's Baking Dream
-
Frequently Asked Questions
- How does using a bread machine simplify making focaccia dough?
- What are the key ingredients I need to make focaccia dough in a bread machine?
- Can I use different types of flour for focaccia in a bread machine?
- How long does the bread machine dough cycle typically take for focaccia?
- What should I do after the bread machine dough cycle is complete?
- Final Reflection: The Joy of Effortless Focaccia
- Master the Art of Fluffy Focaccia Today!
Bake Delicious Focaccia with Your Bread Machine: An Easy Guide
Creating delicious, airy focaccia bread might seem like a task reserved for experienced bakers, but with a little help from your bread machine, it becomes an incredibly straightforward process. The beauty of using a bread machine lies in its ability to handle the most labor-intensive parts of dough making: mixing and kneading. This allows you to achieve that perfect, elastic dough required for authentic focaccia with minimal effort.
This guide will walk you through every step, from selecting your ingredients to baking your golden-brown masterpiece. We'll focus on how to leverage your bread machine's dough cycle to make easy bread machine focaccia, ensuring consistent results every time. Say goodbye to sticky hands and sore arms, and hello to homemade focaccia that rivals your favorite bakery.
Why Use a Bread Machine for Focaccia Dough?
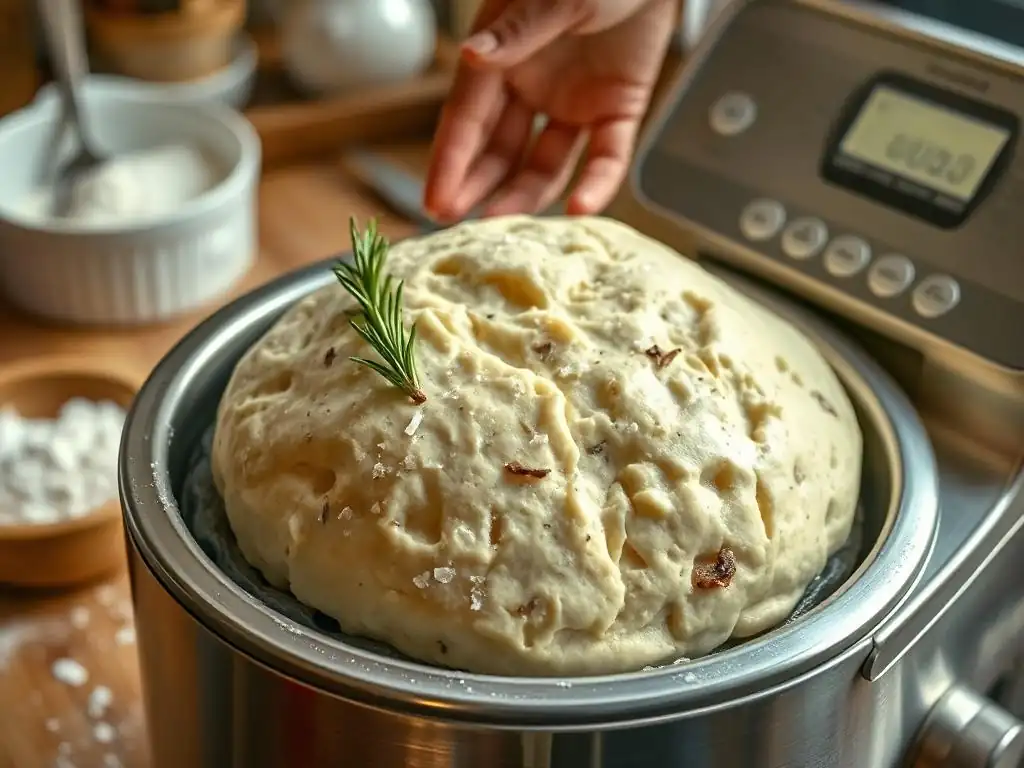
Simplicity and Convenience: Bread Machine Focaccia Benefits
One of the primary reasons bakers turn to a bread machine for making focaccia dough is the unparalleled simplicity and convenience it offers. Instead of spending 15-20 minutes vigorously kneading dough by hand or wrestling with a stand mixer, you simply add your ingredients to the bread machine pan, press a button, and let the machine do the work. This hands-off approach drastically reduces the active time required, making it feasible to bake fresh bread even on busy weeknights.
Furthermore, the controlled environment within the bread machine pan ensures consistent mixing and temperature, which can be crucial for successful yeast activation and gluten development. For anyone looking to bake delicious bread without the fuss, mastering easy bread machine focaccia is a game-changer. It democratizes the baking process, bringing the joy of fresh bread within reach for beginners and experienced home cooks alike.
Hands-Off Mixing and Kneading: Perfect Dough Every Time
The bread machine's dough cycle is specifically engineered to handle the precise mixing and kneading required for various bread types, including the relatively wet and sticky dough characteristic of focaccia. During the cycle, the machine's paddle incorporates the ingredients thoroughly before initiating a structured kneading process. This process develops the gluten network in the flour, which is essential for the focaccia's signature chewy texture and ability to rise properly.
The machine kneads the dough for an optimal duration, typically around 15-25 minutes depending on the model and cycle, ensuring the gluten is well-developed without being overworked. This consistent, automated kneading eliminates the guesswork and physical strain associated with manual methods, leading to a more reliable and perfect dough structure every time you make easy bread machine focaccia. The result is a smooth, elastic ball of dough ready for its first rise.
Easy Bread Machine Focaccia Recipe: Step-by-Step Guide
Ingredients for Bread Machine Focaccia Dough
To make delicious easy bread machine focaccia, you'll need just a few basic ingredients. Quality matters, especially when it comes to flour and olive oil, as they contribute significantly to the final flavor and texture.
Here is a standard list of ingredients:
- Warm Water: Approximately 1 to 1.25 cups (around 105-115°F or 40-46°C). Ensure it's warm enough to activate the yeast but not too hot, which could kill it.
- Olive Oil: About 2-4 tablespoons of good quality extra virgin olive oil, plus more for the pan and topping. Olive oil is key to focaccia's flavor and tender crumb.
- Bread Flour: Around 3 to 3.5 cups. Bread flour has a higher protein content than all-purpose flour, which helps develop strong gluten for a chewy texture.
- Salt: 1.5 to 2 teaspoons. Fine sea salt or kosher salt works well.
- Active Dry Yeast or Instant Yeast: 1.5 to 2 teaspoons. Check the expiration date to ensure your yeast is fresh and active.
Note: Always check your bread machine's manual for the recommended order of adding wet and dry ingredients, as this can vary between models. Some machines require liquids first, while others prefer yeast directly on top of the dry ingredients.
Setting Up Your Bread Machine for Focaccia Dough
Once your ingredients are measured and ready, adding them to the bread machine pan in the correct order is crucial for successful dough development. Follow your machine's specific instructions regarding ingredient layering. Generally, liquids are added first, followed by dry ingredients, with the yeast placed last, often in a small well made in the flour.
Secure the pan in the bread machine and close the lid. Select the "Dough" or "Manual" cycle. This cycle typically includes a mixing period, a kneading period, and a first rise (proofing) period, usually lasting between 1 hour and 1 hour 30 minutes in total. Avoid cycles that include a bake function.
Start the cycle and let the machine work its magic. You can peek during the kneading phase to check the dough consistency – it should form a smooth ball that is slightly sticky but pulls away from the sides of the pan. If it seems too wet, add a tablespoon of flour; if too dry, add a teaspoon of water.
Proofing the Dough: Achieving the Perfect Rise
After the bread machine completes its dough cycle, the dough will have undergone its first rise within the machine's pan. The dough should have roughly doubled in size, indicating that the yeast is active and the gluten structure is developing. This initial proofing in the bread machine provides a warm, consistent environment ideal for the yeast.
Once the cycle finishes, gently remove the dough from the pan onto a lightly floured surface. At this point, the dough is ready for shaping and its second rise. For focaccia, the second rise typically happens directly in the baking pan, allowing the dough to relax and expand before baking. This double proofing process contributes to the light and airy texture characteristic of easy bread machine focaccia. Ensure you handle the dough gently to avoid deflating it too much after its impressive rise.
From Bread Machine to Oven: Baking Your Focaccia
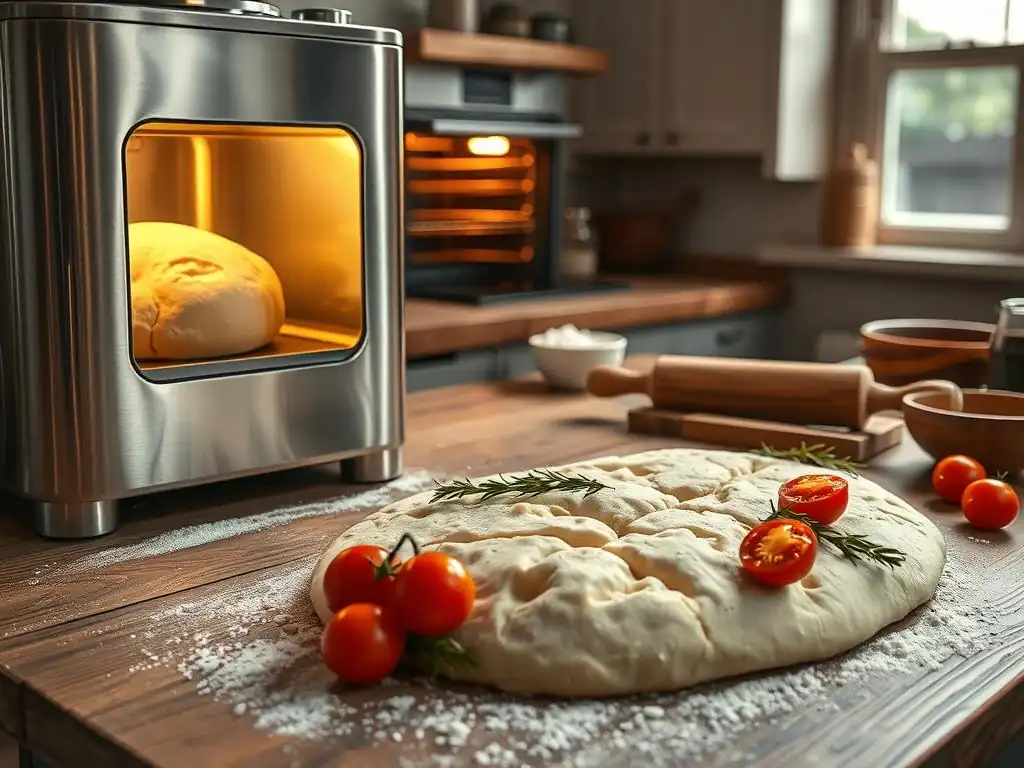
Preparing the Dough for Baking: Shaping and Dimpling
Once the dough has completed its first rise in the bread machine, transfer it carefully to a well-oiled baking pan. A standard 9x13 inch pan or a round 10-12 inch pan works well for this quantity of dough. Use a generous amount of olive oil in the pan – this prevents sticking and contributes to the crispy bottom crust. Gently press the dough to fill the pan, stretching it towards the edges. If the dough resists, let it rest for 5-10 minutes, then continue pressing.
Cover the pan lightly with plastic wrap or a clean kitchen towel and let the dough rest and rise for a second time in a warm spot for another 30-60 minutes, or until it looks puffy and has increased in size again. Before baking, generously drizzle the top of the dough with more olive oil. Then, using your fingertips, gently but firmly press indentations (dimples) all over the surface of the dough. These dimples are characteristic of focaccia and help hold the olive oil and toppings.
Toppings and Flavor Combinations for Your Focaccia
The beauty of easy bread machine focaccia is how versatile it is when it comes to toppings. You can keep it simple or get creative with various flavors. Add your chosen toppings after dimpling the dough.
Classic Rosemary and Sea Salt Focaccia Topping
This is perhaps the most traditional and beloved focaccia topping. After dimpling the dough and drizzling with olive oil, generously sprinkle coarse sea salt over the entire surface. Then, scatter fresh rosemary sprigs or finely chopped rosemary leaves over the salt. The salt provides bursts of flavor, and the rosemary infuses the bread with its aromatic essence as it bakes. This simple combination highlights the quality of the bread itself.
Sun-Dried Tomato and Olive Focaccia Variation
For a Mediterranean twist, combine chopped sun-dried tomatoes (oil-packed ones work wonderfully) and pitted Kalamata or black olives. Scatter these evenly over the dimpled, oiled dough. You can also add a sprinkle of dried oregano or Italian seasoning. The sweetness of the tomatoes and the briny olives create a rich, savory profile that pairs beautifully with the soft, chewy bread. This variation is excellent served with cheese or as an accompaniment to pasta dishes.
Caramelized Onion and Balsamic Glaze Focaccia
This topping requires a little pre-cooking but is well worth the effort. Slowly cook thinly sliced onions in olive oil over low heat until they are deeply caramelized and sweet (this can take 20-30 minutes). Spread the caramelized onions over the dimpled dough. After baking, drizzle the finished focaccia with a balsamic glaze (reduced balsamic vinegar) for an extra layer of sweet and tangy flavor. This sophisticated topping is perfect for a more elevated easy bread machine focaccia.
Baking Time and Temperature for Perfect Focaccia
Preheat your oven to a high temperature, typically between 400°F and 425°F (200°C to 220°C). A hot oven helps the focaccia achieve a crispy exterior while keeping the interior soft. Place the pan of dimpled, topped dough into the preheated oven.
Bake for approximately 20 to 30 minutes. The exact time will depend on your oven and the size and thickness of your focaccia. You'll know it's ready when the top is golden brown, and the edges are crispy. The bottom should also be golden and sound hollow when tapped gently. If the top seems to be browning too quickly, you can loosely tent the pan with aluminum foil for the last few minutes of baking. Remove the focaccia from the oven and, if desired, drizzle with a little more olive oil immediately for extra richness and shine.
Troubleshooting Your Bread Machine Focaccia
Even with the simplicity of a bread machine, sometimes things don't go exactly as planned. Here are a few common issues and how to address them when making easy bread machine focaccia.
Dough Too Sticky: Solutions for Bread Machine Focaccia
If, during the kneading cycle in your bread machine, the dough appears excessively sticky and isn't forming a cohesive ball that cleans the sides of the pan, it likely needs a little more flour. This can happen due to variations in flour type, humidity, or slightly inaccurate measurements.
Carefully open the lid and add flour, one tablespoon at a time, allowing the machine to incorporate it fully before adding more. You might need 1 to 3 extra tablespoons total. The dough should eventually form a soft, slightly sticky ball that pulls away from the pan sides, though focaccia dough is naturally wetter than standard bread dough. Avoid adding too much flour, as this can result in dense, dry bread.
Dough Not Rising: Bread Machine Troubleshooting Tips
A lack of rise, either in the bread machine or during the second proofing, is usually related to the yeast.
- Check Yeast Viability: Ensure your yeast is fresh and active. Yeast past its expiration date or stored improperly (like in an open container in the pantry) may be dead or inactive.
- Water Temperature: The water added to the bread machine needs to be warm, ideally between 105°F and 115°F (40-46°C). Water that is too cold won't activate the yeast effectively, while water that is too hot will kill it.
- Ingredient Order: Ensure you followed your bread machine's specific instructions for adding ingredients. Sometimes, placing salt directly on top of yeast can inhibit its activity before mixing begins.
- Machine Malfunction: Very rarely, the bread machine's heating element or sensor might not be functioning correctly, preventing the ideal temperature for proofing.
If the dough cycle finishes and the dough hasn't risen significantly, you can try transferring it to a warm bowl, covering it, and letting it proof in a warm, draft-free spot (like a slightly warm oven) for 60-90 minutes to see if it activates outside the machine.
Achieving the Perfect Golden Crust on Your Focaccia
A beautiful golden crust is a hallmark of great focaccia. If your easy bread machine focaccia is coming out pale, consider these tips:
- Oven Temperature: Ensure your oven is accurately calibrated and preheated to the correct high temperature (400-425°F). An oven thermometer can help verify this.
- Baking Time: Bake for the full recommended time, or slightly longer if needed, until the desired color is achieved.
- Placement: Bake the focaccia on the middle or lower-middle rack of your oven for even heat distribution.
- Olive Oil: Don't be shy with the olive oil drizzle before baking! The oil helps the crust crisp up and brown beautifully.
- Broiler (Use Caution): For a final touch, you can briefly place the focaccia under a broiler for 30-60 seconds, watching it constantly to prevent burning. This is a last resort and requires extreme vigilance.
Serving and Storing Your Homemade Focaccia
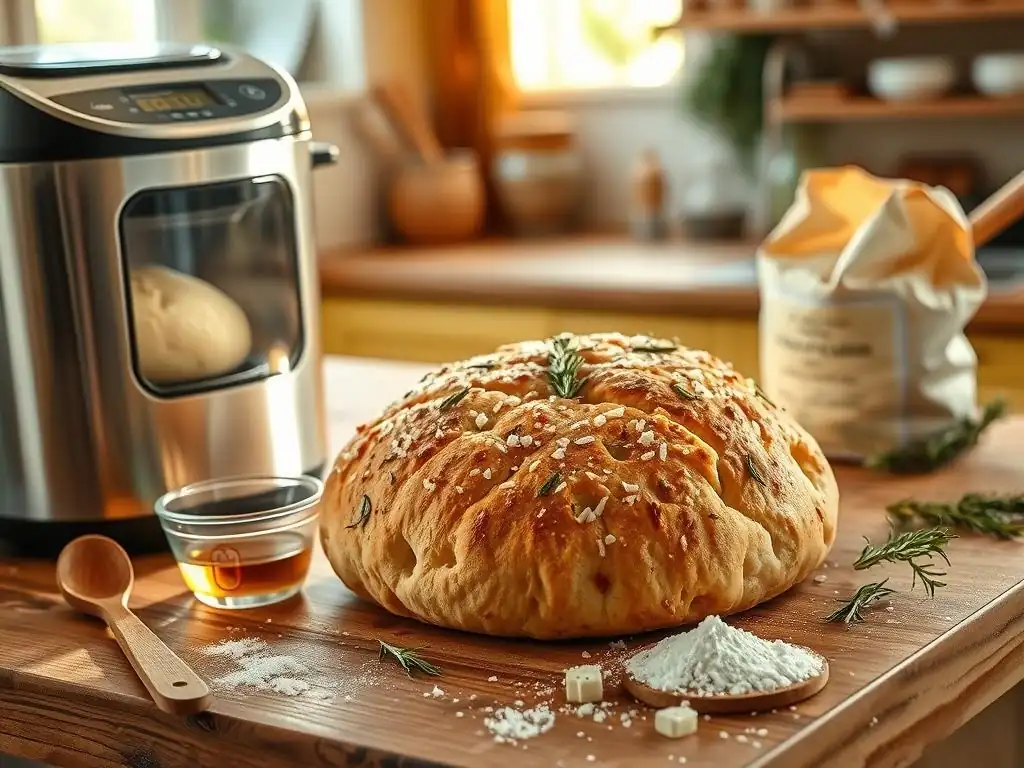
Enjoying Your Freshly Baked Bread Machine Focaccia
The best way to enjoy easy bread machine focaccia is warm, straight from the oven. The aroma filling your kitchen is just a prelude to the deliciousness. Slice it into squares or rectangles and serve it as an appetizer with dipping oil, alongside soup or salad, or as the base for sandwiches.
The soft, airy interior and slightly crispy, flavorful crust make it incredibly versatile. It's perfect for dipping in balsamic vinegar and olive oil, topping with bruschetta, or simply savoring on its own. Share it warm with family and friends for an unforgettable baking moment made easy by your bread machine.
Storing Focaccia for Maximum Freshness
While focaccia is best enjoyed the day it's baked, you can store leftovers to maintain freshness for a short time. Once completely cooled, store the focaccia in an airtight container or wrap it tightly in plastic wrap or aluminum foil.
At room temperature, it will stay relatively fresh for 1-2 days. For longer storage, you can refrigerate it for up to 4 days, though refrigeration can sometimes slightly alter the texture. To reheat, a few minutes in a warm oven (around 350°F or 175°C) or a toaster oven works best to crisp up the crust again. You can also freeze focaccia for up to 2-3 months. Wrap individual pieces or the whole loaf tightly in plastic wrap, then in aluminum foil or a freezer bag. Thaw at room temperature and reheat in the oven.
Bread Machine Focaccia: A Beginner's Baking Dream
Mastering Focaccia Dough with Minimal Effort
Making authentic-tasting focaccia dough can be intimidating for novice bakers, often requiring vigorous kneading and careful proofing. However, using the dough cycle on a bread machine significantly simplifies this process. By automating the mixing and kneading steps, the machine ensures consistent gluten development without the manual labor.
This means you can achieve the perfect elastic dough structure required for focaccia with minimal effort and maximum reliability. It removes much of the guesswork involved in traditional dough making, making easy bread machine focaccia an ideal project for beginners looking to expand their baking repertoire beyond simple quick breads.
Unlock Your Bread Machine's Potential: Focaccia and Beyond
Many people only use their bread machine for basic loaves, unaware of its full potential. The dough cycle is incredibly versatile and can be used for a wide variety of recipes, including pizza dough, dinner rolls, cinnamon buns, and, of course, easy bread machine focaccia.
By mastering the process of making dough in your machine, you open up a world of baking possibilities. Focaccia is just one example of how this appliance can transform complex recipes into achievable home baking projects. Experiment with different dough types and discover how your bread machine can become an indispensable tool in your kitchen, making fresh, homemade bread and pastries a regular occurrence.
Frequently Asked Questions
How does using a bread machine simplify making focaccia dough?
A bread machine automates the kneading and proofing process, saving you time and effort. It ensures a consistent dough texture every time, making focaccia preparation easier and more reliable.
What are the key ingredients I need to make focaccia dough in a bread machine?
You'll need basic ingredients like flour, water, olive oil, yeast, and salt. Some recipes may also include sugar or herbs for added flavor. The exact proportions will depend on the recipe.
Can I use different types of flour for focaccia in a bread machine?
Yes, you can experiment! Bread flour will give the best rise and structure, but all-purpose flour also works well. Using a combination can yield a unique texture and flavor.
How long does the bread machine dough cycle typically take for focaccia?
Most bread machine dough cycles range from 1 to 1.5 hours. This includes both the kneading and rising time, which is crucial for a good focaccia dough.
What should I do after the bread machine dough cycle is complete?
After the cycle, gently transfer the dough to a prepared baking sheet. Then, proceed with the shaping, dimpling, and topping before baking in the oven.
Final Reflection: The Joy of Effortless Focaccia
The humble bread machine, once relegated to the back of the pantry, is experiencing a renaissance, and at the heart of this revival is the surprisingly simple creation of perfect focaccia. This article has explored the ease and efficiency of using your bread machine's dough cycle to produce a consistently delicious, golden-brown focaccia, proving that artisanal bread baking doesn't require hours of kneading and proofing.
The accessibility of this method has profoundly impacted my own baking journey, transforming a once-intimidating process into a relaxing and rewarding experience. The best things in life are simple,
a phrase often repeated, rings especially true when considering the sheer satisfaction of pulling a perfectly textured, flavorful focaccia from the oven, knowing the bread machine did the heavy lifting. This ease of creation opens the door for experimentation, encouraging bakers of all skill levels to explore different flavor combinations and toppings, truly personalizing this classic Italian bread.
Now, it's your turn. Don't let the fear of failure or the perceived complexity of bread making hold you back. Try this foolproof recipe, embrace the simplicity of the bread machine, and discover the joy of creating your own delicious focaccia. The aroma alone is worth the effort (which, let's be honest, is minimal! ), and the taste? Unforgettable. So, gather your ingredients, fire up your bread machine, and embark on your own focaccia adventure. You might just surprise yourself with what you can create.
Master the Art of Fluffy Focaccia Today!
Thank you for joining us on this delicious journey into the world of focaccia! We hope you've discovered how simple and rewarding it can be to create this delightful bread with your bread machine. Now, it’s time to put that knowledge into action and bring some homemade goodness to your kitchen!
Here’s how to get started:
- Start your focaccia adventure today: Gather your ingredients and set your bread machine to the dough cycle. Enjoy the aromatic process of making your very own focaccia from scratch!
- Experiment with flavors: Get creative by adding herbs, olives, or sun-dried tomatoes to your dough. Make it your own and surprise your family with unique onion or garlic-infused focaccia.
- Share the joy: Once you’ve mastered your focaccia, invite friends to join your baking session! Swap recipes and even host a focaccia taste-testing party right in your kitchen.
Which flavors or ingredients are you excited to experiment with in your next focaccia? We’d love to hear your ideas below!