
Keeping Your Stand Mixer Sparkling: Essential Cleaning Steps

Welcome to BakeWithEase, your trusted guide to the delightful world of baking! Ever wondered how to maintain that gleaming finish on your trusty kitchen companion? This article dives deep into the essential steps for keeping your stand mixer sparkling. Uncover the secrets to clean stand mixer thoroughly easily and ensure it's always ready for your next baking adventure. Ready to learn more and keep your equipment in top shape? Let's get started!
- Maintaining Your KitchenAid Stand Mixer: Essential Cleaning Steps
- Introduction: Maintaining Your KitchenAid for Optimal Baking Performance
- Step-by-Step Guide: How to Clean Your KitchenAid Thoroughly and Easily
- Cleaning the KitchenAid Bowl and Attachments
- Cleaning the KitchenAid Body
- Deep Cleaning the KitchenAid Head (If Applicable)
- Reassembling and Storing Your Clean KitchenAid
- Tips for Preventing Messes and Easier KitchenAid Cleaning
- Troubleshooting Common KitchenAid Cleaning Challenges
- Conclusion: Enjoy Baking with a Clean and Well-Maintained KitchenAid
- Frequently Asked Questions
- Final Reflection: The Joy of a Sparkling Stand Mixer
- Unleash the Sparkle: Transform Your Stand Mixer Today!
Maintaining Your KitchenAid Stand Mixer: Essential Cleaning Steps
Introduction: Maintaining Your KitchenAid for Optimal Baking Performance
Why Regular Cleaning is Crucial for Your KitchenAid
Keeping your stand mixer clean is more than just about aesthetics; it's fundamental to its longevity and performance. Over time, residual flour dust, sticky batter, and grease can build up in the crevices of your mixer, potentially affecting the motor's efficiency and even becoming a hygiene issue. Regular cleaning prevents this accumulation, ensuring your mixer runs smoothly and lasts for years. Think of it as essential maintenance – just like you'd care for your oven or your favorite baking pans.
Neglecting to clean stand mixer thoroughly easily can lead to problems down the line, such as seized parts or diminished mixing power. Small food particles can work their way into the gears or motor housing, causing unnecessary wear and tear. A quick clean after each use, followed by periodic deeper cleaning sessions, is the simplest way to protect your investment and keep it in top working condition for all your baking adventures.
The Impact of a Clean KitchenAid on Baking Results
A clean stand mixer directly impacts the quality of your baked goods. Residual grease or old batter left on attachments can introduce off-flavors or affect the texture of your mixtures. For instance, even a small amount of grease on a wire whip can prevent egg whites from whipping up properly into stiff peaks for meringues or soufflés, potentially ruining a delicate recipe.
Furthermore, a clean bowl ensures that your ingredients are properly mixed without contamination. Imagine making a light vanilla cake batter in a bowl that still has traces of a strongly flavored chocolate dough from a previous bake. The flavors could transfer, altering the intended taste. By keeping your stand mixer thoroughly clean, you guarantee that each batch you make is pure, consistent, and delicious, allowing you to achieve the best possible baking results every time.
Step-by-Step Guide: How to Clean Your KitchenAid Thoroughly and Easily
Gather Your Cleaning Supplies: What You'll Need
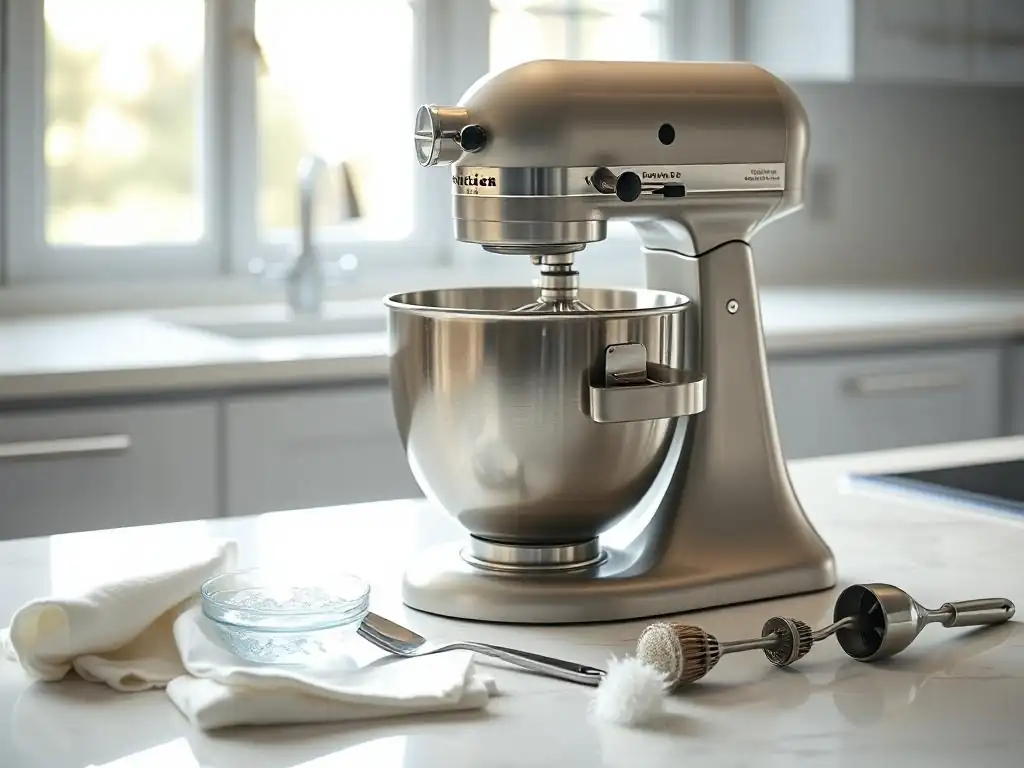
Before you begin cleaning your stand mixer, it's helpful to have all your supplies ready. This makes the process much more efficient and helps you clean stand mixer thoroughly easily without interruptions. You'll need warm, soapy water (using mild dish soap), soft cloths or sponges, a small brush (like a clean toothbrush or pastry brush) for tight spots, and paper towels or a dry cloth for drying.
For tougher grime or stainless steel polishing, you might also want white vinegar, baking soda, or a dedicated stainless steel cleaner. Having these items on hand ensures you're prepared for any level of cleaning required, from a quick wipe-down to tackling stubborn residue. A small spray bottle for a diluted cleaning solution can also be very useful.
Safety First: Unplugging and Disassembling Your KitchenAid
Safety is paramount when cleaning any electrical appliance. Always start by ensuring your KitchenAid stand mixer is unplugged from the wall outlet. This eliminates any risk of accidental activation while your hands or cleaning tools are near moving parts or the motor. Taking this simple step prevents potential injuries.
Once unplugged, carefully disassemble the mixer. Remove the bowl, attachment (flat beater, wire whip, or dough hook), and any splash guards or pouring shields. Setting these parts aside allows you to clean them separately and gives you better access to the main body of the mixer. This systematic approach is key to cleaning your stand mixer thoroughly and easily.
Cleaning the KitchenAid Bowl and Attachments
Handwashing vs. Dishwasher: Choosing the Right Method
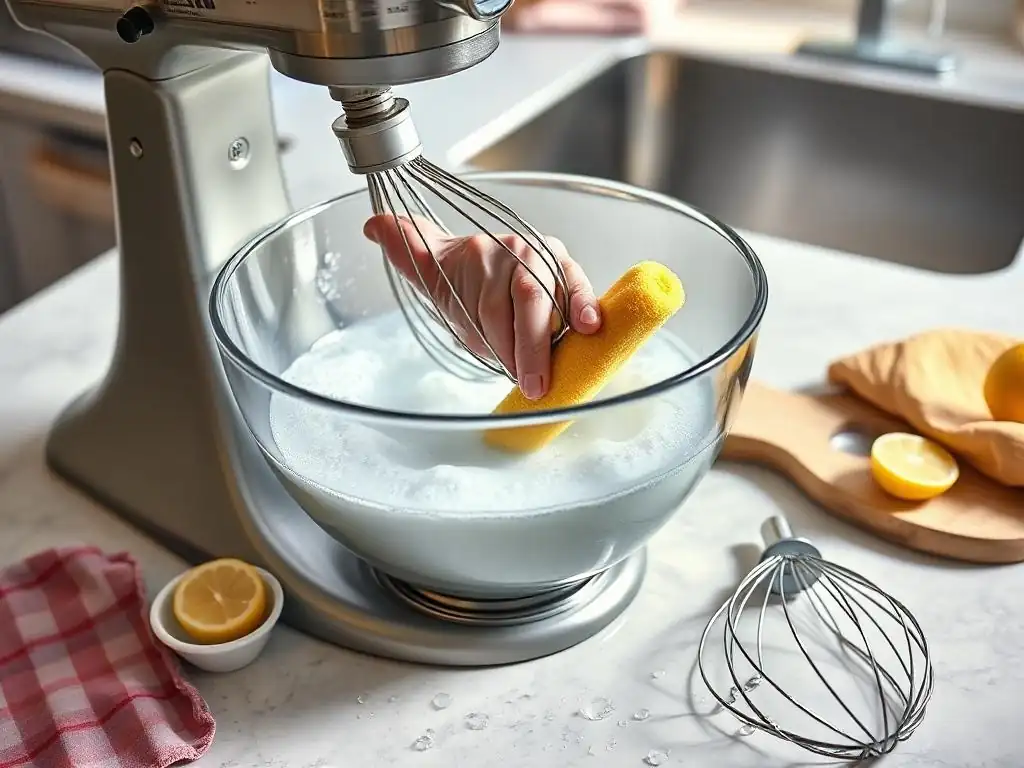
Most KitchenAid stainless steel bowls are dishwasher safe, which offers a convenient way to clean them. Placing the bowl on the bottom rack usually works well. However, checking your specific model's manual is always recommended, as some older or specialty bowls might require handwashing. Handwashing is also a good option for a quicker clean or if your dishwasher is full.
For attachments, the method depends on the material. The coated flat beater and dough hook (white or colored finish) are generally dishwasher safe. The burnished metal (gray, non-coated) flat beater and dough hook, however, should always be handwashed and dried immediately to prevent oxidation or discoloration. The wire whip, especially the one with aluminum or polished stainless steel wires and a metal hub, often benefits from handwashing to protect its shape and finish, although some newer models might be dishwasher safe – again, consult your manual.
Removing Stubborn Dough and Batter Residue from the Bowl
Sometimes, dried dough or sticky batter can cling stubbornly to the inside of the bowl, making it hard to clean stand mixer thoroughly easily. For dried-on residue, the simplest method is often to soak the bowl in warm, soapy water for 10-15 minutes. This helps to loosen the particles, making them much easier to scrub away with a sponge or non-abrasive brush.
If soaking isn't quite enough, a paste made from baking soda and a little water can work wonders. Apply the paste to the stubborn spots, let it sit for a few minutes, and then gently scrub. Baking soda is abrasive enough to help lift dried food but generally gentle enough not to scratch the stainless steel surface. Rinse thoroughly afterward.
Polishing Your Stainless Steel KitchenAid Bowl for a Sparkling Finish
To keep your stainless steel bowl looking its best and truly clean stand mixer thoroughly easily, occasional polishing can help remove water spots and restore its shine. After cleaning and drying, you can use a small amount of stainless steel cleaner specifically designed for cookware, applying it with a soft cloth and buffing in the direction of the metal grain.
Alternatively, a natural method is to use a cloth dampened with a little white vinegar. Wipe the bowl with the vinegar solution, then immediately wipe it dry with a clean, soft cloth. This helps remove mineral deposits and leaves a streak-free shine. Remember to dry the bowl completely to prevent new water spots from forming.
Cleaning Different KitchenAid Attachments: Flat Beater, Wire Whip, and Dough Hook
Each attachment requires slightly different attention to ensure you clean stand mixer thoroughly easily.
- Flat Beater: For coated beaters, wash according to the handwash/dishwasher instructions. For burnished beaters, handwash immediately after use. Pay attention to the area where the beater connects to the mixer shaft, as batter can sometimes get lodged there. Use a small brush if needed.
- Dough Hook: Similar to the flat beater, handle coated and burnished versions differently. Dough can be particularly sticky and wrap around the hook. Remove as much dough as possible manually before washing. Soaking can help loosen dried dough before scrubbing gently.
- Wire Whip: This attachment has many wires and tight spaces where batter or cream can hide. Handwashing is often best. Gently rinse immediately after use to prevent food from drying. Use a small brush or even just your fingers under running water to clean between the wires. Ensure you clean the hub area thoroughly.
After washing any attachment, especially the burnished metal ones and the wire whip hub, dry them immediately and completely with a clean towel. This is crucial to prevent water spots, discoloration, or potential corrosion.
Cleaning the KitchenAid Body
Wiping Down the Exterior: Removing Dust and Splatters
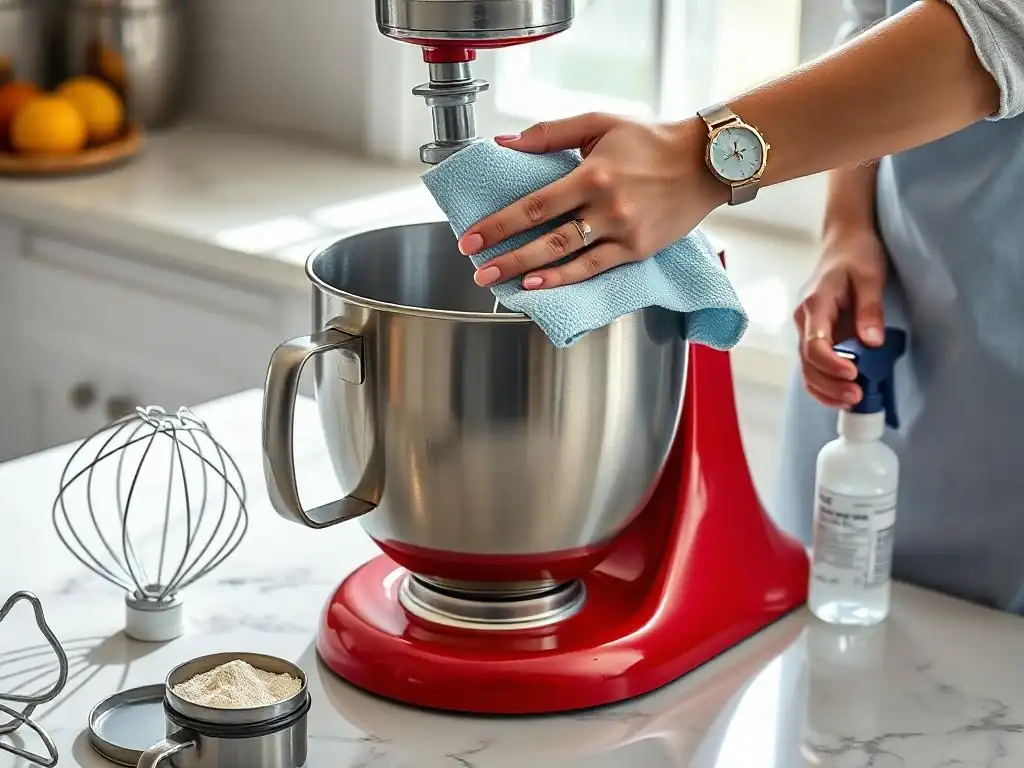
The main body of your KitchenAid mixer, particularly the head and base, can accumulate flour dust, sugar, and splatters from your baking projects. A simple wipe-down after each use is the best preventative measure. Use a soft, damp cloth (not soaking wet) to wipe the entire exterior surface.
For general dust and light residue, warm water with a drop of mild dish soap is sufficient. Avoid using abrasive cleaners or scouring pads, as these can damage the painted or finished surface of the mixer body. A microfiber cloth is excellent for this task, as it picks up dust effectively and can polish the surface slightly.
Addressing Stains and Sticky Spots on the KitchenAid Body
Sometimes, splatters of batter, melted chocolate, or sticky caramel can dry onto the mixer body, creating more stubborn stains. For these sticky spots, dampen your cloth with warm, soapy water and let it sit on the affected area for a minute or two to help soften the residue before gently wiping.
If a stain persists, a small amount of a gentle, all-purpose kitchen cleaner applied to the cloth (not directly to the mixer) can be used, but test it on an inconspicuous area first. For grease marks, a tiny amount of degreasing dish soap on a damp cloth can be effective. Always rinse the cloth and wipe the area again with just water to remove any soap residue, then dry thoroughly.
Cleaning Around the Head and Base of the KitchenAid
The areas around the head tilt mechanism and the base where the bowl sits can trap flour and other fine debris. Use a dry pastry brush or a clean, soft-bristled toothbrush to gently brush away any dry flour or dust from these crevices. This is a key step to clean stand mixer thoroughly easily in hard-to-reach spots.
For sticky build-up in these areas, slightly dampen a cotton swab or the corner of a cloth with warm, soapy water. Carefully clean around the seams, screws, and the pin that locks the head in place. Be careful not to let water drip into any openings or vents. Follow up by wiping with a clean, damp cloth (water only) and then drying completely with a paper towel or dry cloth.
Deep Cleaning the KitchenAid Head (If Applicable)
When to Consider a Deeper Clean of the KitchenAid Head
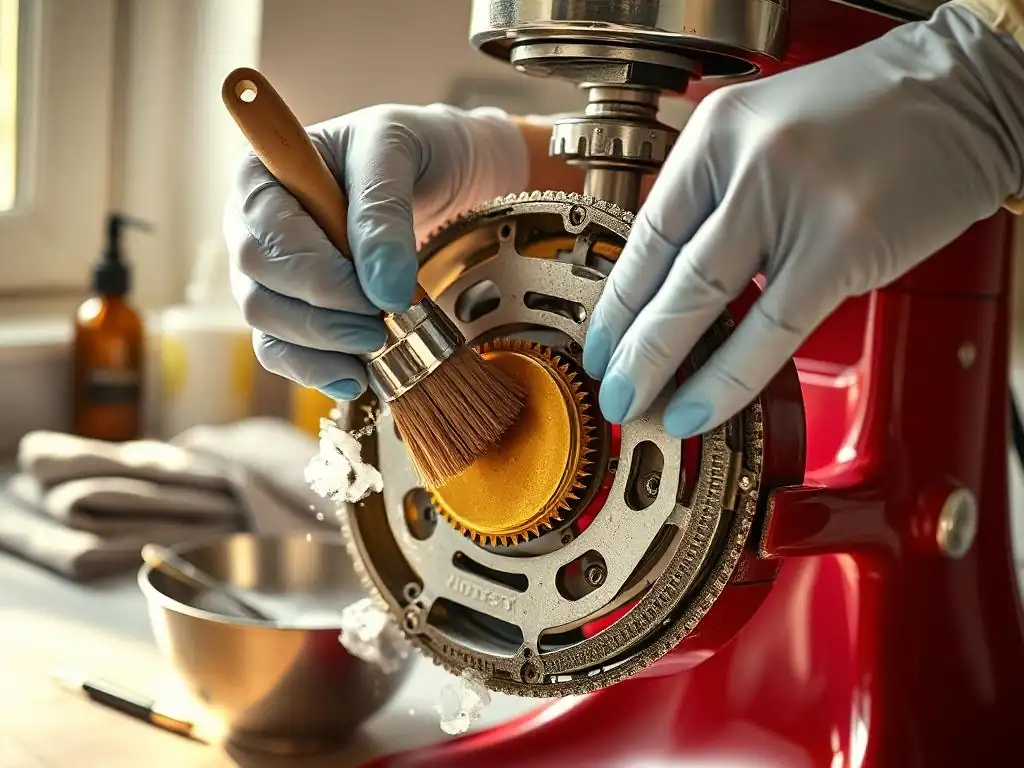
While the exterior of the head should be wiped down regularly, a deeper clean might be necessary periodically – perhaps every few months depending on usage – or if you notice significant grease or food residue accumulating in less accessible areas, like around the planetary action hub where the attachments connect. This goes beyond the routine wipe-down and aims to clean stand mixer thoroughly easily in its core moving parts.
Signs that a deeper clean might be needed include sticky residue that a simple wipe won't remove, or if you see dried ingredients near the attachment hub. It's important to distinguish this from attempting to lubricate or access internal motor components, which should only be done by a qualified technician. This section focuses on cleaning external parts of the head more thoroughly.
Refer to Your KitchenAid Manual for Head Cleaning Instructions
Your KitchenAid stand mixer's user manual is the definitive source for specific cleaning instructions, especially concerning the head and any maintenance related to its internal workings. Different models might have slightly different recommendations or areas to pay attention to. Always consult your manual before attempting any cleaning that goes beyond simple surface wiping.
The manual will often provide guidance on what cleaning agents are safe to use around the attachment hub and tilt mechanism, and might offer specific tips for your model. Following the manufacturer's instructions is the safest and most effective way to clean stand mixer thoroughly easily without causing damage.
Removing Grease and Build-up from Hard-to-Reach Areas
For build-up around the attachment hub or the pin that the head pivots on, a slightly damp cloth with a tiny amount of degreasing dish soap can be used. Work carefully with a cotton swab or a small brush to gently clean these areas. Avoid spraying any liquid directly onto the hub or into any seams near the motor housing.
For stubborn grease, a paste of baking soda and water can be applied carefully to the non-moving metal parts around the hub, left for a few minutes, and then gently scrubbed away with a brush. Always ensure you wipe away all residue with a clean, damp cloth and then dry the area completely. Ensuring these areas are clean helps the attachments fit properly and keeps the mixer running smoothly.
Reassembling and Storing Your Clean KitchenAid
Ensuring All Parts are Dry Before Reassembly
This step is critical for preventing rust, corrosion, and potential damage to your mixer. After washing the bowl and attachments, ensure they are completely dry before reattaching them to the mixer or storing them. Water left on metal parts, especially burnished aluminum, can lead to oxidation surprisingly quickly.
Air drying on a dish rack is a good start, but follow up by thoroughly drying each piece with a clean, lint-free towel. Pay special attention to the crevices of the attachments and the rim and base of the bowl. The mixer body itself should also be completely dry after wiping it down. Allowing parts to air dry for 15-20 minutes after towel drying is an extra precaution.
Proper Storage Techniques to Keep Your KitchenAid Clean
Storing your clean stand mixer properly helps keep it free from dust and ready for your next baking project. If you have the space, storing it assembled on your countertop is convenient, but consider covering it with a dust cover (many are available for purchase or you can use a clean towel) to protect it from airborne flour and kitchen grease.
If storing attachments separately, ensure they are in a clean, dry drawer or container. Avoid storing them where they could get dusty or come into contact with grease or moisture. Keeping your mixer covered and its attachments stored cleanly means less cleaning is needed before your next bake, making it easier to clean stand mixer thoroughly easily before and after use.
Tips for Preventing Messes and Easier KitchenAid Cleaning
Using a Splash Shield to Minimize Splatters
One of the simplest ways to make cleaning easier is to prevent messes in the first place. A splash shield or pouring shield, which attaches to the top of the bowl, is designed to minimize splatters, especially when mixing wet batters or adding ingredients like flour.
Using a splash shield significantly reduces the amount of batter or liquid that ends up on the mixer body or your counter, drastically cutting down on the post-baking cleanup required. It's a small accessory that makes a big difference in keeping your work area and your mixer cleaner.
Cleaning Up Spills Immediately
Accidents happen, but addressing spills as soon as they occur is key to preventing them from becoming stubborn, dried-on messes. If batter or other ingredients splatter onto the mixer body, quickly wipe them off with a damp cloth before they have a chance to dry and harden.
This applies to spills on the counter around the mixer as well. A quick wipe-down takes seconds but saves you the effort of scraping or scrubbing later. Immediate cleanup is a fundamental habit for maintaining a clean kitchen and making it easier to clean stand mixer thoroughly easily.
Regular Wiping Down After Each Use
Even if you didn't have major splatters, a quick wipe-down of the mixer body after every use is highly recommended. Flour dust is notorious for settling on surfaces, and even minor residual stickiness can attract more dirt over time.
Taking just a minute or two to wipe the mixer body with a damp cloth and then drying it ensures that dust and light residue don't build up. This routine maintenance keeps your mixer looking good and significantly reduces the frequency with which you'll need to perform deeper cleaning, making the overall process of keeping your stand mixer sparkling much easier.
Troubleshooting Common KitchenAid Cleaning Challenges
Removing Stuck-on Food from Attachments
Dealing with food that's really stuck onto attachments, like hardened caramel or dried-on meringue, can be frustrating. Soaking in hot (not just warm) soapy water for an extended period (30 minutes or even longer) is often the most effective first step.
If soaking doesn't work, try gently scraping with a plastic scraper or the edge of a credit card – something firm but not metallic that could scratch. For burnished attachments, avoid harsh abrasives. Sometimes, a paste of baking soda and water worked in with a brush can help lift particularly stubborn, dried-on flour or dough. Patience and gentle persistence are key.
Dealing with Rust or Corrosion on KitchenAid Parts
Rust or corrosion can occur, particularly on burnished aluminum attachments or if stainless steel parts are not dried properly. If you notice minor spots on stainless steel, they are often just surface rust from contact with other metals (like steel wool, which you should avoid) or mineral deposits. These can sometimes be removed with a paste of baking soda and water or a non-abrasive stainless steel cleaner.
For burnished aluminum attachments, oxidation appears as a gray or black residue that can rub off. This isn't rust but a reaction. It's best prevented by drying immediately after washing. If it occurs, a gentle polish with a soft cloth might help slightly, but often the finish is affected. Severe rust or corrosion, especially on the mixer body or critical moving parts, might indicate a bigger issue and could require professional attention or part replacement.
Addressing Lingering Odors in the KitchenAid Bowl
Sometimes, strong-smelling ingredients like garlic (if you use your mixer for savory tasks) or certain spices can leave lingering odors in the stainless steel bowl. Washing normally might not completely remove them.
To neutralize odors, try one of these methods:
- Wipe the inside of the bowl with a cloth dampened with white vinegar, then rinse and dry.
- Make a paste of baking soda and water, coat the inside of the bowl, let it sit for 15-30 minutes, then wash as usual.
- Place crumpled newspaper in the dry bowl overnight (the paper absorbs odors).
These simple techniques can help your bowl smell fresh, ensuring that your delicate baked goods don't pick up unwanted aromas from previous projects, helping you clean stand mixer thoroughly easily for any recipe.
Conclusion: Enjoy Baking with a Clean and Well-Maintained KitchenAid
Frequently Asked Questions
How often should I clean my stand mixer?
It depends on usage, but a thorough cleaning should be done after every few uses, especially after working with sticky or messy ingredients. A quick wipe-down of the exterior should be done after each use.
What's the best way to clean the stand mixer bowl?
Most stand mixer bowls are dishwasher safe, but check your manual first. For handwashing, use warm soapy water and a non-abrasive sponge to avoid scratching the finish.
Can I put the stand mixer attachments in the dishwasher?
Again, check your manual! Some attachments are dishwasher safe, while others require handwashing. Handwashing is generally recommended for coated attachments to prevent chipping.
How do I clean the stand mixer's exterior and head?
Unplug the mixer first! Wipe down the exterior with a damp cloth and mild detergent. Avoid getting water inside the motor housing.
What should I do if food gets stuck in the crevices of my stand mixer?
Use a small brush or toothpick to gently dislodge any stuck-on food. A slightly damp cloth can then be used to wipe away the debris.
Final Reflection: The Joy of a Sparkling Stand Mixer
Maintaining a clean stand mixer isn't just about aesthetics; it's about preserving a cherished kitchen tool and ensuring its longevity. A well-maintained mixer is a reliable partner in countless culinary adventures, from delicate meringues to robust bread doughs. Neglecting its cleanliness, however, can lead to compromised performance and even potential health risks.
The simple act of thoroughly cleaning my stand mixer has become a small ritual, a moment of mindful care amidst the chaos of cooking. It's a reminder of the investment – both financial and emotional – I've made in this appliance, and the countless hours of joy it has brought me. The kitchen is the heart of the home,
a phrase often repeated, and for me, my stand mixer is the heart of my kitchen. Its cleanliness reflects the care I put into creating delicious food and memories.
Now, I invite you to consider your own kitchen tools. Take a moment to appreciate the appliances that help you create, and commit to giving them the care they deserve. A clean stand mixer is more than just a clean appliance; it's a symbol of respect for your craft, a commitment to quality, and a promise of many more delicious creations to come. Make cleaning your stand mixer a part of your culinary routine, and experience the satisfaction of a sparkling, well-maintained tool ready for your next culinary adventure.
Unleash the Sparkle: Transform Your Stand Mixer Today!
Thank you for diving into our tips on keeping your stand mixer in pristine condition! By following these essential cleaning steps, you've equipped yourself with the know-how to maintain your kitchen companion long-term. Now, it's time to take action and put that knowledge into practice!
Here’s how you can get started:
- Give your stand mixer a thorough clean today! Start with a gentle wipe down of the exterior using warm, soapy water to banish grease and grime.
- Sign up for our newsletter! Stay updated with more handy kitchen tips and cleaning hacks that will enhance your baking experience.
- Share your mixer-cleaning secrets! Join our online community and exchange unique cleaning methods you love—your insights could help fellow bakers!
What is your favorite tip or trick for keeping your kitchen tools in tip-top shape? Share it in the comments!