
Your Artisan Bread Tool Checklist: Don't Bake Without These

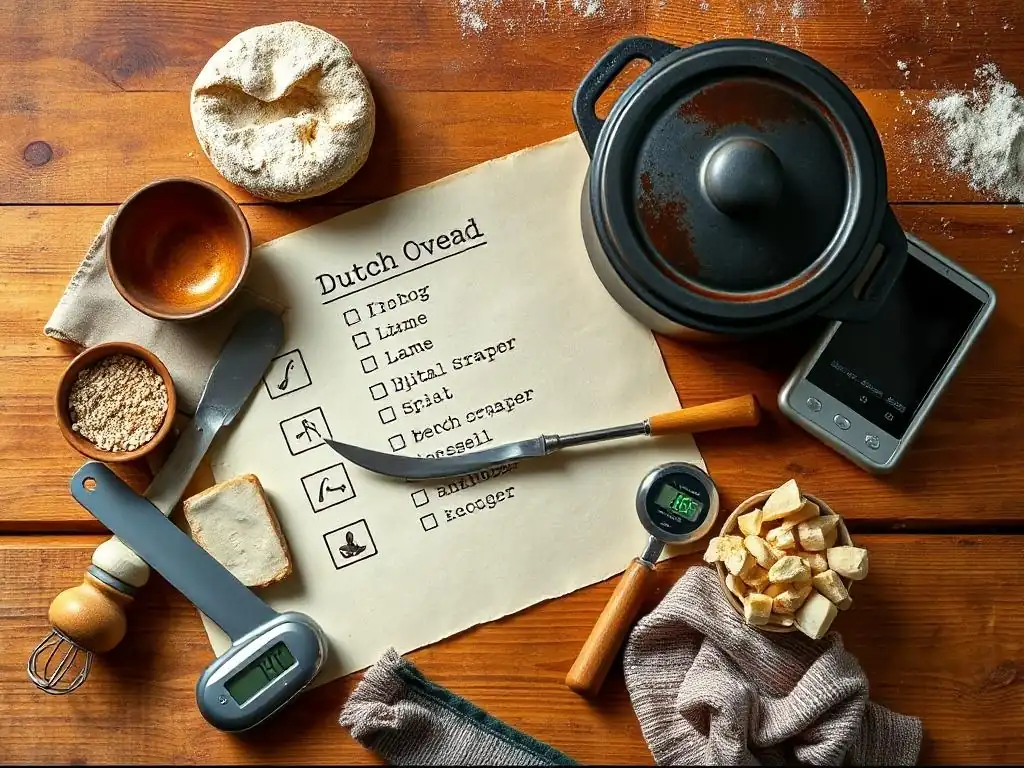
Welcome to BakeWithEase, your trusted guide to transforming simple ingredients into extraordinary creations! Are you ready to embark on your artisan bread baking journey? Before you preheat that oven, make sure you're fully equipped. This guide provides an essential Artisan bread baking checklist, ensuring you have everything you need to craft the perfect loaf. Discover the tools that will elevate your baking from good to unforgettable and avoid common pitfalls. Let's get baking!
- Essential Artisan Bread Baking Checklist for Home Bakers
- Mixing and Kneading: The Foundation of Great Artisan Bread
- Shaping and Proofing: Preparing for the Oven
- Baking: The Final Transformation
- Post-Baking: Cooling and Enjoying
- Maintaining Your Artisan Bread Baking Equipment
- Beyond the Basics: Optional Artisan Bread Baking Tools
- Conclusion: Your Journey to Artisan Bread Mastery Starts Here
-
Frequently Asked Questions
- What are the most essential tools for artisan bread baking, according to BakeWithEase?
- Why is a digital kitchen scale so highly recommended for artisan bread baking?
- Does the article mention any tools specifically for shaping artisan bread?
- What makes a Dutch oven so important for achieving a good crust on artisan bread?
- Are there any recommended tools for monitoring the internal temperature of the bread while baking?
- Final Reflection: The Baker's Journey: From Checklist to Craft
- Unleash Your Inner Baker: Elevate Your Artisan Bread Game!
Essential Artisan Bread Baking Checklist for Home Bakers
Embarking on the journey of baking artisan bread at home is incredibly rewarding. It's a process that transforms simple ingredients into loaves with incredible flavor and texture. While passion and practice are paramount, having the right tools makes a significant difference in the quality of your bread and the enjoyment of the process.
This comprehensive guide serves as your essential artisan bread baking checklist, detailing the equipment that will elevate your baking from good to truly exceptional. Think of this as building your baker's toolkit, piece by piece, ensuring you have what you need for every step of the artisan bread making process.
Navigating the world of baking equipment can feel overwhelming at first, with countless gadgets and tools available. Our focus here is on the fundamental items that are genuinely necessary for successful artisan bread production, particularly those loaves with rustic crusts and open crumbs.
We'll cover everything from the initial mixing stages through shaping, proofing, and finally, the crucial baking phase. By the end of this artisan bread baking checklist, you'll have a clear understanding of the purpose of each tool and why it deserves a spot in your kitchen, helping you bake with confidence and achieve delicious results every time.
Mastering Artisan Bread: A Baker's Equipment Guide
Achieving that coveted crackling crust and airy interior characteristic of artisan bread relies heavily on understanding fermentation, hydration, and temperature, but it's the right equipment that helps you control these variables effectively. Consider tools like a digital scale for precise ingredient measurements – accuracy is key in baking, especially with high-hydration doughs. While a cup measure might be fine for some recipes, weighing flour and water ensures consistency, often down to the gram, which is crucial for replicating successful bakes.
Beyond basic measuring, specialized tools address the unique demands of artisan bread. High-hydration doughs, for instance, can be incredibly sticky and challenging to handle without the proper implements. Tools designed for this purpose, such as specific scrapers or mixing aids, minimize sticking and make working with the dough much more manageable. This guide will walk you through these specialized items, explaining how they contribute to the quality of your finished loaf and why they are essential additions to your artisan bread baking checklist.
Mixing and Kneading: The Foundation of Great Artisan Bread
The initial stage of mixing and kneading is where the magic of gluten development begins, transforming a shaggy mass into an elastic dough capable of trapping gases and creating that wonderful open crumb. The tools you use during this phase directly impact the dough's structure and consistency. Whether you prefer a hands-on approach or the convenience of a machine, having the right equipment ensures your dough develops properly, setting the stage for a successful bake. This part of your artisan bread baking checklist focuses on the items that facilitate effective mixing and initial fermentation.
Proper mixing techniques ensure that ingredients are evenly distributed and that the gluten network starts to form. Over- or under-mixing can significantly affect the final texture of your bread. The tools discussed in this section are designed to help you achieve the ideal dough consistency, whether you're working with a wet, sticky sourdough or a slightly firmer lean dough. Mastering this foundational step with the right equipment is vital for any aspiring artisan baker.
The Importance of Proper Mixing: Tools for Success
Effective mixing goes beyond simply combining ingredients; it's about developing the gluten structure that gives bread its shape and texture. When water meets flour, proteins like glutenin and gliadin begin to link up, forming gluten. Mechanical action from mixing or kneading helps these links strengthen and align, creating a flexible, elastic network. Tools that facilitate this process, like a sturdy mixing bowl and a reliable mixer or dough whisk, are fundamental.
A good mixing bowl should be large enough to accommodate the dough as it expands during fermentation. Stainless steel or glass bowls are popular choices. For many artisan breads, particularly those with higher hydration that don't require intense kneading, a simple bowl and a Danish dough whisk can be incredibly effective. This specialized whisk has a unique design that cuts through sticky dough easily, making initial mixing less messy and more efficient than a standard spoon or even hands for the very wet stages.
Dough Whisk vs. Stand Mixer: Choosing the Right Mixing Tool
The choice between a dough whisk and a stand mixer often comes down to personal preference, batch size, and the specific type of dough you're working with. A Danish dough whisk is excellent for incorporating flour and water quickly in high-hydration doughs, minimizing sticking to your hands. It's quiet, easy to clean, and perfect for smaller batches or when you prefer to finish the gluten development with a series of folds rather than intensive kneading. Many artisan bakers swear by its simplicity and effectiveness for rustic loaves.
On the other hand, a stand mixer with a dough hook attachment is invaluable for larger batches or doughs that require significant kneading for gluten development, like enriched breads or some sandwich loaves. While not strictly necessary for all artisan breads (many excel with minimal kneading and long fermentation), a stand mixer can save time and effort. A typical home stand mixer with a 5 to 6-quart bowl can handle dough for one or two standard loaves, roughly 1-2 kg of dough. Ensure your mixer is robust enough for bread dough, as it puts significant strain on the motor.
Dough Scraper: Your Best Friend for Handling Sticky Dough
A dough scraper is perhaps one of the most underrated yet indispensable tools for artisan bread baking, especially when dealing with sticky doughs. It comes in two main forms: a bench scraper (usually metal with a wooden or plastic handle) and a bowl scraper (flexible plastic or silicone). The bench scraper is invaluable for dividing dough, scraping dough off your work surface cleanly, and even transferring dough. It provides leverage and a clean edge that your hands often can't match.
The flexible bowl scraper is perfect for getting every last bit of dough out of your mixing bowl and for folding dough during bulk fermentation without sticking to your hands. Its flexibility allows it to conform to the curve of the bowl. Having both types in your collection is highly recommended. They make handling, shaping, and cleaning up significantly easier, solidifying their place on your essential artisan bread baking checklist.
Bulk Fermentation Container: Creating the Perfect Environment
Bulk fermentation, the first rise after mixing, is a critical phase where flavor develops and the dough gains strength and volume. The container you use plays a role in managing this process. A clear, straight-sided container is highly recommended because it allows you to easily monitor the dough's rise and observe the development of air bubbles, which are indicators of healthy fermentation.
Glass or clear plastic containers are ideal for this purpose. A container with volume markings on the side (e.g., in liters or quarts) is particularly helpful for tracking how much the dough has expanded, often aiming for a 50-100% increase in volume depending on the recipe and fermentation time. Using a lid (loose-fitting is fine) or covering the container with plastic wrap prevents the dough from drying out on the surface, ensuring an even rise.
Shaping and Proofing: Preparing for the Oven
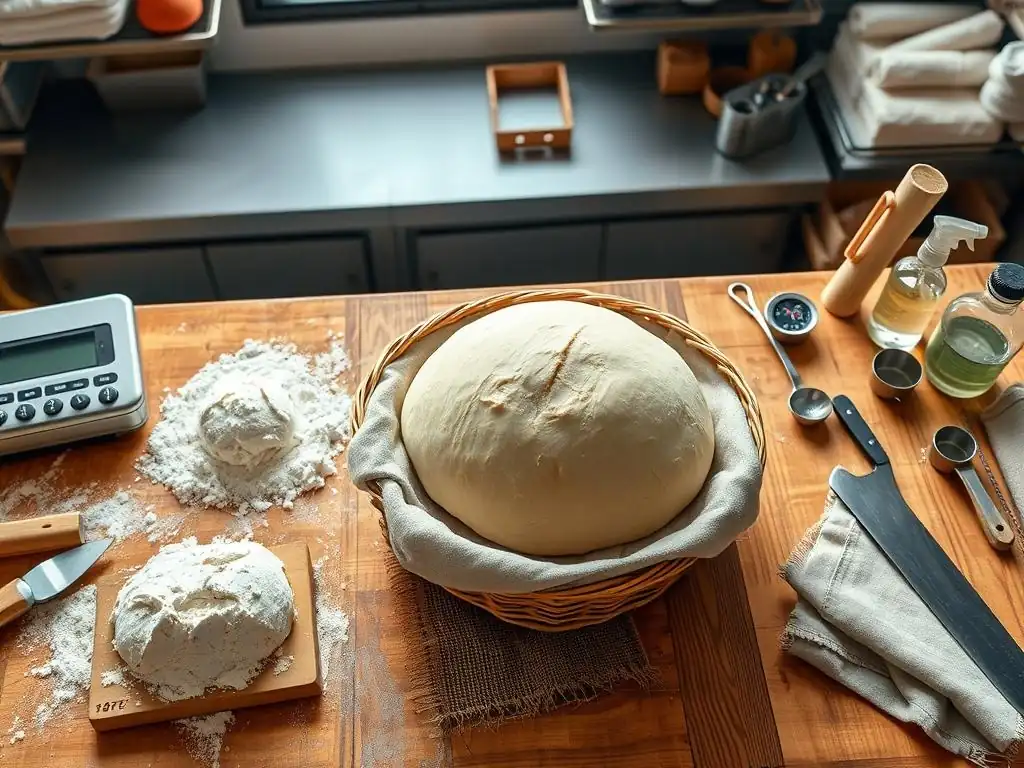
Once the dough has completed its bulk fermentation, it's time to shape it into its final form and give it a final rise (proofing) before baking. This stage is crucial for the loaf's appearance and internal structure. The tools used here help maintain the dough's shape, develop surface tension, and prepare it for the intense heat of the oven. Adding these items ensures your artisan bread baking checklist is complete for this vital stage.
Shaping techniques vary depending on the desired loaf shape (batard, boule, baguette, etc. ), and the right tools assist in creating a taut surface while preserving the internal structure. Proofing provides the final opportunity for the dough to gain volume and develop flavor before hitting the heat. The tools in this section support the dough during this delicate phase, ensuring it holds its shape and is ready for optimal oven spring.
Banneton Basket: Achieving a Beautiful Crust
A banneton, or proofing basket, is a traditional tool used to support the dough during its final proofing period. Typically made from rattan cane or coiled wood pulp, these baskets give shaped dough its structure and help prevent it from spreading outwards before baking. The natural material also wicks away a small amount of moisture from the surface of the dough, contributing to a drier surface which promotes a crispier crust and helps develop a beautiful pattern from the basket's coils.
To use a banneton, it's usually dusted generously with flour (rice flour is often preferred as it's less likely to stick). The shaped dough is placed seam-side up in the basket for the final proof. When ready to bake, the dough is inverted onto your baking surface. Bannetons come in various shapes and sizes to accommodate different loaf types, such as round (for boules) or oval (for batards).
Dough Lame: Scoring for Oven Spring and Aesthetics
A dough lame (pronounced "lahm") is essentially a razor blade attached to a handle, used for scoring the surface of the dough just before baking. Scoring serves both a functional and aesthetic purpose. Functionally, it allows the baker to control where the loaf expands in the oven (oven spring), preventing uncontrolled cracking. This controlled expansion results in a better-shaped loaf and often a more open crumb structure.
Aesthetically, scoring allows for beautiful patterns and designs on the crust. A sharp blade is essential for a clean cut that encourages proper expansion. Different angles and depths of cuts produce different results. Using a lame allows you to make precise, swift cuts without dragging the dough, which is vital for achieving that dramatic oven spring characteristic of artisan bread.
Proofing Cloth (Couche): Supporting Shape During Proofing
A proofing cloth, or couche (pronounced "koosh"), is a piece of linen or canvas fabric used to support shaped loaves, particularly baguettes or other elongated shapes, during their final proofing. The heavy, untreated fabric prevents the dough from sticking to the surface and helps maintain the shape of the loaves, especially those proofed seam-side down.
The cloth is heavily floured and then pleated to create troughs where the individual loaves rest. This separation and support prevent the loaves from spreading and sticking together as they rise. Using a couche is a traditional method that helps develop a slightly drier, taut surface on the dough, which contributes to a crispier crust during baking. It's a simple but effective tool for proofing multiple loaves simultaneously while preserving their form.
Baking: The Final Transformation
The moment of truth for any artisan bread is the bake. The intense heat of the oven transforms the proofed dough into a golden-brown loaf with a complex flavor and texture. The environment inside the oven during the initial stages of baking is particularly critical for achieving maximum oven spring and developing a thin, crispy crust. The tools in this section of your artisan bread baking checklist are designed to help you create the ideal baking conditions in a home oven.
Creating steam in the oven during the first part of the bake is paramount for artisan loaves. Steam keeps the surface of the dough moist and flexible, allowing it to expand fully before the crust sets. Without sufficient steam, the crust hardens prematurely, restricting oven spring. The tools discussed below help trap steam or facilitate the transfer of dough into a hot, steamy environment.
Dutch Oven: The Key to Oven Spring and Crust
For many home bakers, a Dutch oven is the single most transformative tool for baking artisan bread. A heavy cast iron or enameled cast iron pot with a lid, it's preheated in the oven to a high temperature (often 450-500°F or 230-260°C). The shaped dough is carefully placed inside, the lid is replaced, and it's baked for the first portion of the time with the lid on.
Baking bread in a preheated Dutch oven creates a small, steamy environment around the loaf. The moisture released from the dough is trapped inside the pot by the lid, providing the essential steam needed for maximum oven spring and preventing the crust from setting too early. After about 20-30 minutes, the lid is removed to allow the crust to brown and crisp up. A Dutch oven effectively mimics the conditions of a professional bread oven and is a cornerstone piece for your artisan bread baking checklist.
Baking Stone or Baking Steel: Creating a Crispy Crust
If you're not using a Dutch oven or want to bake multiple loaves simultaneously, a baking stone or baking steel is an excellent alternative for creating a crisp bottom crust. Both are preheated in the oven and provide a very hot surface onto which the dough is placed. This intense heat transfer from the stone or steel to the base of the loaf causes the moisture in the dough to flash into steam, contributing to oven spring, and quickly sets the bottom crust, making it wonderfully crispy.
Baking steels generally transfer heat more efficiently than stones and are less prone to breaking from thermal shock. They can also often reach higher temperatures. Whichever you choose, placing it on a rack in the lower half of your oven and preheating it for at least 30-60 minutes ensures it's hot enough for optimal results. You will need to create steam in the oven through other means if not using a Dutch oven, such as placing a tray of hot water on a lower rack.
Pizza Peel: Transferring Dough with Ease
A pizza peel is a flat shovel-like tool used to slide dough onto a hot baking surface, such as a baking stone or steel. When baking directly on a stone or steel (i.e., not in a Dutch oven), getting the shaped, proofed dough onto the scorching hot surface without deflating it is crucial. A peel, often dusted with cornmeal, semolina, or flour, allows you to do this smoothly and quickly.
The dough is placed on the peel after shaping and proofing (or proofed on the peel itself). When the oven and stone/steel are ready, the peel is used to slide the dough off the end and onto the hot surface. Wooden peels are traditional, while metal peels are also common. Having a reliable peel makes the transfer process much safer and more effective, preventing burns and preserving the dough's structure.
Oven Thermometer: Ensuring Accurate Baking Temperatures
While your oven's display might show a specific temperature, the actual temperature inside can vary significantly, sometimes by as much as 25-50°F (15-30°C) or more. An accurate oven thermometer placed inside the oven allows you to know the true temperature, which is vital for consistent baking results. Baking artisan bread often requires precise high temperatures for specific durations.
Using an oven thermometer helps you preheat your oven correctly and monitor the temperature throughout the bake. If your oven runs hot or cold, you can adjust the setting accordingly. This simple, inexpensive tool is invaluable for achieving reliable results and is a must-have on your artisan bread baking checklist for ensuring your oven environment is exactly right.
Post-Baking: Cooling and Enjoying
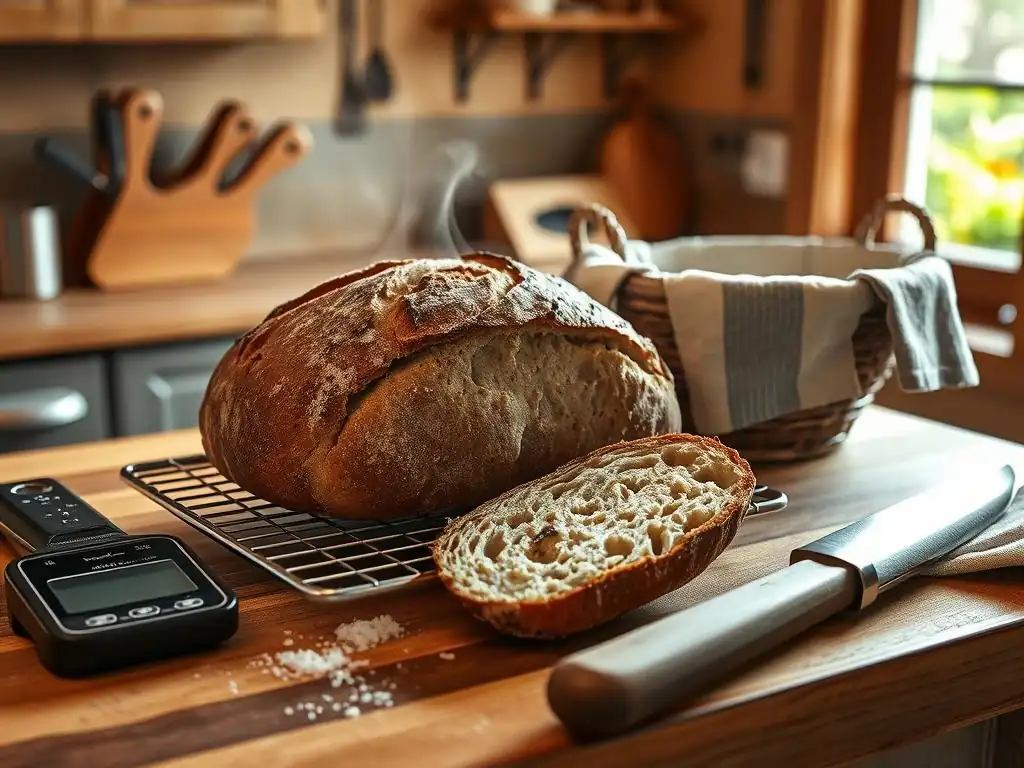
The process isn't quite finished when the bread comes out of the oven. Proper cooling is just as important as the baking itself for developing the final texture and flavor of your artisan loaf. Cutting into a hot loaf too soon can result in a gummy interior, as the internal structure is still setting and moisture is still redistributing. The tools in this section help you handle your freshly baked bread correctly.
Allowing the bread to cool completely on a wire rack ensures air circulation around the entire loaf, preventing the bottom crust from becoming soggy from retained heat and moisture. Once cooled, a good bread knife is essential for slicing through the crusty exterior without crushing the delicate interior crumb.
Wire Cooling Rack: Allowing Air Circulation
A wire cooling rack is essential for letting your freshly baked bread cool properly. Placing the hot loaf directly on a solid surface traps steam underneath, which can soften the bottom crust and make it soggy. A wire rack allows air to circulate freely around the entire loaf, facilitating even cooling and ensuring the crust remains crisp all around.
Choose a sturdy wire rack that can support the weight of a loaf of bread. Ideally, the grid pattern should be tight enough so the loaf doesn't fall through. Cooling times vary depending on the size and type of loaf, but many artisan breads benefit from cooling for at least 1-2 hours, or even longer for large loaves, before slicing. Patience during this stage is rewarded with better texture.
Bread Knife: Slicing with Precision
After patiently waiting for your artisan loaf to cool, you need a knife capable of slicing through that beautiful, hard crust without crushing the soft, airy interior. A serrated bread knife is specifically designed for this task. The saw-like edge grips the crust and cuts through it cleanly with a back-and-forth motion, leaving the crumb intact.
A good quality bread knife with a long blade (typically 8-10 inches or 20-25 cm) is a worthwhile investment for any bread baker. Using a sharp serrated knife makes slicing effortless and enjoyable, ensuring that the beautiful interior you worked hard to create is presented perfectly.
Maintaining Your Artisan Bread Baking Equipment
Investing in quality tools for your artisan bread baking checklist is just the first step; proper care and maintenance ensure they last for years and continue to perform optimally. Cleaning and storing your equipment correctly prevents rust, damage, and keeps everything ready for your next baking session. A little attention after each use goes a long way in preserving your tools.
Specific materials require specific care. Cast iron needs different treatment than stainless steel or wood. Knowing how to clean and store each item prevents common issues like rust on your Dutch oven, mold in your banneton, or damage to your baking stone.
Cleaning and Storage Tips for Long-Lasting Tools
Cleaning your artisan bread baking tools promptly after use is key. For items like bannetons and couches, avoid using soap, which can be absorbed and affect future doughs. Simply brush out excess flour and let them air dry completely before storing. If dough sticks, let it dry and then scrape it off.
Cast iron Dutch ovens should be cleaned with hot water and a stiff brush (avoid soap if possible, or use sparingly and rinse thoroughly). Dry immediately and lightly oil the interior to maintain the seasoning. Baking stones/steels should generally not be cleaned with soap; scrape off any stuck bits and wipe clean. Avoid sudden temperature changes that can crack stones. Store tools in a dry place to prevent rust or mold.
Where to Buy: Recommended Retailers for Bread Baking Supplies
Finding reliable sources for quality artisan bread baking equipment is important. Many general kitchen supply stores carry basic items like mixing bowls and cooling racks. For more specialized tools like bannetons, lames, baking steels, and high-quality Dutch ovens, you might look to dedicated online baking supply stores or specialty kitchen retailers.
Checking reviews and material quality is advisable before purchasing. Brands specializing in baking or cast iron cookware are often good sources for durable, effective tools. Consider your budget and how frequently you plan to bake when choosing between entry-level and professional-grade equipment.
Beyond the Basics: Optional Artisan Bread Baking Tools
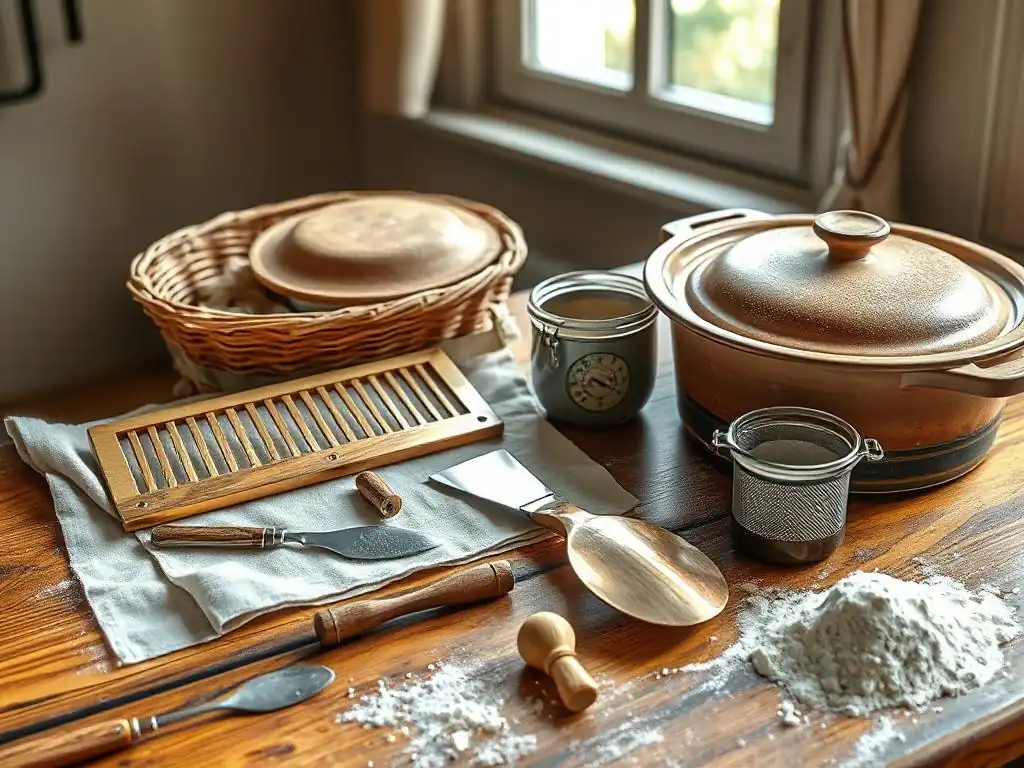
Once you have the essential artisan bread baking checklist covered, there are several optional tools that can enhance your baking experience or allow you to explore more advanced techniques. These items aren't strictly necessary to bake delicious bread, but they can offer added convenience, control, or allow you to experiment with different aspects of the bread-making process.
Think of these as tools for the enthusiast looking to deepen their understanding and control over every variable. From controlling ingredient freshness to perfecting sourdough cultures or ensuring your finished loaf stays fresh longer, these tools cater to specific interests within the vast world of artisan bread baking.
Grain Mill: Grinding Your Own Flour for Maximum Flavor
Grinding your own flour at home from whole grains is a step many passionate bakers take to achieve unparalleled freshness and flavor. Freshly milled flour retains more of the grain's natural oils and nutrients, resulting in more aromatic and flavorful bread. A home grain mill allows you to grind flour on demand, just before mixing your dough.
Home grain mills range from manual hand-crank models to electric versions capable of grinding various grains to different fineness levels. Using freshly milled flour often requires slight adjustments to recipes due to differences in absorption compared to commercially milled flour, but the flavor payoff can be significant for your artisan loaves.
Sourdough Starter Jar: Cultivating Your Own Wild Yeast
For bakers diving into the world of sourdough, a dedicated jar for cultivating and maintaining a sourdough starter is incredibly useful. While any clean jar or container can technically work, a jar with straight sides and a wide mouth makes feeding, stirring, and monitoring the starter's activity much easier.
Some jars specifically designed for sourdough starters feature volume markings or even temperature strips to help you track its growth and health. Using a clear container allows you to easily see the bubbles and changes in texture as your starter ferments. Maintaining a healthy, active starter is fundamental to successful sourdough artisan bread.
Bread Box: Storing Your Artisan Bread Fresh
Artisan bread, with its often rustic crust and lack of preservatives, is best enjoyed fresh. While not a tool for baking, a good bread box is essential for storing your finished loaves to keep them fresh for as long as possible. A bread box provides a balance of air circulation and containment, preventing the crust from becoming too hard or the interior from drying out too quickly.
Look for a bread box that is large enough for your typical loaf size and made from a material that allows some air exchange, like wood or metal with small vents. Storing bread correctly ensures that the delicious texture and flavor you worked hard to achieve last beyond the first day.
Conclusion: Your Journey to Artisan Bread Mastery Starts Here
Building your artisan bread baking checklist of tools is an exciting part of the journey towards baking incredible bread at home. While some tools are absolutely essential for success, others can be added over time as your skills and interests grow. Remember, the most important ingredients are always time, patience, and practice.
Equipping yourself with the right tools empowers you to control variables, handle challenging doughs, and create the perfect environment for fermentation and baking. From the initial mix to the final slice, each tool plays a role in transforming simple ingredients into a beautiful, delicious loaf. Start with the essentials on this artisan bread baking checklist, and gradually add more specialized items as you explore new techniques and recipes. Happy baking!
Frequently Asked Questions
What are the most essential tools for artisan bread baking, according to BakeWithEase?
The article from BakeWithEase emphasizes the importance of a Dutch oven for creating a steamy environment and a digital kitchen scale for accurate measurements. A bench scraper is also crucial for handling dough.
Why is a digital kitchen scale so highly recommended for artisan bread baking?
A digital kitchen scale ensures precise ingredient ratios, which are critical for consistent results in artisan bread baking. This level of accuracy is difficult to achieve with volume measurements alone.
Does the article mention any tools specifically for shaping artisan bread?
Yes, the article suggests using a bench scraper for dividing and shaping the dough. It might also imply a proofing basket (banneton), even if not explicitly stated, as crucial for maintaining shape.
What makes a Dutch oven so important for achieving a good crust on artisan bread?
A Dutch oven creates a closed, steamy environment that mimics a professional bread oven. This steam allows the bread to fully expand before the crust sets, resulting in a crispier, more flavorful crust.
Are there any recommended tools for monitoring the internal temperature of the bread while baking?
While not explicitly stated, a digital thermometer is often recommended for ensuring the bread is fully baked. The target internal temperature is usually around 200-210°F (93-99°C).
Final Reflection: The Baker's Journey: From Checklist to Craft
The pursuit of perfect artisan bread isn't just about following a recipe; it's about mastering a craft. This checklist, designed to guide you through the essential tools, serves as a starting point on that journey. While the tools themselves are important, their true value lies in their ability to unlock your potential as a baker.
The impact of artisan bread extends far beyond the simple act of baking. It's a connection to tradition, a celebration of simple ingredients transformed into something beautiful and nourishing. The satisfying aroma, the satisfying crust, the delightful crumb – these are sensory experiences that enrich our lives. Bread is the staff of life.
This simple statement speaks volumes about the enduring importance of bread in human culture, and the joy of creating it yourself elevates this importance even further.
Now, I invite you to consider your own baking journey. What tools do you already possess? Which ones are missing from your arsenal? More importantly, what is your personal approach to baking? Don't just focus on the checklist; use it as a springboard to explore your creativity and develop your own unique style. The perfect loaf awaits, not just in the perfect tools, but in the passion and dedication you bring to the process. Embrace the journey, and happy baking!
Unleash Your Inner Baker: Elevate Your Artisan Bread Game!
Thanks for joining us on this journey into the world of artisan bread! We hope you've gained valuable insights and are feeling inspired to create delicious, handcrafted loaves. Now it's time to put your knowledge into practice.
- Invest in your dream bread-making tool: Think about which tool from the checklist resonated most with you – and treat yourself! A new peel, banneton, or Dutch oven can make all the difference.
- Share your baking journey: Tag us on social media (@BakeWithEase) and show us your beautiful creations! Let's inspire each other.
- Discover a new flour: Explore a different type of flour to experiment with different textures and flavors in your next bake.
What unique ingredient are you most excited to incorporate into your next artisan bread masterpiece?