
Beyond Buttercream: Essential Tools for Flawless Cake Decorating

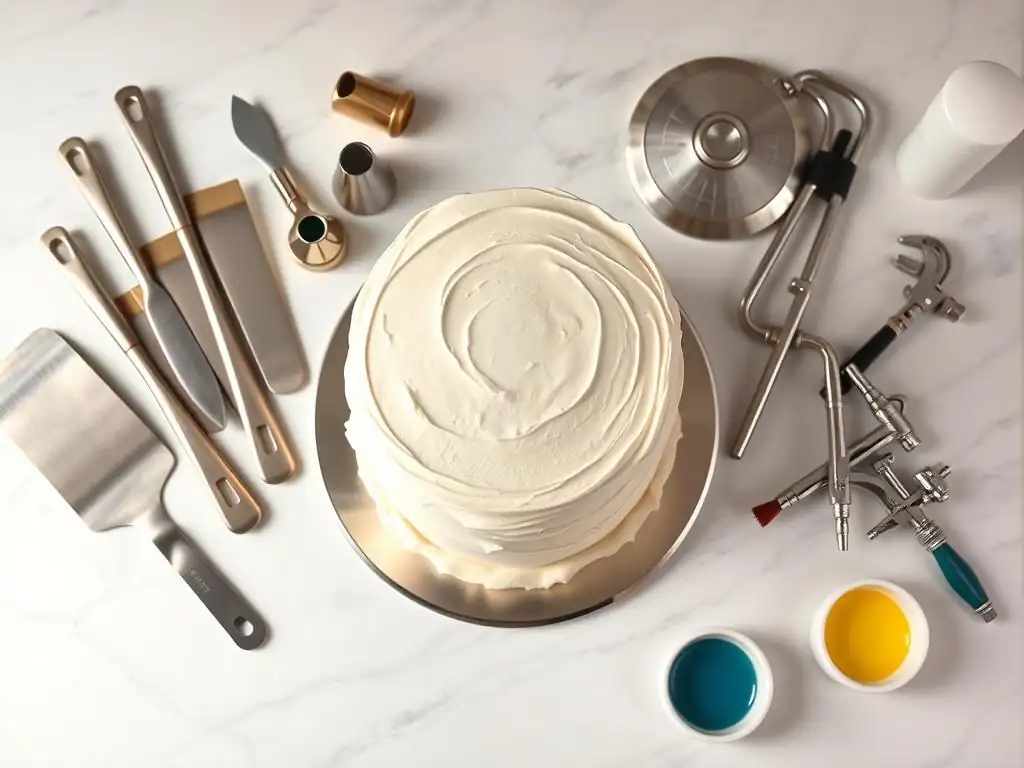
Welcome to BakeWithEase, your trusted companion on your baking journey! Ever wondered how professionals achieve those flawlessly decorated cakes? This guide dives deep into the essential tools you need to elevate your creations. Get ready to go beyond buttercream and discover our comprehensive cake decorating tool guide, unlocking the secrets to stunning desserts and transforming your kitchen into a cake artist's haven! Curious which tools will truly make a difference? Let's explore!
- Mastering Cake Decoration: A Baker's Tool Guide
- Essential Cake Decorating Supplies: A Buyer's Guide
- Cake Decorating Tool Guide: Choosing What's Right for You
- Conclusion: Elevate Your Cake Decorating Skills with the Right Tools
-
Frequently Asked Questions
- What are the essential cake decorating tools for beginners?
- What is the purpose of a cake decorating turntable?
- What are some different types of piping tips and what are they used for?
- How can I achieve a smooth buttercream finish on my cake?
- Where can I find easy-to-find ingredients for cake decorating?
- Final Reflection: Mastering the Art of Cake Decorating
- Unleash Your Inner Cake Artist!
Mastering Cake Decoration: A Baker's Tool Guide
Stepping into the world of cake decorating can feel overwhelming, with endless possibilities for creating edible art. While creativity and practice are key, having the right equipment is truly foundational to success, allowing you to move beyond simple buttercream swirls to more intricate designs. Think of your tools as extensions of your hands, enabling precision and ease that elevate your cakes from homemade treats to stunning centerpieces. This comprehensive cake decorating tool guide is designed to walk you through the essentials, whether you're just starting out or looking to refine your collection.
Building a reliable set of cake decorating tools doesn't require buying everything at once. A smart approach involves understanding the purpose of each item and investing in quality pieces that will last. From achieving perfectly level cake layers to piping delicate details or smoothing fondant like a pro, the right tools make the process significantly smoother and more enjoyable. This guide will break down the must-haves across different decorating techniques, helping you build your ultimate collection for creating beautiful, flawless cakes with BakeWithEase.
Essential Cake Decorating Supplies: A Buyer's Guide
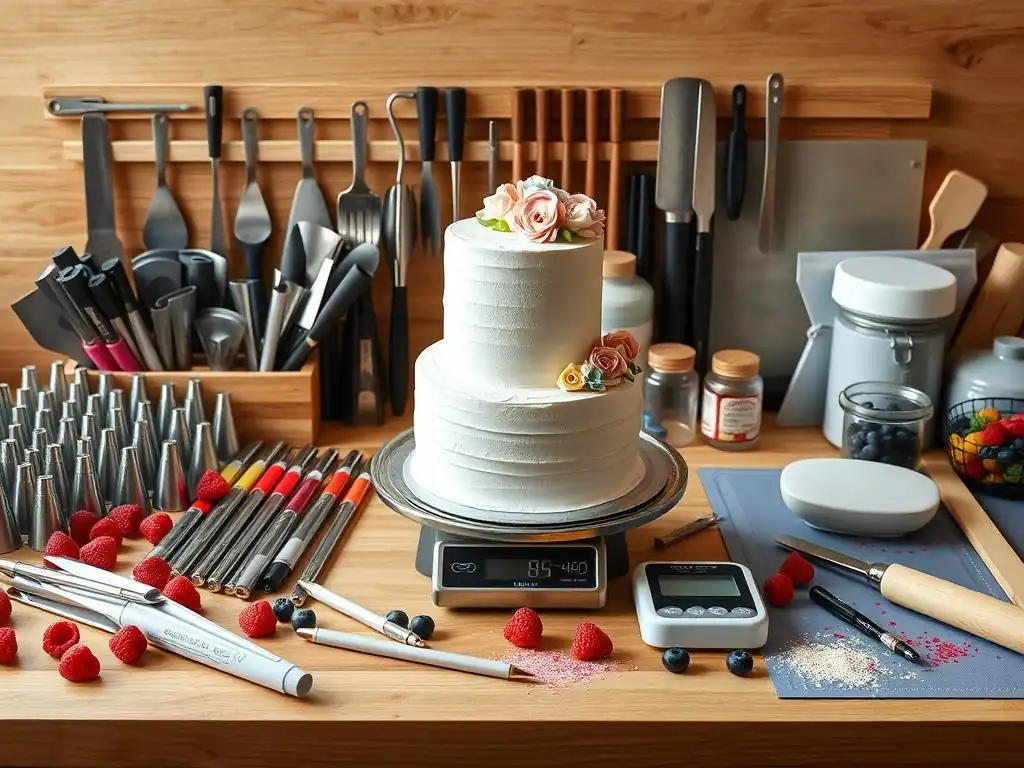
1. The Foundation: Cake Pans & Preparation Tools
Achieving a beautifully decorated cake starts long before the frosting comes out. It begins with baking perfect cake layers. The right cake pans and preparation tools are critical for ensuring your cakes bake evenly, release cleanly, and have a consistent size and shape, providing a stable base for all your decorating efforts. Without a solid foundation, even the most elaborate decorations can't hide uneven layers or crumbly edges.
Selecting the correct size and type of cake pan directly impacts the final look and structure of your decorated cake. Standard round pans, typically 8 or 9 inches in diameter and 2 or 3 inches deep, are staples for layer cakes. Square pans, often available in similar sizes, are great for geometric designs or specific tiered structures.
Springform pans, which have sides that release from the base, are indispensable for delicate cakes like cheesecakes or tortes that cannot be easily inverted. Investing in a few high-quality, heavy-gauge aluminum pans promotes even heat distribution, leading to more consistent baking results compared to thin, flimsy pans which can cause hot spots and uneven rise.
- Cake Pans: Choosing the Right Size and Shape
- Round Cake Pans: The most common choice, perfect for classic layer cakes. Available widely in 6, 8, 9, and 10-inch diameters.
- Square Cake Pans: Ideal for modern geometric designs or base layers in multi-tiered square cakes. Common sizes include 8x8 and 9x9 inches.
- Springform Pans: Essential for cakes that are difficult to unmold, like cheesecakes or deeply layered tortes. Sizes often range from 7 to 10 inches.
- Cake Strips: Ensuring Even Baking
- Why Cake Strips Matter: These fabric or silicone strips, soaked in water and wrapped around the outside of the pan, help insulate the sides. This prevents the edges from setting and rising faster than the center, eliminating the dreaded dome and resulting in flat, evenly baked layers. This means less trimming and less wasted cake!
- Parchment Paper: The Baker's Best Friend
- Pre-Cut Circles: Lining the bottom of your cake pans with parchment paper ensures cakes release easily without sticking. Using pre-cut circles sized for standard pans (like 8-inch or 9-inch) saves time and guarantees a perfect fit every time.
2. Leveling and Layering: Achieving Cake Perfection
Once your cakes are baked, the next crucial step for flawless decorating is achieving perfectly level layers. Uneven layers not only look messy but can also make stacking and stabilizing a tiered cake incredibly difficult. Tools designed specifically for leveling and layering help create a smooth, consistent canvas for your frosting and decorations, contributing significantly to a professional finish.
Beyond just leveling, properly supporting and handling your cake layers is essential, especially for multi-tiered creations or those with delicate fillings. Cake boards and drums provide a sturdy base for each layer or even the entire cake, making them easy to move, stack, and decorate without damage. Using the right tools at this stage ensures your structure is sound, allowing you to focus on the artistic aspects of your cake decorating.
- Cake Leveler: Even Cake Layers Every Time
- Adjustable Cake Levelers: These wire tools allow you to slice off the dome of a cake layer with precision. Adjustable models let you set the wire to different heights, ensuring all your layers are the exact same thickness, typically aiming for layers 1.5 to 2 inches thick for standard cakes.
- Cake Boards and Drums: A Sturdy Base
- Choosing the Right Size: Cake boards (thinner cardboard) or drums (thicker, often covered) provide stability. They should be the same size as or slightly larger than the cake layer they support. For the base of a finished cake, the board should extend at least 2-3 inches beyond the cake's diameter to allow for easy handling and piping a border.
- Offset Spatulas: Smooth Frosting Application
- Angled Spatulas: These flexible spatulas, with a blade offset from the handle, are indispensable for spreading frosting smoothly and evenly across the top and sides of cake layers. Available in various sizes (e.g., 4-inch for small areas, 8-inch or 10-inch for larger surfaces), the angle keeps your knuckles from dragging in the frosting.
3. Frosting and Piping: Creating Beautiful Designs
Frosting is the delicious canvas for most cake decorating. Applying it smoothly and precisely, whether covering the entire cake or adding intricate details, requires specific tools. Piping bags and tips are the workhorses for creating borders, writing messages, filling cupcakes, and forming decorative elements like rosettes, stars, or leaves. Mastering these tools opens up a vast world of design possibilities.
The variety of piping tips alone can be staggering, with thousands of different shapes and sizes available, each producing a unique effect. Understanding the basic types and how to use them, along with the convenience of couplers for switching tips on the fly, is fundamental to effective frosting application. Combining these with a smooth-rotating turntable makes the process of covering and decorating a cake far more efficient and yields cleaner, more professional results.
- Piping Bags: Reusable vs. Disposable
- Reusable Bags: Made from nylon or silicone, these are durable and eco-friendly but require thorough cleaning after each use. A common size is 12-inch or 14-inch for general decorating.
- Disposable Bags: Made from plastic, they offer convenience and easy cleanup, making them popular for home bakers. Available in rolls or packs, typically in sizes like 12-inch or 16-inch.
- Piping Tips: A Wide Variety of Designs
- Star Tips: Create classic star shapes, rosettes, or zigzags. Popular sizes include 1M (large open star) or #21 (smaller open star).
- Round Tips: Used for dots, lines, writing, and filling. Common sizes range from small #1 or #2 (for fine writing) to large #12 or #A1 (for filling or large dots).
- Leaf Tips: Designed to create realistic leaf shapes. Sizes like #352 or #67 are frequently used.
- Couplers: Switching Tips Effortlessly
- Standard Couplers: A two-part system that allows you to swap different standard-sized piping tips onto the same bag of frosting without emptying it.
- Large Couplers: Similar to standard couplers but designed for larger piping tips, such as those for decorating cupcakes or making large swirls.
- Turntable: Smooth and Even Frosting
- Rotating Cake Stands: A cake turntable is a rotating stand that allows you to easily turn the cake while you apply frosting or decorate. This is crucial for achieving smooth sides and consistent borders. Models range from basic plastic versions (often under $20) to heavier, more stable metal or composite ones (potentially $50-$100+).
4. Fondant Tools: Sculpting and Shaping
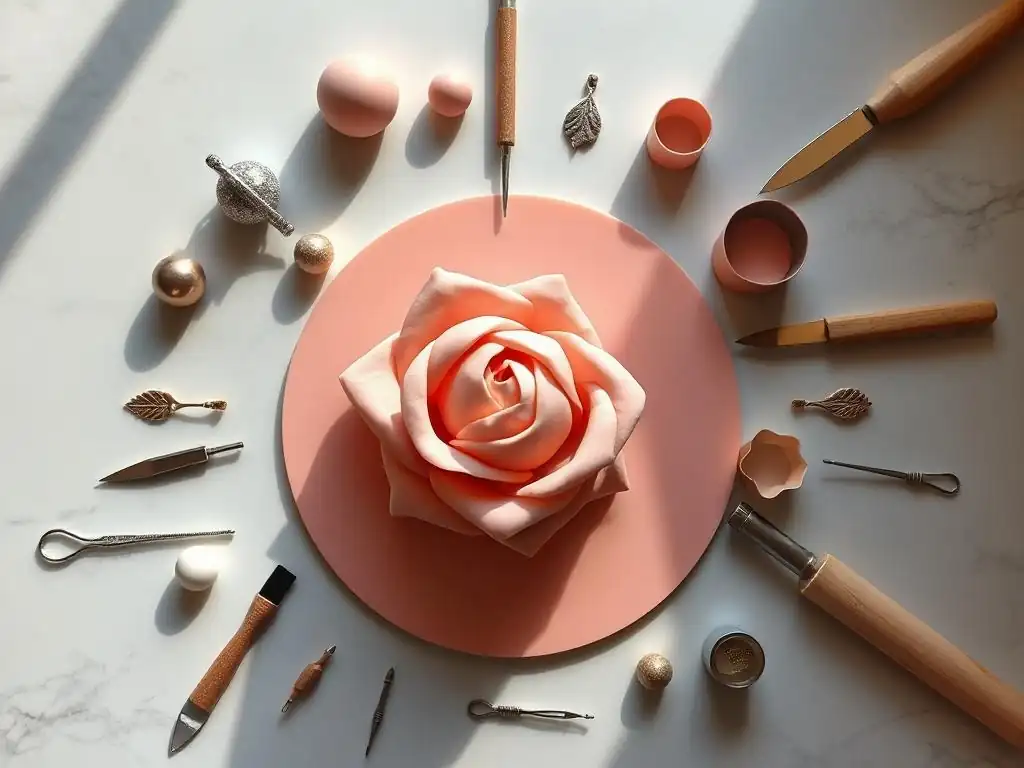
Working with fondant offers a different dimension in cake decorating, allowing for a smooth, porcelain-like finish and the creation of detailed 3D elements. While buttercream provides a soft, creamy texture, fondant offers a pliable medium for sculpting, cutting, and molding, perfect for clean lines, sharp edges, and intricate designs that are difficult to achieve with frosting alone. Utilizing specialized fondant tools is essential for transforming this sugar dough into beautiful edible art.
Achieving a perfectly smooth fondant covering and adding delicate details requires precision and the right implements. From rolling the fondant to an even thickness to smoothing out imperfections and cutting precise shapes, each tool plays a vital role. A dedicated set of fondant tools streamlines the process, reducing frustration and improving the final aesthetic, making even complex designs feel more manageable for the home baker.
- Rolling Pin: Smooth and Even Fondant
- Non-Stick Rolling Pins: Essential for rolling fondant to a consistent thickness (typically about 1/8 inch). Non-stick materials like silicone or plastic prevent the fondant from sticking, reducing the need for excessive dusting powder. Large, heavy pins help achieve smooth results.
- Fondant Smoothers: Achieving a Flawless Finish
- Straight Edge Smoothers: These flat, rigid plastic or acrylic tools are used to smooth fondant once it's draped over the cake. By gently rubbing the smoother over the surface and sides, you can eliminate air bubbles, creases, and imperfections, creating that signature smooth finish. Using two smoothers simultaneously (one on top, one on the side) helps create sharp edges.
- Cutters and Molds: Creating Intricate Designs
- Alphabet Cutters: Sets of small cutters for creating edible letters and numbers out of fondant or gum paste, perfect for personalizing cakes with names or dates.
- Flower Molds: Silicone molds shaped like petals or full flowers allow you to quickly and consistently create realistic floral elements for your cake decorations. Presses, plungers, and veiners also fall into this category, adding texture and detail.
5. Airbrushing and Coloring: Adding Depth and Dimension
Taking your cake decorating to the next level often involves adding vibrant color and subtle shading that's hard to achieve with just tinted frosting or fondant. Airbrushing provides a way to apply thin, even layers of edible color, creating gradients, shadows, and realistic effects with speed and precision. It's a technique favored by professional decorators for its ability to add depth and dimension to designs, transforming a flat surface into something visually dynamic.
The type of food coloring you use also significantly impacts your results, whether for airbrushing or simply tinting frosting or fondant. Gel colorings are highly concentrated and provide vibrant hues without adding much liquid, which can alter the consistency of your medium. Liquid colorings are less potent but useful for airbrushing or achieving lighter shades. Understanding the properties of each and having a range of quality colors is key to bringing your cake vision to life with vivid, food-safe pigments.
- Airbrush System: Professional Cake Designs
- Entry-Level Airbrush Kits: A basic airbrush system includes a compressor, air hose, and airbrush gun. Entry-level models, often priced around $100-$200, are sufficient for home use, allowing you to spray edible airbrush colors onto cakes for backgrounds, shading, or stenciled designs.
- Food Coloring: Gel vs. Liquid
- Gel Food Coloring: Concentrated paste or gel form. A tiny amount (e.g., a drop or two) can produce intense color without thinning buttercream or fondant. Available in a vast spectrum of colors.
- Liquid Food Coloring: Less concentrated than gel. Primarily used for tinting batters or liquids, and essential for airbrushing when diluted appropriately with airbrush cleaner or clear alcohol.
Cake Decorating Tool Guide: Choosing What's Right for You
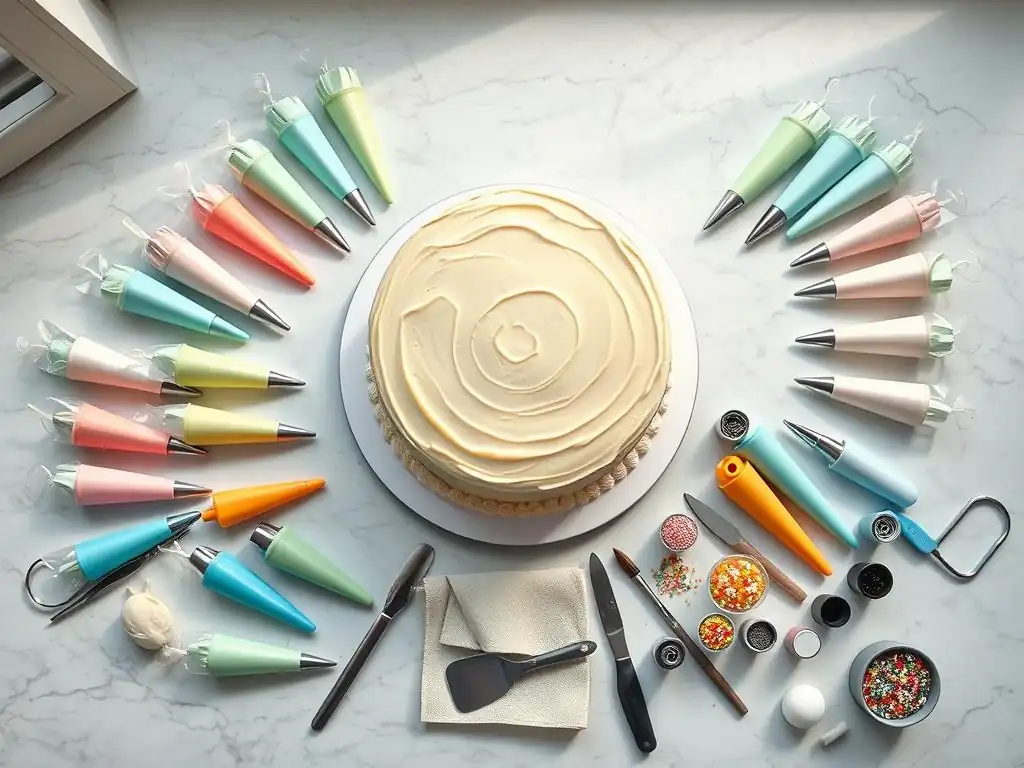
Navigating the vast array of cake decorating tools can feel daunting, but the key is to start with the essentials for the techniques you plan to use most often. A beginner's cake decorating tool guide would likely prioritize good quality cake pans, an offset spatula, a set of piping bags and a few basic tips (like a star and a round tip), and a cake leveler. These tools provide a solid foundation for baking and decorating simple layer cakes.
As you grow in skill and confidence, you can gradually add more specialized items based on your interests. If you love piping intricate flowers, invest in a wider variety of floral tips and a flower nail. If working with fondant is your passion, expand your collection of smoothers, cutters, and impression mats.
Consider purchasing tool kits specifically curated for different techniques (like a fondant kit or a piping kit) as they often offer good value and a range of useful items. Ultimately, the best cake decorating tool guide for you is one that evolves with your baking journey, adding tools as needed to help you achieve your next decorating goal.
Conclusion: Elevate Your Cake Decorating Skills with the Right Tools
Mastering cake decorating is a rewarding journey, blending baking science with artistic expression. While practice is invaluable, having the right essential tools for cake decorating acts as a powerful accelerator, enabling precision, efficiency, and the ability to tackle more complex designs. From the fundamental cake pans that shape your layers to the specialized airbrush systems that add professional polish, each tool plays a role in transforming simple ingredients into edible masterpieces.
This cake decorating tool guide has highlighted many key items, but remember that your personal collection will grow over time based on your preferred styles and techniques. Don't feel pressured to buy everything at once. Start with the basics, practice your skills, and gradually add tools as you explore new decorating avenues. With a well-chosen collection of cake decorating supplies, you'll find yourself more confident, more creative, and consistently achieving the flawless finishes you desire on all your baked creations. Happy decorating!
Frequently Asked Questions
What are the essential cake decorating tools for beginners?
For beginners, essential tools include a turntable, a set of offset spatulas, and a basic piping bag with a few common tips. These will allow you to achieve a smooth buttercream finish and simple decorations.
What is the purpose of a cake decorating turntable?
A turntable allows for easy rotation of the cake while decorating. This ensures a smooth and even application of frosting and decorations, making the entire process much easier.
What are some different types of piping tips and what are they used for?
Piping tips come in various shapes, with round tips for outlines and writing, star tips for rosettes and borders, and petal tips for creating realistic flower decorations.
How can I achieve a smooth buttercream finish on my cake?
Using an offset spatula and a turntable is key. Apply a crumb coat first, chill the cake, then apply the final layer of buttercream, using the spatula to smooth and refine the surface.
Where can I find easy-to-find ingredients for cake decorating?
Most supermarkets carry basic cake decorating ingredients like buttercream frosting, sprinkles, and food coloring. Specialized ingredients can be found at baking supply stores or online retailers.
Final Reflection: Mastering the Art of Cake Decorating
The pursuit of the perfect cake is more than just a delicious endeavor; it's a testament to creativity, precision, and the power of the right tools. From the novice baker to the seasoned professional, the journey to flawless cake decorating hinges on understanding and mastering the essential equipment. This guide has explored a range of tools, from the fundamental spatulas and piping bags to the more specialized turntable and airbrush, highlighting their unique contributions to the overall aesthetic and execution. This knowledge, readily accessible today, empowers anyone to elevate their baking skills to new heights.
The impact of accessible cake decorating knowledge is profound. It's not simply about creating visually stunning cakes; it's about fostering creativity, self-expression, and a sense of accomplishment. The joy of transforming simple ingredients into works of art is undeniable, a sentiment echoed by countless bakers throughout history. Baking is at once child's play and adult joy. And love, of course.
- Alma Flor Ada. This quote perfectly encapsulates the emotional connection many feel to the process, a connection amplified by the ability to acquire the necessary skills and tools.
Now, consider your own baking journey. What tools have you already mastered? Which ones are you eager to explore? This guide is not an endpoint, but a springboard. Embrace the learning process, experiment with different techniques, and don't be afraid to push your creative boundaries. The world of cake decorating is vast and ever-evolving; your next masterpiece awaits. Go forth, and create something truly spectacular!
Unleash Your Inner Cake Artist!
Thanks for joining us on this delicious journey into the world of cake decorating! We hope you've gained valuable insights and inspiration to elevate your baking skills. Now it's time to put your newfound knowledge into action!
- Master a new decorating technique: Choose one of the techniques we discussed—perhaps the rosettes or the elegant piping – and try it out on your next cake. Share your creation with us!
- Experiment with different tools: Browse your local baking supply store (or online!) for some new tools. Think beyond the basics – there's a whole world of decorating tools to explore!
- Join our BakeWithEase community: Share your baking triumphs (and challenges!) on our social media. We'd love to see what you create!
What's the one decorating tool you're most excited to try next? Let us know in the comments below!