
Essential Tools for Cake Decorating Success: Your Buyer's Map

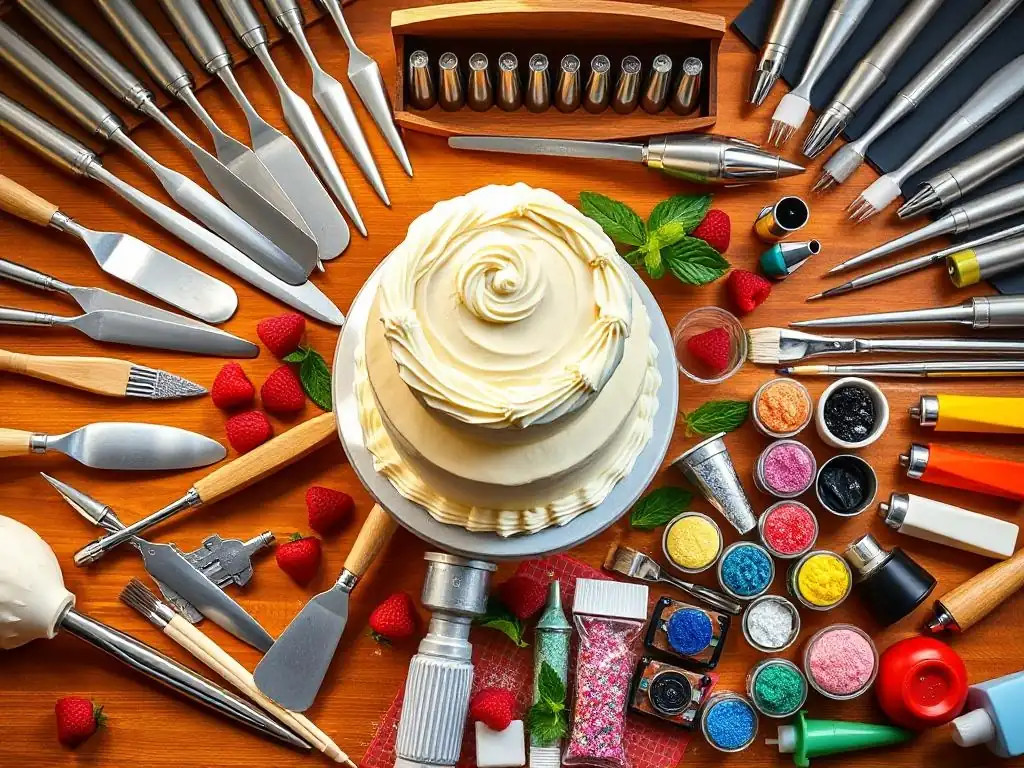
Welcome to BakeWithEase, your partner in creating delectable delights! Ever wondered how professional bakers achieve those stunning cake designs? This week, we unravel the secrets with our comprehensive Cake Decorating Tools Guide. Discover the essential equipment that will transform your cakes from simple treats to edible masterpieces, and learn how to choose the right tools for your baking aspirations. Intrigued? Let's dive in and equip you for cake decorating success!
- Cake Decorating Tools Guide: Your Path to Baking Masterpieces
- Understanding Essential Cake Decorating Tools: A Beginner's Introduction
- Must-Have Cake Decorating Tools: A Comprehensive Buyer's Guide
- Budget-Friendly Cake Decorating Tools: Saving Money Without Sacrificing Quality
- Advanced Cake Decorating Tools: Elevating Your Baking Skills
- Maintaining Your Cake Decorating Tools: Tips for Longevity
- Choosing the Right Cake Decorating Tools for Your Needs: A Summary
- Where to Buy Cake Decorating Tools: Online and Local Options
- Cake Decorating Tools Guide: Conclusion and Next Steps.
-
Frequently Asked Questions
- What are the absolute essential cake decorating tools a beginner should invest in?
- How do I choose the right piping tips for different cake decorating techniques?
- What's the difference between a regular spatula and an offset spatula, and why is an offset spatula recommended?
- What materials are best for cake decorating turntables, and which offers the best value?
- How important is a cake leveler, and are there alternative methods for achieving even cake layers?
- Final Reflection: Mastering the Sweet Art of Cake Decorating
- Unleash Your Inner Cake Artist: Take the Next Step!
Cake Decorating Tools Guide: Your Path to Baking Masterpieces
Welcome to the wonderful world of cake decorating! Whether you're dreaming of delicate buttercream swirls, smooth fondant finishes, or vibrant edible art, having the right equipment is the first step toward turning your vision into reality. Think of this article as your friendly guide to navigating the landscape of cake decorating tools, helping you build a collection that supports your creative journey, from simple designs to elaborate celebratory cakes.
This comprehensive cake decorating tools guide will walk you through the essentials every baker needs, explain why quality matters, and even touch on more advanced items for when you're ready to elevate your skills. We'll explore everything from foundational baking pans to intricate piping tips, ensuring you have the knowledge to make informed choices. Let's get started on building your toolkit for creating delicious and beautiful cakes!
Understanding Essential Cake Decorating Tools: A Beginner's Introduction
Diving into cake decorating might seem daunting with the sheer variety of tools available. However, at its core, it's about having the right implements to mix, bake, frost, and embellish your cake. For beginners, focusing on a few key items can make a huge difference in the quality and ease of your decorating efforts. This section lays the groundwork, explaining the importance of your tools and providing a foundational checklist.
Having a solid understanding of what each tool does and why it's important will empower you to choose wisely as you build your collection. It's not about having every tool out there immediately, but rather acquiring the essential cake decorating supplies that will enable you to practice fundamental techniques and achieve great results right from the start.
Why Invest in Quality Cake Decorating Tools?
Investing in quality cake decorating tools isn't just about having fancy gadgets; it's about achieving better results with less frustration. High-quality tools are often made from durable materials that perform consistently, meaning your spatulas won't bend awkwardly, your piping bags won't burst mid-swirl, and your pans will bake evenly every time. For example, a good set of stainless steel piping tips will produce sharper, cleaner lines compared to cheaper, less precisely manufactured ones.
This consistency is crucial when you're learning and trying to replicate techniques. Investing in quality minimizes variables caused by equipment, allowing you to focus on mastering the skills themselves.
Furthermore, well-made cake decorating tools are designed for comfort and efficiency, which is essential when you're spending significant time on a project. An ergonomic offset spatula, for instance, makes smoothing buttercream across a large cake surface much easier and less tiring than a flimsy alternative.
While the initial cost might be slightly higher, the longevity and superior performance of quality tools mean you won't need to replace them as often, saving you money in the long run. Think of it as building a reliable foundation for countless future baking successes – a worthwhile investment for any aspiring cake artist using this cake decorating tools guide.
Key Cake Decorating Supplies: A Checklist for Beginners
Starting your cake decorating journey requires a few fundamental items. This beginner's checklist covers the absolute essentials that will allow you to bake, ice, and add simple decorations to your cakes. Don't feel pressured to buy everything at once; focus on acquiring these core pieces as you begin to practice.
Here are some key cake decorating supplies to get you started:
- [ ] Cake pans (at least two of the same size for layers)
- [ ] Wire cooling rack
- [ ] Offset spatula (medium size, around 8-10 inches)
- [ ] Cake scraper or bench scraper
- [ ] Piping bags (a pack of disposable or a couple of reusable)
- [ ] Basic piping tips (like a round tip and a star tip)
- [ ] Coupler set (fits your piping bags/tips)
- [ ] Gel food coloring (primary colors are a good start)
- [ ] Small bowls for mixing colors
Having these fundamental cake decorating tools on hand will allow you to tackle basic recipes and decorating techniques, giving you a solid base to build upon as you explore more complex designs. This basic collection is your starting point in using this cake decorating tools guide effectively.
Must-Have Cake Decorating Tools: A Comprehensive Buyer's Guide
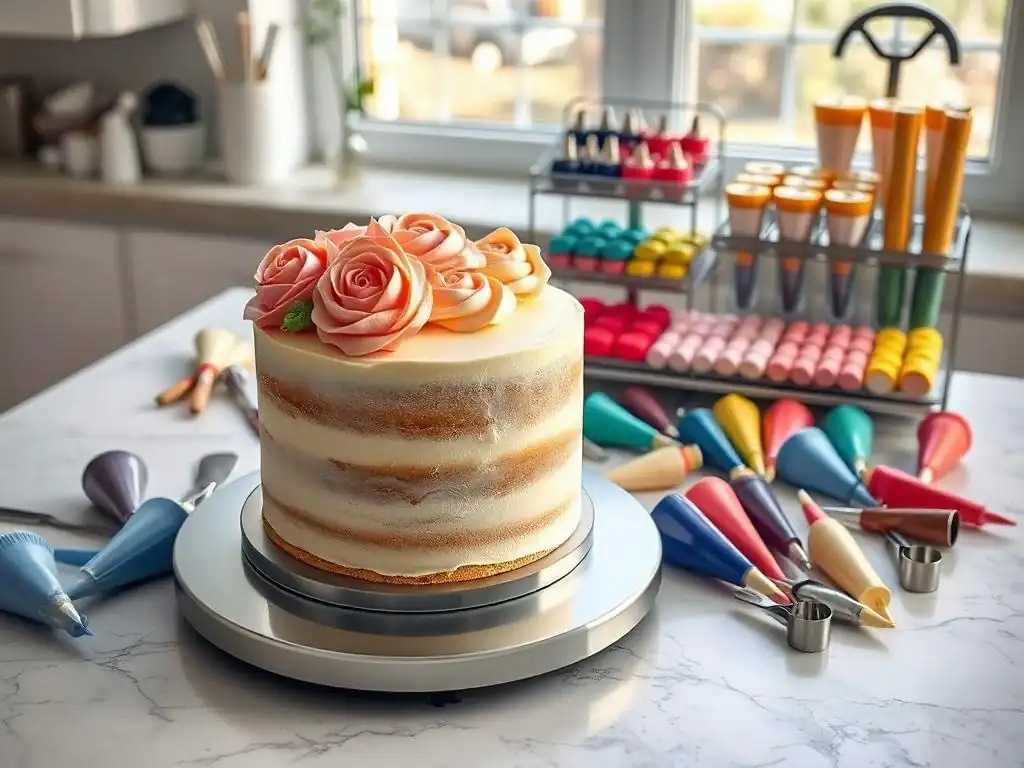
Moving beyond the absolute basics, this section delves deeper into specific categories of essential cake decorating tools. We'll discuss various options within each group, helping you understand the nuances and choose the best tools for your needs. This comprehensive buyer's guide aims to provide detailed information to support your purchasing decisions.
From the pans that shape your cake to the tools that apply the final decorative touches, each item plays a crucial role. Understanding the different types and their uses is key to expanding your cake decorating repertoire. Let's explore these must-have cake decorating supplies in detail.
The Foundation: Essential Baking Pans for Cake Decorating
The shape and structure of your cake start with the pan it's baked in. Having a selection of reliable baking pans is fundamental for cake decorating, especially when creating tiered or shaped cakes. The material and size of the pan significantly impact how the cake bakes.
Investing in quality pans ensures even heat distribution, leading to a consistently baked cake with a good structure, which is vital for successful decorating. Poorly baked cakes that dome excessively or have uneven textures are much harder to ice and decorate smoothly. Choosing the right pan is the first step in this cake decorating tools guide.
-
Round Cake Pans: Choosing the Right Size and Material
Round cake pans are perhaps the most versatile and commonly used pans for layer cakes. Standard sizes typically range from 6 inches to 12 inches in diameter, with 8-inch and 9-inch pans being popular choices for standard recipes. To create layered cakes, you'll ideally want at least two, or even three, pans of the same size. This allows you to bake multiple layers simultaneously or in quick succession, saving time.
Material matters: Anodized aluminum is highly recommended because it heats quickly and evenly, preventing hot spots that can lead to uneven baking or burnt edges. Pans with straight, rather than sloped, sides are also preferred as they produce layers with consistent height, making stacking and decorating much easier. A good quality set of round pans is a cornerstone of any cake decorating tools guide.
-
Square Cake Pans: For Modern Designs and Layered Cakes
Square cake pans offer a different aesthetic and are excellent for creating modern, geometric cake designs or for cutting into precise shapes for sculpted cakes. Like round pans, they are available in various sizes, commonly ranging from 6 inches to 12 inches. Having a set of two or three square pans of the same size is useful for baking layered square cakes.
Again, look for anodized aluminum or heavy-gauge steel for even baking. Straight sides are just as important as with round pans to ensure level layers. Square cakes can sometimes be more challenging to frost smoothly due to the sharp corners, but with the right techniques and tools, they offer a fantastic canvas for unique decorating ideas.
-
Springform Pans: Perfect for Cheesecakes and Delicate Cakes
While not strictly for traditional layer cakes, springform pans are invaluable for certain types of cakes, particularly cheesecakes, tortes, and delicate sponge cakes that are difficult to invert. A springform pan has sides that can be unlatched and removed from the base, allowing you to easily release the cake without flipping it.
Standard sizes often include 9-inch and 10-inch diameters. Ensure the latch mechanism is sturdy and creates a tight seal to prevent leakage during baking (wrapping the bottom in foil is a common trick). While you might not use a springform pan for every decorating project, it's a useful addition to your collection of cake decorating tools if you plan on making desserts that require careful handling.
Icing Perfection: Choosing the Right Spatulas and Smoothers
Achieving smooth, professional-looking icing is a fundamental skill in cake decorating, and the right spatulas and smoothers are your best friends in this process. These tools help you apply, spread, and smooth frosting or ganache evenly across the surface and sides of your cake.
Having a variety of shapes and sizes allows you to tackle different tasks, from frosting large surfaces to getting into tight spots or creating sharp edges. Mastering the use of these specific cake decorating tools is essential for a polished finish.
-
Offset Spatulas: Essential for Smooth Icing Application
Offset spatulas are arguably the most important tool for frosting cakes. They feature a blade that is "offset" or angled away from the handle. This design keeps your knuckles from dragging through the icing as you spread it, allowing for a much smoother application. They come in various sizes, typically ranging from small (around 4-6 inches blade) for smaller cakes or detailed work, to medium (8-10 inches) and large (10-12 inches) for covering larger cakes quickly.
A medium-sized offset spatula (around 8-10 inches) is a great starting point for most bakers. Look for a flexible but not flimsy stainless steel blade and a comfortable handle. Using an offset spatula effectively takes some practice, but it's indispensable for achieving that perfectly smooth buttercream finish often seen in professional cakes.
-
Straight Spatulas: For Leveling and Precise Edges
Straight spatulas have a blade that is in line with the handle, similar to a palette knife. While offset spatulas excel at spreading, straight spatulas are often preferred for leveling batter in pans, spreading thin layers of filling, or for tasks requiring a flat edge, like scraping excess icing from the sides of a cake or creating sharp corners.
They are also useful for lifting delicate items or transferring decorations. Having both an offset and a straight spatula in your cake decorating tools collection provides versatility for different frosting tasks and helps you achieve cleaner lines and finishes.
-
Cake Scrapers & Smoothers: Achieving Professional-Looking Finishes
Cake scrapers and smoothers are essential for achieving incredibly smooth sides and sharp edges on your iced cakes. A basic bench scraper, typically a flat piece of metal or plastic with a straight edge, is excellent for scraping down the sides of a cake as you spin it on a turntable, removing excess icing and creating a level surface.
Dedicated cake smoothers, often made of plastic or acrylic, have smooth, flat edges and are specifically designed for polishing the surface of buttercream or ganache, removing any spatula marks. Some scrapers have textured edges (like combs) to create decorative patterns in the icing. Using a scraper or smoother is a game-changer for elevating your cake's appearance and is a key technique highlighted in any good cake decorating tools guide.
Piping Power: Exploring Piping Bags, Tips, and Couplers
Piping is a classic cake decorating technique used for everything from writing messages and creating borders to crafting intricate flowers and filling cupcakes. The tools involved are relatively simple but offer immense creative potential.
Understanding the different types of piping bags and tips, and how to use couplers, is fundamental to mastering this skill. These are core components in any comprehensive cake decorating tools guide.
-
Piping Bags: Disposable vs. Reusable Options
Piping bags are the vessel that holds your icing or batter for piping. You have two main choices: disposable or reusable. Disposable piping bags, typically made of plastic, are convenient as they require no cleaning – simply use and discard. They are ideal for beginners or when using multiple colors of icing. A roll of 100 disposable bags might cost around $10-$15, offering great value for frequent use.
Reusable piping bags, often made from nylon or silicone, are more environmentally friendly and can be more durable. They require washing after each use, which can sometimes be messy, but they are a good long-term investment. A set of 2-3 reusable bags might cost $8-$20 depending on material and size. Both types work well; the choice depends on your preference for convenience versus sustainability and durability.
-
Piping Tips: Mastering Different Designs
Piping tips, also known as nozzles, are small metal or plastic cones inserted into the piping bag that shape the icing as it's squeezed out. There are hundreds of different piping tips available, each creating a unique design. They are typically categorized by number (e.g., Wilton #12 round, Ateco #2D star). Common types include:
- Round tips: For dots, lines, writing, and filling areas. Sizes range from very fine (#1 or #2) for detail to large (#12 or larger) for filling or thick lines.
- Star tips: For stars, shells, rosettes, and borders. Open star tips (like #1M or #2D) create defined points, while closed star tips (like #32 or #199) create more ridged designs.
- Leaf tips: For creating realistic leaves.
- Petal tips: For creating ruffles, swags, and flower petals (like roses).
- Specialty tips: Grass tips, basketweave tips, etc., for unique effects.
A good starter set might include 6-12 varied tips covering basic shapes. Quality tips are usually made of seamless stainless steel, which is durable and easy to clean. Building a diverse collection of piping tips allows for endless creative possibilities in your cake decorating.
-
Couplers: Easily Switching Between Piping Tips
A coupler is a two-part plastic device that allows you to easily change piping tips on a piping bag without changing the bag or the icing inside. The base of the coupler is inserted into the bag before the tip, and the tip is then secured on the outside using a ring.
Couplers are incredibly useful when you need to use the same color icing for multiple designs (e.g., writing a message with a small round tip and adding a border with a star tip). They save time and reduce the number of bags you need to prepare. A standard coupler fits most small to medium-sized tips, while larger tips require a different size coupler. Including a coupler set is a smart move when assembling your essential cake decorating tools.
The Art of Fondant: Tools for Shaping and Detailing
Fondant provides a smooth, porcelain-like finish on cakes and is also used for creating sculpted figures and intricate decorations. Working with fondant requires a different set of tools than buttercream, focusing on rolling, smoothing, cutting, and shaping.
These specialized cake decorating tools help you achieve that flawless, often sculptural, look that fondant is known for. Mastering their use opens up a new dimension in cake design.
-
Rolling Pins: Achieving Even Fondant Thickness
Unlike a standard kitchen rolling pin, fondant rolling pins are often smooth, non-stick, and may be thicker or have adjustable guides. A large, non-stick rolling pin (around 12-20 inches wide) is essential for rolling out large sheets of fondant to cover a cake. Silicone or plastic rolling pins are preferred over wood as fondant is less likely to stick.
Some rolling pins come with guide rings that fit onto the ends, allowing you to roll the fondant to a consistent thickness (e.g., 1/8 inch or 1/4 inch). This uniformity is crucial for a smooth application and even drying. Having the right rolling pin is a key step when working with fondant in your cake decorating projects.
-
Fondant Smoothers: Removing Air Bubbles and Creating a Flawless Surface
Fondant smoothers are simple but indispensable tools for achieving that perfectly smooth fondant finish. They are typically small, flat, paddle-shaped tools made of plastic. After covering a cake with fondant, you use the smoothers to gently rub the surface and sides, pushing out any trapped air bubbles and pressing the fondant tightly against the cake's surface and buttercream or ganache layer underneath.
Using two smoothers simultaneously (one on top, one on the side) can help create sharper edges, a hallmark of professional fondant work. A good quality set of fondant smoothers is a must-have for anyone serious about working with this medium.
-
Cutters & Molds: Adding Intricate Designs
Fondant cutters and molds allow you to easily create shapes, patterns, and detailed decorations. Cutters come in endless varieties, from basic geometric shapes (circles, squares) to intricate plungers that cut and emboss designs (like flowers or snowflakes). Small sharp knives or specialized fondant cutting tools are also used for freehand cutting.
Silicone molds are popular for creating consistent, detailed shapes like pearls, chains, or ornate borders simply by pressing fondant into the mold. Using these tools saves significant time compared to hand-shaping and allows for precise, repeatable designs, adding sophistication to your cake decorating.
Coloring and Finishing: Essential Tools for Adding the Final Touches
Adding color and sparkle is often the final, magical step in cake decorating. The tools used here help you achieve vibrant hues and eye-catching finishes that bring your cake to life.
These finishing tools allow you to add personality and flair, turning a simple iced cake into a celebration centerpiece.
-
Gel Food Coloring: Achieving Vibrant and Consistent Colors
Gel food coloring is the preferred choice for coloring icing, batter, and fondant. Unlike liquid food coloring, gel colors are highly concentrated, meaning you need only a small amount to achieve vibrant hues without adding excess moisture that can alter the consistency of your frosting or batter. They come in a wide spectrum of colors.
A basic set of primary gel colors (red, blue, yellow, black, white) allows you to mix almost any other shade. A tiny amount on a toothpick is usually sufficient to start, adding more gradually until the desired color is achieved. Using high-quality gel colors ensures bright, true colors that won't fade.
-
Edible Glitters and Sprinkles: Adding Sparkle and Personality
Edible glitters, dusts, and sprinkles are fantastic for adding sparkle, texture, and fun to your cake decorations. Edible glitter can be sprinkled directly onto wet icing or mixed with a clear extract (like vodka or lemon extract) to create an edible paint. Luster dusts provide a shimmery, pearlescent finish.
Sprinkles come in countless shapes, sizes, and colors – jimmies, nonpareils, sanding sugar, confetti, dragees, etc. They are easily applied to the sides or top of a cake, or used to decorate individual elements like cupcakes or cookies. While not strictly tools, they are essential supplies for adding personality and visual appeal, and applicators like small spoons or funnels can help with placement.
Budget-Friendly Cake Decorating Tools: Saving Money Without Sacrificing Quality
Getting started with cake decorating doesn't have to break the bank. While quality is important, there are ways to acquire essential cake decorating tools without overspending. Focusing on versatile pieces and exploring creative alternatives can help you build a functional toolkit on a budget.
This section explores cost-effective strategies for acquiring your initial set of cake decorating supplies, proving that you don't need the most expensive items to start creating beautiful cakes.
Affordable Starter Kits: Getting Started Without Breaking the Bank
Many companies offer beginner cake decorating kits that bundle essential tools at a lower price than buying each item individually. These kits typically include a selection of basic piping tips, piping bags (often disposable), a coupler, and sometimes a small offset spatula or smoother. A decent starter kit might range from $20 to $50, providing a solid foundation of cake decorating tools.
While some budget kits might include lower-quality items, look for those from reputable baking supply brands or read reviews to ensure the tools are functional. A good starter kit allows you to experiment with basic techniques like piping borders or writing messages before committing to more specialized or expensive tools. It's a smart way to dip your toes into using a comprehensive cake decorating tools guide.
DIY Cake Decorating Tools: Creative Alternatives and Hacks
Necessity is the mother of invention, and the same applies to cake decorating! You can often find creative, budget-friendly alternatives using items you already have in your kitchen. For instance, a sturdy zip-top plastic bag can be used as a makeshift piping bag by snipping off a corner (start with a very small snip and enlarge as needed). While not as precise as a dedicated piping bag and tip, it works for simple tasks like filling cupcakes or piping basic lines.
A flat metal spatula from your kitchen drawer can serve as a basic cake smoother in a pinch. Even a piece of cardboard covered in parchment paper can act as a temporary cake board. While dedicated tools offer better performance and durability, these DIY hacks can get you started or help you complete a project when you're missing a specific item. Getting creative with your existing kitchen implements is part of the fun when exploring this cake decorating tools guide.
Advanced Cake Decorating Tools: Elevating Your Baking Skills
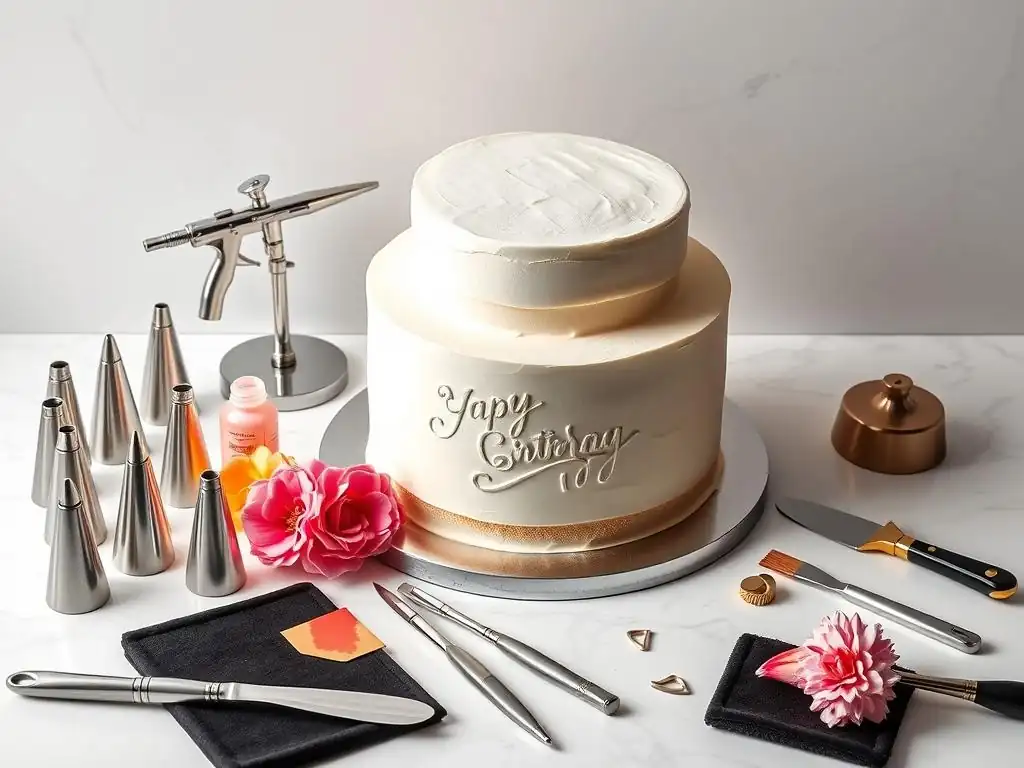
Once you've mastered the basics, you might find yourself wanting to tackle more complex designs or simply make the process more efficient. This is where advanced cake decorating tools come into play. These items can significantly improve the speed, precision, and finish of your work.
While not essential for beginners, incorporating these tools can help you achieve results closer to those of professional bakers and expand your creative possibilities.
Turntables: Achieving Smooth and Even Icing
A cake decorating turntable, also known as a revolving cake stand, is a game-changing tool for icing and decorating cakes. It allows you to easily rotate the cake 360 degrees while you hold your spatula or piping bag steady. This makes applying smooth layers of frosting to the sides of the cake significantly easier and helps achieve sharp edges with a scraper.
Turntables range from basic plastic models ($15-$30) to heavier, more stable metal or composite ones with smooth-spinning ball bearings ($50-$100+). While a simple plastic one is fine for starting, a sturdier, smoother-spinning turntable makes a noticeable difference, especially with taller or heavier cakes. Using a turntable is a technique consistently recommended in any advanced cake decorating tools guide.
Cake Levelers: Cutting Cakes Evenly for Perfect Layers
Cutting cake layers to a uniform thickness is crucial for building stable, professional-looking tiered cakes. While a serrated knife can be used, it's easy to cut at an angle, resulting in uneven layers. A cake leveler is a tool designed specifically for this task, ensuring your layers are perfectly flat and consistent.
Cake levelers come in two main types: wire levelers (an adjustable wire stretched between two feet) and saw-style levelers (a serrated blade on an adjustable frame). Both allow you to set the desired height and slice through the cake horizontally. Wire levelers are generally more affordable ($10-$20), while saw-style levelers can offer more stability and precision ($20-$40+). Using a leveler simplifies the process of creating perfect cake layers for stacking.
Stencils: Creating Repeating Patterns
Cake stencils are thin sheets, typically made of plastic or acetate, with patterns cut out. They are used to apply designs onto the surface or sides of an iced cake using various mediums like royal icing, buttercream, airbrush color, or edible dusts. Stencils allow you to create intricate, repeatable patterns like damask, geometric shapes, or lace effects with relative ease.
To use a stencil, you typically hold or secure it against the cake's surface and then spread a thin layer of icing over it, scraping away the excess. Once the stencil is carefully removed, the pattern is left behind. Stencils are available in countless designs and sizes, offering a versatile way to add detailed decoration without advanced freehand piping skills. They are a great addition to your collection of cake decorating tools for adding consistent, elaborate designs.
Maintaining Your Cake Decorating Tools: Tips for Longevity
Taking good care of your cake decorating tools will ensure they last longer and perform well every time you use them. Proper cleaning and storage are essential to keep your tools in top condition and ready for your next baking adventure.
Neglecting your tools can lead to rust, damage, or difficulty in achieving clean results. A little bit of maintenance goes a long way in preserving your investment in your cake decorating supplies.
Cleaning and Storage Best Practices
Cleaning your cake decorating tools immediately after use is the best practice. Icing, especially buttercream, can harden and become difficult to remove if left to sit. Most metal tools like piping tips, spatulas, and pans are best washed by hand with warm, soapy water. Pay extra attention to cleaning inside piping tips using a small brush (a tip brush is a useful small tool for this). Ensure all tools are thoroughly dried to prevent rust, especially stainless steel items.
Store your tools in a clean, dry place. Piping tips can be stored in dedicated tip organizers or small containers. Spatulas can be kept in drawers or utensil crocks. Pans should be stacked carefully, perhaps with paper towel or cloth protectors in between to prevent scratching. Proper storage keeps your tools organized, protected, and easy to find when you need them for your next cake decorating project.
Recognizing When to Replace Your Tools
Even with the best care, some cake decorating tools will eventually need to be replaced. Pans that are heavily scratched, warped, or have significant non-stick coating damage may no longer bake evenly. Piping bags that have tears or have lost their flexibility might burst under pressure. Spatulas with loose handles or bent blades won't perform effectively.
Metal tools showing signs of rust should generally be replaced, as rust can be difficult to remove completely and isn't food-safe. Regularly inspect your tools for wear and tear. Replacing worn-out items ensures you're always working with tools that can help you achieve the best possible results, maintaining the quality of your cake decorating efforts.
Choosing the Right Cake Decorating Tools for Your Needs: A Summary
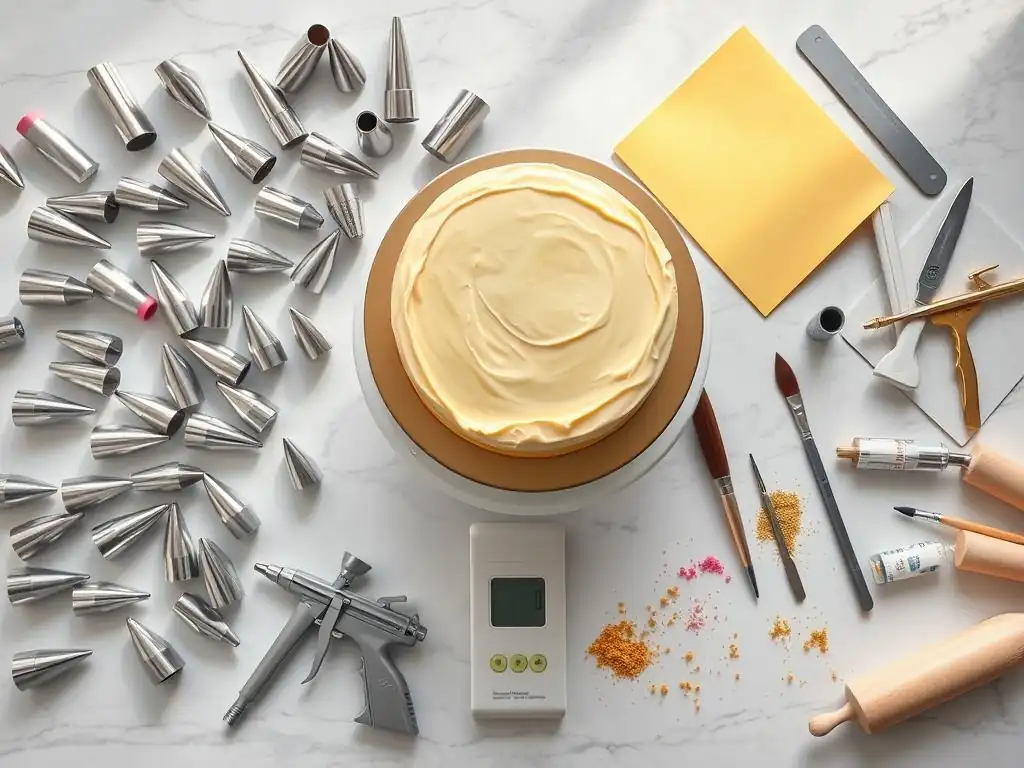
Selecting the right cake decorating tools is a personal journey based on your goals, skill level, and budget. This guide has covered a wide range of options, from beginner essentials to more advanced items. Remember that building your collection is a gradual process.
Don's feel overwhelmed; focus on acquiring tools that align with the types of cakes and decorations you want to create.
Consider Your Skill Level and Baking Frequency
If you're just starting out, focus on the key cake decorating supplies listed in the beginner's checklist. A few good quality basic tools are more valuable than a large collection of cheap, ineffective ones. As you gain experience and bake more frequently, you can gradually add more specialized tools like different piping tip sets, fondant tools, or a quality turntable.
Think about the types of projects you anticipate doing most often. If you love making tiered cakes, investing in good pans and a cake leveler is wise. If you're passionate about intricate piping, expanding your piping tip collection is key. Let your baking interests guide your tool purchases.
Prioritize Quality Over Quantity
It's better to have a few high-quality, durable cake decorating tools that perform reliably than a large assortment of flimsy items that frustrate you. While budget is a factor, try to stretch for better quality on essential items like pans, spatulas, and core piping tips if possible.
Quality tools often last longer and make the decorating process smoother and more enjoyable, ultimately helping you achieve better results. As you build your collection using this cake decorating tools guide, aim for tools that will stand the test of time and use.
Where to Buy Cake Decorating Tools: Online and Local Options
Once you've decided which cake decorating tools you need, the next step is finding where to purchase them. You have several options, each with its own advantages.
Exploring both online retailers and local stores can help you find the best selection and prices for your cake decorating supplies.
Recommended Online Retailers
Online retailers offer a vast selection of cake decorating tools, often at competitive prices. Large marketplaces sell items from numerous brands, while specialized baking supply websites focus specifically on tools and ingredients for decorators. Shopping online provides convenience and access to a wide range of products, including specialty items that might be harder to find locally.
Look for online stores with good customer reviews and clear return policies. Compare prices and shipping costs, especially if buying multiple items. Many online retailers also provide detailed product descriptions and customer reviews, which can be helpful when choosing between different brands or types of tools.
Supporting Local Baking Supply Stores
Shopping at local baking supply stores offers a different experience. You can see and touch the cake decorating tools before buying them, assess their quality firsthand, and get personalized advice from knowledgeable staff. Local stores often carry a curated selection of tools and supplies, and they can be a great resource for finding specific or professional-grade items.
Supporting local businesses also contributes to your community. While prices might sometimes be slightly higher than online, the ability to get immediate assistance, feel the product quality, and support a local shop can be well worth it. Visiting a local store can be an inspiring part of your cake decorating journey.
Cake Decorating Tools Guide: Conclusion and Next Steps.
Embarking on the journey of cake decorating is exciting, and having the right tools is a fundamental step towards success. This cake decorating tools guide has walked you through essential items, from the pans that shape your cake to the tools that add the final decorative flourishes. Remember that building your collection is a process; start with the basics and gradually add more specialized items as your skills and interests grow.
With the right cake decorating tools and practice, you'll be well on your way to creating stunning and delicious cakes that impress your friends, family, and maybe even yourself! Keep exploring, keep practicing, and most importantly, keep baking with ease.
Frequently Asked Questions
What are the absolute essential cake decorating tools a beginner should invest in?
A beginner should start with a basic set including a turntable, offset spatula, piping bags, and a few standard tips. These core tools will allow for smooth frosting and simple decorations.
How do I choose the right piping tips for different cake decorating techniques?
Consider the design you want to create. For fine lines and lettering, use small round tips. For rosettes and stars, opt for star tips. Experiment to find what works best!
What's the difference between a regular spatula and an offset spatula, and why is an offset spatula recommended?
A regular spatula is straight, while an offset spatula has an angled blade. The offset design keeps your hands away from the cake, preventing smudging and allows for easier frosting spreading.
What materials are best for cake decorating turntables, and which offers the best value?
Turntables come in plastic, aluminum, and stainless steel. Plastic is most affordable, aluminum is durable, and stainless steel is high-quality and easy to clean, but pricier.
How important is a cake leveler, and are there alternative methods for achieving even cake layers?
A cake leveler ensures uniform cake layers for a professional look, but alternative methods like using a serrated knife and measuring the height can also work, requiring more precision and skill.
Final Reflection: Mastering the Sweet Art of Cake Decorating
The pursuit of the perfect cake is more than just a recipe; it's a journey of creativity and precision. This guide has explored the essential tools that form the bedrock of successful cake decorating, highlighting the importance of choosing the right equipment for your skill level and desired outcome. From the humble piping bag to the sophisticated airbrush, each tool plays a vital role in transforming a simple cake into a breathtaking masterpiece.
The world of cake decorating continues to evolve, driven by social media trends and the ever-growing demand for personalized, visually stunning desserts. This constant evolution underscores the importance of understanding the fundamentals – the tools – that allow for both innovation and consistent quality. The details are not the details. They make the design.
– Charles Eames. This quote perfectly encapsulates the significance of selecting and mastering the right tools; they are not mere accessories, but the very instruments that bring your creative vision to life.
Now, it's your turn. Consider the tools you already own and identify any gaps in your collection based on the insights shared in this guide. Don't be afraid to experiment, to try new techniques, and to find the tools that best suit your personal style and aspirations. The journey of mastering cake decorating is a continuous one, filled with both challenges and immense satisfaction. Embrace the process, celebrate your successes, and most importantly, have fun creating edible works of art!
Unleash Your Inner Cake Artist: Take the Next Step!
Thanks for joining us on this delicious journey into the world of cake decorating! We hope you've discovered some essential tools to elevate your baking game. Now it's time to put your newfound knowledge into action.
- Invest in your dream tool: Identify one tool from the article that excites you most and order it today! Imagine the beautiful creations you'll be able to make!
- Share your baking journey: Show us your cake decorating progress! Tag us on social media – we'd love to see what you create.
- Explore advanced techniques: Challenge yourself to learn a new decorating technique – perhaps piping roses or creating intricate fondant designs. What new skill will you master?
Ready to transform your baking? What's the first cake masterpiece you'll create with your new tools?