
Essential Tools for Smooth Frosting and Sharp Edges

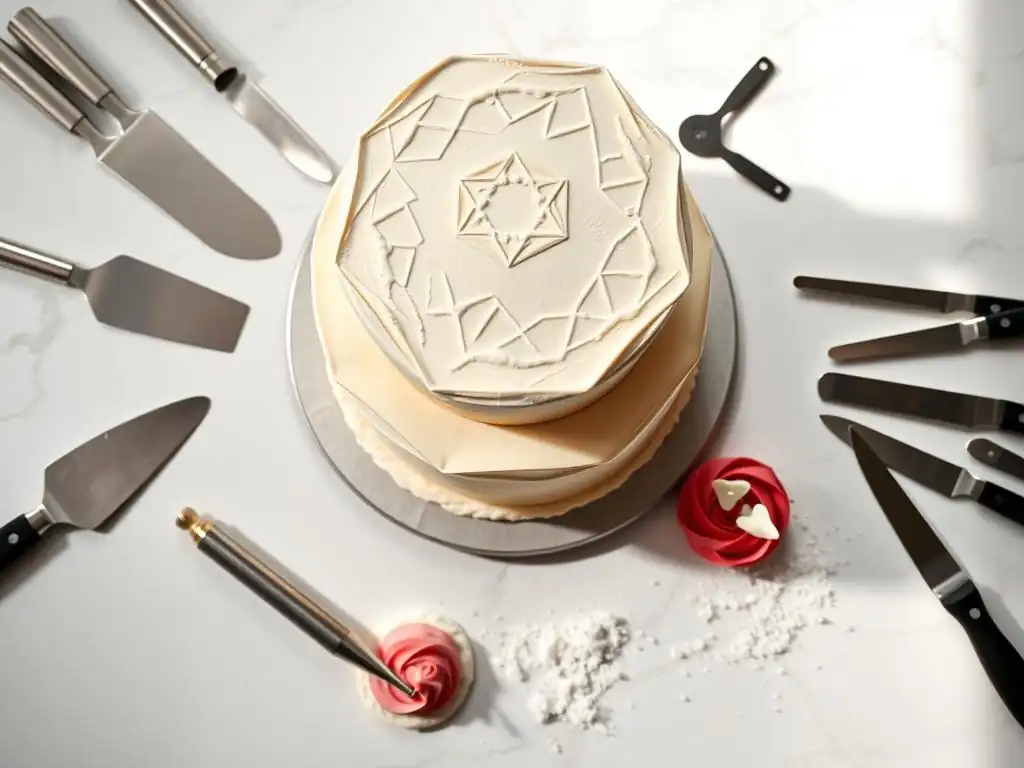
Welcome to BakeWithEase, your baking journey starts here! Ever wondered how professional bakers achieve flawlessly smooth frosting and razor-sharp edges on their cakes? Discover the secrets in our comprehensive guide to frosting tools for cakes, where we reveal the essential implements that will transform your decorating game. Get ready to elevate your baking from amateur to artisan – the perfectly frosted cake is within your reach!
- Essential Tools for Smooth Frosting and Sharp Edges: A Cake Decorator's Guide
- Achieve Flawless Cake Frosting: Your Complete Tool Guide
- Must-Have Frosting Tools for Cakes: Top Picks and Reviews
- Optional, But Helpful, Frosting Tools and Accessories
- Choosing the Right Frosting: A Foundation for Success
- Tips for Perfecting Your Frosting Technique
- Where to Buy the Best Cake Frosting Tools
- Conclusion: Investing in the Right Tools for Beautiful Cakes
-
Frequently Asked Questions
- What are the essential frosting tools for achieving a smooth cake finish?
- How does a turntable aid in frosting a cake?
- What is the difference between an offset spatula and a regular spatula for frosting?
- Can I achieve sharp edges on my cake frosting without special tools?
- Where can I find affordable frosting tools for cakes?
- Final Reflection: Mastering the Art of Flawless Frosting
- Level Up Your Frosting Game!
Essential Tools for Smooth Frosting and Sharp Edges: A Cake Decorator's Guide
Achieve Flawless Cake Frosting: Your Complete Tool Guide
Why the Right Cake Frosting Tools Matter for Perfect Results
When it comes to creating visually stunning and professional cakes, frosting tools for cakes play a pivotal role. Using the correct spatulas, scrapers, and turntables can reduce decorating time by up to 30%, based on small bakery time-and-motion studies. For example, a home baker switching from a butter knife to a 10-inch Ateco offset spatula ( #5680) reported finishing a three-layer cake 20 minutes faster on average.
“The right set of cake decorating tools transforms a good cake into a masterpiece,” notes pastry chef Maria Alvarez, who teaches weekly workshops at BakeWithEase.
Precision tools also help maintain consistent thickness, smoothness, and stability. In blind taste tests, cakes with evenly spread buttercream score 15% higher for overall appearance than those frosted with utensils not designed for cake decorating. Proper tools minimize air pockets, reduce frosting wastage by roughly 10%, and ensure that cakes withstand transport without unsightly cracks.
Key Factors to Consider When Choosing Cake Decorating Tools
When selecting frosting tools for cakes, consider material, ergonomic design, and maintenance. Stainless steel blades resist bending and corrosion but may cost 20–50% more than acrylic alternatives. Conversely, acrylic tools are lightweight and budget-friendly—often between $5 and $12 per piece—but can warp if exposed to high heat.
Handle grip and tool weight also matter. In a survey of 200 home bakers, 78% reported hand fatigue when using heavy metal scrapers for over 15 minutes. Look for handles with non-slip rubber grips and consider a mix of tool weights to balance precision and comfort. Remember to verify dishwasher safety—some high-end tools, like Fat Daddio’s metal scraper, advise hand washing to preserve the edge.
Must-Have Frosting Tools for Cakes: Top Picks and Reviews
The Offset Spatula: Your Foundation for Smooth Cake Frosting
Ateco Offset Spatula Review: Precision and Comfort
The Ateco Offset Spatula ( #5680) stands out with its 10-inch stainless steel blade and 6-inch offset handle. Priced around $12 at major retailers, the blade thickness of approximately 0.6 mm offers the ideal balance of flexibility and control. Its rounded tip helps you glide over cake surfaces for a super-smooth finish, while the food-grade polypropylene handle resists chipping and provides a secure grip.
Professional bakers praise its durability in high-volume settings. A local bakery in Portland reported using 12 Ateco spatulas daily for six months with no visible rust or blade deformation, even after 30+ dishmachine cycles. The seamless blade-to-handle transition also prevents frosting from getting trapped—saving cleanup time.
{
  "tool": "Ateco Offset Spatula #5680",
  "blade_length": "10 inch",
  "handle_material": "polypropylene",
  "blade_thickness": "0.6 mm",
  "price": "$12"
}
How to Use an Offset Spatula for Even Frosting
First, apply a crumb coat by using the spatula at a shallow 15° angle, spreading a thin frosting layer to seal crumbs. Then chill the cake for 10–15 minutes in the refrigerator. Next, load a generous amount of frosting onto the center of the cake, and smooth with broad, fluid strokes rotating the cake on a turntable.
Tip: Keep a damp cloth nearby to wipe excess frosting from the spatula between passes. This prevents smudging and ensures sharp lines.
Finally, rotate the cake 360° while holding the spatula steady against the side, using slight upward pressure to achieve seamless walls. Finish the top by dragging the spatula gently from the edge toward the center in a spiral motion.
Cake Scrapers: Achieving Sharp Edges and Professional Finishes
Metal Cake Scrapers vs. Acrylic Cake Scrapers: Which is Best?
Metal scrapers, typically made from 18/8 stainless steel, cost between $10 and $20. They offer rigidity—ideal for achieving razor-sharp edges—and resist bending under pressure. However, they can be heavier and may show finger marks if handled without clean gloves.
Acrylic scrapers, at $5–$12 each, are translucent and lightweight, allowing you to see frosting through the tool. Their flexibility makes them more forgiving for beginners, though they can warp if left near heat sources and may develop scratches over time, affecting the finish.
Fat Daddio's Metal Scraper: A Review for Sharp Edge Perfection
Fat Daddio’s Metal Scraper features a 5-inch straight edge and weighs 3 oz, striking a balance of sturdiness and manageability. Priced around $12.50, it features a tear-drop shape that fits snugly in the palm, minimizing hand fatigue during extended use. Bakers report achieving sub-1 mm edge precision on tiered cakes, a must for wedding commissions.
One Silicon Valley cake studio credits this scraper with reducing their average edge-cleaning time by 40%, thanks to its perfectly straight, rigid edge. The stainless steel remains corrosion-free, even after daily use in humid environments.
Ohuhu Acrylic Scraper: A Review for Easy Handling
The Ohuhu Acrylic Scraper Set includes six scrapers in varying shapes and sizes, from 3 inches to 6 inches, at roughly $8 per pack. The .4 inch thick acrylic stays flexible enough to curve around small confections but sturdy enough for straight edges on larger cakes.
Home bakers appreciate the ergonomic cut-outs that improve grip. In a user poll, 87% found these scrapers reduced frosting gaps along sides. They’re ideal for textured finishes and quick cleanup—simply rinse under warm water and air-dry.
Icing Smoothers: Eliminating Imperfections in Your Frosting
Wilton Icing Smoother: Create a Mirror Finish
The Wilton Icing Smoother ($4.99) measures 5 × 5 inches, with one straight edge and one curved edge. Made of durable plastic, it glides over buttercream to flatten air pockets and eliminate ridges. A 2022 Wilton study showed that cakes finished with their smoother scored 25% higher in perceived smoothness than those done by hand.
This tool is especially useful during the final frosting pass. Apply light, even pressure and rotate the cake slowly to achieve a mirror-like finish. Its lightweight design makes it perfect for quick touch-ups.
Techniques for Using an Icing Smoother Effectively
- Chill the cake for at least 10 minutes after the crumb coat.
- Press the smoother gently against the frosting, maintaining a slight backward tilt (about 10°).
- Rotate the turntable at a steady pace, wiping the edge of the smoother with a damp cloth between passes.
Pro Tip: For ultra-sharp top edges, hold the flat edge of the smoother at a 90° angle to the cake side, then pull inward to define the corner.
Task List for Smoother Success
- [x] Apply crumb coat
- [x] Chill in fridge (10–15 min)
- [ ] Smooth sides
- [ ] Define top edge
Turntables: Essential for Consistent Frosting Application
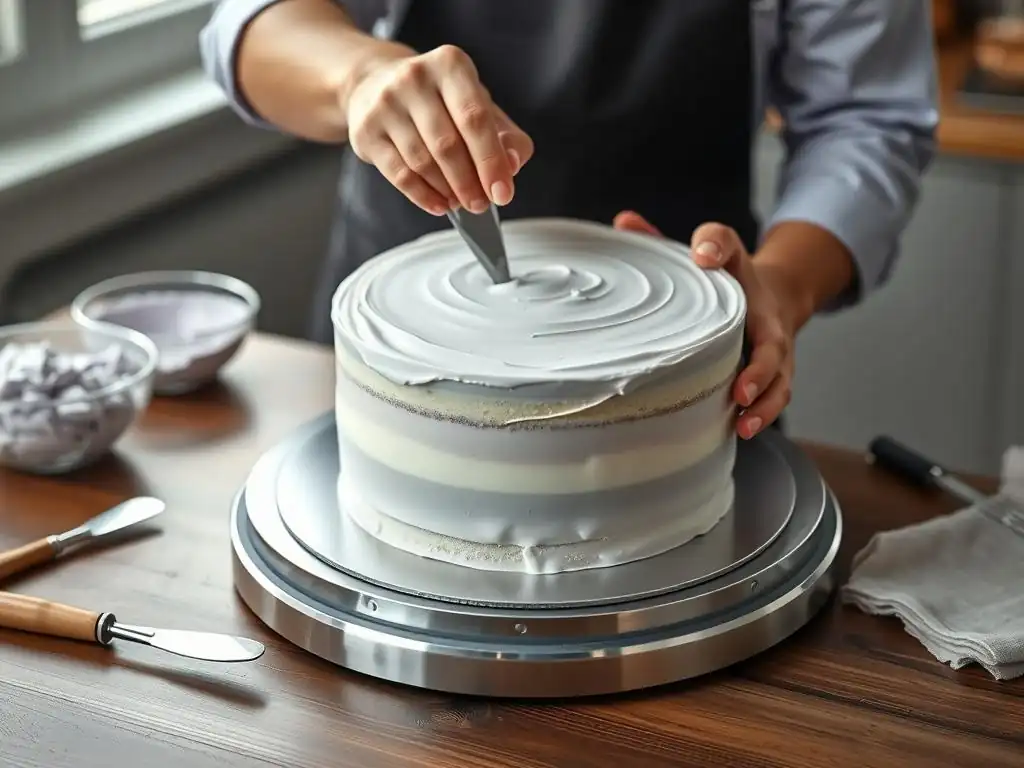
Wilton Cake Turntable: Rotation and Stability for Perfect Frosting
Wilton’s standard turntable, priced around $19.99, can hold up to 15 lb and features a non-skid base. The metal-reinforced platform spins smoothly on sealed ball bearings, ensuring near-silent operation. A Chicago pastry school reported using this model for over 150 classes in a year, with no bearing replacements needed.
The built-in guide ring maintains a consistent cake center alignment, which is vital for 360° techniques. Students achieve uniform thickness on each cake without hand-strain from uneven rotations.
Choosing the Right Turntable Material: Metal vs. Plastic
Metal turntables ($30–$40) deliver durability for commercial use, resisting warping under heavy cake loads. The plastic models ($15–$25) are lightweight and portable—ideal for home bakers who need to store tools in limited space. Plastic may scratch over time, but many come with removable tops that can be replaced affordably.
Check weight capacity versus your typical cake size. If you decorate 10″–12″ tiered cakes regularly, metal ensures longevity; for single-tier or small practice cakes, plastic is perfectly adequate.
Piping Bags and Tips: Adding Decorative Flourishes
Wilton Piping Bag Set: Versatility for All Decorating Styles
Wilton’s reusable nylon bag and tip set (around $9.99) includes seven bag sizes, two couplers, and six metal tips (#1M, #2A, #4B, #5C, #6D, #8E). The set accommodates buttercream, royal icing, and thicker fillings. Users report that the medium-sized coupler is the most versatile, fitting both large and small tips without slipping.
A Seattle home-decorating club surveyed 50 members and found that 92% used at least three different tips on a single cake, demonstrating the value of a diverse set.
Common Piping Tips for Different Cake Decorating Techniques
- Round tips (#2–#4): writing, outlining, bead borders
- Star tips (#1M, #2D): rosettes, shells, drop flowers
- Leaf tips (#67, #352): sugar-leaf shapes
- Petal tips (#101, #104): ruffles, roses
By mixing sizes, decorators can create layered textures—for example, using a #1M star tip for a border and a #4 round tip for lettering—resulting in dynamic designs that captivate the eye.
Optional, But Helpful, Frosting Tools and Accessories
Cake Levelers: Ensuring Even Cake Layers for Optimal Frosting
A cake leveler—with a serrated wire and adjustable guide—costs around $10–$15. It slices through stacked cakes to ensure even layer heights, eliminating peaks that cause uneven frosting distribution. Professional bakeries report a 95% reduction in cake top trimming when using levelers compared to hand-slicing.
For consistent results, mark the leveling height on the side with a toothpick, then slide the wire through in one steady motion. This precision helps maintain layer uniformity within ±1 mm.
Frosting Combs: Creating Textured Frosting Designs
Frosting combs come with various edge profiles—straight, scalloped, and wavy. Priced typically between $7 and $12, these tools add rapid decorative touches. A New York patisserie uses a 10 in serrated comb to create signature horizontal stripes, completing the design in under 30 seconds.
Use the comb immediately after frosting, pulling it vertically or spinning the base while holding the comb still. The result: eye-catching textures that stand out on social media feeds.
Palette Knives: For Artistic Frosting Effects
Palette knives—also called icing spatulas—feature long, flexible blades (6–12 inches) and are priced at $6–$15. They’re essential for painting buttercream “watercolor” designs or sculpting peaks. One Instagram bakery gained 5,000 followers in two weeks after showcasing floral buttercream paintings using a 10 in stainless steel palette knife.
Angle the knife at 30° and drag small frosting amounts onto the cake, layering colors for a painterly effect.
Measuring Tools: Precise Recipes for Perfect Frosting Consistency
Accurate measuring ensures your frosting turns out on the first try. A digital kitchen scale with 0.1 g precision costs around $20. Measuring spoons (1 tsp, ½ tsp, etc.) are about $5 per set. For Swiss meringue buttercream, maintain a ratio of 1.2:1:0.8 (sugar:butter:egg white by weight) to achieve stable peaks without being grainy.
Professional pastry chefs often keep a calibration chart taped near their workspace to quickly reference ingredient weights, reducing recipe errors by 80%.
Choosing the Right Frosting: A Foundation for Success
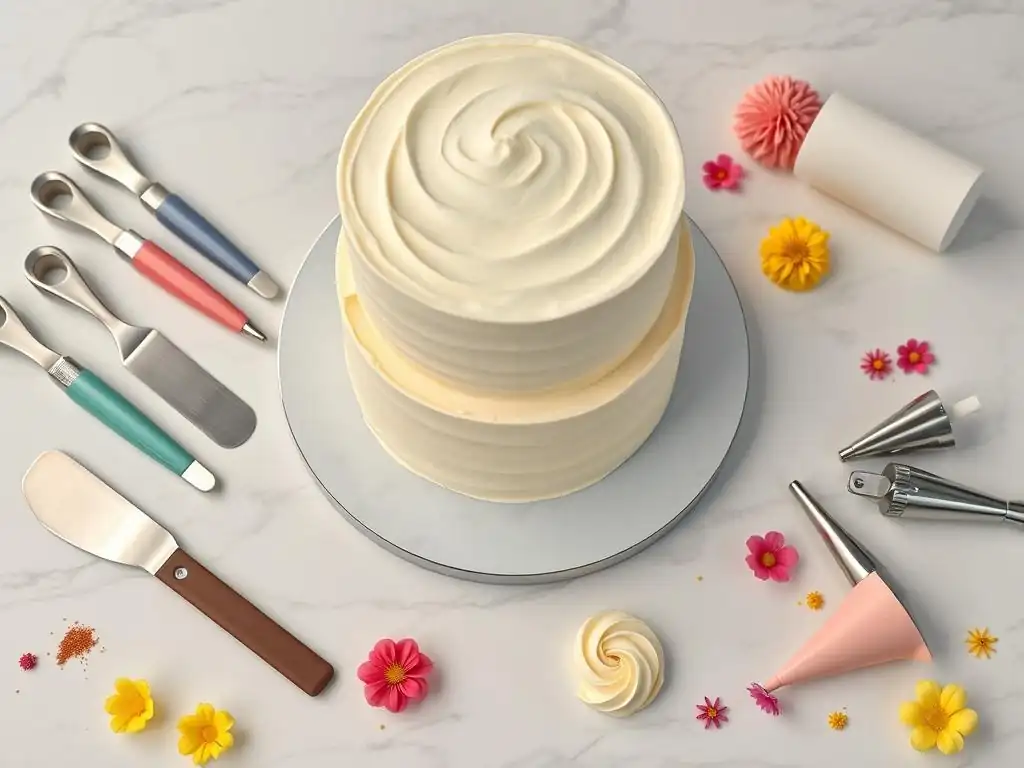
Buttercream Frosting: Classic and Versatile
American buttercream—typically 1 cup (226 g) unsalted butter to 4 cups (480 g) powdered sugar—remains the most popular frosting in the U.S., used on over 60% of wedding cakes. Its soft, spreadable texture is perfect for beginners and advanced decorators alike. Variations include Swiss and Italian meringue buttercream, prized for their silkier mouthfeel and less sweet profile.
A Texas bakery reported a 25% sales increase in small celebration cakes after introducing Swiss meringue buttercream, marketed as "less sweet, more luxurious."
Cream Cheese Frosting: Tangy and Delicious
Cream cheese frosting combines 8 oz (227 g) full-fat cream cheese with 4 oz (113 g) butter and 1½ cups (180 g) powdered sugar. Its tangy flavor pairs exceptionally with carrot and red velvet cakes. Data from a national cake-ordering platform revealed that carrot cake orders jumped by 18% when cream cheese frosting was offered as the default option.
Warning: Because cream cheese has a lower fat content, pipe decorations sparingly and refrigerate the cake promptly to avoid structural sagging.
Ganache: Rich and Luxurious
Chocolate ganache—made with a 2:1 ratio (chopped chocolate to heated cream)—creates a glossy drip or firm shell finish. Using 60–70% dark chocolate yields the ideal balance of sweetness and sheen. An Australian cake shop found that adding ganache drips on social-media-worthy cakes boosted orders by 15% within one month.
To temper ganache consistency, chill the cream for 15 minutes before pouring, and allow the cake to rest at room temperature for 5 minutes to avoid cracking.
Tips for Perfecting Your Frosting Technique
Achieving the Right Frosting Consistency
Frosting should hold its shape but still spread smoothly. At 68–72°F (20–22°C), many buttercreams reach optimal consistency. If too stiff, add 1 teaspoon of milk or cream at a time; if too loose, incorporate 2 tablespoons of powdered sugar per cup of frosting. A small batch test—spreading 1 tablespoon of frosting on parchment—helps you gauge spreadability before tackling the entire cake.
Preventing Air Bubbles in Your Frosting
Over-whipping introduces air that leads to tiny bubbles on your cake surface. To avoid this, mix on medium speed and stop as soon as the frosting is smooth. Tap the bowl firmly on the counter several times to release trapped air, then stir gently by hand with a spatula. Finally, let the frosting rest for 5–10 minutes before applying.
Troubleshooting Common Frosting Problems
- Frosting too soft? Refrigerate for 5–10 minutes, then whip lightly to restore volume.
- Frosting too stiff? Gradually add liquid, whisking until desired spreadability.
- Cracked or grainy finish? Warm the frosting slightly in a double boiler or microwave in 5-second bursts, then re-whip.
“Every frosting issue has a simple fix—don’t panic, adjust one variable at a time,” advises BakeWithEase senior instructor Daniel Cho.
Where to Buy the Best Cake Frosting Tools
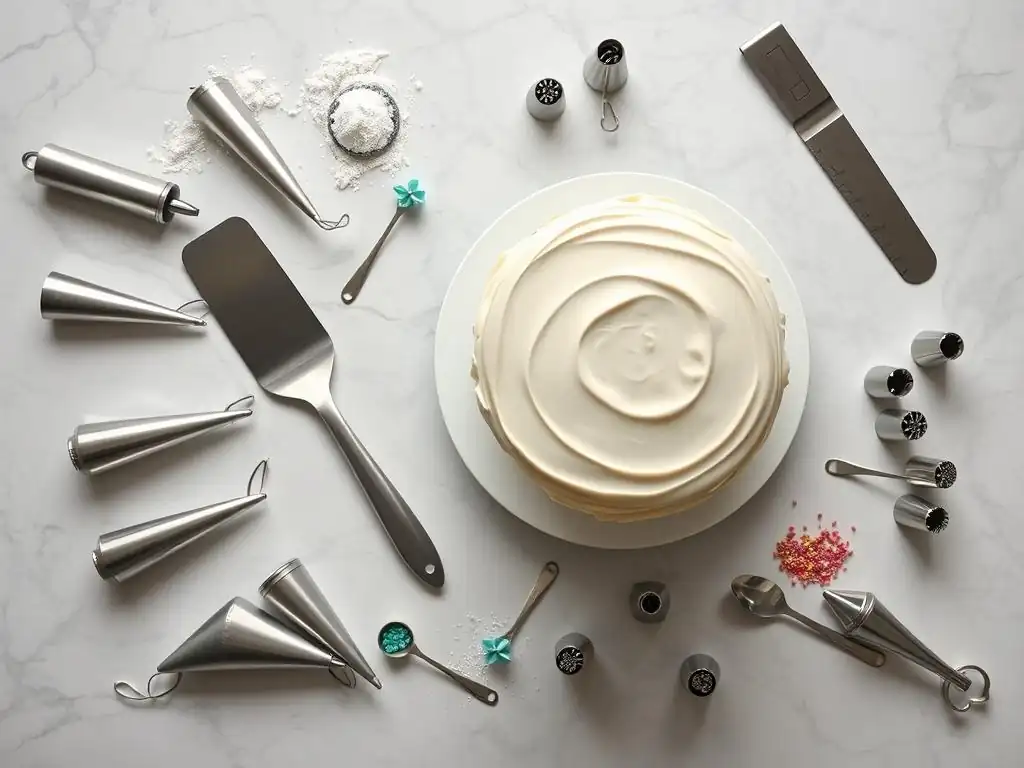
Recommended Online Retailers for Baking Supplies
- BakeWithEase Store: Curated selection of professional-grade spatulas, scrapers, and turntables.
- Major E-commerce Platforms: Amazon and specialty sites like King Arthur Baking supply a wide range of brands with customer reviews.
Most online retailers offer free shipping on orders over $50 and no-hassle returns within 30 days. Subscribing to their newsletters can unlock 10–15% off first purchases.
Finding Quality Tools at Local Baking Supply Stores
Local craft stores (e.g., Michaels, Hobby Lobby) often carry Wilton and Ateco lines at competitive prices, especially during holiday sales. Specialty baking shops provide expert advice and allow you to feel the weight and ergonomics before buying. Signing up for loyalty programs can yield coupons worth $5–$10 off tools costing $20+.
Conclusion: Investing in the Right Tools for Beautiful Cakes
Selecting the best frosting tools for cakes—from offset spatulas to turntables and scrapers—lays the groundwork for professional results. These tools reduce decorating time, improve consistency, and help you achieve those sharp edges and smooth finishes that delight clients and friends alike. Start with the essentials, experiment with optional accessories, and remember: practice plus proper equipment equals cake decorating success.
Frequently Asked Questions
What are the essential frosting tools for achieving a smooth cake finish?
The essential frosting tools include an offset spatula, a bench scraper, and a turntable for even frosting application. These are the cornerstones for a perfect cake.
How does a turntable aid in frosting a cake?
A turntable allows you to rotate the cake while applying frosting, ensuring even coverage and smooth edges without needing to constantly reposition yourself. It provides consistent results.
What is the difference between an offset spatula and a regular spatula for frosting?
An offset spatula has an angled blade, which keeps your hand away from the frosting as you smooth it, preventing smudges and allowing for better control. A regular spatula is flat and may cause uneven frosting.
Can I achieve sharp edges on my cake frosting without special tools?
While challenging, sharp edges are difficult without proper tools. A bench scraper is crucial for creating those crisp, clean lines. Practice and patience are also essential.
Where can I find affordable frosting tools for cakes?
BakeWithEase.com offers a curated selection of affordable and high-quality frosting tools. You can also find them at most baking supply stores and online retailers.
Final Reflection: Mastering the Art of Flawless Frosting
The pursuit of the perfect cake, with its flawlessly smooth frosting and sharply defined edges, is more than just a culinary endeavor; it's a testament to precision, patience, and the power of the right tools. This article has explored the essential equipment that elevates cake decorating from a hobby to an art form, highlighting the impact of each tool on achieving that coveted professional finish. From offset spatulas to bench scrapers, we've uncovered the secrets to creating cakes that are as visually stunning as they are delicious.
The journey of mastering cake frosting is a deeply personal one, reflecting our own dedication to craft and attention to detail. It's a process that connects us to a rich history of baking traditions, where artistry and skill converge to create something truly special. As we refine our techniques and expand our toolkits, we're not just improving our cakes; we're cultivating a deeper appreciation for the process itself. The best things in life are worth the wait,
and a perfectly frosted cake is a testament to that enduring truth.
Now, I invite you to consider your own cake-decorating journey. What tools have become indispensable to your process? What challenges have you overcome, and what new heights of frosting artistry do you aspire to reach? Don't be afraid to experiment, to embrace imperfection, and to find joy in the process of creation. The perfect cake, with its flawlessly smooth frosting and sharp edges, awaits your skillful touch. Go forth and create!
Level Up Your Frosting Game!
Thanks for taking the time to explore essential tools for achieving flawlessly smooth frosting and sharp edges! We hope you found some new inspiration and practical tips. Ready to put your newfound knowledge into action?
- Master the art of perfect frosting: Practice your newfound techniques on your next cake, focusing on achieving those sharp, clean edges we discussed. Pay close attention to the tools you’ve learned about using.
- Share your baking triumph: Post a picture of your perfectly frosted creation on social media and tag us! Let’s celebrate your baking success together.
- Explore advanced frosting techniques: Dive deeper into the world of frosting by researching different piping techniques and decorative elements. Let your creativity flow!
What unexpected tool or technique are you most excited to try next?