
Level Up Your Cakes: Essential Tools for Perfect Layers

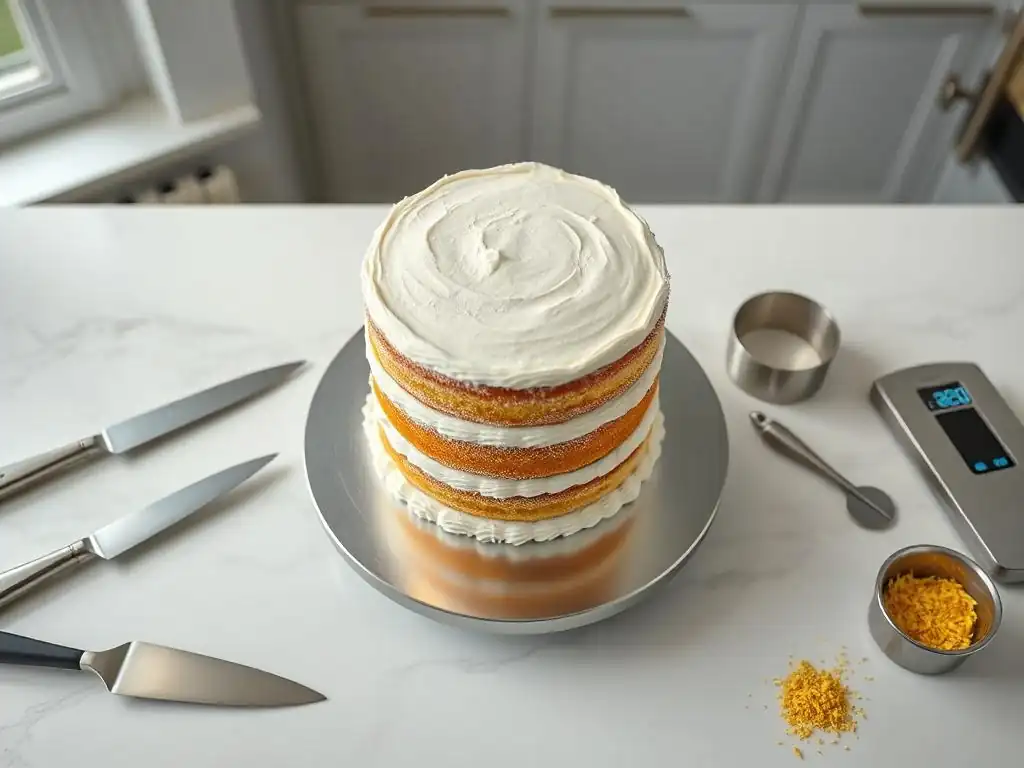
Welcome to BakeWithEase, your guide to achieving baking brilliance! Are you tired of uneven cake layers that undermine your masterpiece? Discover how the right equipment can transform your baking game. This article unveils the essential " perfect cake layering tools" that will help you achieve professional-looking results every time. Intrigued? Let's dive in and unlock the secrets to flawlessly layered cakes!
- Achieve Cake Layering Perfection with the Right Tools
-
Essential Cake Layering Tools for Baking with Ease
- The Ultimate Guide to Achieving Flawless Cake Stacks
- 1. Cake Leveler: Your Foundation for Even Layers
- 2. Serrated Knife: The Versatile Cake Layering Companion
- 3. Cake Boards & Cake Drums: Providing a Stable Base
- 4. Cake Turntable: Rotating for Even Frosting and Layering
- 5. Simple Syrup: Adding Moisture and Flavor to Each Layer
- Tips and Tricks for Perfectly Layered Cakes
- Conclusion: Achieving Cake Layering Mastery with the Right Tools
-
Frequently Asked Questions
- What are the most essential perfect cake layering tools for beginners?
- How does a cake leveler help in achieving perfect cake layers?
- Are there alternatives to using a serrated knife for cutting perfect cake layers?
- What role does a rotating cake stand play in achieving perfect cake layering and frosting?
- What other tools, besides those mentioned, can contribute to perfect cake layering?
- Final Reflection: The Sweet Science of Perfect Cake Layers
- Unleash Your Inner Cake Artist: Take the Next Step!
Achieve Cake Layering Perfection with the Right Tools
Why Perfect Cake Layers Matter
Achieving perfect cake layers isn't just about aesthetics; it's fundamental to the structural integrity and overall enjoyment of your finished creation. Uneven layers can lead to a lopsided cake, making stacking and frosting a frustrating challenge. Imagine attempting to build a stunning four-layer centerpiece for a special occasion only to have it lean precariously because the base layers weren't level – a common scenario without the right perfect cake layering tools. Beyond structure, uniformity ensures that each slice offers a consistent cake-to-frosting ratio, guaranteeing a balanced and delightful taste experience for everyone enjoying your baked masterpiece.
Furthermore, level layers contribute significantly to the professional look of your cakes. Whether you're aiming for sharp edges on a buttercream finish or planning intricate fondant decorations, starting with flat, even surfaces is non-negotiable. It allows for smoother application of frosting, prevents unsightly bulges, and makes techniques like crumb coating and final frosting far more manageable. Investing a little time and effort into mastering the art of leveling with the appropriate perfect cake layering tools elevates your baking from homemade to truly impressive, leaving your guests wondering if it came from a professional bakery.
Essential Cake Layering Tools for Baking with Ease
The Ultimate Guide to Achieving Flawless Cake Stacks
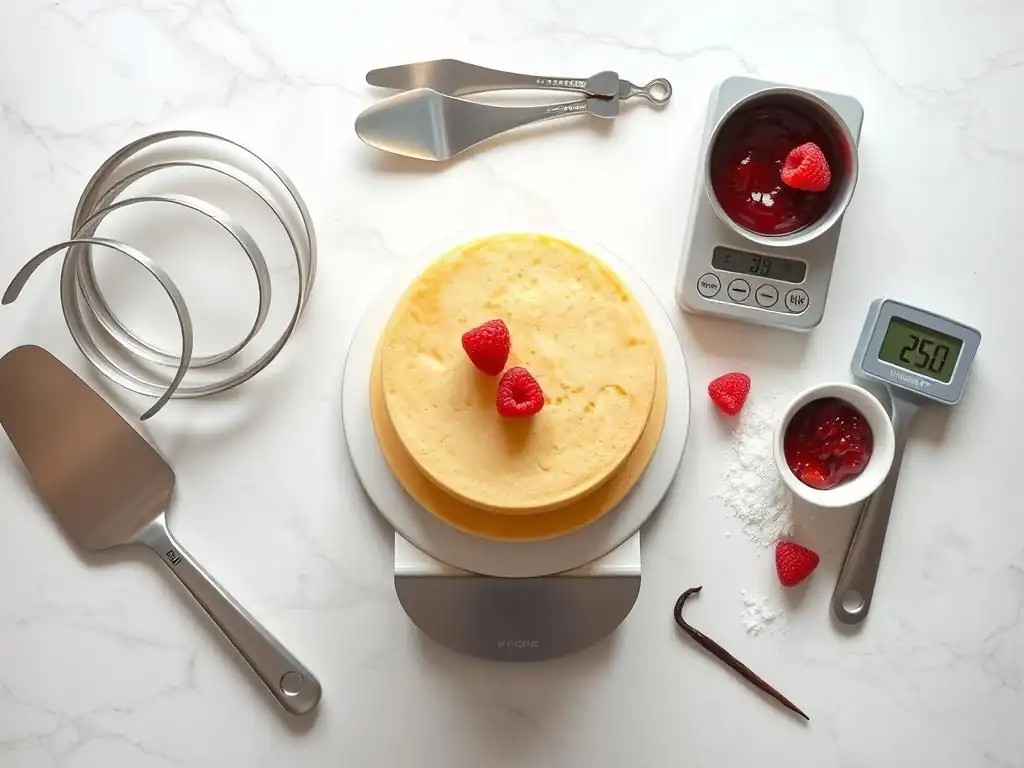
Crafting a beautifully layered cake requires precision, patience, and, most importantly, the right equipment. Think of these perfect cake layering tools as your allies in the quest for baking perfection. From ensuring your cake layers are uniformly thick to providing a stable platform for decorating, each tool plays a crucial role in simplifying the process and enhancing the final result. This guide will walk you through the essential items you need and how to use them effectively to build stable, stunning, and delicious layered cakes every time.
Mastering the use of these perfect cake layering tools is a game-changer for any home baker looking to improve their cake decorating skills. It transforms potentially tricky steps, like dividing a cake horizontally or moving delicate layers, into straightforward tasks. By understanding the purpose of each tool and incorporating it into your baking routine, you'll build confidence and consistency, paving the way for more complex and impressive cake designs. Let's dive into the must-have perfect cake layering tools that will revolutionize your cake stacking abilities.
1. Cake Leveler: Your Foundation for Even Layers
What is a Cake Leveler and Why You Need One
A cake leveler is arguably one of the most critical perfect cake layering tools for achieving uniform thickness in your cake layers. It's typically a wire or blade stretched across a frame, often with adjustable height settings. Its primary function is to slice horizontally through a cooled cake layer, removing the domed top and dividing the remaining cake into two or more even sections. Trying to do this freehand with just a knife can result in wobbly, uneven layers, which are difficult to stack neatly and can cause your cake to lean.
Using a cake leveler ensures that each layer is the exact same height, providing a flat surface for stacking. This consistency is vital for structural stability, especially when building multi-tier cakes. Whether you're working with a delicate sponge or a denser pound cake, a leveler makes the task of creating uniform layers quick, easy, and far more accurate than relying solely on your eye and a knife. It's an indispensable addition to your collection of perfect cake layering tools.
How to Use a Cake Leveler for Perfectly Sliced Cakes
Using a cake leveler is straightforward once you get the hang of it. First, ensure your cake is completely cooled – warm cake crumbles easily. Place the cake on a flat surface. Adjust the leveler's wire or blade to the desired height for your layers. For example, if you baked an approximately 2-inch tall cake and want two layers, set the leveler to about 1 inch. Position the leveler at one edge of the cake, ensuring the feet or base rest firmly on the counter.
Gently saw back and forth with the leveler, applying even pressure, as you move it horizontally through the cake. Keep the base of the leveler flush against the counter or cake board throughout the cut. Don't rush the process; a slow, steady motion yields the cleanest cut. Once you've cut all the way through, carefully lift off the top section (often called the "dome" or "crown") and set it aside (it's great for cake pops or snacking!). You are left with a perfectly level cake layer, ready for stacking or further division.
Cake Leveler Recommendations: Top Picks for Different Budgets
When selecting a cake leveler, you'll find options ranging from simple wire models to more robust blade versions. A basic wire leveler with adjustable height notches, often available for under $15, is an excellent entry point and perfectly capable of handling standard cakes up to 10-12 inches in diameter. These are lightweight and easy to store, making them a great addition to your perfect cake layering tools.
For those baking larger or denser cakes more frequently, a leveler with a serrated blade or a more heavy-duty adjustable frame might be worth the investment, potentially costing between $20 and $40. Some models feature wider bases for increased stability or extra-long blades for cakes up to 16 inches. While a simple wire leveler works wonders for most home baking needs, considering cake size and frequency of use can help you choose the most suitable tool for your specific perfect cake layering goals.
2. Serrated Knife: The Versatile Cake Layering Companion
Why a Serrated Knife is a Must-Have for Cake Bakers
Even with a cake leveler, a good quality serrated knife remains an essential item in your collection of perfect cake layering tools. While levelers are ideal for basic slicing, a long serrated knife offers versatility for trimming edges, leveling smaller cakes where a leveler might be cumbersome, or even cutting exceptionally delicate cakes that might tear with a wire. The saw-like edge of a serrated knife cuts through the cake crumb cleanly with minimal tearing or compression, provided it is sharp and used correctly.
A knife with a blade length of at least 10-12 inches is recommended for most standard cake sizes. This length allows you to make a single, smooth cut across the cake without having to stop and reposition, which can lead to unevenness. It's particularly useful for removing the slight crust that forms on the outside of a cake or for making a final trim after leveling to ensure perfectly straight sides. Don't underestimate the power of a sharp, long serrated knife among your perfect cake layering tools.
Achieving Clean Cuts: Serrated Knife Techniques
Using a serrated knife for leveling or trimming requires a slightly different technique than a leveler. Place your cooled cake on a flat surface or turntable. For leveling, visually mark the desired cutting line around the cake's circumference. Insert the knife into the cake at this mark, keeping the blade parallel to the counter. Use a gentle sawing motion, moving the knife back and forth, while slowly rotating the cake with your other hand (if using a turntable) or by hand.
The key is to let the serrations do the work rather than pressing down, which can compress the cake. Keep your eye level with the cake and the knife to ensure the cut remains horizontal. For trimming sides, hold the knife vertically and saw downwards, rotating the cake as you go. Practice on a less important cake layer first if you're new to this technique. With a steady hand and the right motion, a serrated knife becomes a powerful addition to your perfect cake layering tools arsenal.
Serrated Knife Recommendations: Ensuring Smooth Cake Cutting
A quality bread knife or a specific cake knife with a long serrated blade (10-14 inches) is perfect for this task. Look for a knife with a comfortable handle and a blade made from durable stainless steel that holds an edge well. You don't necessarily need the most expensive knife on the market, but avoid flimsy options that might bend or wobble during cutting.
Prices for suitable serrated knives can range from $20 for a reliable basic model to $60 or more for professional-grade options. A good rule of thumb is to choose one that feels balanced in your hand and is long enough for the typical cake sizes you bake. Proper care, like hand washing and drying, will help maintain its sharpness, ensuring it remains an effective component of your perfect cake layering tools for years to come.
3. Cake Boards & Cake Drums: Providing a Stable Base
The Importance of a Sturdy Cake Board
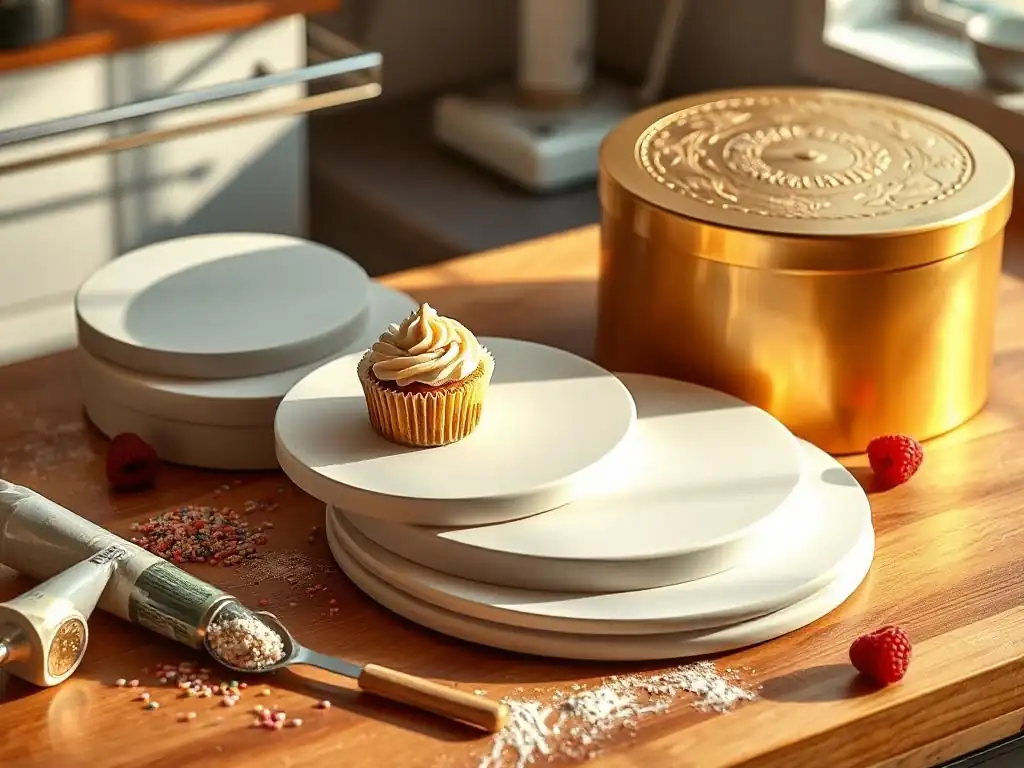
Cake boards and drums are foundational perfect cake layering tools, providing essential support for your cake during assembly, decorating, and transport. A cake board is typically a thin, greaseproof cardboard circle or square that sits directly under the first cake layer. It prevents the cake from sticking to your work surface or turntable and makes it easy to lift and move individual layers. Without a board, attempting to transfer a delicate cake layer can easily result in breakage or damage.
Cake drums are thicker, more robust versions of cake boards, often made from compressed cardboard or fiberboard, typically about 1/2 inch thick. These are crucial for supporting heavier, multi-tiered cakes. Placing your entire finished cake on a drum provides a solid base for lifting, moving, and presenting the cake, distributing the weight evenly and preventing the bottom layer from collapsing. Using the correct board or drum is a non-negotiable step when employing your perfect cake layering tools for a stable structure.
Choosing the Right Size and Thickness
Selecting the appropriate size board or drum is important. For single-tier cakes or the individual layers you're working on, a board that is the same size as the cake or just slightly larger (e.g., a 8-inch board for an 8-inch cake) is ideal. This keeps the board hidden under the finished cake once frosted.
For the final base of a multi-tier cake, a drum is highly recommended. The drum should be at least 2-4 inches wider in diameter than the bottom cake tier. For instance, a 10-inch bottom tier might sit on a 12-inch or 14-inch drum. This provides a visible border around the base, making the cake easier to handle and giving it a more professional look. The 1/2-inch thickness of a drum offers significantly more rigidity than a thin board, crucial for supporting multiple pounds of cake and frosting.
Cake Board Recommendations: Sturdy and Stylish Options
Cake boards are widely available in various sizes and shapes (round, square, rectangular) and typically come in packs, making them quite economical – a pack of a dozen 8-inch boards might cost around $10-$15. They often have a greaseproof coating, sometimes white, silver, or gold. For individual layers during stacking, simple white or plain cardboard boards work perfectly.
Cake drums are usually sold individually and are a bit more expensive, ranging from $3-$8 per drum depending on size and finish. They are usually covered in a decorative, greaseproof foil (often silver or gold) that can be wiped clean. Investing in a few common sizes of drums (like 10-inch, 12-inch, 14-inch) if you plan on making multi-tier cakes is a wise move. These sturdy bases are fundamental perfect cake layering tools for any serious cake decorator.
4. Cake Turntable: Rotating for Even Frosting and Layering
Why a Cake Turntable is Essential for Cake Decorating
A cake turntable, also known as a revolving cake stand, is an indispensable perfect cake layering tool, especially when it comes to frosting and decorating. While not strictly necessary for the act of layering the cake itself (though it helps), it becomes crucial the moment you start applying frosting between layers and to the outside. A turntable allows you to smoothly rotate the cake as you work, enabling you to apply frosting evenly, achieve smooth finishes, and pipe decorations seamlessly without having to awkwardly move around the cake yourself.
Using a turntable dramatically improves the efficiency and quality of your frosting work. It helps you maintain consistent pressure and angle with your spatula or piping bag, resulting in sharper edges and smoother surfaces. For stacking, you can rotate the cake to easily place subsequent layers or apply fillings evenly across the surface. It transforms the often-fiddly process of frosting into a much more controlled and enjoyable task, solidifying its place among essential perfect cake layering tools.
Choosing the Right Cake Turntable: Features to Consider
Cake turntables come in various materials, primarily plastic, metal, or glass, and different designs. Plastic turntables are the most budget-friendly option, often costing between $15-$30. They are lightweight and suitable for occasional use, but some may wobble or not spin as smoothly under the weight of a heavy cake. Look for one with a non-slip base.
Metal turntables, typically made of aluminum or steel, are more durable and stable. They offer a smoother, more consistent spin and can support heavier cakes without issue. These range from $50 to over $100 for professional-grade models with features like ball bearings for effortless rotation. Consider the weight of the cakes you typically make and how often you'll use it when choosing between plastic and metal. A good turntable is a long-term investment in your perfect cake layering tools.
Cake Turntable Recommendations: Spin Your Way to Perfect Cakes
For beginners or those on a tighter budget, a sturdy plastic turntable with a good grip on top and bottom is a great starting point. Brands like Wilton offer reliable plastic models that perform well for most home baking needs. Expect to pay around $20-$30 for a decent one.
If you're baking frequently or tackling larger, multi-tiered cakes, investing in a metal turntable is highly recommended. They provide superior stability and a significantly smoother spin, making frosting large surfaces or achieving razor-sharp edges much easier. Aluminum turntables are popular among professionals and serious home bakers, offering excellent performance. While the initial cost is higher, the durability and ease of use make them invaluable perfect cake layering tools for anyone serious about cake decorating.
5. Simple Syrup: Adding Moisture and Flavor to Each Layer
The Secret to Moist and Delicious Cakes
While not a physical tool in the traditional sense, simple syrup is a secret weapon and an essential component in the process of achieving perfect cake layers. Applying a light brushing or drizzle of simple syrup onto each cake layer before stacking adds moisture, which is particularly helpful for cakes that tend to dry out, like vanilla or chocolate sponges. This step ensures that your finished cake remains delightfully moist and tender for several days.
Beyond moisture, simple syrup can also carry flavor. You can infuse it with extracts (like vanilla or almond), citrus zest, liqueurs (like rum or Grand Marnier), or even fruit purees to complement or enhance the cake's flavor profile. This adds an extra dimension of taste to each bite, making your layered cake not just visually appealing but also incredibly delicious. Incorporating simple syrup is a simple yet impactful technique when using your perfect cake layering tools.
Making Your Own Simple Syrup: A Basic Recipe
Making simple syrup is incredibly easy. The basic ratio is equal parts sugar and water by weight or volume. A standard recipe is 1 cup of granulated sugar dissolved in 1 cup of water. Combine the sugar and water in a small saucepan over medium heat. Stir constantly until the sugar is completely dissolved and the mixture is clear. Do not boil for too long, as this can reduce the water content and make the syrup too thick.
Once the sugar is dissolved, remove the saucepan from the heat. This is the point where you can add flavorings. For example, stir in 1 teaspoon of vanilla extract, a few strips of lemon zest, or 1-2 tablespoons of your chosen liqueur. Let the syrup cool completely before using it on your cake layers. Store any leftover simple syrup in an airtight container in the refrigerator for up to several weeks. This homemade addition works wonders with your perfect cake layering tools.
Pre-Made Simple Syrup Options: Convenience and Consistency
For convenience, pre-made simple syrups are readily available, often marketed as cocktail mixers or baking ingredients. These can be a good option if you're short on time or don't bake frequently enough to keep homemade syrup on hand. They offer consistent flavor and viscosity, ensuring reliable results every time you use your perfect cake layering tools.
You can find plain simple syrup or flavored versions like vanilla, raspberry, or coffee. When choosing a pre-made option, check the ingredients list to ensure it contains real sugar and flavorings rather than just high-fructose corn syrup and artificial flavors. While homemade allows for complete control over flavor intensity, a quality store-bought simple syrup is a perfectly acceptable and convenient alternative for adding that crucial moisture boost to your cake layers.
Tips and Tricks for Perfectly Layered Cakes
Ensuring Consistent Cake Height
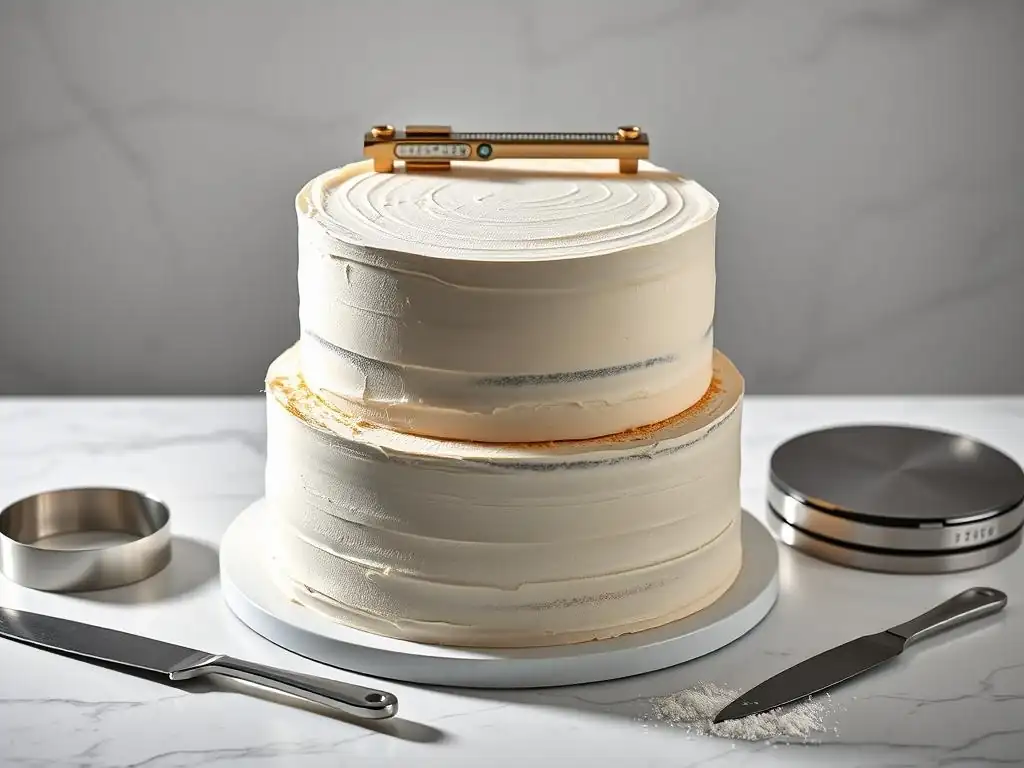
Achieving consistent cake height starts before you even use your perfect cake layering tools. Measure your batter accurately when dividing it among cake pans. Weighing the batter for each pan ensures they all start with the same amount, leading to cakes of similar height and density after baking. Overfilling pans can lead to excessive doming, requiring more aggressive leveling.
Once baked and cooled, use your cake leveler or serrated knife with precision. If using a leveler, double-check that the wire or blade is set to the same height for every layer you intend to cut. If using a knife, take your time and use visual guides (like the edge of the pan or markings on a turntable) to keep your cut straight and parallel to the surface. Consistent height is key to a stable and attractive final cake when utilizing your perfect cake layering tools.
Preventing Cake Slippage
Cake slippage is a common frustration when stacking layers. The primary culprit is often a lack of "glue" between layers or an unstable base. Start with a small dollop of frosting or buttercream on your cake board or drum before placing the first layer. This acts as an adhesive to anchor the bottom layer securely.
Between subsequent layers, ensure you apply a sufficient, but not excessive, amount of frosting evenly across the surface. The frosting acts as mortar, holding the layers together. A crumb coat – a thin layer of frosting applied to the entire cake to trap loose crumbs – also helps stabilize the structure before applying the final coat. Chilling the cake briefly after crumb coating and after stacking layers can also firm up the frosting, reducing the risk of slippage as you continue decorating with your perfect cake layering tools.
The Importance of Cooling Your Cakes Properly
Properly cooling your cakes is a non-negotiable step before attempting to level, fill, or frost them with your perfect cake layering tools. Warm cakes are fragile, crumbly, and difficult to handle. Trying to slice a warm cake with a leveler or knife will likely result in tearing, uneven cuts, and a messy outcome. The structure of the cake needs time to set and firm up as it cools.
Allow cakes to cool in their pans on a wire rack for 10-15 minutes after coming out of the oven. This allows them to finish baking slightly from residual heat and firm up enough to handle. Then, invert them onto the wire rack to cool completely. Ensure they are entirely cool, preferably at room temperature or even slightly chilled in the refrigerator for about 30 minutes, before using your perfect cake layering tools to slice and stack. Patience during the cooling stage pays off with cleaner cuts and a more stable cake structure.
Conclusion: Achieving Cake Layering Mastery with the Right Tools
Mastering the art of cake layering is a rewarding step in your baking journey. It transforms simple cakes into impressive, multi-dimensional creations that are a joy to behold and even better to eat. While skill and practice are essential, having the right perfect cake layering tools at your disposal makes a significant difference in achieving consistent, professional-looking results. From the precision of a cake leveler or serrated knife to the stability provided by cake boards and turntables, each tool plays a vital role in building a flawless foundation for your decorative efforts.
Invest in Your Cake Decorating Journey.
Investing in quality perfect cake layering tools is an investment in your baking success and enjoyment. You don't need the most expensive equipment to start, but choosing tools that are sturdy, reliable, and suited to your needs will make the process smoother and more enjoyable. A good set of perfect cake layering tools, coupled with techniques like using simple syrup for moisture and ensuring proper cooling, empowers you to tackle more ambitious cake designs with confidence. So, gather your tools, practice your techniques, and get ready to level up your cakes!
Frequently Asked Questions
What are the most essential perfect cake layering tools for beginners?
For beginners, a good serrated knife, a cake leveler, and a rotating cake stand are excellent starting points. These tools help create even layers and consistent frosting application.
How does a cake leveler help in achieving perfect cake layers?
A cake leveler ensures even, horizontal cuts across the cake, resulting in uniform layers. This prevents uneven frosting distribution and a wobbly final product.
Are there alternatives to using a serrated knife for cutting perfect cake layers?
Yes, a long, thin offset spatula can also be used, especially for softer cakes. However, a serrated knife generally provides better grip and control for most cakes.
What role does a rotating cake stand play in achieving perfect cake layering and frosting?
A rotating cake stand allows for smooth and even frosting application around the cake. It simplifies the process of creating a perfectly layered and frosted cake.
What other tools, besides those mentioned, can contribute to perfect cake layering?
A cake lifter helps transfer cake layers without breaking them, and parchment paper rounds prevent sticking. Also, a ruler or measuring tape can ensure consistent layer thickness.
Final Reflection: The Sweet Science of Perfect Cake Layers
The pursuit of the flawlessly layered cake transcends mere aesthetics; it's a testament to precision, patience, and the joy of baking. From the perfectly level crumb to the delicate, even frosting, each layer speaks to the dedication poured into the creation. This dedication, coupled with the right tools, elevates the entire baking experience, transforming a simple cake into a masterpiece.
The impact of mastering cake layering extends beyond the individual baker. It's a skill that fosters creativity and encourages experimentation, leading to unique and stunning cake designs that inspire others. The best things in life are homemade,
a sentiment perfectly captured in the pride of presenting a beautifully layered cake. This seemingly simple act connects us to a rich culinary history, reminding us of the enduring power of tradition and the joy of sharing something lovingly crafted.
Now, it's your turn. Don't just bake a cake; engineer a cake. Consider the tools discussed, experiment with different techniques, and embrace the journey of perfecting your layering skills. The satisfaction of achieving that perfect, even layer—the feeling of accomplishment—is a reward in itself. More importantly, it's a skill that will continue to grow and evolve with you, enriching your baking adventures for years to come. So, grab your tools, gather your ingredients, and level up your cake game!
Unleash Your Inner Cake Artist: Take the Next Step!
Thanks for joining us on this delicious journey into the world of perfectly layered cakes! We hope you've gained valuable insights into the tools that elevate your baking game. Now it's time to put your newfound knowledge into action!
- Master the art of layering: Practice your cake-leveling and frosting techniques using your favorite recipe. Don't forget to share your creations on social media – we'd love to see them!
- Invest in your baking future: Consider adding one or two of the essential tools mentioned in the article to your collection. You'll be amazed at the difference!
- Join the BakeWithEase community: Share your tips, tricks, and cake-related triumphs (and even your fails!) in the comments below. Let's learn and grow together!
What's the one tool you're most excited to try, and what cake masterpiece will you create first?