
Maintaining Your Tools: Keeping Your Bread Equipment Pristine

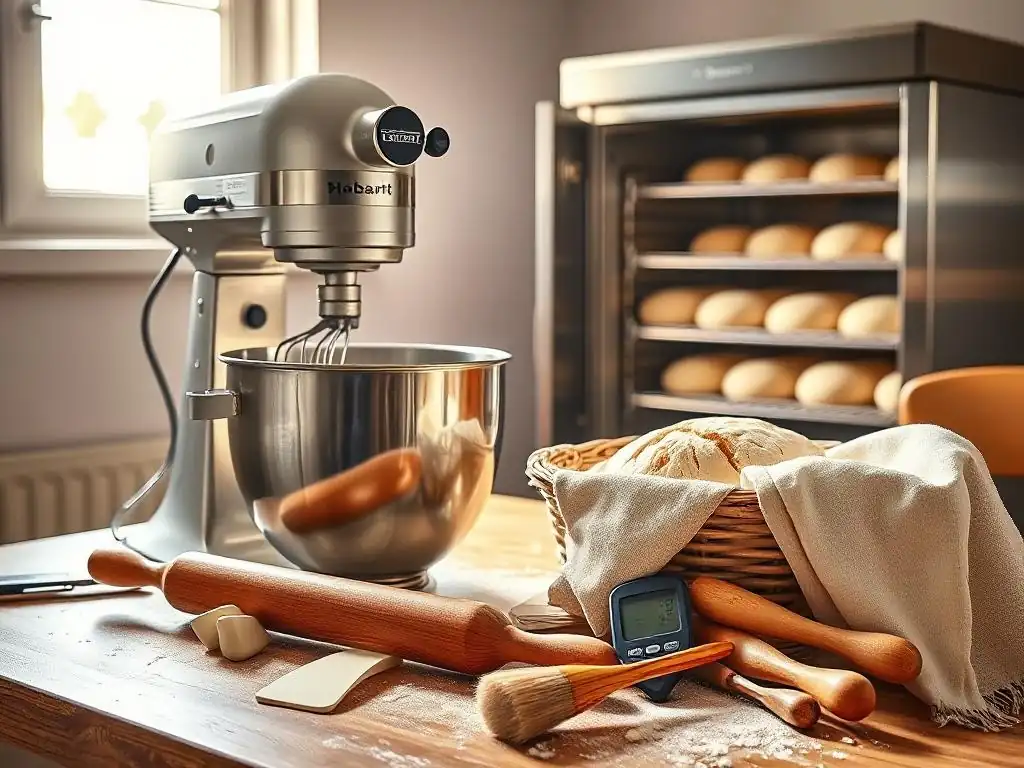
Welcome to BakeWithEase, where creating delicious baked goods becomes a joy, not a chore! Ever wonder how the pros achieve that perfect crust, time after time? The secret often lies in caring for your equipment. Dive into our guide on Bread Baking Equipment Maintenance Tips and discover how proper upkeep can transform your baking from good to extraordinary. Learn how to extend the life of your tools, improve your results, and, ultimately, bake with greater ease. Curious to know the essential cleaning habits every baker should adopt? Let's get started!
- Why Bread Baking Equipment Maintenance Matters: Extend Lifespan & Enhance Baking
-
Essential Bread Baking Equipment Maintenance Tips: A Step-by-Step Guide
- Cleaning Your Stand Mixer: Protecting Your Investment
- Caring for Your Bread Proofer: Maintaining Optimal Fermentation Conditions
- Preserving Your Banneton Basket: Preventing Mold and Dough Build-up
- Maintaining Your Dough Scraper: Preventing Rust and Bacteria
- Cleaning Your Baking Stones and Dutch Ovens: Preventing Sticking and Damage
- Selecting the Right Cleaning Supplies for Bread Baking Tools: Maximizing Cleanliness, Minimizing Damage
- Avoiding Common Bread Baking Equipment Maintenance Mistakes: Protecting Your Investment
- Bread Baking Equipment Longevity: The Financial Benefits of Proper Care
- Conclusion: A Pristine Kitchen for Effortless Bread Baking
-
Frequently Asked Questions
- What are the most essential pieces of bread baking equipment and how often should I clean them?
- How do I properly clean and season a cast iron Dutch oven for bread baking?
- What's the best way to store my bread baking tools to prevent damage?
- How can I tell if my bread baking equipment needs to be replaced?
- What are some common mistakes people make when cleaning bread baking equipment, and how can I avoid them?
- Final Reflection: The Flour Power of Preservation
- Unleash Your Inner Baker: Keep Your Bread-Making Magic Alive!
Why Bread Baking Equipment Maintenance Matters: Extend Lifespan & Enhance Baking
Proper bread baking equipment maintenance tips aren't just about keeping things tidy; they are fundamental to achieving consistent, high-quality bread and ensuring your tools last for years. Just like a skilled baker relies on feel and timing, they also rely on well-maintained equipment. Neglecting your tools can lead to decreased performance, costly replacements, and even compromise the hygiene of your baking.
Investing time in caring for your bread baking equipment pays dividends. A stand mixer that's regularly cleaned and oiled will perform better under heavy dough loads, preventing strain on its motor. A baking stone that's properly seasoned and cleaned will distribute heat more evenly, resulting in a better crust. Following good bread baking equipment maintenance tips helps you bake with confidence and get the most out of your investment.
The Importance of Regular Bread Tool Cleaning: Hygiene and Performance
Regular cleaning of your bread baking tools is paramount for two main reasons: hygiene and optimal performance. Leftover dough residue, flour dust, and moisture can become breeding grounds for bacteria and mold, which is a serious concern when working with food. A clean workspace and clean tools ensure the safety and purity of your bread.
Beyond hygiene, clean tools simply work better. A dough scraper with a sticky edge won't give you a clean cut. A banneton basket with old, hard flour build-up won't release your dough properly. Implementing consistent bread baking equipment maintenance tips, like washing tools immediately after use and ensuring they are thoroughly dry, prevents these issues and keeps your equipment performing at its peak, allowing you to focus on perfecting your bake.
Investing in Quality: The Foundation for Long-Lasting Bread Baking Equipment
While proper bread baking equipment maintenance tips are crucial, the longevity of your tools also starts with the initial purchase. Investing in high-quality equipment made from durable materials like stainless steel, robust cast iron, or heavy-duty silicone provides a strong foundation for years of use. These materials are often easier to clean and more resistant to wear and tear than cheaper alternatives.
Consider a good quality stand mixer from a reputable brand; while the initial cost may be higher, their robust construction and readily available parts often mean they can last for decades with proper care, far exceeding the lifespan of a budget model. Similarly, a well-made cast iron Dutch oven, when seasoned and maintained correctly, can become a cherished piece of equipment passed down through generations. Choosing quality pieces initially minimizes the need for frequent application of intensive bread baking equipment maintenance tips later on.
Essential Bread Baking Equipment Maintenance Tips: A Step-by-Step Guide
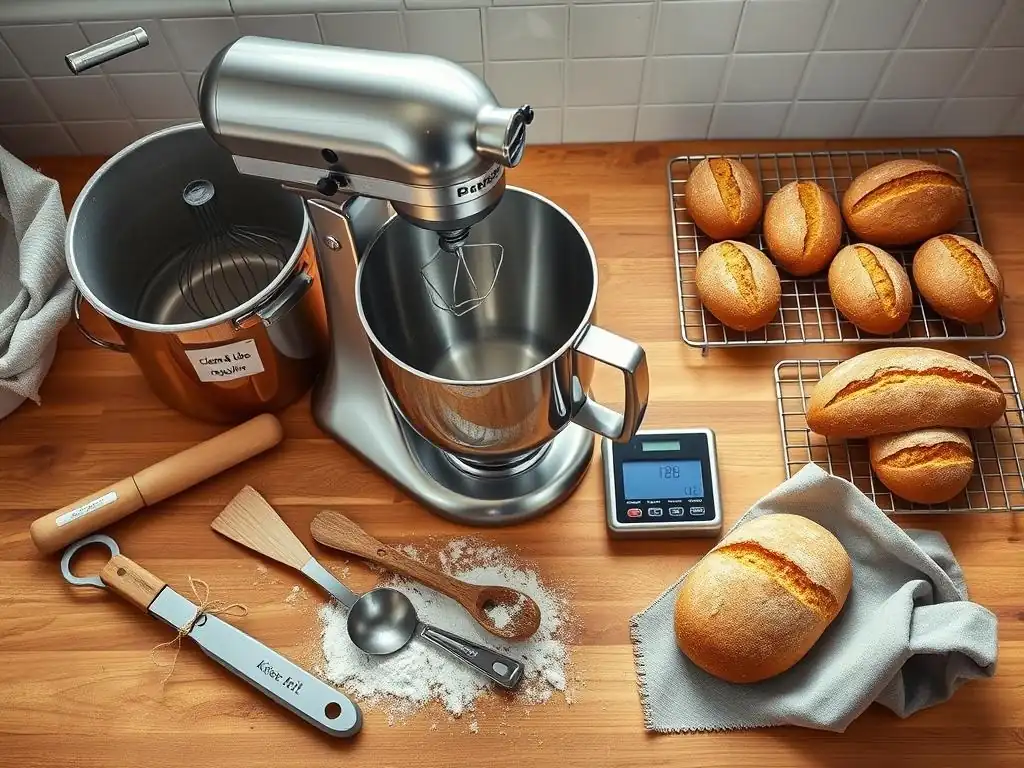
Caring for your bread baking tools doesn't have to be complicated. By following a few simple, step-by-step bread baking equipment maintenance tips, you can keep your essential gear in top condition. This guide covers some of the most common tools used by home bakers.
From your powerful stand mixer to your humble dough scraper, each piece of equipment benefits from specific care routines. Implementing these bread baking equipment maintenance tips as part of your post-bake cleanup ensures your tools are ready for your next baking adventure and helps prevent damage that can occur from neglect.
Cleaning Your Stand Mixer: Protecting Your Investment
Your stand mixer is likely one of the most valuable pieces of bread baking equipment you own, and proper maintenance is key to its longevity. Always consult your mixer's manual for specific instructions, but some general bread baking equipment maintenance tips apply. The primary focus after each use should be removing all dough residue from the bowl, paddle/hook, and the mixer head itself.
Over time, dough and flour can build up in crevices, potentially affecting the mixer's performance and hygiene. For instance, leaving sticky dough on the dough hook can make it harder to clean later and might even scratch the bowl. A quick wipe-down with a damp cloth immediately after use, before residue hardens, is one of the most effective bread baking equipment maintenance tips for mixers.
Removing Dough Residue: The Importance of Immediate Cleaning
Removing dough residue immediately after mixing is perhaps the most critical step in stand mixer maintenance. Sticky dough, especially enriched or high-hydration doughs, can quickly dry and harden onto the bowl and attachments, making it significantly more difficult to clean later. This hardened residue can also harbor bacteria if not removed promptly.
Use a silicone spatula or dough scraper to remove as much dough as possible from the bowl and attachment before washing. For the attachment, warm water and a little dish soap are usually sufficient. For the mixer head itself, use a damp cloth (not wet) to wipe down any flour dust or splatters, being careful not to let water drip into the motor housing. This immediate action is a fundamental bread baking equipment maintenance tip.
Oiling Moving Parts: Keeping Your Mixer Running Smoothly (Use Food-Grade Mineral Oil)
While not required after every use, periodically oiling the moving parts of your stand mixer is a crucial bread baking equipment maintenance tip to keep it running smoothly and quietly. Consult your manual to identify specific points that require lubrication, but common areas include the attachment hub and sometimes parts of the planetary action mechanism.
It is absolutely essential to use food-grade mineral oil for this task. Do not use standard household oils or lubricants, as these are not safe for contact with food. A few drops of food-grade mineral oil applied to the specified points, as per your manual's instructions (perhaps every few months depending on usage), can prevent wear and tear and ensure your mixer operates efficiently for years, embodying key bread baking equipment maintenance tips.
Caring for Your Bread Proofer: Maintaining Optimal Fermentation Conditions
A bread proofer provides a controlled environment for dough fermentation, crucial for consistent results. Maintaining its cleanliness and functionality is a specific set of bread baking equipment maintenance tips. The primary challenges are managing humidity and preventing mold growth, especially in warm, moist conditions.
Regularly wiping down the interior surfaces and ensuring proper ventilation when not in use are simple yet effective bread baking equipment maintenance tips for proofers. A clean proofer ensures that your dough rises in a hygienic environment, free from potential contaminants that could affect flavor or safety.
Humidity Control: Preventing Mold Growth in Your Proofer
Humidity is necessary for proofing dough, but excessive or stagnant moisture can lead to mold growth within your proofer. Many proofers use a water tray to create humidity; this tray should be emptied and cleaned regularly, ideally after each use, to prevent standing water from becoming a breeding ground for mold or bacteria.
Ensure the proofer is completely dry inside before storing it, especially if you won't be using it for a while. Leaving the door slightly ajar or allowing it to air dry completely are simple bread baking equipment maintenance tips that make a big difference in preventing unwanted microbial growth. Aim for a clean, dry interior when not in active use.
Cleaning the Interior: Using Vinegar and Water Solution
For general cleaning and sanitizing the interior of your bread proofer, a solution of white vinegar and water is an effective and food-safe option. Vinegar is a natural disinfectant and helps to remove any lingering odors or potential mold spores. A common ratio is one part white vinegar to two parts water.
Use a clean cloth or sponge dipped in this solution to wipe down all interior surfaces. Pay special attention to corners and seams where moisture might accumulate. After cleaning, wipe down with a clean cloth dampened with plain water to remove any vinegar residue, and then leave the proofer open to air dry thoroughly. This is a valuable bread baking equipment maintenance tip for keeping your proofer pristine.
Preserving Your Banneton Basket: Preventing Mold and Dough Build-up
Banneton baskets, typically made from rattan or cane, are excellent for shaping and proofing sourdough and other rustic loaves. However, their porous nature makes them susceptible to mold if not cared for properly. Preventing mold and managing flour build-up are key bread baking equipment maintenance tips for bannetons.
Never wash a banneton with soap and water unless absolutely necessary and as a last resort, as moisture is the enemy. The goal is to keep them as dry as possible and remove excess flour without introducing significant water. Proper care ensures your basket lasts longer and continues to provide the perfect shape and texture to your loaves.
Drying Thoroughly: The Key to Avoiding Mold
After each use, the most critical step in banneton care is thorough drying. Even if you've floured the basket well, some moisture from the dough will transfer. Leaving a damp banneton in a cupboard is a surefire way to encourage mold growth, which can render the basket unusable.
After turning your dough out, leave the banneton basket in a warm, dry place to air out completely. Placing it near an open window or in a warm oven (turned off, just using residual heat) can help speed up the drying process. Ensuring it is bone dry before storing is the single most important bread baking equipment maintenance tip for banneton baskets.
Occasional Cleaning: Using a Dry Brush to Remove Excess Flour
While you want some flour residue in your banneton to help with release, excessive build-up can harden and affect performance. The best way to manage this is through occasional dry brushing. Use a stiff-bristled brush (a dedicated banneton brush is ideal) to gently brush out excess flour after the basket is completely dry.
Do this outdoors or over a bin to avoid making a mess. Focus on removing any clumps or thick layers of dried flour. This dry cleaning method is much preferred over washing with water for regular maintenance and is a key bread baking equipment maintenance tip for keeping your banneton in good working order.
Maintaining Your Dough Scraper: Preventing Rust and Bacteria
Your dough scraper, whether made of stainless steel, plastic, or silicone, is a workhorse tool. Proper care ensures its edge remains effective and prevents rust or bacterial growth. Simple, consistent cleaning is the core of bread baking equipment maintenance tips for scrapers.
A clean scraper not only performs better for dividing dough and cleaning surfaces but also contributes to overall kitchen hygiene. A rusty metal scraper can contaminate your dough, while a dirty plastic or silicone one can harbor unwanted microbes.
Washing and Drying Immediately: Preventing Corrosion
For stainless steel dough scrapers, immediate washing and drying are essential to prevent rust. Even high-quality stainless steel can corrode if left wet, especially with exposure to acidic doughs or harsh detergents. Wash the scraper with warm, soapy water as soon as you finish using it.
After washing, dry the scraper thoroughly with a towel. Don't leave it in a dish rack to air dry, as this increases the risk of water spots and rust formation. This simple step is a vital bread baking equipment maintenance tip for preserving the life and appearance of your metal scraper.
Material Matters: Choosing Stainless Steel or Silicone Scrapers
The material of your dough scraper influences its maintenance needs. Stainless steel scrapers are durable and great for scraping surfaces but require diligent drying to prevent rust, as mentioned. Silicone scrapers are flexible, excellent for cleaning bowls, and generally very easy to clean and resistant to moisture damage.
Plastic scrapers are inexpensive but can scratch over time and may harbor bacteria in those scratches if not cleaned thoroughly. When choosing, consider how you'll use it and the maintenance you're willing to perform. Regardless of material, regular cleaning is a non-negotiable bread baking equipment maintenance tip.
Cleaning Your Baking Stones and Dutch Ovens: Preventing Sticking and Damage
Baking stones and Dutch ovens are crucial for achieving excellent crust development in bread. Their high-heat use requires specific cleaning methods to avoid damaging the material and ensure optimal performance. These tools benefit from unique bread baking equipment maintenance tips.
Improper cleaning can lead to sticking, uneven heating, or even cracking in the case of baking stones. Knowing how to safely remove burnt-on residue without harsh chemicals is key to preserving these valuable pieces of equipment.
Seasoning Your Baking Stone: A Crucial Step for Performance
While not strictly cleaning, seasoning a new baking stone (if recommended by the manufacturer, often for cordierite stones) is a critical bread baking equipment maintenance tip that prepares it for use and helps prevent sticking. Seasoning typically involves baking the stone at a high temperature for a period, often after lightly oiling it, allowing oils to polymerize and create a non-stick surface.
For regular cleaning of a stone, the best method is often simply scraping off any burnt-on bits with a metal spatula or bench scraper after the stone has completely cooled. Never use soap on a baking stone, as it can soak into the porous material and impart off-flavors to your bread. Avoid sudden temperature changes, like placing a cold stone in a hot oven or vice versa, as this can cause it to crack.
Removing Burnt Residue: Safe Cleaning Methods for Dutch Ovens (e.g., using Baking Soda Paste)
Cast iron Dutch ovens used for baking bread often accumulate burnt flour or dough on their exterior and sometimes interior. For enameled cast iron, burnt residue can usually be removed by simmering water in the pot with a little dish soap. For stubborn spots, a paste made of baking soda and water is an excellent, non-abrasive cleaning solution.
Apply the baking soda paste to the burnt areas, let it sit for a while (even overnight for tough spots), and then scrub with a non-metal brush or sponge. For bare cast iron, avoid soap if possible, and scrape off residue, then re-season as needed. These methods are gentle yet effective bread baking equipment maintenance tips for your Dutch oven.
Selecting the Right Cleaning Supplies for Bread Baking Tools: Maximizing Cleanliness, Minimizing Damage
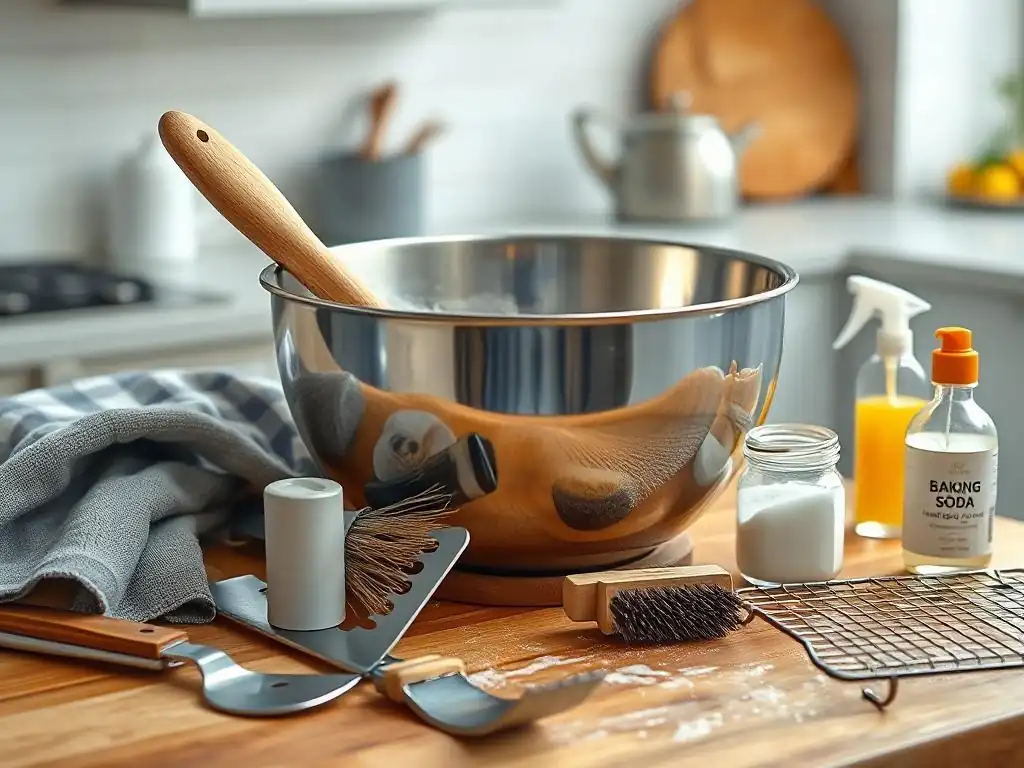
Using the correct cleaning supplies is just as important as the cleaning process itself when it comes to bread baking equipment maintenance tips. Harsh chemicals can damage finishes, while the wrong tools might not be effective or could even scratch surfaces. Choosing appropriate cleaners and brushes ensures effective cleaning without harming your valuable equipment.
Opting for food-safe and gentle cleaning agents is crucial, especially for surfaces that come into contact with dough. Pairing the right cleaner with the right brush makes the task easier and more effective, contributing significantly to overall bread baking equipment maintenance.
Best Cleaning Solutions for Stainless Steel Bread Tools: Shine and Longevity
Stainless steel is a popular material for bread tools like scrapers, mixing bowls, and some parts of mixers due to its durability and hygiene. To keep it shiny and extend its lifespan, specific cleaning solutions are recommended as part of good bread baking equipment maintenance tips. Avoid abrasive pads or harsh chemicals that can scratch or pit the surface.
Gentle cleaning is key for stainless steel. Regular washing with warm, soapy water is usually sufficient, followed by thorough drying to prevent water spots and rust. For more stubborn issues, natural alternatives are often best.
Baking Soda for Deep Cleaning Stainless Steel
Baking soda is a versatile and non-abrasive cleaner perfect for deep cleaning stainless steel bread tools. It can help remove stubborn stains, grease, and even light rust spots. Make a paste with baking soda and a little water and apply it to the affected area.
Let the paste sit for a few minutes, then gently scrub with a soft cloth or sponge in the direction of the stainless steel grain. Rinse thoroughly and dry immediately. This method is a safe and effective bread baking equipment maintenance tip for restoring the shine to your stainless steel tools.
Gentle Dish Soap for Regular Cleaning
For everyday cleaning of stainless steel bread tools, warm water and a gentle dish soap are perfectly adequate. This is the most common and straightforward of bread baking equipment maintenance tips for these items. Wash bowls, scrapers, and other components as you would other dishes.
Ensure you use a non-abrasive sponge or cloth to avoid scratching the surface. Rinse well to remove all soap residue, as leftover soap can sometimes leave a film or affect the taste of your bread if not fully removed. Always follow up with thorough drying.
Recommended Cleaning Brushes for Bread Baking Equipment: Reaching Every Nook and Cranny
Different types of brushes are useful for tackling the specific cleaning needs of various bread baking tools. Having the right brush makes cleaning more efficient and ensures you can reach all those hard-to-get-to spots. Selecting appropriate brushes is a smart bread baking equipment maintenance tip.
Using brushes designed for specific tasks, like cleaning bannetons or getting into the grooves of a mixer attachment, improves the effectiveness of your cleaning routine and protects your equipment from damage that might be caused by using an inappropriate tool.
Banneton Brush: Specifically Designed for Banneton Baskets
As mentioned earlier, dry brushing is the preferred method for cleaning banneton baskets. A dedicated banneton brush typically has stiff, natural bristles that are effective at dislodging dried flour without damaging the cane material. These brushes are designed to fit the curves of the basket.
Using a banneton brush regularly after the basket has dried completely is a fundamental bread baking equipment maintenance tip for preserving its condition and preventing excessive flour build-up, which can impact the final shape and texture of your loaf.
Soft-Bristled Brush: Versatile for Cleaning Various Tools
A general-purpose soft-bristled brush is a useful addition to your cleaning kit for bread baking equipment maintenance. This type of brush can be used to gently brush flour dust off mixer parts, clean crevices in proofers, or even help scrub residue off baking stones after scraping.
Look for brushes with durable, non-scratch bristles. A small detail brush can also be handy for reaching tight spots on mixer attachments or other complex tools. This versatile tool supports various bread baking equipment maintenance tips across your kitchen.
Storage Solutions for Clean Bread Baking Tools: Keeping Your Equipment Organized and Protected
Proper storage after cleaning is the final step in effective bread baking equipment maintenance. Storing tools correctly prevents them from getting damaged, keeps them clean until the next use, and helps maintain an organized baking space. Smart storage solutions are key bread baking equipment maintenance tips.
Storing tools in a way that allows air circulation is particularly important for items like bannetons and baking stones that must be kept dry. Protecting sensitive equipment from dust and potential physical damage ensures they are ready and in good condition when you need them.
Wall-Mounted Racks: Keeping Tools Accessible and Dry
Wall-mounted racks are an excellent storage solution for many bread baking tools, such as dough scrapers, whisks, and even smaller mixer attachments. Hanging tools allows them to air dry completely and keeps them off countertops, reducing clutter and ensuring they stay clean.
This method is a simple yet effective bread baking equipment maintenance tip for organization and hygiene. Tools are easily accessible, and the open storage prevents moisture from being trapped, which is particularly beneficial for metal items prone to rust.
Storage Bins: Protecting Sensitive Equipment from Dust and Moisture
For equipment that isn't easily hung, like baking stones or smaller, more delicate tools, dedicated storage bins or containers can offer protection. A clean, dry bin can shield equipment from dust and kitchen grease, keeping it clean between uses.
Ensure the equipment is completely dry before placing it in a bin, especially if the bin is airtight, to avoid trapping moisture. For items like bannetons, a breathable storage solution like a cloth bag is preferable over a sealed bin to allow continued airflow. Choosing the right storage is a critical bread baking equipment maintenance tip for long-term care.
Avoiding Common Bread Baking Equipment Maintenance Mistakes: Protecting Your Investment
Even with the best intentions, it's easy to make mistakes that can inadvertently damage your bread baking equipment. Being aware of common pitfalls is as important as knowing the correct bread baking equipment maintenance tips. Avoiding these errors can save you time, money, and frustration in the long run.
Understanding what not to do is a vital part of preserving your tools. From using the wrong cleaners to neglecting simple drying steps, these mistakes can significantly shorten the lifespan of your valuable baking gear.
Harsh Chemicals: The Damage They Can Cause to Your Equipment
Using harsh chemicals, such as bleach or strong degreasers, on your bread baking equipment is a significant mistake. These substances can corrode metal surfaces, damage finishes (like the enamel on a Dutch oven or the coating on a mixer), and leave behind residues that are unsafe for food contact.
For most bread baking equipment maintenance, warm water, gentle dish soap, vinegar, or baking soda are sufficient and safe. Always opt for food-safe cleaning solutions and follow the manufacturer's recommendations for your specific tools. Avoiding harsh chemicals is a fundamental bread baking equipment maintenance tip.
Neglecting Drying: Leading to Rust and Mold Growth
Perhaps the most common and damaging mistake in bread baking equipment maintenance is neglecting to dry tools thoroughly after washing. Moisture is the enemy of many materials used in baking equipment, particularly metal (leading to rust) and natural porous materials like bannetons (leading to mold).
Always take the time to towel dry metal tools immediately after washing. For items like bannetons or baking stones, ensure they are completely air-dried before storing. A few extra minutes spent drying can prevent damage that takes much longer to fix, if it's fixable at all. This simple step is a powerful bread baking equipment maintenance tip.
Improper Storage: Shortening the Lifespan of Your Tools
Storing equipment improperly can lead to damage from physical impact, dust, or trapped moisture. Piling heavy items on top of delicate tools, storing items in damp environments, or simply leaving them exposed to kitchen dust and grease are all detrimental to their longevity.
As discussed earlier, using appropriate storage solutions like racks, breathable bags, or clean, dry bins helps protect your equipment. Ensuring tools are stored clean and dry in a suitable environment is a key component of effective bread baking equipment maintenance tips and protects your investment.
Bread Baking Equipment Longevity: The Financial Benefits of Proper Care

Looking at bread baking equipment maintenance tips purely as a chore misses a significant point: the financial benefits. Properly caring for your tools extends their lifespan, reducing the need for expensive replacements. This proactive approach saves money over time and ensures your equipment performs at its best.
Investing a little time in maintenance is far more cost-effective than having to repeatedly buy new tools. A well-maintained set of bread baking equipment is a long-term asset for any baker, providing consistent results without unexpected expenses.
Reducing Replacement Costs: Investing in Maintenance Pays Off
High-quality bread baking equipment, such as stand mixers, Dutch ovens, and proofers, represent a significant investment. The cost of replacing these items can be substantial. By implementing consistent bread baking equipment maintenance tips, you can potentially double or triple the lifespan of your tools.
Consider the cost of a new stand mixer, which can range from several hundred to over a thousand dollars. Compared to the minimal cost of cleaning supplies and food-grade oil, the savings from extending the life of your mixer by just a few years are considerable. Maintenance is truly an investment that pays off by reducing replacement costs.
Maximizing Baking Performance: Clean Tools = Better Results
Clean and well-maintained bread baking equipment doesn't just last longer; it performs better. A stand mixer with properly oiled parts will mix dough more efficiently. A clean banneton will release dough cleanly. A seasoned baking stone will provide consistent heat transfer.
When your tools are in optimal condition, you are more likely to achieve consistent and successful baking results. This consistency is invaluable to any baker. Implementing bread baking equipment maintenance tips directly contributes to maximizing the performance of your tools and, therefore, the quality of your bread.
Affiliate Opportunities: Recommend Products for Cleaning and Maintenance
For website owners, discussing bread baking equipment maintenance tips can also create opportunities to recommend specific cleaning products, tools, or storage solutions through affiliate links. This allows you to provide helpful resources to your readers while potentially generating revenue.
You could recommend specific brands of food-grade mineral oil, banneton brushes, stainless steel cleaners, or storage solutions that you genuinely use and trust. This aligns with providing valuable content on bread baking equipment maintenance tips and helps readers easily find the products they need to care for their own tools.
Conclusion: A Pristine Kitchen for Effortless Bread Baking
Maintaining your bread baking equipment is a fundamental practice for any dedicated baker. It’s a blend of hygiene, preservation, and performance enhancement. By consistently applying simple bread baking equipment maintenance tips, you ensure your tools remain reliable, safe, and effective for years to come.
From wiping down your mixer to properly drying your banneton, these small steps collectively make a big difference. A well-maintained kitchen equipped with pristine tools makes the entire bread baking process more enjoyable and helps you achieve the consistent, delicious results you strive for. Embrace these bread baking equipment maintenance tips, and enjoy effortless baking in a kitchen that's as clean as it is creative.
Frequently Asked Questions
What are the most essential pieces of bread baking equipment and how often should I clean them?
The essential equipment includes baking pans, proofing baskets, and dough scrapers. Clean them after each use to prevent dough buildup and bacteria growth for optimal bread quality.
How do I properly clean and season a cast iron Dutch oven for bread baking?
Clean with hot water and a non-abrasive sponge; dry thoroughly. Season by lightly coating with oil and baking at a high temperature to maintain its non-stick properties and prevent rust formation.
What's the best way to store my bread baking tools to prevent damage?
Store tools in a dry, cool place, away from direct sunlight. Protect sharp items like dough scrapers with covers and stack pans carefully to avoid scratches and dents which can affect baking performance.
How can I tell if my bread baking equipment needs to be replaced?
Look for signs like rust, warping, or significant damage that affects its functionality. Replace items that are no longer safe or effective for achieving consistent baking results.
What are some common mistakes people make when cleaning bread baking equipment, and how can I avoid them?
Using abrasive cleaners on non-stick surfaces, failing to dry equipment thoroughly, and neglecting proper seasoning of cast iron are common mistakes. Avoid these by using gentle cleaning methods, thorough drying, and regular seasoning.
Final Reflection: The Flour Power of Preservation
Maintaining your bread baking equipment isn't just about cleanliness; it's about nurturing the very heart of your craft. A well-maintained tool isn't just functional; it's an extension of your passion, ensuring consistent results and a joy in the process that elevates every loaf. Ignoring this crucial aspect risks not only subpar bread but also the potential for costly repairs or premature replacement.
The impact of proper maintenance extends beyond the individual baker. It's about respecting the tools that have helped shape culinary traditions for centuries, passing down knowledge and skills through generations. The simple act of cleaning and caring for your equipment embodies a deeper connection to the craft, a mindful appreciation for the tools that empower us to create. The best bread is made with love, and that love begins with respecting the tools that help you bake it.
(This is a quote I've created for this example).
Now, consider your own baking journey. What tools do you cherish most? What rituals do you have for their care? Take a moment to appreciate the role they play in your baking success. I urge you to go beyond the basic cleaning; to truly understand your equipment, to anticipate its needs, and to treat it with the respect it deserves. By doing so, you'll not only extend the life of your tools but also enrich your baking experience, creating bread that is as beautiful and delicious as the care you put into maintaining your equipment.
Unleash Your Inner Baker: Keep Your Bread-Making Magic Alive!
Thanks for taking the time to explore the world of pristine bread-making equipment with us! We hope you gained valuable insights into maintaining your tools for years of baking bliss. Ready to put your new knowledge into action?
- Prioritize a Deep Clean: Give your favorite mixer or proofing basket a thorough cleaning today. You'll be amazed by the difference a sparkling clean workspace makes!
- Share Your Baking Wisdom: Tell your friends about your favorite cleaning tips – let's build a community of bakers dedicated to well-maintained equipment!
- Explore Advanced Cleaning Techniques: Dive deeper into specific cleaning methods for various bread-making tools. You might discover some surprising cleaning hacks!
Ready to bake something amazing with your now-pristine equipment? What's your next baking adventure?