
Baking a Birthday Cake Ahead: Storage & Freshness Tips

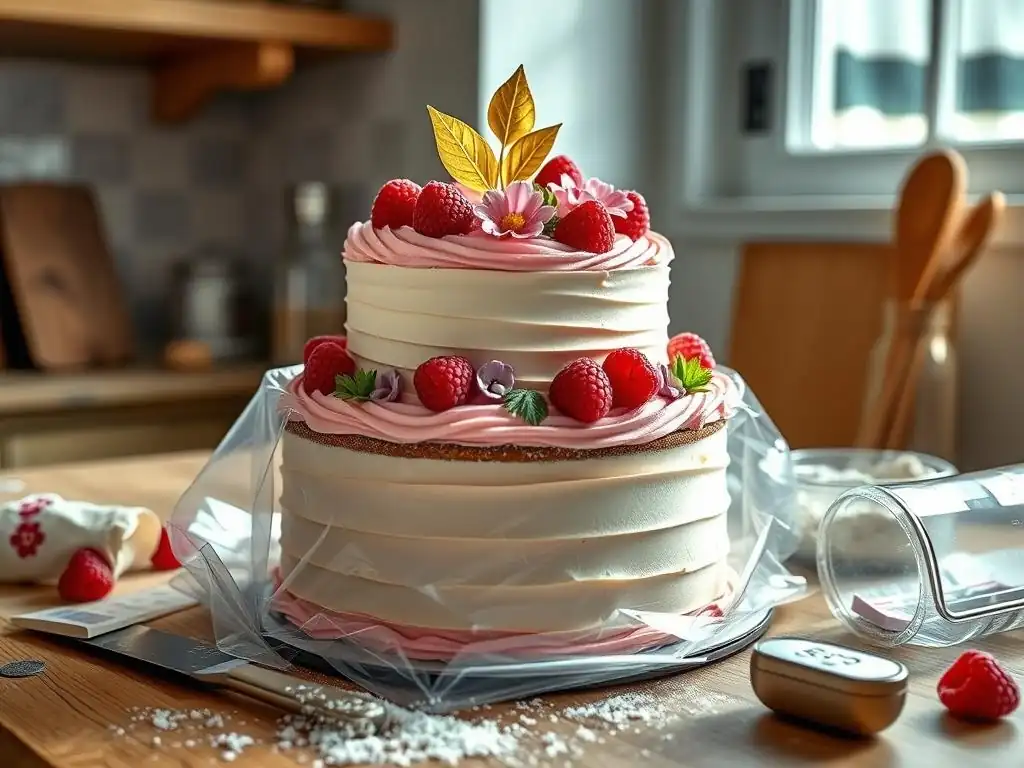
Welcome to BakeWithEase, your trusted companion on your baking journey! Ever wondered how to bake that perfect birthday cake days in advance, without sacrificing a single crumb of deliciousness? This guide unveils the secrets to how to store birthday cake like a pro, ensuring your masterpiece stays fresh, moist, and ready to wow on the big day. Discover insider tips and tricks that will revolutionize your baking schedule – keep reading to unlock the secrets!
- Baking a Birthday Cake Ahead: Storage & Freshness Tips from BakeWithEase
- Introduction: Baking Your Birthday Cake in Advance
- Why Bake Your Birthday Cake Ahead of Time?
- How to Store Birthday Cake Layers for Maximum Freshness
- Storing Frosted Birthday Cake: Keeping it Beautiful
- Tips for Maintaining Birthday Cake Freshness
- Assembling Your Birthday Cake After Storage
- Troubleshooting Common Cake Storage Problems
- Serving Your Pre-Baked Birthday Cake
- Conclusion: Enjoy Your Stress-Free Birthday Celebration!
-
Frequently Asked Questions
- How long can I store a birthday cake before it starts to go bad?
- What's the best way to store a birthday cake at room temperature to maintain its freshness?
- Can I freeze a birthday cake, and if so, how do I do it properly?
- What are some signs that a birthday cake has gone bad, even if it looks okay?
- Does the type of frosting on a birthday cake affect how it should be stored?
- Final Reflection: The Enduring Sweetness of a Perfectly Stored Cake
- Unlock Your Cake's Full Potential!
Baking a Birthday Cake Ahead: Storage & Freshness Tips from BakeWithEase
Introduction: Baking Your Birthday Cake in Advance
Planning a birthday celebration can be a joyous but busy time. One of the most helpful strategies for reducing stress and ensuring a fantastic dessert is baking your birthday cake ahead of time. This allows you to spread out the tasks, perfect your layers, and tackle the decorating when you're feeling creative, not rushed. Knowing how to store birthday cake properly is the secret to making this strategy a success.
Why Bake Your Birthday Cake Ahead of Time?
Baking ahead offers significant advantages, from saving precious time on the day of the party to potentially improving the cake's texture. It transforms the sometimes-daunting task of baking and decorating a showstopper cake into manageable steps. Understanding the best practices for storing birthday cake ensures that your thoughtful planning results in a deliciously fresh dessert.
Benefits of Pre-Baking Your Celebration Cake
Baking your cake layers a day or two, or even weeks, before the event gives you flexibility. This is especially beneficial if you're making a complex cake or decorating with intricate details. For example, baking layers on a Thursday for a Saturday party allows Friday for frosting and decorating without feeling pressured by the clock. Many bakers find that some cakes, particularly butter-based ones, develop a richer flavor and moister texture after a day or two as the flavors meld. This resting period is a simple trick for enhancing taste.
Moreover, working with chilled or frozen cake layers is significantly easier when leveling, handling, and frosting. Cold layers are firmer and less prone to crumbling, making sharp edges and smooth surfaces much more achievable. This can save considerable time and frustration during the assembly and decorating stages, leading to a more professional-looking final product. Mastering how to store birthday cake layers correctly is the foundation of this efficient process.
Planning Your Baking Schedule for Optimal Freshness
The ideal timeline for baking ahead depends on the type of cake and frosting, as well as your storage method. For many cakes, baking the layers 1-2 days in advance and storing them properly wrapped at room temperature or in the refrigerator works perfectly. This short rest period often improves texture and flavor. If you need more lead time, freezing layers is an excellent option, allowing you to bake weeks or even a couple of months ahead.
When planning, consider the complexity of your decoration. If you have intricate piping or fondant work planned, baking layers and making frosting ahead frees up ample time closer to the event for these detailed tasks. Aim to assemble and frost the cake the day before or the morning of the celebration if possible, especially if using frostings that benefit from chilling, like cream cheese frosting. This strategic planning, coupled with knowing how to store birthday cake components, ensures everything comes together smoothly.
How to Store Birthday Cake Layers for Maximum Freshness
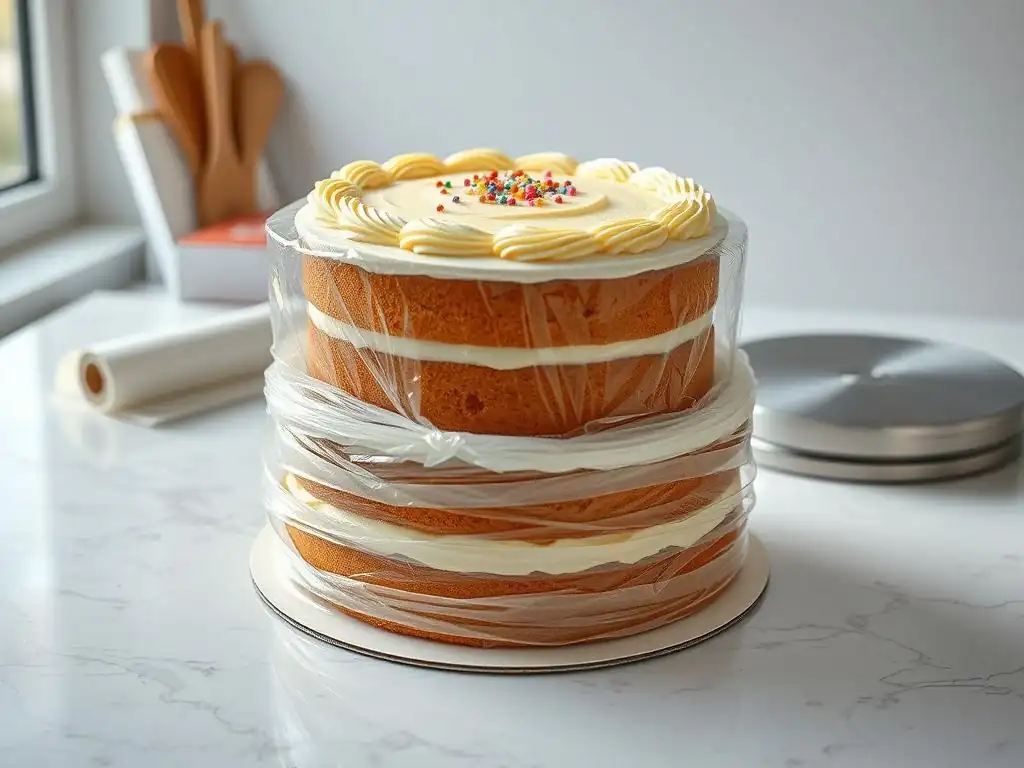
Properly storing cake layers is crucial for maintaining moisture and preventing them from drying out or absorbing unwanted odors. Whether you plan to use them the next day or next month, the initial steps after baking are key. Learning the right technique for wrapping and storing ensures your layers are as fresh as possible when you're ready to assemble.
Cooling Cake Layers Properly Before Storage
Immediately after removing your cake layers from the oven, let them cool in their pans for about 10-15 minutes. This allows the cake structure to set slightly, making it less likely to break when you remove it. After this initial cooling period in the pan, invert the cakes onto a wire cooling rack to cool completely. Ensure there is good air circulation around the layers.
Allowing the cakes to cool completely on a wire rack is non-negotiable before storing them. Warm or even slightly warm cakes will create condensation inside the wrapping, leading to a soggy or sticky exterior and potentially promoting mold growth. Ensure the layers are cool to the touch, feeling neither warm nor cool, before proceeding to the wrapping stage. This typically takes 1-2 hours depending on the size and density of the cake.
Best Practices for Wrapping Cake Layers
Proper wrapping is the most critical step in preserving the freshness of your baked cake layers. The goal is to create an airtight barrier that locks in moisture and prevents contact with air, which causes staleness. Skipping this step or doing it poorly can result in dry, crumbly cake regardless of how well it was baked.
Choosing the Right Wrapping Materials (Plastic Wrap, Parchment Paper)
High-quality plastic wrap is your primary tool for wrapping cake layers. Look for a brand that clings well and is durable. For an extra layer of protection, especially if freezing, you can also use aluminum foil. Parchment paper can be useful as a first layer around the cake to prevent the plastic wrap from sticking directly to the cake surface, particularly if the cake is very delicate or slightly warm (though completely cool is ideal).
- Plastic Wrap: Essential for creating the airtight seal.
- Parchment Paper: Optional first layer for delicate cakes.
- Aluminum Foil: Excellent secondary layer for freezing, adding extra insulation.
Double Wrapping for Enhanced Protection
For maximum freshness and protection, especially when storing for more than a day or freezing, employ the double-wrapping technique. Start by tightly wrapping each individual cake layer multiple times in plastic wrap, ensuring no part of the cake is exposed to air. Use at least two layers of plastic wrap, smoothing out any air pockets as you go.
After the initial plastic wrap, wrap the layer again, this time tightly in aluminum foil. This second layer provides an extra barrier against air and helps prevent freezer burn if freezing. Labeling the wrapped layers with the cake type and date is also a good practice for easy identification later. This double-wrapping method is a key part of how to store birthday cake layers effectively.
Storing Cake Layers at Room Temperature: When is it Safe?
Many dense butter cakes, pound cakes, or sponge cakes without perishable fillings can be safely stored at cool room temperature for 2-3 days. This method is often preferred by bakers as it allows the cake texture to remain soft and ready for frosting without needing to come back to room temperature. Ensure the environment is cool (ideally below 70°F or 21°C) and dry.
Store the double-wrapped cake layers in a cool, dark place away from direct sunlight or heat sources like ovens. A pantry or a counter corner away from appliances works well. Avoid storing them in airtight containers without proper wrapping, as this can trap moisture and make the cake soggy or sticky. The key is the airtight wrap preventing air exposure while allowing the cake to breathe slightly through the wrap itself.
Refrigerating Cake Layers: Maintaining Moisture
Refrigerating cake layers is suitable if you need to store them for a few days (up to about 5-7 days) or if your kitchen is very warm. This is also essential for cakes containing perishable ingredients in the batter (though most standard cake batters don't). Refrigeration slows down the staling process compared to room temperature.
Ensure the cake layers are thoroughly double-wrapped as described before placing them in the refrigerator. The cold air in a fridge can be very drying, so a tight, airtight seal is paramount. Store the wrapped layers on a flat surface in the fridge. While refrigeration can slightly alter the texture of some cakes, bringing them back to room temperature before frosting or serving usually helps restore softness.
Freezing Cake Layers: Long-Term Storage Solutions
Freezing is the best option if you need to store cake layers for longer periods, typically up to 2-3 months. This method effectively halts the staling process and preserves the cake's freshness remarkably well. Many bakers swear by freezing, finding that the thawing process can even improve the cake's moisture slightly.
Preparing Cake Layers for Freezing
Follow the same steps for cooling and double-wrapping each cake layer individually using plastic wrap and then aluminum foil. Ensure the wrapping is as airtight as possible to prevent freezer burn, which appears as dry, discolored spots. It's helpful to place the wrapped layers in a freezer-safe zip-top bag or airtight container for an extra layer of protection and to prevent them from getting squashed. Label clearly with the date.
Place the prepared layers flat in the freezer until they are solid. Once frozen solid, they can be stacked to save space. Freezing cake layers several weeks in advance is a fantastic way to spread out your birthday cake preparation, making the decorating process much less stressful closer to the event. This is a popular method when considering how to store birthday cake components long-term.
Thawing Frozen Cake Layers Correctly
Thawing frozen cake layers requires patience to avoid condensation and maintain texture. The best method is to transfer the double-wrapped cake layer from the freezer to the refrigerator and let it thaw slowly overnight, or for at least 8-12 hours depending on size. Keep the cake wrapped while thawing in the fridge.
Once thawed in the refrigerator, you can unwrap the cake layers and let them sit at room temperature for 30-60 minutes before assembling and frosting. Thawing slowly in the fridge minimizes the temperature shock and prevents excessive condensation from forming on the cake surface, which could make it sticky or difficult to frost smoothly. Avoid thawing at room temperature directly from the freezer, as this can cause rapid condensation.
Storing Frosted Birthday Cake: Keeping it Beautiful
Once your birthday cake is assembled and frosted, storage becomes slightly different, as you need to protect the frosting and decorations while keeping the cake itself fresh. The best storage method often depends on the type of frosting used and the cake's components.
Storing Cakes with American Buttercream Frosting
Cakes frosted with traditional American buttercream (made from butter, powdered sugar, and milk/cream) are quite stable. They can typically be stored at cool room temperature (ideally below 70°F or 21°C) for 2-3 days if the filling is also non-perishable. Use a cake dome or an airtight cake carrier to protect the frosting from air and dust.
If your kitchen is warm or you need to store the cake longer, refrigeration is necessary. Place the cake in an airtight cake carrier. If you don't have a carrier, you can chill the frosted cake uncovered in the fridge for about 15-20 minutes until the frosting is firm, then loosely wrap the entire cake in plastic wrap before returning it to the fridge. This prevents the plastic wrap from sticking to the soft frosting. Refrigerated American buttercream cakes are best consumed within 5-7 days.
Storing Cakes with Cream Cheese Frosting
Cakes frosted with cream cheese frosting must be refrigerated because cream cheese is a dairy product and is perishable. This applies regardless of whether the cake itself could be stored at room temperature. Always store cakes with cream cheese frosting in an airtight container or cake carrier in the refrigerator.
Cream cheese frosting is softer than American buttercream, so chilling the cake briefly uncovered to set the frosting before covering it can be beneficial. Refrigerated cakes with cream cheese frosting are best enjoyed within 5-7 days. Always bring the cake to room temperature for 30-60 minutes before serving for the best flavor and texture of both the cake and the frosting.
Storing Cakes with Swiss Meringue Buttercream Frosting
Swiss meringue buttercream (SMB), Italian meringue buttercream (IMBC), and French meringue buttercream (FMBC) are generally more stable at room temperature than American buttercream, but they still contain butter and eggs (or egg whites). While some sources say they can be left at cool room temperature for 1-2 days, refrigeration is the safest option, especially in warmer climates or if storing for longer.
Store cakes with meringue-based buttercreams in an airtight cake carrier in the refrigerator. Like American buttercream, chilling briefly uncovered can help set the exterior before covering. These cakes keep well in the fridge for about a week. Meringue buttercreams can feel quite firm straight from the fridge, so allowing the cake to sit at room temperature before serving is essential for the best consistency.
Protecting Delicate Decorations During Storage [e.g., Sprinkles, Meringue Kisses]
Decorations like delicate sugar work, meringue kisses, or even certain types of sprinkles can be affected by moisture and temperature changes during storage. Meringue kisses, for instance, can become soft and sticky in humid conditions or the refrigerator. Sugar decorations can melt.
- Sprinkles: Some sprinkles, particularly nonpareils or jimmies, can bleed color onto the frosting, especially with moisture or over time. Apply these decorations closer to serving time if possible. If applying ahead, ensure the frosting is well-set and the cake is stored in a cool, dry environment (refrigerated if necessary, but be mindful of condensation).
- Meringue Kisses/Cookies: These are highly sensitive to humidity. If using them as decoration, it's best to add them just before serving. If they must be stored on the cake, keep the cake in a cool, dry place. Refrigeration can make them sticky; room temperature storage (if safe for the cake/frosting) in an airtight container is preferable for the meringue itself, but balance this with the needs of the cake.
- Fondant/Gum Paste: These are generally stable but can "sweat" when moved from a cold to warm environment. Store fondant-covered cakes at room temperature if the filling/cake allows, or refrigerate and allow to come to temperature slowly in the box to minimize condensation.
Using a tall cake carrier is often the best way to protect decorations from getting smudged or knocked off during storage and transport, regardless of the storage location.
Tips for Maintaining Birthday Cake Freshness
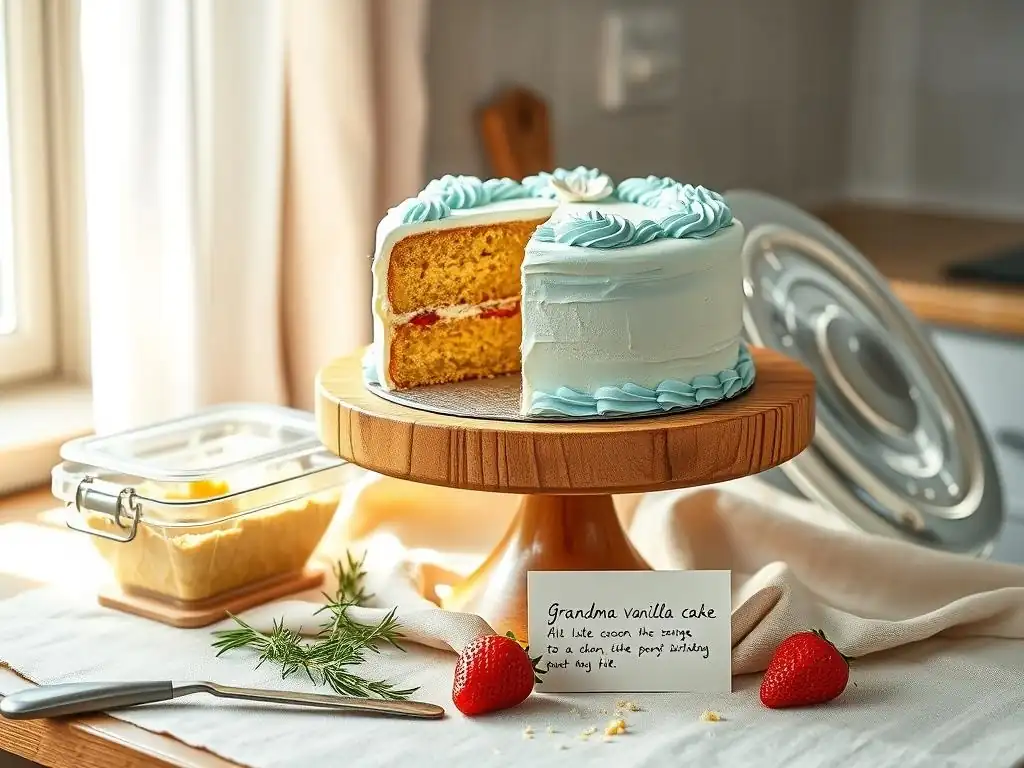
Beyond the basic wrapping and storage location, a few extra tips can help ensure your birthday cake tastes its absolute best when it's time to celebrate. These methods focus on controlling the cake's environment. Knowing how to store birthday cake effectively means addressing these subtle factors.
Controlling Humidity During Storage
Humidity is a silent enemy of cake freshness, affecting both the cake itself and the frosting/decorations. Too much humidity can make cakes soggy and frostings sticky, while too little can dry them out. The airtight wrapping and containers are the primary defense against external humidity fluctuations.
When storing in the refrigerator, which is a dry environment, the airtight seal prevents the cake from losing moisture. When storing at room temperature, especially in humid climates, the airtight container helps shield the cake from absorbing excess moisture from the air. Avoid opening the storage container unnecessarily.
Preventing Cake from Drying Out
The number one cause of a dry cake is exposure to air. This is why proper wrapping is emphasized so heavily for cake layers. For frosted cakes, using an airtight cake carrier or wrapping the chilled cake is essential. Cut surfaces are particularly vulnerable to drying.
If you've already cut into the cake, press a piece of plastic wrap directly onto the exposed cake surface before covering the cake. This minimizes air contact with the cut edges. For a whole cake, ensure the lid of the cake carrier fits snugly. These simple steps significantly extend the cake's moist texture.
Protecting Against Unwanted Odors
Cakes, especially those stored in refrigerators, can easily absorb strong odors from other foods. Garlic, onions, or even leftovers can impart unpleasant flavors to your delicate cake. This is another critical reason for using airtight wrapping and containers.
Ensure your cake is stored in a clean environment free from strong smells. An airtight cake carrier provides a physical barrier against odors circulating in the fridge. If storing layers or components, dedicated airtight bags or containers alongside the wrapping offer maximum protection.
Assembling Your Birthday Cake After Storage
Once your cake layers have been properly stored and thawed (if frozen), they are ready for assembly and decoration. Working with chilled or slightly cool layers makes this process much cleaner and easier than using fresh, room-temperature ones.
Preparing Your Stored Cake Layers for Assembly
If your cake layers were refrigerated or frozen and thawed in the fridge, take them out about 30-60 minutes before you plan to assemble. This allows them to lose their chill slightly, making them easier to handle and preventing the frosting from seizing up too much on contact. Keep them wrapped during this brief period if condensation is a concern.
Before stacking, it's often helpful to level the cake layers using a serrated knife or cake leveler. Chilled layers are much firmer and easier to level cleanly than soft room-temperature ones. Brush away any loose crumbs after leveling.
Frosting a Cake After Storage: Achieving a Smooth Finish
Frosting chilled or slightly cool cake layers is a baker's secret weapon for achieving a smooth finish. The cool surface helps the frosting set quickly on contact, preventing the layers from sliding and minimizing crumbs from tearing into your frosting.
Apply a thin crumb coat first – a layer of frosting that traps any loose crumbs. Chill the cake again for 15-30 minutes until the crumb coat is firm. Then, apply the final, thicker layer of frosting. The firm crumb coat provides a smooth base, making it much easier to get a professional-looking finish.
Decorating Your Cake After Storage: Tips for Success
With the cake assembled and frosted, you can proceed with decorations. If you've stored delicate decorations separately (like meringue kisses), add them now. For piping details, ensure your frosting is at the right consistency – not too cold (which makes it stiff) and not too warm (which makes it runny).
Working with a chilled, crumb-coated cake provides a stable canvas for piping borders, writing messages, or applying sprinkles. If applying sprinkles to the sides, the slightly firm frosting makes them adhere well. Remember to apply decorations sensitive to moisture or time closer to the serving moment if your storage plan involved refrigeration or high humidity.
Troubleshooting Common Cake Storage Problems
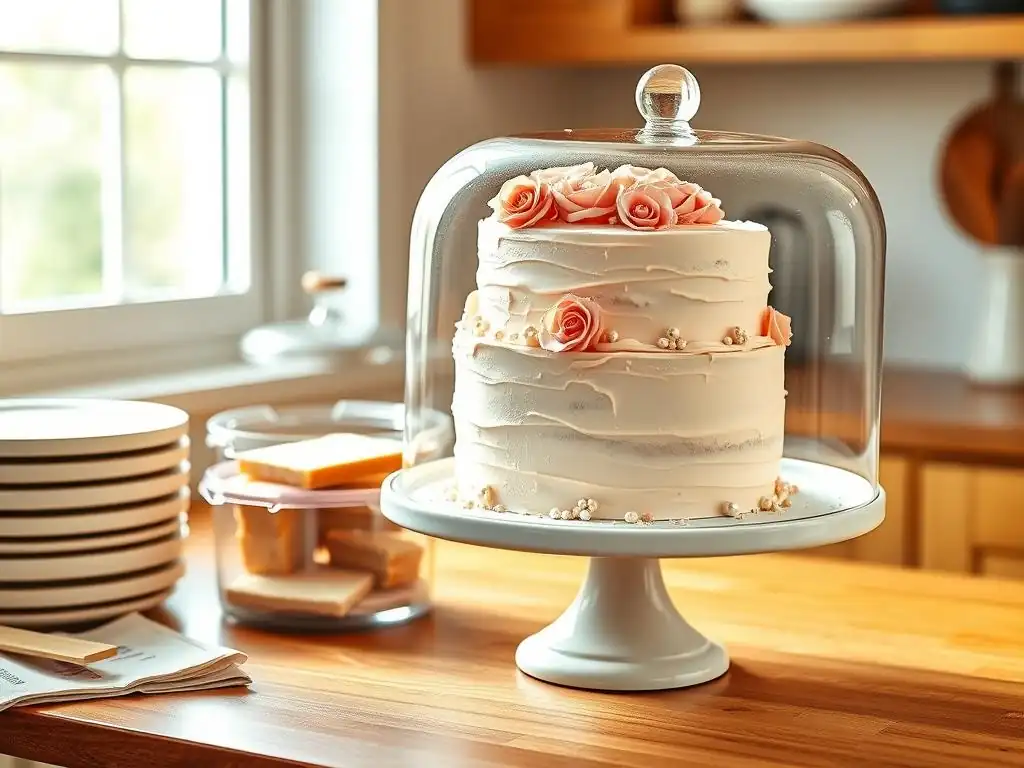
Even with the best practices, occasional issues can arise when storing cakes. Recognizing and knowing how to address them can save your birthday masterpiece.
Dealing with Sticky Frosting
Sticky frosting is often caused by excessive moisture, either from condensation (especially when moving a cold cake to a warm, humid environment) or from the frosting itself being too soft or having too much liquid/sugar.
- If due to condensation: Allow the cake to sit at room temperature in its box/carrier. As it slowly warms up, the condensation may reabsorb or evaporate. Avoid touching it while sticky.
- If the frosting recipe was off: If the frosting is just too soft, chilling the cake can help firm it up. If it's sticky from humidity, sometimes a light dusting of cornstarch (very carefully applied to non-visible areas) can help, but this is a last resort. Ensuring the cake is properly covered and not exposed to fluctuating temperatures is key to preventing this.
Preventing Soggy Cake
Soggy cake layers usually result from being wrapped or stored while still warm, trapping steam and creating condensation. They can also become soggy if stored in a very humid environment without adequate protection, or if a filling or frosting is seeping into the cake.
- Always cool cake layers completely before wrapping.
- Ensure airtight wrapping to prevent external moisture absorption.
- If a filling is very moist, consider applying a thin layer of frosting as a barrier on the cake layer before adding the filling.
- Avoid storing cakes directly on surfaces that might hold moisture.
Addressing Freezer Burn
Freezer burn appears as dry, discolored patches on the surface of frozen cake layers. It happens when air reaches the cake surface, causing ice crystals to form and the cake's moisture to sublimate (turn directly into gas), drying out that area.
- The best way to prevent freezer burn is thorough, airtight double-wrapping using plastic wrap and aluminum foil, followed by storage in a freezer bag or container.
- Remove as much air as possible from the wrapping and bags.
- Ensure the freezer temperature is consistent and cold enough (ideally 0°F or -18°C).
- If a layer has minor freezer burn, you can sometimes carefully slice off the affected area before assembly, though severe freezer burn can impact flavor and texture.
Serving Your Pre-Baked Birthday Cake
The moment of truth! Serving a cake that was baked ahead should be a seamless experience, resulting in a delicious and fresh-tasting treat for the birthday person and guests. A little preparation before slicing makes a big difference.
Bringing Your Cake to Room Temperature Before Serving
This is a crucial step for most cakes, especially those that have been refrigerated. Cold cake and cold frosting don't offer the best flavor or texture experience. Butter-based cakes and buttercreams can be firm and less flavorful when cold.
For refrigerated cakes, take them out of the fridge about 30-60 minutes before you plan to serve. Keep the cake covered during this time to manage condensation as it warms up. This allows the cake layers to soften slightly and the frosting's flavors and texture to become ideal for serving. For very large or dense cakes, this might take up to 1.5-2 hours.
Presentation Tips for a Freshly Baked Look
Even though your cake was baked ahead, you want it to look like it was just finished. Ensure the cake board or stand is clean. Use a sharp knife (dipped in hot water and wiped clean between slices) for clean cuts.
If any decorations were added last minute, ensure they are secure. A final dusting of powdered sugar (for some cake types) or placing fresh berries or edible flowers on top can add a touch of freshness right before presentation. The effort you put into learning how to store birthday cake components properly will pay off with a cake that looks and tastes spectacular.
Conclusion: Enjoy Your Stress-Free Birthday Celebration!
Baking a birthday cake ahead of time is a smart strategy that can significantly reduce stress and allow you to enjoy the celebration more fully. By understanding how to store birthday cake layers and frosted cakes correctly – mastering techniques like proper cooling, airtight wrapping, and choosing the right storage environment – you can ensure your cake remains wonderfully fresh, moist, and delicious. With these tips from BakeWithEase, you're well-equipped to bake, store, and serve a beautiful, tasty birthday cake that will be the perfect centerpiece for a memorable day. Happy baking and happy celebrating!
Frequently Asked Questions
How long can I store a birthday cake before it starts to go bad?
A birthday cake can typically be stored for 2-3 days at room temperature or up to a week in the refrigerator. Freezing extends its life to 2-3 months.
What's the best way to store a birthday cake at room temperature to maintain its freshness?
Store the cake in an airtight container or wrap it tightly in plastic wrap. Keeping it in a cool, dark place away from direct sunlight is also crucial.
Can I freeze a birthday cake, and if so, how do I do it properly?
Yes, you can! Wrap the cake tightly in multiple layers of plastic wrap followed by a layer of foil. This prevents freezer burn and maintains moisture.
What are some signs that a birthday cake has gone bad, even if it looks okay?
Look for changes in texture like dryness or sliminess, an unpleasant odor, or visible mold growth. These indicate spoilage.
Does the type of frosting on a birthday cake affect how it should be stored?
Yes, it does. Buttercream frosting can be stored at room temperature for a shorter time than, for example, cream cheese frosting, which requires refrigeration due to its dairy content to prevent spoilage and bacterial growth.
Final Reflection: The Enduring Sweetness of a Perfectly Stored Cake
The art of baking a birthday cake is only half the battle; preserving its deliciousness until the moment of celebration is equally crucial. A perfectly baked cake, left to its own devices, can quickly lose its moistness and vibrant flavor. This article has explored the practicalities of cake storage, offering solutions that ensure your culinary masterpiece remains a delightful experience, not a disappointing one.
The impact of a well-preserved cake extends far beyond mere taste; it's about the memories created around it. A perfectly stored cake contributes to the success of a celebration, ensuring that the joy of the occasion isn't marred by a stale or dry dessert. It's about the anticipation, the careful unwrapping, and the shared delight of a perfectly preserved treat. As the old adage goes, A cake is a celebration, a symbol of joy, and a delicious way to share happiness.
This simple truth underscores the importance of mastering the art of cake storage.
So, the next time you bake a birthday cake, remember the tips and tricks we've discussed. Consider the effort you've put into creating this special treat, and take the extra steps to ensure its freshness. Don't let a perfectly good cake go to waste! Embrace the knowledge you've gained, and let the enduring sweetness of your creation enhance the joy of every birthday celebration. Take pride in presenting a cake that is as delicious as it is beautifully preserved – a testament to your care and culinary skill.
Unlock Your Cake's Full Potential!
Thanks for joining us on this delicious journey into baking and preserving birthday cakes! You've now got the know-how to create a show-stopping cake that stays fresh and flavorful. Ready to put your new skills to the test?
- Bake a masterpiece this week! Use your newfound knowledge to create a celebratory cake, ahead of time, for a future birthday bash.
- Share your baking triumph! Post a picture of your perfectly preserved cake on social media and tag #BakeWithEaseBirthday. Let's inspire other bakers!
- Explore our other baking guides on bakewithease.com for even more delicious ideas.
What creative flavor combination will you try next for your ahead-of-time baking adventures?