
The Easiest Way to Color Your Buttercream Frosting

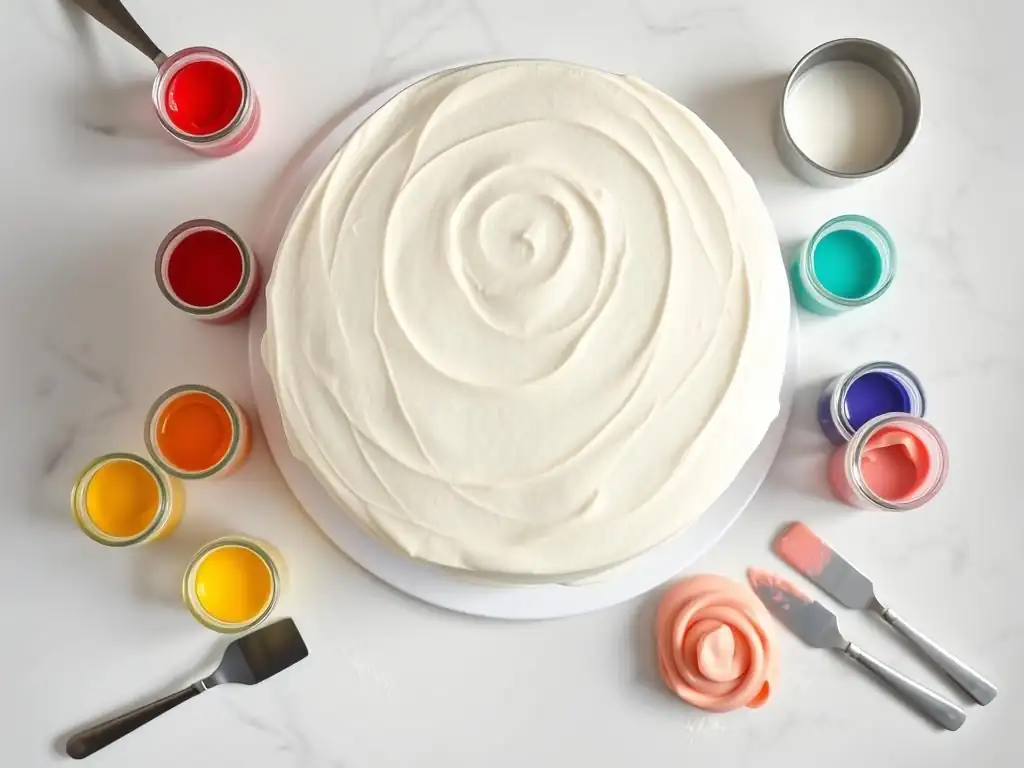
Welcome to BakeWithEase, your trusted guide to creating delightful treats! Ever wondered how to achieve vibrant, consistent colors in your frosting without the fuss? Dive in to discover our easiest buttercream frosting color tips and unlock a world of possibilities for your next baking masterpiece. Get ready to transform your desserts from simply delicious to visually stunning!
- Introduction to Easy Buttercream Frosting Color Tips for Birthday Cakes
- Understanding Buttercream Frosting and Its Coloring Basics
- Step-by-Step Guide to Coloring Buttercream Frosting Easily
- Tips for Achieving Vibrant and Consistent Buttercream Colors
- Creative Ideas for Using Colored Buttercream Frosting in Birthday Cake Decorating
- Troubleshooting Common Issues with Coloring Buttercream Frosting
- Conclusion: Mastering Easy Buttercream Frosting Color Tips for Stunning Birthday Cakes
-
Frequently Asked Questions
- How do I achieve vibrant colors in my buttercream without affecting its consistency?
- What's the best way to avoid a bitter taste when coloring buttercream frosting?
- Can I mix different types of food coloring together in buttercream?
- What are some natural alternatives for coloring buttercream frosting?
- How do I fix buttercream that's become too thin after adding color?
- Final Reflection: The Enduring Appeal of Vibrant Frosting
- Unleash Your Inner Cake Artist: Masterful Frosting Awaits!
Introduction to Easy Buttercream Frosting Color Tips for Birthday Cakes
Welcome to BakeWithEase, your guide to simpler, sweeter baking adventures! Decorating a birthday cake is one of the most joyful parts of baking for occasions, and vibrant frosting colors can turn a simple cake into a showstopper. Mastering easy buttercream frosting color tips is key to achieving stunning results without frustration, whether you're a beginner or looking to refine your technique. Forget the fear of muddy shades or inconsistent hues; we're here to break down the process into simple, manageable steps.
This article will walk you through everything you need to know about adding beautiful color to your buttercream. From understanding the different types of coloring agents available to step-by-step application methods and troubleshooting common issues, we'll cover it all. Our goal is to equip you with the knowledge and easy buttercream frosting color tips necessary to confidently create brightly colored, eye-catching birthday cakes and desserts that will delight everyone. Let's dive into the world of vibrant frosting!
Why Coloring Buttercream Frosting Matters in Baking for Occasions
Color plays a crucial role in setting the mood and theme for any celebration, especially birthday parties. A brightly colored cake can instantly capture attention and convey the spirit of the event, whether it's a whimsical pastel theme for a child's first birthday or bold, dramatic hues for a milestone celebration. The visual impact of a well-decorated cake is often as memorable as its taste, making the ability to achieve beautiful frosting colors an essential skill for any baker specializing in occasion cakes.
Beyond aesthetics, using color in buttercream frosting allows for incredible personalization. You can match the frosting color to party decorations, a favorite character, school colors, or simply the recipient's favorite shade. This level of customization makes the birthday cake truly unique and shows the effort and care put into the celebration. Mastering easy buttercream frosting color tips means you have the creative freedom to bring any vision to life, transforming simple buttercream into a canvas for edible art that perfectly suits the specific birthday boy or girl.
Overview of Simple Techniques to Achieve Perfect Frosting Colors
Achieving perfect frosting colors doesn't require complex techniques or expensive equipment. The most effective methods focus on selecting the right type of coloring agent, understanding how it interacts with buttercream, and adding it gradually. Gel food coloring, for instance, is highly concentrated and a popular choice among bakers because it requires only a small amount to produce vibrant colors, minimizing the risk of altering the buttercream's consistency. Liquid colors are more dilute and might be better suited for very light shades or when you need to add a significant amount of liquid for specific recipes.
Another simple technique involves starting with a small amount of color, thoroughly mixing it in, and then incrementally adding more until the desired shade is achieved. This prevents accidentally over-coloring the entire batch. Using a clean spoon or toothpick to transfer color from the container to the frosting bowl helps prevent contamination and allows for precise measurement, which is one of the most valuable easy buttercream frosting color tips you can learn. Gentle mixing is also key; overmixing can incorporate too much air, potentially affecting the frosting's texture and how the color appears.
Understanding Buttercream Frosting and Its Coloring Basics
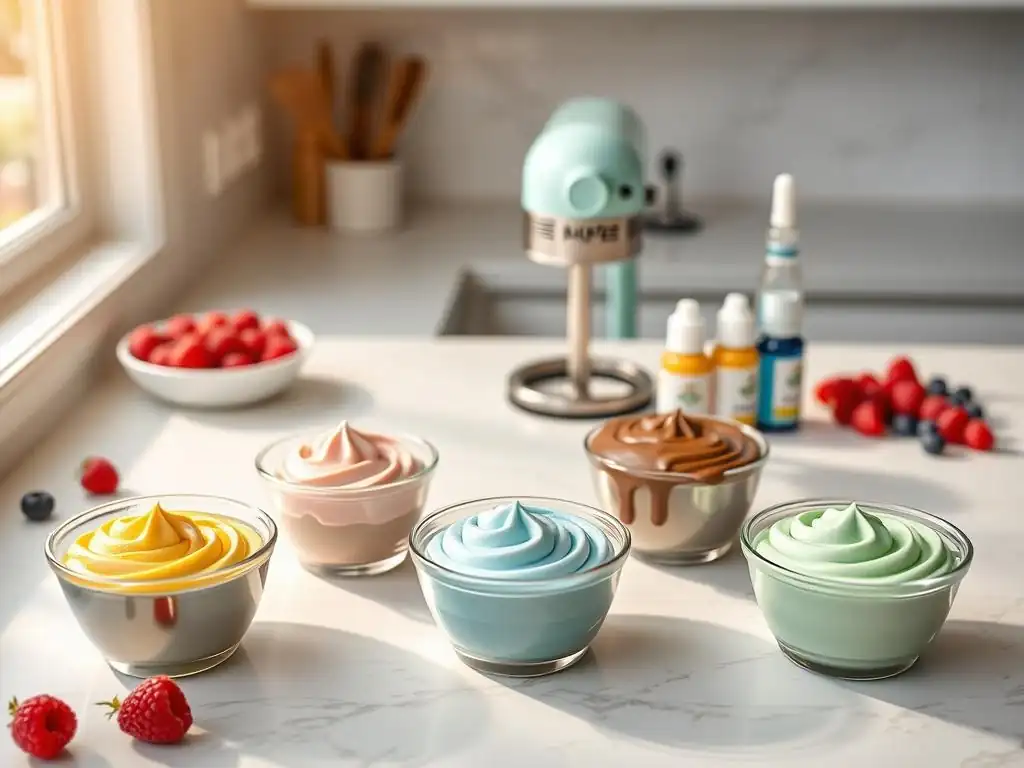
Buttercream frosting is a versatile and delicious option for decorating cakes and cupcakes. Its smooth, creamy texture provides an excellent base for adding color. However, not all buttercreams are created equal when it comes to taking on vibrant hues. Understanding the composition of different buttercream types is the first step in mastering easy buttercream frosting color tips. The fat content (butter) and liquid content (milk, cream, meringue base) play significant roles in how the color disperses and the final shade you achieve.
The basics of coloring buttercream involve introducing a food-safe pigment into the frosting and mixing it evenly. The goal is to distribute the color throughout the mixture without negatively impacting the texture or taste. Different coloring agents behave differently when mixed with buttercream, and knowing these characteristics is crucial for predictable results. For example, some colors deepen over time, while others might fade slightly. Proper technique ensures that the color is consistent throughout the batch and ready for decorating.
Types of Buttercream Suitable for Coloring
American buttercream, made from butter, powdered sugar, and a liquid (like milk or cream), is arguably the easiest type of buttercream to color. Its dense, stable structure and high sugar content readily accept various coloring agents, particularly gels and pastes, without becoming too thin. A standard batch for an 8-inch cake might use 1 cup of butter and 4 cups of powdered sugar, resulting in a fairly thick consistency that holds color well. This makes it a top choice for beginners focusing on easy buttercream frosting color tips.
Swiss meringue buttercream and Italian meringue buttercream, which use a meringue base, also color beautifully but can sometimes require a slightly different approach. These buttercreams tend to be lighter and airier due to the whipped egg whites.
While they take color well, especially gels, care must be taken not to overmix, which can deflate the meringue. French buttercream, made with egg yolks, has a rich yellow hue from the yolks, which can affect the final color outcome, making it less ideal for achieving true, bright shades like pure white or vibrant blues without using significant amounts of coloring or specialized white coloring agents.
Common Coloring Agents for Buttercream: Gels, Liquids, and Powders
Gel food coloring is the most popular choice for coloring buttercream due to its high concentration and minimal moisture content. A tiny drop, often just 1/4 teaspoon for a standard batch of frosting (enough for about 12 cupcakes), can produce intense, vibrant colors. Brands like Wilton, Americolor, and Chefmaster are widely available and come in a vast spectrum of shades. Gels are less likely to thin out your buttercream compared to liquid colors, preserving its texture for piping and spreading. This is a key advantage when practicing easy buttercream frosting color tips.
Liquid food coloring, typically found in grocery stores, is less concentrated and contains more water or alcohol. While inexpensive and easy to find, you need to use a larger quantity to achieve bright colors, which can sometimes make the buttercream thinner. They are best suited for pale shades or when a subtle tint is desired.
Powdered food coloring is highly concentrated and free of liquid, making it excellent for delicate applications or when moisture is a concern. However, it needs to be mixed with a small amount of liquid (like extract or vodka) or directly into the dry ingredients (like powdered sugar before adding butter) for even dispersion, which adds an extra step compared to using gels.
How Buttercream Consistency Affects Color Absorption
The consistency of your buttercream frosting significantly impacts how well it absorbs and displays color. A properly prepared batch, typically smooth and creamy with a spreadable yet pipeable texture (like soft-serve ice cream), will take color evenly. If the buttercream is too stiff (perhaps from being too cold), the color might not mix in smoothly, resulting in streaks. Conversely, if it's too thin (maybe from being too warm or having too much liquid added), adding more liquid-based color can worsen the problem, making it difficult to achieve vibrant shades without compromising texture.
Temperature also plays a role. Buttercream that is slightly cooler than room temperature (around 70°F or 21°C) is usually the ideal consistency for coloring. If it's too warm, the butter may be too soft, leading to a greasy texture where the color doesn't incorporate smoothly. If it's too cold, it will be too firm to mix the color effectively without overworking it. Ensuring your buttercream is at the right consistency before adding color is one of the most fundamental easy buttercream frosting color tips.
Step-by-Step Guide to Coloring Buttercream Frosting Easily
Coloring buttercream doesn't have to be intimidating. By following a simple process, you can achieve beautiful, consistent colors every time. This step-by-step guide focuses on making the process straightforward and stress-free, perfect for anyone looking for easy buttercream frosting color tips. We'll cover preparing your frosting, choosing colors, adding them correctly, and mixing effectively.
Preparing Your Buttercream for Coloring: Texture and Temperature Tips
Before adding color, ensure your buttercream is at the correct temperature and consistency. American buttercream should be smooth, lump-free, and easily spreadable with a spatula, holding soft peaks when lifted. If it's too stiff, beat it on low speed for a minute or two to loosen it up. If it's too soft, refrigerate it for 10-15 minutes, then give it a quick whip. The ideal temperature for coloring is typically around 70°F (21°C) – cool enough to be stable but warm enough to be pliable.
For meringue-based buttercreams, ensure they are smooth and emulsified, without any visible separation of butter and meringue. If it looks curdled, keep beating on medium speed; it should come together. The texture should be light and fluffy. Like American buttercream, a slightly cool room temperature is best. Having the right starting consistency is paramount; it ensures the color mixes in evenly without requiring excessive beating, which can introduce too much air or affect the texture negatively.
Choosing the Right Color Shades for Birthday Cakes and Desserts
Selecting the right color shades is crucial for creating visually appealing birthday cakes. Consider the party theme, the recipient's favorite colors, and the overall aesthetic you want to achieve. For bright, cheerful cakes, primary colors like red, blue, and yellow are popular choices, often used in vibrant hues. Pastel shades, like soft pinks, baby blues, and mint greens, are perfect for delicate or whimsical designs, often used for smash cakes or baby's first birthday.
Think about how colors will look together. A color wheel can be a helpful tool for choosing complementary or analogous colors that work well side-by-side. For example, using shades of blue and orange together creates a bold contrast, while shades of blue and green offer a more harmonious, calming effect. When planning a multi-color design, estimate the amount of buttercream you'll need for each color before you start coloring to avoid running out of a specific shade mid-decoration.
How to Add Color Gradually for Desired Intensity
The most important rule when coloring buttercream is to add color gradually. You can always add more color, but it's very difficult to lighten a color that has become too dark. Start with a very small amount, especially when using concentrated gel colors – often just a tiny dab on a toothpick is enough for a test batch or a light shade. Mix it in thoroughly to see the true color before adding more.
For a batch of frosting sufficient for a standard 8-inch cake (about 4-6 cups), you might start with 1/4 teaspoon of gel color for a medium shade. For deep, vibrant colors like red or black, you will need significantly more, potentially 1-2 tablespoons or even more, depending on the brand and desired intensity. Add color incrementally, mixing after each addition, until you reach a shade slightly lighter than your target color. Remember that colors often deepen slightly as they sit.
Mixing Techniques to Avoid Overmixing and Achieve Even Color
Once the color has been added, the goal is to mix it in evenly without overworking the buttercream. Use a spatula or a stand mixer on low speed. Gentle folding with a spatula is excellent for smaller batches or when you want to maintain a very light, airy texture (like with meringue buttercreams). For larger batches, a stand mixer on the lowest speed setting is efficient. Scrape down the sides and bottom of the bowl frequently to ensure all the buttercream is uniformly colored.
Avoid beating the frosting on high speed after adding color. Excessive beating can incorporate too much air, which might make the frosting look bubbly or affect its stability for piping intricate designs. It can also sometimes cause the color to look less saturated. Mix just until the color is streak-free and evenly distributed. This usually takes only a minute or two on low speed. Stopping mixing as soon as the color is uniform is a key tip for achieving professional-looking, easy buttercream frosting colors.
Tips for Achieving Vibrant and Consistent Buttercream Colors
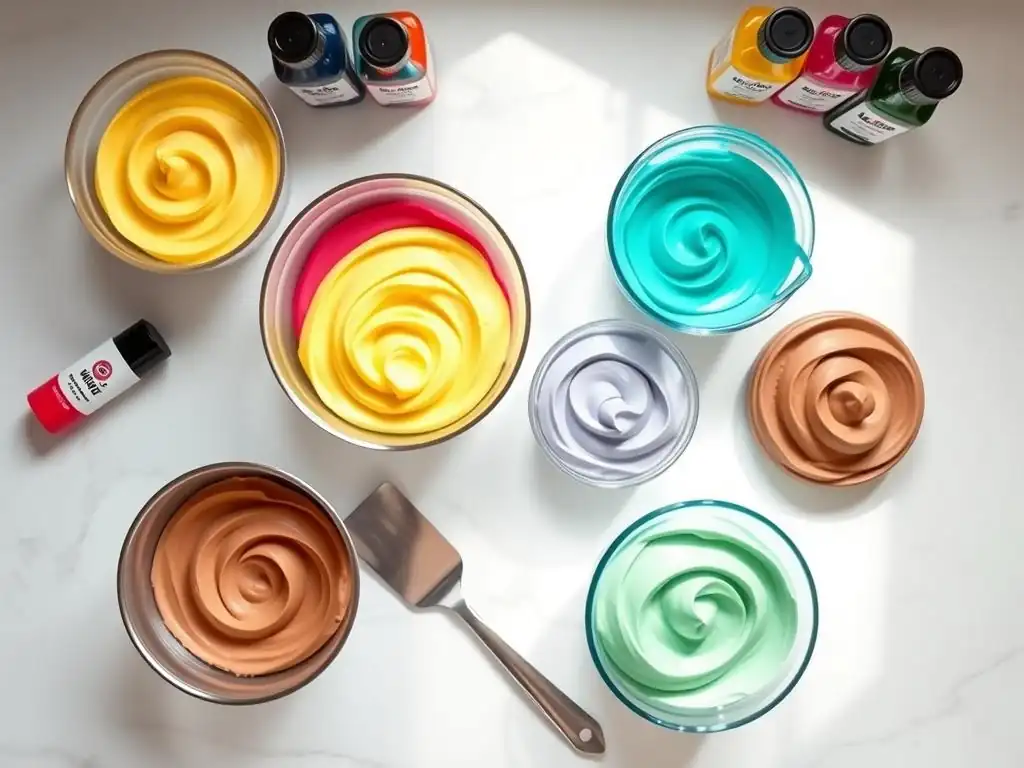
Achieving truly vibrant and consistent colors can sometimes be challenging, but with a few extra tips, you can elevate your frosting game. Consistency across batches and preventing unwanted color changes are crucial for successful cake decorating, especially when working on multi-tiered or elaborate designs. These tips go beyond the basics to help you get the best results from your colored buttercream.
One common issue is achieving deep, rich colors like true red, navy blue, or black without using excessive amounts of coloring that might affect the taste or texture. Often, these deep colors require a significant amount of dye. Using high-quality, concentrated gel colors specifically designed for vibrant results is essential.
For challenging colors like red, starting with a pink shade and gradually adding red can be more effective than trying to build red from a white base. For black, starting with a dark brown or even a deep blue or purple base and adding black can help achieve a true black with less dye.
Using Natural vs. Artificial Food Coloring in Buttercream
Artificial food colorings, primarily gels and liquids, are known for their vibrant, consistent results and ease of use. They offer a wide spectrum of intense colors with minimal amounts needed, making them the go-to choice for many bakers aiming for bright, bold frosting. The consistency of artificial dyes ensures that if you use the same amount from the same brand, you'll likely get the same color result each time, which is helpful for planning and replicating designs.
Natural food colorings, derived from sources like fruits, vegetables, and spices (e.g., beet powder for red, spirulina for blue, turmeric for yellow), offer an alternative for those seeking to avoid artificial dyes. However, they can be less vibrant, less stable, and may impart subtle flavors to the buttercream. Achieving intense shades often requires larger quantities, which can affect the frosting's texture and potentially introduce unwanted moisture. For easy buttercream frosting color tips focused on vibrancy and consistency, artificial gels are generally more reliable.
How to Prevent Color Bleeding in Multicolor Frosting Designs
Color bleeding occurs when colors migrate into each other, blurring the lines between different sections of frosting. This is particularly challenging in designs using contrasting colors side-by-side, such as stripes or distinct sections of different hues on a birthday cake. While complete prevention can be difficult, especially in humid conditions, there are ways to minimize it.
One effective technique is to allow the colored buttercream to crust slightly before adding another color next to it, if using a recipe that crusts (like American buttercream). Refrigerating the cake for 15-30 minutes after applying one color section can help firm it up. Another tip is to use highly concentrated gel colors, as they contain less moisture than liquids. Additionally, applying colors quickly and cleanly with piping bags and tips can help reduce contact points where bleeding might start. Storing the finished cake in a cool, dry place is also crucial.
Storing Colored Buttercream Without Color Changes
Proper storage is essential to maintain the vibrant, consistent color of your buttercream. Colored buttercream can be stored in an airtight container in the refrigerator for up to two weeks or frozen for several months. When refrigerating, cover the surface of the frosting directly with plastic wrap before putting the lid on the container to prevent a crust from forming and to minimize exposure to air, which can sometimes affect certain colors.
When ready to use refrigerated or frozen buttercream, allow it to come to room temperature gradually. Once thawed (if frozen) or softened, re-whip it on low speed for a few minutes. This will restore its smooth, creamy texture and re-distribute the color evenly. You may find that some colors, particularly red and blue, can deepen slightly after storage, especially freezing. This is a natural occurrence with some dyes and is something to anticipate, particularly when aiming for very specific shades.
Creative Ideas for Using Colored Buttercream Frosting in Birthday Cake Decorating
Once you've mastered the art of coloring buttercream, a world of creative possibilities opens up for decorating birthday cakes and desserts. Colored frosting is the foundation for countless designs, from simple swirls to elaborate patterns. These ideas will inspire you to use your beautifully colored buttercream to create stunning edible masterpieces that are as fun to look at as they are to eat.
Experimenting with different piping tips is one of the easiest ways to showcase colored buttercream. A simple round tip can create perfect dots or smooth lines, while a star tip can produce classic swirls and rosettes. Using different colored buttercreams in separate piping bags allows you to switch between colors easily or even pipe multiple colors simultaneously from a single bag using clever techniques.
Popular Color Combinations for Birthday Cakes and Party Themes
Choosing the right color combinations can instantly set the tone for a birthday celebration. For children's parties, bright and playful combinations like primary colors (red, blue, yellow) or rainbow palettes are perennial favorites. A superhero theme might use bold reds, blues, and blacks, while a princess party often calls for soft pinks, purples, and whites. For a unicorn theme, pastel shades of pink, purple, blue, and yellow are perfect.
For adult birthdays, the possibilities are endless and can range from elegant and sophisticated to fun and quirky. Jewel tones like emerald green, sapphire blue, and ruby red are popular for more formal celebrations. Metallics (achieved with edible dust mixed into extract or with specialized metallic food coloring) like gold and silver paired with deep colors add a touch of glamour. Consider combining analogous colors (like blues and greens) for a harmonious look or complementary colors (like purple and yellow) for a high-contrast, energetic feel. For a sports fan, team colors are a must!
Techniques to Create Ombre and Marbled Buttercream Effects Easily
Ombre and marbled effects are popular techniques that use colored buttercream to create visually dynamic designs. An ombre effect transitions smoothly from one color shade to another, typically from dark to light or from one color to a related one (like blue to green). To create this, you'll need several bowls of the same base buttercream, colored in gradually increasing intensities of the same hue.
For example, for a blue ombre, you'd have one bowl of very light blue, one medium blue, and one dark blue. These are then applied to the cake in layers, blending them gently as you go.
Marbled buttercream creates a swirl of different colors. This is one of the easiest buttercream frosting color tips for a quick, impressive effect. Simply dollop spoonfuls of different colored buttercreams onto a sheet of plastic wrap. Roll the plastic wrap into a log, then snip off one end. Place this log inside a piping bag fitted with your desired tip. As you pipe, the colors will swirl together, creating a beautiful marbled pattern. You can use two, three, or even more colors for marbling.
Decorating Tips to Showcase Your Colored Buttercream on Cakes and Cupcakes
Using different decorating tips allows you to transform colored buttercream into various shapes and textures. A simple round tip (like Wilton 1A or 12) is perfect for smooth coverage, dots, or writing. Star tips (like Wilton 1M or 2D) create classic swirls on cupcakes or rosettes on cakes. A petal tip (like Wilton 104) can be used to create ruffles or floral effects.
When using multiple colors, piping bags are your best friend. You can prepare several bags, each filled with a different colored buttercream, making it easy to switch between colors for stripes, polka dots, or intricate patterns. For filling a piping bag neatly, place it point-down in a tall glass and fold the top edge over the rim before spooning in the frosting. This keeps the outside of the bag clean. Applying even pressure as you pipe is key to achieving consistent shapes and designs with your beautifully colored frosting.
Troubleshooting Common Issues with Coloring Buttercream Frosting
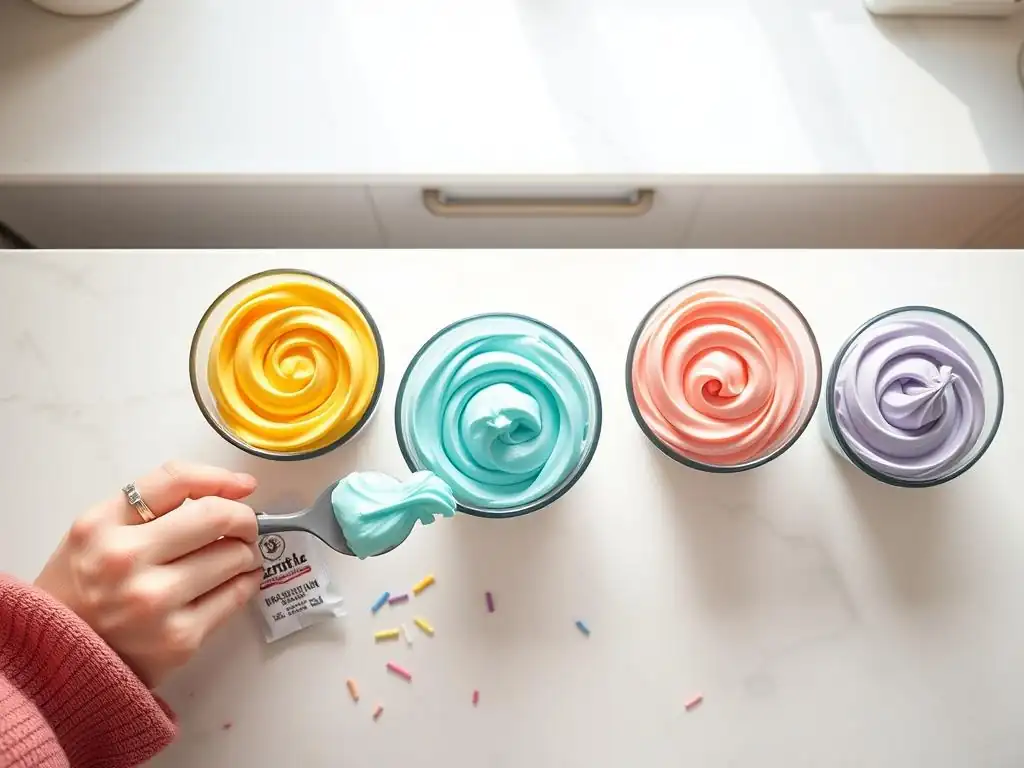
Even with easy buttercream frosting color tips in hand, you might occasionally encounter challenges. Understanding how to troubleshoot common issues can save your batch of frosting and ensure your birthday cake decorating goes smoothly. Don't despair if your color isn't exactly right or the texture seems off after adding dye; most problems have simple solutions.
Common issues include the color turning out too dark or too light, the frosting becoming grainy or separated, or difficulty achieving the same color when using different buttercream recipes. These problems often arise from inconsistencies in mixing, temperature, or the type/amount of coloring used. Addressing them usually involves simple adjustments to the frosting or the coloring process.
What to Do If Buttercream Color Turns Too Dark or Too Light
If your buttercream color is too dark, the easiest way to lighten it is to add more plain (uncolored) buttercream. Prepare an additional batch or use some reserved plain frosting and gradually mix it into the overly dark color until you reach the desired shade. This requires having extra plain buttercream on hand, so it's a good practice to reserve a small amount before coloring the main batch, especially if you're unsure about the final color intensity.
If the color is too light, simply add more coloring agent, following the gradual addition technique discussed earlier. Add a tiny amount, mix thoroughly, evaluate, and repeat until the desired intensity is reached. Remember that gel colors deepen as they sit, so aim for a shade slightly lighter than your final goal if time allows for the color to develop.
Fixing Grainy or Separated Buttercream After Adding Color
Sometimes, adding coloring, especially liquids or large amounts of gel paste, can slightly alter the texture of your buttercream, potentially making it appear grainy or even separated (curdled). This can happen if the temperature changes rapidly or if the dye isn't fully emulsified. For American buttercream, if it looks grainy from undissolved powdered sugar or dye, beating it on low speed for a few minutes can help smooth it out. Adding a tablespoon of milk or cream might also help, but be cautious not to make it too thin.
For meringue-based buttercreams that look separated after adding color, the solution is often simply to keep beating it. Return the bowl to the stand mixer and beat on medium speed for several minutes. The warmth generated by the friction of the whisk can help the butter re-emulsify with the meringue. It might look worse before it gets better, but typically, it will come back together into a smooth, fluffy frosting. If it's still not coming together, chilling the bowl slightly (5-10 minutes in the fridge) and then beating again can sometimes help.
How to Adjust Color When Using Different Buttercream Recipes
Different buttercream recipes can take color differently due to variations in ingredients and ratios. For example, a recipe with more butter might appear slightly more yellow, affecting the final shade of colors like blue or purple. Recipes with more liquid might require less liquid coloring but can handle more concentrated gels easily. The amount of powdered sugar also affects the base color and consistency.
When trying a new buttercream recipe, it's a good idea to test the color on a small amount of frosting first. Take a tablespoon or two of the plain buttercream and add a tiny amount of color to see how it behaves and what intensity you achieve.
This small test batch allows you to adjust the amount of coloring needed for the full batch without potentially wasting a large quantity of frosting. Keep notes on how much color you used per cup of frosting for future reference, especially when using your favorite easy buttercream frosting color tips with a go-to recipe.
Conclusion: Mastering Easy Buttercream Frosting Color Tips for Stunning Birthday Cakes
Mastering easy buttercream frosting color tips is a skill that significantly enhances your ability to create beautiful and personalized birthday cakes and desserts. By understanding the basics of buttercream and coloring agents, using gradual addition techniques, and employing simple mixing methods, you can achieve vibrant, consistent colors every time. These techniques are accessible to bakers of all levels and are the foundation for countless creative decorating possibilities.
Whether you're aiming for bold, bright hues or soft, subtle pastels, the principles remain the same: choose the right coloring agent, prepare your buttercream correctly, add color incrementally, and mix gently. Troubleshooting is also part of the process, and knowing how to fix common issues ensures that minor setbacks don't derail your decorating plans. Armed with these easy buttercream frosting color tips, you are well-equipped to transform plain frosting into a colorful medium for edible art.
Recap of Best Practices for Quick and Beautiful Buttercream Coloring
To recap the best practices for quick and beautiful buttercream coloring, always start with buttercream at the correct temperature and consistency. Use high-quality, concentrated gel food coloring for the most vibrant results with minimal impact on texture. Add color in small increments, mixing thoroughly after each addition until the desired shade is achieved, remembering that colors may deepen slightly over time. Mix gently using a spatula or low speed on a mixer to avoid overworking the frosting.
For multi-color designs, plan your colors and quantities beforehand. When storing colored buttercream, use airtight containers and cover the surface with plastic wrap. If the color is off, lighten dark colors by adding plain frosting and deepen light colors by adding more dye. For texture issues, re-whipping can often help. Following these easy buttercream frosting color tips will make the coloring process efficient and stress-free, leading to stunning results on your birthday cakes and other baked goods.
Encouragement to Experiment and Personalize Cake Decorations with Colored Frosting
Now that you have these easy buttercream frosting color tips, the most important step is to start experimenting! Don't be afraid to try new color combinations, techniques like ombre or marbling, and different decorating tips. Practice makes perfect, and the best way to learn is by doing. Start with small batches if you're trying a new color or technique.
Personalizing a birthday cake with custom colors makes it extra special. Use the guest of honor's favorite colors, match a party theme, or create a unique palette that reflects their personality. The ability to easily color buttercream opens up endless possibilities for creativity. So grab your spatula, your favorite colors, and get ready to make some truly memorable, beautifully colored birthday cakes that will be the highlight of any celebration!
Frequently Asked Questions
How do I achieve vibrant colors in my buttercream without affecting its consistency?
The key is to use gel food coloring as liquid food coloring can alter the buttercream's texture, making it too thin. Start with a small amount and gradually add more until you reach your desired shade.
What's the best way to avoid a bitter taste when coloring buttercream frosting?
Overusing food coloring, especially certain reds and blacks, can lead to a bitter flavor. Opt for high-quality gel food coloring and allow the color to develop overnight for a richer hue with less coloring needed.
Can I mix different types of food coloring together in buttercream?
While you can mix different types, it's generally best to stick to gel food coloring for consistent results. Combining gel with liquid coloring can affect the buttercream's texture and the final color outcome.
What are some natural alternatives for coloring buttercream frosting?
Consider using fruit purees (like strawberry or raspberry), cocoa powder, or matcha powder for natural colorings. Be mindful that these can slightly alter the flavor and texture of the buttercream.
How do I fix buttercream that's become too thin after adding color?
If your buttercream is too thin, try adding a little powdered sugar, one tablespoon at a time, until it reaches the desired consistency. Refrigerating the buttercream for a short period can also help firm it up.
Final Reflection: The Enduring Appeal of Vibrant Frosting
The art of crafting beautifully colored buttercream frosting remains surprisingly relevant today, transcending mere culinary skill to become a powerful symbol of creativity and personalized expression. In a world saturated with digital imagery, the tactile joy of creating a visually stunning cake, perfectly colored to match any occasion, offers a unique and deeply satisfying experience. This simple act connects us to a tradition of artistry while simultaneously allowing for boundless individual creativity.
The impact of vibrant, expertly colored frosting extends far beyond the kitchen table. It's a testament to the power of small details to elevate the ordinary into something extraordinary. From childhood birthday parties to sophisticated wedding receptions, the visual appeal of a perfectly frosted cake sets the tone and enhances the celebratory atmosphere. A cake is a celebration of life, and the frosting is the icing on the cake, quite literally!
– Unknown. This seemingly simple act of coloring buttercream speaks to a deeper human need for beauty, personalization, and the creation of lasting memories.
Now, consider your own baking journey. What colors evoke the strongest emotions for you? What memories are tied to specific hues and flavors? I encourage you to experiment, to embrace the ease of coloring your buttercream, and to let your creativity flow. Don't be afraid to try new techniques, to push boundaries, and to create cakes that are as unique and vibrant as you are. The possibilities are as limitless as your imagination.
Unleash Your Inner Cake Artist: Masterful Frosting Awaits!
Thanks for joining us on this buttercream frosting adventure! We hope you now feel confident and inspired to create stunningly colored cakes. Ready to take your baking to the next level?
- Dive into our free frosting color chart: Discover the perfect shade for your next masterpiece, complete with helpful mixing tips. This is your secret weapon to consistently beautiful frosting.
- Share your creations: Tag us on social media with your vibrant, expertly-colored cakes – we'd love to see what you bake!
- Experiment with new flavor combinations: Now that you've mastered the color, why not try adding extracts or spices to your frosting for an extra dimension of deliciousness?
What unique color combination will you try first? Let us know in the comments below!