
Milestone Birthday Cakes: Achieve Impressive Results Easily

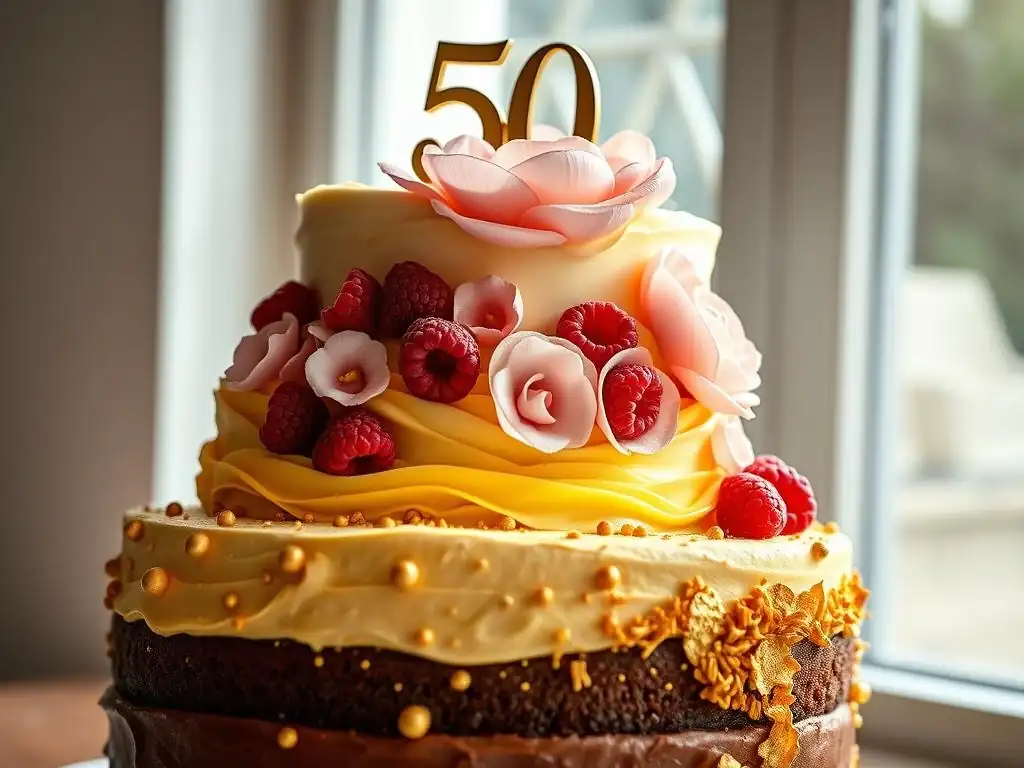
Welcome to BakeWithEase.com, your guide to creating unforgettable moments, one delicious bake at a time! Ever dreamt of crafting a show-stopping cake without the stress? This time, we're diving into the world of easy milestone birthday cakes that are guaranteed to impress. Discover our simple secrets and techniques to achieve professional-looking results, and prepare to elevate your baking game. Intrigued? Let's get baking!
- Milestone Birthday Cakes: Achieve Impressive Results
- Introduction to Milestone Birthday Cake Baking
- Planning Your Milestone Birthday Cake: Key Considerations
- Milestone Birthday Cake Recipes: Step-by-Step Guides
- Decoration Ideas for Impressive Milestone Birthday Cakes
- Tips and Tricks for Baking the Perfect Milestone Birthday Cake
- Serving and Enjoying Your Homemade Milestone Birthday Cake
- Conclusion: Bake Memorable Milestone Birthday Cakes
- Frequently Asked Questions
- Final Reflection: The Sweetness of Simple Celebration
- Unleash Your Inner Cake Boss: Bake a Milestone Masterpiece!
Milestone Birthday Cakes: Achieve Impressive Results
Introduction to Milestone Birthday Cake Baking
Celebrate Special Occasions with Homemade Cakes
Milestone birthdays, whether it's the big 1-0, the fabulous 40, or the golden 50, are moments that deserve a special celebration. At the heart of many of these joyous occasions is the birthday cake, a centerpiece that not only delights the taste buds but also serves as a visual representation of the celebration. Creating a homemade cake for such an event adds a deeply personal touch, showing the recipient just how much they are cherished. It transforms a simple dessert into a heartfelt gift, making the milestone even more memorable.
Baking a stunning cake for a significant birthday doesn't have to be an intimidating task. With the right guidance and a few simple techniques, even beginners can achieve impressive results. The process itself can be a rewarding part of the celebration build-up, allowing you to pour creativity and affection into every step, from mixing the batter to adding the final decorations. Crafting an easy milestone birthday cake is entirely within reach, providing a delightful experience for the baker and an unforgettable treat for the birthday honoree.
Why Bake Your Own Milestone Birthday Cake?
Choosing to bake an easy milestone birthday cake yourself offers numerous advantages over purchasing one. Firstly, you have complete control over the ingredients, ensuring freshness and quality. This is particularly important if the birthday person or guests have dietary restrictions or preferences, allowing you to customize flavors and components precisely. You can select high-quality butter, premium chocolate, or fresh fruits, guaranteeing a superior taste that often surpasses store-bought options.
Beyond ingredient control, baking your own cake allows for unparalleled customization in design and flavor, making each easy milestone birthday cake truly unique. You can tailor the size, shape, color scheme, and decoration to perfectly match the birthday person's personality and the party's theme. The ability to create a one-of-a-kind edible masterpiece adds a layer of sentimentality that a mass-produced cake simply cannot replicate. Furthermore, while high-end custom cakes from bakeries can be quite expensive, baking at home is often a more budget-friendly option, allowing you to allocate resources to other party elements while still creating a show-stopping dessert.
Planning Your Milestone Birthday Cake: Key Considerations
Choosing the Right Cake Flavor
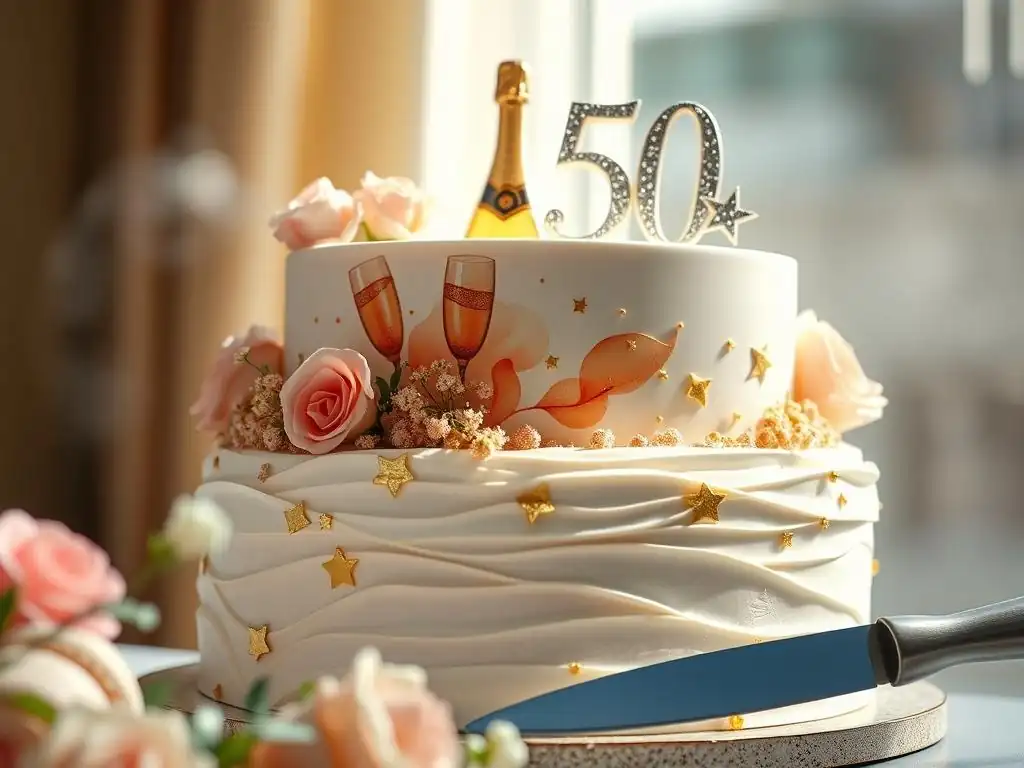
Selecting the perfect flavor is a crucial first step in planning your easy milestone birthday cake. Consider the preferences of the birthday person above all else. Are they a traditionalist who loves classic vanilla or chocolate, or do they have more adventurous tastes, perhaps favoring something like lemon-lavender or salted caramel? Thinking about the season can also guide your choice; lighter, fruitier flavors might be ideal for a summer celebration, while richer, spiced cakes could be perfect for autumn or winter birthdays.
It's also wise to consider your audience size and general appeal. For a large gathering, a universally loved flavor like classic vanilla bean or a simple yet rich chocolate cake is usually a safe bet. If the group is smaller or you know everyone's preferences well, you can afford to be more experimental. Remember that the frosting and filling will complement the cake flavor, so think about the combination. A classic pairing like vanilla cake with chocolate buttercream is always a crowd-pleaser, while a dark chocolate cake with raspberry filling offers a more sophisticated contrast.
Selecting a Cake Design
The design of your easy milestone birthday cake is what will make it visually spectacular and tie into the celebration's theme. Think about the age being celebrated – number cakes are a popular and straightforward design for milestone birthdays like 16, 21, 30, 50, or 60. These can be made using number-shaped pans or by cutting and assembling sheet cakes.
Another approach is a tiered cake, which adds height and grandeur, suitable for significant milestones. A two-tiered cake often serves approximately 30-40 people depending on size, while a three-tiered cake can serve 50-75 guests, making it ideal for larger parties.
Alternatively, a single-layer or two-layer round or square cake can be made stunning with creative frosting techniques, vibrant colors, or elegant decorations. Consider the overall theme of the party – is it glamorous, rustic, whimsical, or modern? The cake design should reflect this. Simple designs can still be incredibly effective for an easy milestone birthday cake; sometimes, a beautifully smooth buttercream finish with a few well-placed decorations is far more impactful than something overly complicated. Don't feel pressured to attempt elaborate sugar paste sculptures if you're aiming for an easy and achievable result.
Essential Baking Tools
Having the right tools on hand is fundamental to successfully baking an easy milestone birthday cake. While you don't need a professional kitchen setup, certain items are indispensable. A reliable stand mixer or a good quality hand mixer will significantly ease the process of creaming butter and sugar, whipping eggs, and making frosting. Accurate measuring cups and spoons are non-negotiable; baking is a science, and precise measurements are key to consistent results.
You'll also need the appropriate cake pans for your chosen design – common sizes include 8-inch or 9-inch rounds, or a standard 9x13 inch rectangular pan. Parchment paper is essential for lining pans to prevent sticking, ensuring your beautiful cake layers release perfectly. Cooling racks are necessary for allowing cakes to cool completely before frosting. For decorating, an offset spatula is invaluable for spreading frosting smoothly, and piping bags and tips can help create beautiful borders or patterns with ease, contributing to an impressive yet easy milestone birthday cake.
Milestone Birthday Cake Recipes: Step-by-Step Guides
Recipe 1: Vanilla Bean Cake with Swiss Meringue Buttercream
This classic vanilla bean cake is moist, tender, and pairs beautifully with the light, silky texture of Swiss Meringue Buttercream, making for an elegant yet easy milestone birthday cake. This recipe yields approximately two 8-inch cake layers, enough for a modest celebration.
Ingredients for the Vanilla Bean Cake
- 2 ½ cups all-purpose flour (approximately 315g)
- 1 ½ teaspoons baking powder
- ½ teaspoon baking soda
- ½ teaspoon salt
- 1 cup unsalted butter, softened (approximately 227g)
- 1 ¾ cups granulated sugar (approximately 350g)
- 3 large eggs, at room temperature
- 2 large egg yolks, at room temperature
- 1 tablespoon vanilla extract
- Seeds scraped from 1 vanilla bean
- 1 ¼ cups buttermilk, at room temperature (approximately 300ml)
Baking Instructions: Vanilla Bean Cake
- Preheat your oven to 350°F (175°C). Grease and flour two 8-inch round cake pans. Line the bottoms with parchment paper.
- In a medium bowl, whisk together the flour, baking powder, baking soda, and salt. Set aside.
- In a large bowl, using a stand mixer with the paddle attachment or a hand mixer, cream the softened butter and granulated sugar until light and fluffy, about 3-5 minutes.
- Add the eggs and egg yolks one at a time, beating well after each addition. Scrape down the sides of the bowl as needed. Add the vanilla extract and vanilla bean seeds and mix until combined.
- In a small bowl, whisk the buttermilk.
- Gradually add the dry ingredients to the wet ingredients in three additions, alternating with the buttermilk in two additions, beginning and ending with the dry ingredients. Mix on low speed just until combined; do not overmix.
- Divide the batter evenly between the prepared pans. Smooth the tops.
- Bake for 30-35 minutes, or until a wooden skewer inserted into the center comes out clean.
- Let the cakes cool in the pans for 10-15 minutes before inverting them onto a wire rack to cool completely.
Swiss Meringue Buttercream Recipe and Decoration
- Ingredients: 5 large egg whites (approximately 150g), 1 ¼ cups granulated sugar (approximately 250g), 1 ½ cups unsalted butter, softened and cut into cubes (approximately 340g), 1 teaspoon vanilla extract.
- Instructions: Combine egg whites and sugar in the heatproof bowl of a stand mixer set over a pot of simmering water (bain-marie). Whisk constantly until the sugar is dissolved and the mixture reaches 160°F (71°C). Remove from heat and attach the bowl to the stand mixer fitted with the whisk attachment. Beat on high speed until stiff, glossy peaks form and the meringue is completely cool (this can take 10-15 minutes). Switch to the paddle attachment. Add the softened butter one cube at a time, mixing well after each addition. The mixture may look curdled initially, but keep mixing; it will become smooth and creamy. Add the vanilla extract and mix until just combined.
- Decoration: Once the cake layers are completely cool, level them if necessary. Place one layer on your serving plate or cake stand. Spread a generous layer of Swiss Meringue Buttercream on top. Place the second layer on top and cover the entire cake with buttercream, using an offset spatula to smooth the sides and top. You can create simple swirls or texture with the spatula or use a piping bag with a large star tip to pipe decorative elements around the edges. This yields a beautiful, elegant easy milestone birthday cake finish.
Recipe 2: Dark Chocolate Cake with Raspberry Filling
For the chocolate lovers, this rich, moist dark chocolate cake paired with a bright, slightly tart raspberry filling is a decadent yet easy milestone birthday cake option. This recipe also typically makes two 8-inch rounds.
Ingredients for the Dark Chocolate Cake
- 2 cups all-purpose flour (approximately 250g)
- ¾ cup unsweetened cocoa powder (approximately 75g)
- 1 ½ teaspoons baking powder
- 1 ½ teaspoons baking soda
- 1 teaspoon salt
- 2 cups granulated sugar (approximately 400g)
- 1 cup buttermilk, at room temperature (approximately 240ml)
- ½ cup vegetable oil (approximately 120ml)
- 2 large eggs, at room temperature
- 1 teaspoon vanilla extract
- 1 cup hot brewed coffee (approximately 240ml)
Baking Instructions: Dark Chocolate Cake
- Preheat oven to 350°F (175°C). Grease and flour two 8-inch round cake pans, lining the bottoms with parchment paper.
- In a large bowl, whisk together the flour, cocoa powder, baking powder, baking soda, and salt.
- Add the sugar to the dry ingredients and whisk to combine.
- In a separate medium bowl, whisk together the buttermilk, vegetable oil, eggs, and vanilla extract.
- Pour the wet ingredients into the dry ingredients and mix with a whisk or spatula until just combined. The batter will be thick.
- Carefully pour in the hot coffee and whisk until the batter is smooth and very liquid. Do not overmix.
- Divide the batter evenly between the prepared pans.
- Bake for 30-35 minutes, or until a wooden skewer inserted into the center comes out with moist crumbs attached (it's a moist cake! ).
- Let the cakes cool in the pans for 10-15 minutes before inverting onto wire racks to cool completely.
Raspberry Filling Recipe and Decoration Tips
- Raspberry Filling Ingredients: 2 cups fresh or frozen raspberries (approximately 250g), ¼ cup granulated sugar (approximately 50g), 1 tablespoon lemon juice, 1 tablespoon cornstarch mixed with 2 tablespoons cold water (slurry).
- Filling Instructions: In a small saucepan, combine raspberries, sugar, and lemon juice. Cook over medium heat, stirring occasionally, until the berries break down and the mixture simmers, about 5-7 minutes. Stir in the cornstarch slurry and cook, stirring constantly, until the mixture thickens, about 1-2 minutes. Remove from heat and let cool completely. The filling will thicken further as it cools.
- Decoration: Once cakes are cool, level if needed. Place one layer on your stand. Create a dam around the edge of the layer using chocolate buttercream (a simple American buttercream works well here, using about 1 cup softened butter, 3-4 cups powdered sugar, ½ cup cocoa powder, and a few tablespoons milk/cream). Fill the center with the cooled raspberry filling. Place the second layer on top. Crumb coat the cake thinly with chocolate buttercream and chill for 20 minutes. Apply a final, thicker layer of chocolate buttercream and smooth. Garnish with fresh raspberries or chocolate shavings for a beautiful and delicious easy milestone birthday cake.
Recipe 3: Lemon Elderflower Cake
Inspired by royal celebrations, this delicate lemon elderflower cake is light, fragrant, and perfect for a sophisticated easy milestone birthday cake. This recipe is designed for three 6-inch cake layers, offering a lovely tiered look on a smaller scale.
Ingredients for the Lemon Elderflower Cake
- 1 ¾ cups all-purpose flour (approximately 220g)
- 1 ½ teaspoons baking powder
- ½ teaspoon salt
- ¾ cup unsalted butter, softened (approximately 170g)
- 1 ½ cups granulated sugar (approximately 300g)
- 3 large eggs, at room temperature
- Zest of 2 large lemons
- ½ cup fresh lemon juice (approximately 120ml)
- ¾ cup whole milk, at room temperature (approximately 180ml)
- ¼ cup elderflower cordial or liqueur (approximately 60ml)
Baking Instructions: Lemon Elderflower Cake
- Preheat oven to 350°F (175°C). Grease and flour three 6-inch round cake pans, lining the bottoms with parchment paper.
- In a medium bowl, whisk together the flour, baking powder, and salt.
- In a large bowl, cream the softened butter and sugar until light and fluffy, about 3-5 minutes.
- Add the eggs one at a time, beating well after each. Mix in the lemon zest.
- In a small bowl, whisk together the lemon juice, milk, and elderflower cordial.
- Add the dry ingredients to the wet ingredients in three additions, alternating with the liquid mixture in two additions, beginning and ending with the dry. Mix on low speed until just combined.
- Divide the batter evenly among the three prepared pans.
- Bake for 25-30 minutes, or until a wooden skewer inserted into the center comes out clean.
- Let the cakes cool in the pans for 10 minutes before inverting onto wire racks to cool completely.
Preparing the Elderflower Syrup and Decoration
- Elderflower Syrup Ingredients: ½ cup water (approximately 120ml), ¼ cup granulated sugar (approximately 50g), ¼ cup elderflower cordial or liqueur (approximately 60ml).
- Syrup Instructions: In a small saucepan, combine water and sugar. Heat over medium heat, stirring, until sugar is dissolved. Remove from heat and stir in elderflower cordial. Let cool slightly.
- Decoration: Once cake layers are cool, brush or drizzle each layer generously with the elderflower syrup using a pastry brush or spoon. This adds moisture and flavor. For frosting, a simple lemon buttercream or a cream cheese frosting pairs wonderfully. Make a standard buttercream or cream cheese frosting and flavor it with lemon zest and a splash of elderflower cordial. Stack the layers, frosting between each, and then cover the outside of the cake. Decorate with fresh edible flowers (like violas or elderflower sprigs if available and food-safe) and additional lemon zest curls for a delicate, elegant easy milestone birthday cake presentation.
Decoration Ideas for Impressive Milestone Birthday Cakes
Frosting Techniques
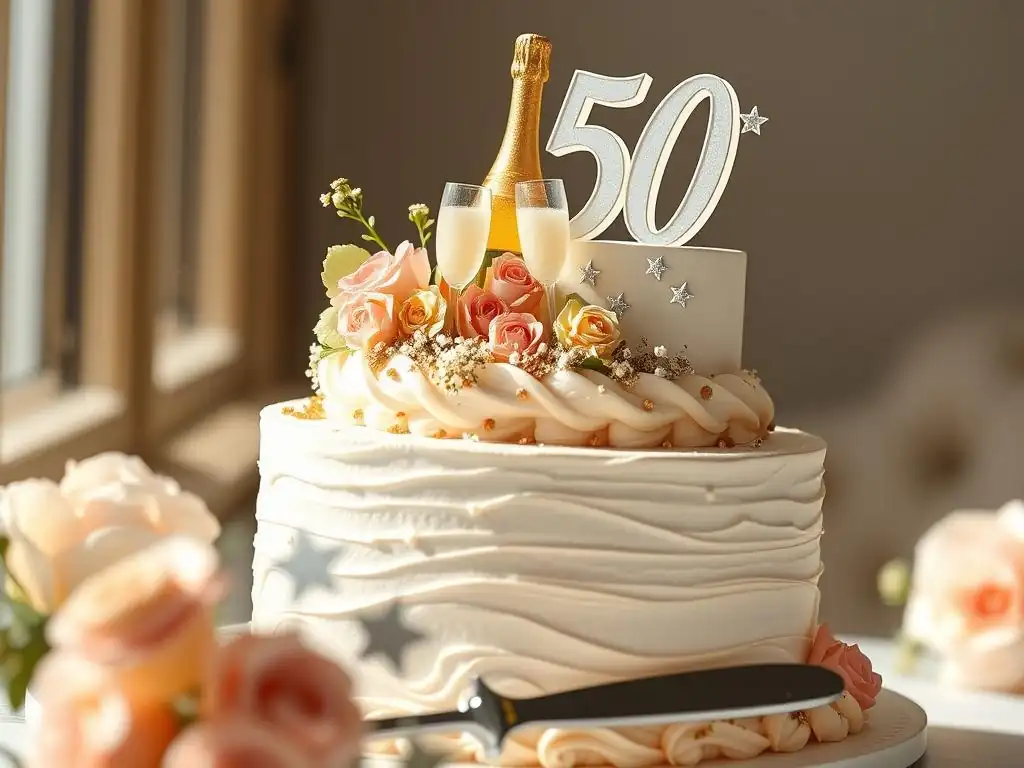
Mastering a few basic frosting techniques can elevate your easy milestone birthday cake from simple to stunning. A smooth, even finish is achieved by applying a crumb coat (a thin layer of frosting to trap loose crumbs) and chilling the cake before applying the final, thicker layer.
Use a long offset spatula for applying and smoothing, and a bench scraper held perpendicular to the cake side for a clean edge. For texture, try creating swirls on top with the back of a spoon or the offset spatula, or use a piping bag with a large round or star tip to create uniform dollops or rosettes.
Another popular and relatively easy technique is the semi-naked cake look, where the frosting is scraped away slightly to allow glimpses of the cake layers beneath. This requires less frosting and less precision for perfect smoothness, making it a great option for an easy milestone birthday cake. Ombre effects, transitioning from one color to another using tinted frosting, can also be achieved by applying different shades in bands around the cake and then smoothing them together. Experimenting with different tips and techniques on a practice board before applying to the cake can build confidence.
Using Edible Decorations
Edible decorations offer a wide range of possibilities for personalizing your easy milestone birthday cake. Sprinkles are the simplest way to add color and festivity; choose colors that match the party theme or the birthday person's favorites. Edible glitter or shimmer dust can add a touch of glamour. Candies, such as chocolate shards, nonpareils, or even gummy bears (if appropriate for the theme), can be used to create patterns or borders.
For a more sophisticated look, consider using fresh fruit, like berries, sliced citrus, or figs, which add natural beauty and flavor. Chocolate decorations, such as tempered chocolate shapes, curls, or a chocolate drip effect, are also impressive yet achievable. Edible flowers, provided they are food-safe and sourced correctly, add an elegant and organic touch. For specific milestones, edible numbers or letters made from fondant or chocolate are readily available or can be made at home, creating a clear focal point for your easy milestone birthday cake.
Creating Number Cake Designs
Number cakes are exceptionally popular for milestone birthdays and can be surprisingly easy to create. You can purchase number-shaped cake pans, which simplifies the process significantly. Alternatively, you can bake a large rectangular or square sheet cake (like a 9x13 inch or larger) and cut out the desired numbers using a template. Standard templates can be found online or you can draw your own.
Once the cake is baked and cooled, place the template on top and use a sharp knife to carefully cut around it. Any scraps can be used for cake pops or discarded. Arrange the cut numbers on your serving board.
These cakes are typically decorated with a generous layer of frosting piped using a large round tip (like Wilton 1A or 2A) in dollops or stars, covering the entire surface. The piped frosting hides any imperfections in cutting and provides a perfect base for adding toppings like fresh fruit, macarons, meringues, chocolates, or edible flowers, resulting in a stunning and personalized easy milestone birthday cake.
Adding Personal Touches [e.g., Monograms, Fresh Flowers]
Adding personal touches is what truly makes a milestone birthday cake special and reflects the honoree. Monograms or initials can be piped onto the cake using frosting, written with edible markers on fondant or chocolate plaques, or even created using cookie cutters on thin cake layers or brownies placed on top. These small details show thoughtfulness and make the easy milestone birthday cake unique.
Fresh flowers, when chosen carefully and prepared correctly, add breathtaking beauty and elegance. Ensure any flowers used are non-toxic and food-safe. Do not place flower stems directly into the cake; wrap the ends tightly with floral tape or insert them into flower picks before placing them on or near the cake surface.
Arrange flowers in clusters or cascade them down the side of the cake for a dramatic effect. Other personal touches could include incorporating elements related to the person's hobbies, favorite colors, or inside jokes using small edible figurines or custom toppers, making the easy milestone birthday cake a true reflection of their personality.
Tips and Tricks for Baking the Perfect Milestone Birthday Cake
Avoiding Common Baking Mistakes
Baking an easy milestone birthday cake can be straightforward, but being aware of common pitfalls helps ensure success. One frequent mistake is incorrect ingredient measurement, particularly with flour; always spoon flour into your measuring cup and level it off, rather than scooping directly from the bag. Another issue is using ingredients at the wrong temperature; ensure butter, eggs, and dairy are at room temperature unless the recipe specifies otherwise, as this affects how they emulsify and create structure.
Overmixing the batter after adding flour can lead to a tough, dense cake. Mix only until the dry ingredients are just incorporated. Opening the oven door too early during baking can cause cakes to sink in the center; resist the urge to check until the minimum baking time specified in the recipe. Finally, ensure your cake is fully cooled before attempting to frost it. Frosting a warm cake will result in melted, messy frosting and potential structural issues. Patience during the cooling process is key to a beautifully finished easy milestone birthday cake.
Ensuring a Moist Cake
A dry cake can be disappointing, especially for a special occasion like a milestone birthday. To ensure your easy milestone birthday cake is wonderfully moist, pay attention to the fat and liquid ratios in the recipe. Recipes that include oil, buttermilk, sour cream, or yogurt tend to produce moister cakes than those relying solely on butter. Buttermilk, in particular, reacts with baking soda to create a tender crumb.
Do not overbake your cake. Overbaking is the most common culprit for dryness. Start checking for doneness at the minimum time suggested in the recipe using a wooden skewer or toothpick.
If it comes out with moist crumbs attached (for chocolate cakes) or clean (for vanilla/white cakes), it's ready. For recipes using hot liquid like coffee (as in the chocolate cake recipe above), this helps bloom the cocoa powder and adds significant moisture. Brushing cake layers with a simple syrup (equal parts sugar and water, heated until sugar dissolves) after they cool is another excellent way to add and lock in moisture, ensuring your easy milestone birthday cake stays delicious.
Storing Your Cake for Freshness
Proper storage is essential to keep your easy milestone birthday cake fresh and delicious until it's time to serve. If the cake layers are baked ahead of time and not yet frosted, wrap each cooled layer individually and tightly in plastic wrap, then place them in an airtight container or a freezer bag. They can be stored at room temperature for a day or two, in the refrigerator for up to a week, or frozen for up to two months. Thaw frozen layers in the refrigerator overnight.
Once the cake is frosted and decorated, store it in an airtight cake carrier or under a cake dome at room temperature for 2-3 days, unless the frosting or filling contains perishable ingredients like fresh cream, cream cheese, or fresh fruit fillings, in which case it should be refrigerated. Refrigerate cream cheese or fresh cream frosted cakes loosely covered until the frosting is firm, then cover tightly. Allow refrigerated cakes to sit at room temperature for 30-60 minutes before serving for the best texture and flavor. This ensures your easy milestone birthday cake is enjoyed at its peak.
Serving and Enjoying Your Homemade Milestone Birthday Cake
Presentation Ideas
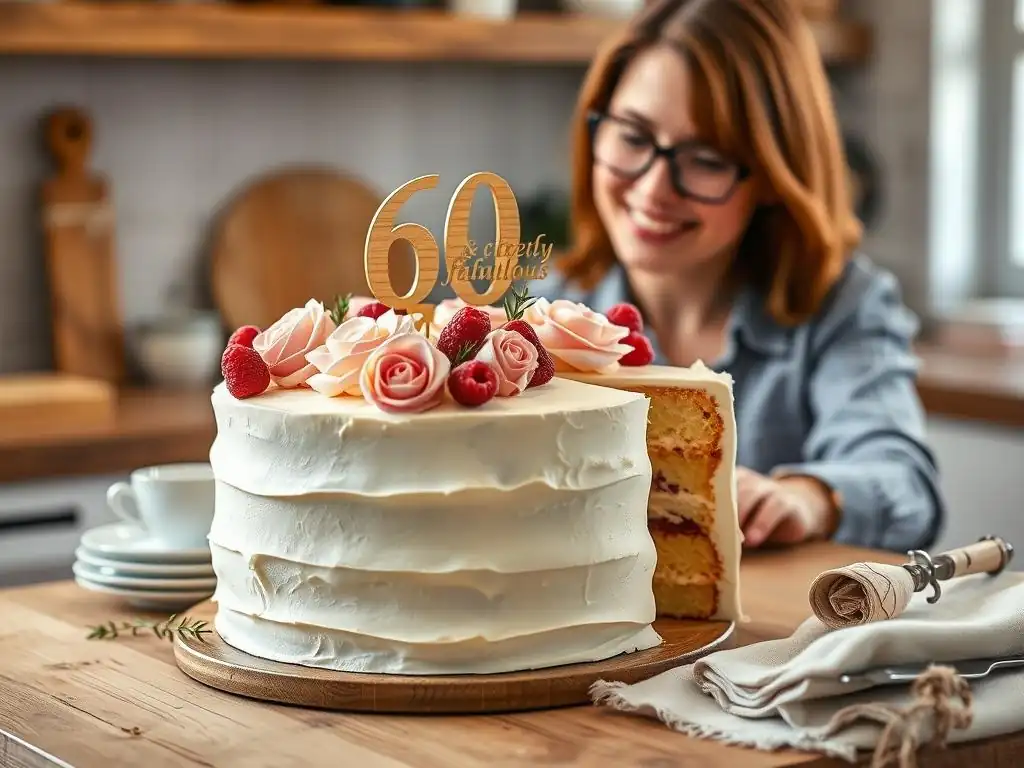
The presentation of your easy milestone birthday cake is the grand finale! Place your finished cake on a cake stand that complements its style and the party theme. A simple white stand works for almost anything, while a rustic wooden stand suits less formal designs, and a metallic or glass stand adds elegance. Clear a space on your serving table to make the cake the focal point.
Consider the backdrop and surrounding decorations. Candles are a must for a birthday! Arrange them creatively – around the edge, on top, or use number candles for the milestone age. You can also scatter fresh flower petals, confetti, or small decorative elements around the base of the cake stand. Ensure you have a sharp knife and a cake server ready. Cutting the first slice is a moment everyone anticipates, and a clean cut makes serving easier and maintains the cake's beauty. Presenting your easy milestone birthday cake with flair enhances the celebratory atmosphere.
Pairing Your Cake with Complementary Desserts
While your easy milestone birthday cake is undoubtedly the star, offering a few complementary desserts can enhance the overall dessert experience and cater to different tastes. Choose smaller, lighter options that won't overshadow the main cake. For instance, if your cake is rich chocolate, consider serving fresh fruit platters, light sorbets, or delicate shortbread cookies.
If your cake is a classic vanilla or lemon, perhaps offer miniature tarts, chocolate mousse cups, or macarons in different flavors. Serving a variety allows guests to sample different textures and tastes. Ensure the flavors don't clash; aim for harmony. Offering coffee, tea, or perhaps a dessert wine alongside the cake and other treats completes the dessert spread, making the end of the meal as memorable as the easy milestone birthday cake itself.
Conclusion: Bake Memorable Milestone Birthday Cakes
Celebrate Special Moments with a Homemade Cake
Milestone birthdays are significant moments in life, marking achievements, growth, and the passage of time. What better way to honor these occasions than with a beautiful, heartfelt homemade cake? Baking an easy milestone birthday cake allows you to infuse love and personal touches into the celebration, creating a unique centerpiece that will be remembered long after the last slice is eaten. It's a tangible expression of care that store-bought options simply cannot replicate.
Embracing the process of baking, from selecting flavors to decorating, can be a deeply rewarding experience. Even with simple recipes and techniques, you can achieve impressive results. The joy on the birthday person's face when they see a cake made just for them is truly priceless. So, step into the kitchen with confidence – creating an easy milestone birthday cake is not just about baking; it's about crafting a memory.
Enjoy Baking and Creating a Unique Cake
Baking an easy milestone birthday cake should be a fun and creative endeavor, not a stressful one. Embrace the process, learn from any minor mishaps (they happen to everyone! ), and enjoy the journey of transforming simple ingredients into something spectacular. The beauty of a homemade cake lies not in absolute perfection, but in its uniqueness and the effort poured into it.
Whether you choose a classic vanilla, a decadent chocolate, a refreshing lemon, or venture into other flavors, the act of creating something special for a loved one's milestone birthday is incredibly fulfilling. With the tips, techniques, and recipes shared here, you have the tools to bake an easy milestone birthday cake that is both delicious and visually stunning. So, go ahead, preheat your oven, gather your ingredients, and enjoy the delightful process of bringing your unique cake vision to life.
Frequently Asked Questions
What is a milestone birthday cake?
A milestone birthday cake celebrates significant ages, like 1, 16, 18, 21, 30, 50, or 100. These cakes often feature unique designs and flavors tailored to the individual being celebrated.
How can I make an easy milestone birthday cake?
To create an easy milestone birthday cake, start with a simple recipe using basic ingredients. Follow step-by-step instructions for decoration, ensuring you keep the design personal and meaningful.
What types of cakes are recommended for milestone birthdays?
For milestone birthdays, consider popular options like chocolate, vanilla, or red velvet cakes. You can also explore themed cakes depending on the interests of the birthday person.
Are there tips for decorating milestone birthday cakes?
Yes! Keep decorations simple and elegant by using fresh fruits, edible flowers, or themed cake toppers. Remember, personal touches make the cake special and memorable.
Where can I find easy recipes for milestone birthday cakes?
You can find a variety of easy recipes at BakeWithEase.com, where you’ll discover step-by-step guides and techniques tailored for bakers of all levels, ensuring success in your baking endeavors.
Final Reflection: The Sweetness of Simple Celebration
The art of baking a stunning milestone birthday cake doesn't require years of culinary school or a professional pastry chef's expertise. Creating a memorable cake, even for significant birthdays, can be surprisingly accessible and enjoyable, a testament to the power of simple techniques and a dash of creativity. This accessibility allows us to focus on what truly matters: celebrating the milestone and the person it honors.
The enduring appeal of homemade cakes lies not just in their taste, but in the emotional connection they foster. They represent a tangible expression of love and care, a sentiment far more potent than any store-bought confection. The act of baking itself becomes a meditative process, a quiet moment of reflection before the joyous celebration. As Maya Angelou wisely said, I've learned that people will forget what you said, people will forget what you did, but people will never forget how you made them feel.
A homemade milestone cake, crafted with love and care, ensures a feeling of warmth and cherished memory long after the last slice is eaten.
Now, consider your own upcoming celebrations. Don't be intimidated by the prospect of baking a milestone cake. Embrace the simplicity, the joy of creation, and the opportunity to personalize a sweet tribute. This isn't just about baking a cake; it's about creating a lasting memory, a symbol of love and appreciation, and a testament to the power of simple gestures in enriching our lives and the lives of those we cherish. Let the journey of baking become as meaningful as the final result.
Unleash Your Inner Cake Boss: Bake a Milestone Masterpiece!
Thanks for joining us on this delicious journey! We hope you've gained the confidence and inspiration to create truly stunning milestone birthday cakes. Now it's time to put your newfound skills to the test!
- Craft your dream cake: Start sketching your design, gather your ingredients, and let's bake! Don't be afraid to experiment with flavors and decorations – this is your masterpiece.
- Share your baking triumph: Show us your creations! Post a picture of your finished cake on social media using #BakeWithEaseMilestone. We'd love to see your amazing results and celebrate your baking success!
- Explore advanced techniques: Dive deeper into cake decorating with our free video tutorials on advanced frosting techniques and stunning design ideas (available on bakewithease.com – coming soon).
Ready to transform your kitchen into a celebratory wonderland? What unique element will you add to make your milestone cake truly unforgettable?