
Red Velvet Celebration Cupcakes: Get That Perfect Color and Flavor

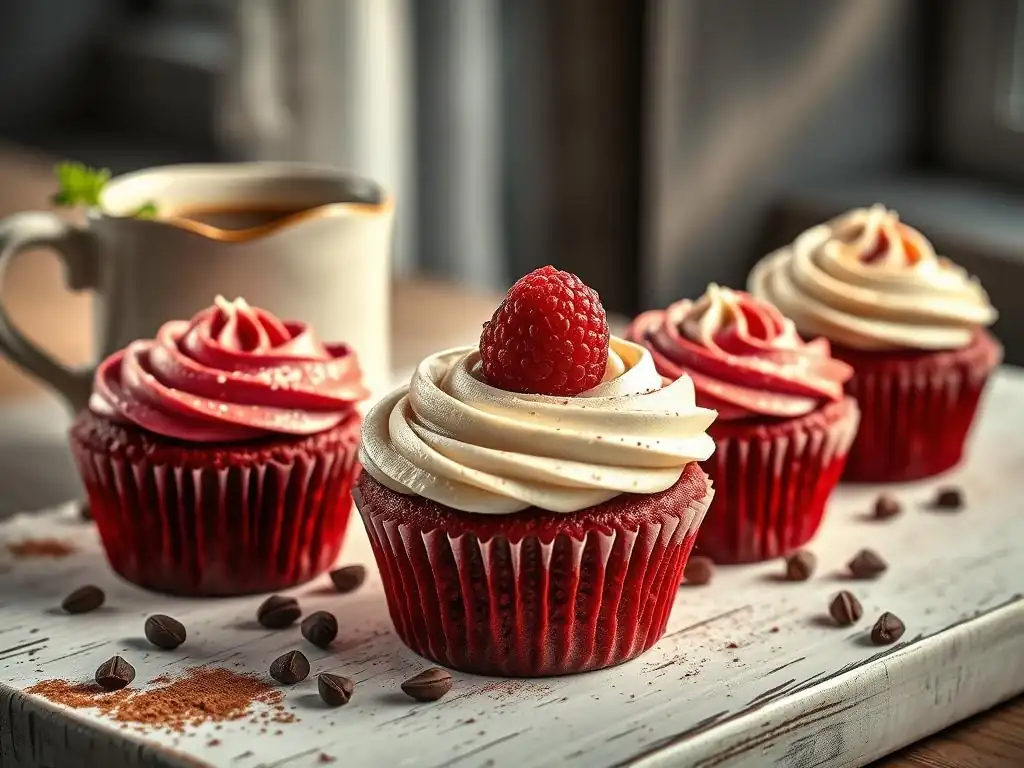
Welcome to BakeWithEase, your kitchen companion for unlocking baking brilliance! Ever wondered how to achieve that perfectly vibrant hue and irresistible tang in your red velvet creations? You're in the right place! Dive into our easy Red Velvet Cupcakes Recipe Easy, and discover the secrets to crafting celebration-worthy cupcakes that are as visually stunning as they are delicious. Get ready to impress – your baking adventure starts now!
- Red Velvet Cupcakes: A Celebration of Flavor and Color
- Baking Bliss: The Ultimate Red Velvet Cupcake Recipe
- Mastering the Art of Red Velvet Cupcakes
- Step-by-Step: Red Velvet Cupcake Recipe for Home Bakers
- Cream Cheese Frosting: The Perfect Complement to Red Velvet
- Troubleshooting Common Red Velvet Cupcake Challenges
- Red Velvet Cupcake Variations and Creative Adaptations
- Tips for Storing and Presenting Red Velvet Cupcakes
-
Frequently Asked Questions
- What makes the BakeWithEase red velvet cupcake recipe "easy"?
- How do I achieve the perfect red color in my cupcakes using this recipe?
- What kind of frosting pairs best with these red velvet cupcakes?
- Can I substitute any ingredients in this red velvet cupcake recipe?
- Where can I find the full "Red Velvet Celebration Cupcakes" recipe on BakeWithEase.com?
- Final Reflection: The Enduring Allure of the Perfect Red Velvet Cupcake
- Unleash Your Inner Baker: Perfect Red Velvet Awaits!
Red Velvet Cupcakes: A Celebration of Flavor and Color
Red velvet cupcakes are more than just a dessert; they're a statement. With their striking crimson hue and signature tangy flavor, topped with a creamy, cloud-like frosting, they are a beloved treat for any occasion, especially celebrations. Mastering the art of baking these beauties can seem daunting, but with the right approach, creating a batch of delightful red velvet cupcakes is entirely achievable for home bakers of all levels.
This guide will walk you through crafting a truly memorable batch of red velvet cupcakes, focusing on achieving that perfect balance of color, texture, and taste. We'll share tips and techniques that make baking these iconic treats straightforward and enjoyable. If you're looking for a reliable Red velvet cupcakes recipe easy to follow, you've come to the right place.
Baking Bliss: The Ultimate Red Velvet Cupcake Recipe
Creating truly blissful red velvet cupcakes involves understanding the interplay of simple ingredients and precise techniques. It's about achieving a tender crumb, a vibrant color, and that distinct, subtle cocoa flavor that pairs so wonderfully with the tangy cream cheese frosting. Our aim is to provide an easy red velvet cupcake recipe that delivers consistent, delicious results every time.
This section lays the groundwork for our simple red velvet cupcake recipe, ensuring you have a solid understanding before you even preheat your oven. We'll cover what makes red velvet unique and why our approach simplifies the process without sacrificing quality.
Impress Your Guests with Perfectly Baked Red Velvet Cupcakes
Imagine serving a plate of perfectly formed, vibrantly colored red velvet cupcakes, each crowned with a swirl of rich, tangy cream cheese frosting. The reactions of delight from your friends and family make all the effort worthwhile. Achieving this level of presentation and taste is surprisingly accessible with a well-structured Red velvet cupcakes recipe easy to follow. The secret lies in paying attention to a few key details during the mixing and baking process.
Consistency in batch size, even baking, and a stable frosting are hallmarks of professional-looking cupcakes. By following simple guidelines for measuring ingredients accurately and understanding your oven's nuances, you can consistently produce cupcakes that not only taste fantastic but also look like they came from a high-end bakery. This detailed guide provides the blueprint for achieving such impressive results right in your own kitchen, making your next celebration truly special.
Mastering the Art of Red Velvet Cupcakes
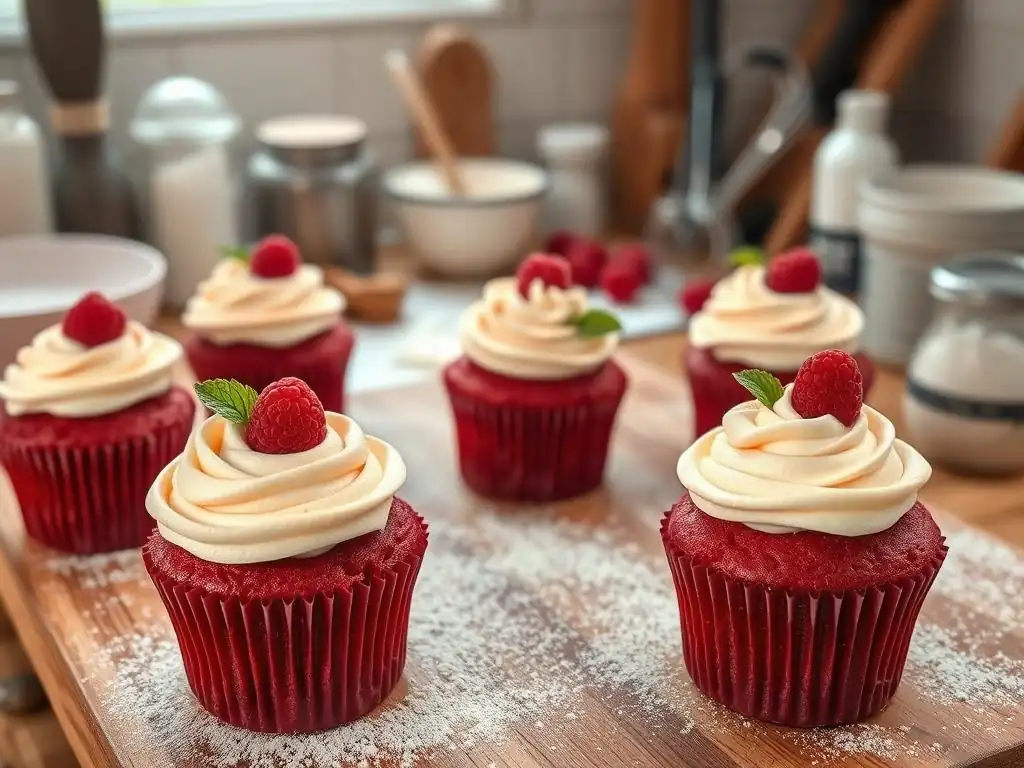
Mastering red velvet cupcakes goes beyond simply following a recipe. It involves understanding the science behind the ingredients and how they interact to create that unique texture and flavor profile. It's this deeper understanding that transforms a standard recipe into a truly exceptional one, resulting in moist, tender cupcakes with that characteristic subtle tang and beautiful color.
This section delves into the core components and techniques that define a classic red velvet cupcake. We'll explore the essential ingredients, why they are crucial, and how to handle them to ensure your cupcakes turn out perfectly every time.
Understanding Red Velvet: The Interplay of Flavor and Hue
Red velvet cake is distinct not just for its color, but for its complex flavor profile. Traditionally, the slight acidity in the buttermilk and vinegar reacts with the cocoa powder (specifically non-Dutched, natural cocoa) to produce a reddish hue naturally, although modern recipes primarily rely on food coloring for vibrancy. This reaction also contributes to the tender crumb. The flavor is a subtle blend of vanilla and a hint of cocoa, balanced by the tang of buttermilk and vinegar, all culminating in a taste that is neither purely chocolate nor vanilla.
Achieving the signature bright red color is often the main focus for many bakers. While traditional methods used minimal coloring relying on the cocoa reaction, contemporary recipes typically call for liquid or gel red food coloring to ensure a deep, rich crimson. The amount needed can vary significantly depending on the type and concentration of the coloring agent used.
For example, achieving a vibrant red in a standard batch of about 12-18 cupcakes might require anywhere from a few teaspoons of liquid coloring to just a half teaspoon of a high-quality gel coloring. Understanding this balance between traditional flavor notes and modern color expectations is key to a great red velvet cupcake.
Essential Ingredients for Authentic Red Velvet Cupcakes
The magic of red velvet lies in the specific combination and quality of its core ingredients. Beyond the standard flour, sugar, eggs, and butter, certain components are non-negotiable for achieving the authentic taste and texture. These include buttermilk, cocoa powder, vinegar, and baking soda, alongside the critical red food coloring. Using high-quality ingredients makes a noticeable difference in the final product. Fresh butter, good quality cocoa, and fresh buttermilk are paramount for the best flavor.
The careful balance of wet and dry ingredients, along with the leavening agents (baking soda activated by the acid in buttermilk and vinegar), is what gives red velvet its characteristic fine, tender crumb. Substituting key ingredients like buttermilk or using the wrong type of cocoa powder can drastically alter the outcome, affecting both texture and flavor. This is why sticking to the specified ingredients in a reliable Red velvet cupcakes recipe easy is crucial for success.
Buttermilk's Contribution to Tender Cupcakes
Buttermilk is a cornerstone ingredient in classic red velvet recipes, playing a vital role in both flavor and texture. Its acidity reacts with baking soda, producing carbon dioxide gas that helps the cupcakes rise and contributes to a light and airy crumb. This acidic environment also helps to tenderize the gluten in the flour, resulting in an exceptionally soft and moist cupcake.
Beyond its leavening properties, buttermilk adds a subtle tang that balances the sweetness of the cake and complements the slight bitterness of the cocoa. If you don't have buttermilk on hand, a common substitute involves mixing one tablespoon of white vinegar or lemon juice with one cup of milk and letting it sit for about 5-10 minutes until it curdles slightly. While this approximation works, using genuine cultured buttermilk provides the best flavor and texture for your Red velvet cupcakes recipe easy.
The Role of Cocoa Powder in Red Velvet's Flavor Profile
Cocoa powder is essential for the distinct flavor of red velvet. Unlike a standard chocolate cake, red velvet uses a smaller amount of cocoa, typically just a few tablespoons per batch, to provide a subtle chocolate background rather than an overpowering chocolate taste. Traditionally, natural, non-alkalized cocoa powder was used because its acidity reacts with baking soda and the acidic ingredients (buttermilk, vinegar) to enhance the reddish hue.
While modern recipes often rely on food coloring for the vibrant red, the type of cocoa still impacts the flavor. Natural cocoa powder tends to have a sharper, slightly fruity flavor, whereas Dutched-process cocoa (alkalized) is smoother and less acidic. For authentic red velvet flavor and the best reaction with the leavening, natural cocoa powder is generally preferred. Using about 2-3 tablespoons of good quality natural cocoa is usually sufficient for a standard Red velvet cupcakes recipe easy batch.
Achieving the Signature Red Velvet Color: Beet Juice vs. Food Coloring
The iconic red color of red velvet cupcakes is typically achieved using red food coloring. High-quality gel food coloring is often recommended over liquid coloring because it is more concentrated, requiring less volume, which helps prevent adding excess liquid to the batter. A few drops or a half teaspoon of gel coloring can yield a brilliant red hue in a standard batch.
Historically, some recipes used boiled beet juice or grated beets to impart color naturally. While this offers a natural alternative, it can sometimes affect the flavor and the resulting color may be more of a muted reddish-brown or maroon rather than the vibrant crimson associated with modern red velvet. For the most consistent and visually striking results in your Red velvet cupcakes recipe easy, a good quality red gel food coloring is the most reliable method used by most bakers today.
Step-by-Step: Red Velvet Cupcake Recipe for Home Bakers
Ready to bake? This section provides a clear, step-by-step guide to making delicious red velvet cupcakes from scratch. We'll break down the process into manageable stages, from mixing the batter to getting them into the oven, ensuring that even beginners can follow along with ease. This is the core of our Red velvet cupcakes recipe easy guide.
Following these steps precisely will help you avoid common pitfalls and achieve cupcakes with a perfect texture and consistent results. Pay attention to the order of adding ingredients and mixing techniques, as these are crucial for developing the right crumb structure.
Crafting the Red Velvet Cupcake Batter
Creating the perfect red velvet batter involves careful mixing to ensure all ingredients are well combined without overmixing, which can lead to tough cupcakes. The process typically starts by combining the dry ingredients, then creaming the butter and sugar, and finally alternating between adding the wet and dry mixtures to the creamed base. Room temperature ingredients are key for emulsification and achieving a smooth batter.
This method ensures that the fat (butter) is evenly distributed, coating the flour particles slightly, which contributes to a tender cake. Adding wet and dry ingredients alternately, starting and ending with the dry, helps prevent the batter from separating and allows for even incorporation of both sets of components. This systematic approach is fundamental to a reliable Red velvet cupcakes recipe easy.
Combining Dry Ingredients for Optimal Texture
The first step in many baking recipes, including this Red velvet cupcakes recipe easy, is to whisk together the dry ingredients. This typically includes all-purpose flour, cocoa powder, baking soda, salt, and sometimes a little baking powder. Whisking serves two important purposes: it breaks up any lumps in the flour or cocoa and, more importantly, it evenly distributes the leavening agents (baking soda/powder) and salt throughout the flour.
Proper distribution of leavening is crucial for an even rise and a consistent texture throughout the cupcake. Skipping this step can result in uneven pockets of leavening, leading to lopsided cupcakes or dense spots. Using a whisk or sifting the dry ingredients together ensures that every bite of your red velvet cupcake will have the desired light and airy texture.
Creaming Butter and Sugar for Light and Airy Cupcakes
Creaming butter and sugar is a foundational technique that incorporates air into the batter, contributing significantly to the final texture and volume of the cupcakes. Softened butter (at room temperature, around 65-70°F or 18-21°C) is beaten with granulated sugar until the mixture becomes pale yellow and fluffy. This process creates tiny air pockets within the fat.
As the cupcakes bake, these air pockets expand, helping the cake rise and creating a tender crumb structure. Insufficient creaming can result in a dense, heavy cupcake. Typically, this step takes about 3-5 minutes with an electric mixer on medium speed. The mixture should visibly lighten in color and increase in volume, a sign that sufficient air has been incorporated, which is vital for a truly Red velvet cupcakes recipe easy success.
Incorporating Wet Ingredients for a Seamless Batter
After creaming the butter and sugar, eggs are usually added one at a time, beating well after each addition to emulsify them into the mixture. Eggs provide structure, richness, and moisture. Following the eggs, the red food coloring, vanilla extract, and often the vinegar are mixed into the wet ingredients (which often include the buttermilk mixed with the red coloring).
The dry ingredients and the buttermilk mixture are then added alternately to the creamed butter/sugar/egg base. This ensures that the wet and dry components are integrated smoothly, preventing the batter from becoming too stiff or too liquid at any point during the mixing process. Begin and end with the dry ingredients, mixing just until combined after each addition. Overmixing at this stage develops gluten, leading to tough cupcakes, so stop mixing as soon as no dry streaks remain.
Baking Red Velvet Cupcakes to Perfection
Getting the perfect bake is crucial for moist and tender red velvet cupcakes. Overbaking is the most common culprit for dry cupcakes. Preheat your oven fully before placing the cupcake tin inside, and resist the urge to open the oven door frequently, as temperature fluctuations can affect the rise and texture.
Using a reliable oven thermometer can help ensure your oven is actually at the temperature you set it to. Many ovens can be off by 25°F (around 14°C) or more. Baking at the correct temperature for the appropriate time is key to a successful Red velvet cupcakes recipe easy.
Oven Temperature and Baking Time for Moist Results
For most standard red velvet cupcake recipes, a baking temperature of 350°F (175°C) is ideal. This temperature is hot enough to allow the cupcakes to rise properly while still allowing the inside to cook through before the edges become dry. Baking time will vary depending on your oven and the size of your cupcakes, but typically ranges from 18 to 22 minutes for standard-sized cupcakes.
Keep a close eye on the cupcakes during the last few minutes of baking. They should look set around the edges, and the tops should spring back slightly when gently touched. Underbaking can result in a gooey center, while overbaking leads to dryness. Finding the sweet spot in your oven is key to achieving perfectly moist results every time with your Red velvet cupcakes recipe easy.
The Toothpick Test: Determining Doneness
The toothpick test is a simple yet effective method for checking if your red velvet cupcakes are fully baked. Gently insert a toothpick into the center of a cupcake. If the toothpick comes out clean, with no wet batter attached, the cupcakes are done. If it comes out with wet batter, they need a few more minutes in the oven.
It's important to note that if the toothpick comes out with a few moist crumbs attached, that's usually a good sign of a moist cake. A perfectly clean toothpick indicates doneness, but a toothpick with only crumbs (no wet batter) is often preferred for maximum moisture. Avoid testing multiple times in the same cupcake, as this can cause it to deflate slightly. Test one or two cupcakes in the center of the baking tin, as they often bake slower than those on the edges.
Cooling and Preparing for Frosting
Once your red velvet cupcakes are baked, immediate and proper cooling is essential. Remove the cupcake tin from the oven and let it sit on a wire rack for about 5-10 minutes. This allows the cupcakes to set slightly within the tin.
After this initial cooling period, carefully remove the cupcakes from the tin and transfer them directly onto a wire rack to cool completely. Cooling on a wire rack allows air to circulate around the entire cupcake, preventing condensation from forming on the bottom, which can make them soggy. Ensure the cupcakes are fully cooled before attempting to frost them. Frosting warm cupcakes will result in melted, runny frosting, ruining both the appearance and texture. Allow at least 30-60 minutes for standard-sized cupcakes to cool completely.
Cream Cheese Frosting: The Perfect Complement to Red Velvet
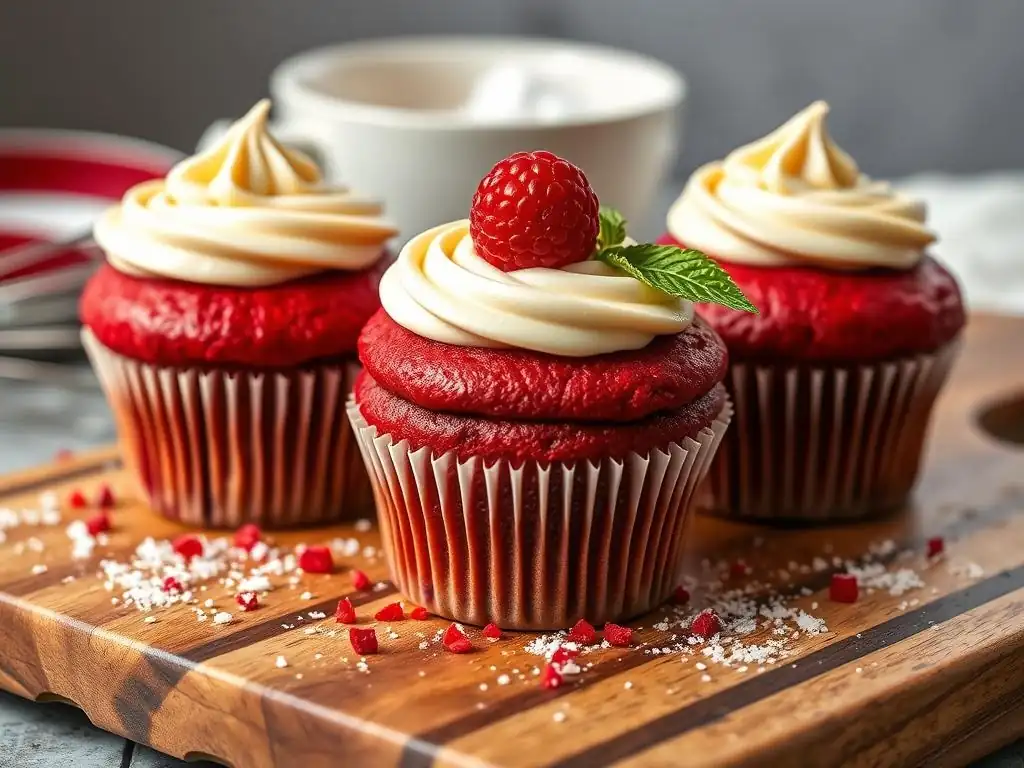
Red velvet cupcakes are almost always paired with a tangy cream cheese frosting. The sweet, slightly sour, and rich flavor of cream cheese frosting provides a wonderful contrast to the subtle cocoa and vanilla notes of the cake, creating that iconic red velvet experience. A good cream cheese frosting should be smooth, creamy, and stable enough to pipe or spread beautifully.
Making cream cheese frosting is relatively simple, requiring just a few key ingredients. The most common issue is achieving the right consistency – not too runny and not too stiff.
Creating the Classic Cream Cheese Frosting
A classic cream cheese frosting typically involves beating softened cream cheese and softened butter together until smooth, then gradually adding powdered sugar and vanilla extract, mixing until the desired consistency is reached. Using full-fat block cream cheese is crucial; avoid using cream cheese spreads, which have a higher water content and will result in a runny frosting.
Ensure both the cream cheese and butter are properly softened to room temperature. This allows them to cream together smoothly without lumps. Beat them together for a few minutes until the mixture is light and fluffy before adding the powdered sugar. This foundational step is key to a smooth, easy-to-work-with frosting that perfectly complements your Red velvet cupcakes recipe easy.
Achieving the Ideal Frosting Consistency
The consistency of cream cheese frosting is primarily controlled by the amount of powdered sugar added. Start with the amount specified in your recipe and add more, a little at a time, if a thicker frosting is desired. If the frosting is too thick, you can add a teaspoon or two of milk or cream to loosen it up.
Beating the frosting for the right amount of time is also important. Beat until smooth and creamy, but avoid overbeating, which can incorporate too much air and make the frosting less stable, especially if you plan to pipe it. Mixing on medium speed until just combined after adding the sugar is usually sufficient for a smooth, spreadable consistency.
Tips for a Smooth and Creamy Cream Cheese Frosting
To ensure your cream cheese frosting is perfectly smooth and creamy, start with softened, but not melted, cream cheese and butter. Cold ingredients will result in a lumpy frosting that is difficult to spread. Beat the cream cheese and butter thoroughly before adding any powdered sugar; this ensures a smooth base.
Sifting the powdered sugar before adding it can help prevent lumps, although if you beat the frosting long enough on medium speed, most small lumps will dissolve. Once the powdered sugar is added, mix on low speed initially to avoid a cloud of sugar dust, then increase to medium speed and mix only until just combined and smooth. Overmixing can make the frosting less stable and potentially curdle the cream cheese. For a truly smooth finish on your Red velvet cupcakes recipe easy, these steps are essential.
Frosting Red Velvet Cupcakes Like a Professional
Once your cupcakes are completely cool and your cream cheese frosting is ready, it's time for the fun part: frosting! Whether you prefer a simple swirl or a smooth, even layer, the key is to apply the frosting evenly and attractively.
Using a piping bag with a large tip (like a star or round tip) is an easy way to achieve a professional-looking swirl. Alternatively, a simple offset spatula can be used to spread the frosting, creating a classic, rustic look.
Frosting Techniques for Elegant Cupcakes
For a classic swirl, fill a piping bag fitted with your chosen tip about two-thirds full with frosting. Starting at the outer edge of the cupcake, apply even pressure and move in a spiral motion towards the center, building height as you go. Release pressure and pull the bag up to create a peak.
If using an offset spatula, place a generous dollop of frosting in the center of the cupcake. Use the spatula to spread the frosting outwards, creating swirls or peaks as desired. For a smooth finish, gently warm the spatula slightly (by dipping it in hot water and drying it) before smoothing the top. Practice makes perfect, but even a simple swirl or spread elevates the look of your Red velvet cupcakes recipe easy.
Adding Decorations for a Festive Presentation [Sprinkles, Edible Flowers]
Elevate the look of your red velvet celebration cupcakes with simple decorations. Sprinkles are an easy and festive option; simply dip the edge of the frosted cupcake into a bowl of sprinkles or sprinkle them over the top. For a more elegant touch, consider edible glitter or pearl dust.
For a natural and sophisticated look, small edible flowers or fresh berries (like raspberries) can be placed on top of the frosting. A sprinkle of red velvet cake crumbs (reserved from leveling a cupcake if needed) also makes a lovely and thematic garnish. These small additions turn your Red velvet cupcakes recipe easy from simple treats into stunning centerpieces.
Troubleshooting Common Red Velvet Cupcake Challenges
Even with a reliable Red velvet cupcakes recipe easy, sometimes things don't go exactly as planned. Understanding common issues and how to fix them can save your batch and help you improve your baking skills.
Here are a few common problems bakers encounter with red velvet cupcakes and practical solutions to address them.
Addressing Dry Cupcakes [Possible Causes and Solutions]
Dry cupcakes are a common disappointment and usually result from overbaking or inaccurate measuring of dry ingredients, particularly flour. Baking soda and cocoa powder can also contribute to dryness if too much is used.
- Possible Causes:
- Overbaking: Leaving cupcakes in the oven too long.
- Too much flour: Using too much flour, often due to incorrect measuring (scooping flour directly from the bag can compact it).
- Too much leavening/cocoa: An imbalance can dry out the crumb.
- Oven temperature too high: Baking at a temperature hotter than specified.
- Solutions:
- Use an oven thermometer to verify temperature.
- Measure flour correctly: Spoon flour into the measuring cup and level off with a straight edge (do not scoop).
- Stick precisely to the recipe's baking time and check for doneness early using the toothpick test.
- Ensure ingredients are at room temperature as specified.
Enhancing Red Velvet Color [Tips for Achieving a Vibrant Hue]
Sometimes, the red color in red velvet cupcakes can turn out dull or brownish instead of vibrant red. This can be disheartening, but there are ways to boost that iconic hue.
- Possible Causes:
- Not enough red food coloring: Using too little coloring, especially if using liquid instead of gel.
- Type of cocoa powder: Using Dutched-process cocoa, which is less acidic and reacts differently.
- Amount of cocoa powder: Too much cocoa can overpower the red.
- Baking soda/Vinegar imbalance: The reaction can affect color stability.
- Solutions:
- Use a high-quality gel food coloring; it's more concentrated.
- Ensure you are using natural, non-Dutched cocoa powder.
- Increase the amount of red food coloring gradually until the desired shade is reached before adding dry ingredients.
- Consider adding the food coloring to the wet ingredients (like the buttermilk mixture) for even distribution.
Rectifying Runny Frosting [How to Stabilize Cream Cheese Frosting]
Runny cream cheese frosting is often the result of using the wrong type of cream cheese, using ingredients that are too warm, or not adding enough powdered sugar.
- Possible Causes:
- Using low-fat or spreadable cream cheese: These have higher water content.
- Over-softened or melted butter/cream cheese: Ingredients were too warm.
- Not enough powdered sugar: Sugar provides structure.
- Overmixing: Can break down the frosting's structure.
- Solutions:
- Always use full-fat block cream cheese.
- Ensure butter and cream cheese are softened to room temperature, not melted. If they get too warm, chill them slightly.
- Gradually add more powdered sugar, a tablespoon at a time, beating until the desired thickness is reached.
- Chill the finished frosting in the refrigerator for 20-30 minutes before using; this helps it firm up.
- Avoid overbeating once the powdered sugar is added.
Red Velvet Cupcake Variations and Creative Adaptations
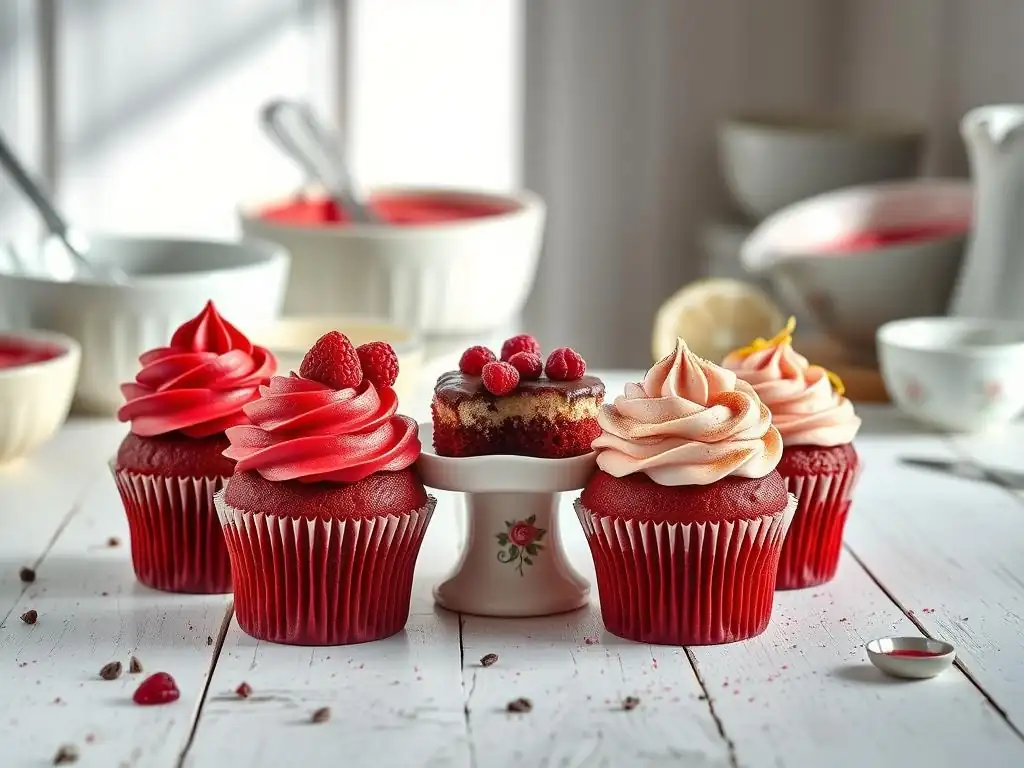
While the classic Red velvet cupcakes recipe easy is wonderful on its own, the basic formula is also a great starting point for creative variations. Once you've mastered the standard recipe, feel free to experiment with different flavors and forms.
Here are a few ideas for putting a spin on the traditional red velvet cupcake.
Chocolate Red Velvet Cupcakes: An Indulgent Twist
For those who love the idea of red velvet but crave a more pronounced chocolate flavor, a chocolate red velvet variation is perfect. This version typically involves increasing the amount of cocoa powder used in the batter, often doubling it compared to a standard recipe.
The increased cocoa powder adds a deeper chocolate richness while still retaining the signature red hue (with the help of food coloring) and the tender crumb from the buttermilk and vinegar. This twist results in a cupcake that bridges the gap between classic red velvet and rich chocolate cake, offering a decadent experience that chocolate lovers will adore.
Red Velvet Cupcake Truffles: A Decadent Treat
Transform baked red velvet cupcakes into bite-sized truffles for a unique and indulgent treat. This involves crumbling cooled red velvet cupcakes and mixing the crumbs with a small amount of cream cheese frosting to form a dense, pliable mixture.
Roll the mixture into small balls and chill them until firm. The balls are then typically dipped in melted white chocolate, milk chocolate, or even more red-colored white chocolate for a striking look. These truffles are a fantastic way to use leftover cupcakes or to create an impressive party favor.
Gluten-Free Red Velvet Cupcakes: A Dietary-Friendly Option
Adapting a Red velvet cupcakes recipe easy to be gluten-free is relatively straightforward with the availability of good quality gluten-free flour blends. The key is to use a blend that is specifically formulated for baking cakes and cupcakes, as these blends typically contain a mix of flours and starches designed to mimic the texture of wheat flour.
When converting a standard recipe, a 1:1 gluten-free flour blend can often be substituted directly for the all-purpose flour by weight or volume, though some blends may require slight adjustments to liquid. The rest of the ingredients and the baking process remain largely the same, allowing those with gluten sensitivities to enjoy the classic taste and look of red velvet cupcakes.
Tips for Storing and Presenting Red Velvet Cupcakes
You've baked, frosted, and potentially decorated your beautiful red velvet cupcakes. Now, how do you store them to maintain their freshness, and how do you present them to make the biggest impact? Proper storage is key to keeping them moist and delicious, while thoughtful presentation enhances their celebratory appeal.
Here are some practical tips for storing and showcasing your Red velvet cupcakes recipe easy creations.
Preserving Cupcake Freshness and Moisture
To keep your red velvet cupcakes moist, store them in an airtight container at room temperature for up to 2-3 days if they are unfrosted. Once frosted with cream cheese frosting, they must be stored in the refrigerator due to the cream cheese. Place them in an airtight container to prevent them from drying out or absorbing odors from the fridge.
Refrigerated frosted cupcakes are best consumed within 3-4 days. For optimal texture when serving refrigerated cupcakes, allow them to sit at room temperature for 15-20 minutes before eating; this softens the frosting and cake slightly. If storing for longer, unfrosted cupcakes can be frozen for up to 2-3 months; wrap them individually in plastic wrap before placing them in a freezer-safe container. Thaw at room temperature before frosting.
Presentation Ideas for Celebratory Cupcakes [Cupcake Boxes, Decorative Wrappers]
Presenting your red velvet cupcakes beautifully adds to the celebration. Simple yet effective methods can make your homemade treats look professionally made. Cupcake boxes are excellent for transporting cupcakes and presenting them individually or in small batches. Boxes with inserts help keep the cupcakes from shifting and damaging the frosting.
Decorative cupcake wrappers or liners used during baking add a pop of color and style. For serving, consider arranging cupcakes on a multi-tiered stand for a stunning display. Adding a final garnish like a fresh raspberry, a dusting of cocoa powder, or a few coordinating sprinkles just before serving provides a polished finishing touch to your Red velvet cupcakes recipe easy masterpieces.
Frequently Asked Questions
What makes the BakeWithEase red velvet cupcake recipe "easy"?
The recipe focuses on simple ingredients and step-by-step instructions, making it manageable even for beginner bakers. We also highlight common mistakes to avoid.
How do I achieve the perfect red color in my cupcakes using this recipe?
Our recipe utilizes a specific amount of red food coloring and emphasizes the importance of vinegar and buttermilk to activate the color. We recommend using gel food coloring for the best results.
What kind of frosting pairs best with these red velvet cupcakes?
Traditionally, red velvet cupcakes are paired with cream cheese frosting. Our recipe includes a recipe for a delicious and tangy cream cheese frosting that complements the cupcake perfectly.
Can I substitute any ingredients in this red velvet cupcake recipe?
While we recommend sticking to the recipe for the best results, you can substitute buttermilk with a mixture of milk and vinegar or lemon juice. However, this may slightly alter the flavor and texture.
Where can I find the full "Red Velvet Celebration Cupcakes" recipe on BakeWithEase.com?
You can find the complete recipe by searching for "Red Velvet Celebration Cupcakes" on BakeWithEase.com's recipe page or by using the search bar on the website.
Final Reflection: The Enduring Allure of the Perfect Red Velvet Cupcake
The vibrant crimson hue and decadent, tangy flavor of the red velvet cupcake continue to captivate bakers and eaters alike, proving that some culinary classics never go out of style. This enduring popularity speaks to a deeper desire for both visual appeal and a taste experience that's both familiar and exciting. The seemingly simple act of baking a red velvet cupcake transcends mere confectionery; it's a celebration of creativity and the joy of sharing delicious treats.
The journey to achieving that perfect red velvet color and flavor, as explored in this article, is a microcosm of the larger pursuit of culinary excellence. It's about understanding the nuances of ingredients, mastering techniques, and embracing the iterative process of refinement. The subtle balance of cocoa, buttermilk, and vinegar, the careful addition of food coloring – these details, seemingly insignificant on their own, combine to create a truly unforgettable experience. The best things in life are simple, but not easy.
This quote perfectly encapsulates the effort and reward inherent in baking the ideal red velvet cupcake.
Now, I invite you to take what you've learned and embark on your own red velvet adventure. Don't be afraid to experiment, to adjust the recipe to your own taste, and most importantly, to share the joy of your creations with loved ones. The perfect red velvet cupcake isn't just a recipe; it's a testament to the power of passion, precision, and the simple pleasure of baking something beautiful and delicious. So, gather your ingredients, preheat your oven, and let the baking begin!
Unleash Your Inner Baker: Perfect Red Velvet Awaits!
Thanks for joining us on this delicious journey into the world of red velvet cupcakes! We hope you gained some valuable tips and tricks to achieve that perfect color and flavor. Ready to take your baking skills to the next level?
- Bake a batch of these stunning cupcakes today! Use the recipe and techniques you just learned to create a show-stopping dessert.
- Share your creations! Post a picture on social media and tag us – we'd love to see your beautiful red velvet masterpieces.
- Challenge yourself: Experiment with different frosting flavors or add unique toppings to personalize your cupcakes.
So, what unexpected flavor combination will you try in your next batch of red velvet cupcakes? Let's hear your ideas in the comments below!