
What Happens During OverProofing: Signs and Solutions

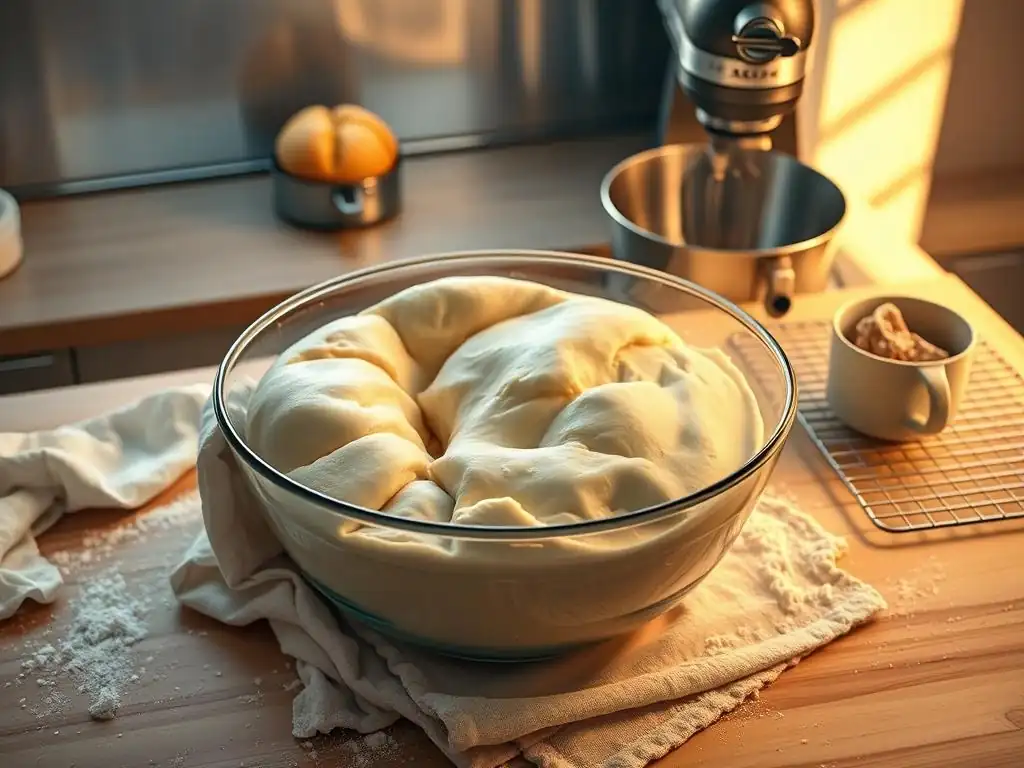
Welcome to BakeWithEase, your trusted guide to baking bliss! Ever wondered if your perfectly proofed dough has actually gone too far? This week, we're diving deep into the science behind baking and unraveling the mysteries of overproofing dough troubleshooting tips. Discover the telltale signs, understand the consequences, and learn how to rescue (or prevent!) this common baking blunder. Ready to unlock the secrets to perfect proofing? Let's get baking!
- Understanding and Managing Dough Over-Proofing
- The Science of Dough Fermentation
- Identifying Over-Proofed Dough
- Consequences of Over-Proofing
- Preventing Over-Proofing
- Rescuing Over-Proofed Dough
- Best Practices for Perfect Proofing
- Achieving Optimal Proofing
- Frequently Asked Questions
- Final Reflection: The Resilient Dough: Learning from Overproofing
- Unlock Your Baking Potential: Mastering Overproofed Dough
Understanding and Managing Dough Over-Proofing
The Science of Dough Fermentation
Fermentation is a cornerstone of baking, transforming simple ingredients into complex and delicious bread. It's the process where yeast, a living microorganism, consumes sugars in the dough and produces carbon dioxide gas and alcohol. This gas gets trapped within the gluten network of the dough, causing it to rise – a crucial step for achieving a light and airy texture. Understanding this delicate balance is key to mastering your bakes and implementing effective overproofing dough troubleshooting tips.
The rate of fermentation is influenced by several factors, including temperature, the amount of yeast used, and the availability of sugar. A warmer environment speeds up yeast activity, while colder temperatures slow it down. Similarly, more yeast means faster fermentation, and a dough with more sugar provides more food for the yeast, leading to a quicker rise. Managing these variables is fundamental to preventing problems like over-proofing.
Yeast's Role in Dough Development
Yeast is the primary leavening agent in many bread recipes. As it metabolizes sugars (like glucose and fructose, which come from the breakdown of flour starches), it produces carbon dioxide, ethanol, and various organic acids and flavor compounds. The carbon dioxide inflates the dough, creating pockets of air that contribute to the bread's final volume and crumb structure.
Beyond leavening, yeast activity also contributes significantly to the flavor and aroma of baked goods. The ethanol and acids produced, along with other byproducts, develop complex tastes that are characteristic of well-fermented bread. However, excessive activity, as seen in over-proofing, can lead to an imbalance in these compounds, resulting in off-flavors and a less desirable outcome.
What is Over-Proofing?
Over-proofing occurs when dough is allowed to ferment for too long or at too high a temperature, causing the yeast to produce an excessive amount of gas and acids. Initially, fermentation is beneficial, developing structure and flavor. However, past a certain point, the yeast exhausts its readily available food source, and the gluten structure, which holds the gas, begins to weaken and collapse under the internal pressure.
Think of it like over-inflating a balloon; eventually, the material stretches too thin and can't hold the air effectively. In dough, this results in a loss of structure, difficulty handling, and ultimately, a poor final product. Recognizing the signs of over-proofing is a vital part of overproofing dough troubleshooting tips for any baker.
Time and Temperature's Influence on Fermentation
Time and temperature are the two most critical factors controlling the rate of fermentation. A typical bulk fermentation (the first rise) might take 1-2 hours at room temperature (around 70-75°F or 21-24°C), while proofing (the final rise after shaping) might take 30-60 minutes. If the temperature increases significantly, say to 85°F (29°C), these times will be drastically reduced.
Conversely, using colder temperatures, like proofing in a refrigerator (around 35-40°F or 2-4°C), can slow fermentation down considerably, allowing for longer proofing times (sometimes 12-48 hours or more) which can enhance flavor development without risking over-proofing the same way warm temperatures do. Precise control over these variables is paramount in preventing the issues that require overproofing dough troubleshooting tips.
Identifying Over-Proofed Dough
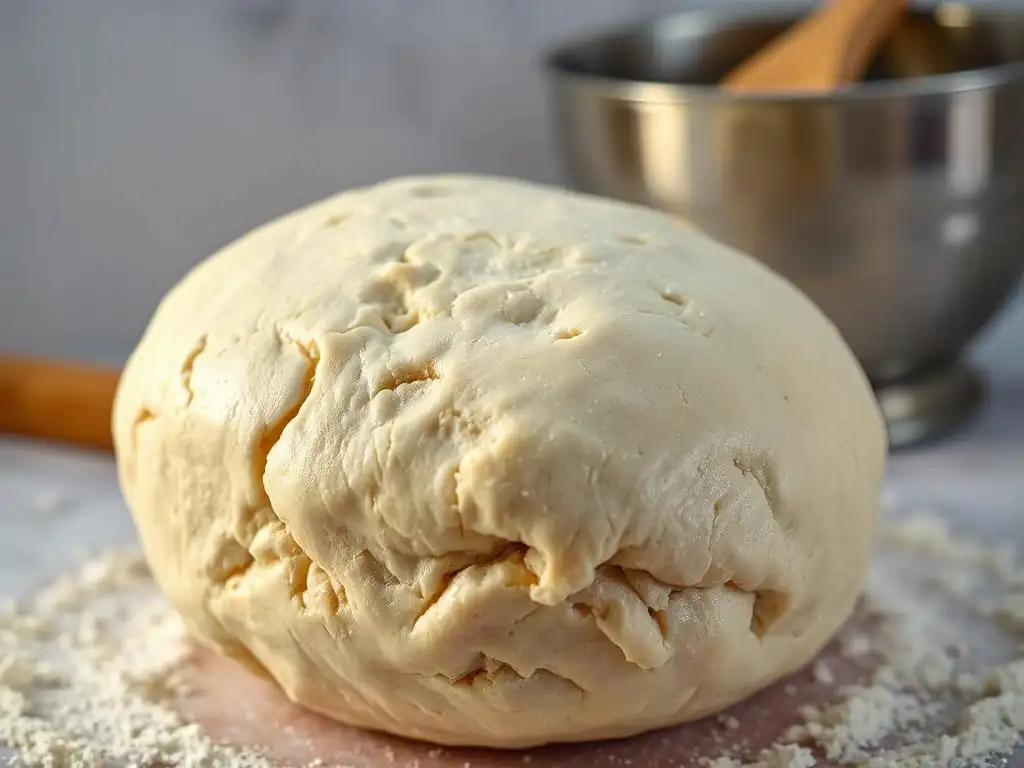
Spotting over-proofed dough early is crucial for implementing effective overproofing dough troubleshooting tips. Several indicators can alert you that fermentation has gone too far, affecting both the visual appearance and the feel of the dough. Paying close attention during the proofing stage can save your bake.
These signs often appear in combination. For instance, dough that has expanded excessively might also feel very fragile and look deflated. Learning to recognize these cues through observation and touch is essential for any baker.
Visual Indicators
Visual cues are often the first sign that your dough might be heading towards or is already over-proofed. These are changes you can see simply by looking at the dough during its proofing stage.
Excessive Expansion
The dough has expanded far beyond its original size, often doubling, tripling, or even quadrupling, depending on the recipe and initial volume. It might look "puffy" or overly rounded.
Deflated Dough
Instead of holding its shape, the dough appears slack, flat, or has visibly collapsed in the center or around the edges. This indicates the gluten structure has broken down and can no longer support the gas produced.
Blistered Surface
Small bubbles or blisters might appear on the surface of the dough. While some blistering is normal and desirable in certain breads (like focaccia), excessive blistering combined with other signs can indicate over-proofing.
Texture Indicators
How the dough feels when you touch it provides vital information about its fermentation stage. Over-proofed dough will have a distinct texture that differs significantly from perfectly proofed dough.
Weak Dough Structure
When gently poked, the dough might feel very fragile and not spring back readily. It might even tear easily or feel "soupy" rather than having some resistance and elasticity.
Sticky Dough
Over-proofed dough often becomes excessively sticky, even if it wasn't particularly sticky initially. This is due to the breakdown of starches and proteins by enzymes active during prolonged fermentation.
Aroma Indicators
The smell of the dough can also tell you a lot about its fermentation state. While pleasant yeasty and slightly acidic aromas are normal, over-proofing introduces stronger, less desirable smells.
Sour or Alcoholic Smell
A strong, pungent sour smell (like vinegar or strong sourdough starter) or a distinct alcoholic odor indicates that the yeast has produced a high level of organic acids and ethanol. While some acidity is good, excessive amounts suggest over-fermentation.
Consequences of Over-Proofing
Ignoring the signs of over-proofing and baking the dough anyway will result in a significantly compromised final product. The issues stemming from the weakened gluten structure and altered chemistry manifest in the baked bread in several undesirable ways. Understanding these outcomes reinforces the importance of effective overproofing dough troubleshooting tips.
The impact of over-proofing is often irreversible once the dough is baked. The structural integrity is lost, and the balance of flavors is disrupted, leading to a disappointing loaf.
Reduced Oven Spring
Oven spring is the final burst of expansion that occurs in the oven as the trapped gases expand rapidly before the crust sets. In over-proofed dough, the gluten structure is already too weak to hold much gas, and much of the available sugar has been consumed by the yeast. This leads to minimal or no oven spring, resulting in a flat, dense loaf.
Instead of rising dramatically in the heat of the oven, the dough might just spread outwards. This lack of vertical expansion is a hallmark sign that the dough was pushed too far during proofing.
Dense Texture
Because the gluten structure has collapsed and there's little gas left for expansion in the oven, the resulting bread will have a tight, dense crumb rather than an open, airy one. The large, irregular holes characteristic of a good bread crumb will be absent or significantly reduced.
The texture might feel heavy or gummy when eaten. This is a direct consequence of the dough's inability to hold its structure and expand properly during baking, a key issue addressed by overproofing dough troubleshooting tips.
Unpleasant Flavor
The prolonged fermentation in over-proofed dough leads to an accumulation of excessive acids and other metabolic byproducts. This can result in a flavor that is too sour, overly alcoholic, or just generally "off" or unbalanced compared to a properly proofed loaf.
While some acidity is desirable in certain breads like sourdough, the sourness from over-proofing can be harsh and unpleasant. The desirable complex flavors developed during proper fermentation are overshadowed by these harsh notes.
Preventing Over-Proofing
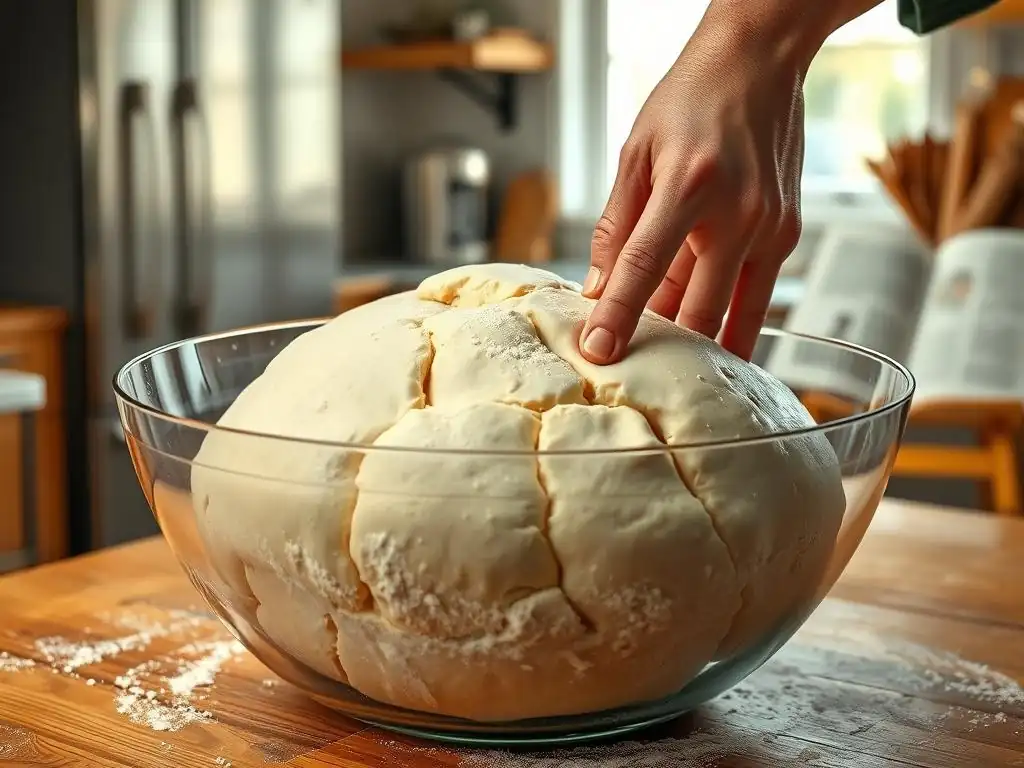
Prevention is often easier than attempting overproofing dough troubleshooting tips after the fact. By carefully controlling the fermentation process, you can significantly reduce the risk of over-proofing and consistently achieve perfectly proofed dough.
Proactive measures related to time, temperature, and ingredients are your best defense against the pitfalls of over-proofing.
Controlling Fermentation Time
The most direct way to prevent over-proofing is to monitor the clock and the dough closely. Pay attention to recipe guidelines for proofing times, but use them as estimates. The actual time needed will vary based on ambient temperature and other factors.
Develop a feel for how the dough should look and feel at different stages. Don't rely solely on a timer; observe the visual and texture indicators discussed earlier. When in doubt, it's often better to slightly under-proof than drastically over-proof.
Monitoring Dough Temperature
Temperature has a profound impact on yeast activity. Proofing dough in a warm environment (above 75°F or 24°C) accelerates fermentation, drastically reducing the time needed. Conversely, a cooler environment slows it down.
If your kitchen is warm, be prepared for shorter proofing times. If you need more time for flavor development or are stepping away, consider proofing in a cooler spot or even the refrigerator to slow things down safely. Using a dough thermometer can help you track internal dough temperature accurately.
Adjusting Yeast Quantity
The amount of yeast used directly affects the speed of fermentation. Using more yeast than necessary for a given recipe and proofing time increases the risk of over-proofing, especially in warmer conditions.
Recipes often provide a range for yeast, or you might experiment with reducing the quantity slightly if you consistently find your dough proofing too quickly. For example, reducing active dry yeast from 2 teaspoons to 1.5 teaspoons in a standard bread recipe can significantly extend the proofing window, making it easier to manage.
Rescuing Over-Proofed Dough
Sometimes, despite your best efforts, you might find yourself with dough that has over-proofed. Don't despair! While a perfect loaf might be out of reach, there are still overproofing dough troubleshooting tips you can employ to salvage the dough and create something edible, if not ideal.
The key is to act quickly once you identify the over-proofed state. Different strategies work depending on how severely the dough is over-proofed and what kind of product you were planning to make.
Punching Down and Re-Proofing
For slightly over-proofed dough that hasn't completely collapsed, you might be able to gently punch it down to release some gas and redistribute the yeast and nutrients. Then, reshape it and attempt a shorter, more controlled second proof.
However, be aware that the gluten structure is already weakened. A second proof might lead to even faster deterioration. This method is more successful with doughs that were only slightly over-proofed and still retained some structure. Monitor it very closely during the second proof.
Immediate Shaping and Baking
If the dough is significantly over-proofed and feels very weak or has started to collapse, attempting a second proof is likely futile. The best course of action might be to handle it as gently as possible, shape it quickly, and bake it immediately.
Expect minimal or no oven spring and a denser loaf. However, baking it prevents further breakdown and can still yield a usable, albeit less-than-perfect, bread. This is a common overproofing dough troubleshooting tip when the dough is too far gone for re-proofing.
Repurposing Over-Proofed Dough
Sometimes, the dough is too far gone to bake as a loaf. In such cases, repurposing it into something that doesn't require as much structure or oven spring is a great option.
Consider turning it into flatbreads, pizza crusts, or even crackers. These applications benefit less from significant rise. You can also incorporate it into a new batch of dough (like a pâte fermentée or old dough method) if making another batch soon, adding flavor to the new dough.
Best Practices for Perfect Proofing
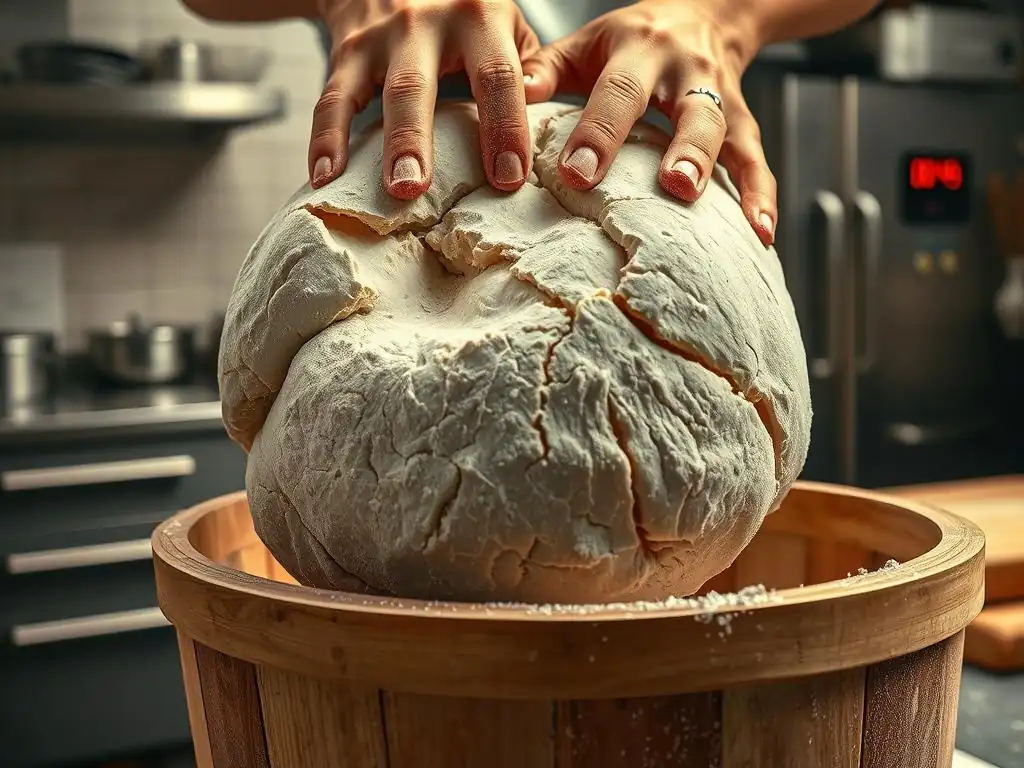
Consistently achieving perfectly proofed dough involves attention to detail at every stage of the baking process. It's not just about monitoring the dough during the rise, but also setting the stage correctly from the beginning.
Implementing these best practices minimizes the chances you'll need overproofing dough troubleshooting tips in the first place and helps ensure repeatable success in your baking endeavors.
Accurate Ingredient Measurement
Baking is a science, and precise measurements are critical. Too much yeast will speed up fermentation dramatically. Too much water can weaken the gluten structure prematurely. Use a kitchen scale for accuracy, especially for flour and water (hydration levels).
Even small deviations in ingredient ratios can impact fermentation speed and dough structure, making it harder to control the proofing process and increasing the likelihood of issues like over-proofing.
Proper Dough Handling
How you mix and knead the dough affects the development of the gluten network, which is essential for containing the gases produced during fermentation. Under-kneaded dough will have a weak structure and collapse easily during proofing.
Over-handling or rough treatment can also damage the gluten. Develop the dough properly during mixing and kneading, and handle it gently during shaping to preserve the structure needed for a successful rise.
Managing Kitchen Environment
Be mindful of the temperature in your kitchen. Drafts and fluctuating temperatures can affect proofing. Find a consistent spot for your dough to rise. A slightly warmer spot can speed things up, while a cooler spot slows them down.
Consider using a proofing box, your oven with the light on (often provides a gentle warmth of around 80-90°F or 27-32°C), or even just a consistent countertop spot away from drafts. Knowing your environment helps you predict and control proofing times, reducing the need for overproofing dough troubleshooting tips.
Achieving Optimal Proofing
Knowing when your dough is perfectly proofed is a skill that develops with practice. There isn't a single universal time, as it depends on many variables. Instead, bakers rely on visual cues, touch, and sometimes specific tests to gauge readiness.
Mastering these techniques is key to consistently baking loaves with excellent volume, texture, and flavor, avoiding the problems that overproofing dough troubleshooting tips aim to solve.
Recognizing Proofing Stages
Dough goes through several stages of proofing. Initially, it's dense and doesn't expand much. As fermentation progresses, it becomes visibly larger, softer, and more aerated. It will continue to grow until it reaches its peak volume potential, where the gluten is optimally stretched but not yet weakened.
The goal is to bake the dough just before it reaches this peak, or right at it, so that it still has the strength and energy for that final push in the oven (oven spring).
The Windowpane Test
The windowpane test is a common method to check gluten development, but it can also give clues about proofing. After bulk fermentation, take a small piece of dough and gently stretch it. If you can stretch it thin enough to see light through it without tearing (like a windowpane), the gluten is well-developed.
When is the windowpane test *less* useful for checking proofing?
- For very high hydration doughs (ciabatta).
- For doughs with lots of additions (nuts, seeds).
- When checking *over*-proofing, as the structure might already be too weak to pass the test even if it was developed earlier.
While primarily a test for gluten, a dough that easily tears during this test might indicate a weakened structure, potentially due to over-fermentation, though it's more definitively checked by the poke test.
Consistent Proofing Techniques
Developing a consistent approach to proofing in your own kitchen is invaluable. Use the same type and amount of yeast, maintain similar water temperatures, and proof in the same location whenever possible.
[ ] Choose a consistent proofing spot.
[ ] Note the ambient temperature during proofing.
[ ] Use a timer, but rely more on visual/poke tests.
[ ] Keep a baking journal to record proofing times and results.
By standardizing your process, you'll become better at predicting how long your dough will take to proof and more adept at recognizing the signs of readiness, minimizing the need for overproofing dough troubleshooting tips.
Frequently Asked Questions
What are the most common signs of overproofed dough?
Overproofed dough often appears collapsed or deflated, may have a sour or alcoholic smell, and feels very sticky and weak when handled.
Why does dough overproof in the first place?
Overproofing occurs when the yeast consumes too much sugar and produces excessive gas, causing the gluten structure to weaken and eventually collapse. Temperature plays a significant role.
Can you rescue overproofed dough?
Sometimes! You can try punching it down gently and re-shaping it. However, the resulting bread might be dense and have a slightly sour taste.
What's the best way to prevent overproofing?
Carefully monitor the dough's rise and use a reliable recipe. Pay close attention to proofing time and temperature, adjusting as needed based on your environment.
What happens if I bake overproofed dough anyway?
Baking overproofed dough will likely result in a flat, dense, and possibly gummy bread. The flavor may also be unpleasant due to excessive fermentation.
Final Reflection: The Resilient Dough: Learning from Overproofing
Overproofing is not the end of the baking journey; it's a valuable lesson in understanding the delicate dance between time, temperature, and yeast. Many bakers, especially beginners, experience the frustration of overproofed dough, but recognizing the signs and implementing solutions can transform this setback into a stepping stone towards mastery. This understanding extends beyond just bread making, highlighting the importance of patience and adaptability in any creative endeavor.
The impact of overproofing extends beyond the individual baker; it speaks to a broader cultural appreciation for the process of creation. We live in a society that often prioritizes speed and efficiency, but the art of baking, particularly bread making, reminds us of the beauty found in slowing down and observing the subtle changes in our ingredients. The patience required to nurture dough, even when faced with setbacks like overproofing, mirrors the patience needed in other aspects of life. The best things in life are worth waiting for,
a sentiment that rings especially true when working with yeast.
Now, consider your own baking journey. Have you experienced the frustration of overproofed dough? What did you learn from that experience? More importantly, how can you apply the troubleshooting techniques discussed in this article to other challenges you face, both in the kitchen and beyond? Embrace the imperfections, learn from your mistakes, and remember that even an overproofed dough can, with a little creativity and resourcefulness, still yield a delicious outcome. The journey of baking, much like life itself, is a continuous process of learning, adapting, and finding joy in the unexpected.
Unlock Your Baking Potential: Mastering Overproofed Dough
Thanks for diving into the world of sourdough and learning about overproofing! We hope you now feel more confident in identifying and handling this common baking challenge. Ready to put your new knowledge to the test?
- Bake a test loaf: This is your chance to experiment and perfect your technique. Try adjusting your proofing time based on what you've learned and see the difference!
- Share your baking journey! Tell us about your experiences (both successes and challenges) with overproofed dough in the comments below – we'd love to hear from you!
- Explore our other baking guides for more tips and tricks: discover even more ways to elevate your baking game.
Ready to transform your next loaf? Let's hear your baking story in the comments!