
Achieve Crispy Edges: Beginner Baking Tips for Classic Cookies

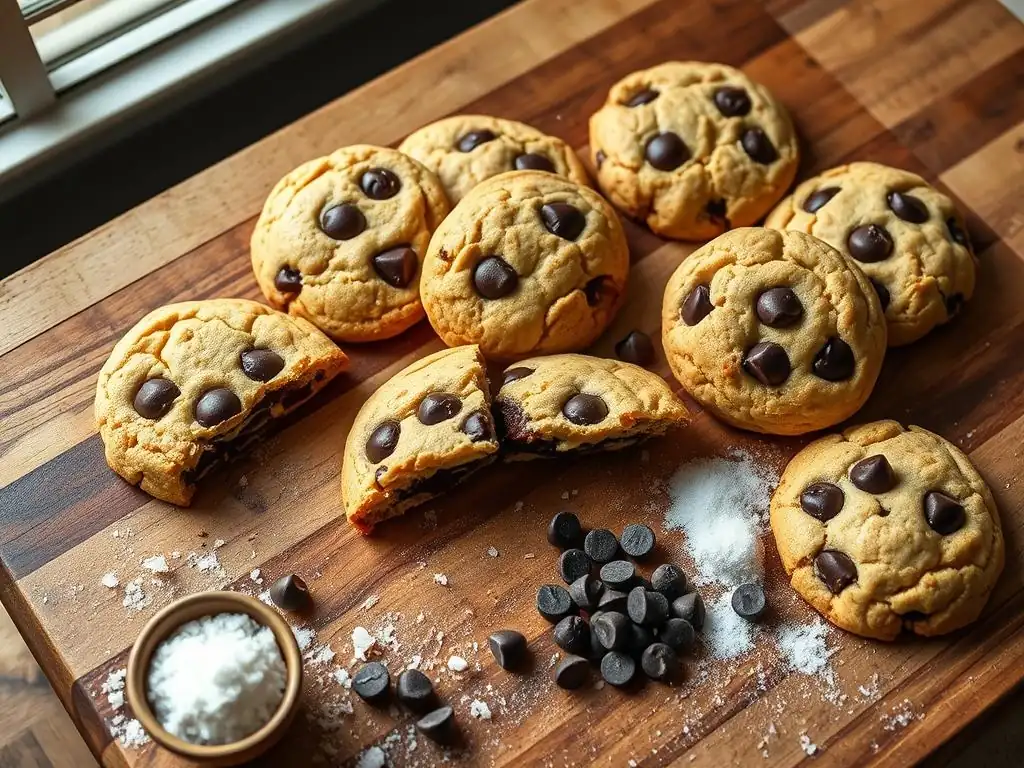
Welcome to BakeWithEase, your partner in creating delectable treats! Ever dreamt of perfectly crisp cookies with that satisfying snap? Uncover the secrets to achieving those irresistible textures with our guide to crispy cookie baking tips. Get ready to transform your baking and create cookies everyone will rave about! Let's get started...
- Introduction to Crispy Cookie Baking Tips for Beginners
- Essential Ingredients for Perfectly Crispy Cookie Edges
- Step-by-Step Guide to Baking Classic Cookies with Crispy Edges
- Baking Techniques to Achieve Crispy Cookie Edges
- Tips for Enhancing Texture: Balancing Chewy Centers and Crispy Edges
- Troubleshooting Common Issues in Crispy Cookie Baking
- Bonus Tips: Flavor Enhancements That Complement Crispy Classic Cookies
- Conclusion: Mastering Crispy Cookie Baking Tips for Beginner Bakers
-
Frequently Asked Questions
- What's the most important thing to remember when aiming for crispy cookie edges?
- How does the type of fat used affect the crispiness of cookies?
- Should I chill my cookie dough before baking for crispier cookies?
- What role does sugar play in achieving crispy cookie edges?
- What are some common mistakes that prevent cookies from being crispy?
- Final Reflection: The Enduring Allure of the Perfectly Crispy Cookie
- Unlock Your Inner Baker: Crispy Cookie Perfection Awaits!
Welcome to the wonderful world of baking classic cookies! As a beginner, you might find yourself aiming for that perfect balance: a cookie that holds its shape, tastes delicious, and offers a satisfying texture contrast. While some prefer a purely soft and chewy cookie, many classic recipes, like chocolate chip or peanut butter cookies, are elevated by having distinctively crispy edges that give way to a softer center. Achieving this specific texture can seem tricky at first, but with the right crispy cookie baking tips, it's entirely within your reach.
This guide is designed to walk you through the essential techniques, ingredients, and common pitfalls beginner bakers face when trying to master cookies with that desired edge crispness. We'll break down the science behind why cookies behave the way they do in the oven and provide actionable steps you can implement in your next baking session. Mastering these crispy cookie baking tips will not only improve your classic cookies but also build a solid foundation for tackling more complex baking projects in the future.
Crispy edges on a classic cookie provide a delightful textural contrast that elevates the overall eating experience. Think about biting into a perfectly baked chocolate chip cookie: the slight crunch from the edge gives way to a tender, melt-in-your-mouth center. This duality of textures adds complexity and makes each bite more interesting and satisfying. It's a hallmark of many beloved cookie types.
For example, consider a traditional peanut butter cookie. While the center is often soft and rich, the characteristic fork marks on top, combined with ingredients and baking methods designed for spread, contribute to a perimeter that is delightfully crisp. This crispness doesn't just add texture; it also often concentrates flavor, as the sugars caramelize more intensely at the thinner, hotter edges. Achieving these crispy edges is a key goal for many aiming for textbook classic cookies.
Beginner bakers often encounter several hurdles when trying to achieve those coveted crispy edges on their cookies. One frequent issue is cookies spreading too much, resulting in thin, uniformly crisp (or worse, burnt) wafers rather than cookies with distinct centers and edges. Conversely, some cookies might not spread enough, remaining thick and soft throughout, lacking any crispness whatsoever.
Another common challenge is uneven baking. Ovens can have hot spots, leading to some cookies on a sheet browning and crisping perfectly while others remain pale and underdone. Many novices also struggle with timing – removing cookies too early results in soft edges, while leaving them in too long can lead to the edges becoming overly hard or burnt before the center is fully cooked. Understanding these potential problems is the first step in applying effective crispy cookie baking tips.
The foundation of any great cookie lies in its ingredients. For achieving crispy edges, specific choices and proportions of flour, sugar, and fats play a crucial role. Getting these right is one of the most important crispy cookie baking tips you can learn. The interaction of these components during mixing and baking dictates how much your cookie spreads and how quickly moisture evaporates from the edges.
Leavening agents like baking soda and baking powder also significantly impact texture. Their reaction with other ingredients influences the cookie's rise and spread, which in turn affects the distribution of moisture and sugar, directly impacting the crispness of the edges. Paying close attention to the type and amount of each ingredient specified in a recipe is paramount when aiming for that ideal crispy edge.
Choosing the Right Flour and Sugar for Crispiness
The type of flour used affects gluten development, which influences cookie structure. All-purpose flour is standard for most classic cookies. Using too much flour can lead to thicker, less spread-out cookies that may not develop crispy edges easily. Conversely, too little can cause excessive spreading. The protein content of the flour also matters; a slightly lower protein flour might encourage more spread, potentially contributing to crispier edges.
Sugar is a key player in crispness. Granulated sugar promotes spread and crispness more than brown sugar. Brown sugar contains molasses, which holds onto moisture and results in a softer, chewier texture. Recipes aiming for crispy edges often use a higher ratio of granulated sugar to brown sugar, or sometimes only granulated sugar. For instance, a classic shortbread cookie, known for its crispness, typically relies heavily on granulated or powdered sugar. The sugar also caramelizes as it bakes, contributing to the golden color and brittle texture of the edges.
Fats, particularly butter, are critical for cookie texture. The state of the butter – melted, softened, or cold – profoundly impacts how much a cookie spreads. Using melted butter typically results in thinner, crispier cookies because the fat is already liquid and encourages immediate spread in the oven. Softened butter, creamed with sugar, incorporates air, leading to a cookie that rises slightly before spreading, often resulting in a chewier center and crispier edge.
Butter's water content (around 15-18%) also contributes to crispness. As the water evaporates in the oven, it helps create steam, which can affect texture. Shortening, which is 100% fat and has a higher melting point than butter, tends to produce cookies that spread less and are softer or more uniformly tender rather than having distinct crispy edges. For crispy edges, many recipes lean towards using butter, often melted or a combination of melted and softened.
Baking soda (sodium bicarbonate) is a leavening agent that requires an acid to activate. In many cookie recipes, brown sugar (which is slightly acidic due to molasses) or other acidic ingredients react with baking soda. Baking soda causes cookies to spread more horizontally, leading to thinner edges that crisp up easily. It also contributes to browning, enhancing the crispy texture and color.
Baking powder, on the other hand, is a complete leavening agent containing both an acid and a base. It creates lift, causing cookies to puff up vertically. While it contributes to a lighter texture, using too much baking powder can result in cakey cookies that lack the desired crispy edges. Recipes focused on crispy edges often use baking soda, or a combination where baking soda is dominant for spread and crispness, complemented by a smaller amount of baking powder for a slight lift.

Executing the baking process correctly is just as important as using the right ingredients when aiming for crispy edges. From preparing the dough to the final cool-down, each step influences the ultimate texture of your classic cookies. These crispy cookie baking tips focus on the practical application of the science we've discussed, guiding you through the process for optimal results.
Following a precise method ensures consistency and helps you troubleshoot if your cookies don't turn out exactly as planned. Remember, baking is a science, and small variations in technique can make a big difference in the final product. Let's walk through the key steps to getting those perfect crispy edges.
Preparing the Dough for Optimal Crispiness
The initial mixing of the dough sets the stage for texture. For many crispy-edged cookies, starting with melted butter is a common technique as discussed earlier, as it encourages spread. If using softened butter, creaming it with the sugar for the specified time (often 2-3 minutes) incorporates air, which helps with initial lift before the cookie spreads. Avoid overmixing once you add the dry ingredients. Overmixing develops gluten, which can lead to tougher cookies. Mix just until the flour streaks disappear.
Adding ingredients in the correct order is also important. Typically, wet ingredients (melted butter, sugars, eggs, vanilla) are combined first, followed by dry ingredients (flour, leavening, salt). Ensure your leavening agents are evenly distributed by whisking them with the flour before adding to the wet mixture. This preparation ensures the dough is ready to spread and crisp correctly in the oven.
Importance of Dough Chilling and Resting Times
Chilling cookie dough is a crucial step often recommended for cookies where texture control is desired, including those aiming for crispy edges. Chilling solidifies the fat (like butter), which means the cookies will spread less rapidly when they hit the hot oven. This slower spread allows the edges to set and crisp up before the entire cookie flattens out completely.
Furthermore, chilling allows the flour to hydrate and the sugars to distribute more evenly, resulting in a more uniform texture and enhanced flavor. A minimum chilling time of 30 minutes is often beneficial, but chilling for several hours or even overnight can significantly improve both flavor and texture, leading to more pronounced crispy edges and often chewier centers. Don't skip this step if the recipe calls for it; it's one of the most effective crispy cookie baking tips.
How you shape and portion your cookie dough directly impacts how they bake and their resulting texture. Rolling dough into uniform balls is standard for many drop cookies. Aim for consistency in size so all cookies bake evenly. Using a cookie scoop (e.g., a 1.5-inch scoop for standard cookies) is an excellent way to ensure uniformity.
Placing dough balls an adequate distance apart on the baking sheet (typically 2-3 inches) is essential to prevent them from running into each other as they spread. If cookies touch, they won't develop distinct crispy edges. Flattening the dough balls slightly before baking can also encourage spread and promote crispier edges, as seen in recipes like peanut butter cookies where fork tines are used.
The oven is where the magic happens, transforming raw dough into delicious cookies. The temperature, the type of baking sheet, and the timing of your bake are critical factors in achieving the desired crispy edges. Applying the right techniques in the oven is paramount for successful crispy cookie baking tips.
Heat initiates several chemical reactions: fat melts, sugars caramelize, leavening agents release gas, and proteins set. Controlling the heat and duration of baking allows you to manipulate these processes to achieve the ideal balance of texture throughout the cookie, prioritizing crispness at the edges.
Oven Temperature Settings for Crispy Results
Baking temperature significantly influences cookie spread and crispness. A common temperature for many classic cookies is 350°F (175°C). At this temperature, the butter melts, the dough spreads, and the edges have time to brown and crisp before the center is fully cooked. Baking at a slightly higher temperature, such as 375°F (190°C), can sometimes promote faster spread and quicker edge crisping, though it increases the risk of burning if not watched carefully.
Lower temperatures (e.g., 325°F / 160°C) generally result in less spread and thicker cookies, which are less likely to develop distinctly crispy edges unless baked for a very long time, which can lead to dryness. For reliable crispy edges, stick to the temperature specified in a recipe designed for this texture, often in the 350-375°F range. Ensuring your oven thermostat is accurate is also helpful; an oven thermometer can confirm this.
Using Baking Sheets and Parchment Paper Effectively
The type of baking sheet you use can impact how the bottoms and edges of your cookies bake. Dark metal baking sheets absorb more heat than light-colored aluminum sheets, potentially leading to faster browning and crisping on the bottom and edges. While this can be beneficial for crispness, it also increases the risk of burning, so monitor carefully. Light-colored, heavy-gauge aluminum sheets provide more even heat distribution.
Lining your baking sheet with parchment paper or a silicone baking mat is another excellent crispy cookie baking tip. Parchment paper prevents sticking and promotes even heat transfer to the bottom of the cookie. It also makes cleanup easier. While silicone mats are great for preventing sticking and encouraging even baking, some bakers find parchment paper slightly better for achieving maximum crispness on the bottom surface.
Knowing exactly when to pull your cookies from the oven is perhaps the most critical skill for achieving crispy edges while maintaining a soft center. Most classic cookies with crispy edges are ready when the edges are visibly golden brown and appear set, while the centers still look slightly pale, puffy, or even a little underbaked.
Remember that cookies continue to cook from residual heat after they are removed from the oven, especially if left on the hot baking sheet. For crispy edges, it's often best to err on the side of slightly underbaking the center. A typical bake time for a standard-sized cookie at 350°F might be 8-12 minutes, but this varies greatly by recipe and size. Watch the edges closely, not just the timer. When the edges are golden, remove the sheet.
Tips for Enhancing Texture: Balancing Chewy Centers and Crispy Edges
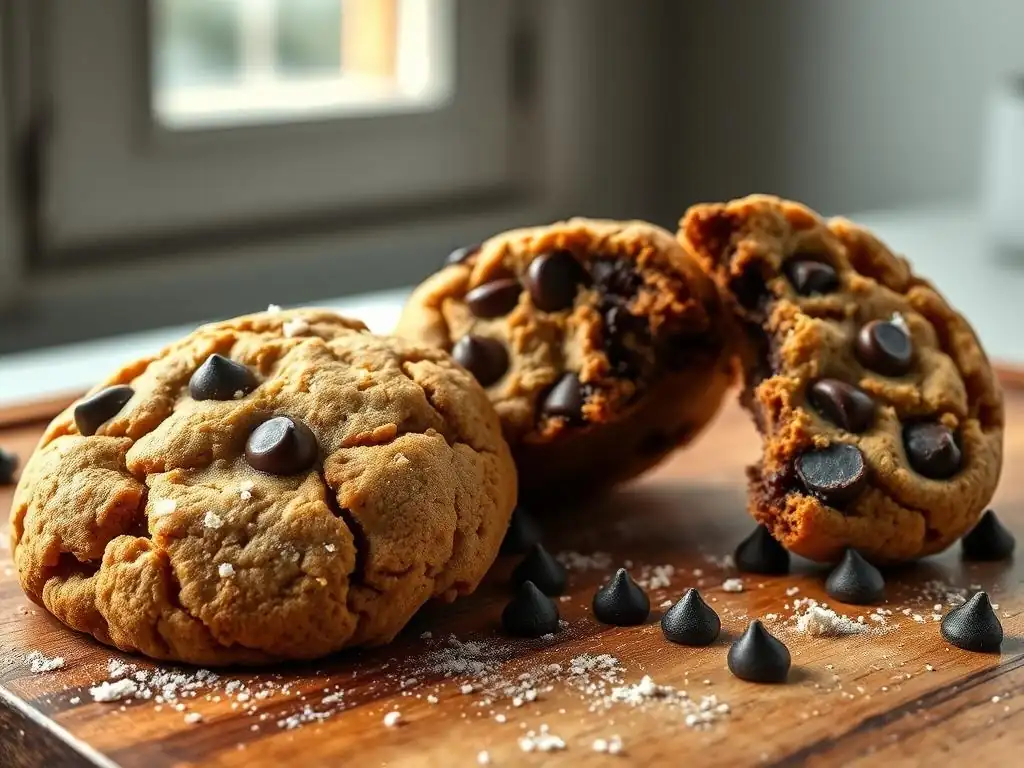
Many classic cookies are celebrated for their delightful textural contrast: a satisfyingly crispy edge giving way to a soft, sometimes slightly gooey, center. Achieving this balance is the ultimate goal for many bakers. It requires understanding how ingredients and techniques interact to create different textures within the same cookie.
Fine-tuning your approach based on ingredient ratios, cookie dimensions, and even post-bake handling can significantly impact this balance. These crispy cookie baking tips delve into how to manipulate these variables to get that perfect duality of textures.
Adjusting Ingredient Ratios for Texture Contrast
As discussed earlier, the ratio of granulated sugar to brown sugar is a major factor. A higher proportion of granulated sugar promotes spread and crispness at the edges. Increasing the amount of brown sugar relative to granulated sugar will lean the cookie more towards a chewier texture throughout, potentially reducing edge crispness. Experimenting with a mix, such as a 50/50 split, is common for a balanced texture.
Similarly, the amount and state of butter play a role. Using melted butter encourages spread and crispness. Using only softened butter, especially if creamed well, incorporates more air, leading to a puffier cookie that might have a chewier center but less pronounced crispy edges unless baked longer. Adjusting the amount of flour slightly can also impact spread and thickness, indirectly affecting the texture balance.
The initial thickness of your cookie dough portion significantly affects the final texture. Thinner cookies (either from starting thinner or spreading more) tend to bake through more uniformly, resulting in a cookie that is often crispy throughout. While delicious, this isn't the goal if you want chewy centers.
Thicker cookies, formed from larger or less-flattened dough balls, take longer for the heat to reach the center. This allows the edges, which are exposed to heat first and are often thinner due to spread, to set and crisp up while the center remains softer and slightly undercooked when removed from the oven. Aiming for a dough ball size that results in a cookie about 1/4 to 1/3 inch thick after spreading is often ideal for achieving that crispy edge, chewy center contrast in classic drop cookies.
Cooling Methods That Preserve Crispy Edges
How you cool your cookies after baking is the final step in setting their texture. When cookies first come out of the oven, they are delicate and still cooking from residual heat. Leaving them on the hot baking sheet for a minute or two allows the edges to continue to set and firm up, which helps preserve their crispness.
However, leaving them on the hot sheet for too long can lead to overbaking the bottom and potentially making the edges too hard. Transferring them to a wire cooling rack allows air to circulate around the entire cookie, stopping the cooking process and preventing steam from accumulating underneath, which could make the bottom or edges soggy. Cool completely on the rack before storing to maintain maximum crispness.
Even with the best ingredients and techniques, baking can sometimes present unexpected challenges. If your cookies aren't turning out with the crispy edges you desire, don't be discouraged. Identifying the problem is the first step to fixing it. These crispy cookie baking tips address some frequent issues and how to correct them, helping you refine your baking skills.
Troubleshooting involves reviewing your process and ingredients to pinpoint what might have gone wrong. Was the oven temperature accurate? Was the dough chilled sufficiently? Did you measure ingredients precisely? By systematically examining potential causes, you can adjust your approach for future batches.
If your cookie edges turn out soft or soggy instead of crispy, several factors could be at play. Common causes include:
- Undermixing Wet/Dry Ingredients: Not fully incorporating ingredients can lead to uneven texture.
- Too Much Moisture: Using too much liquid (like milk or extra egg), too little flour, or too much brown sugar can result in a softer texture.
- Too Low Oven Temperature: A low temperature prevents sufficient spread and browning needed for crispness.
- Too Short Baking Time: The cookies weren't in the oven long enough for moisture to evaporate from the edges and for sugars to caramelize.
To fix this, ensure you are using the correct ingredient ratios, especially the sugar type and amount. Check your oven temperature with an oven thermometer. Bake cookies until the edges are a clear golden brown, even if the center looks slightly underdone. Ensure dough is adequately chilled if the recipe calls for it.
Avoiding Overbaking and Burning While Maintaining Crispiness
The line between crispy edges and burnt edges can be thin. If your edges are burning before the center is done, consider these points:
- Too High Oven Temperature: While a higher temperature can promote crispness, too high can burn the edges before the center cooks. Try slightly lowering the temperature (e.g., from 375°F to 350°F) and extending the bake time slightly.
- Dark Baking Sheets: As mentioned, dark sheets absorb more heat. If using them, you might need to reduce the oven temperature by 25°F or shorten the bake time.
- Uneven Oven Heat: Hot spots can cause some cookies to burn. Rotate your baking sheet halfway through the baking time.
- Cookies Too Thin: If the cookies spread too much, they become uniformly thin and prone to burning quickly. Ensure you're using the correct leavening, fat, and sugar ratios, and consider chilling the dough longer.
Watch the cookies constantly during the last few minutes of baking. Remove the sheet as soon as the edges reach the desired golden-brown color.
Handling Uneven Baking and Spreading
Uneven baking is often due to hot spots in the oven or inconsistent cookie size/placement. To combat this:
- Use an Oven Thermometer: Verify your oven's temperature is accurate.
- Rotate Baking Sheets: Turn the sheet 180 degrees halfway through the baking time.
- Use Parchment Paper: This helps distribute heat more evenly.
- Portion Dough Uniformly: Use a scoop to ensure all cookies are the same size.
- Space Cookies Properly: Give them enough room to spread without touching.
If spreading is the issue (some spread too much, some too little), revisit the ingredient section. Ensure butter is the correct temperature (melted for more spread, softened for less), check your sugar ratios, and confirm you used the correct leavening agent amount. Dough chilling is also key to controlling spread.
Once you've mastered the technique for achieving crispy edges, you can start experimenting with flavor variations. Adding spices, extracts, or mix-ins can enhance your classic cookies without necessarily compromising that perfect texture balance. These crispy cookie baking tips offer ideas for elevating your cookies' taste profile.
The key is to understand how different additions might interact with the dough's texture and moisture content. With a little care, you can create cookies that are not only texturally satisfying but also bursting with delicious flavor.
Incorporating Spices and Extracts Without Affecting Texture
Spices and extracts are excellent for adding depth of flavor to classic cookies. Vanilla extract is standard in most recipes and doesn't impact texture in typical amounts (usually 1-2 teaspoons per batch). Other extracts like almond, peppermint, or maple can be substituted or added alongside vanilla.
Ground spices such as cinnamon, nutmeg, ginger, or cloves also add wonderful flavor to cookies like snickerdoodles or gingerbread variants. In the quantities typically used (often 1/4 to 1 teaspoon of each), these dry spices do not significantly alter the dough's moisture content or texture. Whisk them into the dry ingredients to ensure even distribution throughout the dough.
Adding Mix-Ins That Don’t Compromise Crisp Edges
Mix-ins like chocolate chips, nuts, or dried fruit add flavor and texture. The good news is that most standard mix-ins don't negatively impact crispy edges if added in reasonable amounts. Chocolate chips, for instance, are a staple and melt slightly during baking but don't prevent edge crisping.
Chopped nuts (like walnuts or pecans) add crunch and flavor. Dried fruits (raisins, cranberries) add chewiness and sweetness. Avoid adding mix-ins that introduce excessive moisture, such as fresh fruit pieces, as they can make the surrounding dough soggy and prevent crisping. For best results, fold mix-ins into the dough gently in the final stage of mixing, ensuring they are evenly distributed but not overmixed.
Achieving crispy edges on classic cookies is a rewarding skill for any beginner baker. It adds a layer of complexity and delight to simple recipes, transforming them from merely good to truly great. By understanding the role of key ingredients like flour, sugar, and butter, mastering techniques like dough chilling and precise baking times, and knowing how to troubleshoot common issues, you are well on your way to baking perfect crispy-edged cookies every time.
Remember that crispy cookie baking tips aren't just about following a recipe; they're about understanding the process. Each batch you bake is an opportunity to learn and refine your skills. Don't be afraid to experiment with slight variations once you've mastered the basics.
To recap the most important crispy cookie baking tips for achieving those sought-after crispy edges:
- Ingredient Choice: Favor recipes with a higher ratio of granulated sugar to brown sugar and consider using melted or softened butter as specified.
- Dough Preparation: Avoid overmixing, especially after adding flour.
- Chilling: Don't skip chilling the dough; it's crucial for controlling spread and promoting edge crispness.
- Baking Temperature & Time: Bake at the correct temperature (often 350-375°F) and watch the edges closely, removing cookies when they are golden brown, even if the center seems slightly underdone.
- Cooling: Allow cookies to set on the hot baking sheet for a minute or two before transferring to a wire rack to cool completely.
Implementing these techniques consistently will significantly improve the texture of your classic cookies, ensuring those delightful crispy edges.
Encouragement for Experimentation and Practice in Baking
Baking is a journey, and mastering any specific outcome, like crispy cookie baking tips, takes practice. Your first batch might not be perfect, and that's okay! Every attempt teaches you something new about how your ingredients, your oven, and your techniques interact. Pay attention to what works and what doesn't, and adjust for your next bake.
Once you feel confident with a basic crispy-edged cookie recipe, feel free to experiment. Try adding different extracts, spices, or your favorite mix-ins. Adjust the bake time by 30-60 seconds to see how it impacts the texture. Baking should be fun and delicious! Keep practicing these crispy cookie baking tips, and you'll soon be baking classic cookies with perfectly crispy edges that impress everyone.
Frequently Asked Questions
The most crucial factor is managing the oven temperature; a slightly higher temperature helps achieve that desired crispiness. Also, ensure your oven is accurately calibrated for consistent results.
Using butter with a higher fat content can contribute to crispier edges. Avoid using too much oil, as it can lead to a flatter, less crispy cookie.
Yes, chilling the dough is highly recommended! It helps to prevent the cookies from spreading too thin during baking, resulting in thicker, crispier edges.
Granulated sugar tends to promote crispier edges compared to brown sugar, which retains more moisture. The ratio of sugar to other ingredients matters too.
Overcrowding the baking sheet reduces air circulation, leading to softer cookies. Also, over-mixing the dough can develop too much gluten, resulting in a tougher texture.
The quest for the ideal crispy cookie edge transcends mere culinary skill; it's a pursuit of textural perfection that resonates deeply with our desire for sensory delight. From the satisfying crunch to the delicate melt in your mouth, the crispy edge elevates a simple cookie into an unforgettable experience. This article explored the fundamental techniques that unlock this coveted texture, emphasizing the importance of factors like chilling dough, baking temperature, and even the type of baking sheet used. These seemingly small details, when mastered, transform ordinary cookies into extraordinary treats.
The pursuit of the perfect crispy cookie edge is a microcosm of the larger human desire for mastery and precision. It's a testament to the power of simple ingredients transformed by careful technique. The satisfaction derived from achieving that perfect crisp isn't just about the taste; it's about the process, the learning, and the sense of accomplishment. As Julia Child wisely said, Find something you're passionate about and keep tremendously interested in it.
For many, that passion lies in the art of baking, and the crispy cookie, with its seemingly simple yet complex nature, embodies this perfectly.
Now, I invite you to take what you've learned and embark on your own crispy cookie journey. Don't be afraid to experiment, to adjust techniques based on your oven and ingredients, and most importantly, to enjoy the process. The perfectly crispy edge is within your reach; it simply requires a little patience, attention to detail, and a dash of culinary courage. So, preheat your oven, gather your ingredients, and let the delightful crunch of perfectly baked cookies fill your kitchen—and your heart.
Thanks for joining us on this cookie-baking adventure! We hope you've gained valuable insights to help you achieve perfectly crispy edges. Ready to take your baking skills to the next level?
- Bake a batch today! Use the tips you've learned to make your own crispy cookie masterpiece. Experiment with different flours or chilling times to find your perfect recipe.
- Share your creations! Post a picture of your cookies on social media and tag #BakeWithEase – we’d love to see your delicious results!
- Explore our other baking guides: Discover more tips and tricks to elevate your baking game on BakeWithEase.com (this would be a link on the actual site).
What exciting flavor combinations will you try in your next batch of crispy cookies?