
Why Your Beginner Cookies Fail (And How to Fix It)

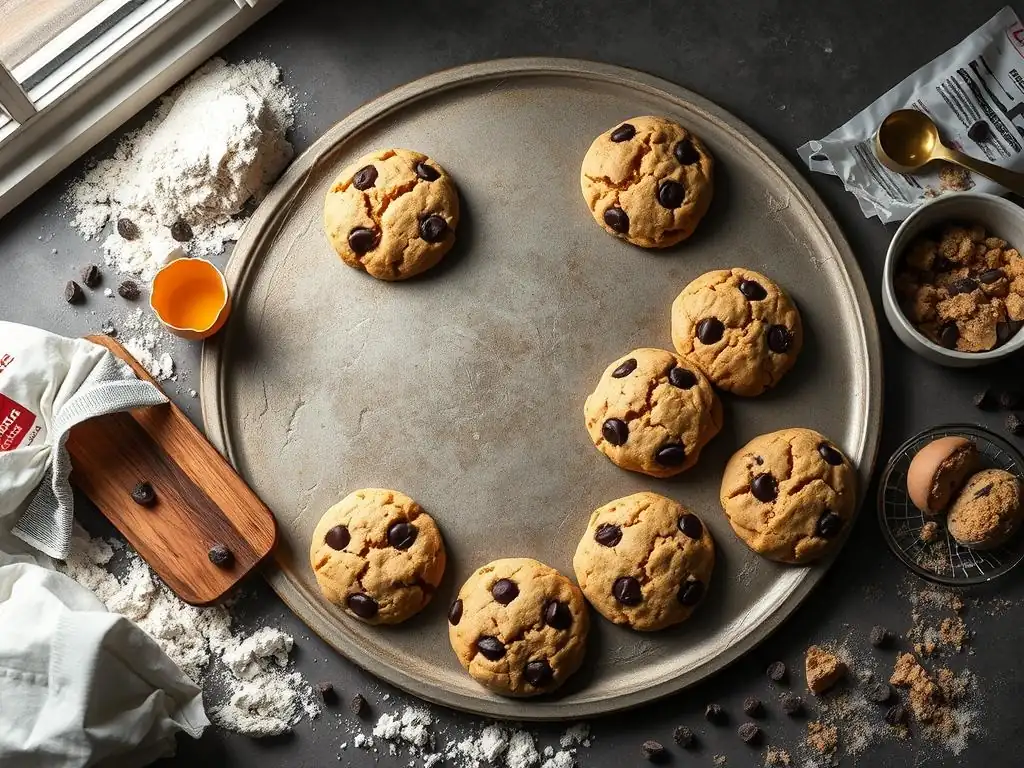
Welcome to BakeWithEase, your kitchen companion for unlocking baking brilliance! Are your beginner cookies stubbornly refusing to rise, leaving you with flat, disappointing results? Don't despair! This guide dives deep into the common culprits behind cookie catastrophes and provides simple, actionable solutions to ensure perfectly puffed-up treats every time. Discover the secrets to baking success and let's turn those baking blues into delicious victories. Ready to bake with confidence? Let's get started!
- Why Your Beginner Cookies Fail (And How to Fix It) - BakeWithEase
- Introduction: Troubleshooting Common Cookie Baking Problems
- Understanding the Science Behind Cookie Baking
- Problem 1: Cookies Spreading Too Thin
- Problem 2: Cookies Not Rising Properly
- Problem 3: Cookies Too Hard or Too Dry
- Problem 4: Cookies Are Burnt on the Bottom
- General Tips for Baking Perfect Beginner Cookies
- Conclusion: Mastering Beginner Cookie Baking for BakeWithEase Readers
-
Frequently Asked Questions
- Why are my beginner cookies flat and spreading too much?
- My cookies aren't rising at all. What could be the reason?
- The recipe says to cream the butter and sugar. What does that mean and why is it important?
- I followed the recipe exactly, but my cookies are still hard. What went wrong?
- How important is chilling the dough before baking?
- Final Reflection: The Sweet Science of Success (and Perfectly Rising Cookies)
- Unlock Your Baking Genius: Perfect Cookies Await!
Welcome, fellow baking enthusiasts, to BakeWithEase! We understand the joy of pulling a fresh batch of cookies from the oven – that warm, comforting aroma filling your kitchen. But we also know the frustration when those cookies don't turn out quite right. Whether they're flat discs instead of plump rounds, or perhaps your beginner cookies won’t rise at all, every baker faces challenges. Our goal here is to demystify some of the most common cookie problems, helping you troubleshoot and improve your results.
Baking is often described as a science, and while that's true, it's also a skill that improves with practice and understanding. By learning what happens to ingredients during baking and how small variations can impact the final cookie, you'll gain confidence and consistency. This guide is designed specifically for beginners, breaking down complex issues into simple, actionable steps. Let's get those cookies looking and tasting exactly how you imagined!
Two of the most frequent complaints from beginner bakers are cookies that spread excessively thin or, conversely, beginner cookies won’t rise and end up dense and flat. These issues often stem from fundamental principles of baking ingredients and temperature control. Understanding why these problems occur is the first step to preventing them.
Flat, greasy cookies are often the result of too much fat or sugar, or insufficient chilling. Cookies that don't rise properly, however, are typically linked to leavening agents or mixing technique. We'll dive deep into each of these common pitfalls, providing clear explanations and practical fixes so you can transform your baking struggles into sweet successes.
Every ingredient in a cookie recipe plays a specific role in its final texture, shape, and flavor. Flour provides structure, primarily through gluten development. Too much gluten (often caused by overmixing) can lead to tough, dense cookies, while too little results in crumbly ones. Sugar sweetens, of course, but it also contributes to spread and tenderness by interfering with gluten development and melting during baking. Different sugars, like granulated versus brown, also affect texture due to their moisture content.
Fats, like butter or shortening, contribute richness and tenderness. Butter, melting at a relatively low temperature (around 90-95°F or 32-35°C), is a major factor in cookie spread. Shortening, with a higher melting point (around 115-120°F or 46-49°C), results in less spread and often taller, softer cookies. Eggs act as a binder, adding moisture and richness, and contributing to leavening and structure. Leavening agents, baking soda and baking powder, create gas bubbles that cause cookies to rise, giving them a lighter texture.
Temperature is a critical factor in cookie baking, impacting both the dough before baking and the oven itself. Dough temperature directly affects spread. Cold dough, typically chilled for at least 30 minutes, has solidified fat particles. As the cookie bakes, these fat particles melt slowly, allowing the cookie to set before spreading too much. Room temperature or warm dough will cause fat to melt too quickly, leading to excessive spread.
Oven temperature is equally important. A properly calibrated oven at the correct temperature ensures cookies bake evenly and set within the expected timeframe. If the oven is too cool, cookies spread more before they set, resulting in thin, flat cookies. If the oven is too hot, the edges may burn before the center is cooked through, or the cookie might set too quickly, preventing proper spread and potentially resulting in a dry interior. Consistent oven temperature, often around 350°F (175°C), is key for most standard cookie recipes.
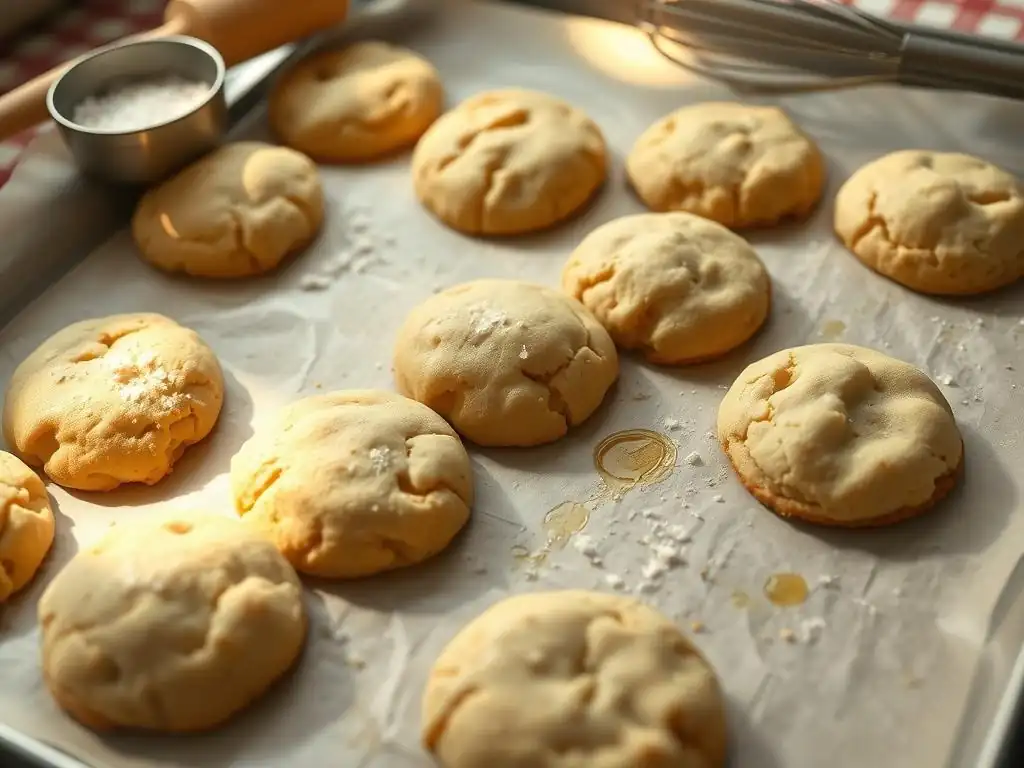
Seeing your carefully scooped cookie dough transform into thin, flat discs during baking is a common disappointment for beginner bakers. Excessive spread means the cookie dough melted too quickly in the oven before its structure had a chance to set. This can happen for several reasons, often related to the balance of ingredients or the temperature of the dough and oven.
When cookies spread too much, they typically become thin, crispy, and sometimes greasy. While some recipes are designed for a thinner cookie, unexpected excessive spread usually indicates an issue with the recipe's ratios, the dough's temperature, or the baking environment. Let's look at the specific culprits.
Using Too Much Butter or Sugar
Excessive amounts of fat (like butter) or sugar are prime suspects for overly spread cookies. Both butter and sugar melt when heated, and if there's too much of either relative to the flour (which provides structure), the cookie essentially collapses as it bakes. Using butter that is too soft or even partially melted when creaming with sugar exacerbates this issue, as the fat is already starting in a liquid state before it even hits the heat.
For example, if a recipe calls for 1 cup of butter and 1 cup of flour, and you accidentally use 1.5 cups of butter, your cookies will almost certainly spread excessively because the structural support from the flour is overwhelmed by the melting fat. Similarly, too much sugar melts and causes spread; it also makes the dough more tender, which can contribute to the collapse.
Insufficient Chilling of Cookie Dough
Chilling cookie dough is a crucial step often skipped by impatient bakers, but it significantly impacts spread. When dough is chilled, the fat (butter or shortening) solidifies. This solid fat melts more slowly in the oven than soft or warm fat. The slower melting process gives the cookie's structure (developed by the flour and eggs) time to set before the fat fully melts and causes the cookie to spread outwards.
Dough that is scooped and immediately baked at room temperature (around 70°F or 21°C) will spread much more than dough chilled for, say, 60 minutes in the refrigerator (around 40°F or 4°C). The cold fat acts like tiny blocks holding the cookie's shape initially, allowing the edges and bottom to set before the center completely melts and spreads.
Oven Temperature Too Low
An oven that is not hot enough is another major contributor to excessive cookie spread. If the oven temperature is lower than the recipe calls for, the cookie dough takes longer to heat up and set. During this extended heating time, the fat in the dough has more opportunity to melt and spread before the proteins in the flour and eggs coagulate and create a stable structure.
For instance, baking cookies at 300°F (150°C) instead of the recommended 350°F (175°C) might add several minutes to the baking time. In those extra minutes, the butter melts completely, and the cookie spreads outwards significantly before the dough gets hot enough to set its shape. Using an oven thermometer is key to ensuring your oven is actually at the temperature you set.
Reducing Butter or Sugar Content
If you suspect your recipe inherently has too much butter or sugar causing excessive spread, you can try slightly reducing the amount in your next batch. Start with a small adjustment, perhaps reducing the butter or granulated sugar by 10-15% (e.g., if it calls for 1 cup butter, try using about 7/8 cup). Be mindful that significant reductions can alter texture and flavor, so this is best for recipes that consistently spread too much.
Another simple fix is to ensure your butter is the correct temperature – typically softened, but not melted. Creaming softened (around 65-70°F or 18-21°C) butter with sugar incorporates air, which aids in leavening and structure, whereas using overly soft or melted butter skips this crucial aeration step and guarantees spread.
Chilling the Dough Properly: A Step-by-Step Guide
Properly chilling your cookie dough is one of the most effective ways to prevent excessive spread. After mixing your dough, you have two main options:
- Chill the bulk dough: Cover the bowl of dough and refrigerate for at least 1-2 hours, or even overnight. Scoop the cold dough balls just before baking.
- Scoop and chill: Scoop the dough into balls and place them on a baking sheet lined with parchment paper. Refrigerate these scooped balls for at least 30-60 minutes before transferring them to the hot baking sheet to bake.
Aim for the dough to be firm and cold to the touch. Chilling for too long (more than 24-48 hours depending on the recipe) can sometimes dry out the dough, so follow recipe recommendations or test a few cookies first.
Ensuring Accurate Oven Temperature
An inaccurate oven temperature is a frequent culprit in baking failures. Ovens can be off by as much as 50°F (approx. 28°C), especially older models. The most reliable solution is to purchase an inexpensive oven thermometer and place it inside your oven. Allow your oven to preheat for at least 15-20 minutes after the indicator light or sound tells you it's ready, then check the thermometer.
If your oven consistently runs cool, you may need to adjust the temperature setting upwards (e.g., if it reads 325°F when set to 350°F, set it to 375°F next time) or bake for slightly longer. If it runs hot, decrease the temperature setting. Baking at the correct temperature, usually 350°F (175°C) for standard cookies, ensures the cookies set relatively quickly, limiting spread.
If your beginner cookies won’t rise, resulting in dense, flat, or heavy textures instead of light and slightly puffy ones, the issue usually lies with the leavening agents or the mixing process. Leavening is what creates the gas bubbles that lift and expand the cookie dough as it bakes. When this process fails, the cookies lack that airy structure.
Unlike cookies that spread too thin, cookies that don't rise often maintain their scooped shape but simply don't expand upwards. They can feel heavy or greasy and lack the desirable crumb structure. Let's explore the common reasons behind this lack of lift.
Expired Baking Powder or Baking Soda: Testing for Freshness
Baking powder and baking soda are chemical leaveners that produce carbon dioxide gas when activated. Baking soda needs an acid (like brown sugar, buttermilk, or chocolate) and moisture to react. Baking powder contains both an acid and a base and is often double-acting, reacting once with moisture and again with heat in the oven. If these ingredients are old or have been exposed to moisture and lost their potency, they won't produce the necessary gas.
It's easy to test their freshness. To test baking soda: put a teaspoon in a small bowl and add a tablespoon of vinegar or lemon juice. It should fizz immediately and vigorously. To test baking powder: put a teaspoon in a bowl and pour in about 1/4 cup hot water. It should also fizz actively. If there's little to no reaction, it's time to buy a new container. Baking powder typically lasts 6-12 months once opened; baking soda lasts longer but can absorb odors.
Incorrect Measurement of Leavening Agents
Using too little baking powder or baking soda is a straightforward reason why beginner cookies won’t rise. If a recipe calls for 1 teaspoon of baking powder and you only add 1/4 teaspoon, there simply isn't enough chemical reaction to create sufficient lift. Precise measurement of leavening agents is crucial; they are powerful ingredients where small variations have significant results.
Conversely, using too much leavening can also hinder rise or cause cookies to rise too quickly and then collapse. It can also leave an unpleasant soapy or metallic aftertaste. Always use dry measuring spoons and level off the excess with a straight edge for accuracy.
Overmixing the Cookie Dough: Developing Too Much Gluten
Overmixing the dough, especially after adding the flour, is a common mistake that can lead to tough cookies and inhibit proper rise. Flour contains proteins that form gluten when hydrated and agitated. While some gluten structure is needed, excessive mixing develops too much gluten, making the dough elastic and strong.
This strong gluten network can trap the leavening gases too effectively initially, preventing them from expanding evenly. More often, it results in a dense, tough cookie that doesn't expand upwards easily during baking, contributing to the problem of beginner cookies won’t rise. The goal is to mix until the dry ingredients are just combined with the wet ingredients, often just a minute or less on low speed or with a few turns of a spatula.
Replacing Expired Baking Powder/Soda
If your leavening agents fail the freshness test, the solution is simple: replace them! Purchase fresh baking powder and baking soda and store them in airtight containers in a cool, dry place. Always check the expiration date on the package, but the fizz test is the most reliable indicator of potency once opened.
Remember that baking soda and baking powder are not always interchangeable, as they react differently and require different recipe balances (especially regarding acid). Stick to what the recipe calls for and ensure it's fresh.
Precise Measurement of Leavening: Using Measuring Spoons Correctly
Accurate measurement is paramount for leavening agents. Use standard dry measuring spoons. Do not scoop directly from the container with the spoon, as this can compact the powder/soda, leading to too much volume. Instead, use a smaller spoon to lightly sprinkle the powder/soda into the measuring spoon until it's overfilled.
Then, use the back of a straight edge (like a knife or bench scraper) to level off the excess, ensuring you have exactly the volume needed. This "spoon and level" method prevents compaction and ensures consistent results batch after batch, helping to prevent beginner cookies won’t rise issues.
Gentle Mixing: Avoiding Overdevelopment of Gluten
To avoid developing too much gluten and ensure your beginner cookies rise properly, mix the dry ingredients into the wet ingredients only until they are just combined. This typically means mixing until no streaks of dry flour are visible. For most cookie doughs, this takes very little time – often 30 to 60 seconds on low speed if using a mixer, or just 15-20 gentle folds with a spatula when mixing by hand.
Stop mixing as soon as the flour is incorporated. It's okay if there are a few small lumps of dough; they will usually resolve during chilling or baking. Overmixing changes the dough's structure fundamentally and is a primary reason cookies turn out tough or fail to rise adequately.
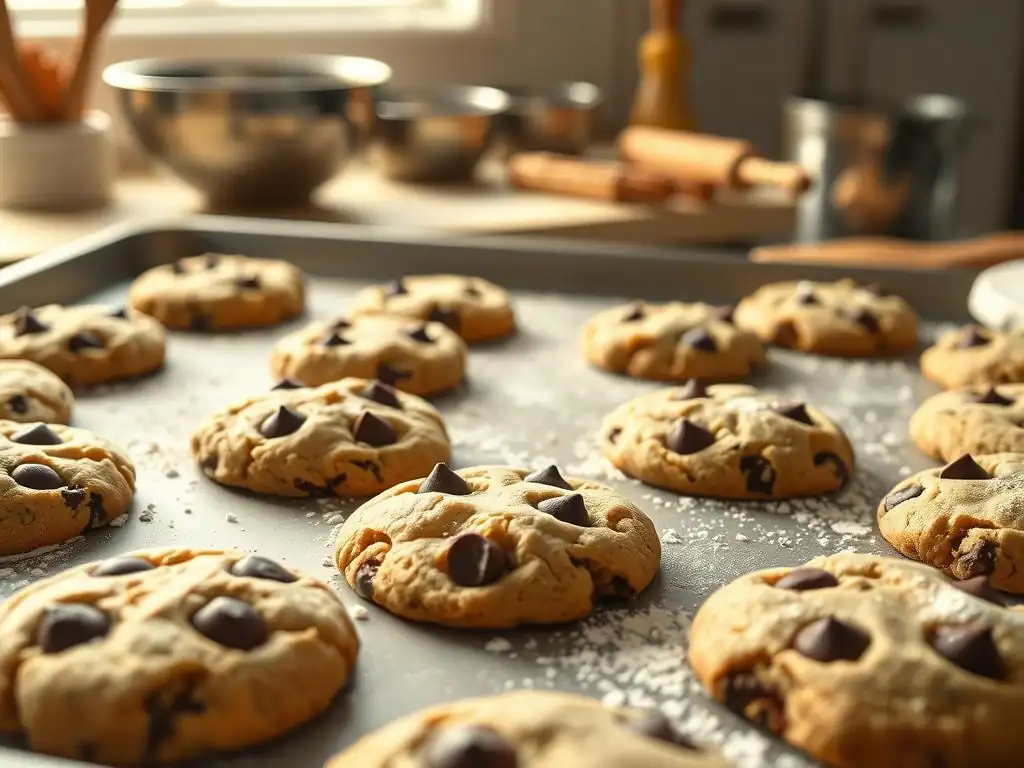
Hard and dry cookies are another common issue that leaves beginner bakers scratching their heads. Instead of a pleasant chewiness or tender crumb, you get a brittle, sometimes crumbly texture that feels stale even when fresh. This problem is usually related to moisture content – either too little moisture in the dough or too much moisture lost during baking.
Dry cookies often lack richness and can feel like they've been left out for too long. Understanding how moisture is held in the dough and how it's affected by baking time and temperature is key to achieving soft, delicious results.
Overbaking: The Most Common Mistake
Overbaking is arguably the most frequent cause of hard, dry cookies. When cookies bake for too long, moisture continues to evaporate from the dough. As more water leaves, the sugars and proteins become more concentrated and rigid, resulting in a harder texture once cooled. Cookies continue to cook slightly from residual heat even after they are removed from the oven.
Signs of doneness vary by recipe, but typically, cookies are ready when the edges are set and lightly golden, and the center still looks slightly soft or underbaked. For a standard drop cookie, this might be around 8-12 minutes at 350°F (175°C), depending on size and thickness. Baking them for 15 minutes would likely result in a much drier cookie.
Too Much Flour: Achieving the Right Flour-to-Liquid Ratio
Adding too much flour is another significant factor leading to dry, dense cookies. Flour absorbs liquid, and an excess of flour means there isn't enough moisture (from butter, sugar, and eggs) to properly hydrate it. This results in a dough that is stiff and crumbly before baking and cookies that are dry and hard after baking.
Even a small amount of extra flour can make a difference. For instance, if your recipe is balanced for flour measured using the "spoon and level" method (approximately 120-130g per cup for all-purpose flour), but you scoop the flour directly from the bag with the measuring cup, you could easily end up with 140-150g or more per cup, significantly altering the flour-to-liquid ratio.
Lack of Moisture: Ingredients and Hydration
The overall hydration level of your dough is determined by the balance of wet and dry ingredients. Recipes that are low in fat or sugar, or high in flour, are naturally prone to producing drier cookies. The type of sugar also matters; brown sugar contains molasses, which adds moisture, contributing to a softer, chewier cookie compared to recipes using only granulated sugar.
Similarly, using the correct amount and size of eggs is important, as eggs provide essential liquid and fat. If a recipe calls for large eggs (approx. 50g each) and you use medium eggs (approx. 44g each), you're introducing less moisture and richness into the dough, which can contribute to a drier final product, especially if other factors like overbaking are also at play.
Preventing Overbaking: Monitoring Cookie Doneness
To avoid dry cookies, pay close attention to visual cues rather than relying solely on the timer. Cookies are typically done when the edges appear set and are just starting to turn a light golden brown, while the centers still look soft or slightly underbaked. They will firm up as they cool on the baking sheet for a few minutes.
Start checking your cookies at the minimum bake time specified in the recipe (e.g., if the range is 8-10 minutes, check at 8). If they don't look ready, give them another minute or two, but watch them closely. It's better to underbake slightly and have a chewy cookie than to overbake and have a hard one.
Accurate Flour Measurement: The Spoon and Level Method
To ensure you're not adding too much flour, always use the spoon and level method:
- Fluff up the flour in its container with a spoon or fork.
- Gently spoon the flour into your dry measuring cup until it is overfilled. Do not scoop directly with the measuring cup.
- Use a straight edge (like a knife or offset spatula) to level off the excess flour across the top of the measuring cup.
This method helps prevent compacting the flour into the cup, giving you a more accurate measurement closer to the standard weight (approx. 125g per cup). For even greater accuracy and consistency, consider using a digital kitchen scale to weigh your flour according to recipe specifications if available.
Adding Moisture: Incorporating Brown Sugar or Molasses
If you find a favorite recipe consistently yields dry cookies, consider slightly adjusting the sugar ratio if appropriate for the recipe's structure. Replacing a small portion of the granulated sugar with brown sugar can add moisture and chewiness due to the molasses content. For example, if a recipe uses 1 cup of granulated sugar, you might try using 3/4 cup granulated and 1/4 cup light brown sugar.
For very dry recipes, a tiny amount of molasses (perhaps 1/2 to 1 teaspoon per batch) added to the wet ingredients can also boost moisture and flavor, contributing to a softer texture. Ensure all your wet ingredients, like eggs, are at room temperature (approx. 70°F or 21°C) before mixing, as they incorporate more evenly and contribute to better texture.
Finding a batch of cookies with perfectly golden tops but dark, burnt bottoms is incredibly frustrating. This uneven baking is usually a sign that the heat distribution in your oven isn't ideal, or that the surface the cookies are baking on is conducting heat too intensely.
Burnt bottoms mean that the underside of the cookie is reaching a much higher temperature than the top and center, causing sugars to caramelize excessively or even char. It's a localized heat problem that needs addressing to achieve uniform baking.
Dark Baking Sheets: Absorbing Too Much Heat
Dark-colored baking sheets, especially those made of dark metal or non-stick materials, absorb and transfer heat more efficiently than lighter ones. While this can be beneficial for certain types of baking (like achieving a crisp crust on bread), for delicate cookies, it often results in the bottoms cooking and browning much faster than the tops.
A dark metal sheet can cause the bottom of a cookie to reach temperatures significantly higher than the rest of the cookie, leading to burning even if the oven temperature is correct and the tops look perfect. This is particularly true if the cookies contain a lot of sugar or butter, which caramelize quickly.
Rack Position in Oven: Too Close to the Heating Element
The placement of your baking sheet within the oven also dramatically affects how the cookies bake. Most ovens have heating elements on the bottom (often hidden) and sometimes also visible at the top for broiling. Placing your baking sheet on the lowest rack positions puts it in very close proximity to the main heat source, leading to rapid and intense heating of the bottom of the pan and, subsequently, the bottom of the cookies.
Even if you have a light-colored pan, placing it too low in a conventional oven increases the risk of burnt bottoms due to direct radiant heat from the element. The heat needs space to circulate and distribute evenly.
Oven Temperature Too High
While a low oven temperature contributes to excessive spread, an oven that is too hot can also cause burnt bottoms, especially in conjunction with dark pans or low rack positions. If the air temperature surrounding the cookies is significantly higher than intended (e.g., 400°F instead of 350°F), the increased heat energy will cause the bottoms, which are in direct contact with the hot pan, to cook and burn very quickly.
As mentioned before, oven calibration is key. An oven thermometer can help you confirm if your oven is truly running at the temperature you set, which is fundamental for preventing burning and ensuring even baking.
Using Light-Colored Baking Sheets
The simplest and most effective solution for preventing burnt bottoms is to use light-colored, reflective baking sheets, such as those made from aluminum. These pans absorb less heat and distribute it more gently than dark sheets, allowing the cookie bottoms to bake at a more even rate with the tops.
If you only have dark baking sheets, you can still mitigate the issue by using parchment paper. Lining your dark baking sheet with parchment paper creates a small insulating layer and barrier against the intense direct heat, helping to prevent the bottoms from burning before the rest of the cookie is done.
Adjusting Rack Position: Placing in the Center of the Oven
For most cookie baking, the ideal rack position is the center of the oven. This position allows for the most even heat distribution from both the bottom and top heating elements, as well as better air circulation around the baking sheet. Placing your pan on the middle rack minimizes the direct radiant heat exposure that causes bottoms to burn.
If you are baking multiple sheets at once, avoid crowding the oven, which can impede air circulation. You might need to rotate the pans halfway through the baking time or bake them one sheet at a time for the most consistent results, especially in ovens with uneven heating.
Verifying Oven Temperature with an Oven Thermometer
Again, verifying your oven's actual temperature with a separate oven thermometer is crucial. If your oven consistently runs hot, even by 25-30°F (approx. 14-17°C), it can significantly contribute to burnt bottoms. Adjusting your oven setting downwards based on the thermometer reading (e.g., setting it to 325°F if it reads 350°F when set to 350°F) can make a huge difference in preventing scorching.
Allow the oven ample time to preheat and stabilize at the correct temperature before inserting your cookies. A properly preheated and calibrated oven is a baker's best friend for achieving evenly baked cookies without burnt bottoms.
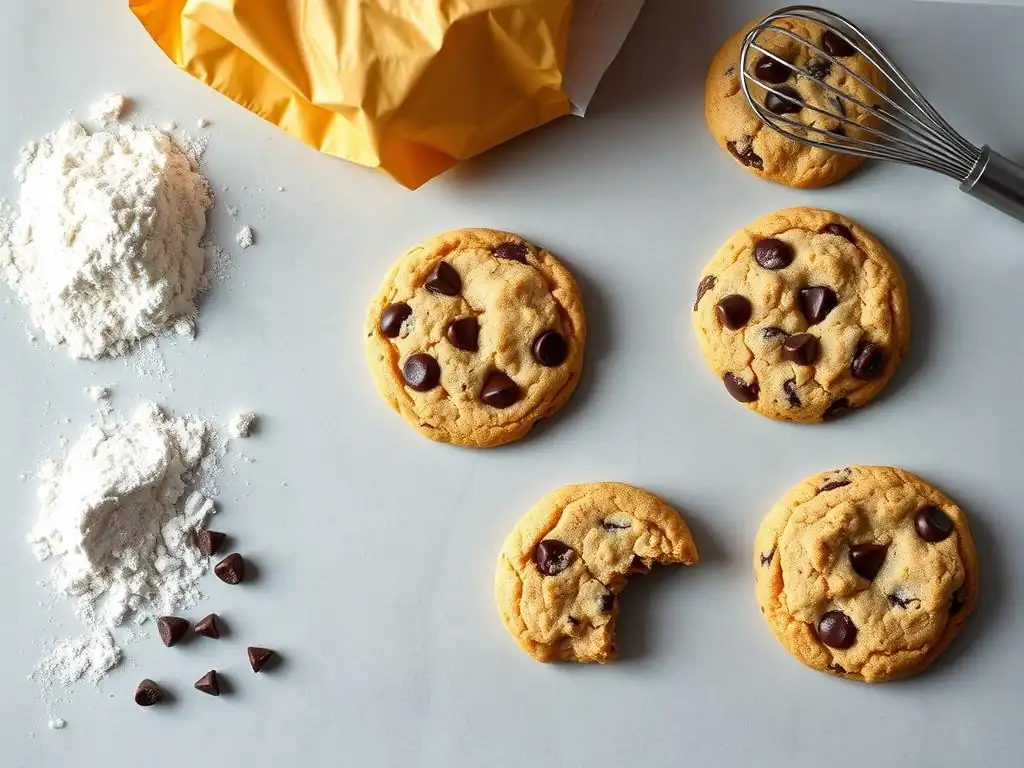
The Importance of Accurate Measurements
Baking is often compared to chemistry because the ratios of ingredients are so important. Small errors in measurement can lead to significant differences in outcome – a cookie that spreads too much, is too dry, or whose beginner cookies won’t rise. Using proper measuring tools and techniques is fundamental.
For dry ingredients like flour, sugar, and leavening agents, use dry measuring cups and spoons and level them off. For liquids, use liquid measuring cups with a spout, viewed at eye level on a flat surface. For ingredients like butter or peanut butter, using the markings on wrappers or weighing can be more accurate than cup measurements. Investing in a simple digital kitchen scale (often available for $15-25) is the best way to ensure accuracy, especially for flour, where even a few grams difference per cup can impact texture.
Choosing the Right Ingredients for Optimal Results
The quality and type of ingredients you use can influence your cookies. Using fresh ingredients, especially your leavening agents, is non-negotiable if you want your beginner cookies to rise. Ensure your butter is the temperature specified in the recipe (usually softened, but sometimes melted or cold). Using unsalted butter is recommended as it gives you control over the salt level in your cookies.
Using large eggs (unless another size is specified) provides a consistent amount of liquid and fat. The type of flour (all-purpose, bread flour, cake flour) also affects texture; stick to what the recipe calls for unless you understand how substitutions will impact the result. High-quality vanilla extract, good chocolate chips (around 60% cacao is a popular choice for richness), or fresh nuts make a noticeable difference in flavor.
Oven Calibration: Ensuring Consistent Baking Temperatures
We've mentioned it repeatedly because it's that important: oven temperature accuracy is vital. An oven thermometer costs very little but provides invaluable information. Ovens cycle on and off to maintain temperature, and the displayed temperature might not reflect the actual temperature inside, or there might be hot spots.
Using a thermometer helps you understand your oven's quirks. Does it run hot or cold? Are the edges hotter than the center? Knowing this allows you to make adjustments – lowering the temperature, rotating pans, or avoiding certain rack positions – to ensure consistent, even baking across the entire batch. This greatly reduces the chances of burnt bottoms or unevenly cooked cookies.
Baking perfect cookies doesn't require magic; it requires understanding the fundamentals and paying attention to detail. We've explored some of the most common problems faced by beginner bakers – cookies spreading too thin, beginner cookies won’t rise, cookies that are hard and dry, and those with burnt bottoms. For each issue, we've identified the likely causes, from incorrect measurements and ingredient temperatures to oven inconsistencies and mixing techniques.
Remember that baking is a skill that improves with practice. Don't be discouraged by a batch that doesn't turn out perfectly. Instead, use it as a learning opportunity. Evaluate what might have gone wrong based on the outcome – were they flat and greasy (too much spread)? Did your beginner cookies won’t rise and end up dense? Were they hard (overbaked or too much flour)? Pinpointing the problem helps you adjust for the next attempt.
Armed with this knowledge, you're better equipped to tackle your next cookie baking project with confidence. By focusing on accurate measurements, using fresh ingredients, understanding the role of temperature, and mixing your dough correctly, you significantly increase your chances of success.
Baking should be enjoyable! Embrace the process, learn from any mistakes, and savor the delicious results. With practice and the tips from BakeWithEase, those perfectly golden, soft, or chewy cookies you dream of are well within your reach. Happy baking!
Frequently Asked Questions
Flat cookies are often caused by using too much butter or sugar, or not chilling the dough. Improper measurements can drastically affect the texture and rise of your beginner cookies.
A common culprit is expired baking powder or baking soda. These leavening agents lose their potency over time, preventing the cookies from rising properly. Ensure yours are fresh.
The recipe says to cream the butter and sugar. What does that mean and why is it important?
Creaming butter and sugar incorporates air, creating tiny air pockets that help the cookies rise. It's crucial for achieving a light and airy texture in your cookies.
Overbaking is a frequent cause of hard cookies. Even a minute or two can make a difference. Watch them carefully and remove them when the edges are golden brown.
How important is chilling the dough before baking?
Chilling the dough is very important! It solidifies the fat, preventing the cookies from spreading too quickly in the oven. This results in thicker, chewier cookies with a better rise.
The seemingly simple act of baking a cookie holds a surprising amount of scientific precision; mastering even the most basic recipe requires understanding fundamental principles. A perfectly risen, golden-brown cookie isn't just a delicious treat; it's a testament to the careful balance of ingredients, technique, and a little bit of patience. This article explored the common pitfalls beginners face, highlighting how seemingly small errors can lead to flat, disappointing results. But more importantly, it provided the tools and knowledge to transform those failures into future successes.
The journey from a deflated cookie to a perfectly puffed delight is a microcosm of the larger learning process. We often approach new skills with a sense of apprehension, fearing failure. But as we've seen, failure in baking, as in life, is simply an opportunity to learn and refine our approach. The only true wisdom is in knowing you know nothing.
- Socrates. This quote, while seemingly unrelated to baking, perfectly encapsulates the iterative nature of mastering any skill. Each failed batch of cookies brings us closer to understanding the delicate interplay of ingredients and techniques, ultimately leading to a deeper appreciation for the process and the reward.
Now, it's your turn. Don't be discouraged by a few flat cookies. Remember the lessons learned here – about the importance of properly creaming butter and sugar, the role of leavening agents, and the significance of precise measurements. Embrace the experimentation, the learning, and the delicious rewards that await. The next batch of cookies you bake could be your masterpiece. Go forth, and conquer the world of baking, one perfectly risen cookie at a time!
Thanks for joining us on this cookie-baking journey! We hope you've gained valuable insights into why your creations might not always turn out as planned. Now it's time to put that knowledge to work!
- Master the Perfect Cookie: Dive deeper into our extensive recipe collection, focusing on the techniques we discussed. You'll find dozens of variations to experiment with!
- Share Your Success (or Challenges!): Post a picture of your latest baking adventure on social media using #BakeWithEase – we love seeing your creations!
- Try a New Technique: Don't be afraid to experiment! Choose one tip from the article and try a different approach with your next batch. What will you change?
Ready to bake your best cookies yet? What's the first recipe you'll tackle?