
The Best Temperature for Baking SliceandBake Cookies

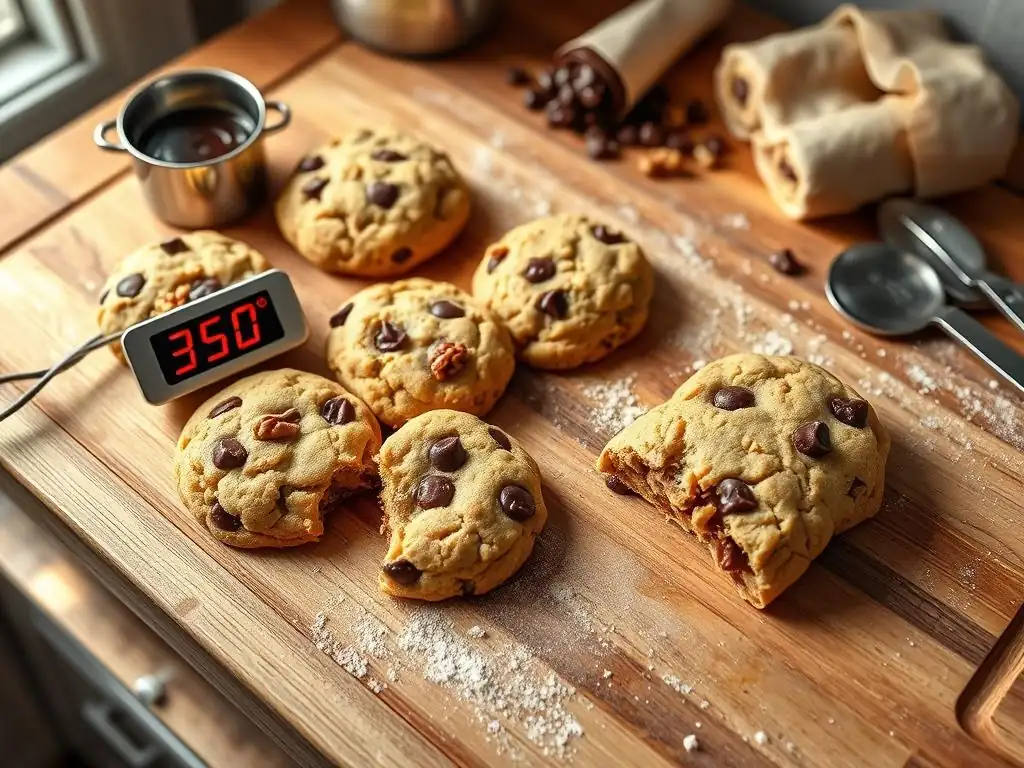
Welcome to BakeWithEase, your kitchen companion for unlocking the delicious world of baking! Are you ready to discover the secrets to perfectly baked treats? This week, we're diving into the art of baking slice and bake cookies. But did you know that the oven temperature is the unsung hero of achieving that ideal golden-brown crispness? Uncover the optimal heat and transform your cookie game from good to unforgettable – read on to find out how!
- Introduction to Baking Perfect Slice-and-Bake Cookies
- Understanding Your Oven for Slice-and-Bake Cookies
- The Ideal Baking Temperatures for Different Slice-and-Bake Cookie Types
- Troubleshooting Temperature-Related Baking Issues
- Factors Affecting Baking Time and Temperature
- Step-by-Step Guide to Baking Slice-and-Bake Cookies at the Right Temperature
- Advanced Techniques for Perfect Slice-and-Bake Cookies
- Conclusion: Mastering the Art of Slice-and-Bake Cookie Baking
-
Frequently Asked Questions
- How does temperature impact the texture of slice-and-bake cookies?
- What is the ideal temperature recommended by BakeWithEase for slice-and-bake cookies?
- Can I bake slice-and-bake cookies at a different temperature than recommended on the package?
- What happens if I bake slice-and-bake cookies at too high of a temperature?
- How do I adjust baking time if I'm using a different temperature for my slice-and-bake cookies?
- Final Reflection: The Perfect Bake, A Temperature Tale
- Unlock Perfectly Baked Slice-and-Bake Cookies!
Why Temperature Matters When Baking Slice-and-Bake
Achieving the perfect texture and appearance when baking slice and bake cookies hinges significantly on getting the oven temperature just right. Temperature isn't just a number on a dial; it dictates the speed of chemical reactions within your dough, such as the leavening agents activating and the proteins and starches setting.
Too low a temperature might cause excessive spread before the structure sets, resulting in thin, brittle cookies. Conversely, a temperature that's too high can lead to cookies that are burned on the edges but raw in the center, or ones that puff up too quickly and then fall flat.
Beyond the internal structure, temperature controls the rate of browning through the Maillard reaction and caramelization. These processes contribute significantly to the flavor and visual appeal of your cookies. For instance, baking slice and bake cookies at a slightly higher temperature encourages faster browning on the bottom and edges, which can contribute to a crispier texture. A lower temperature allows for more even heat distribution throughout the cookie before significant browning occurs, often resulting in a softer, chewier bake. Mastering the nuances of temperature is truly the secret to consistently delicious results when baking slice and bake cookies.
Quick Overview: Ideal Temperature Range for Slice-and-Bake
For most types of slice-and-bake cookies, the sweet spot for baking typically falls within the range of 325°F to 375°F (160°C to 190°C). This range allows the cookies to bake through evenly, develop good flavor and texture, and achieve appealing golden-brown edges without burning. The exact temperature within this range will depend on the specific type of cookie dough and the desired outcome – whether you're aiming for a soft, chewy center or a uniformly crispy cookie.
Generally speaking, a common recommendation for baking slice and bake cookies is 350°F (175°C). This is often considered a good all-around temperature that works well for many varieties, providing a balance between spread, rise, and browning. However, understanding how to adjust this temperature slightly can elevate your baking from good to great, tailoring the results precisely to your preference for different kinds of cookies. We'll explore specific temperatures for various cookie types later in this article.
The Importance of an Accurate Oven Thermometer
Relying solely on your oven's built-in thermostat can be one of the biggest pitfalls when baking slice and bake cookies. Many home ovens have thermostats that are inaccurate, sometimes by as much as 25°F to 50°F (15°C to 30°C) in either direction. This means you might set your oven to 350°F, but the actual temperature inside could be significantly higher or lower, directly impacting how your cookies bake. An external oven thermometer, which hangs or sits on the rack, provides a true reading of the internal oven temperature, allowing you to make necessary adjustments.
Using an accurate oven thermometer is crucial for consistent results when baking slice and bake cookies, or any baked goods for that matter. If your thermometer reads 325°F when your oven is set to 350°F, you know you need to increase the oven setting to compensate. This simple tool takes the guesswork out of temperature control, ensuring that when a recipe calls for a specific temperature, you can actually achieve it, leading to predictable spread, browning, and texture every time you are baking slice and bake cookies.
Calibrating Your Oven for Consistent Baking Results
Once you've confirmed your oven's accuracy (or lack thereof) with an external thermometer, you can choose to calibrate it for more consistent baking slice and bake cookies. Some modern ovens have a calibration setting in their menu that allows you to adjust the thermostat by a few degrees up or down. Consult your oven's manual to see if this feature is available and how to use it. This is a permanent adjustment that helps the oven's internal sensor match the actual temperature.
If your oven doesn't have a digital calibration feature, or if the discrepancy is too large, you might need professional help. Alternatively, you can simply learn your oven's quirks and manually adjust the temperature setting each time you bake. For example, if your oven consistently runs 25°F cool, you'll know to set it to 375°F when a recipe calls for 350°F. Getting to know your oven's true temperature profile is an essential step towards mastering baking slice and bake cookies and avoiding common issues like uneven baking or improper spread.
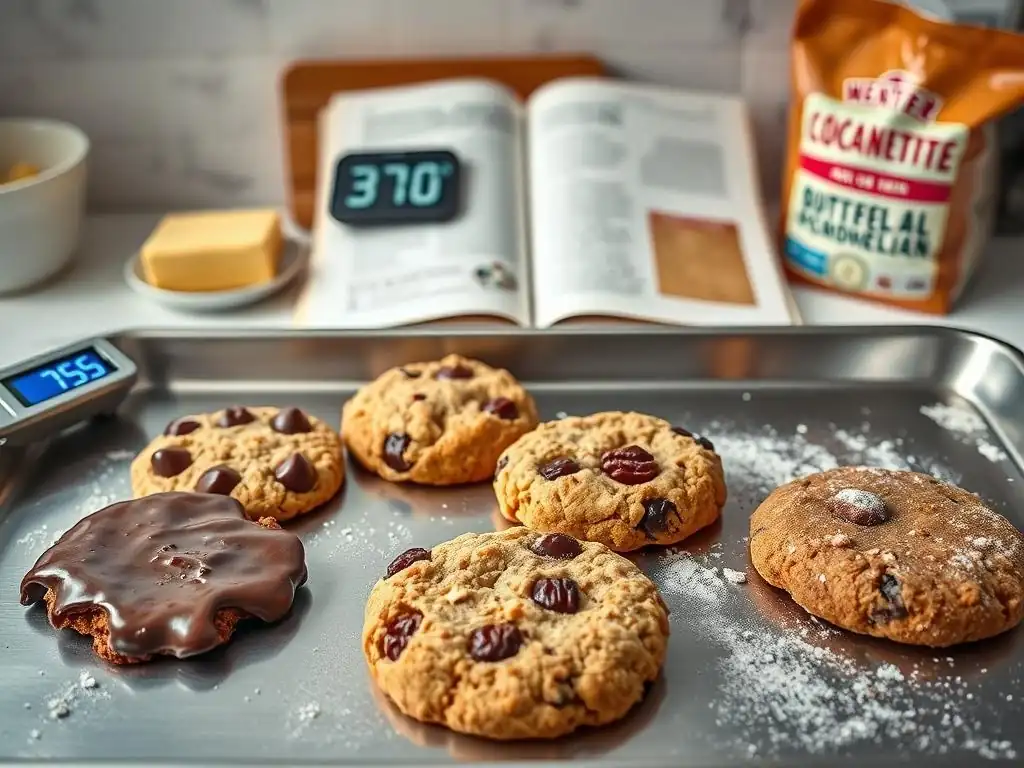
Chocolate chip slice-and-bake cookies are perhaps the most popular variety, and their ideal baking temperature often depends on the desired texture. For a classic chocolate chip cookie with slightly crispy edges and a soft, gooey center, a temperature of 350°F (175°C) is frequently recommended. Baking at this temperature for about 10-13 minutes allows the edges to set and brown while the center remains slightly underdone when you pull them out, finishing cooking on the hot baking sheet.
If you prefer a different texture, adjusting the temperature slightly can make a big difference when baking slice and bake cookies of the chocolate chip variety. A lower temperature, like 325°F (160°C), can result in a thicker, chewier cookie with less spread. A higher temperature, such as 375°F (190°C), will promote more spread and faster browning, leading to a crispier cookie overall. Experimentation within this range, combined with careful monitoring, is key to finding your perfect chocolate chip cookie.
Achieving a Chewy Texture: Specific Temperature Tips
To achieve that coveted chewy texture in your chocolate chip slice-and-bake cookies, consider lowering the baking temperature slightly to around 325°F (160°C). At this lower temperature, the cookies spread less, allowing them to remain thicker. The slower baking process also prevents the proteins from setting too quickly and gives the moisture inside the cookie more time to cook without evaporating entirely, which contributes to a softer, more tender interior.
When baking at a lower temperature like 325°F, you'll likely need to increase the baking time compared to the standard 350°F. Keep a close eye on the cookies; they are usually done when the edges are just beginning to turn a light golden brown and the centers still look slightly soft or underbaked.
This might take anywhere from 12 to 16 minutes, depending on the cookie size and your specific oven. Removing them at this stage and letting them cool on the hot pan for a few minutes allows them to finish cooking gently, resulting in a wonderfully chewy texture.
Achieving a Crispy Texture: Specific Temperature Tips
For those who prefer a crispier chocolate chip slice-and-bake cookie, increasing the oven temperature to 375°F (190°C) is a good strategy. A higher temperature encourages faster spread and quicker browning. The rapid heat exposure causes the edges to set and crisp up relatively quickly while the moisture evaporates more readily throughout the cookie, leading to a firmer texture once cooled.
When baking slice and bake cookies at 375°F, the baking time will be shorter, typically around 8-11 minutes. Watch them closely, as they can go from perfectly golden to burned very quickly at this temperature. You're looking for a more uniform golden-brown color across the cookie, not just the edges. Removing them from the oven when they are fully golden and allowing them to cool completely on a wire rack will help achieve that satisfying crispness throughout.
Sugar slice-and-bake cookies offer a blank canvas for texture depending on how they are baked. A standard temperature of 350°F (175°C) usually works well, yielding a cookie that is slightly soft in the center with lightly browned edges. Baking time typically ranges from 8-12 minutes. However, like chocolate chip cookies, slight temperature adjustments can significantly alter the final texture, allowing you to tailor your sugar cookies to be thin and crispy or thick and chewy.
For sugar cookies, achieving the desired texture is often a combination of dough thickness (when slicing) and baking temperature. A temperature between 350°F and 375°F (175°C-190°C) tends to produce a cookie with good spread and a balance of softness and crispness. Understanding how heat affects the simple ingredients in sugar dough is key to mastering baking slice and bake cookies of this type.
Temperature Adjustments for Thin and Crispy Sugar Cookies
To make thin and crispy sugar slice-and-bake cookies, consider baking them at a slightly higher temperature, around 375°F (190°C). The increased heat causes the dough to spread more quickly before it sets, resulting in a thinner cookie. The higher temperature also promotes faster moisture evaporation and browning across the entire surface, which contributes to crispness.
Bake these thin cookies for a shorter duration, typically 7-10 minutes. They should turn a uniform golden brown. It's crucial to watch them carefully, as thin cookies can burn very quickly. Once removed from the oven, let them cool on the baking sheet for just a minute before transferring them to a wire rack to cool completely. This allows them to firm up without continuing to bake too much on the hot pan, ensuring maximum crispness.
Temperature Adjustments for Soft and Chewy Sugar Cookies
If you prefer soft and chewy sugar slice-and-bake cookies, bake them at a slightly lower temperature, such as 325°F to 340°F (160°C to 170°C). A lower temperature results in less spread, keeping the cookies thicker. The slower baking process at this temperature preserves more moisture within the cookie, leading to a softer, more tender texture.
Baking at a lower temperature will require a longer time, likely 10-14 minutes. The cookies are done when the edges are just barely set and the centers still look slightly pale or soft. They should not be deeply browned. Let them cool on the baking sheet for several minutes before moving them. This gentle cooling on the hot pan allows the centers to finish cooking without becoming dry, locking in that desired soft and chewy texture.
Peanut butter slice-and-bake cookies, known for their rich flavor and often denser texture, typically bake well at a standard temperature of 350°F (175°C). This temperature allows the cookies to bake through evenly without the edges becoming too hard before the center is set. The higher fat content from the peanut butter means they might spread a bit less than other cookie types, and the 350°F temperature helps achieve a pleasant balance of slight crispness on the exterior and a tender interior.
Baking time for peanut butter slice-and-bake cookies at 350°F is usually between 10-14 minutes. You'll know they're ready when the edges are lightly golden brown and the tops look set, perhaps with a few small cracks. Unlike some cookies, you don't want the center to look overly wet or undercooked, but they shouldn't be hard either. Using the 350°F temperature helps ensure they bake through properly without drying out.
Oatmeal raisin slice-and-bake cookies benefit from a temperature that allows the oats to soften slightly while the cookie develops structure and browning. A temperature of 350°F (175°C) is a reliable choice for baking these cookies, resulting in a cookie that is chewy from the oats and raisins, with a slightly crispy edge. The baking time at this temperature is typically 10-13 minutes, depending on the size of the cookies.
When baking slice and bake cookies with oats, paying attention to the texture is key. At 350°F, the cookies should spread moderately and the edges will turn a light golden-brown. The center should look set but still slightly soft. If you prefer a chewier cookie, you might slightly reduce the temperature to 340°F (170°C) and bake for a minute or two longer, which helps retain more moisture. Conversely, for a crispier cookie, a temperature closer to 360°F (180°C) for a slightly shorter time can work, but watch carefully to prevent burning due to the sugar and oat content.
If your slice-and-bake cookies are spreading excessively and becoming too thin while baking, the primary culprit is often an oven temperature that is too low. When the oven isn't hot enough, the butter in the dough melts and spreads out before the leavening agents have a chance to lift the cookie and the structure sets. This results in flat, wide cookies that can be overly crispy or even brittle.
To fix cookies spreading too thin, first verify your oven temperature with an accurate oven thermometer. If your oven is indeed running cool, increase the set temperature by 15-25°F (8-15°C). For example, if you were aiming for 350°F but the thermometer read 320°F, try setting your oven to 375°F. Baking at a higher temperature will cause the edges and structure to set more quickly, limiting the spread. Also, ensure your dough was properly chilled; cold dough spreads less initially.
Conversely, if your slice-and-bake cookies are not spreading out sufficiently and remain thick and mounded, the oven temperature might be too high. An oven that is too hot can cause the edges of the cookie to set almost instantly upon hitting the heat. This prevents the butter from melting and spreading properly before the structure is locked in, resulting in cookies that are dense and cakey rather than having the desired spread.
To address cookies that aren't spreading enough, check your oven temperature with an external thermometer. If your oven is running hot, decrease the set temperature by 15-25°F (8-15°C). For instance, if you were aiming for 350°F but the thermometer showed 380°F, set your oven to 325°F. Baking at a lower temperature gives the dough more time to spread before the edges set. Ensure your dough wasn't frozen solid (just chilled) and that you're not using excessive flour if it's a homemade slice-and-bake dough.
Burning on the bottom while the tops remain undercooked is a common issue when baking slice and bake cookies, and it's often related to uneven heat distribution or a temperature that's too high, especially near the bottom heating element. This can happen even if the overall oven temperature is correct if the heat isn't circulating properly or if your baking sheet is too dark or thin, which can absorb and transfer heat too quickly to the cookie bottoms.
To prevent cookies from burning on the bottom, first confirm your oven's temperature accuracy, as an oven running too hot is a likely cause. If the temperature is correct, try reducing it by 10-15°F (5-8°C) and increasing the baking time slightly to allow the heat to penetrate more gently. Additionally, consider using a lighter-colored, heavier-gauge baking sheet, which conducts heat more evenly. You can also try placing a second baking sheet directly underneath the one with the cookies to act as an insulator, shielding the bottoms from direct heat.
Unevenly baked cookies – where some are golden and others are still pale, or one side of the cookie is darker than the other – are a classic sign of hot spots in your oven. Most ovens have variations in temperature distribution, often being hotter towards the back, sides, or bottom. Baking slice and bake cookies in an oven with significant hot spots makes it challenging to get a consistent batch.
To mitigate uneven baking caused by temperature variations, always preheat your oven thoroughly for at least 15-20 minutes to allow the temperature to stabilize. Use an oven thermometer to identify where the hot spots are. During baking, rotate your baking sheet halfway through the cooking time. For example, if you're baking for 12 minutes, rotate the tray after 6 minutes, turning it 180 degrees. If you're baking multiple trays, swap their positions on the racks as well. This simple step helps expose all cookies to the same overall heat, leading to a more uniform bake.
Factors Affecting Baking Time and Temperature
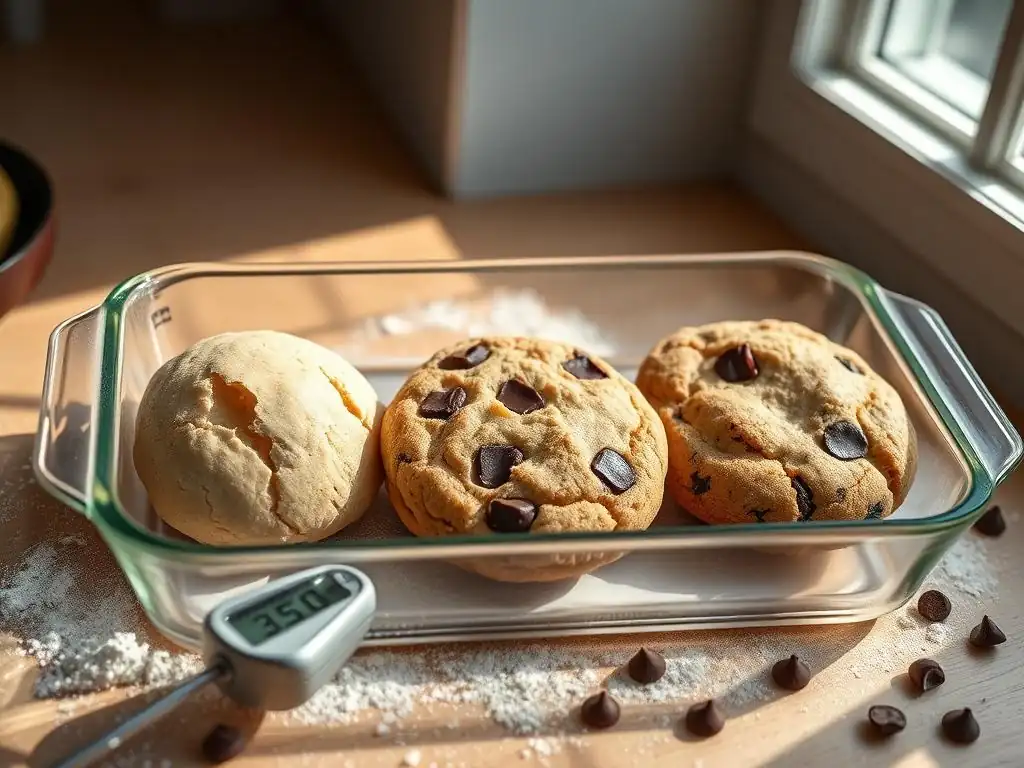
The consistency of your slice-and-bake cookie dough significantly impacts how it behaves in the oven, and therefore, the optimal baking temperature and time. Dough that is too soft, perhaps due to being at room temperature or having a higher ratio of butter, will spread much more quickly when it hits the heat. This might necessitate a slightly higher temperature or shorter baking time to set the edges before excessive spread occurs. Conversely, very cold or firm dough will spread less, potentially requiring a slightly lower temperature or longer time to bake through without the edges burning.
For consistent results when baking slice and bake cookies, it's recommended to bake the dough directly from its chilled state from the refrigerator. Dough that has been frozen should be thawed in the refrigerator first. Baking straight from frozen is possible but will significantly increase the baking time and may result in uneven baking unless the temperature is adjusted lower and the time extended considerably. Aiming for a consistent dough temperature and firmness before slicing and baking is a fundamental step for predictable outcomes.
Adjusting for Altitude When Baking Slice-and-Bake
Baking at high altitudes presents unique challenges due to lower atmospheric pressure and reduced humidity. At higher elevations, leavening agents react more quickly, causing baked goods to rise faster, and moisture evaporates more rapidly. These factors can cause cookies to spread more, dry out quickly, or become overly cakey when using standard sea-level baking temperatures and times.
When baking slice and bake cookies at altitudes significantly above sea level (e.g., 3,000 feet or higher), you may need to make adjustments. While complex adjustments are sometimes needed for scratch recipes, for pre-made slice-and-bake dough, the most common temperature adjustment is often a slight increase (by 15-25°F or 8-15°C) to help set the cookie's structure faster before it over-spreads. You might also need to slightly increase baking time. Experimentation is key, perhaps starting with the standard temperature and increasing in small increments on subsequent batches while carefully monitoring the results.
Using Different Baking Sheets: Impact on Temperature
The type and color of your baking sheet can have a surprising impact on the effective baking temperature and the outcome of your slice-and-bake cookies. Dark-colored baking sheets absorb more heat than light-colored ones, transferring that heat more intensely to the bottom of the cookies. This can lead to darker, crispier bottoms and edges, and potentially burning, especially if combined with a high oven temperature.
Lighter-colored, reflective aluminum baking sheets are generally recommended for baking cookies as they absorb less heat and distribute it more evenly, resulting in more uniform browning and less risk of burnt bottoms. Insulated baking sheets, which consist of two layers of metal with an air pocket in between, provide even gentler heat distribution and are excellent for preventing burnt bottoms, though they may require a slightly longer baking time. Using parchment paper or silicone baking mats on any sheet also helps regulate temperature transfer and prevents sticking, contributing to better baking slice and bake cookies.
Preparing Your Dough and Baking Sheet
Start by ensuring your slice-and-bake cookie dough is properly chilled from the refrigerator. Cold dough is easier to slice neatly and will spread less rapidly in the oven, contributing to better cookie shape and texture. Use a sharp knife to slice the dough log into uniform thickness, typically about 1/4 to 1/2 inch thick (about 0.6 to 1.3 cm), depending on desired cookie size and texture. Consistent thickness is crucial for even baking.
Prepare your baking sheet by lining it with parchment paper or a silicone baking mat. This prevents sticking, promotes even heating, and makes cleanup easier. Place the sliced cookie dough rounds onto the prepared baking sheet, spacing them according to the package instructions or leaving at least 2 inches (about 5 cm) between cookies to allow for spreading. Avoid overcrowding the sheet, as this can hinder proper air circulation and lead to uneven baking.
Setting the Oven to the Correct Temperature
Preheat your oven to the recommended temperature for your specific type of slice-and-bake cookie and desired texture (e.g., 350°F for standard chocolate chip, 375°F for crispy sugar cookies). It is vital to allow your oven ample time to reach and stabilize at the set temperature – usually at least 15-20 minutes after the oven indicates it's preheated.
Use an independent oven thermometer placed inside the oven to verify that the temperature is accurate. Adjust your oven's setting up or down as needed based on the thermometer's reading to ensure the actual temperature matches your target. This step is critical for achieving predictable results when baking slice and bake cookies and avoiding common pitfalls related to incorrect oven temperature.
Once the baking sheet is in the properly preheated oven, set a timer for the minimum recommended baking time (e.g., 8-10 minutes). Begin checking the cookies at this minimum time. Look for visual cues: the edges should be starting to turn golden brown, and the centers should appear set but possibly still slightly soft or pale, depending on the desired texture.
Continue baking, checking the cookies every 1-2 minutes, until they reach your preferred level of doneness. If your oven has hot spots, rotate the baking sheet 180 degrees halfway through the baking time to ensure even browning. Avoid opening the oven door too frequently, as this causes temperature fluctuations that can negatively impact the baking process. Trust your visual cues and the specified temperature/time ranges for baking slice and bake cookies.
Once baked to your desired level, carefully remove the baking sheet from the oven. For most cookies, especially those where you want a chewy center, let them rest on the hot baking sheet for 2-5 minutes. The residual heat from the pan will continue to cook the centers gently without over-browning the bottoms.
After the initial cooling period on the pan, use a spatula to transfer the cookies to a wire cooling rack to cool completely. Allowing them to cool fully on a rack prevents the bottoms from getting soggy from steam and helps them achieve their final texture. Once completely cool, store your delicious slice-and-bake cookies in an airtight container at room temperature to maintain their freshness.
The Icebox Method and Temperature Control
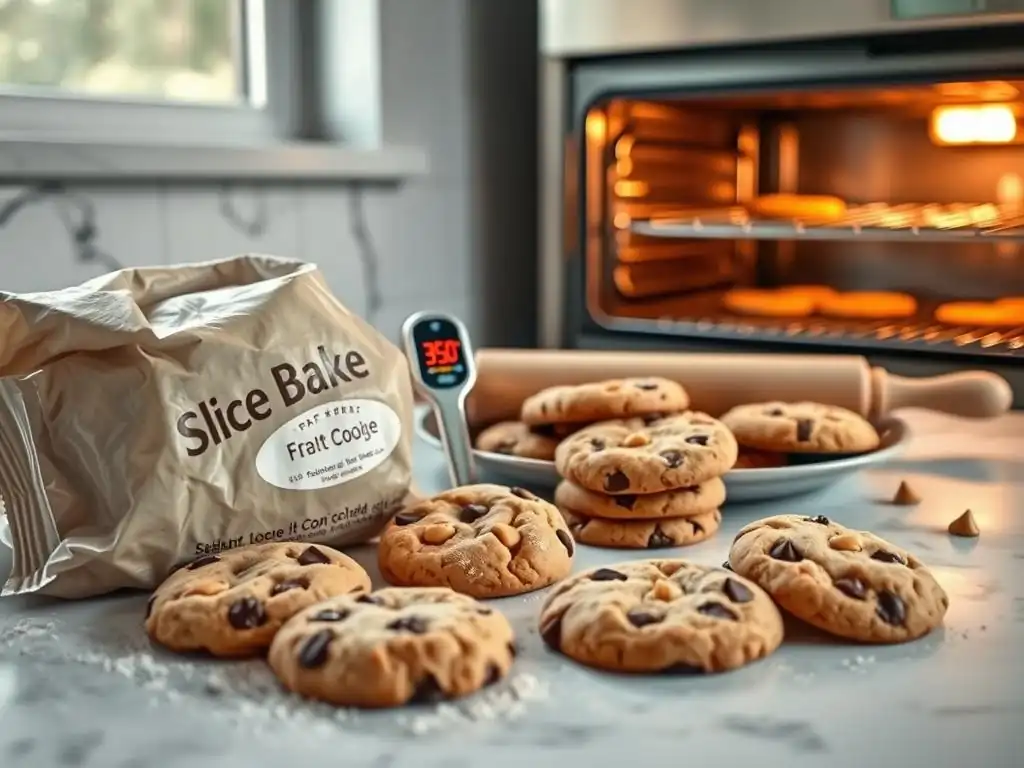
The "icebox method" is essentially what slice-and-bake dough is designed for: chilling the dough log thoroughly in the refrigerator (the "icebox") before slicing and baking. While the convenience of pre-made dough means this step is largely done for you, understanding its purpose reinforces the importance of starting with cold dough. Chilling solidifies the fats in the dough, which helps the cookies hold their shape better in the initial moments of baking, leading to less uncontrolled spread.
Baking slice and bake cookies directly from the cold state is crucial for predictable results. The temperature of the dough itself influences how quickly it reacts to the oven's heat. Very cold dough takes slightly longer to warm up and spread, which is beneficial for thicker cookies. If your dough has softened at room temperature, a quick 15-30 minute chill in the freezer before slicing can help restore its firmness and improve the outcome, especially when baking slice and bake cookies at standard temperatures.
The Maillard reaction is a complex chemical process that occurs between amino acids and reducing sugars when heated, typically above 280°F (140°C). It's responsible for the desirable browning on the surface of baked goods, the development of rich, complex flavors, and the appealing aroma of freshly baked cookies. The oven temperature directly controls the rate and extent of the Maillard reaction.
When baking slice and bake cookies, a higher temperature accelerates the Maillard reaction, leading to faster and more pronounced browning and crisping. A lower temperature slows it down, resulting in less browning and a softer texture. Understanding this reaction helps you manipulate the oven temperature to achieve specific results. For instance, baking at 375°F maximizes the Maillard reaction for a crispier, more flavorful edge, while 325°F minimizes it for a softer, paler cookie.
Experimenting with Temperatures for Unique Results
While package instructions provide a starting point, don't be afraid to experiment with slight temperature variations when baking slice and bake cookies to discover your personal preference. As we've seen, adjusting the temperature by just 10-25°F (5-15°C) can dramatically change the texture and appearance of the final cookie, from thin and crispy to thick and chewy.
Keep a simple baking journal when you experiment. Note the starting dough temperature, the exact oven temperature used (verified with your thermometer! ), the baking time, and the resulting texture and flavor. For example, you might note: "Chocolate Chip: 340°F, 14 min, very chewy center, soft edges" or "Sugar: 370°F, 9 min, uniformly thin & crisp." This systematic approach will help you dial in the perfect temperature for baking your ideal slice and bake cookies.
Mastering the art of baking slice and bake cookies largely comes down to understanding and controlling temperature. The ideal range is typically 325°F to 375°F (160°C to 190°C), with 350°F (175°C) being a common starting point. However, slight adjustments within this range are key to achieving specific textures, whether you desire a soft, chewy center or a uniformly crisp cookie.
Crucially, an accurate oven thermometer is your best friend; never rely solely on your oven's built-in thermostat. Knowing the true temperature allows you to adjust your oven setting for accuracy. Factors like dough consistency, altitude, and the type of baking sheet also influence the baking process and may require slight temperature or time modifications. By paying attention to temperature, monitoring your cookies closely, and not being afraid to experiment, you can consistently bake perfect slice and bake cookies tailored to your liking.
Achieving Consistent Results Every Time
Consistency in baking slice and bake cookies is achieved by controlling the variables. Start with dough that is consistently chilled. Use a reliable oven thermometer to ensure your oven is at the exact target temperature. Slice the dough into pieces of uniform thickness so they bake at the same rate. Use the same type of baking sheet, ideally lined with parchment paper, for each batch.
By standardizing these elements – dough temperature, oven temperature, cookie size, and baking surface – you minimize variability. You'll learn how your specific oven behaves at your desired temperature setting and how long your preferred thickness of cookie takes to bake to perfection. This systematic approach, combined with keen observation during the baking process, is the most reliable way to ensure that every batch of baking slice and bake cookies turns out exactly how you want it.
Frequently Asked Questions
The baking temperature significantly affects the final texture. Higher temperatures can result in crispier edges, while lower temperatures yield softer, chewier cookies.
While specific temperatures vary, BakeWithEase generally recommends 350°F (175°C) as a good starting point for most slice-and-bake cookie recipes. Adjust based on your oven and desired texture.
Yes, you can experiment! Adjusting the temperature can help achieve your desired texture. However, it's crucial to monitor the cookies closely to prevent burning or underbaking.
Baking at too high a temperature can cause the cookies to burn on the outside before they are fully cooked in the center. This results in hard, dry cookies that lack the desired chewiness.
If you lower the temperature, you'll likely need to increase the baking time. Conversely, if you increase the temperature, reduce the baking time. Always check for doneness by observing the edges and color.
Final Reflection: The Perfect Bake, A Temperature Tale
The quest for the ideal slice-and-bake cookie, it turns out, is more than just a matter of taste; it's a journey into the precise science of baking. Finding that sweet spot of temperature ensures perfectly crisp edges, chewy centers, and a consistently delicious result, impacting not only the final product but also the baking experience itself. This seemingly simple act of baking holds a surprising depth, affecting everything from the efficiency of your oven to the overall enjoyment of the process.
The impact of temperature on baking extends far beyond the individual cookie; it speaks to a larger cultural appreciation for homemade treats and the enduring comfort they provide. The simple act of baking, especially something as accessible as slice-and-bake cookies, connects us to generations past and fosters a sense of tradition and care. Baking is at once child's play and adult joy. And love, of course.
This quote perfectly encapsulates the feeling of satisfaction derived from mastering a recipe, and temperature control is key to unlocking that joy.
Now, armed with this knowledge, I invite you to embark on your own baking adventure. Don't just follow the recipe; experiment! Adjust the temperature slightly, observe the changes, and discover your own perfect bake. The journey of finding the ideal temperature for your slice-and-bake cookies is a personal one, filled with delicious discoveries and the sweet satisfaction of a perfectly crafted treat. Embrace the process, and enjoy the delicious results!
Here's a Call to Action (CTA) for an article on the best temperature for baking slice-and-bake cookies on BakeWithEase.com:
Thanks for taking the time to learn about achieving cookie perfection! You've now got the secret weapon to consistently delicious slice-and-bake cookies. Ready to put your new knowledge into practice?
- Bake a batch today! Use your newfound temperature wisdom to create a batch of amazing cookies. Experiment with different variations and share your results.
- Share your baking triumph! Post a picture of your perfectly baked cookies on social media and tag us @BakeWithEase.
- Explore other delicious recipes on BakeWithEase.com – discover your next baking adventure!
What creative flavor combinations will you try with your perfectly baked cookies?