
Why Your Classic Cookies Are Flat (Beginner Help)


Welcome to BakeWithEase, your trusted companion on your baking journey! Ever wondered why your cookies spread out like pancakes? You're not alone! This week, we're tackling a common baking woe: flat cookies. Unlock the secrets to perfectly shaped treats and discover an easy fix for this frustrating issue. Dive in to understand the science behind cookie baking and turn those flat disappointments into delightful, chewy masterpieces. What secrets will you uncover?
- Why Your Classic Cookies Are Flat (Beginner Help) - BakeWithEase
- Introduction: Understanding Flat Cookies and Baking Basics
-
Common Culprits Behind Flat Cookies: Identifying the Issues
- 1. Butter Temperature: Too Soft, Too Flat
- 2. Sugar Imbalance: Too Much Sugar, Too Much Spread
- 3. Oven Temperature Inaccuracy: A Hidden Cause of Flat Cookies
- 4. Overmixing the Dough: Gluten Development and Cookie Spread
- 5. Using the Wrong Flour: Protein Content and Cookie Texture
- 6. Baking Sheet Problems: Material and Preparation
-
Easy Fixes for Flat Cookies: Troubleshooting Tips and Techniques
- Adjusting Butter Temperature: The Chill-Down Method
- Modifying Sugar Ratios: Reducing Spread Potential
- Calibrating Your Oven: Ensuring Accurate Baking Temperatures
- Mixing Techniques: Mastering the Art of Gentle Handling
- Choosing the Right Flour: Selecting the Best Option for Your Cookies
- Baking Sheet Hacks: Optimizing Your Baking Surface
- Preventing Flat Cookies in the Future: Proactive Baking Strategies
- Conclusion: Achieving Cookie Perfection with BakeWithEase
- Frequently Asked Questions
- Final Reflection: The Sweet Science of Perfectly Puffed Cookies
- Unlock Perfectly Puffy Cookies!
Welcome to BakeWithEase, your friendly guide to mastering the delightful world of baking! Whether you're just starting out or looking to refine your skills, we're here to help you navigate common challenges and celebrate your successes in the kitchen. Baking classic cookies is often one of the first adventures for a beginner baker, offering a simple recipe that yields delicious results. However, even these seemingly straightforward recipes can sometimes produce unexpected outcomes, like cookies that spread too much and turn out disappointingly flat.
At BakeWithEase, we believe that understanding the science behind baking is key to consistent results. We provide clear, step-by-step guidance and practical tips to help you troubleshoot issues and build confidence. Our goal is to make baking accessible and enjoyable for everyone, transforming potential frustrations into learning opportunities. Let's tackle the common problem of flat cookies together, turning those baking mishaps into perfectly shaped, delicious treats with simple adjustments and techniques.
It's a scenario many home bakers know well: you follow a classic cookie recipe, anticipating thick, chewy or slightly crisp-edged delights, only to pull flat, thin disks from the oven. This can be disheartening, especially when you've carefully measured ingredients and followed instructions. Flat cookies not only lack the desired texture and structure but can also bake too quickly and become overly crisp or even burnt around the edges.
Dealing with flat cookies is a very common issue, particularly for beginners. The good news is that it's usually the result of one or a combination of easily identifiable factors. Understanding these common culprits is the first step toward finding an easy fix for flat cookies. By pinpointing the cause, you can make simple adjustments to your technique or ingredients that will dramatically improve your cookie results in future baking sessions.
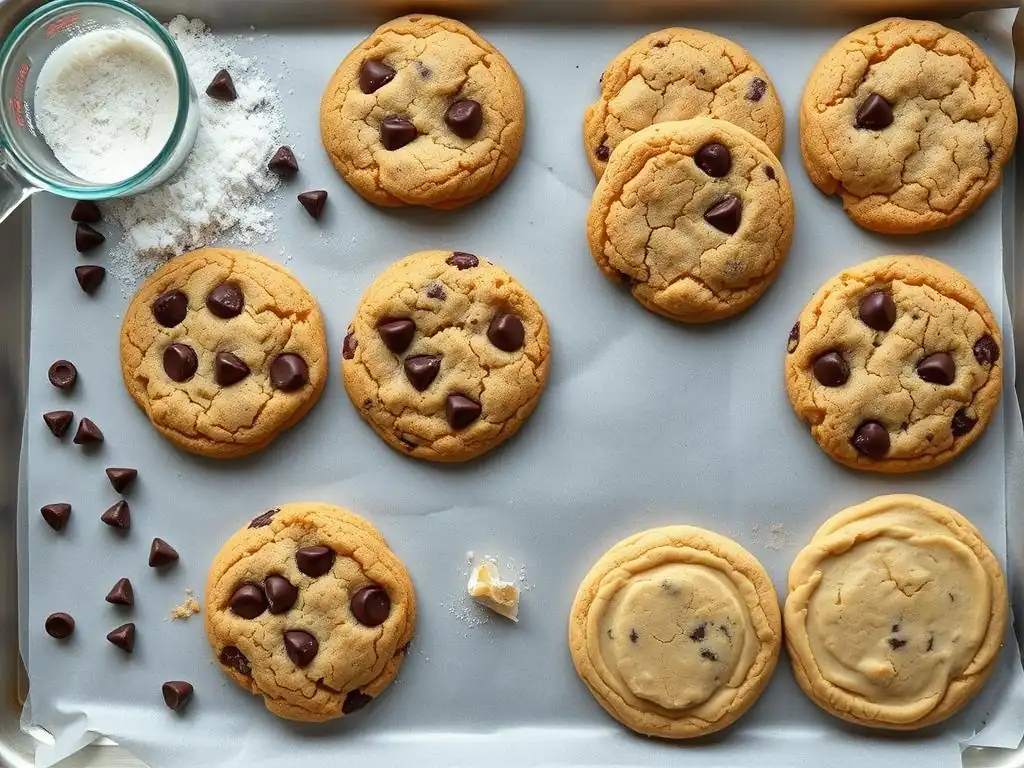
1. Butter Temperature: Too Soft, Too Flat
Understanding the Impact of Melted Butter on Cookie Spread
The temperature of your butter is perhaps one of the most critical, yet often overlooked, factors in cookie texture and spread. When a recipe calls for softened butter, it typically means butter that has been left at room temperature for about 30-60 minutes, becoming pliable but still cool to the touch. If butter is too soft, warm, or even partially melted, it significantly contributes to excessive cookie spread during baking. This is because warm fat melts faster in the oven, causing the cookie dough structure to collapse and spread out before the other ingredients have a chance to set.
Using melted butter, even in recipes that don't explicitly call for it (like many classic chocolate chip cookie recipes), is a primary reason behind flat cookies. For example, softened butter around 68-70°F (20-21°C) creates small air pockets when creamed with sugar, which contribute to lift and structure. In contrast, melted butter lacks these air pockets and causes the dough to spread rapidly from the moment it hits the warm baking sheet, resulting in thin, flat cookies.
The Ideal Butter Consistency for Cookie Baking
For most classic cookie recipes, the ideal butter consistency is "room temperature" or "softened." This means the butter should be soft enough to easily dent with your finger but should not be greasy or melty. It should hold its shape and still feel cool. This temperature is crucial because when you cream the butter with sugar, the sharp edges of the sugar crystals cut into the butter, creating tiny air pockets.
These trapped air pockets expand in the heat of the oven, contributing to the cookie's rise and preventing excessive spread. Think of it like building a strong foundation; properly creamed butter provides the necessary structure for the cookie to hold its shape as it bakes. Using butter that is too cold won't cream properly, leading to dense cookies, while using butter that is too warm leads directly to flat cookies. Aim for that sweet spot of pliable but still cool butter.
2. Sugar Imbalance: Too Much Sugar, Too Much Spread
The Role of Sugar in Cookie Texture and Structure
Sugar plays a complex role in cookie baking, influencing not just sweetness but also texture, moisture, and spread. Different types of sugar behave differently. Granulated white sugar, for instance, contributes to crispness and promotes more spread because its crystals melt quickly when heated. Brown sugar, on the other hand, contains molasses, which adds moisture, chewiness, and a richer flavor, while generally causing slightly less spread than white sugar alone.
An excessive amount of sugar relative to the other ingredients, particularly flour, is a common cause of flat cookies. Sugar is a liquid when melted at baking temperatures, and too much liquid causes the dough to spread excessively before it sets. A recipe with a very high sugar-to-flour ratio is inherently prone to producing flatter cookies. For example, a standard chocolate chip cookie recipe might use around 1 cup of sugar for 1.5 cups of flour, but drastically increasing that sugar can lead to a noticeably flatter result.
Correct Sugar Ratios for Preventing Flatness
While you shouldn't drastically alter a recipe without understanding the potential impact, being aware of sugar ratios helps diagnose why you might have flat cookies. If you've accidentally added too much sugar, or if the recipe itself has a very high sugar content, this will contribute to spread. Often, classic cookie recipes balance sugar with flour and fat to achieve a desired texture and limited spread.
For an easy fix for flat cookies potentially caused by sugar, ensure you are measuring accurately. Packing brown sugar firmly and leveling off granulated sugar are important steps. If you suspect the recipe is the issue or you've made an error, slightly reducing the total sugar (by perhaps 10-15%) in a test batch can sometimes help reduce spread without completely changing the flavor profile. However, the most important aspect is accurate measurement according to the recipe's specifications.
Why Oven Temperature Matters for Cookie Baking
Oven temperature is absolutely critical for successful cookie baking. If your oven runs too cool, the cookie dough spends more time exposed to heat before it sets. This prolonged exposure allows the fat (butter) to melt and the dough to spread out excessively before the structure solidifies, resulting in flat cookies. Conversely, an oven that's too hot can cause the edges to set and brown too quickly while the center remains underbaked, or can lead to uneven baking.
Many home ovens are not perfectly calibrated and can be off by as much as 25-50°F (10-30°C) from the temperature displayed on the dial. This discrepancy is a frequent, but often unknown, reason for baking problems like flat cookies. Relying solely on the oven's internal thermostat can lead to inconsistent results, even when following a recipe precisely.
How to Test and Calibrate Your Oven for Consistent Results
To ensure your oven is heating accurately, invest in an inexpensive oven thermometer. These can be purchased for around $10-$20 at most kitchen supply stores. Simply hang the thermometer from an oven rack and preheat your oven to a common baking temperature, like 350°F (175°C). Let the oven preheat for at least 20-30 minutes, then check the thermometer reading. Compare it to the oven's display.
If there's a significant difference (more than 10-15°F or about 5-8°C), you'll need to adjust your oven temperature accordingly when baking. For instance, if your oven thermometer reads 325°F (160°C) when the dial is set to 350°F (175°C), you'll need to set your oven to 375°F (190°C) to actually bake at 350°F (175°C). Some ovens also have a calibration setting you can adjust, which is often detailed in the owner's manual. Accurate oven temperature is a key easy fix for flat cookies and many other baking issues.
Understanding Gluten's Role in Cookie Structure
Flour contains proteins that, when mixed with liquid and agitated (like during mixing), develop into gluten. Gluten provides structure and elasticity in baked goods like bread, giving it chewiness and loft. However, in cookies, too much gluten development can lead to a tough texture. More importantly in the context of flat cookies, overmixing can incorporate too much air initially or alter the dough's structure in a way that encourages excessive spread.
When you cream butter and sugar, you're intentionally incorporating air. But once you add the flour, the goal is usually to mix just until the dry ingredients are combined. Continued mixing after the flour is added develops gluten and can compress some of the air pockets created during creaming, leading to a less stable dough structure that is more prone to spreading widely in the oven.
The Importance of Gentle Mixing Techniques
For most classic cookie recipes, particularly those starting with creamed butter and sugar, the mixing process after adding flour should be minimal. Use a low speed on your mixer or even switch to mixing by hand with a wooden spoon or spatula once the flour goes in. Mix only until no dry streaks of flour are visible. It's okay if there are a few small lumps of flour; they will hydrate as the dough rests.
Overmixing is a common mistake that contributes to flat cookies. For example, mixing for 30 seconds after adding flour is often sufficient, whereas mixing for 2-3 minutes will develop significant gluten. Being mindful of mixing time and technique, especially after adding the dry ingredients, is an important easy fix for flat cookies and helps ensure a tender, well-shaped cookie.
Flour Types and Their Impact on Cookie Baking
Different types of flour have varying protein contents, which directly affect how much gluten can develop and thus influence the structure and texture of your baked goods. All-purpose flour, the most common choice for cookies, typically has a protein content between 10-12%. Bread flour has a higher protein content (12-14%) and is designed for maximum gluten development, ideal for chewy bread. Cake flour has a lower protein content (8-10%) and is used for tender cakes.
Using the wrong type of flour can impact your cookies. While using cake flour might lead to a more tender, less chewy cookie, using bread flour in a recipe designed for all-purpose can increase gluten development and potentially alter spread, although it's less common than other issues to cause extreme flatness unless combined with overmixing. The primary issue related to flour and flat cookies often comes down to measurement accuracy rather than flour type itself, assuming you're using the type specified in the recipe.
Best Flour Choices for Preventing Flat Cookies
For most classic cookie recipes, using the specified flour type, usually all-purpose flour, is key. Ensure you measure your flour correctly. The most accurate way to measure flour is by weight using a kitchen scale (e.g., 1 cup of all-purpose flour is approximately 120-130 grams).
If measuring by volume, use the "spoon and level" method: gently spoon flour into your measuring cup until it overflows, then level off the excess with a straight edge. Do not scoop directly from the bag or tap the cup, as this compacts the flour, adding too much and throwing off the ingredient balance, which can indirectly contribute to issues like flat cookies.
Using the correct type and amount of flour provides the necessary structure to support the cookie as it bakes. A recipe balanced for all-purpose flour expects a certain level of gluten development and structure from that flour's protein content. Substituting freely or measuring inaccurately can easily upset this balance, contributing to excessive spread.
6. Baking Sheet Problems: Material and Preparation
The Effect of Baking Sheet Material on Cookie Spread
The type and color of your baking sheet can also influence how your cookies bake and spread. Dark-colored baking sheets absorb more heat than light-colored, shiny ones. This extra heat can cause the cookie dough to spread faster and brown more quickly on the bottom. While some bakers prefer dark sheets for certain results, they can contribute to thinner, crispier, and potentially flatter cookies if not managed carefully.
Shiny, light-colored aluminum baking sheets are generally recommended for even baking and consistent results with most cookie recipes. They reflect heat, allowing the cookies to bake more evenly from the top and bottom, promoting a more controlled spread and better shape. Using an old, warped baking sheet can also cause uneven heating and unpredictable spread.
Proper Baking Sheet Preparation: Parchment Paper vs. Silicone Mats
Regardless of the baking sheet material, proper preparation is crucial. Baking directly on an ungreased or improperly greased sheet can cause cookies to stick. While greasing with butter or cooking spray is traditional, it can sometimes contribute to extra spread because of the added fat. Using parchment paper or a silicone baking mat (like Silpat) is an excellent easy fix for flat cookies and ensures even baking and easy release without adding extra fat.
Parchment paper provides a consistent, non-stick surface and helps insulate the bottom of the cookie slightly, promoting more even heating and preventing excessive spread. Silicone mats offer a similar non-stick surface but provide slightly more insulation and can sometimes result in slightly less spread than parchment paper. Both are superior to greasing the pan directly when aiming for well-shaped cookies that don't spread too much.
Adjusting Butter Temperature: The Chill-Down Method
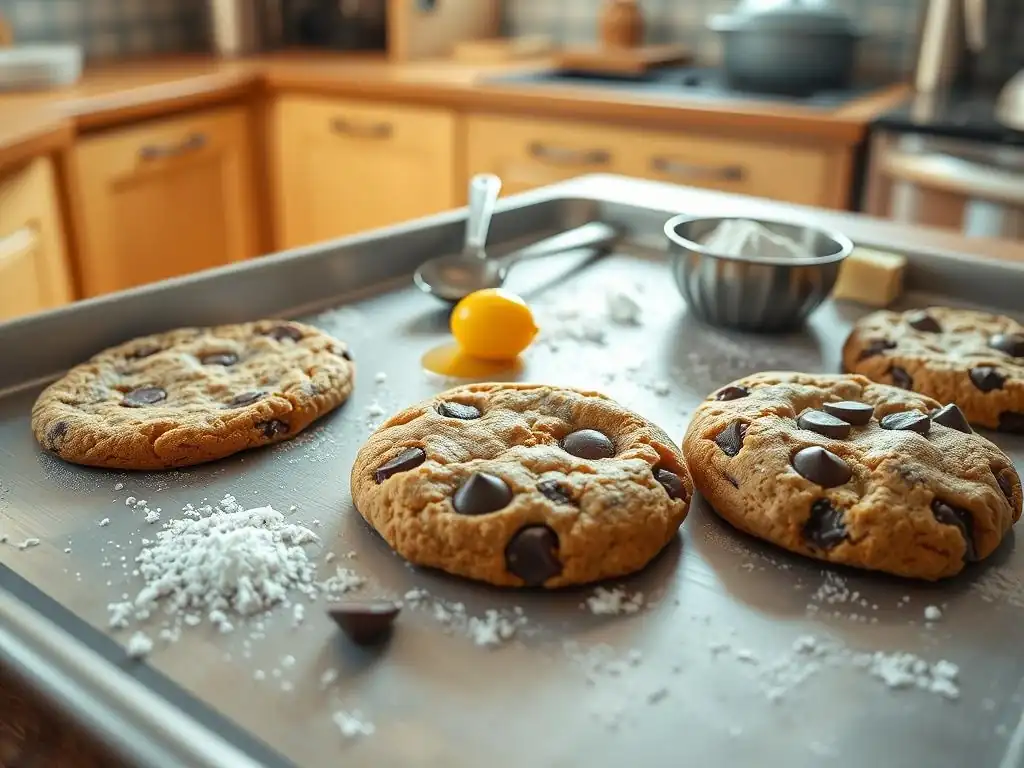
If you suspect your butter was too soft or warm when you mixed your dough, a simple and effective easy fix for flat cookies is the chill-down method. After preparing your cookie dough, shape the cookies according to the recipe (e.g., rolling into balls) and place them on a baking sheet lined with parchment paper. Then, place the entire baking sheet in the refrigerator for at least 30 minutes, or even up to several hours.
Chilling the dough solidifies the butter within the cookies. When the chilled dough goes into the hot oven, the butter takes longer to melt, giving the cookie structure more time to set before significant spreading occurs. This results in thicker cookies with less overall spread. For an even stronger effect, you can chill the dough overnight. This simple step is often cited as one of the most reliable easy fixes for flat cookies caused by warm butter or high room temperature.
Modifying Sugar Ratios: Reducing Spread Potential
While altering a recipe's sugar ratio isn't always recommended without understanding the science, if you consistently get flat cookies from a specific recipe, or you know you accidentally added too much sugar, a slight adjustment can help. For a batch of dough already mixed, you can't easily remove sugar. However, for future batches, consider slightly reducing the amount of granulated sugar (which promotes more spread) and potentially slightly increasing the flour (by a tablespoon or two per cup of sugar) if the dough seems excessively soft.
Alternatively, some bakers find substituting a small portion of the granulated sugar with an equal weight of brown sugar can help reduce spread while adding chewiness. For example, if a recipe calls for 1 cup of granulated sugar, try using 3/4 cup granulated and 1/4 cup brown sugar. Remember, these are modifications to experiment with, not guaranteed fixes for every recipe, but they can be useful easy fixes for flat cookies stemming from sugar balance issues.
Calibrating Your Oven: Ensuring Accurate Baking Temperatures
As discussed, an inaccurate oven temperature is a major contributor to flat cookies. The easy fix here is to use an oven thermometer to verify your oven's true temperature. Once you know how far off your oven is, adjust the dial setting accordingly for all future baking. For example, if your thermometer reads 25°F low, set your oven 25°F higher than the recipe calls for.
Beyond calibration, ensure you give your oven ample time to fully preheat. The oven indicator light or beep usually signals the air temperature has reached the set point, but the oven walls and racks need more time to absorb heat and radiate it evenly. Preheat for at least 15-20 minutes after the light goes off, or ideally 30 minutes, especially for cookies. Baking in a properly preheated oven at the correct temperature is one of the most effective easy fixes for flat cookies.
Mixing Techniques: Mastering the Art of Gentle Handling
To avoid overmixing and excessive gluten development, pay close attention when adding the dry ingredients to your creamed butter and sugar mixture. Use a low speed on your electric mixer, or switch to a sturdy spatula or wooden spoon. Mix only until the flour streaks have just disappeared. Stop the mixer or stirring as soon as the dough comes together.
For example, if you're using a stand mixer, once the flour is added, mix on the lowest speed for just 10-20 seconds, then finish combining any remaining dry bits by hand. This gentle handling minimizes gluten development and helps maintain the airy structure created during the creaming stage, contributing to a cookie that holds its shape better and isn't prone to becoming flat cookies.
Ensure you are using the type of flour specified in the recipe, which is typically all-purpose flour for classic cookies. More importantly, focus on accurate measurement. Use the spoon and level method if measuring by volume, or ideally, measure by weight using a kitchen scale. This consistency in measurement is a foundational easy fix for flat cookies and many other baking inconsistencies.
If a recipe specifically calls for cake flour or bread flour, use that type. Substituting different flours without adjusting other ingredients can alter the dough's structure and hydration, potentially leading to issues like excessive spread. Sticking to the recipe's specified flour type and measuring it precisely provides the correct structural support for your cookies.
Baking Sheet Hacks: Optimizing Your Baking Surface
To prevent flat cookies caused by baking sheet issues, opt for shiny, light-colored aluminum baking sheets if possible. If you only have dark sheets, you may need to reduce the oven temperature by 25°F (about 10-15°C) and/or reduce baking time slightly to compensate for the increased heat absorption. Always line your baking sheets with parchment paper or a silicone baking mat.
Avoid greasing the pan directly with butter or spray, as this adds extra fat that can increase spread. Using parchment paper or a silicone mat creates a consistent, slightly insulated surface that helps the cookies bake evenly and prevents sticking without promoting excessive spreading. This simple preparation step is an easy fix for flat cookies and results in beautifully shaped cookies every time.
Precise Measurement: The Key to Consistent Results
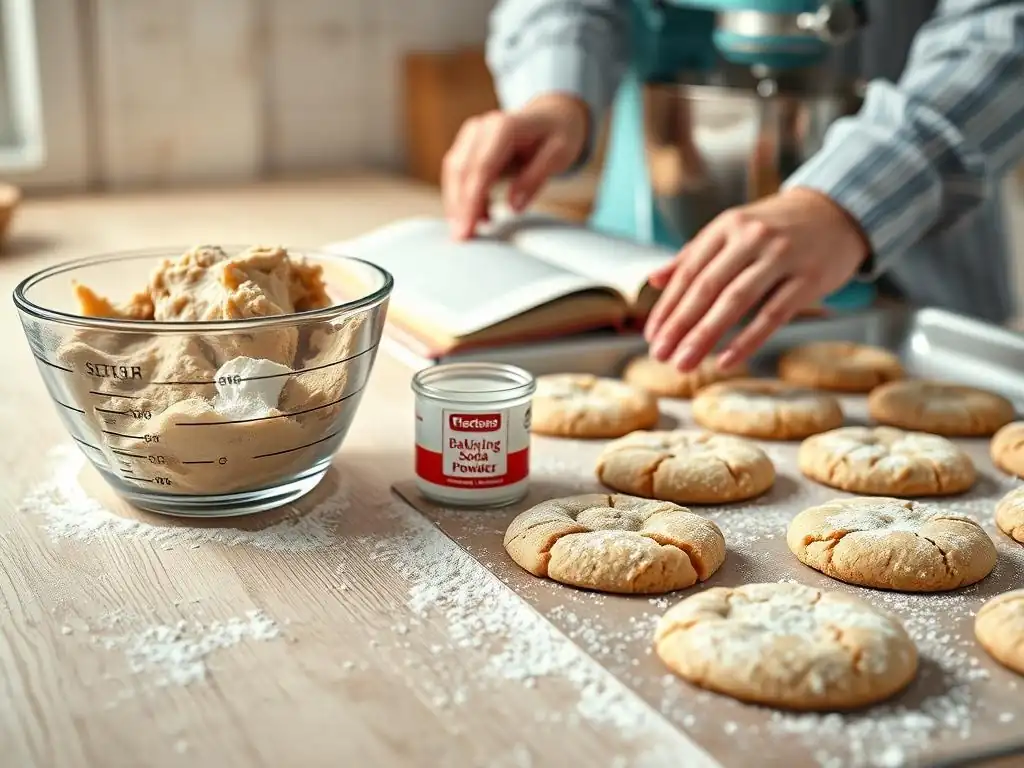
One of the most impactful proactive steps you can take to prevent flat cookies is embracing precise ingredient measurement. Baking is a science, and ratios matter. Using a kitchen scale to weigh ingredients, especially flour, sugar, and butter, eliminates the variability of volume measurements (like cups), which can fluctuate significantly based on how ingredients are scooped or packed.
For example, a cup of flour can weigh anywhere from 115 to 150 grams depending on how densely it's packed. This variation can throw off the delicate balance of a cookie recipe, leading to unexpected spread and flat cookies. Investing in a kitchen scale (often available for $20-$30) and finding recipes that provide weight measurements is a game-changer for consistent baking and proactively avoiding issues like flat cookies.
Chilling the Dough: A Proven Method for Preventing Spread
Chilling your cookie dough before baking is a highly effective proactive strategy to prevent flat cookies, even if your butter was at the correct temperature initially. After mixing the dough, cover it tightly with plastic wrap and refrigerate for at least 30 minutes, preferably 1-2 hours, or even up to 2-3 days for enhanced flavor.
As mentioned earlier, chilling solidifies the fat in the dough, making it more resistant to spreading when it enters the hot oven. This allows the cookie's structure to set before the fat fully melts. Additionally, chilling allows the flour to fully hydrate, which also contributes to a better texture and shape. Many professional bakers always chill their cookie dough for this very reason – it's a simple step that guarantees thicker, more uniform cookies and is a perfect easy fix for flat cookies if done proactively.
Testing a Small Batch: Refining Your Recipe Before Baking
Before baking an entire batch of cookies, especially from a new recipe or if you've had issues with flat cookies in the past, bake a small test batch of 2-3 cookies. This allows you to observe their spread and how they bake without committing all your dough. If the test cookies spread too much, you can troubleshoot the remaining dough.
Based on the test batch results, you can implement an easy fix for flat cookies on the spot. For example, if they spread excessively, you might:
- Chill the remaining dough for a longer period.
- Check your oven temperature with a thermometer and adjust.
- Ensure you are using parchment paper on a light-colored sheet.
- Roll the dough balls slightly taller rather than perfectly round.
Testing is a simple, low-stakes way to catch potential problems early and make necessary adjustments, ensuring your final batch of cookies turns out perfectly.
Embarking on your baking journey with classic cookies is a wonderful way to learn fundamental techniques. While encountering flat cookies can be a temporary setback, it's a common challenge that every baker faces at some point. By understanding the core reasons behind this issue – from butter temperature and sugar ratios to oven accuracy, mixing techniques, flour choice, and baking surface – you gain the knowledge needed to troubleshoot and improve.
BakeWithEase is here to empower you with the understanding and easy fixes for flat cookies and other baking puzzles. Each baking experience, even one that doesn't go exactly as planned, is a valuable learning opportunity. With practice and attention to detail, you'll develop an intuition for how ingredients and techniques impact your results, moving confidently from a beginner to a more experienced baker capable of achieving consistent cookie perfection.
No more disappointing batches of thin, overly spread cookies! By applying the easy fixes for flat cookies discussed here – ensuring your butter is the right temperature, measuring ingredients precisely, checking your oven, mixing gently, using the correct flour, and preparing your baking sheet properly – you can dramatically improve your cookie results. Remember the power of chilling the dough as a proactive measure!
With these tips and techniques from BakeWithEase, you're well-equipped to tackle the flat cookie problem head-on. Get ready to enjoy batches of beautifully shaped, perfectly textured classic cookies that look as good as they taste. Happy baking, and enjoy your delicious, non-flat treats!
Frequently Asked Questions
Flat cookies are often caused by too much butter or not enough flour in the dough. High oven temperatures can also contribute.
Unfortunately, you can't really fix flat cookies after baking. Prevention is key! However, you can crumble them and use them in a trifle or other dessert.
Chill your dough for at least 30 minutes before baking. Also, ensure your oven temperature is accurate and don't grease your baking sheet too much. These steps will help prevent excessive spreading.
Too much butter, especially if it's too soft, or too much sugar can cause flat cookies. Using old baking soda or baking powder can also be a culprit, as it won't provide the necessary lift.
Yes, using a lower-protein flour, like cake flour, can result in flatter cookies. All-purpose flour is generally recommended, and bread flour can create chewier cookies.
The seemingly simple act of baking a cookie holds a surprising amount of scientific complexity. A perfectly puffed cookie, golden brown and delightfully chewy, is a testament to understanding the interplay of ingredients and baking techniques. This article explored the common culprit behind flat cookies – insufficient leavening – and offered simple, effective solutions for achieving that coveted height and texture. But the journey to the perfect cookie is more than just a recipe; it's a lesson in precision and patience.
The quest for the ideal cookie transcends mere culinary skill; it's a reflection of our desire for perfection and the satisfaction derived from mastering a seemingly simple task. The subtle nuances of baking, the delicate balance of ingredients, and the anticipation of that first bite – these elements resonate deeply within our cultural landscape. Baking, particularly cookie baking, is often associated with comfort, nostalgia, and shared experiences. Baking is at once child’s play and adult joy. And love, of course.
This quote perfectly encapsulates the emotional connection we have with this seemingly simple process, and the frustration that arises when our efforts don't yield the desired results.
Now, armed with a deeper understanding of why your cookies might be flat and how to easily fix them, I encourage you to embrace the challenge. Don't be discouraged by a few flat batches; instead, see each attempt as an opportunity to refine your technique, to better understand the science behind the deliciousness. Experiment with different flours, adjust your baking times, and most importantly, enjoy the process. The perfect cookie awaits, and the journey to get there is just as rewarding as the destination itself.
Thanks for taking the time to learn the secrets to perfectly puffy cookies! You've now got the knowledge to avoid flat disappointments. Ready to put your newfound skills to the test?
- Bake a batch of your favorite cookies using the tips we discussed. See the amazing difference!
- Share your baking triumphs (or even your funny fails!) with us on social media – we'd love to see your creations! Use #BakeWithEasePuffyCookies.
- Consider experimenting with a new cookie recipe, applying what you’ve learned to achieve the perfect texture.
What unique ingredient will you try in your next batch to create the ultimate puffy cookie?