
Easy PressIn Cookie Crust Tart


Welcome to BakeWithEase, where baking becomes a joy, not a chore! Ever dreamt of effortlessly creating a stunning tart base? Our Easy Press-In Cookie Crust recipe is about to revolutionize your baking game. Forget fussy doughs and complicated techniques – discover how to achieve a perfectly crisp and flavorful crust with minimal effort. Intrigued? Let's bake!
- Chocolate Chip Cookie Crust Tart: A Beginner's Guide
- Introduction to Chocolate Chip Cookie Crust Tarts
- The Secret to a Perfect Chocolate Chip Cookie Crust
- Ingredients for Your Chocolate Chip Cookie Crust Tart
- Step-by-Step: Making the Chocolate Chip Cookie Crust
- Preparing the Chocolate Ganache Filling
- Assembling Your Chocolate Chip Cookie Crust Tart
- Baking Tips and Troubleshooting for Cookie Crust Tarts
- Variations and Adaptations for Your Cookie Crust Tart
- Enjoy Your Chocolate Chip Cookie Crust Tart!
- Frequently Asked Questions
- Final Reflection: The Sweet Simplicity of a Press-In Crust
- Unleash Your Inner Pastry Chef: Make This Tart Today!
This Easy pressin cookie crust tart recipe is tailor-made for novice bakers who want impressive results without complex techniques. With just 1½ cups (180 g) of all-purpose flour, ¾ cup (150 g) granulated sugar, ½ cup (113 g) unsalted butter, and a single egg, you’ll have a buttery, chocolate-studded crust in under 15 minutes of prep time. The minimal ingredient list and straightforward mixing method cut down on kitchen anxiety, making baking feel accessible and rewarding.
Best of all, there’s no rolling pin or extensive chilling required. You simply press the dough into a 9-inch tart pan—zero fuss, maximum taste. Even if you’ve never made a tart before, the press-in approach lets you shape the crust by hand, so you won’t need to dust surfaces with flour or worry about tearing dough. This beginner-friendly crust sets the stage for a luscious chocolate ganache that feels gourmet yet remains surprisingly simple.
Baking Basics: Your Guide to Simple Tart Crusts
A press-in cookie crust omits the traditional step of rolling and folding, so you avoid gluten overdevelopment and achieve a tender crumb. Measure your ingredients precisely: use a kitchen scale or level off cups for consistent results. A 9-inch removable-bottom tart pan ensures your perfectly pressed crust releases easily, giving you crisp edges and an even thickness of about ¼ inch (6 mm).
When combining ingredients, start by cutting cold butter into the dry mix using a pastry blender or two forks until you see pea-sized bits. Then add the egg and mix until a shaggy dough forms. Use a spatula or your fingertips to press the dough gently into the pan—no fancy tools needed. This simple method paves the way to baking success, so you can focus on the fun part: filling and decorating.
The magic ratio for a cookie crust is roughly 3 parts flour to 1 part sugar by volume, with enough butter to bind. Here, 1½ cups (180 g) flour pairs with ¾ cup (150 g) sugar and ½ cup (113 g) butter for a crust that’s crisp at the edges and tender inside. The sugar caramelizes during baking, giving a slight crunch, while the butter lends richness. Overmixing can develop gluten and make the crust tough—mix just until combined.
Pre-bake the crust at 350°F (175°C) for 12–14 minutes, or until the edges turn light golden brown. Let it cool in the pan for 10 minutes on a wire rack to help set the structure. This balance of bake time and gentle cooling ensures your crust holds up under the weight of a decadent ganache without turning soggy.
Why a Press-In Crust is Perfect for Beginner Bakers: No Rolling Required
Press-in crusts simplify the process by removing the rolling pin step entirely. No need to dust countertops, worry about dough elasticity, or manage multiple chilling periods. You can go straight from mixing bowl to tart pan, which cuts down active time to about 10 minutes. Novices can gain confidence making a crust that rivals store-bought in flavor and texture.
Because the dough stays thicker than a rolled crust, it resists shrinking during bake time. Simply press up the sides at a consistent height—ideal if you don’t have a fancy tart ring or an experienced hand at dough manipulation. The ease of this method makes the Easy pressin cookie crust a go-to technique for busy cooks and first-time bakers alike.
- 1½ cups (180 g) all-purpose flour
- ½ teaspoon fine sea salt
- ¼ teaspoon baking powder
- ¾ cup (150 g) granulated sugar
- ½ cup (113 g) unsalted butter, cold and cubed
- 1 large egg, room temperature
- ½ cup (90 g) mini chocolate chips
This combination yields a tender, flavorful crust with about 1/4 inch thickness all around. Make sure your butter is cold—soft butter will stick to your fingers and overhydrate the dough, changing the texture.
Tart Filling Ingredients: Chocolate Ganache
- 8 oz (225 g) dark chocolate (70% cacao), finely chopped
- ¾ cup (180 ml) heavy cream
- 2 tablespoons (28 g) unsalted butter, cubed
- Pinch of flaky sea salt
These measurements produce a silky ganache that sets firm yet remains melt-in-your-mouth soft. For richer flavor, choose a 72–75% cacao bar, which balances sweetness and depth.
Ingredient Tips: Choosing Quality Chocolate
Investing in a premium chocolate bar (approx. $0.50–$1.00 per ounce) pays dividends in flavor and finish. Brands like Valrhona or Ghirardelli deliver consistent results, with fewer stabilizers and added oils than entry-level chips. Chop your bar into small, uniform pieces—this ensures even melting and a glossy final texture.
When selecting butter, aim for 82% butterfat content; European-style varieties (Land O’Lakes, Plugrá) enhance richness. If you prefer ethical sourcing, look for Fair Trade–certified bars. The incremental cost is minimal but can elevate your Easy pressin cookie crust tart to a truly special treat.
- In a medium bowl, whisk together flour, salt, and baking powder.
- Add cold cubed butter and cut in with a pastry blender until pea-sized bits remain.
- Stir in sugar, then crack in the egg and mix with a silicone spatula until just combined.
- Fold in the mini chocolate chips.
Tip: Chill the mixed dough in the refrigerator for 10 minutes if it feels too sticky.
Step 2: Pressing the Dough into the Tart Pan
Use your fingertips or the bottom of a measuring cup to gently press the dough into a 9-inch tart pan with a removable bottom. Start in the center and work outwards, aiming for a uniform ¼ inch (6 mm) thickness and ½-inch (12 mm) sidewalls.
- Ensure no thin spots by checking from the side—light should not pass through.
- Dock the bottom lightly with a fork to prevent air pockets.
- Preheat oven to
350°F(175°C). - Bake crust for 12–14 minutes until edges are golden.
- Cool on a wire rack for 10 minutes before filling.
bake_temp: 350°F
bake_time: 12-14 minutes
cool_time: 10 minutes
- Chill in Pan: After pressing, refrigerate for 15 minutes.
- Even Thickness: Maintain consistent wall height—thin spots pull away.
- Avoid Overmixing: Work quickly to minimize gluten formation.
“A well-chilled press-in crust will cling to the pan walls and resist shrinking,” says pastry chef Anna Olson.
Preparing the Chocolate Ganache Filling
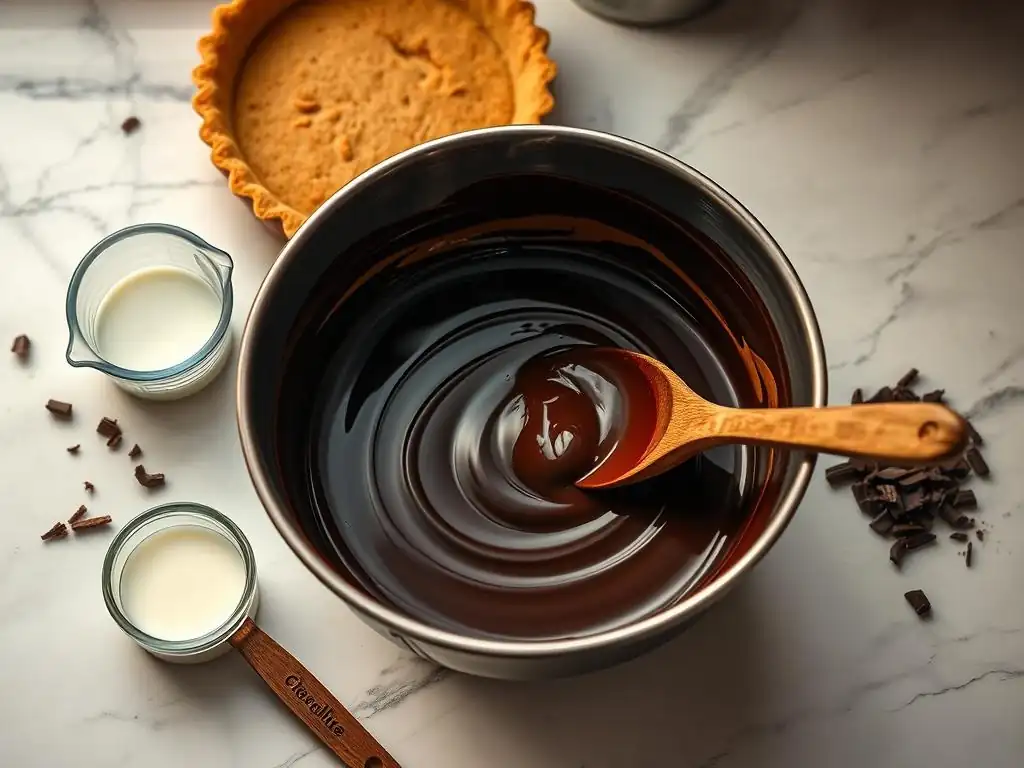
Step 1: Melting the Chocolate and Cream
Place chopped dark chocolate in a heatproof bowl. In a small saucepan, bring heavy cream just to a simmer—do not boil. Pour cream over chocolate, let sit 60 seconds to soften solids, then proceed to stirring.
Use an immersion blender on low if any unmelted bits remain, but be cautious not to incorporate excess air.
Step 2: Creating a Smooth Ganache
Stir from the center outward in gentle circles until the mixture turns silky. Add cubed butter and a pinch of sea salt, stirring until fully incorporated and glossy. Scrape sides with a spatula to eliminate streaks.
Pro Tip: Passing ganache through a fine-mesh sieve catches any stray solids for a flawless finish.
Pro Tip: Achieving a Smooth and Creamy Ganache
- Stir in 1 tablespoon corn syrup to add sheen and stability.
- Let ganache rest at room temperature for 30 minutes to thicken slightly before pouring.
if ganache.is_too_thin():
    refrigerate(10 minutes)
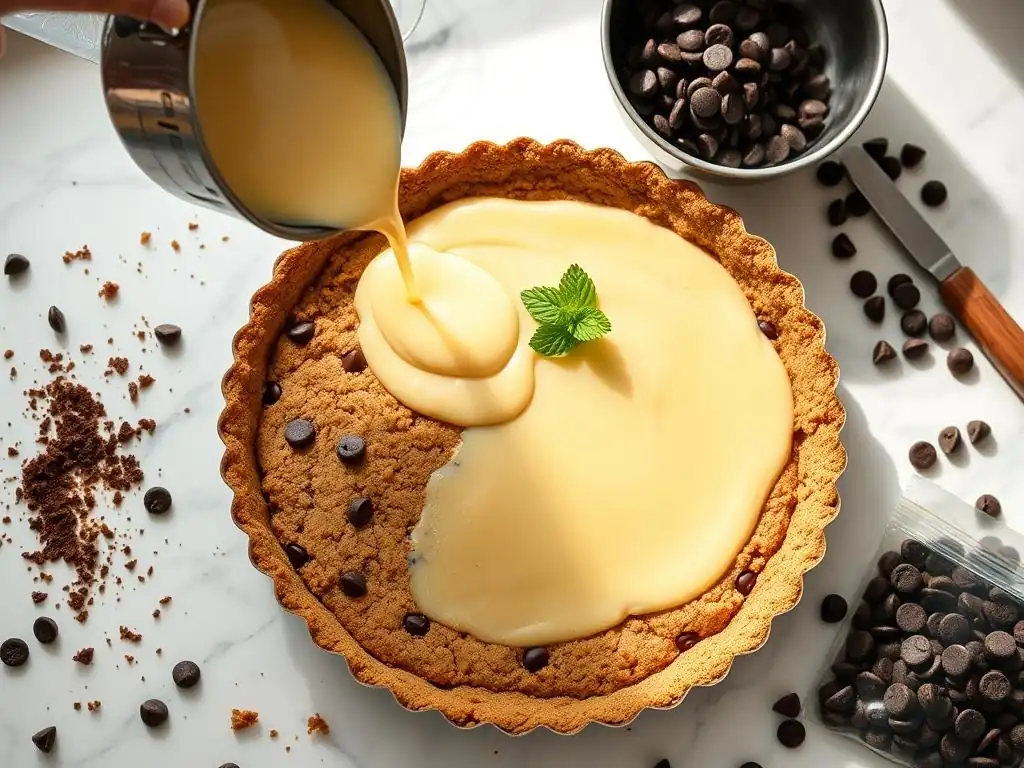
Pour the warm ganache into the cooled crust, filling to about 1/8 inch below the rim. Gently tap the pan on the counter two or three times to release trapped air bubbles.
Step 2: Chilling the Tart for Optimal Set
Cover loosely with plastic wrap and refrigerate for at least 4 hours, or ideally overnight (~8 hours) at 40°F (4°C). This ensures a firm slice that holds its shape.
- Sprinkle with fleur de sel for a sweet-savory contrast.
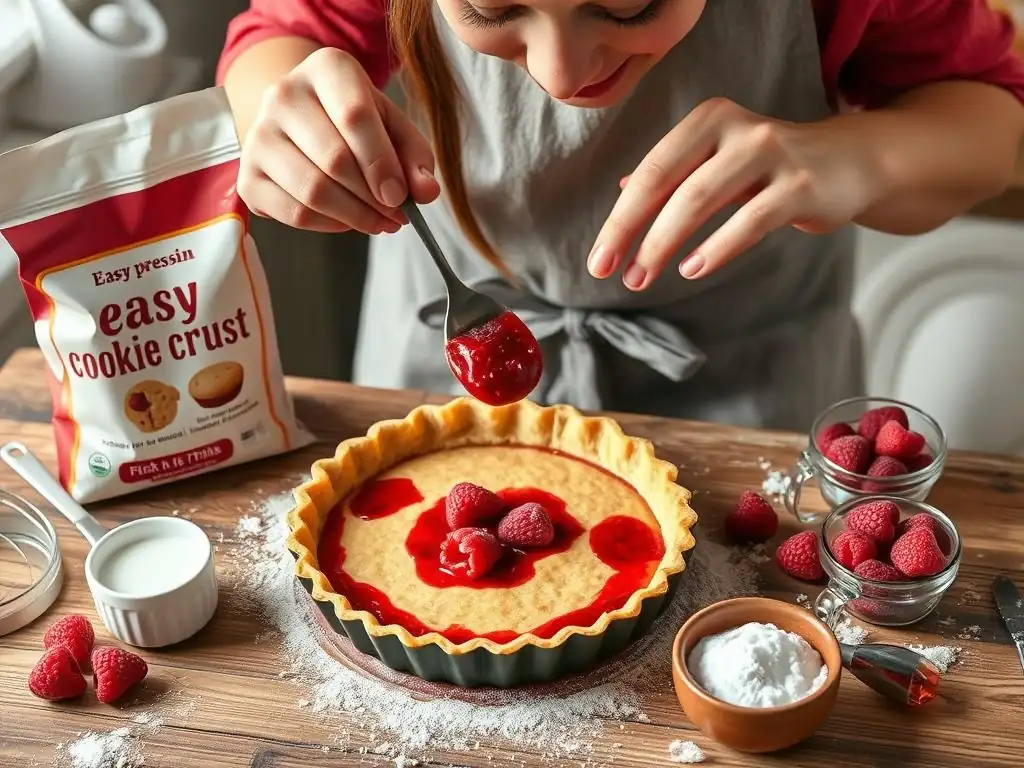
- Add fresh raspberries or mint sprigs for color.
- Pipe whipped cream rosettes around the edge using a star tip.
- Crust Too Dry or Crumbly: Increase butter by 1 tablespoon or add 1 teaspoon cold water.
- Soggy Bottom: Bake for an extra 2–3 minutes or partially blind-bake with pie weights.
- Burnt Edges: Lower oven rack by one position or tent edges with foil halfway through baking.
Baking Hacks: Perfecting Your Technique
- Use a pizza stone preheated in the oven floor for even heat distribution.
- Rotate the pan halfway through baking to avoid hot spots.
- Quick-chill the pressed crust in the freezer for 5 minutes before baking to lock shape.
- Store airtight in the refrigerator for up to 3 days.
- For longer storage, freeze wrapped in foil for up to 1 month—thaw overnight in the fridge.
- Bring to room temperature for about 15 minutes before serving for optimal texture.
Adding Nuts or Extracts to Your Chocolate Chip Crust
- Fold in ¼ cup (30 g) chopped pecans or almonds for crunch.
- Swap vanilla extract for 1 teaspoon almond extract to highlight nutty flavors.
Experimenting with Ganache Flavors
- Replace dark chocolate with white chocolate and stir in 2 tablespoons raspberry purée.
- Fold in 1 tablespoon peanut butter for a classic flavor combo.
Customization: Making it Your Own
- Gluten-Free: Substitute flour with a 1:1 gluten-free blend.
- Vegan: Use coconut oil instead of butter and coconut cream in place of dairy cream.
- Sugar-Free: Swap granulated sugar for erythritol-based sweeteners at a 1:1 ratio.
We’d love to see your Easy pressin cookie crust tarts on social media! Tag your photos with #BakeWithEase and #CookieCrustTart to connect with fellow bakers and earn a chance to be featured on our community page.
More Beginner Baking Recipes
- Classic No-Roll Pie Crust
- Lemon Bars with Shortbread Base
- Banana Bread in a Mug
- Simple Sourdough Discard Crackers
---
Frequently Asked Questions
The recipe emphasizes the "easy press-in" method, eliminating the need for rolling out dough and making it beginner-friendly. It uses simple, readily available ingredients.
Yes, with some caution. You can usually substitute butter with a similar fat, like shortening or coconut oil, but it will affect the flavor and texture. Experimenting with different flours is also possible, but results may vary.
Creamy fillings, such as chocolate ganache, pastry cream, or fruit curds, work exceptionally well. The cookie crust provides a stable and delicious base for a variety of sweet treats.
Blind baking the crust before adding the filling can help prevent sogginess. Also, using a thin layer of melted chocolate as a barrier between the crust and the filling is effective.
The tart's shelf life depends on the filling used. Generally, it's best consumed within 2-3 days when stored in the refrigerator to maintain freshness and prevent spoilage.
Final Reflection: The Sweet Simplicity of a Press-In Crust
The ease and deliciousness of a press-in cookie crust transcends mere convenience; it's a gateway to effortless baking joy. This article explored the simple yet surprisingly versatile method of creating a cookie crust, highlighting its adaptability to various fillings and flavor profiles. From the classic chocolate to more adventurous combinations, the possibilities are truly endless, making this technique accessible to even the most novice bakers.
The impact of this simple technique extends beyond individual kitchens; it democratizes baking, making the creation of beautiful and delicious tarts achievable for everyone. It's a reminder that sometimes the most satisfying creations come from the simplest methods. The best things in life are simple,
a sentiment perfectly captured by the ease and elegance of a press-in cookie crust. This technique allows us to focus on the joy of baking and sharing, rather than getting bogged down in complex procedures.
Now, I invite you to embrace the simplicity. Try your hand at creating your own press-in cookie crust tart. Experiment with different cookie types, fillings, and toppings. Let this be more than just a recipe; let it be a springboard for creativity and a celebration of the sweet, simple pleasures in life. The possibilities are as limitless as your imagination, so get baking!
Here's a Call to Action (CTA) designed for the end of a BakeWithEase article about an Easy PressIn Cookie Crust Tart:
Unleash Your Inner Pastry Chef: Make This Tart Today!
Thanks for joining us on this delicious journey! We hope you found the Easy PressIn Cookie Crust Tart recipe as simple and rewarding as we do. Now it's time to transform that inspiration into a mouthwatering creation.
- Bake your masterpiece! Gather your ingredients and follow the recipe – we bet you'll be surprised how quickly this tart comes together.
- Share your success! Post a picture of your finished tart on social media and tag us – we'd love to see your baking skills in action!
- Explore more easy recipes: Dive into our collection of simple yet impressive desserts for your next baking adventure.
Ready to impress yourself (and maybe a few friends) with this delightful tart? What unique twist will you add to your Easy PressIn Cookie Crust Tart?