
Your First Layered Treat: Simple Magic Cookie Bars (Beginner Friendly)

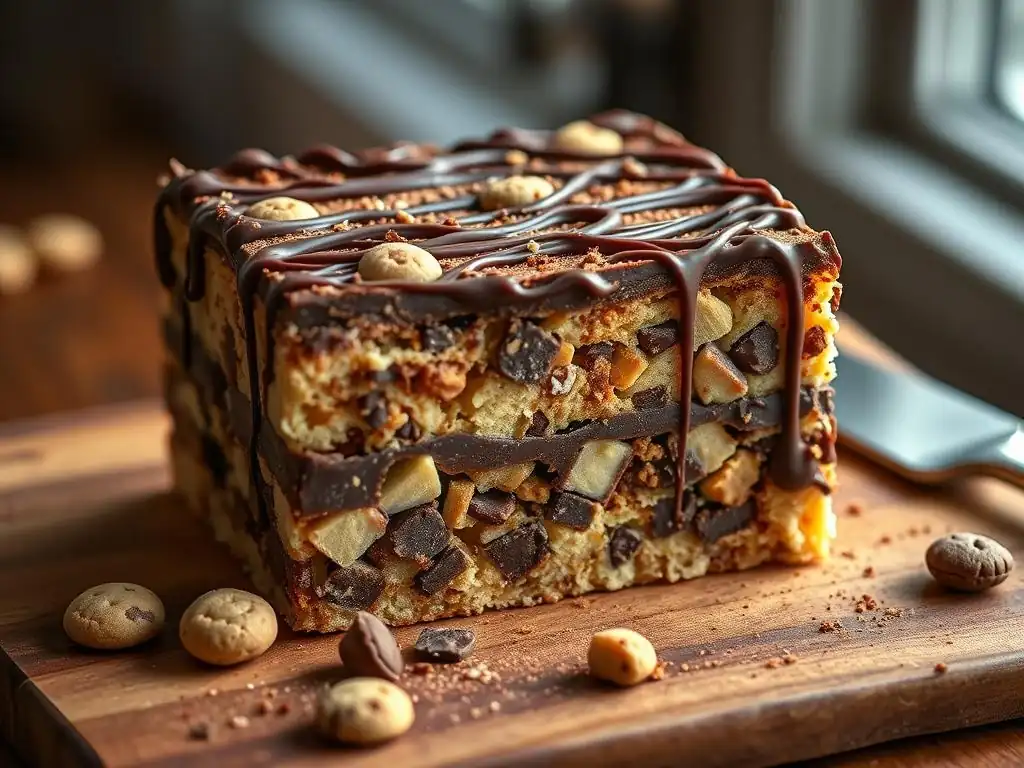
Welcome to BakeWithEase, your shortcut to baking brilliance! Ever dreamt of creating a treat that looks impressive but is surprisingly simple? Get ready to impress with our guide to easy layered magic cookie bars – the perfect beginner-friendly project. Discover how to whip up this delightful dessert with minimal effort and maximum flavor. Intrigued? Let's get baking!
- Your First Layered Treat: Simple Magic Cookie Bars (Beginner Friendly) - BakeWithEase
- Introduction to Easy Layered Magic Cookie Bars
- The Secret to Easy Magic Cookie Bars: Ingredients and Equipment
- Step-by-Step Guide: Baking Magic Cookie Bars for the First Time
- Cooling, Cutting, and Storing Your Homemade Magic Cookie Bars
- Variations and Adaptations: Level Up Your Magic Cookie Bars
- Troubleshooting Common Magic Cookie Bar Baking Issues
- Enjoy Your Easy Layered Magic Cookie Bars!
- Frequently Asked Questions
- Final Reflection: The Enduring Magic of Simple Treats
- Unleash Your Inner Baker: Craft Your First Magic Cookie Bars!
Magic Cookie Bars, often known by other names like Seven-Layer Bars or Hello Dolly Bars, are a delightful confection built upon a simple graham cracker crust, topped with layers of sweet ingredients like chocolate chips, nuts, and coconut, all bound together by sweetened condensed milk. Originating likely in the mid-20th century, their popularity soared due to their ease of preparation and irresistible combination of textures and flavors. Unlike many baked goods that require precise mixing techniques or delicate handling, these easy layered magic cookie bars are incredibly forgiving.
You essentially layer ingredients in a pan and bake, making them a low-stress project for anyone new to baking. The assembly process is straightforward, requiring no special skills beyond basic measuring and layering.
The beauty of these layered cookie bars for beginner bakers lies in their foolproof nature. There's no dough to chill or roll out, no yeast to activate, and minimal risk of overmixing. The layers create a visually appealing dessert with minimal effort.
Even if your layers aren't perfectly uniform, the end result is still a delicious, chewy, and crunchy bar. This success builds confidence, which is crucial when you're just starting out in the kitchen. Plus, the basic recipe for simple magic bars is incredibly versatile, allowing beginners to experiment with different toppings once they master the fundamental technique, opening the door to endless variations without changing the core, easy process.
Welcome to your first adventure in creating delicious, easy layered magic cookie bars right here with BakeWithEase! We believe baking should be fun and accessible, and this recipe is the perfect starting point. We'll walk you through each step, from gathering your pantry staples to achieving that perfect golden brown finish.
Our guide focuses on simplicity and clarity, ensuring that even if you've never baked anything before, you'll find success with these simple magic bars. We've broken down the process into manageable steps, highlighting key moments where attention is needed, but always with an emphasis on the forgiving nature of this recipe.
Following this BakeWithEase guide means you're set up for success. We provide clear instructions designed specifically for beginners, focusing on the 'why' behind certain steps, like why pressing the graham cracker crust is important or what to look for when the bars are baking. Our goal is not just to give you a recipe, but to teach you fundamental baking concepts through the creation of these easy layered magic cookie bars.
You'll learn about ingredient layering, baking times and temperatures, and how different components interact when heated. Get ready to create a treat that looks impressive but is surprisingly simple to make, proving that delicious baking truly is within everyone's reach.
Gathering Your Ingredients for Beginner-Friendly Magic Bars
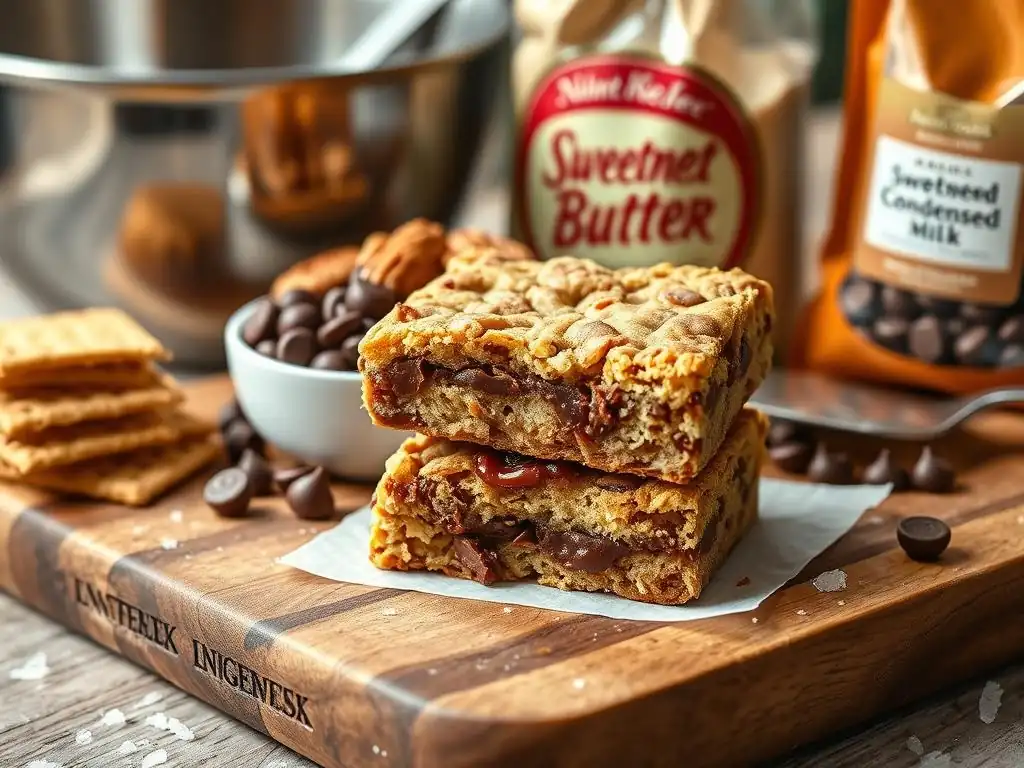
The secret to easy layered magic cookie bars starts with having the right ingredients on hand. This recipe is famous for using common pantry items that, when combined, create something truly magical. You'll need a base of crushed graham crackers, which you can buy pre-crushed or easily make yourself by crushing whole crackers.
The binding agent is typically sweetened condensed milk, which provides moisture and sweetness, holding all the layers together as it bakes and caramelizes slightly. The classic layers often include semi-sweet chocolate chips, shredded coconut (sweetened or unsweetened), and chopped nuts, usually walnuts or pecans, adding varying textures and flavors.
Accuracy in measuring ingredients is always important in baking, but for these beginner-friendly magic bars, the measurements are quite forgiving. For example, using slightly more or less coconut won't ruin the batch. The key is to have enough of each layer to distribute evenly over the condensed milk.
A typical recipe might call for about 1 ½ cups of graham cracker crumbs, one 14-ounce can of sweetened condensed milk, around 1 to 2 cups of chocolate chips, 1 ½ cups of shredded coconut, and 1 cup of chopped nuts. Having all your ingredients measured and ready before you start assembling makes the process even smoother and helps ensure you don't miss anything crucial for your easy layered magic cookie bars.
List of Ingredients for Magic Cookie Bars:
- Graham Cracker Crumbs (approx. 1 ½ cups)
- Melted Butter (approx. ½ cup or 1 stick)
- Sweetened Condensed Milk (one 14-ounce can)
- Semi-Sweet Chocolate Chips (approx. 1-2 cups)
- Shredded Coconut (Sweetened or Unsweetened, approx. 1 ½ cups)
- Chopped Nuts (Walnuts or Pecans, approx. 1 cup)
One of the reasons easy layered magic cookie bars are so beginner-friendly is that they require minimal specialized equipment. The most crucial piece of equipment you'll need is a baking pan. A standard 9x13 inch rectangular pan is ideal for this recipe, yielding a good number of bars (typically 12-24 depending on how you cut them) and allowing the layers to bake through evenly.
You'll also need a few basic tools: measuring cups and spoons for accuracy, a mixing bowl (or just the pan itself for melting butter and mixing crumbs), and an offset spatula or the bottom of a glass to press down the crust. Parchment paper or foil is highly recommended for lining the pan, making cleanup incredibly easy and allowing you to lift the baked bars out for cleaner cutting.
Using the right pan size is important for achieving the desired texture. A 9x13 inch pan ensures the layers are not too thick (which might lead to uneven baking) or too thin (which could result in dry bars). Glass or metal pans both work well, though metal pans tend to conduct heat more quickly, potentially requiring a slight adjustment in baking time.
For a truly effortless experience making easy layered magic cookie bars, lining your pan is non-negotiable. It prevents sticking entirely, ensuring your beautiful layered creation comes out in one piece, ready to be cooled and cut without a fuss.
Recommended Baking Pan Size and Material for Magic Bars:
- Size: 9x13 inch rectangular pan.
- Material: Glass or metal. Metal may bake slightly faster.
Preparing the Base: Graham Cracker Crust Perfection
The first step in creating your easy layered magic cookie bars is preparing the graham cracker crust. This forms the sturdy foundation for all those delicious layers. Begin by combining the graham cracker crumbs with melted butter.
Ensure the crumbs are fine; if you're crushing your own, a food processor or a zip-top bag and rolling pin work well. Mix the crumbs and melted butter thoroughly until the mixture resembles wet sand. A typical ratio is about 1 ½ cups of crumbs to ½ cup (one stick) of melted butter, which creates a pressable, cohesive mixture perfect for the base of these simple magic bars.
Once combined, transfer the crumb mixture into your prepared 9x13 inch baking pan (lined with parchment paper or foil). The key to a good crust is pressing it down firmly and evenly across the bottom of the pan. This compaction prevents the crust from crumbling apart when you cut the bars later.
Use the bottom of a glass or a flat-bottomed measuring cup to press the mixture down firmly and evenly right up to the edges. Aim for a uniform thickness across the entire pan. This step is crucial for the structure of your easy layered magic cookie bars, ensuring each bar has a solid base.
Pro Tip: Achieving a Uniform Graham Cracker Crust:
Use the bottom of a flat-bottomed glass or measuring cup to press the graham cracker mixture firmly and evenly into the pan. Pay special attention to the corners and edges to ensure the crust is compacted consistently throughout. This prevents the crust from falling apart when the bars are cut.
Layering the Magic: Adding Chocolate, Nuts, and Coconut
With the graham cracker crust pressed firmly into place, it's time for the "magic" part – adding the layers! This is where the easy layered magic cookie bars get their name and their incredible texture combination. The classic layers are typically added directly on top of the crust in a specific order, though the exact order can sometimes vary. A common approach is to first sprinkle the chocolate chips evenly over the crust. A typical amount is around 1 to 2 cups of semi-sweet chips, providing plenty of melty goodness.
Next, add the nuts and coconut. Sprinkle the chopped nuts (walnuts or pecans are traditional) evenly over the chocolate chips, followed by the shredded coconut, distributing it as uniformly as possible across the pan. Using about 1 cup of nuts and 1 ½ cups of coconut provides a good balance of flavors and textures in these simple magic bars.
Finally, pour the can of sweetened condensed milk evenly over all the layers, ensuring it coats everything. Do not stir or mix the layers; simply pour the milk over the top. The condensed milk will seep down and bind all the layers together as it bakes, creating that signature chewy, gooey texture of easy layered magic cookie bars.
Choosing Your Favorite Toppings for Customizable Magic Cookie Bars:
While the classic layers are delicious, feel free to customize! Consider adding butterscotch chips, white chocolate chips, peanut butter chips, dried cranberries, other types of nuts like almonds, or even a sprinkle of sea salt over the top before baking. The total quantity of added layers (excluding the condensed milk) should remain roughly the same, around 3-4 cups combined, to ensure even baking.
Baking to Golden Perfection: Time and Temperature
Now that your easy layered magic cookie bars are assembled, it's time to bake them to golden perfection. Preheat your oven to 350°F (175°C). Baking at this moderate temperature allows the layers to heat through and the condensed milk to caramelize slightly without burning the toppings. Place the pan in the preheated oven. The baking time typically ranges from 20 to 30 minutes, depending on your oven and the thickness of your layers. Keep an eye on them as they bake, especially towards the end of the suggested time range.
You'll know your simple magic bars are perfectly baked when the edges are golden brown and bubbling slightly, and the top layer of coconut and nuts is lightly toasted. The center should appear set, not liquidy, though it will still be soft and gooey. Avoid overbaking, as this can make the bars hard and dry.
If the toppings (especially the coconut) start browning too quickly before the rest of the bars are set, you can loosely tent the pan with aluminum foil for the last few minutes of baking. A properly baked batch of easy layered magic cookie bars will have a beautiful golden hue and a distinct sweet aroma.
How to Tell When Your Magic Cookie Bars are Perfectly Baked:
Look for golden brown edges and a lightly toasted appearance on the coconut and nuts on top. The sweetened condensed milk in the center should no longer look liquid but appear set and slightly caramelized. A gentle jiggle of the pan should not show excessive liquid movement in the center.
Cooling Techniques for Clean Cuts and Perfect Texture
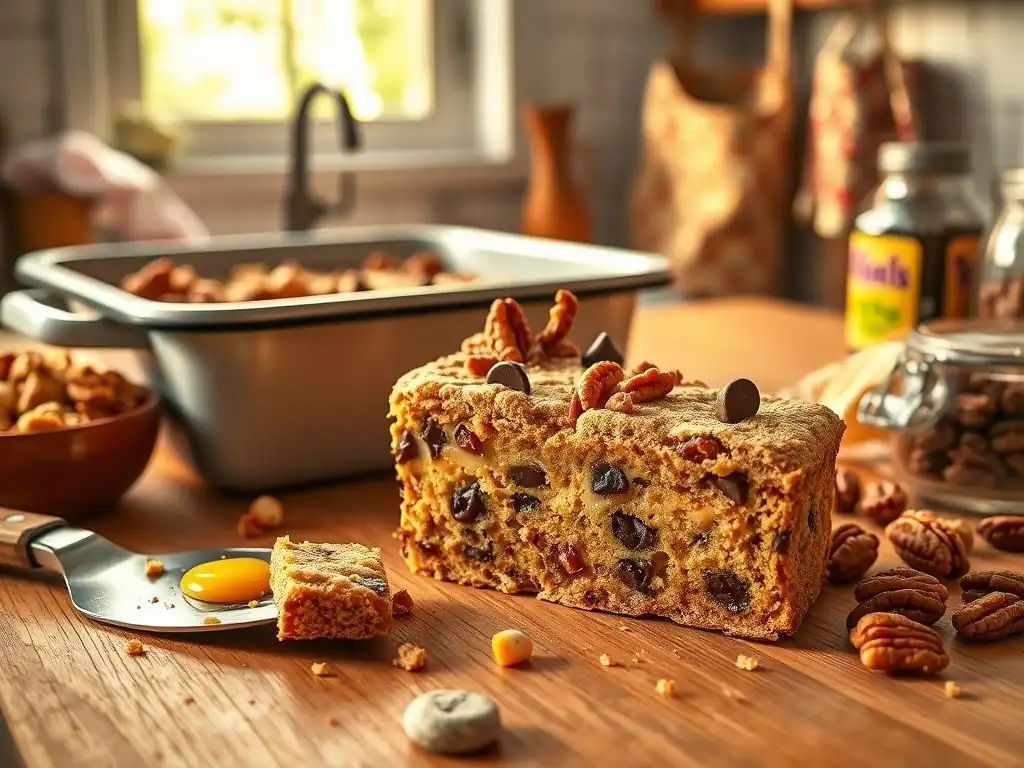
Cooling is perhaps the most crucial step after baking your easy layered magic cookie bars, and it's often where impatience can lead to messy results! Once out of the oven, the bars are still very soft and gooey due to the melted chocolate and warm condensed milk. Attempting to cut them while warm will result in a sticky, crumbly mess.
The bars need ample time to cool down and for the condensed milk to set and firm up, binding all the layers effectively. Allow the pan to cool on a wire rack at room temperature for at least 2-3 hours. For the cleanest cuts, many bakers recommend chilling the bars in the refrigerator for an additional 1-2 hours, or even freezing them briefly for about 30 minutes.
Proper cooling not only ensures clean cuts but also develops the final texture of your simple magic bars. As they cool, the chocolate and condensed milk solidify, creating that characteristic chewy and slightly firm bite, while the nuts and coconut retain their crunch. Rushing the cooling process means sacrificing both presentation and texture.
If you used parchment paper or foil to line the pan, you can lift the entire slab of cooled bars out of the pan before cutting, which makes the process even easier and less likely to damage the edges. Patience during this cooling phase is key to enjoying perfectly formed easy layered magic cookie bars.
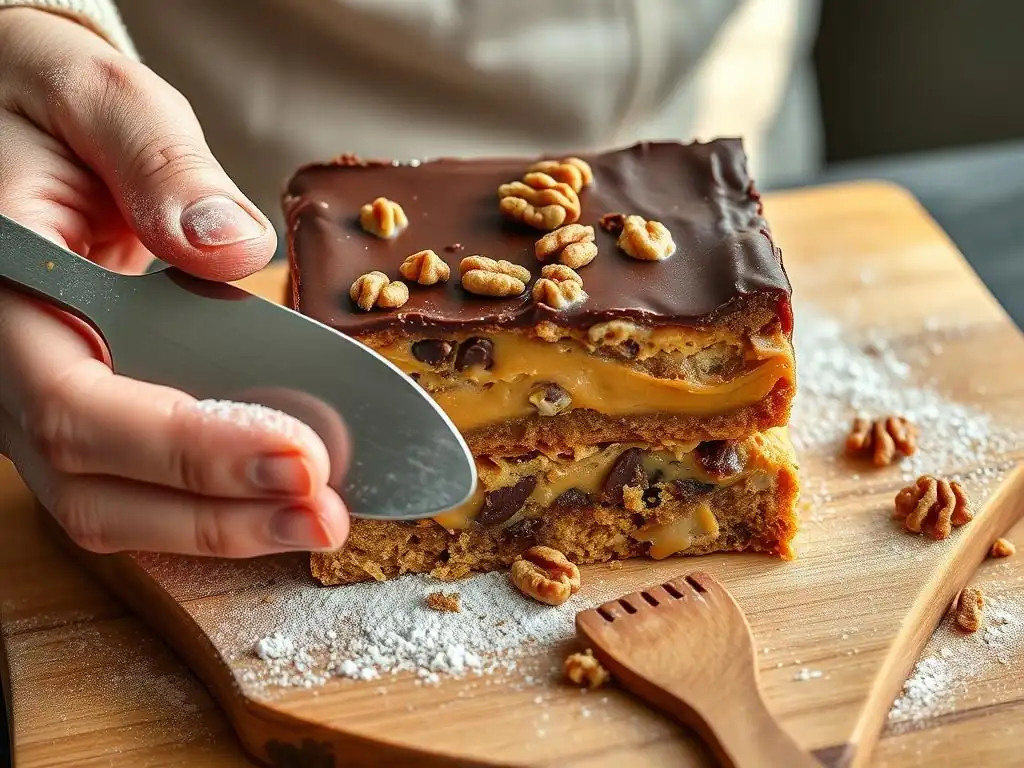
Once your easy layered magic cookie bars are thoroughly cooled and ideally chilled, you're ready to cut them into individual portions. This step is much easier and yields neater results when the bars are firm. If you lined your pan, lift the cooled slab out onto a cutting board.
Use a sharp knife, preferably a large chef's knife or a serrated knife, for cutting. For the cleanest cuts, wipe the knife blade clean with a damp cloth between each cut, especially after cutting through the sticky layers. This prevents the buildup of residue on the knife, which can drag through the subsequent cuts.
Decide on the size of your bars. A typical 9x13 inch pan yields about 24 smaller squares (cut into 6 rows by 4 rows) or 12 larger bars (cut into 4 rows by 3 rows). Mark your cuts lightly on the surface first to ensure even sizing.
Press straight down through the layers rather than sawing back and forth. For extra neatness, you can run the knife under hot water for a few seconds and dry it before each cut; the warm blade slices through the gooey layers more smoothly. Cutting chilled easy layered magic cookie bars with a clean, sharp knife is the secret to achieving those picture-perfect edges.
Proper storage is essential to keep your homemade easy layered magic cookie bars fresh and delicious. Once cut, the bars should be stored in an airtight container at room temperature. Layering the bars with parchment paper or wax paper between layers is a good idea to prevent them from sticking together, especially if they are very gooey. Stored at room temperature, they will typically remain fresh for 3-4 days, maintaining their chewy texture and flavor profile.
If you need to store them for a longer period, magic cookie bars freeze exceptionally well. Place cut bars in a single layer on a baking sheet and freeze until firm, about 1-2 hours. Then, transfer the frozen bars to an airtight freezer-safe container or freezer bag, again layering with parchment paper. They can be frozen for up to 2-3 months. Thaw frozen simple magic bars at room temperature or in the refrigerator before serving. Avoid microwaving, as this can make the chocolate and condensed milk overly soft and gooey.
Making gluten-free easy layered magic cookie bars is surprisingly simple, requiring just one key substitution: the graham cracker crust. Standard graham crackers are made with wheat flour. To make a gluten-free version, simply swap the traditional graham crackers for gluten-free graham crackers or use a different type of gluten-free cookie crumb. Gluten-free shortbread cookies, vanilla wafers, or even gluten-free gingersnaps can be crushed and used as the base, combined with melted butter just as you would with regular graham crackers. The quantity of crumbs and butter typically remains the same, around 1 ½ cups crumbs to ½ cup butter.
The rest of the ingredients in classic easy layered magic cookie bars – sweetened condensed milk, chocolate chips, nuts, and coconut – are naturally gluten-free, but it's always wise to check the labels to be certain, especially for cross-contamination warnings if severe allergies are a concern. By simply changing the crust, you can create a delicious batch of beginner-friendly magic bars that are suitable for those avoiding gluten, without compromising on the layered texture or the signature sweet, gooey flavor that makes these bars so popular.
Creating vegan easy layered magic cookie bars involves substituting the dairy-based ingredients with plant-based alternatives. The two main components needing substitution are the butter in the crust and the sweetened condensed milk. For the butter, use a plant-based butter stick or margarine that's suitable for baking. The graham crackers also need to be checked; many are accidentally vegan, but some contain honey. Look for vegan-certified graham crackers or use crushed vegan cookies for the base.
The most significant substitution is the sweetened condensed milk. Fortunately, several excellent vegan sweetened condensed milk products are available, typically made from coconut milk, oat milk, or soy milk. These alternatives perform similarly to dairy condensed milk when baked, providing the necessary moisture and sweetness to bind the layers. Ensure your chocolate chips are dairy-free (many dark chocolate chips are) and that the other layers like nuts and coconut are simply their natural selves. With these swaps, you can easily create delicious, layered cookie bars that are completely dairy-free and vegan, perfect for sharing with everyone.
Adding a Twist: Exploring Different Flavors in Your Layered Bars
Once you've mastered the basic recipe for easy layered magic cookie bars, you can start experimenting with different flavor combinations to put your own spin on this classic treat. The layered structure is incredibly adaptable. Instead of or in addition to semi-sweet chocolate chips, try using milk chocolate, white chocolate, peanut butter chips, or butterscotch chips. Swapping out or adding different types of nuts like almonds, pecans, or macadamia nuts can introduce new textures and flavors. Dried fruits such as cranberries, chopped apricots, or raisins can add a chewy, tangy element.
Consider themes for your simple magic bars. A tropical twist could involve macadamia nuts and dried pineapple chunks alongside the coconut. A s'mores version might include crushed graham crackers, chocolate chips, and mini marshmallows (added towards the end of baking). A turtle variation could feature pecans, chocolate chips, and swirls of caramel sauce poured over the condensed milk before baking. The key is to maintain a similar total volume of add-ins to ensure the bars bake correctly, roughly 3-4 cups of layered toppings over the condensed milk. Don't be afraid to get creative and discover your favorite combination!
Ideas for Flavor Combinations:
- Tropical: Macadamia nuts, white chocolate chips, dried pineapple, coconut.
- S'mores: Mini marshmallows, milk chocolate chips, graham cracker crumbs (can add extra on top).
- Turtle: Pecans, milk chocolate chips, caramel sauce swirl.
- Peanut Butter Cup: Peanut butter chips, chocolate chips, chopped peanuts.
- Cranberry Nut: Dried cranberries, walnuts, white chocolate chips, coconut.
Soggy Crust Solutions
A common issue when making easy layered magic cookie bars is ending up with a soggy graham cracker crust. This usually happens for a couple of reasons. First, if the butter isn't fully mixed into the crumbs, or if there isn't enough butter, the crust won't bind properly and can absorb moisture from the layers above during baking. Ensure your graham cracker crumbs are thoroughly coated with melted butter and that you use the recommended amount (approx. ½ cup per 1 ½ cups of crumbs).
Secondly, and perhaps more importantly, a soggy crust can result from not pressing the crust mixture down firmly enough into the pan. Compacting the crust creates a denser layer that is less prone to absorbing the moisture from the sweetened condensed milk and the melting chocolate above it.
Use the bottom of a glass or measuring cup to really press the mixture down firmly and evenly across the entire bottom of your 9x13 inch pan. Lastly, ensure you bake the bars for the full recommended time (20-30 minutes at 350°F or 175°C) until the edges are golden; this helps the crust set properly.
Uneven Baking Fixes
Uneven baking can sometimes occur, resulting in some parts of your easy layered magic cookie bars being perfectly set while others are still too soft or even slightly burnt at the edges. This can often be attributed to hot spots in your oven or uneven distribution of the layers. To mitigate hot spots, try rotating the pan halfway through the baking time (e.g., turning it 180 degrees after 10-15 minutes). This helps ensure that all sides of the pan are exposed to the heat source evenly.
Another factor contributing to uneven baking is how uniformly you distribute your layers. If you have thick clumps of chocolate chips or nuts in one area and sparse coverage in another, the heat will penetrate differently. Take a moment to sprinkle your chocolate chips, nuts, and coconut as evenly as possible across the pressed graham cracker crust before pouring the condensed milk. This ensures a more consistent thickness throughout the pan, leading to more even heat distribution and a more uniformly baked batch of simple magic bars.
Preventing Burnt Toppings:
While you want the coconut and nuts on top of your easy layered magic cookie bars to be lightly toasted and golden, sometimes they can brown too quickly or even burn before the condensed milk underneath has fully set. This is often a sign that the oven temperature is slightly too high, or the bars are positioned too close to the upper heating element. Ensure your oven temperature is accurate; consider using an oven thermometer if you suspect your oven runs hot.
Positioning the pan on the middle rack of the oven is usually best for even baking without the toppings burning. If you notice the toppings are browning very rapidly within the first 15-20 minutes of baking, loosely tent the pan with aluminum foil. This creates a shield that protects the top layer from direct heat while allowing the rest of the bars to continue baking and setting underneath. Removing the foil for the last 5-10 minutes can help achieve that desired light golden toast on the surface of your simple magic bars.
Congratulations, you've successfully made your first batch of easy layered magic cookie bars! We know how rewarding it is to pull a pan of these golden, gooey treats from the oven, especially when it's a baking project you've tackled for the first time. Baking is a journey, and mastering simple magic bars is a fantastic milestone. We encourage you to share your success! Take a picture of your beautiful, layered cookie bars – whether they're perfectly cut squares or charmingly rustic slices – and show them off.
Sharing your baking wins not only celebrates your effort but also inspires others who might be hesitant to start baking. Think about the satisfaction of creating something delicious from scratch that brings joy to you and those you share it with. These beginner-friendly magic bars are perfect for sharing with family, friends, or colleagues. Don't be shy about letting people know you made them yourself! It's a testament to what you can achieve with simple ingredients and clear steps, proving that anyone can bake with ease.
More Beginner Baking Recipes on BakeWithEase.com
Now that you've experienced the magic of making easy layered magic cookie bars, you might be wondering what to bake next! BakeWithEase.com is filled with recipes specifically curated for beginners. Just like these simple magic bars, our other beginner baking recipes focus on clear instructions, common ingredients, and techniques that build confidence. You'll find guides for everything from basic chocolate chip cookies that spread perfectly to simple loaf cakes that come out moist every time.
Our collection of beginner-friendly recipes covers various categories, including more cookie bars and brownies, easy cakes, muffins, quick breads, and simple pastries. Each recipe is designed to introduce new skills gradually while ensuring delicious results. Think of these easy layered magic cookie bars as your delicious first step. As you bake more recipes from BakeWithEase, you'll become more comfortable in the kitchen, learn new techniques, and expand your baking repertoire. Keep exploring, keep baking, and enjoy the process!
Frequently Asked Questions
Magic cookie bars are a layered dessert built on a graham cracker crust and topped with ingredients like chocolate chips, coconut, and nuts. They are considered "easy" because they require minimal mixing and use a simple dump-and-bake method.
What makes this recipe "beginner-friendly"?
This recipe is beginner-friendly because it uses readily available ingredients, features straightforward instructions with no complicated techniques, and has a high success rate even for novice bakers.
Yes, substitutions are possible! You can swap out chocolate chips for butterscotch chips, use different nuts, or even try a different type of crust. Just be mindful of how substitutions might affect the overall texture and sweetness.
The magic cookie bars are done when the top is golden brown and the center is set, not jiggly. A toothpick inserted into the center should come out with moist crumbs attached, not wet batter.
Store cooled magic cookie bars in an airtight container at room temperature. They will stay fresh for up to 3-4 days. You can also freeze them for longer storage.
Final Reflection: The Enduring Magic of Simple Treats
The joy of baking, particularly when it yields delicious results with minimal effort, is a powerful antidote to the complexities of modern life. These easy layered magic cookie bars are more than just a recipe; they represent a gateway to accessible baking pleasure, a testament to the fact that sometimes the simplest creations offer the most profound satisfaction. The ease of preparation allows even the most novice baker to experience the rewarding feeling of creating something delicious from scratch.
The enduring appeal of these bars lies not just in their taste, but in their ability to evoke feelings of nostalgia and connection. They're the kind of treat that transcends generations, bringing back memories of childhood kitchens and shared moments with loved ones. Baking is at once child's play and adult joy. And love, of course.
This sentiment perfectly captures the essence of these simple magic cookie bars – a delightful blend of childlike wonder and grown-up satisfaction. The recipe itself acts as a bridge, connecting bakers of all skill levels through a shared experience of culinary creation.
So, I encourage you to try your hand at these magic cookie bars. Don't be intimidated by the simplicity; embrace it. Let the process be a moment of mindful creation, a chance to disconnect from the daily grind and reconnect with the joy of making something delicious for yourself or others. The sweet reward awaits, and the magic you create will be far more significant than the recipe itself.
Thanks for joining us on this delicious journey into the world of baking! We hope you gained confidence and a new favorite recipe. Ready to take your baking skills to the next level?
- Bake a batch of your own Magic Cookie Bars today! Use the recipe as a springboard – experiment with different chocolates, nuts, or even dried fruits!
- Share your creation with friends and family – tag us on social media with your results! (We'd love to see your stunning cookie bars!)
- Explore other beginner-friendly recipes on BakeWithEase.com – find your next baking adventure!
What unique twist will you add to your Magic Cookie Bars to make them truly your own?