
Mixing Techniques for Perfect Beginner Classic Cookies

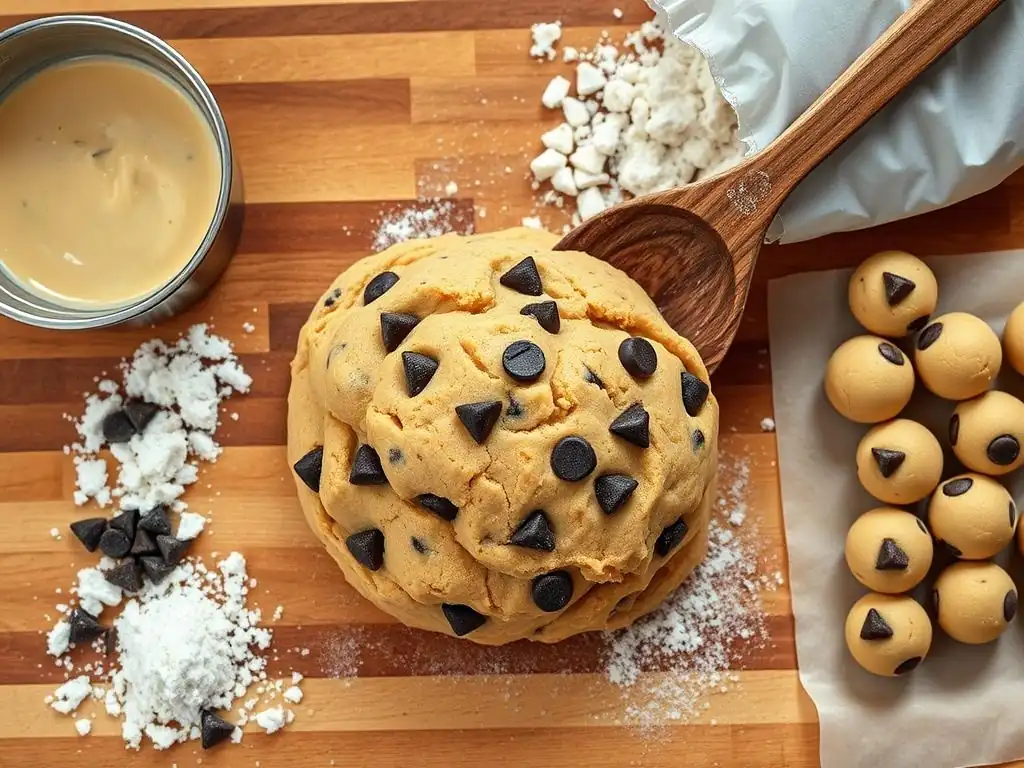
Welcome to BakeWithEase, your shortcut to baking bliss! Ever dream of effortlessly creating perfect beginner classic cookie dough? What if we told you the secret lies in mastering a few key mixing techniques? Get ready to ditch the guesswork and unlock the secrets to consistently delicious cookies with our guide below. Let's get baking!
- Mastering Cookie Dough: A Guide to Mixing Techniques
- Why Mixing Technique Matters for Cookie Texture
- Essential Mixing Tools
- Step-by-Step Guide to Mixing Perfect Cookie Dough
- Common Mixing Mistakes to Avoid
- Achieving the Ideal Cookie Dough Consistency
- Baking Your Cookies
- Storing Your Cookies
- Variations Using These Mixing Techniques
-
Frequently Asked Questions
- What makes a cookie dough considered a "classic" for beginners?
- Why is the mixing technique so important for achieving perfect beginner classic cookies?
- What are some common mistakes beginners make when mixing cookie dough?
- How can I tell if I've properly "creamed" the butter and sugar?
- What's the best way to incorporate flour into the cookie dough for a beginner?
- Final Reflection: The Sweet Science of Beginner Baking Success
- Unleash Your Inner Baker: Master Classic Cookie Mixing!
Creating the ultimate batch of classic cookies starts long before they hit the oven. The secret lies in the mixing process. For anyone aiming to bake perfect beginner classic cookie dough, understanding how ingredients come together is fundamental. It's not just about combining items; it's about developing the right structure and texture in your dough to ensure chewy centers and crispy edges, or whatever your desired cookie outcome might be. This guide will walk you through the essential steps and techniques to achieve consistently delicious results every time you bake.
Getting the mixing right is crucial for transforming simple flour, sugar, and butter into that delightful Perfect beginner classic cookie dough that promises a batch of golden-brown treats. We'll explore everything from the tools you need to the common pitfalls to avoid, ensuring your journey into cookie making is successful and enjoyable. By focusing on technique, you'll build confidence and gain the skills needed to make a variety of classic cookies, from chocolate chip to peanut butter, all starting with a perfectly mixed dough.
The way you combine ingredients in your cookie dough has a profound impact on the final texture of your baked cookies. Different mixing methods introduce varying amounts of air, develop gluten to different degrees, and distribute fats and sugars in unique ways. For instance, the creaming method, commonly used for many classic cookies, incorporates air into the butter and sugar mixture, which helps the cookies rise and spread, resulting in a lighter texture. In contrast, simply melting butter and stirring everything together will yield a denser, often chewier cookie because less air is incorporated initially.
Understanding these effects allows you to control the outcome of your baking. If you desire a crisp cookie, you might handle the dough differently than if you're aiming for a soft, cakey one. Mastering the nuances of mixing is key to unlocking the potential of your Perfect beginner classic cookie dough recipe and consistently achieving the desired texture, whether it's a tender shortbread or a robust oatmeal cookie.
Proper mixing is the bedrock of successful cookie baking. When butter and sugar are creamed correctly, for example, tiny air pockets are created. These pockets expand during baking, contributing to the cookie's lift and texture. An approximation often cited is that creaming can double the volume of the butter-sugar mixture, demonstrating the significant amount of air incorporated. If this step is rushed or done incorrectly, the resulting cookies might be flat and dense instead of having that desirable slight puff and tender crumb.
Furthermore, the sequence and duration of mixing ingredients play a critical role. Adding dry ingredients and mixing just until combined prevents the development of tough gluten strands, ensuring a tender cookie. Overmixing at this stage can lead to cookies that are tough or rubbery. Consider a simple sugar cookie; overmixing can transform a dough meant for delicate, crisp cookies into something surprisingly chewy and less pleasant to eat. Achieving that Perfect beginner classic cookie dough texture relies heavily on respecting each mixing phase.
Gluten is a protein complex formed when glutenin and gliadin, found in wheat flour, combine with water and are agitated. In bread making, gluten development is encouraged to create structure and chewiness. However, in most cookie recipes, excessive gluten development is undesirable. It can lead to tough, less tender cookies. Flour contains varying amounts of protein; for example, all-purpose flour typically contains around 10-12% protein, while cake flour has less (around 7-9%). Using flour with lower protein content or minimizing mixing after adding flour helps control gluten.
When making Perfect beginner classic cookie dough, the goal is usually minimal gluten development. This is why recipes often instruct you to add dry ingredients last and mix just until no dry streaks remain. Techniques like folding in the dry ingredients gently, rather than beating them vigorously, are employed specifically to limit the interaction between water and flour proteins and prevent the formation of a strong gluten network. This careful handling ensures your cookies bake up tender and crumbly, as is characteristic of many classic varieties.
Essential Mixing Tools
Having the right tools at your disposal makes the cookie dough mixing process much smoother and more effective. While you don't need a professional kitchen setup, a few key items are indispensable for achieving consistent results. These tools help ensure ingredients are properly measured, combined evenly, and mixed to the correct consistency without overworking the dough. From measuring cups and spoons to mixing bowls and mixers, each tool plays a role in the journey to Perfect beginner classic cookie dough.
Investing in quality tools that are accurate and easy to use will significantly improve your baking experience and outcomes. For example, using accurate measuring tools is crucial because baking is a science where ratios matter. Similarly, the right mixing implement can make the difference between a perfectly emulsified dough and one that separates or becomes tough.
A sturdy set of mixing bowls is fundamental. Having bowls of different sizes allows you to cream butter and sugar in a larger one and combine dry ingredients in a smaller one before adding them together. Stainless steel or glass bowls are excellent choices as they are non-reactive and easy to clean. A hand mixer or a stand mixer is invaluable, especially for the creaming step. Creaming butter and sugar properly can take 3-5 minutes with a mixer, a task that would be significantly more challenging and time-consuming by hand to achieve the same level of aeration.
Other essential tools include accurate dry measuring cups (for flour, sugar, etc. ), measuring spoons (for leavening agents, salt, extracts), and liquid measuring cups (for vanilla or milk, if used). A rubber spatula or silicone scraper is perfect for scraping down the sides of the bowl during mixing and for folding in dry ingredients gently. For example, precisely measuring 1 teaspoon of baking soda versus approximating it can dramatically affect how much your cookies spread and rise. These tools are your allies in creating Perfect beginner classic cookie dough.
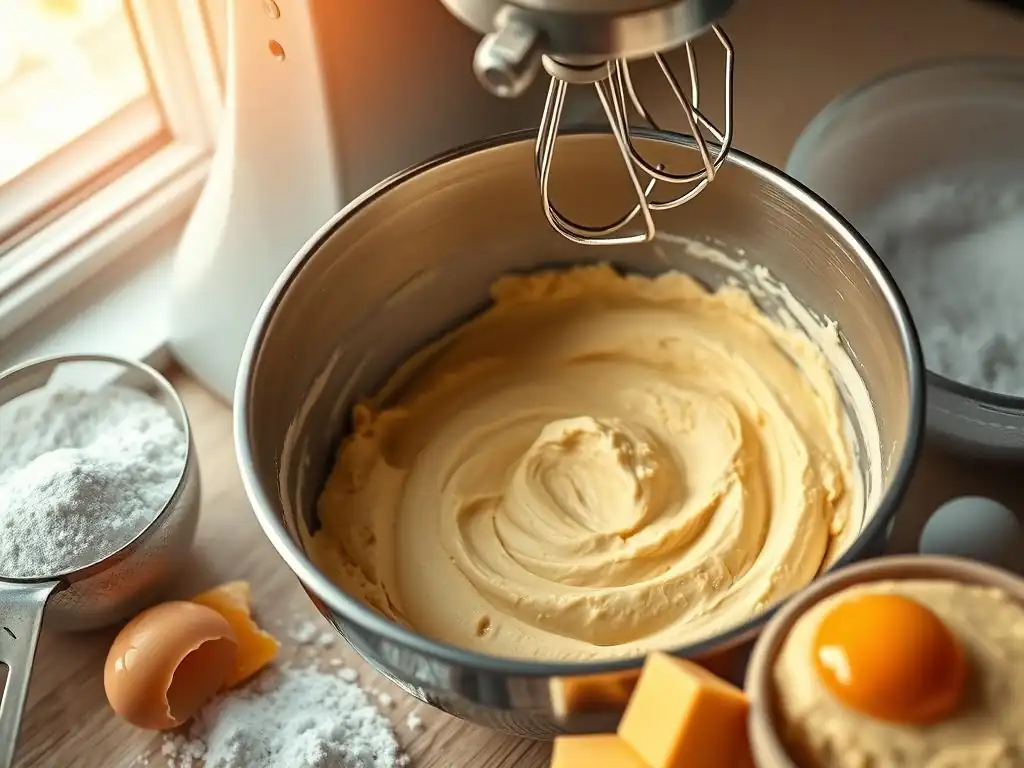
Creating perfect cookie dough involves following a specific sequence of steps, allowing each ingredient to be incorporated correctly and contribute to the final texture. While recipes vary, the fundamental process for many classic cookies involves creaming fat and sugar, adding eggs, incorporating dry ingredients, and finally adding any mix-ins. Following these steps methodically ensures that your ingredients are properly combined and that you avoid common pitfalls like overmixing.
This step-by-step approach builds the structure of your dough layer by layer. Each stage serves a purpose, from incorporating air in the initial steps to gently combining the final components. Paying attention to the details at each stage is key to transforming raw ingredients into that promising Perfect beginner classic cookie dough that bakes into delightful treats.
Creaming butter and sugar is often the first and one of the most critical steps in many cookie recipes, particularly for achieving a lighter, more tender texture. This process involves beating softened butter with sugar until the mixture becomes pale, fluffy, and significantly increased in volume. As the sharp sugar crystals cut into the softened butter, they create tiny air pockets.
It's these air pockets that provide lift and tenderness to the cookie as it bakes. The butter should be soft enough to yield to gentle pressure, typically around 65-67°F (about 18-19°C). Butter that is too cold won't cream properly, and butter that is melted or too warm won't hold the necessary air.
This step usually takes several minutes with an electric mixer. For a standard batch using say, 1 cup (2 sticks) of butter and 1 cup of sugar, creaming might take anywhere from 3 to 7 minutes, depending on the mixer speed and the butter's temperature. You'll notice a visible change as the mixture transitions from dense and yellowish to light, airy, and pale cream or even white. This transformation is a key indicator that sufficient air has been incorporated, laying the foundation for a Perfect beginner classic cookie dough that will bake up beautifully.
Tips for Achieving the Perfect Creamed Mixture
- Use softened butter, not melted or hard butter. It should be pliable but still hold its shape.
- Scrape down the sides and bottom of the mixing bowl frequently (every 30-60 seconds) to ensure all the butter and sugar are evenly mixed and aerated.
- Cream for the time specified in the recipe, or until the mixture is visibly lighter in color and fluffy in texture. Don't rush this step.
- Using granulated sugar works best for creating sharp edges that cut into the butter and create air pockets.
Troubleshooting Creaming Issues
- Butter is too cold: The mixture will look crumbly and won't lighten in color. Let the butter soften more at room temperature before continuing.
- Butter is too warm/melted: The mixture will look greasy and won't incorporate air. The air pockets created by sugar crystals depend on the butter holding its structure. If this happens, you may need to start over with cooler butter or chill the mixture slightly before trying again, though results may be compromised.
- Not creaming long enough: The mixture will still look dense and yellowish. Continue beating until it becomes pale and fluffy.
Step 2: Incorporating Eggs
Eggs serve multiple functions in cookie dough: they add moisture, act as a binder, contribute to leavening, and enhance richness and flavor. After creaming the butter and sugar, eggs are typically added one at a time. This allows each egg to be fully incorporated into the fatty mixture, creating a stable emulsion.
Adding eggs too quickly can cause the mixture to look curdled or separated, as the water in the eggs struggles to combine with the fat. For a batch using say, 2 large eggs, you would add the first egg, mix until no yolk is visible, then add the second egg and repeat.
Incorporating eggs properly is vital for the structure and texture of your Perfect beginner classic cookie dough. The protein in eggs contributes to the cookie's structure, while the fat in the yolk adds richness and tenderness. Ensuring they are fully emulsified into the butter-sugar mixture creates a smooth, cohesive dough that bakes evenly. This step usually only takes a minute or two per egg after the initial creaming is complete.
Adding Eggs Gradually for a Smooth Emulsion
- Crack eggs into a separate small bowl first to easily add them one at a time and check for shell pieces.
- Add one egg and mix on medium speed just until the yolk disappears and is fully incorporated into the butter-sugar mixture.
- Scrape down the bowl before adding the next egg to ensure everything is evenly combined.
- Avoid overmixing after adding the eggs; you just want them fully incorporated.
Preventing Curdling When Adding Eggs
- Ensure your eggs are at room temperature. Cold eggs are more likely to curdle the mixture when added to softened butter.
- Add the eggs one at a time, mixing until each is fully incorporated before adding the next. Patience here is key.
- If the mixture looks slightly curdled, a small amount of the dry ingredients added early can sometimes help bring it back together. However, it's best to prevent it by using room temperature ingredients and adding eggs slowly.
Step 3: Combining Dry Ingredients
Once the wet ingredients are thoroughly combined, the dry ingredients – typically flour, leavening agents (baking soda, baking powder), and salt – are added. The primary goal at this stage is to combine these ingredients with the wet mixture without overdeveloping the gluten in the flour. Overmixing after adding flour is a common mistake that leads to tough cookies. For a batch using 2 cups of flour, you might add it all at once or in two additions, depending on the recipe and your comfort level.
Combining dry ingredients correctly is essential for achieving the desired tenderness in your Perfect beginner classic cookie dough. The leavening agents need to be evenly distributed to ensure consistent rise and spread, while the salt balances the sweetness. Gentle mixing ensures that the gluten network remains weak, resulting in a tender crumb rather than a chewy, bread-like texture.
The Importance of Measuring Dry Ingredients Accurately
- Use the "spoon and level" method for measuring flour: gently spoon flour into your dry measuring cup until it overflows, then level off the excess with a straight edge. Scooping directly from the bag can compact the flour, resulting in too much flour (sometimes up to 25% more by weight).
- Use proper measuring spoons for leavening agents and salt. Accuracy here is critical; even a slight excess or deficit can significantly affect the cookie's taste and texture. For instance, using too much baking soda in a recipe balanced with an acidic ingredient can lead to excessive spread and a thin cookie.
- Consider using a kitchen scale for maximum accuracy, especially for flour. 1 cup of all-purpose flour accurately measured by spoon and level should weigh approximately 120-130 grams.
Gently Folding Dry Ingredients to Avoid Overmixing
- Once the dry ingredients are added, mix on the lowest speed of your mixer or use a rubber spatula to fold them in by hand.
- Mix just until the dry ingredients are incorporated and no streaks of flour are visible. This usually only takes 30-60 seconds.
- Stop mixing the moment the flour disappears. It's better to have a few small streaks of flour than to overmix the dough.
- Overmixing develops gluten, leading to tough cookies. Think of it like kneading bread dough – you're building a strong network, which is not what you want for tender cookies.
Step 4: Adding Mix-Ins
The final step in preparing your Perfect beginner classic cookie dough often involves adding mix-ins like chocolate chips, nuts, dried fruit, or sprinkles. This should be done after the main dough is mixed, and it's another opportunity to avoid overworking the dough. The goal is to distribute the mix-ins evenly throughout the dough without further developing gluten or crushing delicate additions like nuts.
Adding mix-ins correctly ensures every bite of your baked cookie is filled with delicious additions. Whether you're adding 1 cup of chocolate chips to a standard recipe or 1/2 cup of chopped walnuts, gentle handling is key. This step is quick and wraps up the physical mixing process before the dough is chilled or baked.
Evenly Distributing Mix-Ins in Your Cookie Dough
- Remove the bowl from the mixer stand or switch to hand mixing with a spatula or wooden spoon.
- Add all your mix-ins at once.
- Gently fold the mix-ins into the dough until they are relatively evenly distributed. This should only take a few folds.
- Avoid using an electric mixer on high speed for this step, as it can break up fragile mix-ins and potentially overmix the dough.
Common Mixing Mistakes to Avoid
Even with a great recipe for Perfect beginner classic cookie dough, mixing errors can derail your baking efforts. Being aware of common pitfalls allows you to proactively avoid them, ensuring a better outcome. Mistakes often involve temperature, timing, or technique, each impacting the dough's structure and the final cookie texture.
Understanding what can go wrong is just as important as knowing the correct steps. By identifying and avoiding these common mixing mistakes, you significantly increase your chances of baking consistently delicious cookies batch after batch.
One of the most frequent errors is overmixing the dough, especially after adding the flour. As discussed, mixing flour with liquid develops gluten. While necessary for bread, too much gluten in cookies leads to a tough, chewy texture that lacks the desired tenderness. For example, if a recipe calls for mixing until just combined, and you continue to beat the dough for an extra minute or two, you are actively building a stronger gluten network than intended.
Overmixing can turn a potentially soft, crumbly cookie into one that is dense and rubbery. This is particularly true for recipes aiming for a delicate texture, like shortbread or sugar cookies. The difference between a perfectly mixed dough and an overmixed one might be only 30 seconds of additional beating, but the impact on the final cookie is significant. Always stop mixing as soon as the dry ingredients disappear into the Perfect beginner classic cookie dough.
While overmixing is a common issue, undermixing also presents problems. If the butter and sugar aren't creamed long enough, insufficient air is incorporated, resulting in denser, flatter cookies. If the eggs aren't fully mixed in, the dough can separate or bake unevenly. Most importantly, if the dry ingredients aren't mixed enough, you'll end up with streaks of unmixed flour in your dough, leading to dry, powdery spots in the baked cookies.
Undermixing at any stage can lead to an inconsistent texture throughout your batch. One cookie might be fine, while another is dense or has pockets of dry flour. Ensuring each step is completed properly, such as creaming until truly light and fluffy or mixing dry ingredients until just combined with no visible flour streaks, is crucial for uniform and delicious results from your Perfect beginner classic cookie dough.
Overheating Butter
Using butter that is too warm, or even melted, is a mistake that impacts the creaming process and the overall dough structure. Softened butter, ideally around 65-67°F, contains water and fat molecules that can suspend air when beaten with sugar. Melted butter, on the other hand, is a liquid; it can't hold air in the same way. Creaming melted butter and sugar will result in a greasy mixture that doesn't lighten in color or volume.
Dough made with overheated or melted butter will often spread excessively in the oven, leading to thin, greasy cookies. The desired lift and tenderness from aeration during creaming are lost. For instance, a chocolate chip cookie recipe relying on the creaming method for chewiness and a slight puff will turn into a thin, crispy wafer if melted butter is used instead of softened butter. Always ensure your butter is at the correct softened temperature for achieving Perfect beginner classic cookie dough.
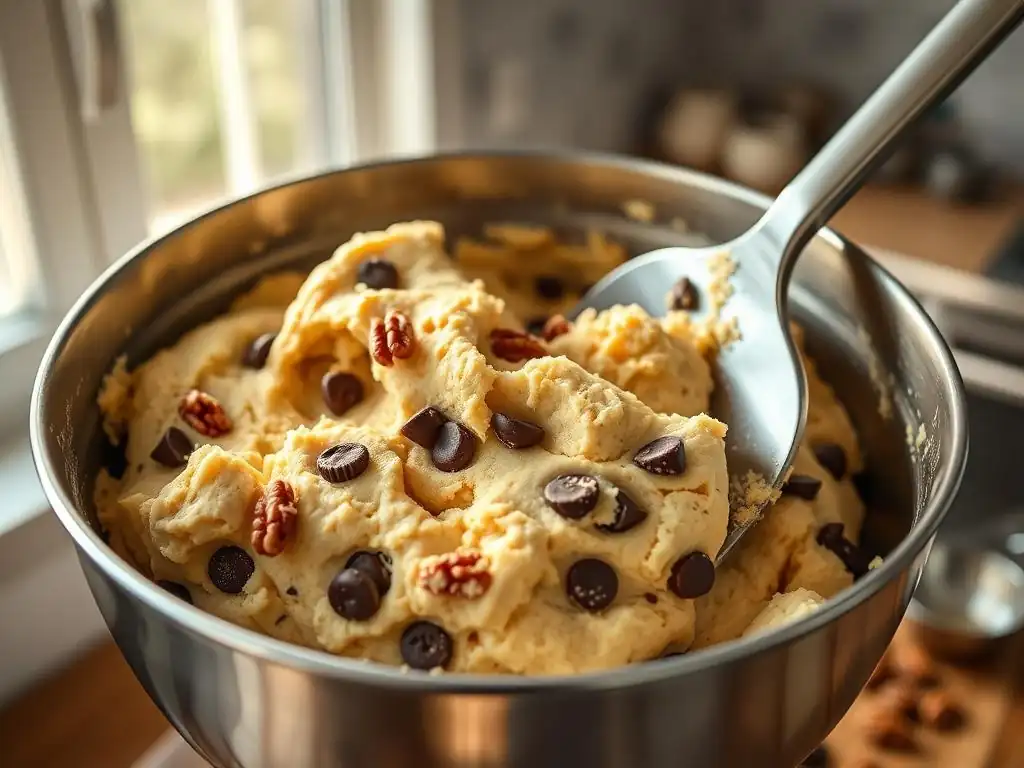
Knowing what properly mixed cookie dough looks and feels like is a skill that develops with practice. The ideal consistency is crucial for handling, chilling (if required), and baking the dough correctly. Dough that is too wet might spread too much, while dough that is too dry can result in crumbly cookies that don't hold their shape. For Perfect beginner classic cookie dough, the consistency should typically be cohesive, slightly sticky to the touch but manageable, and able to hold its shape when scooped or rolled.
Visual and tactile cues are your best indicators. The dough should pull away from the sides of the bowl and form a mass, but it shouldn't be stiff or difficult to work with. Learning to recognize this perfect state helps ensure predictable baking results and enjoyable cookies.
After adding the dry ingredients and mixing just until combined, perfectly mixed cookie dough should come together into a soft mass. It shouldn't stick excessively to your hands or the mixing bowl, but it won't be completely dry either. For example, if you were making a standard drop cookie dough, scooping it onto a baking sheet should result in a mound that holds its shape initially before relaxing slightly. There should be no visible streaks of dry flour.
The texture should be uniform throughout. If you gently press a piece of the dough, it should hold the impression without crumbling apart easily (unless it's a specific shortbread-style dough designed to be crumbly). This cohesive yet tender texture is the hallmark of Perfect beginner classic cookie dough ready for the next step, whether that's chilling or baking.
Adjusting Dough Consistency
Sometimes, despite following the recipe, your dough might seem slightly off. Environmental factors like humidity or slight inaccuracies in measurement can affect consistency. If your dough is too wet and sticky, you can try adding a tablespoon of flour at a time, mixing very gently until the desired consistency is reached. Be extremely cautious with this, as adding too much flour can make the cookies tough.
If the dough seems too dry and crumbly, it might be due to over-measurement of dry ingredients or insufficient liquid/fat. You can try adding a teaspoon of milk or a tiny bit more softened butter, mixing gently to incorporate. However, adding liquid should be a last resort, as it can also encourage gluten development. Often, chilling a slightly dry dough can help the moisture redistribute and make it more pliable. The key is to make small adjustments and mix minimally when doing so to maintain the integrity of your Perfect beginner classic cookie dough.
With your Perfect beginner classic cookie dough ready, the final step is baking! Proper baking technique is just as important as mixing for achieving that perfect cookie. This involves preparing your baking surface, preheating your oven accurately, and knowing how long and at what temperature to bake for your desired level of doneness and texture.
Baking transforms the dough into the delicious cookies you've worked to create. Attention to detail here ensures that your carefully mixed dough results in beautifully golden, perfectly textured treats.
Preparing Your Baking Sheets and Oven
Before scooping or placing dough on your baking sheets, consider lining them with parchment paper or silicone baking mats. This prevents sticking, promotes even browning, and makes cleanup a breeze. Parchment paper is a baker's best friend for consistent results. For example, using parchment paper helps prevent the bottom of cookies from burning before the tops are set, a common issue on unlined dark baking sheets.
Preheating your oven to the correct temperature is absolutely critical. Ovens can vary, and an oven thermometer is a worthwhile investment to ensure accuracy. If a recipe calls for 350°F (175°C), make sure your oven has reached and is maintaining that temperature before putting cookies in. Baking in an oven that hasn't fully preheated or has fluctuating temperatures can lead to uneven baking, with some cookies overdone and others underdone. Aim for a stable temperature for consistent results across the batch of your Perfect beginner classic cookie dough.
Baking Time and Temperature
The specified baking time and temperature in a recipe are guidelines, as ovens and desired levels of doneness vary. A common temperature for many classic cookies is 350°F (175°C). Baking time can range from 8-12 minutes for smaller or thinner cookies to 12-18 minutes for larger or thicker ones. Look for visual cues: cookies are often done when the edges are set and lightly golden brown, but the centers still look slightly soft or underbaked. They will continue to set on the hot baking sheet after being removed from the oven.
For instance, a standard chocolate chip cookie baked at 350°F for 10-12 minutes might have set edges and a slightly gooey center, while baking for 13-15 minutes could result in a crispier cookie. Always err on the side of underbaking slightly if you prefer a chewier cookie. For your Perfect beginner classic cookie dough, pay close attention during the last few minutes of baking and adjust the time based on how your specific oven performs and your texture preference.
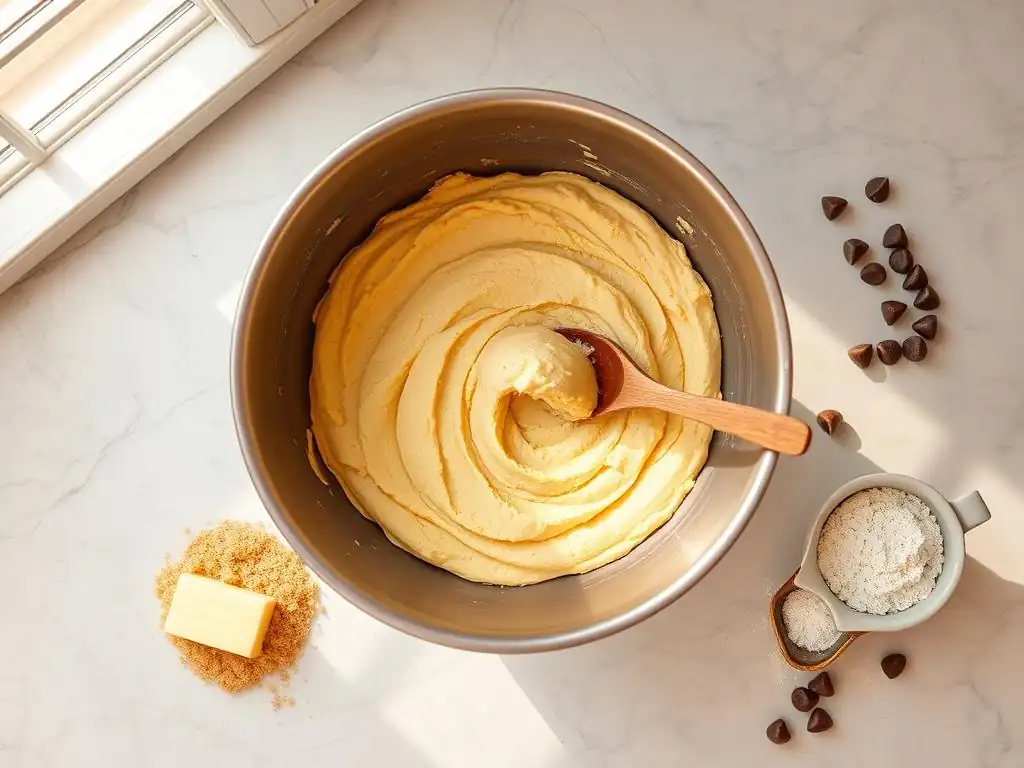
Once your delicious cookies are baked and cooled, proper storage is key to maintaining their texture and freshness. Storing cookies incorrectly can quickly turn a perfectly baked batch into stale, hard, or soggy disappointments. Different types of cookies benefit from different storage methods, but a few general principles apply to most classic varieties.
Taking a little care with storage ensures that your hard work in creating Perfect beginner classic cookie dough and baking it to perfection pays off with fresh-tasting cookies for days to come.
Most classic cookies, like chocolate chip or sugar cookies, are best stored at room temperature in an airtight container. An airtight container prevents air circulation, which can cause cookies to dry out and become stale. For instance, cookies stored in a loosely covered container might become hard within a day, whereas those in an airtight container can remain fresh for 3-5 days.
If you've baked different varieties, store crisp cookies separately from soft or chewy cookies. The moisture from soft cookies can transfer to crisp ones, making them soft. Placing a slice of bread or a tortilla in the container with soft cookies can help them retain moisture. For cookies made from Perfect beginner classic cookie dough, an airtight tin or plastic container is usually the best bet.
Freezing cookie dough is a fantastic way to have fresh, warm cookies available anytime. Most drop cookie doughs, including Perfect beginner classic cookie dough, freeze beautifully. Scoop the dough into balls and place them on a baking sheet lined with parchment paper. Freeze until solid (about 1-2 hours), then transfer the frozen dough balls to a freezer-safe zip-top bag or container. Label with the date and type of cookie.
Frozen cookie dough can be stored for up to 3-6 months. When ready to bake, place the frozen dough balls on a prepared baking sheet (you may need to add a minute or two to the baking time) or let them thaw in the refrigerator before baking according to the original recipe. This method is incredibly convenient and ensures you can enjoy freshly baked cookies without mixing a full batch every time.
Variations Using These Mixing Techniques
The fundamental mixing techniques discussed for Perfect beginner classic cookie dough can be adapted to create a wide variety of classic cookie flavors. While the core steps often remain similar (creaming, adding eggs, combining dry ingredients), slight modifications in ingredients or proportions can yield different results. Understanding the impact of mixing allows you to confidently experiment and adapt recipes.
Applying these core techniques to various recipes is how you expand your cookie repertoire. Whether you're adding cocoa powder for chocolate cookies or swapping in different types of sugar, the principles of proper mixing remain your guide.
For chocolate cookies, cocoa powder is added with the dry ingredients. Ensure it's well-whisked with the flour, leavening, and salt for even distribution before adding to the wet ingredients. The goal is still gentle mixing after adding the dry components to maintain tenderness, just as with plain Perfect beginner classic cookie dough. For recipes with chunkier add-ins like nuts or large chocolate chunks, hand-folding is even more important to avoid breaking them up.
Peanut butter cookies often involve creaming peanut butter with butter and sugar. The higher fat content from the peanut butter means the creaming might look slightly different, but the principle of incorporating air remains. Oatmeal cookies require careful mixing after adding the oats; while some recipes benefit from the oats softening slightly in the dough, overmixing can still lead to tough cookies. The core technique of creaming, followed by minimal mixing after adding dry ingredients and mix-ins, is a versatile foundation for many classic cookie variations derived from Perfect beginner classic cookie dough.
Frequently Asked Questions
A classic beginner cookie dough typically uses simple, readily available ingredients and straightforward mixing techniques, making it easy to reproduce consistently. It focuses on fundamental baking principles.
The mixing technique directly impacts the texture and spread of the cookies. Overmixing can develop too much gluten, resulting in tough cookies, while undermixing leads to crumbly textures.
Common errors include using ingredients at the wrong temperature, overmixing the dough after adding flour, and not creaming the butter and sugar sufficiently. These affect the final product.
How can I tell if I've properly "creamed" the butter and sugar?
Proper creaming results in a light and fluffy mixture. It should be pale in color and significantly increased in volume. This incorporates air essential for a good cookie.
Gradually add the flour and mix until just combined. Avoid overmixing after the flour is added to prevent gluten development, leading to chewier, less tender cookies.
Final Reflection: The Sweet Science of Beginner Baking Success
Mastering the art of the classic cookie isn't just about following a recipe; it's about understanding the fundamental principles that create that perfect texture and flavor. The journey from a lumpy, uneven dough to a golden-brown, perfectly crisp-edged cookie is a testament to the power of understanding mixing techniques. This article explored the nuances of creaming, combining wet and dry ingredients, and the importance of chilling – all crucial steps for beginner bakers to achieve consistent, delicious results.
The impact of accessible baking knowledge extends far beyond the kitchen. It fosters a sense of accomplishment, encourages creativity, and strengthens the bonds we share through the simple act of sharing homemade treats. The joy of baking, especially for beginners, is immeasurable. Baking is at once child's play and adult joy. And cooking is what you do for those you love.
- Laurie Colwin perfectly captures this sentiment, highlighting the emotional connection baked goods create. This article aims to make that joy more accessible, empowering everyone to experience the satisfaction of baking a perfect cookie.
Now, it's your turn. Don't be intimidated by the seemingly complex world of baking. Grab your mixing bowls, gather your ingredients, and experiment with the techniques discussed. Remember the importance of each step, from properly creaming the butter and sugar to gently folding in the dry ingredients. Embrace the process, learn from any imperfections, and most importantly, savor the delicious rewards of your labor. The perfect beginner classic cookie awaits!
Thanks for joining us on this delicious journey into classic cookie mixing! We hope you gained valuable tips and tricks to elevate your baking game. Now it's time to put your newfound knowledge into practice!
- Bake your dream cookies today! Try out one of the techniques we discussed – maybe the creaming method for extra fluffy cookies, or the reverse creaming method for wonderfully chewy ones. See what amazing results you can achieve!
- Share your cookie creations! Post pictures on social media and tag us – we'd love to see your baking masterpieces!
- Challenge yourself: Try experimenting with different flavor combinations based on what you learned. What unique cookie flavor profile will you create?
What incredible cookie adventure will you embark on next?