
Quick & Easy NoBake Desserts Anyone Can Make Today

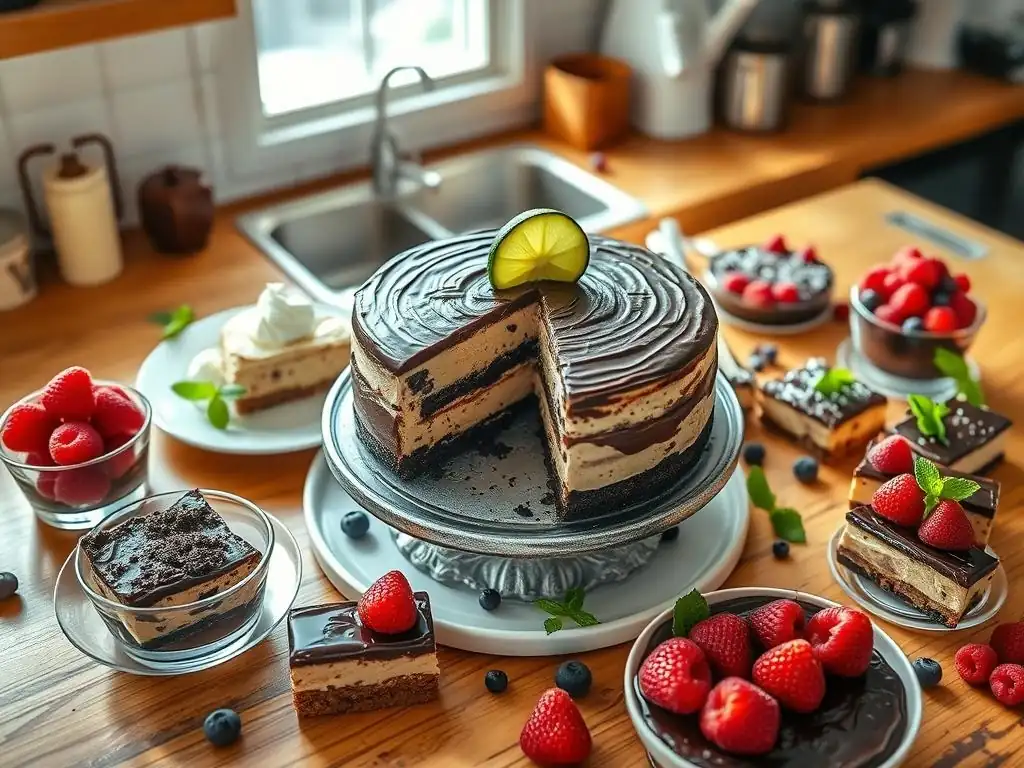
Welcome to BakeWithEase, your guide to delicious and stress-free baking!
Ready to skip the oven but not the decadence? You've landed in the right place. Dive into our collection of No Bake Desserts, perfect for satisfying your sweet tooth without breaking a sweat. Discover incredibly easy recipes that anyone can whip up today, and prepare to be amazed by how simple baking can be. Curious to see how? Let's get started!
- BakeWithEase Presents: Simple No-Bake Dessert Recipes for Beginners
- Why Choose No-Bake Desserts? The Perfect Entry Point to Baking
- Top 5 Easiest No-Bake Dessert Recipes You Can Try Now
- Essential Tips for No-Bake Dessert Success
- No-Bake Dessert Variations: Beyond the Basics
- Troubleshooting Your No-Bake Desserts: Common Problems and Solutions
- Enjoy Your Easy Homemade No-Bake Desserts!
-
Frequently Asked Questions
- How easy are the "No Bake Desserts" recipes on BakeWithEase.com?
- What types of desserts can I expect to find in the "No Bake Desserts" section?
- Are the "No Bake Desserts" suitable for those with dietary restrictions?
- Where can I find the step-by-step guides for the "No Bake Desserts" recipes?
- How long do "No Bake Desserts" typically take to prepare?
- Final Reflection: The Sweet Simplicity of No-Bake Bliss
- Unleash Your Inner Pastry Chef: No-Bake Bliss Awaits!
BakeWithEase Presents: Simple No-Bake Dessert Recipes for Beginners
Welcome to the wonderful world of no-bake desserts! At BakeWithEase, we believe that everyone can experience the joy of creating delicious treats, regardless of their baking experience. This guide is specially crafted for beginners looking for easy dessert options that require minimal equipment and zero oven time. Get ready to whip up some truly delightful no bake desserts easy enough for anyone to tackle today!
Whether you're short on time, live in a warm climate, or simply want to bypass the complexities of oven baking, these simple no-bake recipes are your perfect starting point. We've gathered a collection of foolproof recipes that deliver fantastic results with just a few basic ingredients and simple steps. Say goodbye to complicated techniques and hello to sweet success with these accessible and tasty treats.
Why Choose No-Bake Desserts? The Perfect Entry Point to Baking
No Oven? No Problem! Easy Desserts for Hot Days
One of the most significant advantages of exploring easy no-bake desserts is the complete independence from an oven. This is a game-changer, especially during hot summer months when turning on the oven feels like a daunting task. Imagine creating a decadent chocolate treat or a refreshing fruity delight without adding any extra heat to your kitchen. It's the ideal solution for staying cool while still satisfying your sweet tooth.
Furthermore, not needing an oven makes these recipes incredibly versatile. They are perfect for small apartments, dorm rooms, or even when traveling, provided you have access to a refrigerator. This accessibility means that making delicious desserts is no longer limited by your kitchen setup. You can create impressive treats anywhere, anytime, making no bake desserts easy and convenient for everyone.
Quick Dessert Fix: Recipes Ready in Minutes
Many easy no-bake desserts live up to their name not just by skipping the baking step, but also by requiring minimal preparation time. Some recipes can be assembled in as little as 10-15 minutes before chilling. This speed makes them perfect for last-minute cravings, unexpected guests, or when you need a quick contribution to a potluck.
The efficiency of these recipes means you spend less time in the kitchen and more time enjoying your creations. Think about whipping up a batch of simple truffles or layering a quick parfait in less time than it takes to preheat an oven. This speed, combined with their delicious results, solidifies why no bake desserts easy are a favorite for busy individuals and beginner bakers alike.
Beginner-Friendly: Mastering Dessert Making Without Complex Techniques
Traditional baking often involves precise measurements, temperature control, and understanding chemical reactions. No-bake desserts, however, simplify the process dramatically. They typically rely on simple techniques like mixing, chilling, and layering, which are much more forgiving for those new to the kitchen. You don't need to worry about cakes sinking or cookies burning.
This simplicity builds confidence. Successfully creating a delicious dessert without the stress of complex baking techniques can be incredibly encouraging for beginners. It provides a positive entry point into the world of dessert making, allowing you to master basic skills like melting chocolate, whipping cream, or creating simple bases before tackling more advanced recipes. It truly makes no bake desserts easy and approachable for anyone.
Top 5 Easiest No-Bake Dessert Recipes You Can Try Now
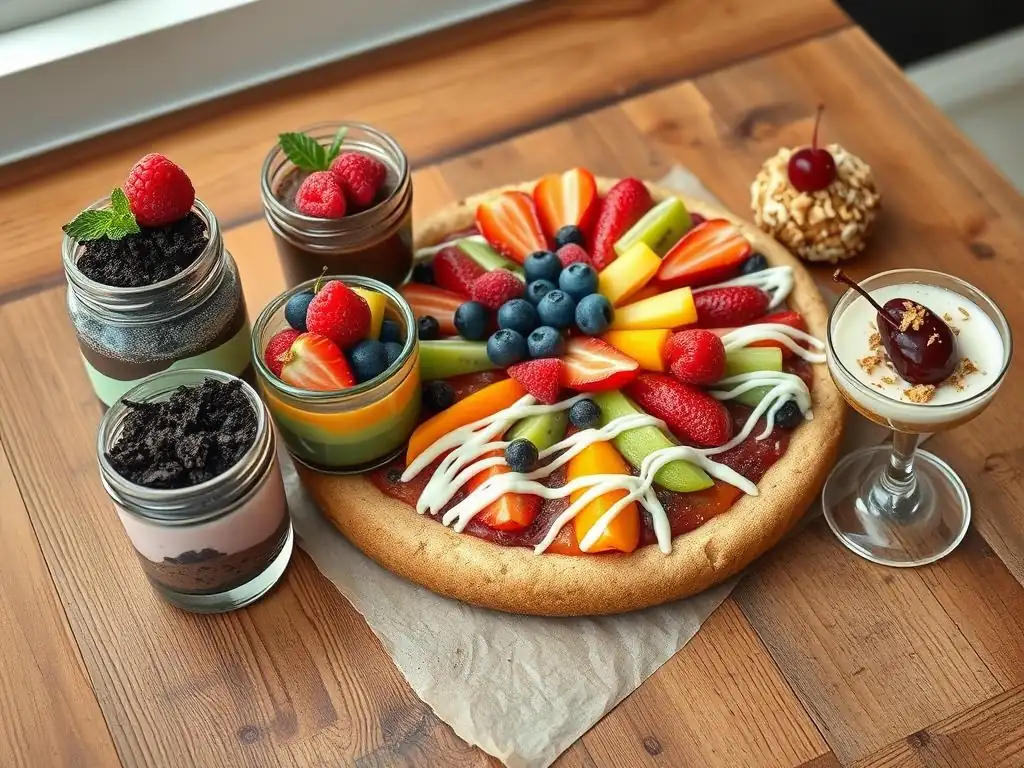
1. Classic Chocolate Fridge Cake: A No-Bake Chocolate Dream
The chocolate fridge cake is a timeless classic among easy no-bake desserts. It's essentially a rich chocolate mixture combined with crushed biscuits or cookies, then chilled until firm enough to slice. Its simplicity is its genius, requiring no cooking whatsoever, just melting chocolate and mixing.
This dessert is incredibly versatile and forgiving. You can use various types of biscuits, add nuts, dried fruit, or even marshmallows to the mix. Once chilled, it has a dense, satisfying texture and a deep chocolate flavor that feels much more complex than the effort involved. It's a guaranteed crowd-pleaser and a prime example of how delicious no bake desserts easy can be.
Ingredients for the Chocolate Fridge Cake
To make a classic chocolate fridge cake, you'll typically need:
- About 200-250 grams of digestive biscuits or similar plain cookies
- Around 150-200 grams of butter
- Approximately 150-200 grams of chocolate (milk, dark, or a mix)
- A few tablespoons of golden syrup or honey (optional, for sweetness and texture)
- Optional additions like nuts, dried fruit, or cocoa powder
This minimal list highlights how accessible this recipe is, often using ingredients you might already have in your pantry.
Step-by-Step Instructions: Making the Fridge Cake
- Break the biscuits into small pieces. Avoid turning them into crumbs; aim for varying sizes for texture.
- Gently melt the butter, chocolate, and golden syrup (if using) in a saucepan over low heat or in a bowl set over a pan of simmering water (a bain-marie). Stir until smooth.
- Remove the chocolate mixture from the heat and stir in the broken biscuits and any optional additions.
- Spoon the mixture into a lined tin or container and press down firmly and evenly.
- Refrigerate for at least 2-3 hours, or until completely firm.
- Once set, lift out of the tin, slice with a sharp knife, and serve.
Tips for Perfecting Your Chocolate Fridge Cake
- Use good quality chocolate for the best flavor. A mix of milk and dark chocolate often provides a nice balance.
- Don't overheat the chocolate mixture; melt it gently to prevent it from seizing.
- Ensure the biscuits are well coated in the chocolate mixture but not completely crushed – the varying textures are key.
- Lining your tin with parchment paper makes removing the set cake much easier.
- Chill thoroughly! This is the 'baking' step for this no bake dessert easy recipe. Patience here yields firm, sliceable cake.
2. No-Bake Cheesecake Parfaits: Individual Servings of Delight
No-bake cheesecake is a popular choice, and turning it into parfaits makes it even easier and more visually appealing. These individual layered desserts skip the potential pitfalls of setting a large cheesecake and offer delightful portions perfect for entertaining or a personal treat. They combine a simple crushed biscuit base with a creamy, smooth filling.
Building these parfaits involves layering the components in glasses or jars. This method is incredibly versatile – you can use almost any type of biscuit or cookie for the base and customize the filling with various flavors. The simplicity of assembly and the elegant presentation make these parfaits a fantastic illustration of how easy no bake desserts easy can be elevated.
Assembling the Cheesecake Parfaits: A Layered Dessert
Start by crushing your chosen biscuits (like digestives, graham crackers, or even Oreos) and mixing them with a little melted butter to form a base layer. Press a small amount into the bottom of each glass or jar.
Next, prepare the filling by whipping together cream cheese, sugar, and vanilla extract until smooth. In a separate bowl, whip double cream or heavy cream until stiff peaks form, then gently fold it into the cream cheese mixture. Spoon or pipe this creamy filling over the biscuit base in the glasses. Repeat the layers if desired, finishing with a layer of filling or topping.
Variations: Add Fruit, Chocolate, or Caramel
The beauty of cheesecake parfaits lies in the endless possibilities for customization. You can layer fresh berries (strawberries, raspberries, blueberries) between the cream and biscuit layers for a fruity burst.
For chocolate lovers, swirl melted chocolate or chocolate sauce into the filling, or sprinkle chocolate shavings on top. A drizzle of caramel sauce or a sprinkle of chopped nuts also adds wonderful flavor and texture. These variations allow you to easily adapt this no bake dessert easy recipe to suit any preference or occasion.
Recipe Notes: Getting the Right Consistency
The key to a successful no-bake cheesecake filling is achieving the right creamy yet stable consistency. Ensure your cream cheese is at room temperature before whipping to avoid lumps.
Whip the cream well, but be careful not to over-whip it into butter. Gently folding the whipped cream into the cream cheese mixture incorporates air and gives the filling its light texture while maintaining stability when chilled. Chilling the assembled parfaits for at least 1-2 hours is crucial for the layers to set nicely.
3. Simple Oreo Truffles: A 3-Ingredient Wonder
Could making delicious no bake desserts easy get any simpler? Oreo truffles are a testament to minimal ingredients yielding maximum flavor. With just three core components – Oreo cookies, cream cheese, and chocolate for coating – you can create rich, bite-sized treats that are surprisingly addictive.
These truffles require no baking, no complex mixing, and very little time. They are perfect for making with kids or when you need a quick batch of treats for a party. Their simplicity makes them a go-to recipe for anyone starting out in the dessert-making world, proving that sophisticated taste doesn't require complicated steps.
Oreo Truffle Ingredients: Minimal Effort, Maximum Flavor
The basic recipe calls for:
- One standard package of Oreo cookies (about 150-175g)
- Approximately 60-80 grams of cream cheese, softened
- Around 100-150 grams of chocolate for coating (milk, dark, or white)
That's it! Just three items stand between you and a batch of delightful truffles. This short list makes this one of the most accessible no bake desserts easy recipes available.
Making Oreo Truffles: The Easy Method
- Place the Oreo cookies (filling included) into a food processor and pulse until they are finely crushed into crumbs. If you don't have a food processor, you can place them in a sealed bag and crush them with a rolling pin.
- Add the softened cream cheese to the cookie crumbs and mix until everything is well combined and forms a thick, dough-like consistency.
- Roll the mixture into small balls, roughly 1-inch in diameter. Place these balls on a baking sheet lined with parchment paper.
- Chill the balls in the refrigerator for at least 30 minutes to firm up.
- Melt the chocolate gently (using a microwave in 30-second intervals, stirring each time, or a bain-marie).
- Dip each chilled ball into the melted chocolate, coating it completely. Lift with a fork, letting excess chocolate drip off, then return to the lined baking sheet.
- Optional: Decorate with sprinkles, a chocolate drizzle, or crushed cookie pieces before the chocolate sets.
- Refrigerate again until the chocolate coating is firm, about 15-20 minutes.
Creative Twists: Different Oreo Flavors
While the classic Oreo works perfectly, don't hesitate to experiment with different Oreo flavors! Using peanut butter Oreos, mint Oreos, or even golden Oreos can give your truffles a completely new and exciting taste profile.
You can also mix in a tiny amount of extract (like peppermint or almond) into the cream cheese mixture before rolling, or use different types of chocolate for coating, such as white chocolate tinted with food coloring for festive occasions. These simple tweaks keep this no bake dessert easy recipe fresh and interesting.
4. No-Bake Peanut Butter Bars: Sweet and Salty Perfection
Peanut butter bars are a beloved no-bake treat that perfectly balances sweet and salty flavors. Typically made with a base of crushed cookies or graham crackers mixed with peanut butter and butter, and often topped with a layer of chocolate, they are simple to assemble and incredibly satisfying.
Their dense, chewy texture and rich flavor make them a hit with both kids and adults. Like other no bake desserts easy on this list, they require minimal effort and refrigeration is the only 'cooking' needed. They are ideal for lunchboxes, snacks, or a quick dessert fix.
Peanut Butter Bar Recipe: A Family Favorite
A common recipe involves crushing about 200-250 grams of graham crackers or digestive biscuits and mixing them with roughly 100-150 grams of melted butter and 100-150 grams of peanut butter. This mixture forms the base.
For the topping, approximately 200-250 grams of chocolate chips or chopped chocolate are melted with a tablespoon or two of butter or shortening for a smooth ganache-like layer. This two-layer structure is simple yet delivers a powerful flavor combination that makes these bars a household favorite.
Customizing Your Bars: Chocolate Chips, Pretzels, and More
Elevate your peanut butter bars with simple additions. Stir chocolate chips directly into the peanut butter base mixture before pressing it into the pan for extra chocolatey pockets.
For an exciting textural contrast, crush some pretzels and mix them into the base alongside the crackers for a salty crunch. Sprinkling flaky sea salt over the melted chocolate topping just before it sets also enhances the sweet and salty dynamic. These small touches make this no bake dessert easy recipe even more exciting.
Storage Tips: Keeping Your Peanut Butter Bars Fresh
Once the bars are completely set and the chocolate topping is firm, slice them into squares or rectangles. Store the cut bars in an airtight container in the refrigerator.
Separating layers with parchment paper can prevent them from sticking together. Properly stored, these peanut butter bars will remain fresh and delicious for up to a week, making them a great make-ahead option.
No-bake chocolate oatmeal cookies are a classic for a reason – they are incredibly quick to make, require no oven, and offer a slightly more wholesome profile thanks to the inclusion of oats. They typically involve boiling sugar, butter, and cocoa, then stirring in oats and peanut butter before dropping spoonfuls onto parchment paper to set.
These cookies set up as they cool, resulting in chewy, fudgy discs. They are perfect when you crave a warm, comforting cookie but don't want to go through the process of traditional baking. This is another excellent example of how simple ingredients and a little patience can create delicious no bake desserts easy for anyone.
Ingredients for No-Bake Oatmeal Cookies
You'll generally need:
- About 400-500 grams of granulated sugar
- Around 100-150 grams of butter
- Approximately 50-70 grams of unsweetened cocoa powder
- About 120-180 ml of milk
- A pinch of salt
- About 150-200 grams of peanut butter (creamy or crunchy)
- Around 300-400 grams of quick-cooking oats
The quantities can vary slightly, but these core ingredients are what give these cookies their signature taste and texture.
Step-by-Step: Making the Cookies
- In a medium saucepan, combine the sugar, butter, cocoa powder, milk, and salt.
- Bring the mixture to a rolling boil over medium heat, stirring constantly.
- Once boiling, stop stirring and let it boil for exactly 1 minute. This step is crucial for the cookies to set properly.
- Remove the saucepan from the heat.
- Quickly stir in the peanut butter until melted and smooth.
- Add the quick-cooking oats and stir until they are fully coated in the chocolate mixture.
- Working quickly before the mixture sets, drop spoonfuls of the mixture onto parchment paper or wax paper.
- Let the cookies cool completely at room temperature or chill them in the refrigerator until set, which usually takes about 30 minutes to an hour.
Tips and Tricks for Perfect Cookies
Timing the boil is critical for these cookies. Boiling for too short a time might result in cookies that don't set, while boiling for too long can make them dry and crumbly. Aim for a vigorous, rolling boil for the full 60 seconds.
Ensure you use quick-cooking oats, not old-fashioned rolled oats, as they absorb the liquid differently and are necessary for the correct texture. Work quickly once the oats are added, as the mixture starts to set as it cools. These simple tips ensure your no bake desserts easy turn out perfectly every time.
Essential Tips for No-Bake Dessert Success
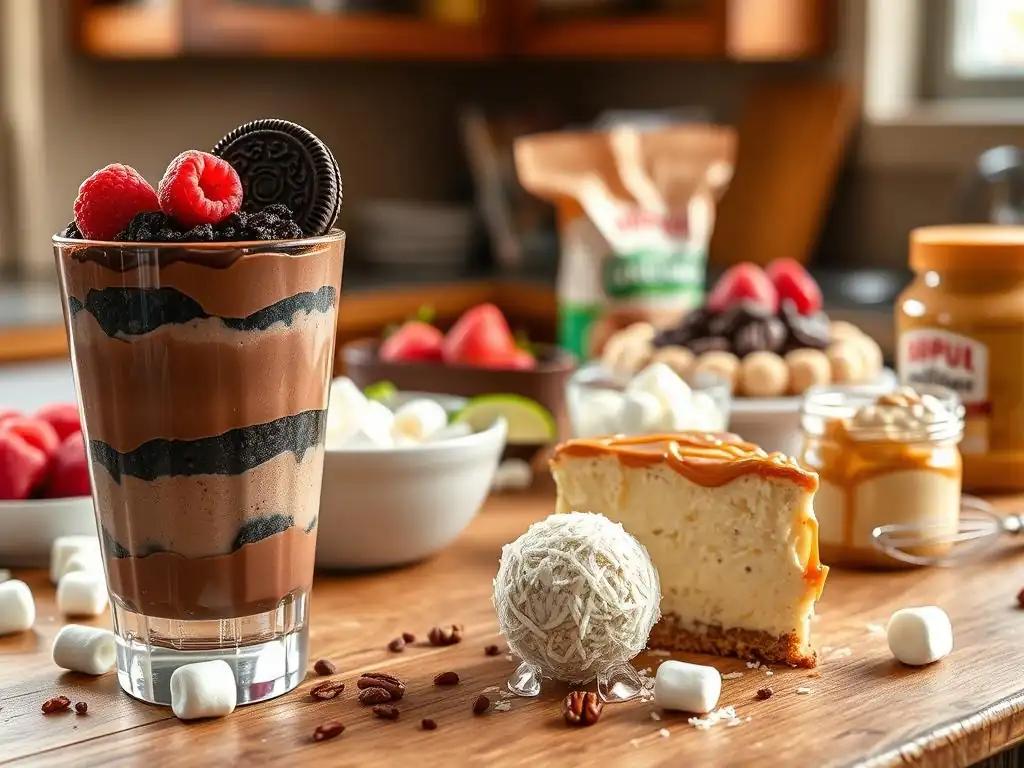
The Right Ingredients: Choosing Quality for Best Results
While no bake desserts easy are forgiving in technique, the quality of your ingredients plays a significant role in the final taste. Since there's no baking to meld or transform flavors through heat, the raw ingredients' taste comes through more prominently. Using good quality chocolate, fresh cream cheese, and flavorful cookies or crackers will make a noticeable difference in your finished dessert.
For instance, using a rich, high-quality cocoa powder in your no-bake oatmeal cookies will result in a deeper, more intense chocolate flavor compared to a standard baking cocoa. Similarly, opting for a premium peanut butter can elevate the taste of your peanut butter bars or oatmeal cookies. Don't feel pressured to buy the most expensive items, but choosing reputable brands or slightly higher quality options for key ingredients is a worthwhile investment for the best flavor.
Mastering the Chill: Proper Refrigeration is Key
Refrigeration is the equivalent of baking for most easy no-bake desserts – it's the step where they set and become firm. Insufficient chilling time is one of the most common reasons a no-bake dessert might seem "too soft" or fail to hold its shape. Always allow the recommended chilling time, and if possible, give it a little extra time, especially for cheesecakes or layered desserts.
Ensure your refrigerator is at a consistent, cold temperature (typically below 4°C or 40°F). Placing the dessert uncovered for the first part of chilling can sometimes help a crust set more crisply, though covering is necessary for longer storage to prevent drying out or absorbing odors. Patience during the chilling phase is key to achieving the correct texture and stability for your no bake desserts easy.
Presentation Matters: Making Your Desserts Look Amazing
Even the simplest no bake desserts easy can look stunning with a little attention to presentation. For layered desserts like parfaits, using clear glasses or jars showcases the different textures and colors. For bars or cakes, lining the tin makes removal clean and easy, resulting in sharp, neat slices.
Garnishes can elevate the appearance dramatically. A sprinkle of cocoa powder, a dusting of powdered sugar, fresh berries, chocolate shavings, a drizzle of sauce, or chopped nuts can turn a simple treat into a work of art. Taking a few extra moments to present your dessert nicely makes it even more enjoyable to serve and eat.
No-Bake Dessert Variations: Beyond the Basics
Adding Fruit: Fresh and Flavorful Combinations
Incorporating fresh fruit is a fantastic way to add natural sweetness, vibrant color, and refreshing flavor to easy no-bake desserts. Berries like strawberries, raspberries, and blueberries are popular choices for layering in parfaits or topping cheesecakes. Their slight tartness provides a lovely contrast to rich, creamy fillings.
Sliced bananas pair wonderfully with chocolate and peanut butter in layered desserts or simple pudding cups. Diced mango or passion fruit pulp can add an exotic twist to a no-bake mousse or pie filling. Remember to add fresh fruit just before serving, especially delicate berries, to prevent them from becoming mushy or releasing too much liquid into the dessert.
Chocolate Lovers: Elevating Your Chocolate Desserts
If you're a chocoholic, there are countless ways to enhance your easy no-bake chocolate creations. Beyond using good quality chocolate, consider adding different forms of chocolate for texture and flavor. Chocolate chips, chopped chocolate chunks, or even crushed chocolate bars can be stirred into mixtures like the fridge cake or peanut butter bars.
Adding a swirl of chocolate ganache, a sprinkle of cocoa nibs, or a topping of chocolate curls can make a simple dessert feel decadent. Experiment with different types of chocolate – white, milk, dark, or even flavored chocolates – to find your favorite combinations and make your no bake desserts easy extra special.
Exploring Different Flavors: From Coffee to Caramel
Don't limit yourself to just chocolate and fruit. Many other flavors work beautifully in no-bake applications. Adding a teaspoon or two of instant coffee powder or espresso powder to chocolate mixtures can deepen the flavor and add a subtle coffee note.
Caramel sauce can be swirled into creamy fillings, used as a topping, or layered with other components. Extracts like almond, peppermint, or orange can easily be incorporated into cream cheese fillings or chocolate mixtures to add a burst of flavor. Exploring these different flavor profiles allows you to expand your repertoire of no bake desserts easy and keep things exciting.
Troubleshooting Your No-Bake Desserts: Common Problems and Solutions
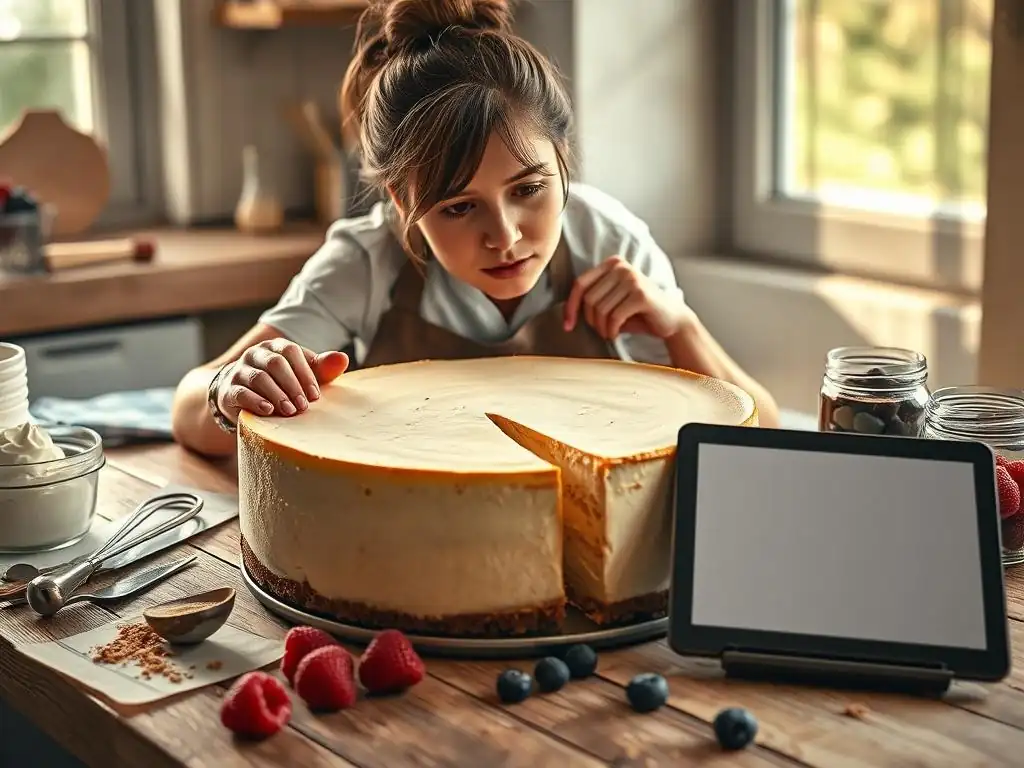
Why is My Dessert Too Soft?
A dessert that doesn't set properly is a common issue with easy no-bake recipes. The primary culprit is usually insufficient chilling time. Most no-bake recipes rely heavily on refrigeration to solidify fats (like butter or cream cheese) and allow mixtures to firm up. Ensure you have chilled the dessert for the full recommended duration, or even longer if your kitchen is warm or your refrigerator isn't very cold.
Another reason could be the ratio of ingredients. If there's too much liquid (like milk or melted butter not properly incorporated with dry ingredients) or not enough binding agent (like crushed cookies or gelatin/cornstarch in some recipes), the mixture may not set correctly. Double-check your ingredient amounts and ensure fats are properly mixed with the dry components before chilling. For recipes involving boiling (like oatmeal cookies), ensure the boil time is accurate, as this affects how the sugar syrup sets.
Why is My Dessert Too Hard?
Conversely, a no-bake dessert that is too hard can also be disappointing. This often happens when the dessert has been chilled for too long, particularly those with a high fat content or a crisp crust. Over-chilling can make textures overly firm and sometimes difficult to cut. Allowing the dessert to sit at room temperature for 10-15 minutes before slicing can often help soften it slightly for easier handling.
In recipes involving a boiled sugar syrup, like the no-bake oatmeal cookies, boiling the syrup for too long can result in a mixture that becomes hard and brittle as it cools. Precision in the boiling time (e.g., exactly 1 minute) is crucial to achieve the desired chewy texture. If a base made with crushed cookies and butter is too hard, it might be due to using too much butter or pressing the mixture into the pan too densely.
How to Prevent a Soggy Crust
A soggy crust, particularly in layered desserts like no-bake cheesecakes or parfaits, is typically caused by moisture migrating from the filling into the biscuit or cookie base. This is more likely to happen if the base isn't properly mixed with melted butter, which helps create a barrier, or if the dessert is stored for too long.
Ensure your crushed biscuit base is well combined with enough melted butter so that it holds together when pressed. This fat coating helps repel moisture. For desserts that require longer storage, you might consider adding a thin layer of melted chocolate brushed onto the base and allowed to set before adding the filling. This creates a solid waterproof barrier, keeping your crust crisp even after a day or two of chilling, ensuring your no bake desserts easy maintain their intended texture.
Enjoy Your Easy Homemade No-Bake Desserts!
You've now got a fantastic starting point for creating delicious no bake desserts easy enough for anyone to master. From rich chocolate fridge cake to quick peanut butter bars and elegant parfaits, these recipes prove that you don't need an oven or complex skills to make incredible sweet treats. They are perfect for beginners, busy individuals, or anyone looking for a simple way to satisfy a dessert craving.
Experiment with variations, practice the simple techniques, and build your confidence in the kitchen. These easy options are just the beginning of your no-bake dessert journey. Enjoy the process, share your creations, and savor the sweet results of your efforts!
We love seeing what you bake (or in this case, don't bake!)! If you try any of these easy no-bake desserts, we encourage you to share your experience. Did you add a unique twist? Did you find a new favorite? Your successes and experiments inspire us and the rest of the BakeWithEase community.
Connecting with other dessert enthusiasts is a great way to learn new tips and find inspiration for your next kitchen adventure. So, whip up one of these simple treats, snap a picture, and celebrate your success with the BakeWithEase family. Happy no-baking!
Frequently Asked Questions
How easy are the "No Bake Desserts" recipes on BakeWithEase.com?
The recipes are designed to be very easy, even for beginners. They focus on simple techniques and easy-to-find ingredients to ensure success.
What types of desserts can I expect to find in the "No Bake Desserts" section?
You'll find a variety of desserts, including cheesecakes, parfaits, chocolate treats, and other simple sweets that don't require an oven.
Are the "No Bake Desserts" suitable for those with dietary restrictions?
While the recipes are generally not designed for specific diets, many can be adapted to be gluten-free or vegan with ingredient substitutions. Check individual recipe notes for guidance.
Where can I find the step-by-step guides for the "No Bake Desserts" recipes?
All recipes on BakeWithEase.com include detailed step-by-step instructions and often feature helpful photos or videos to guide you through the process.
How long do "No Bake Desserts" typically take to prepare?
Many "No Bake Desserts" can be prepared in under 30 minutes, making them a great option for quick and easy treats. Some require chilling time.
Final Reflection: The Sweet Simplicity of No-Bake Bliss
The enduring appeal of no-bake desserts lies not just in their ease of preparation, but in their ability to deliver joy without demanding hours in the kitchen. In a world increasingly obsessed with efficiency and instant gratification, these simple treats offer a perfect antidote to culinary complexity, proving that deliciousness doesn't require elaborate techniques or specialized equipment.
The accessibility of no-bake desserts has profoundly impacted our approach to baking and entertaining. They've democratized the art of dessert-making, allowing everyone, regardless of skill level, to participate in the creation and sharing of sweet moments. This ease of creation fosters a sense of community and connection, transforming simple treats into meaningful experiences. The best things in life are simple.
This sentiment perfectly encapsulates the charm of no-bake desserts, reminding us that sometimes, the most satisfying experiences are the ones that require the least effort.
Now, I invite you to consider the possibilities. Think about the joy you can bring to yourself and others with a simple, no-bake creation. Perhaps it's a spontaneous treat for a quiet evening, a delightful surprise for a friend, or a fun activity to share with loved ones. Embrace the simplicity, unleash your creativity, and discover the sweet satisfaction of making delicious no-bake desserts today. The possibilities are as limitless as your imagination.
Unleash Your Inner Pastry Chef: No-Bake Bliss Awaits!
Thanks for joining us on this delicious journey into the world of no-bake desserts! We hope you've discovered some new favorites and feel inspired to create sweet treats without the oven. Ready to get baking (no oven required! )?
- Dive straight into your new favorite recipe: Choose one of the no-bake delights from the article and make it today! Surprise your family or treat yourself – you deserve it!
- Share your baking triumph: Snap a photo of your creation and post it on social media using #BakeWithEaseNoBake. Let's see your delicious results!
- Challenge a friend to a no-bake bake-off: See who can create the most inventive and delicious no-bake dessert. Friendly competition always makes things sweeter!
What's the first no-bake masterpiece you'll be whipping up? Let us know in the comments below!