
Simple Cakes: What to Do If Your Cake Sinks (and How to Prevent It)

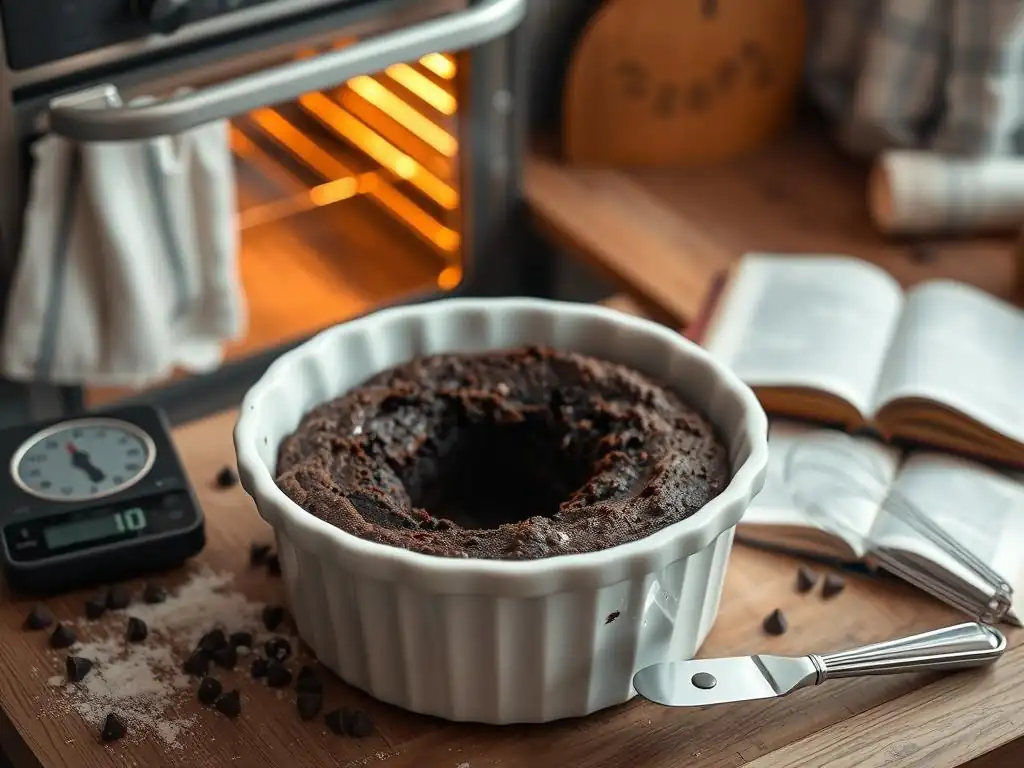
Welcome to BakeWithEase, your ultimate destination for mastering the delightful art of baking! Whether you're just starting out or looking to refine your sourdough skills, we have you covered with simple recipes and expert tips. Today, dive into our essential guide on sinking cake troubleshooting tips—a must-read for anyone who’s ever faced the disappointment of a sunken cake. Discover the secrets behind creating the perfect rise and learn how to prevent those pesky pitfalls in your baking journey. Ready to elevate your baking game? Let’s get started!
- Simple Cakes: What to Do If Your Cake Sinks (and How to Prevent It) - BakeWithEase
- Understanding Why Cakes Sink: A Baker's Troubleshooting Guide
- Sinking Cake Troubleshooting Tips: Rescue Your Bake
- Preventing a Sunken Cake: Baking Techniques for Success
- Sunken Cake Fixes: Salvaging Your Baking Project
- Specific Cake Types and Sinkage Issues
- Advanced Baking Techniques for Stable Cakes
- Final Thoughts: Mastering the Art of Cake Baking and Avoiding Sinkage
-
Frequently Asked Questions
- What are some common reasons why a simple cake might sink in the middle?
- How can I tell if my cake batter has too much liquid?
- What role does leavening play in preventing a cake from sinking?
- Why is opening the oven door during baking a bad idea?
- What are some general tips for baking a simple cake successfully and avoiding sinking?
- Final Reflection: The Triumphant Rise (and Fall) of the Humble Cake
- Ready to Bake the Perfect Cake Every Time?
Simple Cakes: What to Do If Your Cake Sinks (and How to Prevent It) - BakeWithEase
Understanding Why Cakes Sink: A Baker's Troubleshooting Guide
Baking a cake should be a joyous experience, filled with the promise of sweet rewards. However, sometimes the dream of a perfectly risen, fluffy cake turns into the reality of a disappointing, sunken center. Understanding why cakes sink is the first crucial step in effective sinking cake troubleshooting tips. It's often a combination of factors, not just one single mistake, that leads to a collapsed cake structure. By identifying these common culprits, you can better diagnose issues in your future baking endeavors.
A sunken cake isn't just aesthetically unpleasing; it often indicates that the cake's internal structure didn't set correctly before it cooled. This can result in a dense, heavy texture around the collapsed area. Think of the cake batter as a delicate balance of ingredients working together to create lift and structure. When this balance is disrupted, or external factors interfere during baking, the fragile network of gluten, fat, and leavening agents can't support the cake's weight as it cools, leading to that dreaded dip in the middle.
Common Causes of a Sunken Cake
Let's delve into the specific reasons behind cake sinkage. Pinpointing the exact cause can significantly improve your baking results and help you avoid repeating the same mistakes. Understanding these issues is foundational to any good sinking cake troubleshooting guide.
Overmixing the Batter: A Cake-Sinking Culprit
Overmixing cake batter is a surprisingly common issue, especially for beginner bakers. When you mix wet and dry ingredients together, gluten begins to develop from the flour. A little gluten is necessary for structure, but too much creates a tough, elastic network. This overly developed gluten can cause the cake to rise too quickly and then collapse as it cools because the structure is too rigid and lacks the necessary tenderness to hold its shape.
Imagine mixing a standard vanilla cake batter for several minutes past the point where the dry ingredients are just incorporated. Instead of a smooth, slightly lumpy batter, you get a glossy, elastic consistency. This excessive mixing whips too much air in initially but also creates strong gluten bonds. During baking, this can lead to a peaked top that then sinks dramatically as the cake cools, pulling the center down.
Incorrect Oven Temperature: Impact on Cake Structure
Oven temperature plays a critical role in how a cake bakes and sets. An oven that is too hot can cause the outside of the cake to set and brown too quickly, forming a crust, while the inside remains underbaked and still liquid. As the cake cools, the unset interior lacks the structure to support the crust, leading to a collapse. Conversely, an oven that is too cool might not provide enough heat to properly activate the leavening agents and set the cake's structure before it's removed, also resulting in a sunken center.
Consider a simple chocolate cake recipe calling for 350°F (175°C). If your oven is actually running at 375°F (190°C), the edges and top might look done after the recommended time, but the middle could still be raw. Upon cooling, that raw center collapses. Similarly, if the oven is only at 325°F (160°C), the cake might take much longer to bake, and even then, the leavening power might dissipate before the structure fully sets, leading to a flatter cake with a potential dip.
Too Much Liquid: Affecting Cake Rise and Stability
Adding too much liquid to a cake batter can significantly impact its final structure and stability. Excess liquid dilutes the batter, making it too thin and heavy. While the cake might rise initially due to the leavening agents producing steam and gas, the weakened structure cannot support this rise.
Think about a standard pound cake recipe. It relies on a specific ratio of flour, fat, sugar, and eggs. If you were to add, say, an extra 1/2 cup of milk or buttermilk beyond what the recipe specifies without adjusting the dry ingredients, the resulting batter would be much thinner. This thin batter will struggle to build a stable structure as it bakes, leading to a cake that might seem to bake correctly but then sinks in the middle as it cools because the internal network is simply too weak to hold up.
Opening the Oven Door Too Early: A Recipe for Disaster
Resisting the urge to peek at your cake while it's baking is one of the hardest parts of the process, but opening the oven door too early is a frequent cause of sinkage. When the oven door is opened, especially in the first two-thirds of the baking time, a rush of cooler air enters the oven. This sudden drop in temperature can shock the delicate, still-setting structure of the cake.
At this stage, the cake is relying on the heat to continue setting its internal framework. The cool air causes the gases produced by the leavening agents to contract, and the fragile cell walls of the cake haven't fully solidified to hold their shape. This leads to a sudden deflation, and once collapsed, the cake structure won't recover, resulting in a permanent dip in the center.
Using Expired Leavening Agents: Baking Powder and Baking Soda Issues
Leavening agents like baking powder and baking soda are crucial for giving cakes their light and airy texture. They produce gases (carbon dioxide) that create bubbles in the batter, causing it to rise. If these agents are old or expired, they lose their potency and won't produce enough gas.
Using baking powder that's been sitting in your pantry for over a year, for example, is a common issue. An easy test for baking powder freshness is to put a teaspoon in hot water; it should fizz vigorously. For baking soda, mix a teaspoon with a little vinegar; it should also bubble strongly. If there's little to no reaction, your leavening is likely expired, and using it will result in a dense cake that fails to rise properly and may sink due to inadequate support.
The Role of Ingredients in Cake Structure and Sinkage
Beyond just the quantity of ingredients, understanding how they interact is key to preventing sunken cakes and mastering sinking cake troubleshooting tips. Each component plays a specific role in creating the cake's final texture and stability.
Flour Power: The Importance of Gluten Development
Flour provides the primary structure for most cakes through its protein content, which forms gluten when mixed with liquid. For tender cakes, you generally want minimal gluten development, which is why recipes often call for gentle mixing after adding flour. Too much gluten makes the cake tough and can contribute to sinkage by creating an overly rigid structure that can't support itself as it cools.
Different flours have varying protein levels; for instance, cake flour has lower protein (around 6-8%) than all-purpose flour (around 10-12%). Using the wrong type of flour or overworking the batter with higher-protein flour can lead to excessive gluten. This is why following the recipe's flour type and mixing instructions is crucial for achieving the desired tender crumb and preventing structural issues that cause cakes to sink.
Sugar's Influence: Sweetness and Stability
Sugar does more than just sweeten a cake; it also contributes to moisture, tenderness, and browning. Sugar is hygroscopic, meaning it attracts and retains moisture, keeping the cake soft. It also interferes with gluten development, further contributing to tenderness. However, too much sugar can weaken the cake's structure.
Excessive sugar can make the batter too wet and heavy, overwhelming the structural capacity provided by the flour and eggs. As the cake bakes, the high sugar content can also cause the edges to caramelize and set too quickly while the center remains soft. This uneven setting can lead to a cake that looks done on the outside but collapses in the middle as it cools because the center didn't have enough structural support from the sugar-weakened framework.
Fat's Function: Moisture and Tenderness
Fats, such as butter, oil, or shortening, contribute richness, moisture, and tenderness to cakes. They coat flour particles, inhibiting gluten development, and trap air during creaming (especially butter), which aids in leavening. The type and amount of fat significantly affect the cake's texture and stability.
Too little fat can result in a dry, tough cake. However, too much fat can make the batter too heavy and greasy, similar to excess liquid or sugar. This added weight can hinder the cake's rise and weaken its structure. A cake with an overly high fat content may struggle to set properly in the center, leading to sinkage, particularly if combined with other issues like incorrect oven temperature.
Egg-cellent Support: Binding and Leavening
Eggs are multi-talented ingredients in baking. They provide structure (coagulating protein), contribute to leavening (trapping air when beaten), add richness and moisture, and bind ingredients together. The ratio of eggs to other ingredients is vital for a stable cake.
Using too few eggs for a recipe can result in a lack of structural support. The protein network formed by the eggs is essential for holding the cake's rise. Without enough eggs, the cake might rise initially but won't have the internal strength to maintain its structure, leading to a collapse.
Conversely, too many eggs can sometimes make a cake rubbery, though sinkage is less commonly caused by too many eggs compared to too few or other factors. Ensuring your eggs are at the correct temperature (usually room temperature for creaming methods) also impacts their ability to incorporate air and contribute to structure.
Sinking Cake Troubleshooting Tips: Rescue Your Bake
So, your cake has sunk. Don't despair! While you can't magically make the center rise back up, there are sinking cake troubleshooting tips and techniques to salvage your baking project and learn from the experience for next time. The first step is often diagnosing what went wrong while the experience is fresh.
Learning from a sunken cake is a valuable part of becoming a better baker. Did it sink dramatically, or just a little dip? Did the edges seem overcooked? Was the batter unusually thin? These observations are key to identifying the problem and applying effective sinking cake troubleshooting tips in the future. Even a "failed" cake can be transformed into something delicious.
Identifying the Problem: Diagnosing the Cause of Your Sunken Cake
Becoming a baking detective is essential for sinking cake troubleshooting. Look at the cake's appearance: Is the sinkage severe or minor? Is the texture around the sunken area dense or gummy? Are the edges over-browned or dry? Consider the baking process: Did you follow the recipe exactly? Was the batter consistency right? Did you open the oven door?
Review your process step-by-step. Did you use the correct pan size? Were your ingredients fresh? Did you measure accurately? Thinking back through the mixing, baking time, and cooling process can often reveal the culprit. For example, if the center is gummy and the edges are hard, it points towards an oven temperature or baking time issue. If the cake rose beautifully and then collapsed upon cooling, it might indicate underbaking or cooling too quickly.
Immediate Actions: What to Do If You See Your Cake Sinking
If you happen to catch your cake sinking while it's still in the oven, there might be limited immediate actions you can take, but knowing not to do certain things is crucial. The primary goal is to avoid exacerbating the problem.
Lowering the Oven Temperature (If Possible)
If you suspect the oven is too hot and the cake is browning too quickly on the outside while the center is still raw and starting to sink, you might be able to slightly lower the oven temperature (say, by 25°F or about 15°C) and cover the top loosely with foil to prevent further browning. However, this is a risky move and should only be attempted if you are certain the heat is the issue and the cake is still relatively early in its baking process.
A sudden temperature change can also shock the cake, so proceed with extreme caution or avoid this step entirely if unsure.
Avoiding Opening the Oven Door Prematurely
This point is worth reiterating: Do not open the oven door if you see your cake sinking, especially within the first 20-25 minutes of baking. Opening the door will likely worsen the problem by introducing cool air. Let the cake continue to bake for the recommended time. Even if it sinks, continuing to bake allows the structure, however flawed, to set as much as possible, making it easier to salvage later. Patience is key, even when faced with a baking mishap.
Preventing a Sunken Cake: Baking Techniques for Success
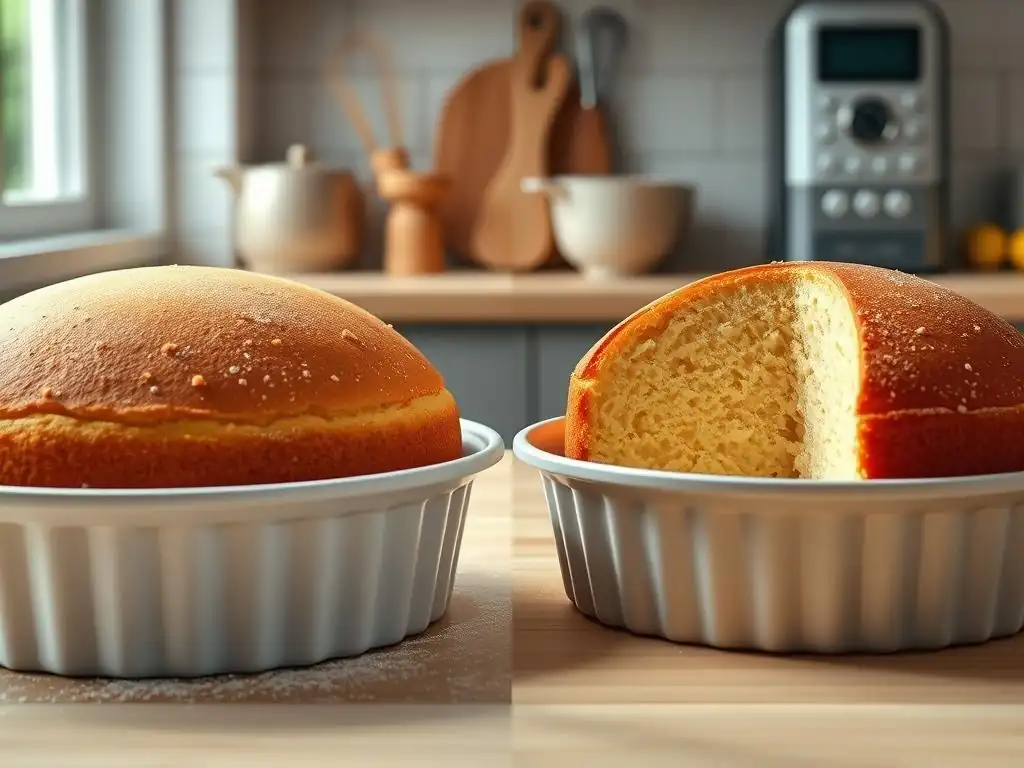
Prevention is always better than cure in baking. By implementing careful techniques and paying attention to details, you can drastically reduce the chances of your cake sinking. These preventative measures are the most effective sinking cake troubleshooting tips because they address the root causes before they occur.
Mastering fundamental baking techniques is the cornerstone of consistent success. From measuring ingredients precisely to understanding how your oven works, each step contributes to the final outcome. Let's explore some key techniques to help you bake stable, perfectly risen cakes every time.
Precise Measurements: The Key to Consistent Results
Baking is often described as a science, and precise measurement is fundamental to that science. Using too much or too little of a key ingredient – flour, sugar, liquid, or leavening – can throw off the delicate balance required for a stable cake structure. For example, adding just a couple of extra tablespoons of liquid per cup of flour can significantly weaken the batter.
Weighing your ingredients, especially flour, sugar, and fats, is the most accurate method. Using measuring cups can be inconsistent; a cup of flour scooped directly from the bag can weigh significantly more than a cup spooned lightly into the cup and leveled. A difference of 10-20 grams of flour or sugar in a standard cake recipe can impact the structure and contribute to issues like sinkage or dryness. Investing in a simple kitchen scale is one of the best steps you can take for consistent baking results.
Proper Mixing Techniques: Avoiding Overmixing and Undermixing
Mixing techniques are crucial for developing the right amount of structure without making the cake tough or collapsing it. Most cake recipes using chemical leaveners (baking powder/soda) require creaming butter and sugar, then adding eggs, followed by alternating additions of dry and wet ingredients.
Creaming Butter and Sugar Correctly
Creaming butter and sugar together until light and fluffy is vital. This process incorporates air bubbles into the fat, which expand during baking and contribute to the cake's rise and tender crumb. This should take several minutes, often 3-5 minutes with an electric mixer, scraping down the bowl periodically. Insufficient creaming means less air is incorporated, leading to a denser cake with less initial lift, potentially contributing to sinkage.
Folding Dry Ingredients Gently
Once the wet ingredients are combined, the dry ingredients (flour, leavening, salt) are usually added. This step requires gentle mixing, often described as "mixing until just combined" or "folding." Overmixing at this stage develops too much gluten, leading to a tough cake that may sink. Stop mixing as soon as you no longer see streaks of dry flour. A few small lumps are perfectly acceptable and often preferable to an overmixed, smooth batter.
Checking Oven Calibration: Ensuring Accurate Temperature
An inaccurate oven temperature is a leading cause of baking problems, including sunken cakes. Ovens can be off by as much as 50°F (about 28°C) or more. If your oven runs significantly hot, the cake will set too quickly on the outside while the inside remains underbaked, leading to collapse. If it runs too cool, the cake won't set properly in the allotted time.
Using an inexpensive oven thermometer is the simplest way to check your oven's accuracy. Place it in the center of the oven and see if it matches the temperature set on the dial. If there's a significant discrepancy (more than 15-20°F or ~10°C), you'll need to adjust your baking temperature accordingly or consider calibrating your oven if possible. This simple tool is essential for consistent baking and preventing sunken cakes.
Using the Correct Pan Size: Avoiding Overcrowding
Baking a cake in a pan that is too small for the amount of batter is another common mistake that can lead to sinkage. An overcrowded pan means the batter is deeper. The outside edges of the cake will cook and set faster than the center.
With a deeper batter, the heat takes longer to penetrate to the middle, leaving the center underbaked even when the edges are done. As the cake cools, the underbaked center collapses. Always use the pan size specified in the recipe. If you need to use a different size, adjust the batter amount and baking time accordingly, or use multiple pans if necessary. For example, a recipe designed for two 8-inch rounds will likely sink if baked as a single cake in a 9-inch square pan due to the difference in batter depth.
Testing for Doneness: Ensuring the Cake is Fully Baked
Removing a cake from the oven before it's fully baked is a primary reason for sinkage. An underbaked cake lacks the internal structure to support itself once removed from the heat. The still-liquid or semi-set interior cannot bear the weight as it cools, causing it to collapse.
Relying solely on the timer is risky; factors like oven accuracy, pan type, and even ingredient temperature can affect baking time. Always test for doneness using reliable methods towards the end of the recommended baking time.
The Toothpick Test: A Classic Method
The classic toothpick test involves inserting a wooden toothpick or a thin skewer into the center of the cake. When the toothpick comes out clean or with only a few moist crumbs attached, the cake is generally done. If it comes out with wet batter, it needs more time. This simple test, when performed in the very center of the cake (the last part to cook), is a reliable indicator for many cake types.
Internal Temperature Check: Using a Thermometer
For ultimate accuracy, especially with larger or denser cakes like pound cakes, an instant-read thermometer is invaluable. Insert the thermometer into the center of the cake; most cakes are considered done when their internal temperature reaches between 200°F and 210°F (93°C to 99°C). This method provides a definitive answer and eliminates the guesswork, making it a top tip for preventing sunken cakes due to underbaking.
Sunken Cake Fixes: Salvaging Your Baking Project
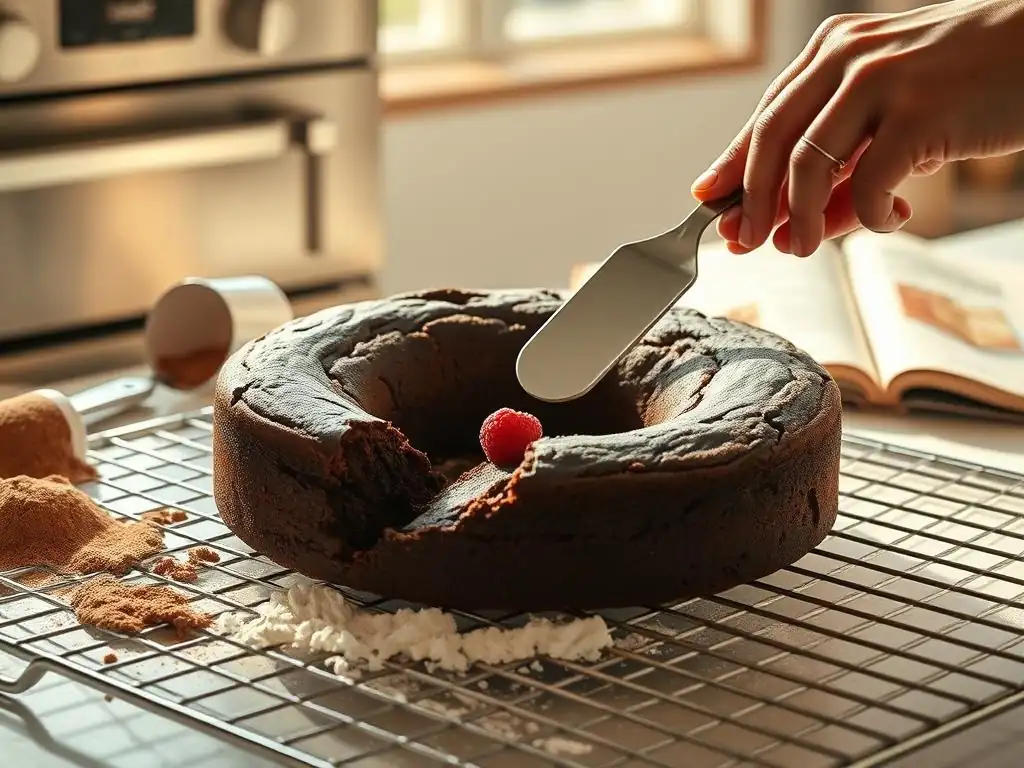
Even with the best intentions and careful techniques, sometimes a cake still sinks. Don't throw it away! A sunken cake is not a baking failure, but an opportunity for creativity. There are several delicious ways to salvage a cake with a dip in the middle, transforming it into a new dessert masterpiece.
These sinking cake troubleshooting tips for salvaging a bake focus on repurposing the cake rather than fixing its structure. Embrace the imperfection and turn it into a feature. Here are a few ideas to rescue your project and delight your taste buds nonetheless.
Option 1: The Crumble Cake Solution
One of the easiest ways to salvage a sunken cake is to turn it into cake crumbs. You can crumble the entire cake, sunken center and all. These crumbs can then be used in various desserts.
For example, you can mix the crumbs with frosting or ganache to create cake pops or cake balls. Another popular use is to layer the crumbs with pudding, fruit, or whipped cream in parfaits or individual dessert cups. You can even toast the crumbs lightly in the oven to use as a crunchy topping for ice cream or other desserts. This method completely bypasses the structural issue and focuses on the flavor.
Option 2: Transforming a Sunken Cake into a Trifle
A trifle is a layered dessert that is incredibly forgiving when it comes to cake structure. A sunken cake is perfect for a trifle because the cake is cut or broken into pieces anyway.
Layer chunks of the sunken cake in a glass bowl or individual dishes with layers of custard, pudding, whipped cream, fruit, or fruit compote. Drizzle with sherry, fruit juice, or a simple syrup if desired. The moistness from the other layers will soften the cake pieces, and no one will ever know it started as a sunken cake. This is a fantastic way to use up a cake that might be slightly dense due to sinkage.
Option 3: Frosting and Decorating Strategically
If the sinkage is not too severe, sometimes you can strategically frost and decorate the cake to hide the dip. A slight depression can often be filled with extra frosting or a dollop of whipped cream before the final layer of frosting is applied.
For a more significant sinkage, you can level the top by cutting off the raised edges around the dip, creating a flat surface at the level of the lowest point. Then, apply a generous layer of frosting to fill the void before frosting the rest of the cake. Alternatively, embrace the dip! Fill it with fruit, pudding, or ganache and let it be a feature, creating a "well" cake effect.
Specific Cake Types and Sinkage Issues
While the general principles of preventing sinkage apply to most cakes, some types have unique characteristics that can make them more prone to specific issues. Understanding these nuances can refine your sinking cake troubleshooting tips for particular recipes.
Different batters behave differently based on their fat content, leavening, and mixing method. A high-fat butter cake might sink for different reasons than a low-fat sponge cake. Let's look at some common cake types and their specific sinkage tendencies.
Troubleshooting Chocolate Cake Sinkage
Chocolate cakes, especially those made with cocoa powder, can sometimes be prone to sinkage. Cocoa powder is a dry ingredient and can absorb moisture differently depending on whether it's natural or Dutch-processed. Using the wrong type or amount of liquid to hydrate the cocoa can affect the batter consistency and stability.
Additionally, dark colored cakes can be harder to judge for doneness visually. The dark crust doesn't show browning as readily as a vanilla cake. This increases the risk of underbaking, a major cause of sunken cakes. Using a toothpick test or, even better, an internal thermometer to check for doneness (aiming for 200-210°F or 93-99°C) is particularly important for chocolate cakes.
Preventing Vanilla Cake Collapse
Vanilla cakes, particularly those based on the creaming method (butter and sugar creamed together), are susceptible to sinkage caused by improper creaming or overmixing after adding flour. The structure relies heavily on the air incorporated during the creaming stage and the gentle development of gluten.
If the butter wasn't properly softened or creamed for long enough, the initial lift won't be sufficient. Conversely, overmixing the simple vanilla batter after adding the dry ingredients can quickly lead to too much gluten development. Pay close attention to the texture during creaming – it should be significantly lighter in color and fluffy – and mix the dry ingredients only until just combined for best results and to prevent this type of cake from sinking.
Addressing Carrot Cake Sinkage Problems
Carrot cakes, and other cakes containing grated vegetables or fruits (like zucchini or apple), can be prone to sinkage if they contain too much moisture from the additions. Carrots release moisture as they bake.
Ensuring your grated carrots are not excessively wet (you can pat them dry slightly with paper towels if they seem very moist) and following the recipe's liquid ratios carefully is important. These cakes also tend to be denser and take longer to bake through. Underbaking is a common cause of sinkage in moist cakes like carrot cake, so using the toothpick test or thermometer is essential to ensure the center is fully cooked before removing it from the oven.
Avoiding Bundt Cake Sinkage
Bundt cakes, with their unique shape, face specific challenges. Their depth and the central tube mean heat distribution is different than in a round cake. Bundt cakes often require a longer baking time at a moderate temperature to ensure the thickest part (the outer ring) cooks through without drying out, while the center also sets.
A common cause of Bundt cake sinkage is underbaking, especially in the denser parts of the ring. The toothpick test needs to be performed in several spots around the center ring, not just near the edge. Another issue can be removing the cake from the pan too soon; the structure is still fragile when hot. Allowing the Bundt cake to cool in the pan on a wire rack for the time specified in the recipe (usually 10-15 minutes) before inverting helps the structure firm up enough to support itself.
Advanced Baking Techniques for Stable Cakes
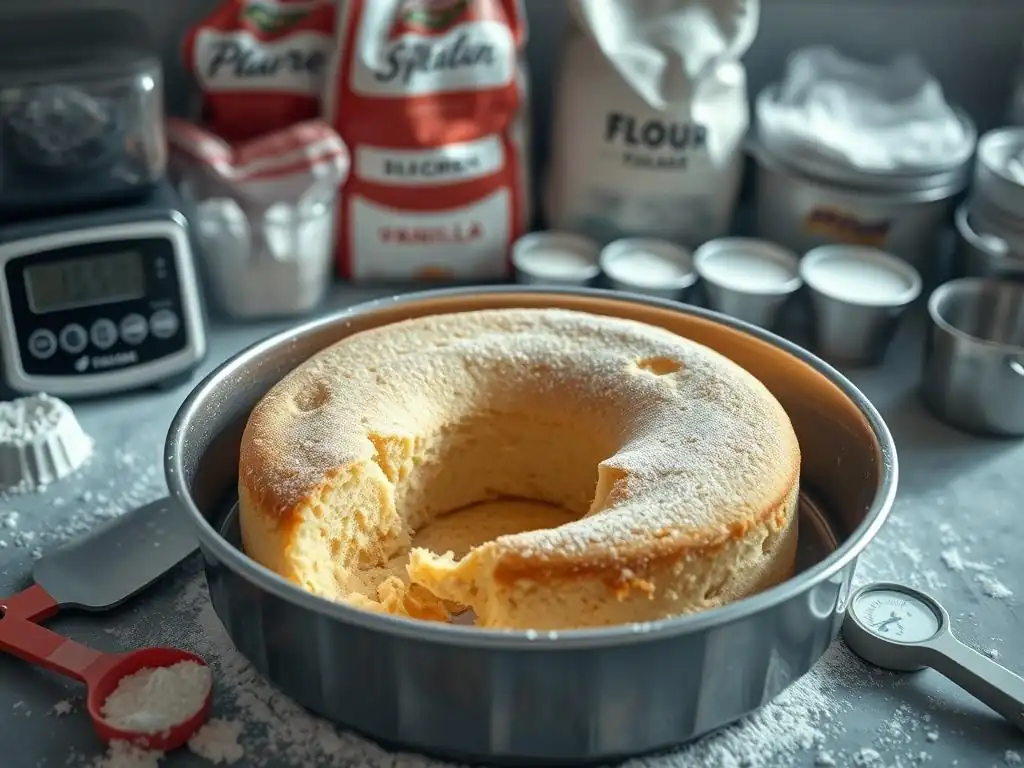
Once you've mastered the basics and troubleshooting tips, you might explore more advanced techniques designed to promote even baking and cake stability. These methods can further reduce the likelihood of encountering a sunken cake.
These techniques are often used by professional bakers to ensure consistent, perfect results, especially for larger or more delicate cakes. Incorporating them into your baking routine can elevate your skills and confidence.
Using Cake Strips: Promoting Even Baking
Cake strips are fabric bands that you soak in water and wrap around the outside of your cake pan. They work by insulating the sides of the pan, causing the cake to bake more evenly from the outside edge towards the center.
Without cake strips, the edges of the cake bake and set faster than the middle, sometimes leading to a dome shape. While a dome isn't sinkage, uneven baking can contribute to sinkage if the center is significantly underbaked when the edges are done. Cake strips help the cake rise more levelly and cook through more uniformly, reducing the risk of an underbaked center collapsing.
The Importance of Resting the Cake
Allowing cake batter to rest for a short period before baking is a technique sometimes recommended, particularly for batters that contain gluten or require hydration time (like those with cocoa powder or whole wheat flour). Resting allows the flour to fully absorb the liquid and the gluten to relax.
For some batters, letting them rest for 15-30 minutes before pouring into the pan can lead to a more tender crumb and a more even rise. While not a guaranteed fix for sinkage, it can contribute to a more stable batter structure that is less prone to collapsing, especially if overmixing was a potential issue.
Cooling the Cake Properly: Preventing Moisture Loss
How you cool a cake is just as important as how you bake it. Rapid temperature changes or improper cooling can cause a cake to sink or become dense. Cakes need to cool gradually to allow their structure to set completely.
Typically, layer cakes are left in their pans on a wire rack for 10-15 minutes before being inverted onto the rack to cool completely. This initial cooling in the pan allows the delicate structure to firm up before the stress of being removed. Cooling on a wire rack allows air circulation around the entire cake, preventing moisture from condensing and making the bottom soggy, which could also contribute to structural weakness. Cooling a hot cake directly on a solid surface traps heat and steam, potentially leading to a dense layer at the bottom or encouraging sinkage.
Final Thoughts: Mastering the Art of Cake Baking and Avoiding Sinkage
Baking a perfect cake is a rewarding experience, and encountering a sunken cake shouldn't discourage you. Think of it as a learning opportunity! By understanding the common causes – from oven temperature woes and ingredient ratios to mixing techniques and premature oven-door peeking – you equip yourself with the knowledge to prevent future mishaps.
Applying these sinking cake troubleshooting tips and preventative techniques, such as precise measuring, proper mixing, verifying oven accuracy, and testing for doneness correctly, will significantly improve your baking success rate. And remember, even a cake that sinks can often be salvaged and transformed into another delicious dessert. Happy baking!
Frequently Asked Questions
What are some common reasons why a simple cake might sink in the middle?
A sunken cake is often caused by too much liquid in the batter, insufficient leavening, or opening the oven door prematurely. These factors disrupt the cake's structure during baking.
How can I tell if my cake batter has too much liquid?
The batter should be thick enough to hold its shape briefly when dropped from a spoon. If it's very runny, it likely has too much liquid. Carefully measure ingredients to prevent this.
What role does leavening play in preventing a cake from sinking?
Leavening agents like baking powder or soda create air bubbles that help the cake rise. Insufficient leavening means the cake won't have enough structure and support, leading to sinking.
Why is opening the oven door during baking a bad idea?
Opening the oven door causes a sudden temperature drop. This can cause the cake to collapse because the structure isn't fully set, leading to a sunken center.
What are some general tips for baking a simple cake successfully and avoiding sinking?
Ensure you're using fresh ingredients, accurately measure ingredients, avoid overmixing, and don't open the oven door until the cake is nearly done.
Final Reflection: The Triumphant Rise (and Fall) of the Humble Cake
The seemingly simple act of baking a cake reveals a surprising depth of culinary science, and understanding the nuances of batter consistency and oven temperature is crucial to avoiding the dreaded sunken center. A perfectly risen cake is a testament to careful technique and a deep understanding of the baking process, while a sunken cake, sadly, is a common experience for even seasoned bakers. This article has explored the science behind this baking woe, offering practical solutions and preventative measures.
The frustration of a sunken cake transcends mere culinary disappointment; it speaks to the larger human experience of striving for perfection and learning from setbacks. The only true wisdom is in knowing you know nothing.
- Socrates. This quote, while seemingly unrelated to baking, perfectly encapsulates the iterative nature of mastering any skill, including baking. My own experiences with sunken cakes have taught me patience, attention to detail, and the importance of embracing failure as a learning opportunity. The journey to a perfectly risen cake is a journey of continuous improvement, a reflection of our own personal growth.
So, the next time you face a deflated cake, remember the lessons learned here. Don't be discouraged! Instead, take a deep breath, analyze what might have gone wrong, and try again. Each attempt, whether successful or not, brings you closer to mastering the art of cake baking. Embrace the challenge, celebrate the successes, and learn from the failures. The perfect cake is within your reach – it's just a matter of time, practice, and a little bit of patience. Now, go forth and bake!
Ready to Bake the Perfect Cake Every Time?
Thanks for joining us on this baking adventure! We hope you learned some valuable tips to prevent those dreaded sunken cakes. Now it's time to put your new knowledge into action!
- Bake your dream cake: Try out one of the recipes we suggested, paying close attention to the techniques we discussed. We're confident you'll see a difference!
- Share your baking triumph (or even your learning experience!): Show off your baking skills and tag us on social media – we'd love to see your creations!
- Explore our other cake recipes: Discover more delicious and foolproof recipes on our website for even more baking inspiration.
What's your favorite cake to bake, and what's your biggest baking challenge? Let's chat in the comments!