
Simple Cakes Using SelfRising Flour Quick & Easy

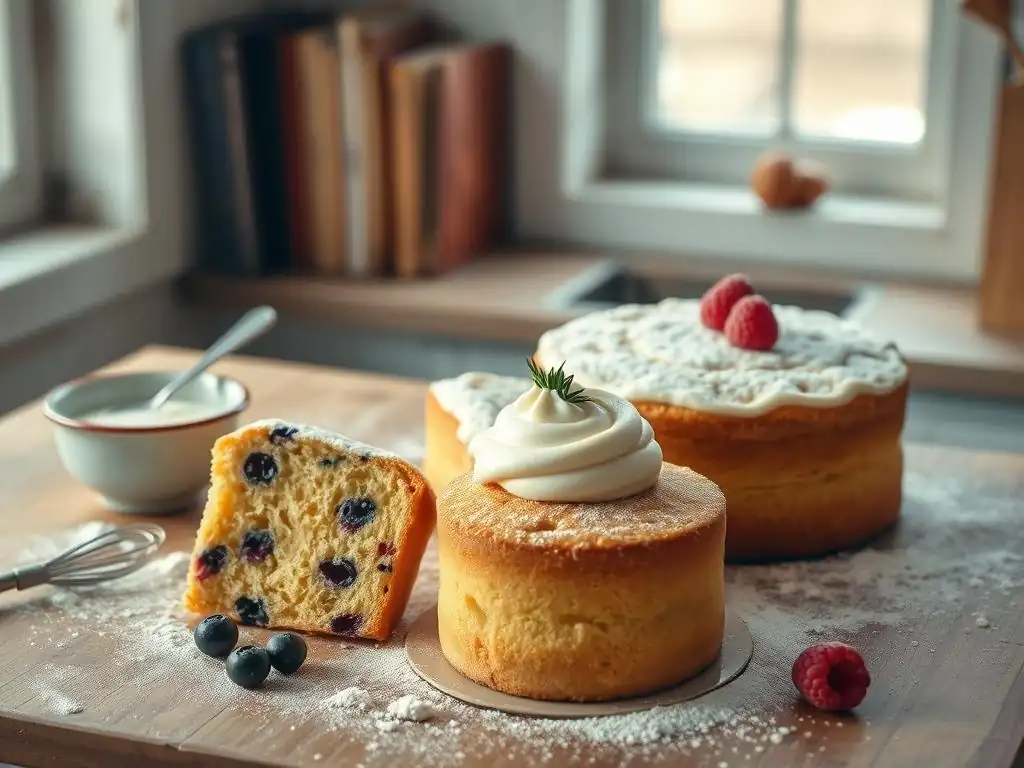
Welcome to BakeWithEase, your kitchen companion for conquering the world of baking! Ever wondered if you could whip up a delectable cake with minimal fuss and readily available ingredients? This week, we're diving into the wonderfully simple world of easy self-rising flour cakes. Discover how this baking staple can unlock a treasure trove of quick and delicious treats, and prepare to be amazed at what you can create. Intrigued? Let's get baking and uncover the secrets to effortless cake perfection!
- Simple Cakes Using Self-Rising Flour: Quick & Easy Baking with BakeWithEase
- Introduction to Easy Self-Rising Flour Cakes
- Understanding Self-Rising Flour for Cakes
- Quick & Easy Cake Recipes Using Self-Rising Flour
- Tips for Baking Perfect Cakes with Self-Rising Flour
- Variations and Adaptations for Self-Rising Flour Cakes
- Troubleshooting Your Self-Rising Flour Cakes
- Conclusion: Enjoying the Ease of Self-Rising Flour Cakes
- Frequently Asked Questions
- Final Reflection: The Enduring Delight of Simple Baking
- Unleash Your Inner Baker: Bake a Delicious Cake Today!
Simple Cakes Using Self-Rising Flour: Quick & Easy Baking with BakeWithEase
Introduction to Easy Self-Rising Flour Cakes
BakeWithEase: Your Guide to Simple Baking
At BakeWithEase.com, our mission is to demystify baking and make it accessible and enjoyable for everyone, regardless of their experience level. We understand that sometimes the prospect of baking can feel daunting, with precise measurements, multiple leavening agents, and complex techniques. That's why we focus on providing clear, step-by-step instructions and simplified recipes that deliver delicious results every time. Our goal is to build your confidence in the kitchen, turning potential baking anxieties into moments of creative joy and tasty triumph.
We believe that baking should be a source of pleasure, not stress. Whether you're a complete novice pulling out your first mixing bowl or someone looking for quicker ways to satisfy a sweet craving, our resources are designed with you in mind. We cover everything from basic cookie doughs to simple bread techniques, ensuring that you have reliable guides for a wide range of baked goods. Focusing on ingredients like self-rising flour is just one way we help streamline the process, allowing you to create impressive easy self-rising flour cakes without the fuss.
Why Self-Rising Flour Makes Cake Baking Easier
Self-rising flour is a true game-changer for quick and easy self-rising flour cakes. Its primary advantage lies in its composition: it's all-purpose flour with baking powder and a touch of salt already mixed in. This pre-mixed blend eliminates the need to measure and add separate leavening agents, which is often a point of confusion or error for beginner bakers. Simply swapping out all-purpose flour, baking powder, and salt for the correct amount of self-rising flour can drastically simplify a recipe.
Beyond just reducing the number of ingredients to measure, self-rising flour helps ensure consistent results. The leavening agent is evenly distributed throughout the flour, promoting a uniform rise and tender crumb in your cakes. This built-in reliability means you're less likely to end up with a dense or flat cake due to incorrect leavening proportions. It truly streamlines the process, making those simple self-rising flour cakes a reality even on a busy weeknight.
Understanding Self-Rising Flour for Cakes
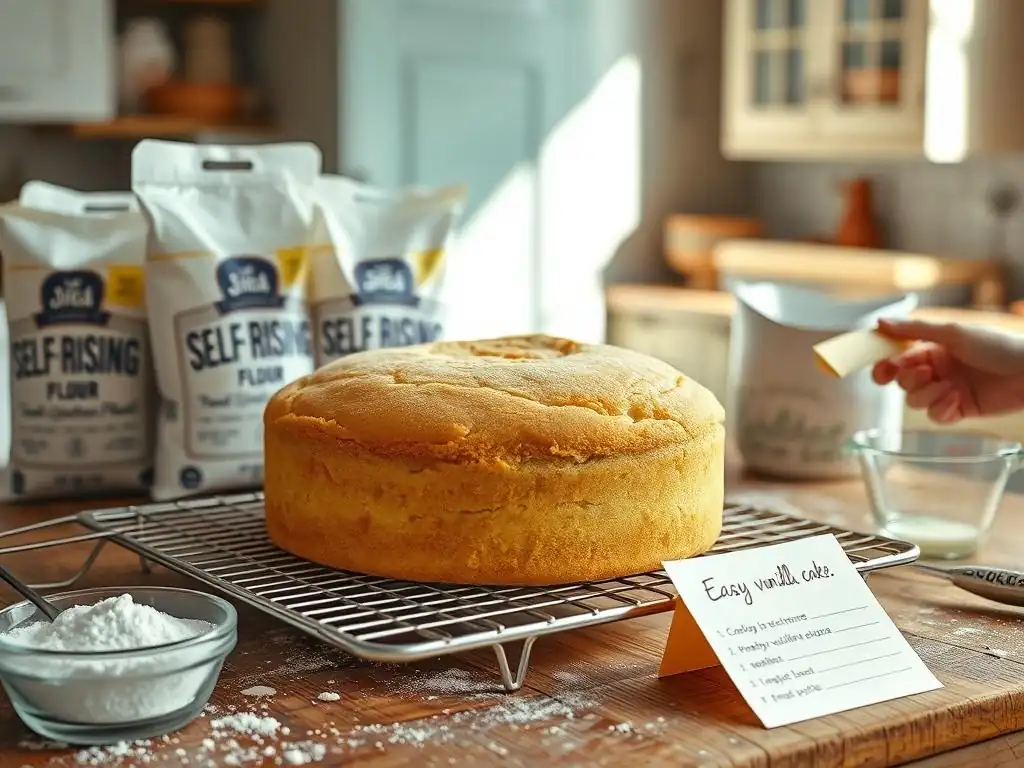
What is Self-Rising Flour and How Does it Work?
Self-rising flour is a convenient pantry staple that simplifies many baking projects, particularly easy self-rising flour cakes. It is typically made from soft wheat flour (which has a lower protein content compared to hard wheat flour used for bread) combined with a leavening agent, usually baking powder, and a small amount of salt. While the exact ratios can vary slightly by brand, a common proportion is about 1 ½ teaspoons of baking powder and ¼ teaspoon of salt per cup of all-purpose flour.
The baking powder in self-rising flour is a chemical leavener. When it comes into contact with liquid and heat during baking, it creates carbon dioxide gas bubbles. These bubbles get trapped in the cake batter, causing it to expand and rise, resulting in a light and airy texture. The pre-mixed nature ensures that the leavening is evenly distributed throughout your batter, contributing to a consistent rise and structure in your simple self-rising flour cakes.
The Convenience of Using Self-Rising Flour in Cake Recipes
The most significant convenience of using self-rising flour is undoubtedly the reduction in steps and ingredients. Instead of grabbing multiple canisters or boxes for flour, baking powder, and salt, you only need one bag of self-rising flour. This not only saves time during preparation but also minimizes the chances of measurement errors, which are common pitfalls in baking that can lead to poor results like a cake that doesn't rise properly.
Moreover, for bakers who don't bake frequently, keeping separate stocks of baking powder and salt might mean dealing with expired or clumpy leavening agents. Self-rising flour, when stored correctly in a cool, dry place, maintains its leavening power effectively until its expiration date. This makes it a reliable ingredient for spontaneous baking urges, allowing you to whip up quick self-rising flour cakes whenever the mood strikes without worrying about ingredient freshness.
Differences Between Self-Rising and All-Purpose Flour in Cake Baking
The fundamental difference between self-rising flour and all-purpose flour lies in the added leavening and salt. All-purpose flour is a plain flour that requires you to add baking powder, baking soda, or yeast, along with salt, separately according to the recipe's specifications. Self-rising flour, on the other hand, has these essential dry ingredients already incorporated in a fixed ratio. This means you cannot simply substitute self-rising flour one-for-one in a recipe designed for all-purpose flour unless the recipe specifically accounts for omitting the separate leavening and salt.
In cake baking, using self-rising flour impacts the final texture and structure. Because it typically uses soft wheat flour, cakes made with self-rising flour often have a tender, finer crumb than those made with certain all-purpose flours that might have higher protein content. When adapting recipes, remember that the salt content is also fixed, so you generally don't add extra salt when using self-rising flour. Understanding this difference is key to successfully baking easy self-rising flour cakes and achieving the desired light texture.
Quick & Easy Cake Recipes Using Self-Rising Flour
Recipe 1: The Classic Self-Rising Flour Cake
This recipe is a fantastic starting point for anyone new to baking with self-rising flour. It's incredibly versatile, serving as a perfect base for simple glazes, a dusting of powdered sugar, or even a light buttercream frosting. The beauty of this classic cake is its simplicity and speed – you can have a delicious, moist cake ready in under an hour from start to finish, making it an ideal choice for last-minute treats or spontaneous baking sessions.
Using self-rising flour here streamlines the process dramatically. You won't need to worry about separate leavening agents, just combine the wet and dry ingredients and bake! This recipe consistently produces a lovely, tender crumb, characteristic of easy self-rising flour cakes. It’s a foolproof method that builds confidence and delivers a delightful plain cake that can be enjoyed on its own or dressed up with your favorite simple toppings.
Ingredients for the Classic Cake
- 1 ¾ cups (approx. 210g) Self-Rising Flour
- ¾ cup (150g) Granulated Sugar
- ½ cup (115g) Unsalted Butter, softened
- 2 large Eggs
- ½ cup (120ml) Milk
- 1 teaspoon Vanilla Extract
Step-by-Step Instructions for Baking the Classic Cake
- Preheat your oven to 350°F (175°C). Grease and flour an 8-inch round cake pan or line a loaf pan with parchment paper.
- In a large bowl, cream together the softened butter and sugar until light and fluffy, about 3-5 minutes using an electric mixer.
- Beat in the eggs one at a time, ensuring each is fully incorporated before adding the next. Stir in the vanilla extract.
- In a separate bowl, whisk the self-rising flour.
- Add half of the self-rising flour to the wet ingredients and mix on low speed until just combined.
- Pour in the milk and mix until incorporated.
- Add the remaining self-rising flour and mix until the batter is smooth and no dry streaks remain. Be careful not to overmix.
- Pour the batter into the prepared pan and spread evenly.
- Bake for 30-35 minutes, or until a wooden skewer inserted into the center comes out clean.
- Let the cake cool in the pan for 10-15 minutes before inverting it onto a wire rack to cool completely.
Recipe 2: One-Bowl Lemon Cake with Self-Rising Flour
This lemon cake is a testament to the ease of baking with self-rising flour. By using the one-bowl method, we minimize cleanup while still achieving a wonderfully moist and flavorful cake. The bright, zesty flavor of lemon is a perfect complement to the tender crumb provided by the self-rising flour, resulting in a refreshing treat that's ideal for afternoon tea or a light dessert. It's an easy self-rising flour cake that feels a little fancy but requires minimal effort.
The inclusion of lemon zest and juice infuses the cake with vibrant citrus notes. This recipe demonstrates how easily you can add flavor variations to a basic self-rising flour cake base. The one-bowl approach means you add ingredients in a specific order, mixing as you go, which simplifies the process significantly. It's proof that delicious, flavorful cakes don't require multiple bowls and complicated techniques.
Simple Lemon Cake Ingredients
- 1 ¾ cups (approx. 210g) Self-Rising Flour
- 1 cup (200g) Granulated Sugar
- ½ cup (115g) Unsalted Butter, melted and slightly cooled
- 2 large Eggs
- ½ cup (120ml) Milk or Buttermilk
- Zest of 1-2 Lemons (about 1-2 tablespoons)
- ¼ cup (60ml) Fresh Lemon Juice
Baking Instructions for the One-Bowl Lemon Cake
- Preheat oven to 350°F (175°C). Grease and flour an 8-inch square or round pan.
- In a large mixing bowl, whisk together the self-rising flour and sugar.
- Add the melted butter, eggs, milk (or buttermilk), lemon zest, and lemon juice to the bowl.
- Mix with a whisk or electric mixer on low speed until all ingredients are just combined and the batter is smooth. Do not overmix.
- Pour the batter into the prepared pan and spread evenly.
- Bake for 30-35 minutes, or until a wooden skewer inserted into the center comes out clean.
- Let the cake cool in the pan for 10 minutes before transferring to a wire rack to cool completely.
Recipe 3: Chocolate Cake Using Self-Rising Flour
Who knew you could make a rich, moist chocolate cake using self-rising flour? This recipe proves that this convenient ingredient isn't just for plain or vanilla cakes. By incorporating unsweetened cocoa powder and a few other key ingredients, you can achieve a decadent chocolate flavor with the same ease and speed that self-rising flour provides. This is an easy self-rising flour cake perfect for satisfying chocolate cravings without a lot of fuss.
The key to a great chocolate self-rising flour cake is using good quality cocoa powder and often adding a bit of hot liquid (like hot water or coffee) to bloom the cocoa, enhancing its flavor. This recipe is designed to be quick and straightforward, mixing wet and dry ingredients until just combined. The resulting cake is moist and tender, making it a wonderful base for chocolate frosting or simply enjoyed with a dusting of powdered sugar.
Easy Chocolate Cake Ingredients List
- 1 ¾ cups (approx. 210g) Self-Rising Flour
- 1 cup (200g) Granulated Sugar
- ⅓ cup (30g) Unsweetened Cocoa Powder
- ½ teaspoon Baking Soda (yes, a little extra helps with chocolate)
- ½ cup (115g) Unsalted Butter, melted and slightly cooled
- 2 large Eggs
- ½ cup (120ml) Milk or Buttermilk
- ½ cup (120ml) Hot Water or Hot Coffee
- 1 teaspoon Vanilla Extract
Method: How to Bake a Quick Chocolate Cake
- Preheat oven to 350°F (175°C). Grease and flour an 8-inch round or square pan.
- In a large mixing bowl, whisk together the self-rising flour, sugar, cocoa powder, and baking soda.
- In a separate bowl, whisk together the melted butter, eggs, milk (or buttermilk), and vanilla extract.
- Pour the wet ingredients into the dry ingredients and mix with a whisk or electric mixer on low speed until just combined.
- Carefully pour in the hot water or coffee and mix until the batter is smooth and slightly thin. Be careful not to overmix. The hot liquid helps bloom the cocoa powder for richer flavor.
- Pour the batter into the prepared pan.
- Bake for 30-35 minutes, or until a wooden skewer inserted into the center comes out with moist crumbs (not wet batter). Chocolate cakes can be harder to test; look for edges pulling away slightly.
- Let the cake cool in the pan for 10 minutes before transferring to a wire rack to cool completely.
Tips for Baking Perfect Cakes with Self-Rising Flour
Measuring Self-Rising Flour Accurately
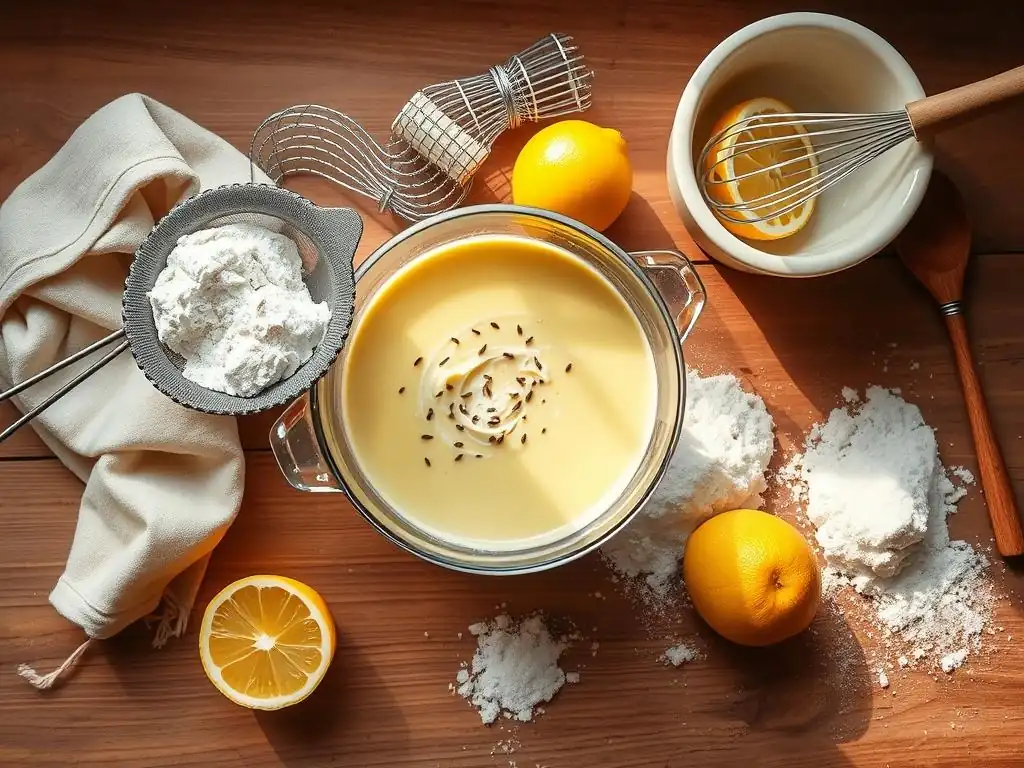
Accurate measurement is crucial for successful baking, even when making easy self-rising flour cakes. While self-rising flour simplifies the leavening step, using the correct volume or weight of flour is still essential for the right cake structure. The most reliable method is using a kitchen scale to weigh the flour; 1 cup of self-rising flour typically weighs around 120 grams. This eliminates the variability that comes with scooping methods.
If you don't have a scale, use the spoon-and-level method. Gently spoon the self-rising flour into your measuring cup until it overflows slightly. Then, use a straight edge (like the back of a knife or a ruler) to level off the excess flour, ensuring the cup is full but not compacted. Avoid scooping directly from the bag with the measuring cup, as this compacts the flour and can result in using too much, leading to a dense cake. Proper measurement ensures your simple self-rising flour cakes turn out light and tender.
Avoiding Common Mistakes When Baking with Self-Rising Flour
One of the most frequent mistakes when using self-rising flour is adding extra baking powder or salt. Remember, these are already included! Adding more can lead to a cake that rises too quickly and collapses, has a metallic or bitter taste from excess leavening, or is overly salty. Always check your recipe to ensure it's specifically designed for self-rising flour or provides instructions on how to adapt from an all-purpose version.
Another common pitfall is overmixing the batter once the flour is added. Overmixing develops the gluten in the flour excessively, which can result in a tough or rubbery cake texture. For easy self-rising flour cakes, mix the batter until the ingredients are just combined and no dry streaks of flour are visible. A few small lumps are perfectly fine. Gentle handling of the batter after adding the flour is key to achieving a tender crumb.
Storing Cakes Made with Self-Rising Flour
Proper storage helps keep your easy self-rising flour cakes fresh and moist. Once the cake has cooled completely on a wire rack, store it in an airtight container at room temperature. If the cake is unfrosted, you can wrap it tightly in plastic wrap before placing it in the container for an extra layer of protection against drying out. A plain self-rising flour cake stored this way will typically stay fresh for 2-3 days.
If your cake has frosting or filling, it might need refrigeration, depending on the ingredients (e.g., cream cheese frosting, fresh fruit filling). Store frosted cakes loosely covered initially if the frosting is soft, then in an airtight container once the frosting has firmed up slightly. Refrigerated cakes can last 5-7 days. For longer storage, most self-rising flour cakes freeze well. Wrap cooled cake slices or the whole cake tightly in plastic wrap, then in foil, and freeze for up to 2-3 months. Thaw at room temperature or in the refrigerator.
Variations and Adaptations for Self-Rising Flour Cakes
Adding Fruits and Nuts to Your Self-Rising Flour Cakes
Incorporating fruits and nuts is a wonderful way to add flavor, texture, and moisture to your easy self-rising flour cakes. For fresh fruits like berries (blueberries, raspberries) or diced apples and pears, aim for about ½ to 1 cup per standard cake recipe (like the classic one above). If using wet fruits, tossing them lightly in a tablespoon of self-rising flour before adding them to the batter can help prevent them from sinking to the bottom during baking.
Nuts, such as chopped walnuts, pecans, or almonds, also add delightful crunch and flavor. Add about ½ cup of chopped nuts to the batter. Dried fruits like raisins, cranberries, or chopped apricots can also be used; rehydrate them slightly in warm water or juice for about 10 minutes before draining and adding to the batter, around ½ to ¾ cup quantity. Remember that adding extra ingredients might slightly increase the baking time, so always check for doneness with a skewer.
Creating Different Flavors with Extracts and Spices
Self-rising flour cakes serve as an excellent base for a wide variety of flavors beyond the basic vanilla or lemon. Extracts are an easy way to introduce new dimensions. Try adding 1 teaspoon of almond extract along with vanilla for a more complex flavor profile, or ½ teaspoon of peppermint extract for a festive touch. Citrus extracts like orange or lime can also be used in place of or alongside lemon.
Spices bring warmth and depth. Incorporate ground cinnamon, nutmeg, or mixed spice (like pumpkin pie spice) into the dry self-rising flour before mixing. Start with 1 teaspoon of cinnamon or ½ teaspoon of other stronger spices and adjust to your preference in future bakes. Combining spices with additions like apples or nuts creates classic flavor pairings that elevate your simple self-rising flour cakes.
Making Icing and Frosting for Simple Self-Rising Flour Cakes
While easy self-rising flour cakes are delicious on their own, a simple icing or frosting can make them extra special. A basic glaze made from powdered sugar and a liquid (milk, lemon juice, or water) is quick and easy. Whisk together about 1 cup of powdered sugar with 1-2 tablespoons of liquid until you reach a pourable consistency. Drizzle this over the cooled cake.
For something slightly richer, a simple buttercream can be made by creaming together ½ cup (115g) softened butter with 2 cups (240g) powdered sugar and 1-2 tablespoons of milk or cream, plus vanilla extract. Beat until light and fluffy. This amount is enough for a thin layer or simple decoration on a single-layer cake. The key is to keep the toppings relatively simple to match the effortless nature of the self-rising flour cake itself.
Troubleshooting Your Self-Rising Flour Cakes
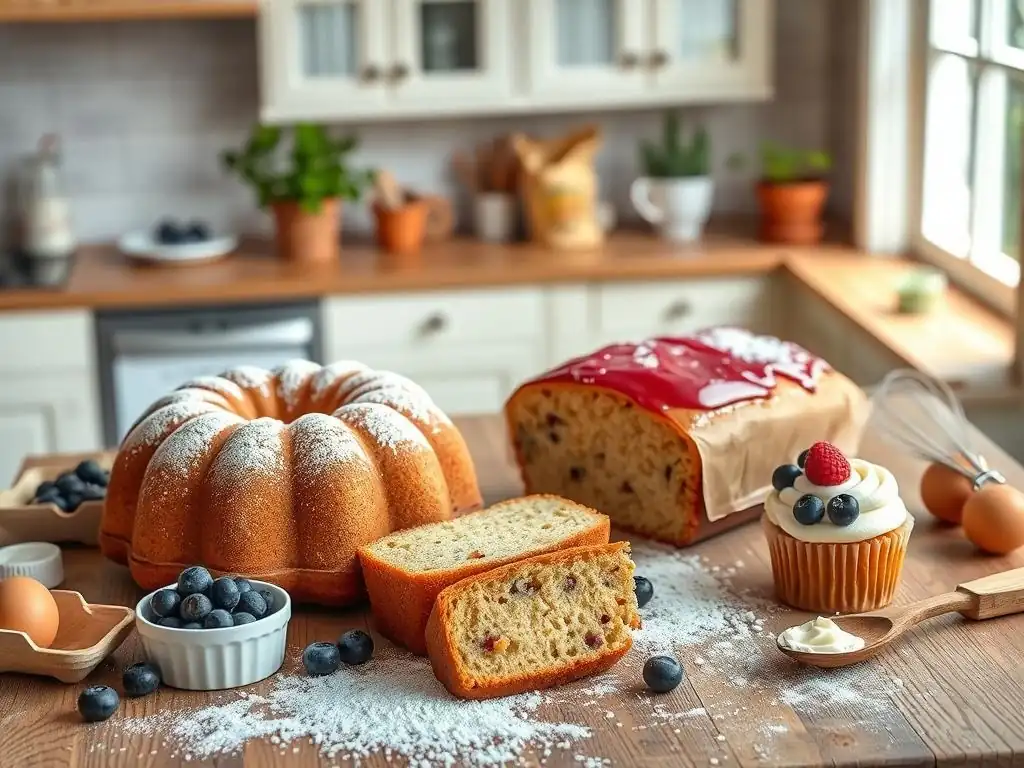
Cake is Too Dense: Possible Causes and Solutions
A dense cake is a common disappointment, but often fixable in future bakes. One primary cause when using self-rising flour is overmixing the batter. As mentioned earlier, overdeveloping gluten results in a tough, dense texture. Ensure you stop mixing as soon as the dry ingredients are just incorporated. Another cause can be using too much flour, often from scooping directly from the bag instead of using the spoon-and-level method or a scale.
Using ingredients that are too cold can also contribute to density, especially butter and eggs. Ensure these are at room temperature so they emulsify properly with other ingredients, creating a lighter batter. Lastly, an oven temperature that is too low can cause the cake to take too long to bake, affecting the rise and resulting in a denser crumb. Always preheat your oven fully and consider using an oven thermometer to check its accuracy. Addressing these points will help you achieve lighter easy self-rising flour cakes.
Cake is Not Rising Properly: Troubleshooting Tips
If your easy self-rising flour cake didn't rise as expected, the most likely culprit is inactive or expired self-rising flour. Although self-rising flour is convenient, the baking powder within it does lose potency over time, typically after 6-12 months once opened. Check the expiration date on the bag. You can test its freshness by adding a spoonful to a small bowl of hot water; it should fizz vigorously if still active.
Other factors include incorrect oven temperature (too low won't activate the leavening effectively), opening the oven door too early during baking (causing the cake to deflate), or using too much liquid in the batter, which can weigh it down. Ensure your oven is properly preheated and avoid peeking until the cake is mostly set, usually at least two-thirds of the way through the baking time.
Cake is Burning: Prevention and Remedies
A burnt cake crust with an undercooked interior is frustrating. This is almost always a sign that your oven temperature is too high, or the cake is placed too close to a heating element. Ensure your oven thermostat is accurate, again using an oven thermometer if possible. If the top is browning too quickly, you can loosely tent the cake with aluminum foil about halfway through the baking time.
Another cause could be using a pan that is too dark or thin, which can absorb and transfer heat too quickly to the cake edges and bottom. Lighter colored, thicker pans tend to bake more evenly. Ensure the cake pan is placed in the center of the oven rack, away from the top or bottom heating elements. Adjusting baking time is also key; start checking for doneness a few minutes before the recipe suggests, especially if your oven runs hot. Taking preventative measures will help ensure your simple self-rising flour cakes bake beautifully golden, not burnt.
Conclusion: Enjoying the Ease of Self-Rising Flour Cakes
BakeWithEase: More Simple Cake Recipes to Explore
We hope this guide has shown you just how simple and rewarding baking easy self-rising flour cakes can be. This versatile ingredient opens up a world of possibilities for quick treats. At BakeWithEase.com, we offer a wealth of other recipes designed for simplicity and delicious results. From our popular one-bowl brownies to our foolproof mug cakes and other simple cake variations using various leavening methods, there's always something new and easy to try.
Explore our recipe index to find more beginner-friendly baking projects. We constantly add new content, tips, and techniques to help you expand your baking repertoire with confidence. Whether you're looking for gluten-free options, vegan bakes, or just incredibly quick desserts, BakeWithEase is your trusted partner in the kitchen. We aim to make every baking experience a positive one, building your skills one easy self-rising flour cake (and beyond!) at a time.
The Joy of Quick and Easy Baking with Self-Rising Flour
There's a unique joy that comes from baking something delicious from scratch, and self-rising flour makes that joy incredibly accessible. The ability to whip up a tender, flavorful cake with minimal fuss and ingredients is truly liberating for busy schedules or those new to baking. It removes common barriers and allows you to focus on the pleasure of the process and the satisfaction of creating something wonderful to share (or enjoy all by yourself! ).
Embrace the convenience and reliability that self-rising flour offers. It's a fantastic tool for building confidence and proving that easy self-rising flour cakes are absolutely within reach for anyone. So grab a bag of self-rising flour, pick one of our simple recipes, and experience the effortless delight of baking. Happy baking from all of us at BakeWithEase!
Frequently Asked Questions
What makes self-rising flour ideal for quick cakes?
Self-rising flour contains leavening agents like baking powder and salt already mixed in, making it a convenient shortcut for simple cake recipes and reducing the number of ingredients you need to measure.
Can I substitute all-purpose flour for self-rising flour in a cake recipe?
No, you cannot directly substitute all-purpose flour. You would need to add baking powder and salt to the all-purpose flour to mimic the properties of self-rising flour for the cake to rise properly.
What kind of cakes are best suited for using self-rising flour?
Self-rising flour is best for simple, quick cakes like pound cakes, muffins, and some types of coffee cakes where a light and airy texture is desired and complex techniques are not required.
How should I store self-rising flour to maintain its effectiveness?
Store self-rising flour in an airtight container in a cool, dry place, away from direct sunlight. This helps to prevent the leavening agents from losing their potency.
Does self-rising flour expire?
Yes, self-rising flour does expire. The leavening agents become less effective over time. Always check the expiration date before using it to ensure your cake rises properly.
Final Reflection: The Enduring Delight of Simple Baking
The ease and accessibility of baking with self-rising flour have never been more relevant. In a world often characterized by complexity and busyness, the ability to create something delicious and comforting with minimal effort offers a powerful antidote to stress. These simple cakes, made with readily available ingredients and straightforward instructions, represent a return to the fundamental joys of baking – a connection to tradition and a celebration of simple pleasures.
The enduring appeal of self-rising flour cakes lies not just in their convenience, but in their capacity to evoke memories and foster connection. They are the cakes of childhood birthdays, impromptu gatherings, and quiet moments of self-care. The aroma alone can transport us back to cherished times and places. Baking is at once child's play and adult joy. And love, of course.
This sentiment perfectly captures the magic of these simple recipes, transforming everyday ingredients into moments of profound satisfaction.
Now, consider your own kitchen. What simple joy could you create today? Perhaps it's the spontaneous baking of one of these cakes, a small act of self-care, or a gesture of kindness shared with loved ones. Don't underestimate the power of simplicity. Embrace the ease of self-rising flour and let the process of baking, in its purest form, nourish your soul as much as it nourishes your body. Let the aroma fill your home with warmth and the taste bring a smile to your face. The simplest things often hold the greatest rewards.
Here's a Call to Action (CTA) for an article on BakeWithEase.com titled "Simple Cakes Using Self-Rising Flour - Quick & Easy":
Unleash Your Inner Baker: Bake a Delicious Cake Today!
Thanks for taking the time to explore these simple, self-rising flour cake recipes! We hope you've discovered the joy of effortless baking. Now it's time to put your newfound skills to the test.
- Bake your favorite cake: Choose one of the recipes from the article and get baking! It's easier than you think.
- Share your creation: Post a picture of your cake on social media and tag us @BakeWithEase (replace with your actual social media handle). We'd love to see your delicious results!
- Explore more easy recipes: Dive deeper into our recipe collection for even more quick and simple baking ideas. (Link to other recipes on BakeWithEase.com would go here in a real website)
What delicious flavor will you create first? Let us know in the comments!