
Skip the Kneading: Effortless Quick Breads for Absolute Beginners

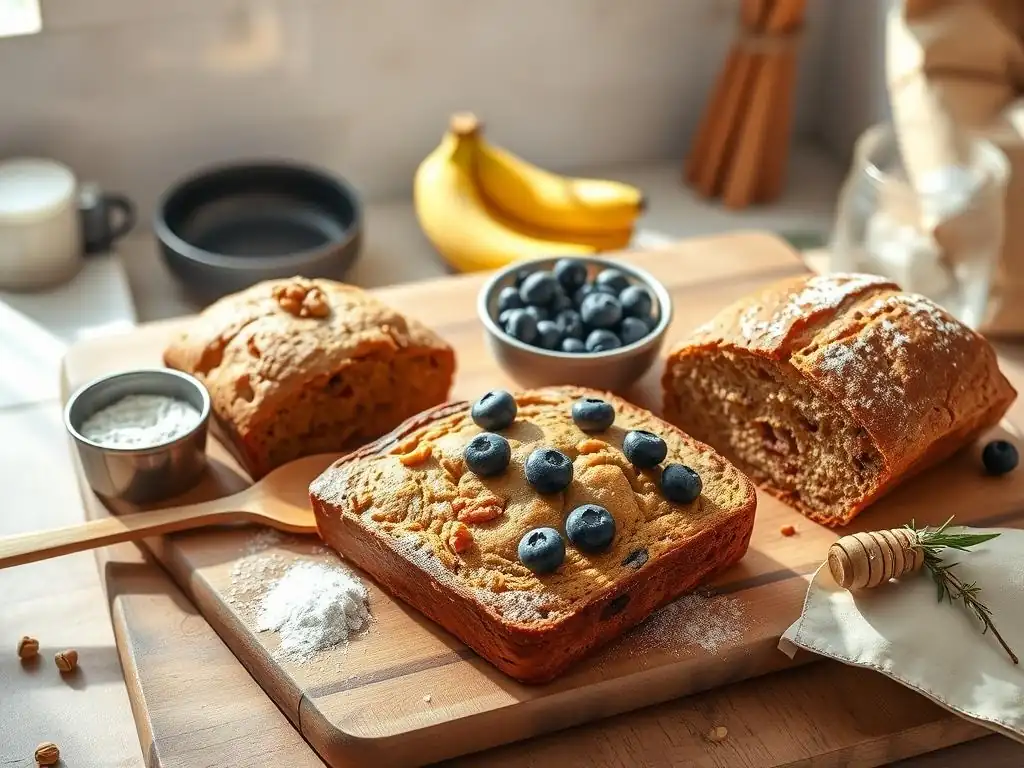
Welcome to BakeWithEase, your haven for effortless baking! Ever dream of fresh, homemade bread without the fuss? Skip the kneading and dive into our guide on easy no-knead quick bread, perfect for absolute beginners. Discover the secrets to delicious, crusty loaves with minimal effort, and unlock a world of baking confidence. Curious how simple it can be? Let's get baking!
- BakeWithEase Presents: The Joy of Easy No-Knead Quick Bread
- What is No-Knead Quick Bread and Why Bake It?
- Essential Equipment for Your Easy Quick Bread Journey
- Easy No-Knead Quick Bread Recipes for Beginners
- Mastering the No-Knead Quick Bread Technique
- Troubleshooting Common No-Knead Quick Bread Problems
- Elevating Your Easy Quick Bread Baking: Tips and Tricks
- Beyond Soda Bread, Banana Bread, and Beer Bread: Exploring More No-Knead Quick Bread Variations
- The Easiest Way to Bake Bread: Your No-Knead Quick Bread Journey Starts Now
- Frequently Asked Questions
- Final Reflection: The Joy of Effortless Baking
- Unleash Your Inner Baker: Effortless Bread Awaits!
BakeWithEase Presents: The Joy of Easy No-Knead Quick Bread
Welcome to the wonderful world of baking, where delicious aromas fill your kitchen and warm treats await! If the thought of kneading dough for hours sounds intimidating, you're in the right place. We believe that everyone can bake, and starting with an easy no-knead quick bread is the perfect way to build confidence and enjoy homemade goodness without the fuss. Forget the complex techniques often associated with yeast breads; quick breads live up to their name, offering speed and simplicity.
Discovering the magic of an easy no-knead quick bread opens up a world of possibilities, from sweet breakfast loaves to savory sides. These recipes are designed for minimal effort and maximum reward, making them ideal for busy schedules or those just starting their baking journey. At BakeWithEase, we're here to guide you step-by-step, proving that baking delicious bread doesn't require hours of work or advanced skills. Let's get baking!
What is No-Knead Quick Bread and Why Bake It?
Understanding the Basics of Quick Breads
Quick breads are a category of baked goods that use chemical leavening agents, such as baking soda or baking powder, instead of yeast. This is their defining characteristic and the key to their speed. Unlike yeast, which requires time to ferment and produce carbon dioxide to make dough rise (often involving multiple hours of proofing and kneading), chemical leaveners react instantly when mixed with wet and acidic ingredients, or when heated. This reaction creates bubbles of gas that cause the batter or dough to rise quickly during baking.
Examples of quick breads are incredibly diverse and common. Think about your favorite muffins, scones, biscuits, pancakes, waffles, and even many types of loaf cakes like banana bread or zucchini bread. They all rely on baking soda, baking powder, or a combination of both to achieve their rise. The process is typically much faster than yeast bread making, often involving just mixing wet and dry ingredients, pouring into a pan, and baking immediately. This speed makes them incredibly accessible for spontaneous baking or when you need a homemade treat in a hurry.
Why Choose No-Knead Bread Baking?
Choosing to bake an easy no-knead quick bread is all about embracing simplicity and efficiency. Traditional yeast breads require kneading to develop gluten structure, which gives the bread its chewy texture and helps it hold its shape. Kneading can be a rigorous, time-consuming process, often taking 10-15 minutes by hand or with a stand mixer, followed by significant proofing time (sometimes hours). For beginners, mastering the feel of properly kneaded dough can be a challenge.
No-knead quick breads bypass this step entirely because they don't rely on yeast or extensive gluten development for their structure. The leavening comes from chemical agents, and the structure is often supported by ingredients like flour, eggs, and fats. This dramatically reduces the active time required and eliminates the need for waiting for dough to rise. You simply mix the ingredients until just combined, pour into the prepared pan, and bake. This makes baking bread achievable even on a busy weeknight or for a last-minute gathering.
Benefits of Baking Quick Breads for Beginners
Baking an easy no-knead quick bread offers numerous advantages for those new to the kitchen. Firstly, the learning curve is significantly gentler compared to yeast baking. There's no need to worry about activating yeast, achieving the perfect gluten development through kneading, or judging when the dough has proofed sufficiently. The steps are straightforward: measure, mix, and bake. This simplicity reduces the potential for errors that can lead to disappointing results.
Secondly, quick breads provide almost instant gratification. Many recipes can be mixed and baked within an hour, sometimes even faster for things like muffins or biscuits. This means you can decide to bake a treat and be enjoying a warm slice shortly thereafter. This rapid turnaround is incredibly encouraging for beginners, providing quick successes that build confidence and enthusiasm for further baking adventures. Plus, the versatility of quick breads means you can easily experiment with different flavors and ingredients once you've mastered the basic technique.
Essential Equipment for Your Easy Quick Bread Journey
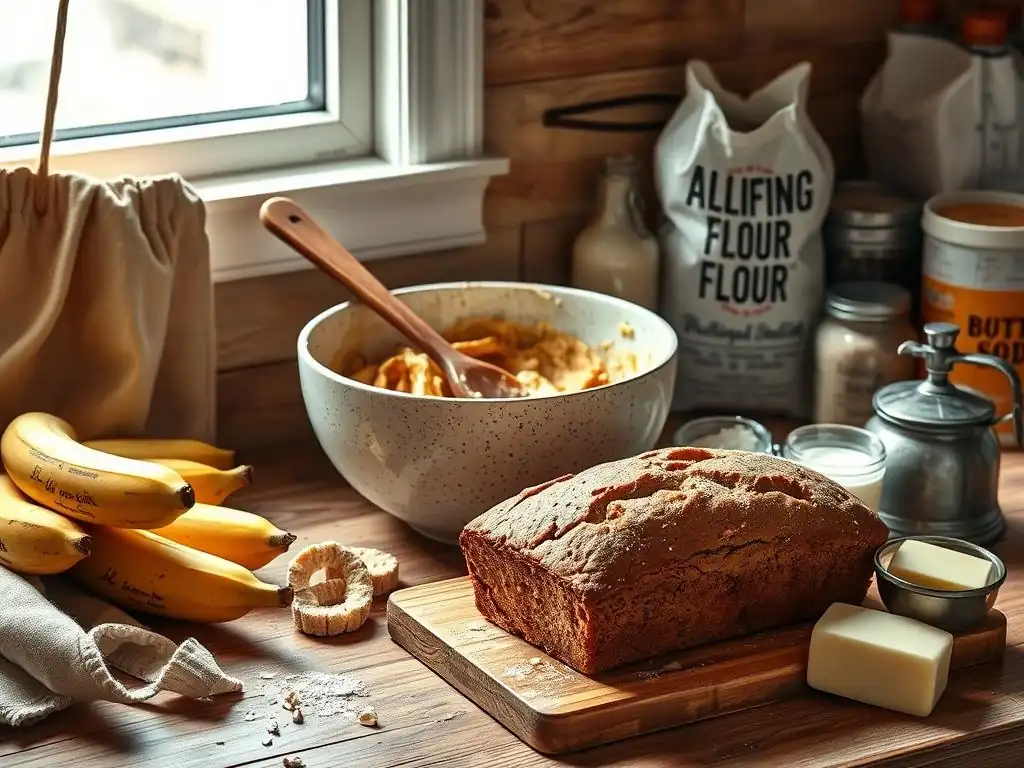
Must-Have Tools for Simple No-Knead Baking
To get started with baking an easy no-knead quick bread, you don't need a kitchen full of fancy gadgets. The most fundamental tool is a set of mixing bowls. Having at least two bowls is helpful – one for dry ingredients and one for wet ingredients before combining them. Standard glass, ceramic, or stainless steel bowls will work perfectly. Aim for bowls that are large enough to comfortably mix the ingredients without spills, typically medium to large sizes (around 2-4 quarts or liters).
You will also need accurate measuring tools. This includes both dry measuring cups (with flat tops for leveling flour, sugar, etc.) and liquid measuring cups (with spouts for easy pouring and measurement lines at eye level).
A set of measuring spoons is crucial for smaller quantities like baking soda, baking powder, salt, and spices. To combine ingredients, a sturdy whisk for dry ingredients and a spatula or wooden spoon for mixing the batter/dough are essential. Finally, a loaf pan is standard for many quick bread recipes, typically a 9x5 inch (23x13 cm) size, or muffin tins if you're making muffins.
Budget-Friendly Baking Equipment Options
Starting your easy no-knead quick bread journey doesn't require a significant investment in equipment. Many basic baking tools are readily available at affordable prices in supermarkets, discount stores, or online retailers. You can often find sets of mixing bowls, measuring cups, and spoons for under $20-$30 in total. Look for durable plastic, glass, or basic metal options rather than specialized or brand-name versions.
If you don't own a dedicated loaf pan, you might be able to improvise for some recipes, though a proper pan is recommended for consistent results. For instance, muffin batters can be baked in cupcake liners on a baking sheet if you lack a tin. Similarly, while a whisk is ideal for aerating dry ingredients, a fork can often suffice for smaller batches. The key is to use what you have and focus on the core principles of measuring accurately and mixing properly. Many successful bakers started with very basic tools found in any standard kitchen.
Easy No-Knead Quick Bread Recipes for Beginners
Recipe 1: Classic No-Knead Soda Bread
Classic Irish soda bread is perhaps one of the most iconic easy no-knead quick bread recipes out there. It traditionally uses just four ingredients: flour, baking soda, salt, and buttermilk. The acidity in the buttermilk reacts with the baking soda to provide the lift. There's no yeast, no sugar (usually), and absolutely no kneading required. It's mixed quickly into a shaggy dough, shaped into a round loaf, and baked.
A standard recipe often calls for around 4 cups (about 500g) of all-purpose or whole wheat flour, 1 teaspoon of baking soda, 1 teaspoon of salt, and about 1.5 to 1.75 cups (around 350-400ml) of buttermilk. The dough should be just wet enough to come together but not sticky.
It bakes at a relatively high temperature, often around 400-425°F (200-220°C), for about 30-40 minutes until golden brown and sounds hollow when tapped on the bottom. A cross is traditionally cut into the top before baking to help it bake evenly and, according to folklore, let the fairies out or ward off evil spirits.
Soda Bread Ingredients Checklist
- [ ] About 4 cups (500g) all-purpose or whole wheat flour
- [ ] 1 teaspoon baking soda
- [ ] 1 teaspoon salt
- [ ] 1.5 to 1.75 cups (350-400ml) buttermilk
Step-by-Step Baking Instructions for Soda Bread
- Preheat your oven to 400°F (200°C). Lightly flour a baking sheet or a cast-iron skillet.
- In a large bowl, whisk together the flour, baking soda, and salt.
- Make a well in the center of the dry ingredients. Pour in the buttermilk.
- Using a spatula or your hand, mix the ingredients until they just come together into a shaggy dough. Be careful not to overmix.
- Turn the dough out onto a lightly floured surface. Gently shape it into a round loaf, about 7-8 inches (18-20 cm) in diameter. Avoid kneading.
- Place the loaf on the prepared baking sheet or in the skillet. Use a sharp knife to cut a deep "X" into the top, about halfway through the dough.
- Bake for 30-40 minutes, or until the crust is golden brown and the bread sounds hollow when tapped on the bottom.
- Let cool slightly on a wire rack before slicing and serving.
Tips for Perfect Soda Bread Every Time
- Use fresh baking soda; expired leavening won't provide proper lift.
- Don't overmix the dough; too much mixing can develop gluten and make the bread tough.
- Handle the dough gently when shaping; you want to keep the air bubbles created by the leavening.
- Ensure your buttermilk is at room temperature for better mixing. If you don't have buttermilk, you can make a substitute by adding 1 tablespoon of white vinegar or lemon juice to 1 cup of milk and letting it sit for 5-10 minutes until it curdles, then adjust the amount needed for the recipe.
- The traditional "X" cut helps the center cook through evenly.
Recipe 2: Simple No-Knead Banana Bread
Banana bread is a beloved classic and a fantastic example of an easy no-knead quick bread. It's the perfect way to use up those overripe bananas sitting on your counter. The mashed bananas provide moisture, sweetness, and structure, while baking soda and/or baking powder give it its rise. The process is incredibly simple: mash bananas, mix with wet ingredients, combine with dry ingredients, and bake.
A typical recipe for a standard 9x5 inch loaf pan might use 2-3 very ripe bananas, about 1/2 cup (1 stick or 113g) of butter (melted or softened), 1/2 to 3/4 cup (100-150g) of sugar, 1-2 eggs, 1 teaspoon of vanilla extract, 1.5 to 2 cups (190-250g) of all-purpose flour, 1 teaspoon of baking soda, and a pinch of salt. Some recipes also add baking powder for extra lift. The key is using very ripe, spotty bananas for the best flavor and moisture. This loaf often bakes at around 350°F (175°C) for 50-70 minutes.
Banana Bread Ingredients Checklist
- [ ] 2-3 very ripe bananas, mashed
- [ ] 1/2 cup (1 stick or 113g) melted or softened butter
- [ ] 1/2 to 3/4 cup (100-150g) granulated sugar
- [ ] 1-2 large eggs
- [ ] 1 teaspoon vanilla extract
- [ ] 1.5 to 2 cups (190-250g) all-purpose flour
- [ ] 1 teaspoon baking soda
- [ ] Pinch of salt (around 1/4 teaspoon)
- [ ] Optional: 1/2 teaspoon baking powder for extra lift
Step-by-Step Baking Instructions for Banana Bread
- Preheat your oven to 350°F (175°C). Grease and flour a 9x5 inch (23x13 cm) loaf pan, or line it with parchment paper.
- In a large bowl, mash the ripe bananas with a fork or potato masher until mostly smooth with a few lumps remaining.
- Stir in the melted or softened butter, sugar, eggs, and vanilla extract into the mashed bananas. Mix until well combined.
- In a separate medium bowl, whisk together the flour, baking soda, salt, and optional baking powder.
- Add the dry ingredients to the wet ingredients. Stir gently with a spatula or wooden spoon until just combined. A few streaks of flour are okay; do not overmix.
- Pour the batter into the prepared loaf pan and spread evenly.
- Bake for 50-70 minutes, or until a toothpick inserted into the center comes out clean. If the top browns too quickly, you can loosely tent it with aluminum foil after about 40 minutes.
- Let the bread cool in the pan for 10-15 minutes before inverting it onto a wire rack to cool completely.
Variations: Adding Nuts, Chocolate Chips, and More
- Nuts: Stir in about 1/2 cup of chopped walnuts or pecans with the dry ingredients before combining with the wet.
- Chocolate Chips: Add 1/2 to 1 cup of chocolate chips (milk, semi-sweet, or dark) to the batter along with the dry ingredients.
- Spices: Enhance the flavor with 1/2 teaspoon of cinnamon or a pinch of nutmeg added to the dry ingredients.
- Dried Fruit: Mix in 1/2 cup of raisins, dried cranberries, or chopped dates for extra sweetness and texture.
- Coconut: Add 1/2 cup of shredded or desiccated coconut.
Recipe 3: Easy No-Knead Beer Bread
Beer bread is a wonderfully simple and flavorful easy no-knead quick bread that uses beer as both the liquid and a significant leavening agent (thanks to the carbonation and sometimes yeast remnants). It typically requires just flour, sugar, baking powder, salt, and a bottle of beer. The result is a rustic, slightly dense loaf with a hint of malty flavor from the beer. It's incredibly forgiving and quick to put together.
A common recipe involves whisking together about 3 cups (about 375g) of self-rising flour (or all-purpose flour plus baking powder and salt), 1 to 3 tablespoons of sugar (depending on desired sweetness), and a 12-ounce (355ml) bottle of beer. Some recipes also add melted butter poured over the top before baking for a richer crust. It's usually baked in a loaf pan at around 375-400°F (190-200°C) for about 40-50 minutes. The simplicity makes it a fantastic easy no-knead quick bread option.
Beer Bread Ingredients Checklist
- [ ] 3 cups (about 375g) self-rising flour (or 3 cups all-purpose flour + 1 tbsp baking powder + 1 tsp salt)
- [ ] 1-3 tablespoons granulated sugar (adjust to taste)
- [ ] 1 (12-ounce or 355ml) bottle of beer
- [ ] Optional: 1/4 cup (55g) melted butter
Step-by-Step Baking Instructions for Beer Bread
- Preheat your oven to 375°F (190°C). Grease a 9x5 inch (23x13 cm) loaf pan.
- In a large bowl, whisk together the self-rising flour (or flour, baking powder, and salt) and sugar.
- Pour in the entire bottle of beer.
- Stir with a spatula or wooden spoon until the dry ingredients are just moistened and everything is combined. The batter will be thick and shaggy. Do not overmix.
- Pour the batter into the prepared loaf pan and spread evenly.
- If using, pour the melted butter evenly over the top of the batter in the pan.
- Bake for 40-50 minutes, or until the crust is golden brown and a toothpick inserted into the center comes out clean.
- Let the bread cool in the pan for 10-15 minutes before turning it out onto a wire rack to cool completely.
Choosing the Right Beer for Your Bread
The type of beer you use will subtly influence the flavor of your easy no-knead quick bread. Generally, lighter beers like lagers or pale ales are recommended for a classic, less pronounced beer flavor that appeals to most people. These give a pleasant malty note without being overwhelming. Examples include standard lagers, pilsners, or light-colored ales.
Avoid using very dark, heavy, or strongly flavored beers if you're new to beer bread, as they can impart intense or bitter notes. Stouts, porters, or heavily hopped IPAs might be too strong for a beginner's palate in bread. Experimenting with different beers is part of the fun once you're comfortable, but start with a simple, standard beer for your first easy no-knead quick bread batch to ensure success.
Mastering the No-Knead Quick Bread Technique
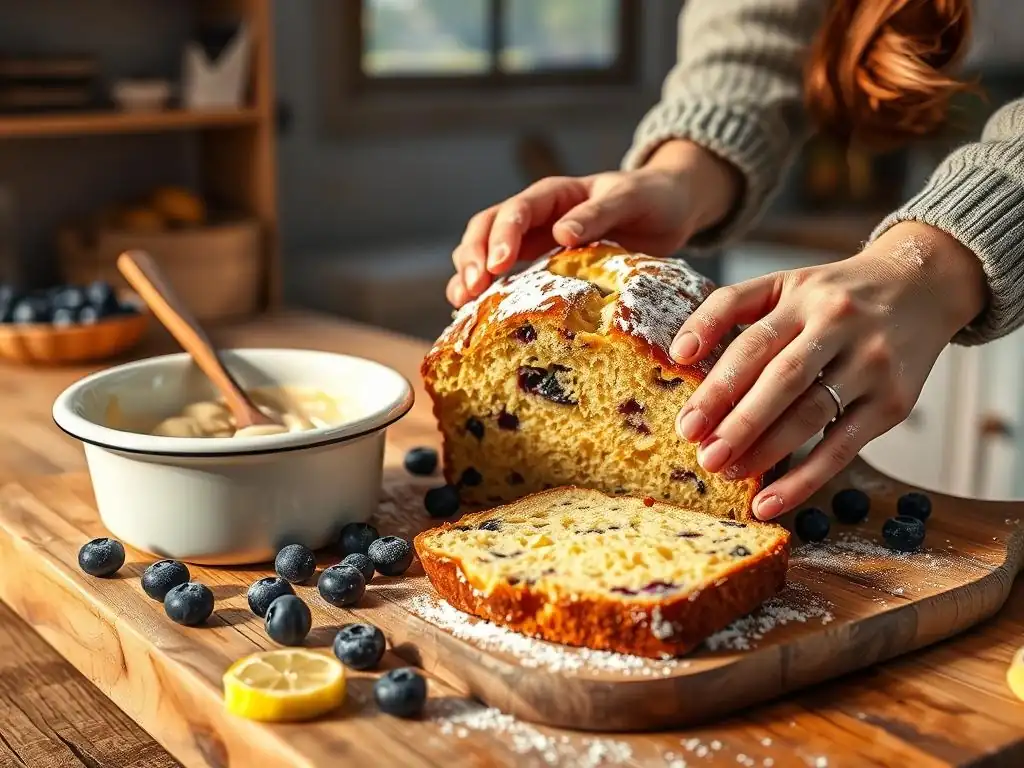
Mixing the Dough: Achieving the Right Consistency
Mixing is arguably the most critical step in making an easy no-knead quick bread, and surprisingly, the most common mistake is overmixing. Unlike yeast doughs where you develop gluten, quick bread batters and doughs rely on the chemical leaveners and other ingredients for structure. Overmixing develops gluten unnecessarily, which can result in a tough, dense, or rubbery texture instead of the desired tender crumb. The goal is simply to combine the wet and dry ingredients until no dry streaks of flour remain.
The consistency you're aiming for will vary slightly depending on the specific recipe. For loaf-style quick breads like banana bread or zucchini bread, the mixture will often be more of a thick batter or a very wet, shaggy dough. For something like soda bread, it will be a cohesive but still slightly shaggy dough that can be gently shaped.
Stop mixing as soon as the ingredients are just incorporated. It's far better to have a few small lumps or streaks of flour than to overmix and compromise the texture. Use a light hand and a spatula or wooden spoon rather than an electric mixer for most quick breads.
Baking Time and Temperature: Getting it Right
Accurate oven temperature and baking time are crucial for a successful easy no-knead quick bread. Most quick bread loaves bake in a moderate oven, typically between 350°F and 400°F (175°C and 200°C). Baking at the correct temperature ensures that the leavening agents react properly and the bread bakes through evenly without burning the crust. Using an oven thermometer can help verify your oven's actual temperature, as they can sometimes be off by 25°F (about 15°C) or more.
Baking time will vary significantly based on the recipe, the size and shape of the pan, and your oven. A standard 9x5 inch loaf often takes anywhere from 45 to 70 minutes. Smaller items like muffins bake much faster, around 20-25 minutes. To check for doneness, the most reliable method is inserting a toothpick or a thin skewer into the center of the bread.
If it comes out clean or with just a few moist crumbs attached, the bread is likely done. You can also gently press the top; it should spring back slightly. For a more technical check, an internal thermometer should register around 200-210°F (93-99°C) in the center.
Cooling and Storing Your No-Knead Quick Bread
Proper cooling is an often-overlooked but essential step for your easy no-knead quick bread. While it's tempting to slice into a warm loaf straight from the oven, allowing it to cool helps the internal structure set and allows the moisture to redistribute evenly throughout the bread. This prevents a gummy texture. Typically, you should let the bread cool in its pan for 10-15 minutes after removing it from the oven. This allows it to firm up slightly before handling.
After the initial cooling in the pan, carefully remove the bread and transfer it to a wire rack to cool completely. A wire rack allows air to circulate around all sides of the loaf, preventing the bottom from becoming soggy. Allow the bread to cool for at least an hour, or longer for denser loaves, before slicing.
Once completely cool, store your easy no-knead quick bread at room temperature in an airtight container, wrapped tightly in plastic wrap, or in a bread bag. Most quick breads will stay fresh for 2-4 days. For longer storage, quick breads freeze beautifully; wrap tightly in plastic wrap and then in foil or a freezer bag for up to 2-3 months.
Troubleshooting Common No-Knead Quick Bread Problems
Bread is Too Dense
A dense texture is a common issue when making an easy no-knead quick bread. One primary culprit is overmixing the batter. When you stir too vigorously or for too long after combining the wet and dry ingredients, you develop the gluten in the flour. While gluten is desirable in yeast breads for structure, in quick breads it leads to a tough, heavy crumb because the leavening agents can't effectively lift the overdeveloped structure. Remember to mix only until the dry ingredients are just incorporated – a few small lumps are fine.
Another reason for density can be using expired chemical leaveners (baking soda or baking powder). These ingredients lose their potency over time, especially if exposed to moisture or air. If your leaveners are old, they won't produce enough gas bubbles to make the bread rise properly, resulting in a flat, dense loaf.
Check the expiration dates on your baking soda and powder; a good rule of thumb is to replace them every 6-12 months. Also, ensure you are measuring your flour correctly, ideally by weight (using a scale) or using the spoon-and-level method (spooning flour into the measuring cup and leveling off the top without packing it down). Too much flour will weigh down the bread.
Bread is Too Dry
If your easy no-knead quick bread turns out dry or crumbly, several factors could be at play. The most common cause is overbaking. Leaving the bread in the oven for too long at too high a temperature evaporates too much moisture. Always check for doneness using the toothpick test or an internal thermometer towards the end of the recommended baking time, and remove it as soon as it's ready. Oven temperatures can vary, so trust your doneness test over the clock alone.
Another reason for dryness is using too much flour or not enough liquid/fat in the recipe. Measuring flour incorrectly (packing it into the cup) can add significantly more flour than intended. Ensure you're using the correct measuring technique or, even better, a kitchen scale.
The fat content (like butter, oil, or mashed fruit like bananas) and liquid (milk, buttermilk, eggs) are crucial for moisture and tenderness in quick breads. Double-check your measurements for these ingredients and ensure your ingredients like butter are at the correct temperature (melted or softened as specified) for proper incorporation. Using very lean ingredients when the recipe calls for richer ones can also lead to a drier result.
Bread Didn't Rise Properly
When your easy no-knead quick bread comes out flat or doesn't have the expected height, the issue almost always lies with the leavening. As mentioned regarding density, expired baking soda or baking powder is a frequent culprit. If they aren't fresh and active, they simply won't create the necessary gas bubbles to lift the batter during baking. Ensure your leaveners are fresh and stored in airtight containers away from humidity.
Incorrect liquid or acidic ingredients can also affect rise. Baking soda needs an acid to react (like buttermilk, yogurt, brown sugar, or molasses), while baking powder is double-acting and reacts both when mixed with liquid and when heated. Using the wrong type of liquid, or not enough of an acidic ingredient when baking soda is the sole leavener, will hinder the reaction.
Also, opening the oven door too early or too frequently during baking, especially in the first 20-30 minutes, can cause the bread to collapse if the structure hasn't set yet. Resist the urge to peek until the bread is well into its baking time.
Elevating Your Easy Quick Bread Baking: Tips and Tricks
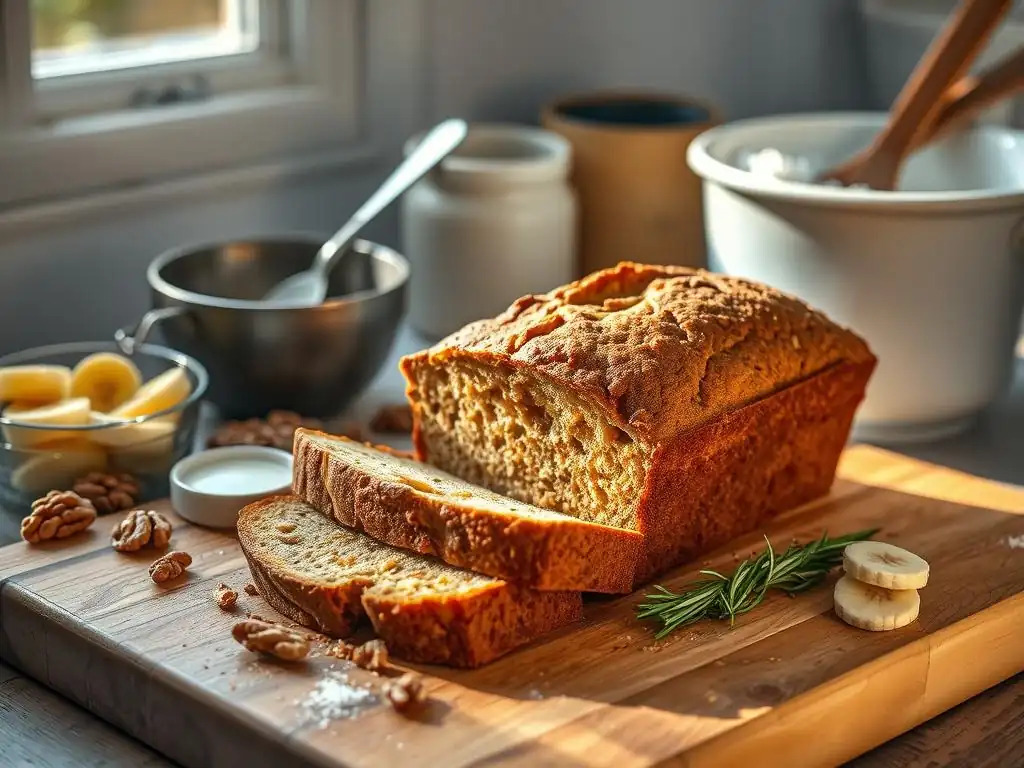
Adding Flavors and Textures to Your Quick Breads
Once you've mastered the basic easy no-knead quick bread recipes, you can easily customize them to add exciting flavors and textures. Spices are a simple way to enhance taste; cinnamon, nutmeg, allspice, or cardamom work beautifully in sweet quick breads like banana or pumpkin bread. Start with about 1/2 to 1 teaspoon per loaf, added to the dry ingredients. Extracts like vanilla, almond, or maple can also deepen the flavor profile; usually, 1 teaspoon is sufficient for a standard loaf.
Adding mix-ins provides both flavor and texture. Chopped nuts (walnuts, pecans, almonds) offer crunch, while dried fruits (raisins, cranberries, chopped apricots) add chewiness and pockets of sweetness. Chocolate chips or chunks are always popular additions, providing melty richness.
Fold in about 1/2 to 1 cup of your chosen mix-ins towards the end of the mixing process, just before pouring the batter into the pan. You can also sprinkle a few over the top of the batter before baking for a nice visual and textual element on the crust. Seeds (like poppy or sesame) can also be sprinkled on top of savory quick breads like soda bread or beer bread.
Serving Suggestions and Pairing Ideas
Easy no-knead quick breads are incredibly versatile and can be enjoyed in countless ways. A warm slice, fresh from the oven, simply spread with butter is a classic and comforting treat. For sweet loaves like banana bread or pumpkin bread, consider serving them for breakfast or brunch with a dollop of yogurt or whipped cream, or alongside fresh fruit. They also make a perfect afternoon snack with a cup of coffee or tea.
Savory quick breads like soda bread or beer bread are excellent companions to meals. Soda bread is traditionally served with butter and jam, but it's also fantastic alongside soups (like a hearty potato soup or chowder) or stews. Beer bread pairs wonderfully with chili, stews, or served warm with butter as a side dish for dinner. Consider toasting slices of quick bread for an extra layer of texture and flavor, especially delicious for spreading with cream cheese or avocado. The possibilities are nearly endless, making your easy no-knead quick bread a versatile addition to your culinary repertoire.
Beyond Soda Bread, Banana Bread, and Beer Bread: Exploring More No-Knead Quick Bread Variations
No-Knead Cornbread
Cornbread is another fantastic example of an easy no-knead quick bread, beloved for its slightly coarse texture and sweet or savory flavor profile. It relies on baking powder and often baking soda (if buttermilk or sour cream is used) for its rise. The key ingredients are cornmeal and flour, mixed with wet ingredients like milk, eggs, and melted butter or oil. It's typically baked in a cast iron skillet or a square or round baking pan.
Mixing cornbread batter is similar to other quick breads: combine dry ingredients, combine wet ingredients, then gently mix them together until just combined. Overmixing will result in tough cornbread. Baking time is relatively short, often 20-30 minutes, usually at a higher temperature like 400-425°F (200-220°C) to get a nice crust. Cornbread is famously served warm with butter and honey, or as a side dish for chili, barbecue, or fried chicken. Its simplicity makes it a great next step for anyone comfortable with easy no-knead quick bread basics.
No-Knead Zucchini Bread
Zucchini bread is a delicious and moist quick bread, perfect for using up garden surplus. Despite the vegetable in the name, it has a sweet, cake-like crumb, often flavored with cinnamon and nuts. The shredded zucchini adds significant moisture, contributing to the tender texture, and it doesn't require any kneading. Like banana bread, it uses baking soda and/or baking powder for leavening, mixed with flour, sugar, eggs, oil (or butter), and vanilla extract.
The process involves grating the zucchini (often requiring about 1.5 to 2 cups, or 250-350g, squeezed slightly to remove excess water), then mixing wet and dry ingredients separately before combining them gently. It's typically baked in a loaf pan at around 350°F (175°C) for 50-70 minutes. Zucchini bread is incredibly moist and stays fresh for several days. It's excellent plain, toasted, or served with cream cheese frosting for a more dessert-like treat. Its forgiving nature due to the high moisture content makes it another excellent easy no-knead quick bread for beginners.
No-Knead Pumpkin Bread
Pumpkin bread is a quintessential fall quick bread, but its comforting spices and moist crumb make it a favorite year-round. It uses canned pumpkin puree (not pumpkin pie filling) as a primary ingredient, providing moisture, color, and a subtle earthy flavor. Along with flour, sugar, eggs, oil (or butter), and vanilla, it relies on baking soda and baking powder for lift and is heavily spiced with cinnamon, nutmeg, cloves, and ginger.
Similar to other easy no-knead quick bread recipes, the method involves whisking dry ingredients, mixing wet ingredients (including the pumpkin puree), and then combining them gently until just mixed. It's usually baked in a loaf pan, often at 350°F (175°C), for about 60-80 minutes due to its density and moisture. Pumpkin bread is delicious on its own, served with butter, or topped with a simple glaze. The warm spices make it incredibly aromatic while baking, adding to the cozy experience of making this easy no-knead quick bread.
The Easiest Way to Bake Bread: Your No-Knead Quick Bread Journey Starts Now
You've explored the simplicity, speed, and versatility of easy no-knead quick bread. From the rustic charm of soda bread to the comforting sweetness of banana and pumpkin loaves, these recipes prove that delicious homemade bread is well within your reach, even if you've never baked before. The lack of kneading and minimal rising time dramatically reduces complexity and waiting, making bread baking accessible and enjoyable.
Armed with basic kitchen tools and a few simple ingredients, you are ready to bake your very first easy no-knead quick bread. Don't be afraid to start with one of the classic recipes provided, and then feel free to experiment with variations and different types. Baking should be fun and rewarding, and mastering an easy no-knead quick bread is a fantastic way to build confidence in the kitchen and share warm, homemade goodness with others. Get your ingredients ready, preheat your oven, and experience the joy of baking bread the easy way!
Frequently Asked Questions
What exactly is a "no-knead" bread?
A no-knead bread is a type of bread that requires minimal to no kneading. This means less effort and time spent preparing the dough, making it perfect for beginners. It relies on long fermentation for flavor development.
How is a "quick bread" different from regular bread?
Quick breads don't require yeast for leavening. Instead, they use baking powder or baking soda to rise. This results in a much shorter preparation and baking time compared to yeast-based breads.
What makes these recipes "easy" and beginner-friendly?
The recipes on BakeWithEase.com emphasize simple ingredients and clear, step-by-step instructions. They avoid complex techniques, focusing on achievable results for bakers of all skill levels.
Can I substitute ingredients in these quick bread recipes?
While some substitutions are possible, it's important to consider how they might affect the final product. Changing the type of flour or liquid can impact the texture and rise of the bread. Always test small changes first.
How can I ensure my quick bread rises properly?
Make sure your baking powder or baking soda is fresh, as expired leavening agents won't work effectively. Also, avoid overmixing the batter, as this can develop gluten and result in a tough bread.
Final Reflection: The Joy of Effortless Baking
The simplicity of no-knead baking isn't just a time-saver; it's a gateway to the joy of creating delicious, homemade bread for everyone. This article has explored the surprisingly straightforward world of quick breads that require absolutely zero kneading, proving that achieving bakery-quality results doesn't necessitate hours of strenuous work. The ease of these recipes democratizes baking, making it accessible to even the busiest individuals or those intimidated by traditional bread-making techniques.
The impact of accessible baking extends far beyond the individual kitchen. It fosters a sense of accomplishment and connection, allowing people to share homemade treats with loved ones and experience the satisfaction of creating something delicious from scratch. This resonates deeply with the current trend towards mindful living and slowing down, offering a counterpoint to our fast-paced world. Baking is at once child's play and adult joy. And love, of course.
– This sentiment perfectly encapsulates the heart of no-knead baking: the ability to experience the simple pleasures of baking without the overwhelming commitment.
Now, it's your turn. Don't let the perceived difficulty of baking hold you back. Choose a recipe from this article, gather your ingredients, and experience the magic of creating something delicious with minimal effort. Embrace the simplicity, savor the process, and share the joy of your freshly baked bread with those you love. You might be surprised at how much this seemingly small act can enrich your life.
Unleash Your Inner Baker: Effortless Bread Awaits!
Thanks for joining us on this baking adventure! We hope you've discovered the joy of quick bread without the fuss. Ready to roll up your sleeves and get baking?
- Bake your first quick bread TODAY! Choose your favorite recipe from the article and get started. It's easier than you think!
- Share your baking triumph on social media using #BakeWithEase – we'd love to see your creations!
- Explore our other beginner-friendly recipes on BakeWithEase.com for even more delicious inspiration.
What delicious quick bread will you conquer first?