
Achieve a Perfect Crust on GlutenFree Artisan Bread

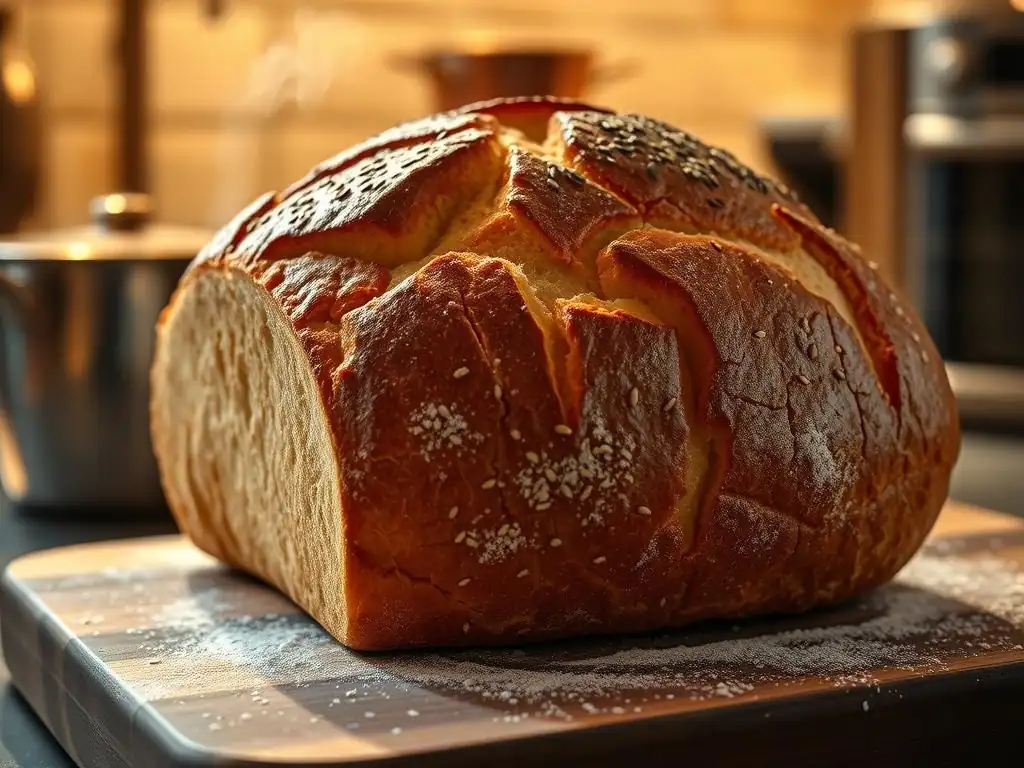
Welcome to BakeWithEase, your kitchen companion for all things baking! Ever dreamt of biting into a perfectly crisp, golden-brown crust on a loaf of GlutenFree Artisan Bread? We understand the challenge, and we're here to unlock the secrets. Discover the techniques and simple tweaks that will transform your gluten-free baking from frustrating to fantastic. Intrigued? Let's dive in and achieve that coveted crust together!
- Achieve a Perfect Crust on Gluten-Free Artisan Bread: BakeWithEase Guide
- Introduction: Mastering the Gluten-Free Artisan Bread Crust
- Understanding the Challenges of Gluten-Free Crust Formation
- Key Ingredients for a Superior Gluten-Free Artisan Bread Crust
- Essential Techniques for Achieving a Crispy Gluten-Free Crust
- Baking Strategies for a Golden-Brown Gluten-Free Artisan Crust
- Troubleshooting Common Gluten-Free Crust Problems
- Post-Baking Tips for Maintaining Crust Crispness
- Recipe: BakeWithEase's Guide to a Perfect Gluten-Free Artisan Bread with a Crispy Crust
- Conclusion: Enjoying Your Homemade Gluten-Free Artisan Bread with a Perfect Crust
-
Frequently Asked Questions
- How do I achieve a crispy crust on gluten-free artisan bread?
- What ingredients are essential for a good gluten-free artisan bread crust?
- Why is my gluten-free artisan bread crust tough and hard?
- Can I use a bread machine to make gluten-free artisan bread with a good crust?
- What are some tips for preventing my gluten-free artisan bread crust from cracking?
- Final Reflection: The Golden Crust of Possibility
- Unlock Your Gluten-Free Baking Potential!
Achieve a Perfect Crust on Gluten-Free Artisan Bread: BakeWithEase Guide
Introduction: Mastering the Gluten-Free Artisan Bread Crust
Welcome, fellow bakers, to the delightful challenge of gluten-free artisan bread! Achieving that coveted, crispy, golden crust on a loaf of gluten-free bread can sometimes feel like chasing a baking unicorn. Unlike traditional wheat bread, which relies on the magical stretchy network of gluten for structure and crust development, gluten-free doughs require a different approach entirely. But fear not! With the right ingredients and techniques, a truly spectacular glutenfree artisan bread crust is well within your reach.
This guide from BakeWithEase will walk you through the nuances of gluten-free crust formation, exploring the crucial role of ingredients like specialized flour blends and binders, and detailing the essential techniques from hydration to baking temperature. We'll share practical tips and strategies to help you overcome common hurdles and ensure your next gluten-free loaf boasts a beautiful, crispy exterior that's just as satisfying as its traditional counterpart. Get ready to elevate your gluten-free baking game and enjoy the unparalleled pleasure of slicing into a homemade glutenfree artisan bread crust that crunches just right.
Understanding the Challenges of Gluten-Free Crust Formation
The Role of Gluten in Traditional Bread Crust
In traditional wheat baking, gluten, a protein formed when glutenin and gliadin (found in wheat flour) are mixed with water and kneaded, plays a fundamental role in crust development. This protein network is incredibly elastic and strong, trapping the carbon dioxide gases produced during fermentation.
As the dough bakes at high temperatures, this trapped gas expands rapidly, causing the bread to rise dramatically – this is known as oven spring. Simultaneously, the intense heat causes the surface moisture to evaporate quickly, and the sugars on the surface caramelize, while starches gelatinize and then harden, creating the firm, flavorful, and crispy crust we know and love.
The robust gluten network provides the necessary structure to support this rapid expansion without collapsing. It allows the crust to stretch and thin out during oven spring before setting into a crisp shell. Without this natural scaffolding, gluten-free dough behaves very differently, presenting unique obstacles to achieving a comparable glutenfree artisan bread crust.
Why Gluten-Free Baking Requires Special Techniques for Crust Development
The absence of gluten means that gluten-free doughs lack the inherent elasticity and structure needed for significant oven spring and the formation of a thin, crisp crust under high heat. Gluten-free flours don't form a cohesive network; they are often more like batters than doughs in their handling characteristics. This can lead to loaves that are dense, have poor rise, and develop a thick, hard, or pale crust instead of a light, crispy glutenfree artisan bread crust.
To compensate for the lack of gluten, bakers must employ specific techniques and ingredients. These methods aim to mimic the functions of gluten by providing structure, aiding gas retention, and ensuring sufficient moisture is present during the initial baking phase to allow for expansion. Mastering hydration levels, using binders effectively, optimizing proofing, and employing high-heat baking with steam are all critical steps in coaxing a beautiful, crunchy glutenfree artisan bread crust out of a gluten-free dough. It's a different science, but one that yields incredibly rewarding results with practice.
Key Ingredients for a Superior Gluten-Free Artisan Bread Crust
Choosing the Right Gluten-Free Flour Blend for Optimal Crust
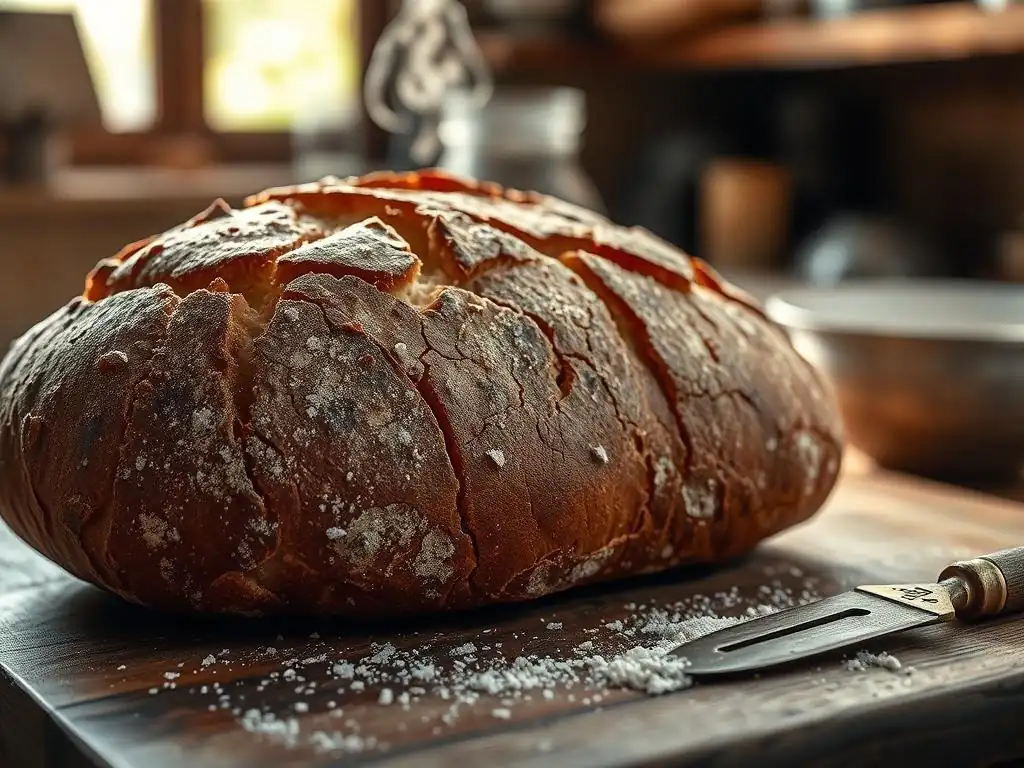
The foundation of any good gluten-free bread, and especially its crust, is the flour blend. Not all gluten-free flours behave the same way, and a blend that works well for cakes might not be suitable for achieving a perfect glutenfree artisan bread crust. Generally, a good blend for artisan-style bread includes a mix of whole-grain flours and starchy flours. Whole grains like brown rice, sorghum, or millet flours contribute flavor, structure, and nutrients, while starches such as tapioca starch, potato starch, or cornstarch help provide elasticity and contribute to a lighter texture and better browning for the gluten-free crust.
For example, a blend might use roughly 40-50% whole-grain flours (like brown rice and sorghum) and 50-60% starchy flours (like tapioca and potato starch). Using too many heavy whole-grain flours can result in a dense loaf and a thick, tough crust, while relying too heavily on starches can lead to a gummy interior and a crust that's brittle rather than crispy. Experimenting with different ratios is key, but starting with a balanced mix designed for bread baking is crucial for developing that desirable glutenfree artisan bread crust.
The Importance of Starches in Gluten-Free Crust Structure
Starches are vital components in gluten-free bread recipes, significantly impacting both the interior crumb and the exterior gluten-free artisan bread crust. During baking, starches undergo gelatinization: they absorb water and swell, contributing to the dough's structure. As the temperature increases, the water evaporates, and the gelatinized starches form a more rigid structure. On the surface, this process, combined with the Maillard reaction (browning) and caramelization of sugars, is fundamental to creating a crisp and golden crust.
Tapioca starch, for instance, is known for contributing chewiness and crispness, making it excellent for achieving a bubbly, light gluten-free crust. Potato starch provides tenderness and helps with moisture retention, preventing the crust from becoming too hard. Cornstarch can also be used for structure and crispness. A blend of these starches often yields the best results, providing a balance of structure, crispness, and browning that is essential for a truly great glutenfree artisan bread crust.
The Impact of Binders (Xanthan Gum, Psyllium Husk) on Crust Quality
Binders like xanthan gum and psyllium husk are indispensable in gluten-free bread baking. They act as substitutes for the gluten network, providing cohesion, elasticity, and the ability to trap gases. This structural support is absolutely critical for achieving sufficient oven spring, which in turn allows the crust to expand and thin out properly before setting. Without binders, gluten-free doughs would likely collapse and result in a dense loaf with a poor glutenfree artisan bread crust.
Psyllium husk (especially whole husk, though powder is also used) is particularly favored by many artisan gluten-free bakers. It absorbs a significant amount of water, forming a gel-like substance that mimics the elasticity and structure of gluten remarkably well. This leads to better dough handling, increased oven spring, and a more open crumb structure, all of which contribute positively to the glutenfree artisan bread crust.
Xanthan gum also provides structure and elasticity but can sometimes result in a slightly gummy texture if used in excess. The typical usage for psyllium husk is around 10-15% of the total flour weight, while xanthan gum is used in much smaller amounts, often 0.5-1% of the flour weight. Using the correct binder, and the right amount, is a cornerstone technique for developing a successful glutenfree artisan bread crust.
Essential Techniques for Achieving a Crispy Gluten-Free Crust
Hydration Levels: Finding the Perfect Dough Consistency for Crust Formation
Hydration, the ratio of water to flour, is a critical factor in gluten-free bread baking and profoundly impacts the glutenfree artisan bread crust. Unlike wheat dough, which is often kneaded into a firm ball, gluten-free doughs are typically much wetter – often closer to a thick batter or a very wet, sticky dough. Hydration levels for gluten-free artisan bread can range from 80% to even 100% or more relative to the flour weight. This high hydration is necessary because gluten-free flours and binders absorb more liquid than wheat flour, and the extra moisture is crucial for several reasons.
Firstly, high hydration helps to fully activate the starches and binders, creating a more cohesive structure that can trap gases effectively. Secondly, the extra moisture provides steam during the initial phase of baking, which is vital for allowing the dough to expand fully before the crust sets.
If the dough is too dry, the crust will set too quickly, restricting oven spring and resulting in a denser loaf with a thick, potentially hard, gluten-free crust. Finding the sweet spot for hydration for your specific flour blend and binder is key; the dough should be wet and sticky but still manageable enough to shape (often with wet hands or a scraper).
The Importance of Proofing Time for Gluten-Free Artisan Bread
Proofing, the final rise before baking, is just as important for gluten-free bread as it is for traditional loaves, and it directly influences the glutenfree artisan bread crust. Proper proofing allows the yeast to produce sufficient carbon dioxide gas to aerate the dough, creating an open crumb structure and contributing to oven spring. The duration of proofing for gluten-free dough can vary significantly based on room temperature, yeast activity, and the specific recipe, but it's often shorter than for wheat dough, perhaps 45-90 minutes for a bulk rise and 30-60 minutes for a shaped loaf.
Under-proofing will result in a dense loaf with limited oven spring and a crust that may be thick and prone to cracking. Over-proofing, on the other hand, can cause the dough structure to collapse before it even hits the oven, leading to a flat loaf with poor crust development. The dough should look visibly increased in size (perhaps 50-75%) and feel slightly airy.
Gently poking the dough should leave a small indentation that springs back slowly. Getting the proofing right ensures the dough is ready to achieve maximum expansion in the oven, setting the stage for a light interior and a beautiful glutenfree artisan bread crust.
Shaping Techniques to Promote Crust Development
Even though gluten-free dough is often wet and sticky, shaping it correctly is still important for developing a good glutenfree artisan bread crust. Shaping helps to create surface tension on the dough. This tension provides structure and encourages the loaf to hold its shape as it expands in the oven. While you won't develop gluten through kneading, techniques like gentle folding and creating a taut surface are still beneficial.
For a boule (round loaf), you might use wet hands or a scraper to gently pull the edges of the dough towards the center, then flip it over and use your hands to cup and rotate it on a lightly floured (gluten-free rice flour works well) or wet surface to build tension on the top. For a batard (oval loaf), similar folding techniques apply to create an elongated shape with a taut surface.
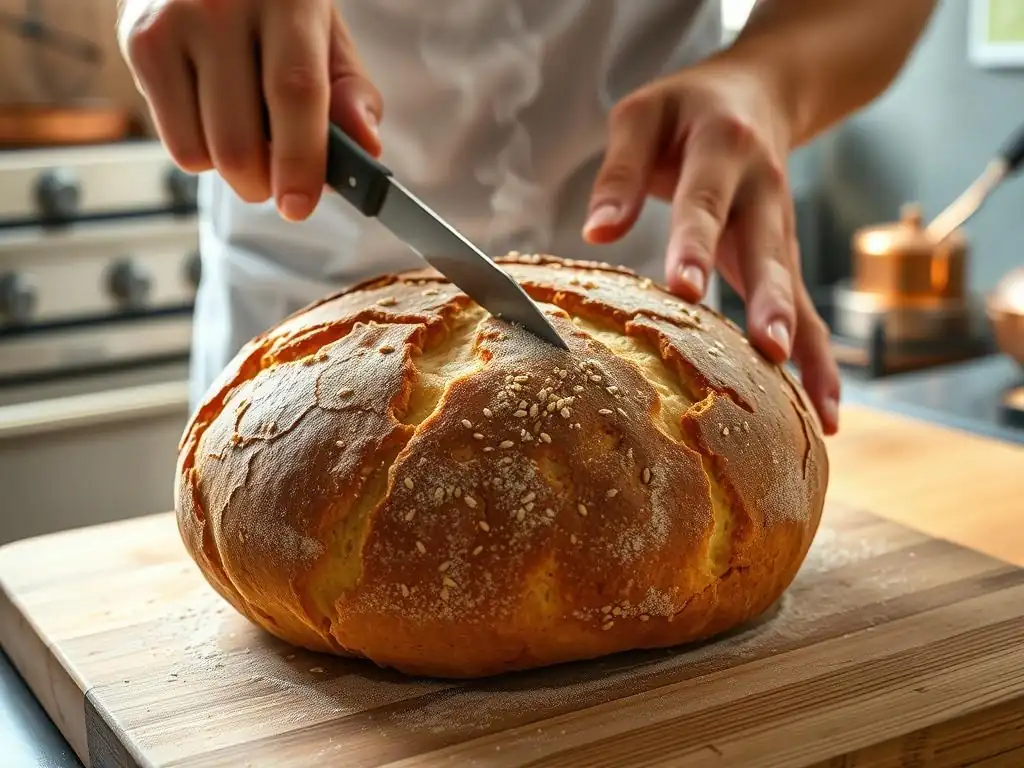
This surface tension helps the loaf to rise upwards rather than outwards during baking, contributing to a better structure and a more evenly developed glutenfree artisan bread crust. Scoring the dough just before baking also allows for controlled expansion, preventing random blowouts and encouraging specific parts of the crust to open up attractively.
Baking Strategies for a Golden-Brown Gluten-Free Artisan Crust
Oven Temperature: Optimizing Heat for Crust Color and Texture
High initial oven temperature is crucial for achieving a great glutenfree artisan bread crust. Baking at a high temperature, typically between 450°F and 500°F (230°C - 260°C), provides a burst of heat that maximizes oven spring and quickly sets the outer layer of the dough. This rapid setting is necessary for the crust to form before the internal structure collapses. The intense heat also drives the Maillard reaction and caramelization on the surface, contributing to the golden-brown color and rich flavor of the gluten-free crust.
Often, bakers start at a very high temperature for the first 15-20 minutes, then reduce the temperature (perhaps to 400-425°F or 200-220°C) for the remainder of the baking time. This initial high heat is key for crust development, while the slightly lower temperature ensures the inside cooks through without the crust burning. Monitoring your oven's actual temperature with an oven thermometer is highly recommended, as temperatures can vary significantly from the dial setting, impacting your ability to get a perfect glutenfree artisan bread crust.
Steam Baking: Creating a Moist Environment for Initial Crust Expansion
Steam is perhaps the single most important factor in achieving a thin, crispy glutenfree artisan bread crust. In the initial phase of baking, steam prevents the surface of the dough from drying out and setting too quickly. This allows the dough to expand fully during oven spring. Without adequate steam, the crust sets prematurely, restricting the loaf's rise and resulting in a thick, hard crust that may even crack.
There are several ways to create steam in a home oven. One common method is to place a tray or cast iron pan on the bottom rack while the oven preheats. Just as you load the bread, carefully pour about 1 cup of hot water or toss a handful of ice cubes into the hot tray/pan.
Close the oven door quickly to trap the steam. Another popular method, discussed below, is using a Dutch oven, which naturally traps the moisture released by the dough itself. Maintaining a moist environment for the first 15-20 minutes is essential for developing a beautiful, airy glutenfree artisan bread crust.
Using a Dutch Oven for a Crusty Gluten-Free Loaf
Baking gluten-free artisan bread in a preheated Dutch oven is one of the most effective ways to guarantee a superb glutenfree artisan bread crust. The heavy lid of the Dutch oven traps the steam released by the dough as it heats up, creating an ideal, high-humidity environment around the loaf during the critical phase of oven spring. This trapped steam keeps the crust moist and pliable, allowing for maximum expansion.
The process usually involves preheating the Dutch oven inside the oven at a high temperature (e.g., 475°F / 245°C) for 30-60 minutes. The proofed dough is then carefully transferred into the hot Dutch oven, the lid is placed on, and it's baked for a set time (e.g., 20-25 minutes). After this initial period, the lid is removed.
This allows the steam to escape, and the direct dry heat then hits the loaf, allowing the crust to brown and crisp up beautifully for the remaining baking time (e.g., 20-30 minutes). This two-stage baking process consistently delivers an outstanding glutenfree artisan bread crust.
Baking Stones and Baking Steels: Enhancing Bottom Crust Crispness
While a Dutch oven is excellent for overall crust development and oven spring, using a baking stone or steel can significantly improve the crispness of the bottom glutenfree artisan bread crust. Baking stones and steels are porous or dense surfaces that absorb and retain heat very effectively. When the dough is placed directly on a preheated stone or steel, the intense heat transfers rapidly from the surface to the bottom of the loaf.
This quick heat transfer helps to set the bottom crust faster and more thoroughly than baking on a standard baking sheet. A well-baked bottom crust is essential for structural integrity and prevents the dreaded "soggy bottom" that can sometimes occur with high-hydration gluten-free doughs. Using a stone or steel in conjunction with steam (either from a tray or by baking the loaf on the stone/steel inside a larger pot or under a cloche) can yield a remarkably even and crispy glutenfree artisan bread crust all around.
Troubleshooting Common Gluten-Free Crust Problems
Preventing a Pale and Soft Crust
A pale and soft gluten-free artisan bread crust is usually a sign that the crust didn't get hot enough or wasn't exposed to dry heat long enough to properly brown and crisp. This can happen if the oven temperature was too low, if the bread wasn't baked for a sufficient time, or if there wasn't enough dry heat applied at the end of the bake (for example, if baked entirely with steam or inside a covered pot for too long). Insufficient sugar or starch in the recipe can also hinder browning.
To fix this, ensure your oven is accurately preheated to a high temperature, ideally 450-500°F (230-260°C), using an oven thermometer. If using a Dutch oven, make sure to remove the lid for the final portion of the bake to allow the crust to dry out and brown. If baking on a sheet pan or stone, ensure adequate steam for the first 15-20 minutes, then remove the steam source for the remainder of the bake.
You can also try baking for an extra 5-10 minutes directly on the oven rack after removing it from the Dutch oven or stone, which helps the crust crisp further. Adding a small amount of sugar (like honey or maple syrup) to the dough can also promote browning for a better glutenfree artisan bread crust.
Avoiding a Thick and Hard Crust
Conversely, a gluten-free artisan bread crust that is too thick and hard can be just as disappointing as a soft one. This often results from the crust setting too early in the baking process, which restricts oven spring and leads to a dense interior and a hard exterior. Common culprits include insufficient hydration in the dough, inadequate steam during the initial bake, or baking at too high a temperature for too long without sufficient moisture present. Overbaking can also lead to a excessively hard gluten-free crust.
To prevent a thick, hard crust, ensure your dough is adequately hydrated; remember, gluten-free dough is typically very wet. Always use a method to create steam in your oven for at least the first 15-20 minutes of baking. If using a Dutch oven, ensure the lid is on tightly during the initial phase.
If baking on a stone, use a steam tray or cover the loaf with an oven-safe bowl or cloche. Avoid baking at extremely high temperatures for the entire duration; reduce the heat after the initial steam period. Check for doneness using an internal temperature thermometer (around 205-210°F or 96-99°C) rather than solely relying on visual cues, to avoid overbaking and a tough glutenfree artisan bread crust.
Addressing Cracking and Splitting in Gluten-Free Bread Crust
Cracking or splitting in undesirable places on the gluten-free artisan bread crust usually indicates that the crust set before the interior of the loaf had finished expanding. As the inside continued to rise, it broke through the path of least resistance in the already-set crust. This is often caused by under-proofing, insufficient scoring, a dough that is too dry, or a lack of steam during the initial bake.
Ensure your dough is adequately proofed before baking; it should show a noticeable increase in volume and feel airy. Always score your loaf generously and deeply just before putting it in the oven. Scoring provides weak points in the crust, directing the expansion to specific areas and preventing uncontrolled cracking. Increase the hydration slightly if your dough feels too stiff.
Crucially, ensure plenty of steam in the oven for the first 15-20 minutes. This keeps the crust pliable and allows it to stretch as the loaf rises. Combining proper proofing, scoring, hydration, and steam is the best defense against unwanted cracks in your glutenfree artisan bread crust.
Post-Baking Tips for Maintaining Crust Crispness
Cooling Techniques for Optimal Crust Texture
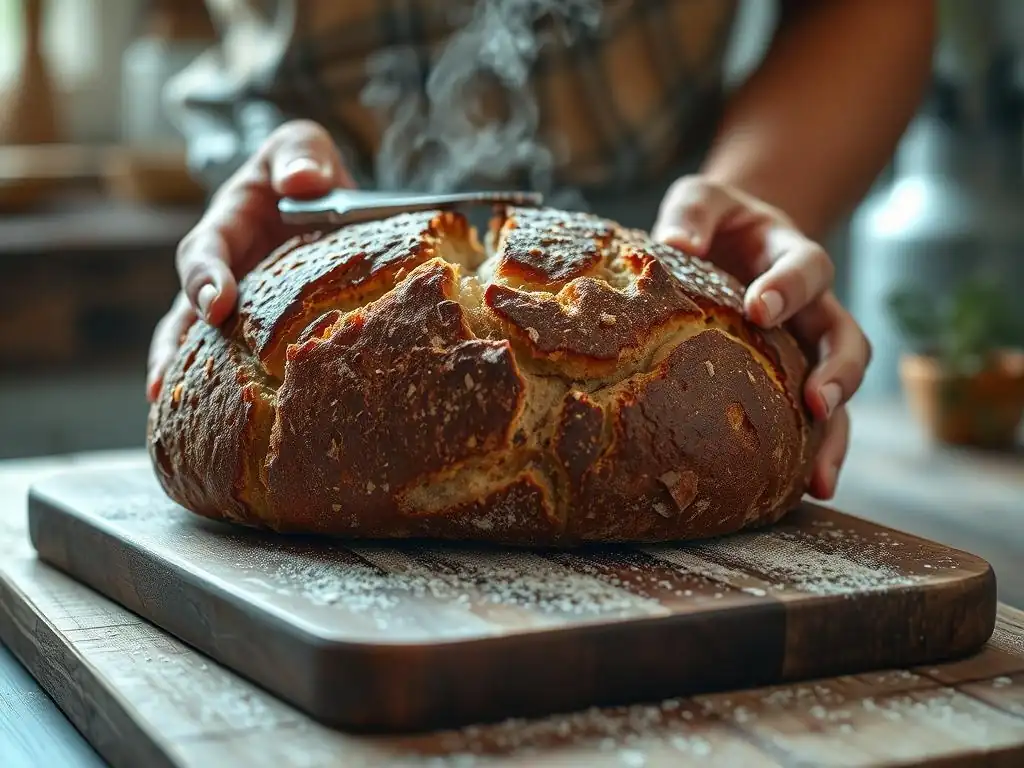
The cooling process is just as vital as baking for developing the final texture of your glutenfree artisan bread crust. As the bread cools, moisture from the interior migrates towards the surface and evaporates. If the loaf is left on a flat surface, this moisture can pool underneath, resulting in a soggy bottom crust. To prevent this, always cool your gluten-free bread on a wire rack immediately after removing it from the oven.
Cooling on a wire rack allows air to circulate freely around the entire loaf, facilitating even moisture evaporation from the gluten-free crust. This process continues the crisping action even after baking is complete. It's important to let the bread cool completely before slicing – this can take 2-3 hours for a standard-sized loaf. Slicing while the bread is still warm can release too much steam from the interior, potentially making the crust soft and the crumb gummy. Patience during the cooling process is key to a perfectly crisp glutenfree artisan bread crust.
Storing Gluten-Free Artisan Bread to Preserve Crust Quality
Proper storage is essential for maintaining the crispness of your glutenfree artisan bread crust. The enemy of a crispy crust is moisture. Storing the loaf in an airtight container or plastic bag will trap moisture released by the bread, quickly turning that lovely, crispy crust soft and chewy.
For the first day or two, the best way to store gluten-free artisan bread is usually at room temperature, cut-side down on a cutting board or wrapped loosely in a paper bag or a clean linen towel. This allows the crust to remain exposed to the air, helping to preserve its crisp texture. If you plan to keep the bread longer than a couple of days, or if you live in a humid environment, it's best to slice the cooled loaf and freeze the slices.
Freezing preserves both the crumb and the gluten-free crust quality much better than refrigeration, which can actually dry out the bread. To enjoy a crispy crust again, simply reheat slices in a toaster or oven.
Recipe: BakeWithEase's Guide to a Perfect Gluten-Free Artisan Bread with a Crispy Crust
Ingredients List for Optimal Gluten-Free Crust
Here is an example ingredient list designed to promote a fantastic glutenfree artisan bread crust. Remember that variations in flour brands and environment can affect results, so consider this a great starting point for your journey to a perfect glutenfree artisan bread crust.
- 400g Gluten-Free Bread Flour Blend (e.g., 200g Brown Rice Flour, 100g Sorghum Flour, 100g Tapioca Starch)
- 40g Whole Psyllium Husk
- 10g Salt
- 5g Instant Yeast
- 400g - 440g Warm Water (about 100-110°F / 38-43°C) - adjust slightly based on flour blend absorbency; this is approx. 100-110% hydration relative to flour weight.
- 1 tsp Honey or Sugar (optional, aids browning)
Note: These are example quantities. Always refer to specific recipe instructions if following one, but this ratio provides a good base for understanding the components.
Step-by-Step Baking Instructions for a Golden, Crispy Crust
Follow these steps, incorporating the techniques we've discussed, to achieve a beautiful glutenfree artisan bread crust:
- In a large bowl, whisk together the gluten-free flour blend, psyllium husk, salt, and instant yeast. If using sugar/honey, add it to the warm water and stir to dissolve.
- Add the warm water to the dry ingredients. Mix with a sturdy spoon or spatula until a shaggy, very wet dough forms. It will be sticky and more like a thick batter than traditional dough.
- Cover the bowl and let the dough rest for 20-30 minutes. This allows the psyllium husk to hydrate and form its gel structure.
- Perform a few folds: Using wet hands or a wet spatula, gently pull the edges of the dough up from the sides of the bowl and fold them towards the center. Rotate the bowl and repeat 4-6 times. This helps build some structure.
- Cover and let the dough proof at room temperature until it has visibly increased in size (about 50-75%) and looks slightly airy, typically 45-90 minutes depending on temperature.
- While the dough proofs, preheat your oven to 475°F (245°C) with your Dutch oven inside for at least 30-60 minutes. Alternatively, place a baking stone/steel in the oven and a sturdy tray on the bottom rack for steam.
- Once proofed, gently turn the dough out onto a lightly floured (with gluten-free flour) or wet surface. Using wet hands or a scraper, gently shape the dough into a taut boule or batard. Be careful not to deflate it.
- If using a Dutch oven: Carefully transfer the shaped dough to a piece of parchment paper. Score the top of the dough with a sharp knife or lame (approx. 1/2 inch deep). Using the parchment paper as handles, carefully lower the dough into the preheated Dutch oven. Place the lid on.
- If using a stone/steel: Score the dough. Carefully transfer the dough on parchment paper onto the preheated stone/steel. Add 1 cup of hot water or a handful of ice cubes to the steam tray on the bottom rack. Close the oven door quickly.
- Bake with the lid on (or with steam) for 20-25 minutes. This is crucial for oven spring and developing the initial glutenfree artisan bread crust structure.
- Remove the lid from the Dutch oven (or remove the steam tray/cloche from the oven). Reduce the oven temperature slightly to 425°F (220°C).
- Continue baking for another 20-30 minutes, or until the gluten-free crust is deep golden brown and the internal temperature of the bread reaches 205-210°F (96-99°C). This phase develops the color and final crispness of the glutenfree artisan bread crust.
- Carefully remove the bread from the oven (and Dutch oven, if used). Immediately transfer it to a wire rack to cool completely for at least 2-3 hours. This step is non-negotiable for a crispy glutenfree artisan bread crust.
[ ] Ensure oven is accurately preheated.
[ ] Use steam during initial bake.
[ ] Bake until internal temperature reaches 205-210°F.
[ ] Cool completely on a wire rack.
Conclusion: Enjoying Your Homemade Gluten-Free Artisan Bread with a Perfect Crust
Mastering the glutenfree artisan bread crust is a journey, but one filled with delicious rewards. By understanding the unique properties of gluten-free ingredients and employing specific techniques like high hydration, strategic use of binders, proper proofing, and high-heat baking with steam, you can consistently achieve a loaf with a stunning, golden-brown, and satisfyingly crispy exterior. It takes a little practice and attention to detail, but the result – a beautiful glutenfree artisan bread crust encasing a soft, airy crumb – is absolutely worth the effort.
Don't be discouraged if your first attempt isn't perfect. Baking, especially gluten-free, is about learning and adapting. Review the troubleshooting tips, adjust your techniques, and try again. Each loaf baked is a step closer to perfecting your glutenfree artisan bread crust. So go ahead, bake that bread, listen for that delightful crunch when you slice into it, and savor the incredible taste and texture of your homemade gluten-free artisan bread with a perfect crust. Happy Baking from all of us at BakeWithEase!
Frequently Asked Questions
How do I achieve a crispy crust on gluten-free artisan bread?
Achieving a crispy crust often involves creating steam during the initial baking phase. This can be done by placing a pan of hot water in the oven or using a Dutch oven. Also, ensuring the dough has enough hydration is crucial.
What ingredients are essential for a good gluten-free artisan bread crust?
The key ingredients are often a blend of gluten-free flours, such as rice flour, tapioca starch, and potato starch. Binders like xanthan gum are essential for structure. A touch of sugar can also help with browning.
Why is my gluten-free artisan bread crust tough and hard?
A tough crust often indicates over-baking or insufficient hydration. Check the internal temperature of the bread and consider adjusting the baking time. Also, ensure you aren't overworking the dough.
Can I use a bread machine to make gluten-free artisan bread with a good crust?
While possible, achieving a truly artisan crust in a bread machine can be challenging. The oven's even heating and steaming methods are key. However, some machines offer specific gluten-free settings that can help.
What are some tips for preventing my gluten-free artisan bread crust from cracking?
Cracking can be caused by rapid expansion during baking. Ensure your dough has proper hydration and scoring. Scoring allows for controlled expansion and prevents large, uncontrolled cracks.
Final Reflection: The Golden Crust of Possibility
The quest for the perfect gluten-free artisan bread crust isn't just about aesthetics; it's a testament to the power of innovation and the enduring human desire for delicious, satisfying food. Mastering this seemingly elusive element unlocks a world of culinary possibilities, proving that a delicious, satisfying loaf is entirely within reach, even without gluten. This journey, detailed in this article, highlights the importance of understanding the science behind gluten-free baking and embracing experimentation to achieve truly exceptional results.
The pursuit of the perfect gluten-free crust has profoundly impacted my own baking journey, pushing me to refine techniques and understand the nuances of alternative flours and starches. It's a journey of constant learning, mirroring the evolution of gluten-free baking itself. The greatest glory in living lies not in never falling, but in rising every time we fall.
This quote, though not directly about baking, perfectly encapsulates the spirit of perseverance needed to achieve a truly exceptional gluten-free crust. The challenges faced in this process have only strengthened my appreciation for the artistry and dedication involved in creating beautiful and delicious bread.
Now, it's your turn. Don't be intimidated by the seemingly complex world of gluten-free artisan bread. Take the knowledge gained from this article, experiment with different techniques, and embrace the process of discovery. Each perfectly crisp crust you achieve will be a testament to your dedication and a delicious reward for your efforts. The journey to the perfect crust is a journey of self-discovery, a testament to your culinary creativity, and a celebration of the possibilities that lie beyond dietary restrictions. So, go forth and bake!
Unlock Your Gluten-Free Baking Potential!
Thanks for joining us on this journey to mastering the perfect gluten-free artisan bread crust! You've learned valuable techniques, and now it's time to put them into practice. Let's bake!
- Bake your masterpiece: Try the recipe from the article today! Note the specific techniques we covered, focusing on achieving that coveted crisp crust.
- Share your success: Post a picture of your creation on social media using #BakeWithEaseGlutenFree and tag us! Let's inspire others.
- Explore our other gluten-free recipes: Dive deeper into our collection and discover even more delicious possibilities. You might find your next favorite bread!
What unique twist will you add to your gluten-free artisan bread to make it truly your own?