
The Art of Hand Mixing Ciabatta Dough

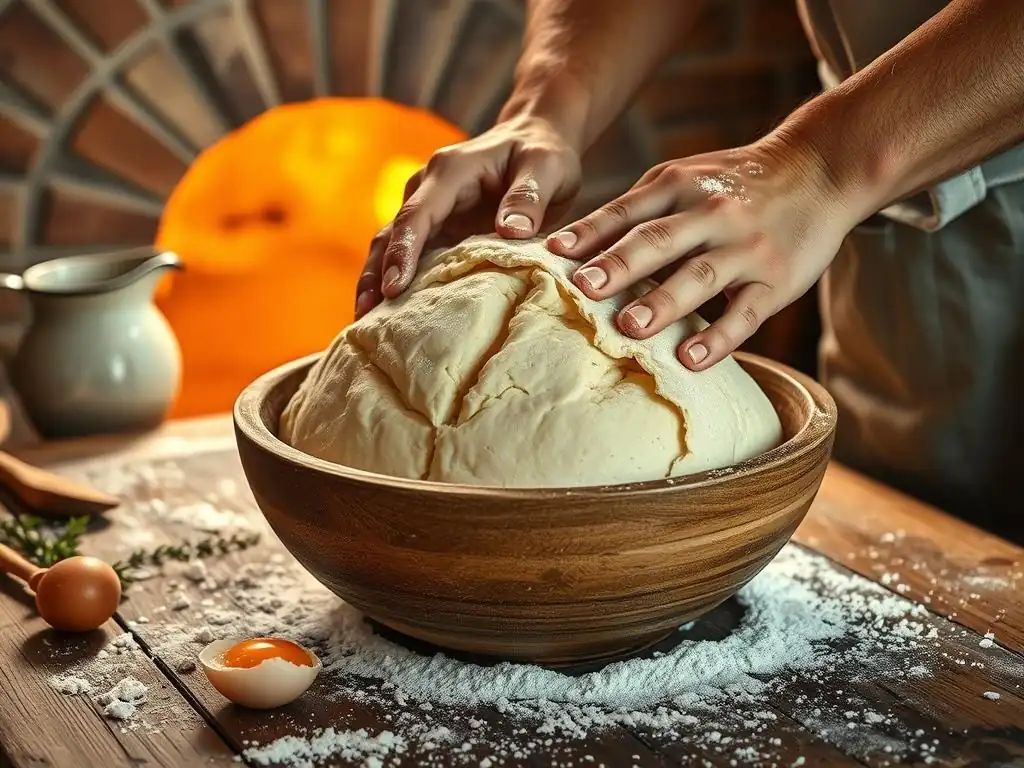
Welcome to BakeWithEase, where baking becomes a joy, not a chore! Ever wondered if you could achieve that perfect, airy ciabatta without the fuss of a machine? Our latest guide dives deep into the art of hand mixing ciabatta dough, revealing the secrets to a flavorful, rustic loaf, even without a stand mixer. Curious to discover how simple ingredients and a little elbow grease can transform into baking magic? Let's get started!
- The Art of Hand Mixing Ciabatta Dough for BakeWithEase.com
- Introduction to Hand Mixing Ciabatta: Achieving Bakery-Quality at Home
- Understanding the Ciabatta Dough Characteristics
- Essential Ingredients for Hand Mixing Ciabatta
-
Step-by-Step Guide to Hand Mixing Ciabatta Dough
- Step 1: Combining Flour and Water - The Autolyse Technique
- Step 2: Incorporating Yeast and Salt into Ciabatta Dough
- Step 3: The Initial Hand Mixing: Developing the Gluten
- Step 4: Bulk Fermentation: Allowing the Dough to Rise
- Step 5: Folding the Ciabatta Dough for Strength and Air
- Step 6: Second Proofing: Achieving the Perfect Texture
- Tips and Techniques for Successful Hand Mixing
- Shaping and Baking Your Hand-Mixed Ciabatta
- Cooling and Storing Your Homemade Ciabatta
- Enjoying Your Hand-Mixed Ciabatta Bread
- Conclusion: The Satisfaction of Hand-Mixing Ciabatta Dough
-
Frequently Asked Questions
- What makes hand mixing ciabatta dough different from using a stand mixer?
- Why is high hydration important for ciabatta dough?
- What's the best technique for hand mixing ciabatta dough to avoid overworking it?
- How can I tell if my hand-mixed ciabatta dough has fermented enough?
- What are some common mistakes to avoid when hand mixing ciabatta dough?
- Final Reflection: The Enduring Magic of Hand-Mixed Ciabatta
- Unleash Your Inner Baker: Knead to Know More?
The Art of Hand Mixing Ciabatta Dough for BakeWithEase.com
Introduction to Hand Mixing Ciabatta: Achieving Bakery-Quality at Home
Welcome to the rewarding world of baking ciabatta bread, a rustic Italian loaf celebrated for its airy crumb and crisp crust. While stand mixers are common for many bread recipes, mastering the art of hand mixing ciabatta dough offers a unique connection to the process and can yield truly spectacular results. This method, often favored by traditional bakers, allows you to feel the dough's transformation firsthand, understanding its texture and development in a way machinery can't replicate. It's a technique that builds strength and intuition, leading to a deeper appreciation for this beloved bread.
Mixing ciabatta by hand might seem daunting at first, especially given its wet nature, but with the right approach, it's entirely achievable and incredibly satisfying. This guide will walk you through each step, from understanding the unique characteristics of ciabatta dough to the specific techniques required for successful hand mixing. We'll explore the essential ingredients, the nuances of gluten development through gentle handling, and how to achieve that signature open crumb structure. Get ready to transform simple ingredients into a delicious loaf using just your hands.
Understanding the Ciabatta Dough Characteristics
Ciabatta dough is famously wet, often having a hydration level ranging from 75% to 90% or even higher relative to the flour weight. This high percentage of water is crucial for creating the dough's signature airy texture and large, irregular holes (the "crumb"). Unlike drier doughs that form a firm, elastic ball, ciabatta dough remains quite loose and sticky throughout the initial mixing and fermentation stages. Its structure relies less on vigorous kneading and more on time, gentle folding, and proper hydration to develop the gluten network needed to trap gases and create those beautiful voids.
The texture of fully developed ciabatta dough, even when hand mixing ciabatta dough, should be extensible and somewhat elastic, yet still very soft and pliable. It won't pass the traditional windowpane test as easily as a lower-hydration dough, but it should show signs of structure and be able to hold its shape loosely. The surface, after adequate folding and fermentation, will become smoother and may even show small bubbles. Understanding these characteristics is key to successful hand mixing, as it informs how you handle the dough and when it's ready to move to the next stage.
The Importance of High Hydration in Ciabatta Dough
High hydration, typically ranging from 75% to upwards of 90% water relative to the flour, is the defining characteristic of ciabatta dough and absolutely essential for its unique structure. This significant amount of water helps to fully hydrate the flour's starches and proteins, allowing for maximum gluten development even with minimal kneading or hand mixing. The excess water acts as a lubricant, enabling the gluten strands to slide and align more easily during fermentation and folding, leading to a more extensible dough.
Furthermore, high hydration is directly responsible for the characteristic open crumb structure of ciabatta. The abundant water turns into steam during baking, which expands rapidly and pushes against the developing gluten network. With a strong yet flexible gluten structure developed through careful hand mixing ciabatta dough and folding, the steam creates large, irregular pockets within the loaf, resulting in that coveted airy interior. Without sufficient water, the dough would be denser, and the crumb structure would be much tighter, resembling a standard loaf rather than a true ciabatta.
Why Hand Mixing Works for Highly Hydrated Doughs
While mixers can handle wet doughs, hand mixing ciabatta dough is particularly effective and often preferred by purists for several reasons. Firstly, the gentle, intuitive nature of mixing by hand allows you to feel the dough's resistance and development in real-time. This tactile feedback is invaluable when working with very wet doughs, as it helps you gauge gluten development more accurately than relying solely on time or visual cues. You can adjust your technique based on how the dough feels, ensuring you don't overwork or underwork it.
Secondly, techniques like the "stretch and fold" method, which is central to developing gluten in high-hydration doughs during hand mixing, are performed manually. These gentle manipulations build strength in the dough without the vigorous action of a mixer, which can sometimes tear the delicate gluten network in very wet doughs. Mixing ciabatta by hand encourages a slower, more controlled development of gluten, resulting in a more relaxed and extensible dough that is perfect for achieving that signature open crumb. It's a process that builds both the dough's structure and the baker's intuition.
Essential Ingredients for Hand Mixing Ciabatta
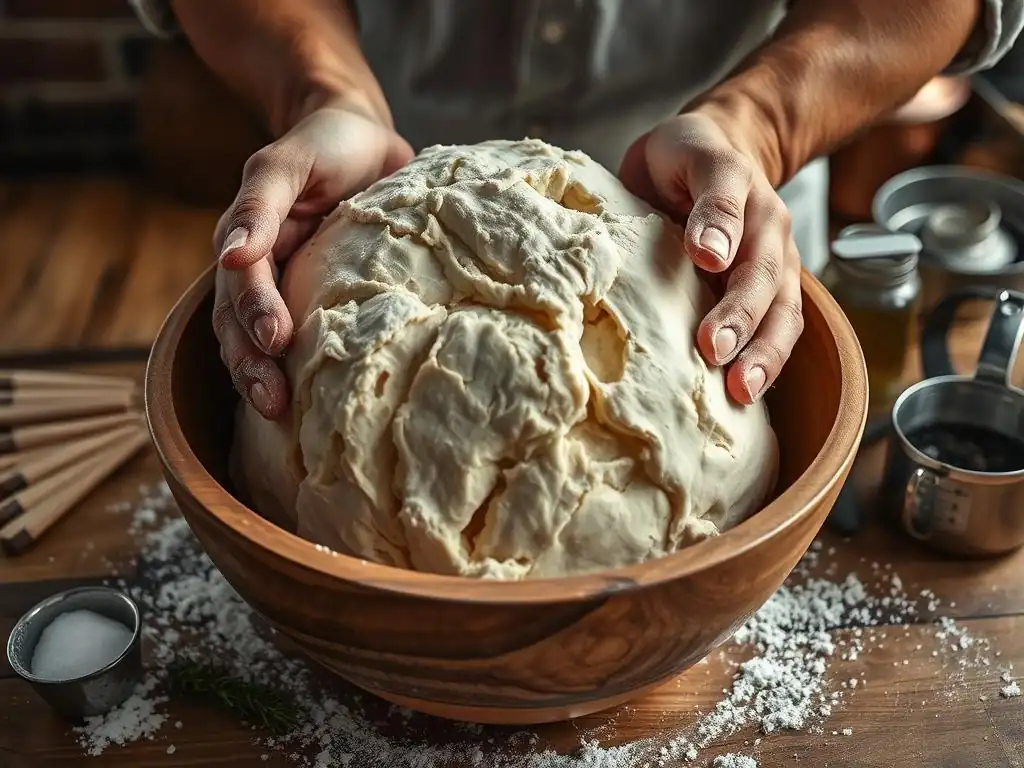
Crafting exceptional ciabatta begins with selecting the right ingredients. While the list is short – flour, water, yeast, and salt – the quality and type of each play a significant role in the final outcome when hand mixing ciabatta dough. Using high-quality ingredients ensures better flavor, texture, and handling properties throughout the process. Think of them as the building blocks; superior materials lead to a superior structure.
Beyond the basic four, some bakers incorporate a small amount of olive oil for added flavor and tenderness, though traditional ciabatta often omits it. Understanding how each ingredient interacts, especially in a high-hydration environment, is key to successful hand mixing and achieving that perfect loaf. Let's delve into the specifics of each component and why they matter for your hand-mixed ciabatta.
High-Quality Flour for the Best Ciabatta Texture
The type of flour is paramount when hand mixing ciabatta dough. A strong bread flour with a protein content typically ranging from 12% to 14% is ideal. This higher protein level means more gluten-forming proteins (glutenin and gliadin), which are essential for developing the strong, elastic network needed to support the high hydration and trap the gases that create ciabatta's open crumb. All-purpose flour, usually with a protein content around 10-11.5%, can work, but it will result in a weaker dough and a less airy crumb.
Look for terms like "strong bread flour" or "high-gluten flour" on the packaging. Some European flours, like Italian Tipo 0 or Tipo 00 with high protein content, are also excellent choices. Using a quality flour ensures your dough has the structural integrity to handle the high water content and the gentle manipulations required when mixing ciabatta by hand, leading to a more successful rise and a superior final texture. For example, King Arthur Baking Company's Bread Flour has a protein content of 12.7%, which is well-suited for this task.
The Role of Water Temperature in Ciabatta Dough
Water temperature is a critical, yet often overlooked, factor when hand mixing ciabatta dough, especially in controlling fermentation speed. Yeast activity is highly dependent on temperature; warmer water (around 80-95°F or 27-35°C) activates yeast quickly, leading to faster rising, while cooler water (around 60-70°F or 15-21°C) slows down fermentation, allowing for longer, more complex flavor development and better gluten structure.
The ideal water temperature often depends on your ambient kitchen temperature and the desired proofing time. In a warm kitchen (above 75°F), cooler water is usually preferred to prevent the dough from overproofing too quickly. In a cooler kitchen (below 70°F), warmer water can help ensure the dough rises sufficiently. Using filtered water is also recommended to avoid any off-flavors from chlorine or other impurities that can sometimes affect yeast activity and flavor development in your hand-mixed ciabatta.
Yeast Selection: Fresh vs. Instant for Hand Mixing
When mixing ciabatta by hand, you have options for yeast: active dry yeast, instant dry yeast, or fresh yeast. Instant dry yeast is the most common and convenient for many home bakers. It can be mixed directly into the flour without prior proofing and is highly reliable. Typically, you'd use about 1-1.5% instant yeast relative to the flour weight for a standard recipe (e.g., 5-7.5g for 500g flour).
Active dry yeast requires proofing in warm water before adding to the dry ingredients. Use about 20-25% more active dry yeast than instant yeast (e.g., 6-9g for 500g flour). Fresh yeast, less common but favored by some professionals, offers a slightly different flavor profile. Use about 2-3 times the amount of instant yeast (e.g., 10-15g for 500g flour). All types work well for hand mixing ciabatta dough, so choose based on availability and preference, adjusting quantities accordingly.
Salt: Balancing Flavor and Gluten Development
Salt is indispensable in bread baking, serving multiple crucial functions beyond just adding flavor to your hand-mixed ciabatta. It significantly impacts the dough's structure by tightening the gluten network, making it stronger and more elastic. This strengthening effect is particularly important in high-hydration doughs, helping the gluten stand up to the large amount of water. Without salt, the dough would be slack and difficult to handle, resulting in a flat loaf with a poor crumb structure.
Additionally, salt helps regulate yeast activity, slowing down fermentation. This controlled fermentation allows for better flavor development over a longer period. Too little salt results in bland bread and uncontrolled rising; too much can inhibit yeast excessively and make the dough tough. A typical salt percentage for ciabatta is around 1.8% to 2.2% of the flour weight (e.g., 9-11g for 500g flour). Ensure the salt is evenly distributed during the initial mixing phase when hand mixing ciabatta dough.
Step-by-Step Guide to Hand Mixing Ciabatta Dough
Embarking on the journey of hand mixing ciabatta dough is a rewarding process. It's less about vigorous kneading and more about gentle persuasion and time. This step-by-step guide breaks down the process into manageable stages, showing you how to develop structure in this notoriously wet dough using simple techniques. Patience is key, as much of the work is done by fermentation over several hours.
Follow these steps carefully, paying attention to the dough's feel and appearance at each stage. Remember that ambient temperature and ingredient temperatures will affect timing, so use the provided times as a general guideline and learn to read your dough. Mastering hand mixing ciabatta dough is about building intuition as much as following instructions.
Step 1: Combining Flour and Water - The Autolyse Technique
Begin the hand mixing ciabatta dough process by combining the flour and most of the water in a large bowl. Stir them together with your hand or a spoon until no dry pockets of flour remain. The mixture will be very shaggy and sticky – this is expected with high hydration. At this stage, do not add the yeast or salt yet. This simple step is called the "autolyse" and it's incredibly beneficial for high-hydration doughs.
Allow this mixture to rest for 20 to 60 minutes, covered. During the autolyse, the flour absorbs the water fully, and enzymatic activity begins to break down starches into sugars (food for the yeast later) and initiates gluten development without any mechanical work. This rest period makes the dough much easier to handle and mix in the subsequent steps, improving extensibility and reducing mixing time, which is a significant advantage when mixing ciabatta by hand.
Step 2: Incorporating Yeast and Salt into Ciabatta Dough
After the autolyse period, the dough should appear slightly smoother and more hydrated. Now it's time to incorporate the yeast and salt. If using instant yeast, you can sprinkle it directly over the dough. If using active dry yeast or fresh yeast, ensure it's dissolved or proofed in the remaining small amount of water (or a little from the main water quantity if you used all water in the autolyse) before adding it to the dough. Sprinkle the salt over the dough as well.
Gently dimple the surface of the dough with wet fingers to help the yeast and salt make contact with the wet dough. Begin folding the edges of the dough over the center, squeezing gently to incorporate the new ingredients. The dough will become even stickier initially. Continue this gentle folding and squeezing action in the bowl for a minute or two until the yeast and salt seem mostly integrated into the mass. This is the start of active hand mixing ciabatta dough.
Step 3: The Initial Hand Mixing: Developing the Gluten
With the yeast and salt incorporated, it's time for the initial hand mixing ciabatta dough phase, focusing on developing gluten. Since the dough is very wet, traditional kneading isn't effective. Instead, we use a technique often called the "Rubaud method" or similar wet-dough mixing. Wet your hands thoroughly – this prevents the dough from sticking excessively. Reach into the bowl, grab the dough from one side, lift it slightly, and let it fall back into the center, folding it over itself. Repeat this motion, rotating the bowl, for about 5-10 minutes.
Alternatively, you can use the "slap and fold" method on a wet counter surface. Scoop the dough up, slap it down onto the counter, stretch it out, and fold it back over itself. Repeat this rhythmically. Both methods incorporate air and align gluten strands. The dough will initially be a sticky mess, but as you continue, you'll feel it start to gain some tension and coherence. It won't be smooth or elastic like lower hydration doughs, but it should show the beginnings of strength and be slightly less chaotic than when you started.
Step 4: Bulk Fermentation: Allowing the Dough to Rise
Once the initial mixing is complete and you feel a slight improvement in dough structure, transfer the dough to a clean, lightly oiled container or leave it in the bowl. Cover it tightly with a lid or plastic wrap to prevent a skin from forming. This begins the bulk fermentation stage, where the yeast produces carbon dioxide, causing the dough to rise and expand, and enzymatic activity continues to develop flavor and further strengthen the gluten structure.
Bulk fermentation for ciabatta is typically long and slow, often ranging from 2 to 4 hours at room temperature (around 70-75°F / 21-24°C), or even longer if refrigerated. The dough should visibly increase in volume, potentially doubling or even tripling depending on the recipe and temperature. Look for signs of activity, such as bubbles appearing on the surface. This stage is crucial for both flavor and texture development in your hand-mixed ciabatta.
Step 5: Folding the Ciabatta Dough for Strength and Air
During the bulk fermentation, you will perform a series of "stretch and folds." These gentle manipulations are vital for building strength, evening out the dough temperature, and redistributing yeast and food sources, all contributing to the open crumb. Typically, you'll perform 3-4 sets of folds at intervals of 30-45 minutes during the first half of the bulk fermentation.
To perform a fold, wet your hands. Gently lift one edge of the dough from the container, stretch it upwards, and fold it back over the rest of the dough. Rotate the container 90 degrees and repeat this motion 3-4 times, effectively folding the dough onto itself from all sides. The dough will gain more tension and become smoother with each set of folds. This process, repeated multiple times while hand mixing ciabatta dough, is far more effective than initial intensive kneading for high-hydration doughs.
Step 6: Second Proofing: Achieving the Perfect Texture
After the bulk fermentation and the final set of folds, the dough needs a second, shorter proofing period. This stage, sometimes called the final proof or bench rest before shaping, allows the dough to relax slightly and build up a little more gas before it's divided and shaped. The length of this proof depends on the dough's activity and the ambient temperature, but it's usually between 15 and 30 minutes.
During this brief rest, keep the dough covered. It won't expand dramatically, but you should see a slight increase in volume and perhaps more bubbles on the surface. This period is essential for the dough to become pliable enough to handle gently for shaping without deflating the airy structure you've built through careful hand mixing ciabatta dough and folding. Don't skip this step; it prepares the dough for the delicate shaping process.
Tips and Techniques for Successful Hand Mixing
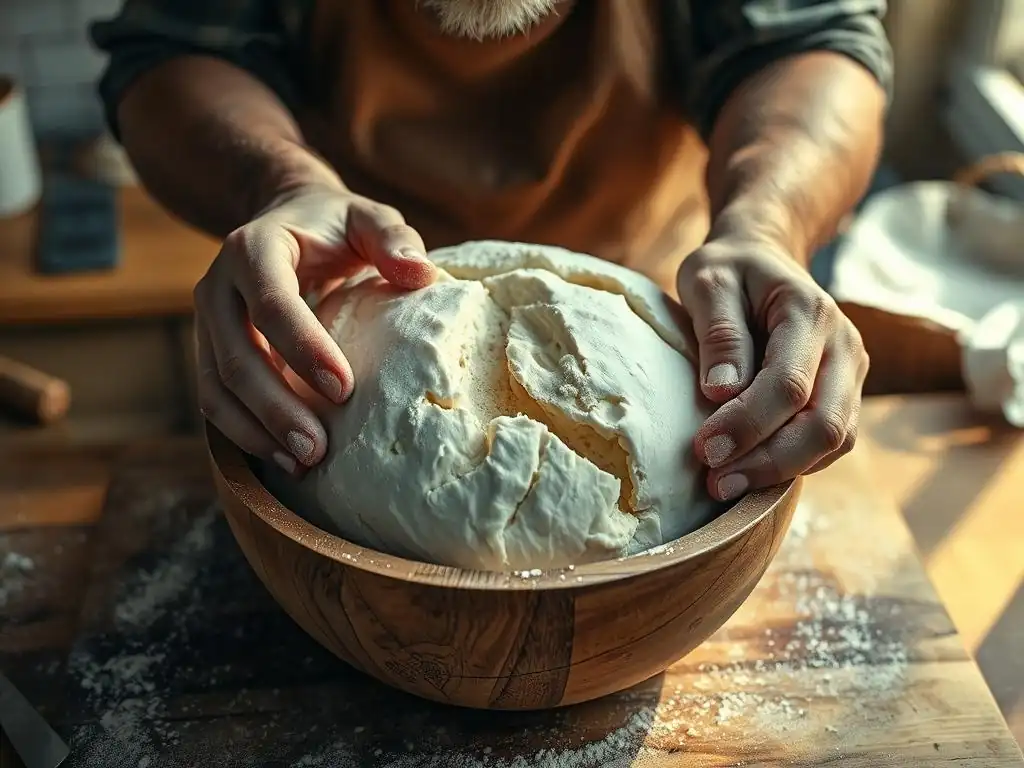
Hand mixing ciabatta dough, especially with its high hydration, requires specific techniques and a bit of practice. It's less about brute force and more about understanding the dough's needs and using gentle, effective manipulations to build strength and structure. Don't be discouraged if your first attempt isn't perfect; like any skill, it improves with repetition.
Here are some essential tips and techniques that will significantly improve your success rate when mixing ciabatta by hand. Mastering these will help you achieve a well-developed dough, a beautiful open crumb, and a truly satisfying baking experience.
Mastering the Stretch and Fold Method
The stretch and fold method is the cornerstone of hand mixing high-hydration doughs like ciabatta. It's a gentle way to develop gluten without traditional kneading. As described earlier, you lift, stretch, and fold the dough onto itself. The key is to be gentle but firm, stretching the dough just until you feel resistance, then folding. Don't force it or tear it.
Performing multiple sets of these folds over the first few hours of bulk fermentation builds layers of strength in the dough. Each fold aligns the gluten strands, trapping air and creating the network needed for the open crumb. Aim for 3-4 folds per set, rotating the bowl each time. Wetting your hands before each set prevents sticking and makes the process much easier and less messy when mixing ciabatta by hand.
Troubleshooting Sticky Ciabatta Dough
Sticky dough is inherent to ciabatta due to its high hydration, but excessive stickiness can be frustrating when hand mixing ciabatta dough. The primary solution is to use wet hands or a wet surface. Before you touch the dough for mixing or folding, thoroughly wet your hands under the tap. This creates a barrier that the dough won't stick to.
If mixing on a counter, wet the counter surface instead of using flour. Flour will just incorporate into the dough, changing the hydration and potentially making it tougher. If the dough is still unmanageably sticky, ensure you've given it adequate rest periods (like the autolyse) and sufficient folds. Time helps the dough absorb water and develop structure, making it less sticky over time. Resist the urge to add more flour; trust the process and use water on your hands/surface instead.
Achieving the Open Crumb Structure
The signature open crumb of ciabatta is achieved through a combination of high hydration, proper gluten development via hand mixing and folding, sufficient fermentation, and gentle handling during shaping. The high water content turns to steam, creating the voids. The strong gluten network developed by stretch and folds provides the structure to hold these voids.
Long, slow fermentation allows the yeast to produce ample gas. Crucially, handling the dough gently during shaping prevents degassing. Avoid punching down the dough or handling it roughly. Preserve as much of the trapped gas as possible. This delicate touch throughout the process, from initial hand mixing ciabatta dough to final shaping, is key to maximizing the open, airy structure.
Judging Dough Readiness by Feel
One of the benefits of hand mixing ciabatta dough is developing an intuition for the dough's readiness. Instead of relying solely on timers, learn to feel the dough. After the initial mixing and subsequent folds, the dough should feel less shaggy and start to show some resistance or tension when stretched. It won't be smooth like a boule dough, but it should feel less like a batter and more like a cohesive mass.
During bulk fermentation, the dough should feel airy and light, full of gas. When you perform folds, it should stretch without tearing easily. Before shaping, it should feel relaxed but still have some underlying structure. Pressing a wet finger gently into the surface should leave an indentation that slowly springs back. Learning these tactile cues is invaluable for successful hand mixing and producing consistently great ciabatta.
Shaping and Baking Your Hand-Mixed Ciabatta
After successfully hand mixing ciabatta dough and allowing it to ferment and proof, the final stages are shaping and baking. These steps are just as crucial as the earlier ones for achieving that perfect ciabatta loaf with a crisp crust and airy interior. Handling the delicate, airy dough gently is key to preserving the structure you've worked hard to build.
This section will guide you through dividing the dough, forming the characteristic ciabatta shapes, and baking it in a way that maximizes oven spring and crust development. Get ready to see the fruits of your labor transform in the oven into beautiful, rustic loaves.
Gently Dividing the Dough
Once your hand-mixed ciabatta dough has completed its final proof and is airy and bubbly, it's time to divide it. Lightly flour your work surface – a generous amount of flour is needed here, as the dough is very wet. Gently ease the dough out of its container onto the floured surface, trying to deflate it as little as possible. It should spread out into a rough rectangle or square.
Using a bench scraper, gently divide the dough into the desired number of portions. For classic ciabatta shapes, you'll typically cut it into rectangles or squares. Avoid pulling or stretching the dough excessively. Use the bench scraper to lift and separate the pieces. The goal is to handle the dough minimally to preserve the internal gas structure achieved through hand mixing ciabatta dough and fermentation.
Shaping Techniques for Ciabatta Loaves
Ciabatta shaping is less about creating tension and more about forming a rustic shape while preserving the airy texture. Once divided, gently nudge and pat each piece into a rough rectangle or square. You can gently fold the outer edges underneath if you want a slightly more defined shape, but avoid degassing the dough. The natural air pockets are what you want to protect.
Generously flour the tops of the shaped loaves. This flour contributes to the rustic appearance and helps prevent the dough from sticking during its final short rest before baking. Place the shaped loaves onto a piece of parchment paper or a floured baking peel, leaving space between them. This allows for easy transfer to the oven. Remember, minimal handling is the rule after mixing ciabatta by hand and achieving that airy dough.
Baking for a Golden Crust and Airy Interior
Baking ciabatta requires high heat and steam to achieve a crisp crust and maximum oven spring. Preheat your oven with a baking stone or steel inside to a high temperature, typically between 450°F and 500°F (230°C and 260°C). Creating steam in the oven is crucial; this keeps the crust soft initially, allowing the loaf to expand fully before the crust hardens. Methods include placing a tray of hot water on the oven bottom or using lava rocks/chains in a tray and pouring hot water over them just as you load the bread.
Carefully slide the shaped loaves (on parchment or peel) onto the preheated stone or steel. Bake for 20-30 minutes, depending on their size and your oven. The crust should be deep golden brown, and the bottom should sound hollow when tapped. The high heat and steam help the loaf achieve significant rise and the characteristic open crumb developed through hand mixing ciabatta dough and fermentation.
Cooling and Storing Your Homemade Ciabatta
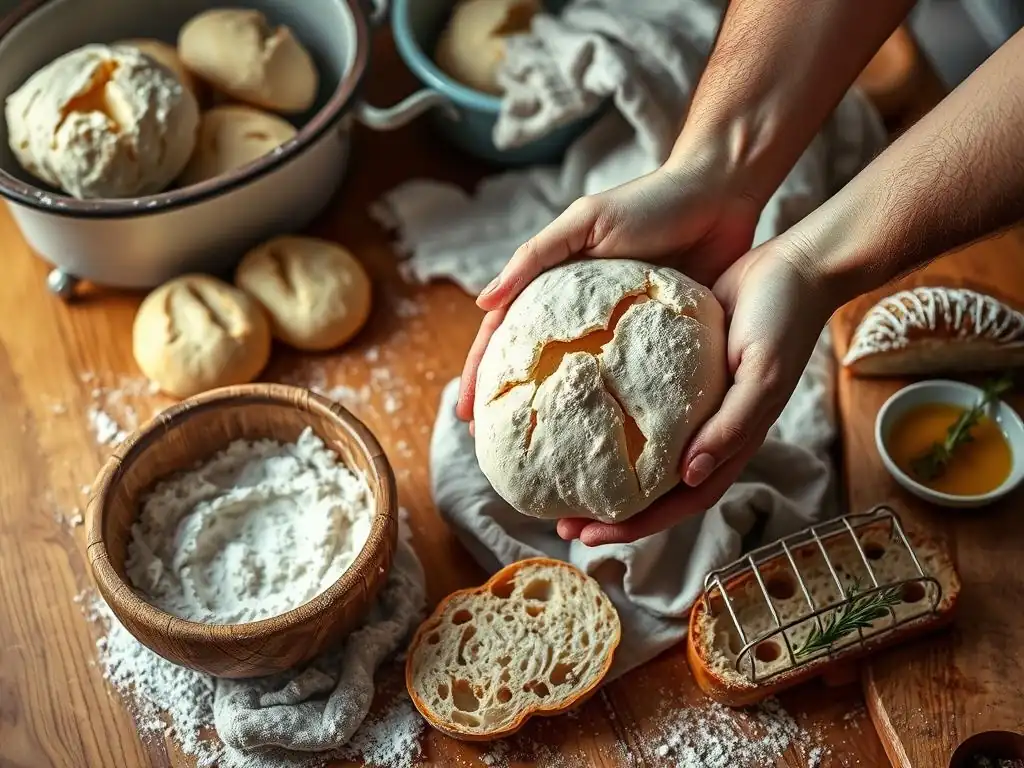
The journey isn't quite over once your beautiful hand-mixed ciabatta loaves emerge from the oven. Proper cooling is just as important as the baking itself for developing the final texture and flavor. Storing the bread correctly ensures it stays fresh and delicious for as long as possible, though its incredible aroma might make storage a short-lived consideration!
Taking these final steps will ensure you get to enjoy your homemade ciabatta at its very best, savoring the results of your effort in hand mixing ciabatta dough and bringing it to life in the oven.
The Importance of Cooling Before Slicing
It might be tempting to slice into that warm, aromatic loaf straight out of the oven, but resist the urge! Cooling bread on a wire rack is absolutely essential. As the bread cools, residual heat continues to cook the interior, allowing the crumb structure to set properly. Moisture also redistributes throughout the loaf during this time.
Slicing too early will result in a gummy or doughy interior, even if the crust looks perfect. Ciabatta, with its high hydration, requires adequate cooling, usually at least 1-2 hours, sometimes longer for larger loaves. Allowing it to cool fully on a rack ensures air circulation and prevents condensation, which can soften the crust you worked hard to achieve during baking.
Proper Storage Techniques for Freshness
Ciabatta is best enjoyed fresh, ideally within 12-24 hours of baking. However, if you need to store it, the goal is to keep the crust crisp while preventing the interior from drying out too quickly. Avoid airtight plastic bags at room temperature, as they trap moisture and will quickly turn the crust soft and rubbery.
For short-term storage (1-2 days), store the loaf cut-side down on a cutting board, or wrap it loosely in a paper bag or a clean linen towel. This allows the crust to breathe. For longer storage, ciabatta freezes exceptionally well. Allow the loaf to cool completely, then wrap it tightly in plastic wrap followed by aluminum foil or place it in a freezer-safe bag. When ready to eat, thaw at room temperature and refresh in a hot oven (around 350°F / 175°C) for 5-10 minutes to revive the crust.
Enjoying Your Hand-Mixed Ciabatta Bread
Congratulations! You've successfully navigated the rewarding process of hand mixing ciabatta dough and baked beautiful loaves. Now comes the best part: enjoying the fruits of your labor. The unique texture and flavor of homemade ciabatta make it incredibly versatile, perfect for a wide range of culinary uses.
Whether you keep it simple or use it as a base for something more elaborate, savor the experience. The satisfaction of tearing into a loaf you mixed by hand, revealing that signature open crumb, is immense.
Serving Suggestions and Recipe Ideas
Your hand-mixed ciabatta is delicious simply torn and dipped in good quality olive oil with a sprinkle of flaky sea salt. It's also the perfect bread for making classic Italian bruschetta; toast slices until golden, rub with garlic, top with fresh tomatoes, basil, and a drizzle of olive oil.
Ciabatta makes phenomenal sandwiches due to its sturdy crust and airy interior that holds fillings well without becoming dense. Try it with mozzarella, tomato, and pesto, or grilled vegetables. It's also excellent served alongside soups, stews, or pasta dishes, perfect for soaking up sauces. For a sweet treat, try it toasted with butter and jam. The possibilities are nearly endless for showcasing your homemade, hand-mixed ciabatta.
Conclusion: The Satisfaction of Hand-Mixing Ciabatta Dough
Hand mixing ciabatta dough is more than just a baking technique; it's a tactile experience that connects you directly to the ingredients and the transformation they undergo. While requiring patience and a willingness to get your hands sticky, the process offers unique rewards. Feeling the dough develop from a shaggy mass into an airy, bubbly structure provides an unparalleled understanding of gluten development and fermentation.
The resulting loaf, with its irregular open crumb and signature crisp crust, is a testament to the power of simple ingredients and careful handling. There's a profound satisfaction in pulling a beautiful ciabatta from your oven knowing you mixed every bit of that dough by hand. Embrace the stickiness, enjoy the process, and savor the incredible bread you create. Mastering hand mixing ciabatta dough is a skill that will bring delicious rewards to your kitchen for years to come.
Frequently Asked Questions
What makes hand mixing ciabatta dough different from using a stand mixer?
Hand mixing ciabatta dough develops the gluten network more slowly and gently, leading to a more open crumb and rustic texture. It also allows for greater control over the dough's hydration.
Why is high hydration important for ciabatta dough?
High hydration is crucial for ciabatta because it creates the large air pockets and characteristic chewy texture. It also contributes to the irregular crumb structure that defines the bread.
What's the best technique for hand mixing ciabatta dough to avoid overworking it?
Employ gentle folding and stretching techniques, rather than aggressive kneading. Focus on incorporating the ingredients and developing some strength without overdeveloping the gluten, which can result in a tougher loaf.
How can I tell if my hand-mixed ciabatta dough has fermented enough?
Look for a significant increase in volume, visible bubbles throughout the dough, and a slightly tangy aroma. A wobbly, jiggly texture is also a good indicator of proper fermentation.
What are some common mistakes to avoid when hand mixing ciabatta dough?
Avoid adding too much flour, as this can result in a dense loaf. Also, be patient and allow for sufficient fermentation time; rushing the process will compromise the final texture and flavor.
Final Reflection: The Enduring Magic of Hand-Mixed Ciabatta
The tactile experience of hand-mixing ciabatta dough remains a powerful connection to the artisan tradition of bread making, a connection increasingly valued in our fast-paced world. This seemingly simple act is far more than just a process; it's a journey of sensory exploration, a mindful practice that yields a loaf reflecting the baker's unique touch and dedication. The rise in popularity of sourdough and artisan breads speaks to a growing desire for authenticity and a deeper appreciation for the craft behind our food.
The process of kneading ciabatta dough, feeling the gluten develop under my fingertips, has profoundly impacted my understanding of baking. It's a meditative practice, a moment of quiet focus in a busy life. The best bread is made with love, and that love is tasted in every bite.
This quote, though simple, encapsulates the essence of what hand-mixing ciabatta represents: a labor of love that transcends the mere act of baking and becomes a form of self-expression. The imperfections, the unique character of each loaf, are testaments to this human touch, a stark contrast to the uniformity often found in mass-produced goods.
Now, I invite you to consider your own relationship with food preparation. Will you embrace the challenge of hand-mixing your next ciabatta loaf? Feel the dough, connect with the process, and savor the reward of a truly unique and delicious bread, a testament to your own skill and dedication. The journey is as rewarding as the destination, and the experience will enrich not only your baking but also your appreciation for the simple, yet profound, act of creating something beautiful with your own hands.
Unleash Your Inner Baker: Knead to Know More?
Thanks for taking the time to explore the wonderful world of hand-mixing ciabatta dough! You've now unlocked a key to creating truly authentic, artisanal bread. Ready to put your new knowledge into practice?
- Dive in and bake your own ciabatta! Use the recipe and techniques you just learned to create a delicious loaf—you'll be amazed at the results.
- Share your baking journey! Post a picture of your ciabatta creation on social media and tag #BakeWithEaseCiabatta – let’s inspire others!
- Experiment with different flours and hydration levels. What unique textures and flavors can you discover?
What unexpected ingredient will you add to your next ciabatta bake to elevate its flavor profile?