
Ciabatta with Poolish: Elevate Your Bread's Flavor

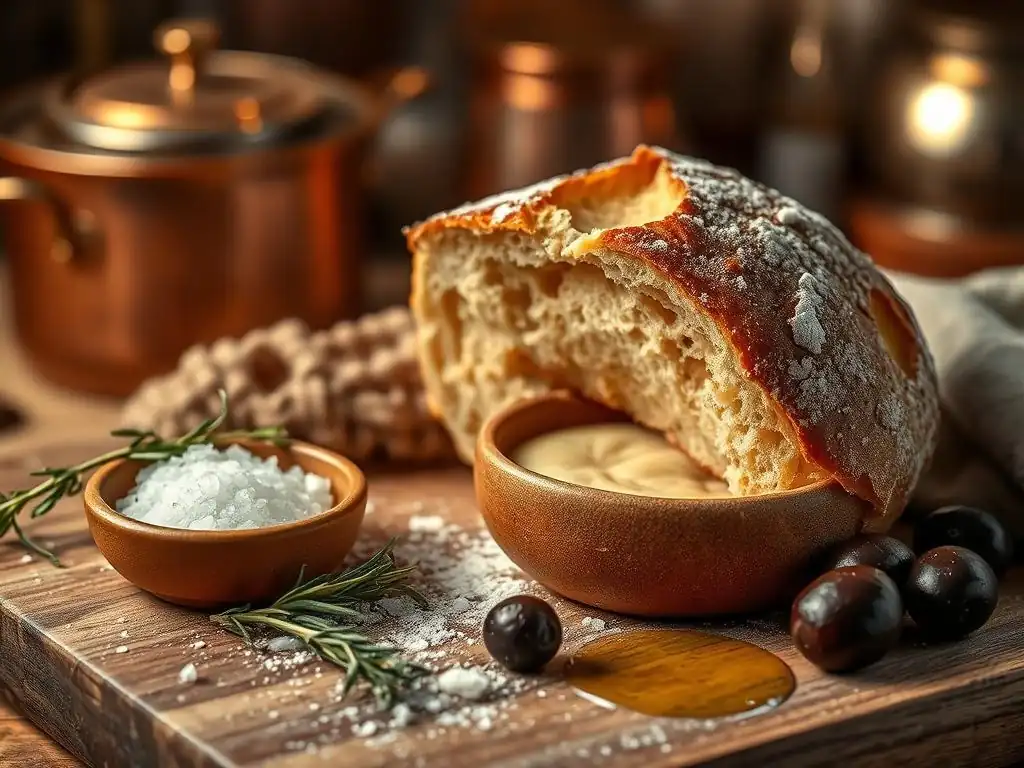
Welcome to BakeWithEase, where the aroma of freshly baked bread is always within reach! Ever wondered how to unlock that perfect airy crumb and deeply complex flavor in your Ciabatta?
In this article, we're diving into the secrets of a Ciabatta bread poolish recipe. Prepare to be amazed by how this simple pre-ferment can transform your baking, giving you a loaf that's bursting with character. Ready to elevate your bread game? Let's get baking!
- Introduction to Ciabatta Bread with Poolish
- The Ultimate Ciabatta Bread Poolish Recipe: A Step-by-Step Guide
- Poolish Preparation: The Foundation of Flavor
- Mixing and Kneading the Ciabatta Dough
- Bulk Fermentation: Developing Flavor and Structure
- Shaping Ciabatta Bread: Creating the Signature Look
- Baking Your Ciabatta with Poolish
- Tips for Baking the Best Ciabatta Bread with Poolish
- Serving and Storing Your Homemade Ciabatta
- Troubleshooting Common Ciabatta Baking Problems
- Ciabatta Bread Poolish Recipe Variations: Exploring Different Flavors
- Conclusion: Enjoying Your Homemade Ciabatta Bread with Poolish
-
Frequently Asked Questions
- What is a poolish and why is it used in a ciabatta recipe?
- Is a poolish difficult to make for a beginner baker?
- How does using a poolish affect the overall baking time of the ciabatta?
- Can I substitute the type of flour used in the ciabatta poolish recipe?
- What are the key characteristics of a successful ciabatta bread with a poolish?
- Final Reflection: The Unexpected Journey of a Simple Loaf
- Unleash Your Inner Baker: Craft the Perfect Ciabatta!
Introduction to Ciabatta Bread with Poolish
What is Poolish and Why Use It in Ciabatta?
A poolish is a type of preferment, essentially a liquid starter made from equal weights of flour and water, plus a small amount of yeast. Unlike a sourdough starter which relies on wild yeast, a poolish uses commercial yeast, allowing for more predictable and faster fermentation. It's typically prepared several hours before the main dough mix, sometimes even overnight, giving the yeast time to develop complex flavors and aromas that wouldn't be possible in a direct dough mix.
Using a poolish in your ciabatta bread recipe introduces a depth of flavor often described as nutty or slightly tangy, which is characteristic of artisan breads. This preferment also contributes to a more open crumb structure, larger air pockets, and a thinner, crispier crust – all hallmarks of excellent ciabatta. The extended fermentation process breaks down starches and proteins in the flour, making the final bread more digestible and enhancing its overall texture.
The Benefits of Using Poolish in Your Ciabatta Bread Recipe
Incorporating a poolish into your ciabatta dough significantly enhances both the flavor and texture profile. The long, slow fermentation of the poolish builds organic acids, primarily lactic and acetic acids, which contribute to a richer, more nuanced taste compared to a simple direct dough. This enzymatic activity also helps to strengthen the gluten structure, even in high-hydration doughs typical of ciabatta, leading to that desirable chewy interior.
Beyond flavor, the poolish improves the dough's extensibility and gas retention. This results in a dough that is easier to handle despite its stickiness and allows for the development of those signature large, irregular holes in the ciabatta crumb. For instance, a ciabatta made with a 20% poolish (meaning 20% of the total flour is in the poolish) can exhibit a more pronounced open crumb and a crisper crust than a direct dough version, making the extra step of preparing the poolish well worth the effort for a superior ciabatta bread poolish recipe.
The Ultimate Ciabatta Bread Poolish Recipe: A Step-by-Step Guide
Ingredients for the Poolish
To create the foundational poolish for your ciabatta bread poolish recipe, you will need just three simple ingredients: bread flour, water, and instant dry yeast. Specific quantities are crucial for the right consistency and fermentation rate. For example, a common ratio for a poolish suitable for a batch of ciabatta might be 150 grams of strong bread flour, 150 grams of lukewarm water (around 25-30°C or 77-86°F), and a tiny amount of instant dry yeast, perhaps 0.5 grams or about 1/8 teaspoon.
The quality of ingredients matters. Using a high-protein bread flour (around 12-13% protein) provides the necessary gluten structure to support the high hydration of both the poolish and the final ciabatta dough. Filtered water is often recommended to avoid potential issues with chlorine affecting yeast activity. Ensure your yeast is fresh and active; you can test it by dissolving the small amount in a teaspoon of warm water with a pinch of sugar – it should become foamy within 5-10 minutes.
Ingredients for the Ciabatta Dough
Once your poolish is ready, you will combine it with additional ingredients to form the main ciabatta dough. These typically include more bread flour, water, salt, and a small amount of yeast if needed (though often the poolish provides enough leavening). A standard ciabatta bread poolish recipe might call for the prepared poolish, plus an additional 350 grams of bread flour, 200-250 grams of water (adjusting based on desired hydration, often reaching 75-85% total hydration), 10 grams of fine sea salt, and perhaps another 1-2 grams of instant dry yeast.
The hydration level is a key characteristic of ciabatta. The total water content relative to the total flour content is usually quite high, often exceeding 75%. This high hydration is what contributes to the wet, sticky dough and the characteristic open crumb. Salt is essential for flavor and controlling fermentation speed, while the additional yeast, if used, provides a final boost for oven spring.
Equipment Needed for Baking Ciabatta with Poolish
Baking great ciabatta bread with poolish doesn't require extensive specialized equipment, but a few tools will make the process much smoother and improve results. You'll need large mixing bowls, ideally clear ones to observe fermentation, and a dough scraper or bench knife for handling the sticky dough. A digital scale is highly recommended for accurate measurement of ingredients, especially the small amount of yeast and the equal parts flour and water for the poolish.
For baking, a baking stone or steel is excellent for achieving a crisp bottom crust. You'll also need a method to create steam in your oven, such as a steam pan filled with hot water or lava rocks placed on a rack below your baking surface. Parchment paper is invaluable for easily transferring the wet, proofed dough to the hot baking surface. Finally, oven mitts and a cooling rack are necessary for safely handling the hot bread.
Poolish Preparation: The Foundation of Flavor
Step-by-Step Instructions for Making the Poolish
Creating the poolish for your ciabatta bread poolish recipe is a straightforward process. Start by accurately weighing your flour and water on a digital scale according to your recipe's specifications – remember, it's typically a 1:1 ratio by weight. In a mixing bowl, combine the water and the small amount of instant dry yeast, stirring gently to dissolve the yeast.
Next, add the measured flour to the water-yeast mixture. Stir with a spoon or whisk until no dry flour remains and you have a smooth, somewhat liquid batter-like consistency. It should resemble a thick pancake batter. Cover the bowl loosely with plastic wrap or a lid to prevent a skin from forming, and set it aside at room temperature to ferment.
Poolish Fermentation: Achieving the Perfect Consistency
The fermentation time for your poolish depends heavily on the ambient temperature and the amount of yeast used. At average room temperature (around 20-22°C or 68-72°F), a poolish made with a tiny amount of yeast (like 0.1-0.2% of the flour weight) might take 12-18 hours to reach maturity. If using slightly more yeast (like 0.5%), it might be ready in 8-12 hours.
A mature poolish will show significant activity: it will be bubbly on the surface, smell slightly alcoholic and pleasantly yeasty, and its volume will have increased significantly before starting to recede slightly in the center. A key visual cue is that the surface will appear slightly convex or domed initially, then flatten out or even become slightly concave when it's fully ripe and ready to be used in your ciabatta bread poolish recipe. Using the poolish at its peak ensures optimal flavor development and leavening power.
Troubleshooting Common Poolish Issues
Sometimes, your poolish might not behave exactly as expected. If your poolish shows little to no activity after several hours, the yeast might be inactive, the water might have been too hot or cold, or the ambient temperature is too low. Ensure you are using fresh yeast, check your water temperature (ideally lukewarm, not hot), and try placing the poolish in a warmer spot, perhaps near a gentle heat source or in an oven with the light on (but not the oven itself! ).
Conversely, if your poolish ferments too quickly and collapses completely before you're ready to use it, it might be over-fermented. This can happen if the temperature is too high or too much yeast was used. An over-fermented poolish can result in a weaker dough and less flavorful bread. If this happens, you can still use it, but the results might not be optimal. For future batches, try reducing the amount of yeast or fermenting it in a cooler location, like a basement or a cooler room in your house, especially for longer fermentation times.
Mixing and Kneading the Ciabatta Dough
Combining the Poolish with the Ciabatta Dough Ingredients
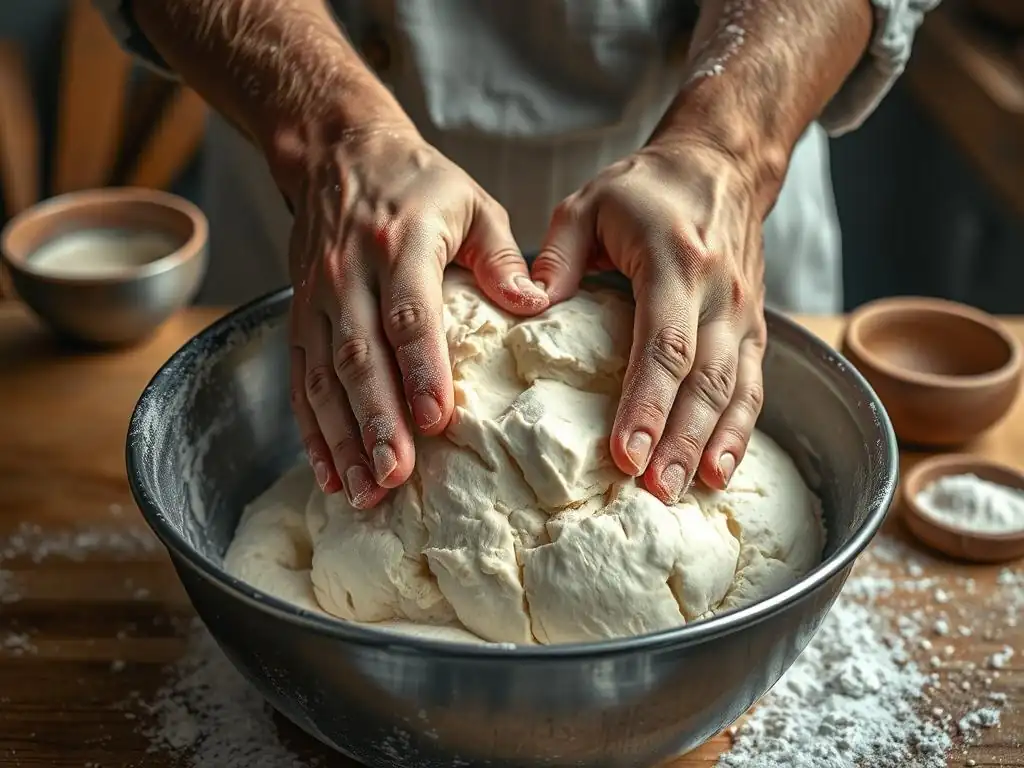
Once your poolish is perfectly ripe, it's time to combine it with the remaining ingredients for your ciabatta bread poolish recipe. In a large mixing bowl, whisk together the additional water (often quite a bit for ciabatta's high hydration) and any extra yeast specified in the recipe. Add the mature poolish to this mixture and gently break it up with your hands or a spoon, ensuring it disperses into the water.
Next, add the remaining flour and the salt to the bowl. At this stage, the mixture will be very wet and shaggy. Use a sturdy spoon or a stand mixer with a dough hook on a low speed to initially bring everything together. Mix until all the flour is hydrated and you have a rough, sticky mass. Avoid overmixing at this point; the goal is just to combine the ingredients before moving on to developing the gluten structure through folding.
The Importance of Proper Hydration in Ciabatta Dough
Ciabatta is renowned for its open, airy crumb, which is largely thanks to its high hydration level. A typical ciabatta bread poolish recipe often calls for a total hydration of 75% to 85% or even higher (meaning the water weight is 75-85% or more of the flour weight). This high water content makes the dough very slack and sticky, which can be challenging to handle but is crucial for achieving the characteristic large holes.
High hydration doughs promote more enzymatic activity, which helps break down the flour and contribute to a more flavorful crust and crumb. The abundance of water also allows the gluten network to expand more freely during fermentation and baking, capturing gas and creating those signature irregular air pockets. While it requires a different handling technique than lower hydration doughs, embracing the stickiness is key to successful ciabatta.
Gentle Mixing and Folding Techniques for Ciabatta
Because ciabatta dough is so wet, traditional kneading isn't the most effective or easiest way to develop gluten. Instead, a series of gentle mixing and folding techniques is preferred. After the initial mix, let the dough rest for 20-30 minutes (autolyse) to allow the flour to hydrate and gluten development to begin naturally.
Following the autolyse, perform a series of "stretch and folds." Wet your hands slightly to prevent sticking, then grab one side of the dough, stretch it upwards gently, and fold it over the center. Rotate the bowl and repeat this process 3-4 times until you've folded all sides. Repeat this set of folds every 30-45 minutes during the bulk fermentation period (typically 2-4 sets). This technique strengthens the gluten network without degassing the dough excessively, preserving the potential for an open crumb in your ciabatta bread poolish recipe.
Bulk Fermentation: Developing Flavor and Structure
First Fermentation: Time and Temperature Considerations
Bulk fermentation, also known as the first rise, is a critical stage where flavor develops and the dough gains strength and volume. For a ciabatta bread poolish recipe, this process typically takes 2 to 4 hours at room temperature (around 20-24°C or 68-75°F). The exact time will vary depending on the temperature of your kitchen, the amount of yeast used in the poolish and main dough, and the maturity of your poolish.
During this time, the dough should increase significantly in volume, roughly doubling or even tripling. It will also become noticeably more airy, bubbly, and cohesive with each set of folds. Pay less attention to a specific time and more attention to the dough's appearance and feel – it should feel lighter and show signs of fermentation, like bubbles on the surface and along the sides of the container.
Folding the Dough: Strengthening the Gluten
As mentioned earlier, performing folds during bulk fermentation is essential for building the gluten structure in high-hydration ciabatta dough. Aim for 2-4 sets of stretch and folds, spaced 30-45 minutes apart, during the first 1.5 to 2 hours of the bulk ferment. This process helps to align the gluten strands, providing the framework needed to support the dough's expansion and create that characteristic open crumb.
To perform a fold, lightly wet your hands. Gently lift one edge of the dough from the bowl, stretch it upwards without tearing it, and fold it back over the center. Rotate the bowl a quarter turn and repeat. Do this 3-4 times to complete one set of folds. You'll notice the dough becoming smoother and more resistant with each subsequent set of folds, indicating the gluten is developing.
Second Fermentation: Achieving the Ideal Rise
After the initial bulk fermentation with folds, the dough needs a final rest period to continue developing flavor and gas before shaping. This might involve a period of undisturbed fermentation for the last hour or so of the bulk ferment, or a separate shorter fermentation after an initial shaping step. Some ciabatta bread poolish recipes call for transferring the dough to a proofing container and letting it rest for another hour or two until very airy.
The key is to allow the dough to become light and full of gas bubbles. It should appear significantly increased in volume and feel incredibly airy and delicate when gently prodded. Avoid rushing this stage; proper fermentation is crucial for both the flavor and the final texture of your ciabatta. Over-proofing at this stage can lead to a dough that's difficult to shape and may collapse during baking.
Shaping Ciabatta Bread: Creating the Signature Look
Dividing the Dough: Gentle Handling is Key
Ciabatta dough is notoriously wet and sticky, requiring a gentle touch during handling. After the bulk fermentation is complete, carefully pour or scrape the dough out onto a lightly floured surface (using rice flour can help reduce sticking). Avoid aggressively degassing the dough; you want to preserve as many of those precious air bubbles as possible, which were developed during the fermentation of the poolish and the main dough.
Using a bench scraper, gently divide the dough into the desired number of portions. For typical ciabatta shapes, you might divide a batch into 2-4 pieces. Try to make clean cuts without excessive manipulation. If the dough is sticking to your scraper, lightly flour the edge of the scraper. Remember, the less you handle the dough at this stage, the better the potential for an open crumb.
Shaping Techniques for Authentic Ciabatta
Authentic ciabatta shaping is more about coaxing the dough into a rough rectangle or square than tight shaping. Once divided, gently stretch or pat each piece into a rectangular or square shape. The goal is to create some tension without deflating the dough. Some bakers gently fold the dough in half lengthwise or in thirds like a letter to create a bit of structure, but the key is to keep it loose and airy.
Place the shaped pieces onto a well-floured surface or proofing couche (a linen cloth) that has been heavily floured, usually with a mix of wheat and rice flour, or just rice flour, to prevent sticking. Ensure there's enough space between the loaves or use folds in the couche to support their shape during proofing. This prevents the wet dough from spreading out too much.
Proofing the Shaped Ciabatta
Proofing, the final rise before baking, allows the shaped ciabatta to lighten up and gain the last bit of volume. Place the shaped loaves on your floured surface or couche, cover them loosely with plastic wrap or a light towel to prevent drying out. The proofing time for ciabatta is relatively short, typically 30-60 minutes at room temperature.
You'll know the ciabatta is ready to bake when it has increased slightly in size and feels very light and airy. The surface might show some bubbles. A gentle poke test isn't as reliable with such wet dough, but if you gently press the dough, it should slowly spring back. Over-proofing will make the dough difficult to transfer and can result in flat loaves. Under-proofing will yield a denser crumb. Aim for that sweet spot where the dough is airy but still has some structure.
Baking Your Ciabatta with Poolish
Preheating the Oven and Preparing for Baking
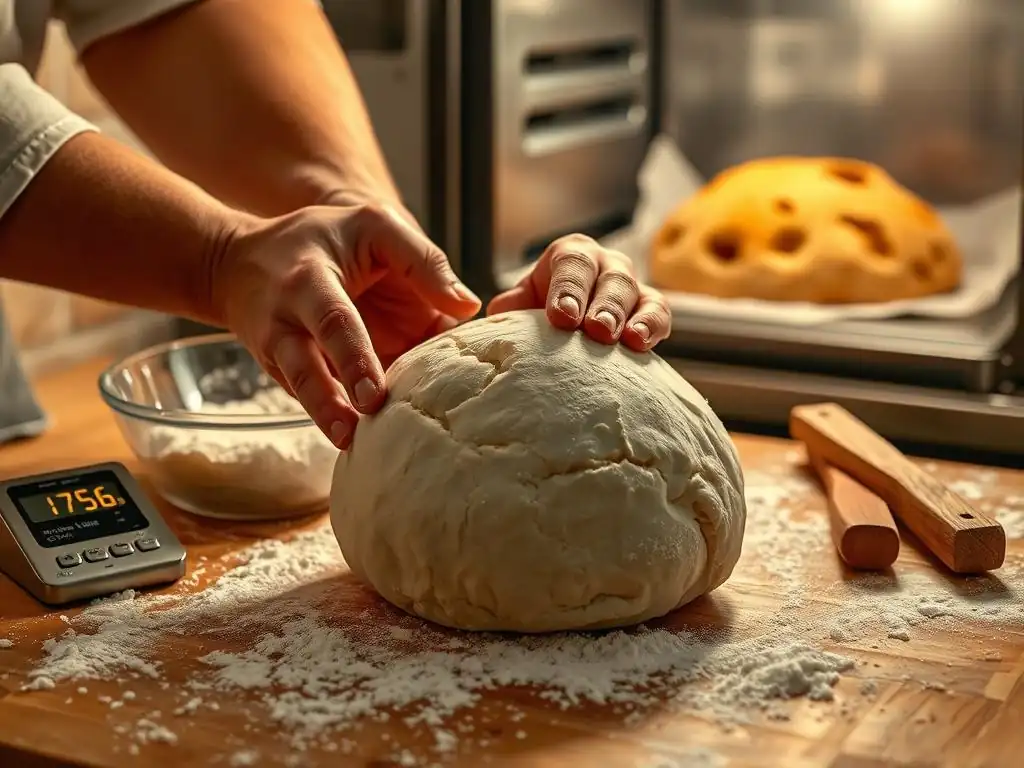
Proper oven setup and preheating are crucial for achieving a great crust and oven spring in your ciabatta bread poolish recipe. Preheat your oven to a high temperature, typically between 230°C and 250°C (450°F to 480°F). If you are using a baking stone or steel, place it in the oven during the preheating process and allow it to heat up for at least 30-60 minutes after the oven reaches the target temperature to ensure it's thoroughly hot.
While the oven preheats, prepare your method for creating steam. This could involve placing an empty metal tray on the bottom rack during the preheat, which you will fill with hot water just before loading the bread, or placing lava rocks in a tray that you'll pour water over. Have your proofed ciabatta ready on parchment paper or a peel dusted with cornmeal or semolina for easy transfer.
Creating Steam for a Crispy Crust
Steam is essential for developing a thin, crispy crust on your ciabatta. The steam keeps the surface of the dough moist in the initial stages of baking, allowing the dough to expand fully before the crust sets. Without sufficient steam, the crust forms too quickly, restricting oven spring and resulting in a thicker, tougher crust.
Just before you load the ciabatta into the oven, carefully pour a cup of hot water into your preheated steam pan on the bottom rack. Be cautious of the rush of steam. Quickly close the oven door to trap the steam inside. This creates a humid environment ideal for the first 10-15 minutes of baking, where most of the oven spring occurs.
Baking Time and Temperature: Achieving the Perfect Color
The baking time for ciabatta bread with poolish varies depending on the size of your loaves and your oven, but typically ranges from 20 to 30 minutes. Bake at the high initial temperature (230-250°C / 450-480°F) for the first 10-15 minutes with steam. After this initial period, carefully open the oven (releasing the steam) and, if necessary, reduce the temperature slightly (e.g., to 220°C / 425°F) to prevent the crust from burning while the interior finishes baking.
The ciabatta is done when it has a deep golden-brown crust and sounds hollow when tapped on the bottom. The internal temperature should register around 93-99°C (200-210°F) on an instant-read thermometer. Don't be afraid of a dark crust; it contributes significantly to the flavor and texture.
Cooling the Ciabatta: Allowing the Flavor to Develop
Once baked, immediately transfer the ciabatta loaves from the oven to a wire cooling rack. It is absolutely crucial to let the bread cool completely before slicing into it. This process allows the internal moisture to redistribute and the crumb structure to set properly. Cutting into hot ciabatta will result in a gummy, doughy interior, even if it was perfectly baked.
Cooling typically takes at least 1-2 hours, depending on the size of the loaves. As the bread cools, the crust will become crispier, and the flavors, enhanced by the poolish, will continue to develop and deepen. Patience during the cooling phase is rewarded with the best possible texture and taste from your ciabatta bread poolish recipe.
Tips for Baking the Best Ciabatta Bread with Poolish
Choosing the Right Flour for Ciabatta
The type of flour you use significantly impacts the outcome of your ciabatta bread poolish recipe. A strong bread flour with a protein content of 12-14% is highly recommended. This higher protein level means more gluten development is possible, which is essential for trapping the gases produced by fermentation and supporting the open, airy structure characteristic of ciabatta, especially given its high hydration.
While all-purpose flour can be used, it typically has lower protein (around 10-11.5%) and will result in a less open crumb and potentially a weaker dough that's harder to handle at high hydration. Some bakers like to include a small percentage of whole wheat or rye flour in their poolish or main dough for added flavor and nutrition, but the majority should be strong bread flour for optimal structure.
Hydration Levels and Their Impact on the Crumb
As previously discussed, hydration is key to ciabatta's signature open crumb. Hydration levels in ciabatta bread poolish recipes typically range from 75% to 85%, sometimes even higher. Higher hydration generally leads to a more open crumb with larger, irregular holes, but it also results in a stickier, more challenging dough to handle.
If you are new to baking ciabatta, you might want to start with a slightly lower hydration, say 75-78%, to get comfortable with the dough's consistency. As you gain experience, you can gradually increase the hydration to 80-85% or more to achieve an even more dramatic open crumb. Remember that different flours absorb water differently, so you may need to slightly adjust the water quantity based on the specific flour you are using.
Mastering the Art of Dough Handling
Handling high-hydration ciabatta dough requires a different mindset than traditional bread doughs. Embrace the stickiness rather than fighting it with excessive flour. Use wet hands or a wet bench scraper when dividing and manipulating the dough. Think of "coaxing" or "gently guiding" the dough rather than aggressively kneading or shaping it.
Using a well-floured surface (especially with rice flour) and techniques like stretch and folds in the bowl or on the counter with wet hands are crucial. When transferring the proofed loaves, use parchment paper or a well-dusted peel to support the delicate, airy structure. The goal is to preserve the gas bubbles that the poolish and fermentation have created.
Achieving the Perfect Crust and Crumb
Achieving the ideal crispy crust and open crumb is the ultimate goal of any ciabatta bread poolish recipe. The poolish contributes significantly to both by developing flavor and strengthening the dough. High hydration is essential for the open crumb, while proper gluten development through folding provides the structure to support it.
Baking at high temperatures with steam is critical for the crust. The initial burst of steam allows the crust to remain pliable while the dough expands rapidly in the hot oven (oven spring). Once the crust sets, the high heat continues to crisp it. The long, slow fermentation from the poolish also contributes to a more flavorful crust with pleasant maillard reactions during baking. Allowing the bread to cool completely is the final step to ensure the crumb sets properly and isn't gummy.
Serving and Storing Your Homemade Ciabatta
Serving Suggestions: Pairing Ciabatta with Meals
Freshly baked ciabatta bread with poolish is incredibly versatile and pairs wonderfully with a variety of dishes. Its open crumb and crispy crust make it perfect for dipping into olive oil and balsamic vinegar, or alongside soups and stews to soak up the broth. Imagine tearing off a piece to accompany a hearty minestrone or a rich beef stew.
Ciabatta also makes excellent sandwiches, both hot and cold. Its sturdy structure holds up well to fillings, while the airy interior doesn't make the sandwich overly dense. Toasting slices of ciabatta is another popular option, creating a crunchy base for bruschetta topped with fresh tomatoes, garlic, and basil, or for serving with cheese platters.
Proper Storage Techniques for Fresh Ciabatta
To keep your homemade ciabatta bread with poolish as fresh as possible, proper storage is key. Once completely cooled, store the bread at room temperature. The best method is often to place it in a paper bag, which allows the crust to remain relatively crisp while protecting the interior from drying out too quickly.
Avoid storing ciabatta in plastic bags or airtight containers at room temperature for extended periods, as this can soften the crust and promote mold growth due to trapped moisture. If you live in a very humid environment, a loosely tied plastic bag might be necessary, but check the bread frequently. For longer storage, see the revival tips below.
Reviving Day-Old Ciabatta
Ciabatta is best enjoyed the day it's baked, but day-old loaves can often be revived to bring back some of their initial glory, especially the crust. To refresh a slightly stale ciabatta, lightly spritz or dampen the crust with water (you can use a spray bottle or quickly run it under the tap).
Place the dampened loaf directly on the oven rack in a preheated oven at around 180-200°C (350-400°F) for 5-10 minutes. The heat will steam the interior slightly and re-crisp the crust. Let it cool for a few minutes before slicing. For longer storage or if you won't eat the bread within a day or two, it's best to slice it and freeze the slices in an airtight bag or container. Frozen slices can be toasted directly from the freezer.
Troubleshooting Common Ciabatta Baking Problems
Dense Crumb: Causes and Solutions
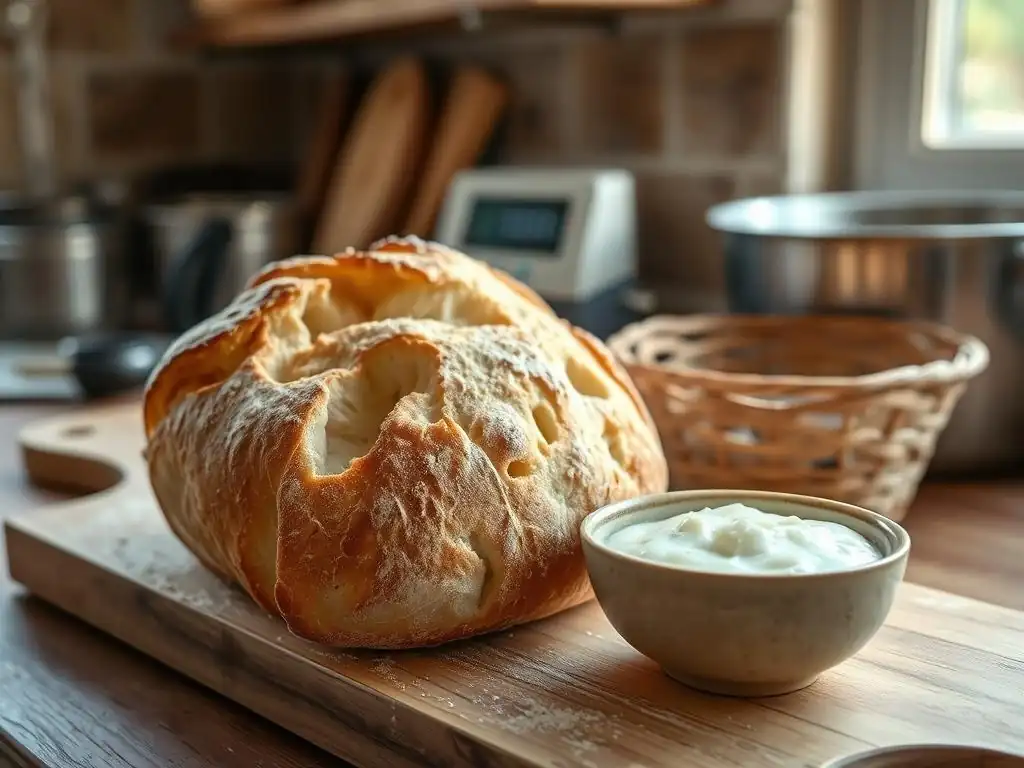
A dense, tight crumb in your ciabatta bread with poolish, rather than the desired open, airy structure, can be frustrating. This is often caused by insufficient fermentation, insufficient hydration, or improper handling. If your poolish wasn't fully mature or your bulk fermentation wasn't long enough, the dough won't develop enough gas. Ensure your poolish is bubbly and ripe and allow sufficient time for the dough to increase significantly in volume during the first rise (2-4 hours is typical).
Too low hydration (below 75%) can also lead to a tighter crumb; ensure you're using enough water for the flour type. Finally, aggressive handling during mixing, folding, or shaping can degas the dough, collapsing the nascent structure. Be gentle, especially when dividing and shaping, and use folds rather than kneading to develop gluten.
Flat Ciabatta: Addressing Proofing and Shaping Issues
If your ciabatta spreads out horizontally rather than gaining some height during baking, it's often due to over-proofing or weak gluten structure. An over-proofed dough is like an over-inflated balloon – it has used up most of its leavening power and collapses easily. The dough might look very airy but lacks tension. Reduce the final proofing time or proof in a slightly cooler spot.
Alternatively, the gluten structure might be too weak to support the dough's high hydration. This could be due to using a lower protein flour or not performing enough sets of folds during bulk fermentation. Ensure you're using strong bread flour and commit to 3-4 sets of folds during the first couple of hours of the bulk ferment to build sufficient strength.
Burnt Crust: Adjusting Baking Time and Temperature
A beautiful, deep golden crust is desired for ciabatta, but a burnt crust is not! If your crust is consistently too dark before the interior is fully baked, the oven temperature might be too high or the baking time too long. While ciabatta bakes at high heat, you might need to adjust based on your specific oven.
Try reducing the oven temperature by 10-15°C (25-30°F) after the first 10-15 minutes of baking, especially after releasing the steam. If the tops are browning too quickly, you can loosely tent the loaves with aluminum foil for the remainder of the baking time. Ensure your baking stone or steel isn't positioned too close to the top heating element. Using parchment paper can also provide a small buffer against excessive bottom heat.
Ciabatta Bread Poolish Recipe Variations: Exploring Different Flavors
Adding Herbs and Spices to Your Ciabatta
Once you've mastered the basic ciabatta bread poolish recipe, you can easily introduce variations to explore different flavors. Adding dried herbs like rosemary, thyme, or oregano is a simple way to infuse your ciabatta with aromatic notes. Mix 1-2 tablespoons of dried herbs into the main dough along with the flour and salt.
Spices such as black pepper, red pepper flakes, or even a pinch of garlic powder can also add a pleasant kick or depth of flavor. For best results, ensure the herbs and spices are evenly distributed throughout the dough during the initial mixing phase. The subtle tang from the poolish complements many herbal and spicy additions beautifully.
Incorporating Olives and Sun-Dried Tomatoes
For a more substantial flavor variation, try adding chopped olives or sun-dried tomatoes to your ciabatta dough. About 50-100 grams of pitted and roughly chopped olives (such as Kalamata or green olives) or drained, chopped sun-dried tomatoes (oil-packed work well) can be gently folded into the dough during the last set of folds in bulk fermentation.
Be mindful that additions like olives and sun-dried tomatoes can add moisture and potentially affect the dough's structure. Drain sun-dried tomatoes well if they are oil-packed. Distribute them as evenly as possible without overworking the dough. These additions create incredibly flavorful loaves perfect for antipasto platters or robust sandwiches.
Exploring Different Flour Combinations
While strong bread flour is the standard for ciabatta, experimenting with small percentages of other flours can add complexity to your ciabatta bread poolish recipe. Substituting 10-15% of the bread flour with whole wheat flour will add a nutty, earthy flavor and increase the fiber content. Similarly, a small amount of rye flour (5-10%) can introduce a subtle tang and depth.
Be aware that whole wheat and rye flours absorb more water than white bread flour, so you might need to slightly increase the total water in the recipe when making substitutions. These flours also contain bran and germ which can interfere with gluten development, so keep the substitution percentage relatively low (under 20%) when aiming for a classic open ciabatta crumb.
Conclusion: Enjoying Your Homemade Ciabatta Bread with Poolish
Frequently Asked Questions
What is a poolish and why is it used in a ciabatta recipe?
A poolish is a type of pre-ferment that adds complexity and flavor to the bread. It also helps to develop a lighter and airier texture in the final product.
Is a poolish difficult to make for a beginner baker?
No, a poolish is relatively simple to make. It typically involves mixing flour, water, and a small amount of yeast and letting it ferment for a period of time, making it very forgiving and beginner-friendly.
How does using a poolish affect the overall baking time of the ciabatta?
Using a poolish will increase the overall time required to make the ciabatta, due to the fermentation period of the poolish itself. However, it often reduces kneading time and improves the bread's rise.
Can I substitute the type of flour used in the ciabatta poolish recipe?
It's generally recommended to use bread flour for the poolish to achieve the best results. Substituting with all-purpose flour may affect the gluten development and the final texture of the ciabatta.
What are the key characteristics of a successful ciabatta bread with a poolish?
A successful ciabatta will have a light, airy, and open crumb, a slightly tangy flavor, and a crispy crust. The poolish contributes significantly to achieving these desired characteristics.
Final Reflection: The Unexpected Journey of a Simple Loaf
The humble ciabatta, elevated by the poolish, is more than just a bread; it's a testament to the transformative power of patience and precision in baking. This seemingly simple addition of a pre-ferment dramatically alters the final product, resulting in a bread with a complex flavor profile and an airy, open crumb that elevates the everyday into something truly special. The impact of this technique resonates far beyond the kitchen.
The journey of crafting this ciabatta, guided by the poolish, mirrors life's own process of growth and development. The slow fermentation, the careful attention to detail, the anticipation of the final result – these are all elements that resonate deeply with the human experience. The best things in life are worth waiting for,
a sentiment perfectly captured in the slow, deliberate process of creating a truly exceptional loaf of bread. This resonates beyond baking, reminding us that patience and dedication often yield the most rewarding outcomes.
Now, consider your own baking journey. Will you embrace the challenge of the poolish, allowing yourself the time and attention needed to create something truly remarkable? Perhaps this isn't just about bread, but about embracing the slower pace, the mindful process, and the profound satisfaction of creating something beautiful and delicious with your own hands. Dare to experiment, to learn, and to savor the journey as much as the destination. The reward, like the perfectly risen ciabatta, will be well worth the effort.
Unleash Your Inner Baker: Craft the Perfect Ciabatta!
Thanks for joining us on this ciabatta journey! You've just learned how a simple poolish can elevate your bread baking to a whole new level of flavor and texture. Ready to put your new skills to the test?
- Bake your own masterpiece: Try the recipe again, experimenting with different flours or herbs to personalize your ciabatta. This is your chance to truly own the process!
- Share your success: Post a picture of your ciabatta on social media and tag us — we'd love to see your creations!
- Explore new sourdough adventures: Discover other amazing sourdough recipes on our website (search for "sourdough" in the search bar)!
So, what incredible flavor combinations will you explore in your next ciabatta bake?