
Easy Homemade Vegan Garlic Bread Sticks

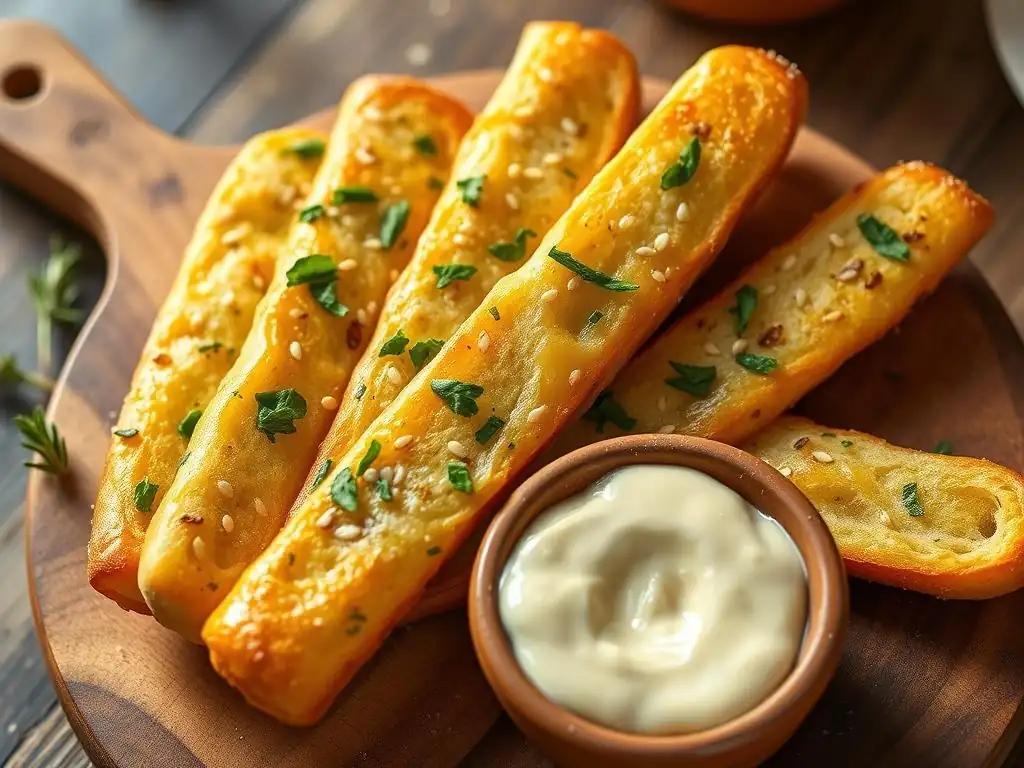
Welcome to BakeWithEase, your haven for effortless baking! Are you ready to experience the pure joy of crafting perfect, pillowy-soft bread right in your own kitchen? Dive into our Vegan Garlic Bread Sticks recipe – a surprisingly simple yet utterly delicious treat. But what makes these bread sticks so incredibly easy to make, and how can you achieve that perfect golden-brown crust? Keep reading to unlock the secrets and elevate your bread baking game today!
- Crispy Vegan Garlic Breadsticks: A Simple Recipe
- Introduction: Flavorful and Easy Homemade Breadsticks
- Why This Vegan Garlic Breadsticks Recipe is a Must-Try
- Ingredients for Vegan Garlic Breadsticks
-
Step-by-Step Guide: Baking Your Own Vegan Garlic Breadsticks
- Step 1: Preparing the Dough
- Step 2: First Rise - Proofing the Dough
- Step 3: Shaping the Breadsticks
- Step 4: Preparing the Garlic Herb Oil
- Step 5: Second Rise - Final Proofing
- Step 6: Baking the Vegan Garlic Breadsticks
- Step 7: Adding the Garlic Herb Oil
- Step 8: Serving and Storing Your Vegan Garlic Breadsticks
- Tips and Tricks for Perfect Vegan Garlic Breadsticks
- Variations on This Vegan Garlic Bread Recipe
- Vegan Garlic Breadsticks: A Delicious and Easy Recipe Conclusion
-
Frequently Asked Questions
- How difficult is this Vegan Garlic Bread Sticks Recipe to make for a beginner baker?
- What kind of flour is best to use for these vegan garlic bread sticks?
- Can I freeze the dough or the baked garlic bread sticks for later?
- What's the best way to reheat the frozen garlic bread sticks?
- Can I customize the garlic flavor in this recipe?
- Final Reflection: The Simple Joy of Vegan Garlic Bread
- Unleash Your Inner Baker: Make These Garlic Bread Sticks Tonight!
Crispy Vegan Garlic Breadsticks: A Simple Recipe
Introduction: Flavorful and Easy Homemade Breadsticks
There's something incredibly satisfying about baking bread from scratch, and these easy homemade vegan garlic breadsticks are no exception. They offer a delightful combination of soft, chewy interiors and perfectly crispy exteriors, all infused with fragrant garlic and herbs. Whether you're a seasoned baker or just starting out, this straightforward vegan garlic bread sticks recipe is designed to be accessible and rewarding. Forget store-bought options; making your own means fresh, warm breadsticks ready to accompany your favorite pasta dishes, soups, or simply enjoyed on their own.
Diving into the world of vegan baking opens up a realm of delicious possibilities, and this recipe for vegan garlic breadsticks is a fantastic entry point. It uses simple pantry staples and requires no fancy equipment, demonstrating how easy it is to create impressive results without animal products. We'll walk you through each stage, from mixing the dough to achieving that golden-brown perfection, ensuring your first attempt (and every attempt after) is a success. Get ready to fill your kitchen with the irresistible aroma of freshly baked bread and roasted garlic!
Why This Vegan Garlic Breadsticks Recipe is a Must-Try
This particular vegan garlic bread sticks recipe stands out for several reasons that make it a go-to for anyone seeking a delicious and reliable baking project. Firstly, its simplicity. The ingredients list is minimal, focusing on standard bread-making components plus the star flavorings. The steps are clearly defined, making it easy for bakers of any skill level to follow along without feeling overwhelmed. This approach ensures a high success rate, building confidence in your baking abilities.
Beyond ease, the results speak for themselves. These homemade vegan garlic breadsticks boast a superior texture and flavor compared to many store-bought alternatives. The slow rise develops a lovely depth of flavor in the dough, while the generous application of garlic-herb oil after baking infuses them with incredible aroma and taste. They are perfect for dipping into marinara sauce, pairing with a hearty stew, or serving as a crowd-pleasing appetizer. If you're looking for a dependable and delicious vegan garlic bread sticks recipe, you've found it.
Ingredients for Vegan Garlic Breadsticks
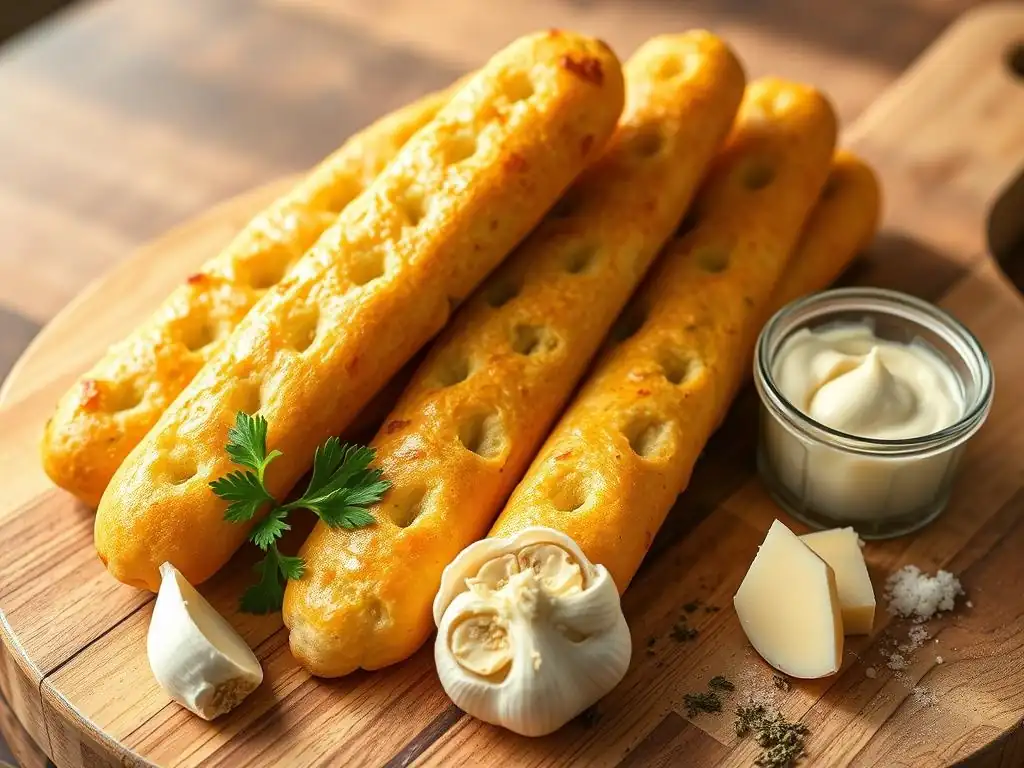
Here's what you'll need to bake a batch of these irresistible vegan garlic breadsticks:
- [ ] For the Dough:
- 1 ½ cups warm water (about 105-115°F or 40-46°C)
- 2 ¼ teaspoons active dry yeast (one standard packet)
- 1 tablespoon granulated sugar
- 3 ¾ - 4 cups all-purpose flour, plus more for dusting
- 1 teaspoon fine sea salt
- 2 tablespoons olive oil, plus more for greasing
- [ ] For the Garlic Herb Oil:
- ¼ cup olive oil
- 4-6 cloves garlic, minced
- 2 tablespoons fresh parsley, finely chopped
- 1 teaspoon dried oregano (or other desired herbs like basil or rosemary)
- ½ teaspoon salt
- ¼ teaspoon black pepper
Step-by-Step Guide: Baking Your Own Vegan Garlic Breadsticks
Step 1: Preparing the Dough
Begin by activating your yeast. In a large mixing bowl, combine the warm water and sugar. Sprinkle the active dry yeast over the top. Let this mixture sit for about 5-10 minutes. You'll know the yeast is active when it becomes foamy and bubbly on the surface. This foaming indicates that the yeast is alive and ready to leaven your dough, which is crucial for light and airy breadsticks. If it doesn't foam, your water might not have been the right temperature, or the yeast may be old, and you should start with new ingredients.
Once the yeast is active, add 3 ¾ cups of the all-purpose flour and the salt to the bowl. Pour in the 2 tablespoons of olive oil. Using a wooden spoon or a stand mixer with a dough hook, mix until a shaggy dough forms. If mixing by hand, turn the dough out onto a lightly floured surface and knead for 8-10 minutes.
If using a stand mixer, knead on medium speed for about 6-8 minutes. The dough should become smooth and elastic, pulling away from the sides of the bowl. Add the remaining flour, a tablespoon at a time, only if the dough is excessively sticky.
Step 2: First Rise - Proofing the Dough
Lightly grease a clean large bowl with olive oil. Gather your kneaded dough into a ball and place it in the greased bowl, turning it to coat all sides with oil. This prevents the dough from sticking to the bowl as it rises. Cover the bowl tightly with plastic wrap or a clean kitchen towel. Proper covering is important to maintain moisture and create a warm, humid environment for the yeast to work effectively.
Place the covered bowl in a warm place to rise. An oven with the light on (but not heated) or a spot near a sunny window are good options. Let the dough rise for 60-90 minutes, or until it has roughly doubled in size. The exact time can vary depending on the temperature of your room; warmer environments will speed up the process. You can gently poke the dough with your finger; if the indentation springs back slowly or partially, it's ready.
Step 3: Shaping the Breadsticks
Once the dough has doubled, gently punch it down to release the air. Turn the dough out onto a lightly floured surface. You can either divide the dough into equal portions (aiming for about 12-16 breadsticks, depending on desired size) or roll out the entire dough into a rectangle. If rolling, aim for a rectangle roughly 12x16 inches.
If dividing portions, shape each piece into a rope about 10-12 inches long. If rolling a rectangle, use a pizza cutter or knife to cut the rectangle into strips about ¾ to 1 inch wide and 10-12 inches long. The goal is relatively uniform thickness so they bake evenly. Place the shaped breadsticks onto baking sheets lined with parchment paper, leaving about an inch of space between each one to prevent them from sticking together as they rise and bake.
Step 4: Preparing the Garlic Herb Oil
While the breadsticks are undergoing their second rise, prepare the flavorful garlic herb oil. In a small bowl, whisk together the ¼ cup olive oil, minced garlic, chopped fresh parsley, dried oregano, salt, and black pepper. Mincing the garlic finely ensures its flavor is evenly distributed throughout the oil. Using fresh parsley adds a bright, fresh note, while dried herbs provide concentrated flavor.
This oil mixture is key to giving the vegan garlic breadsticks their signature taste and aroma. Set the oil aside at room temperature. The flavors will meld together as it sits, enhancing the garlic and herb infusion. You'll brush this mixture generously over the breadsticks immediately after they come out of the oven, allowing the hot bread to absorb all that deliciousness.
Step 5: Second Rise - Final Proofing
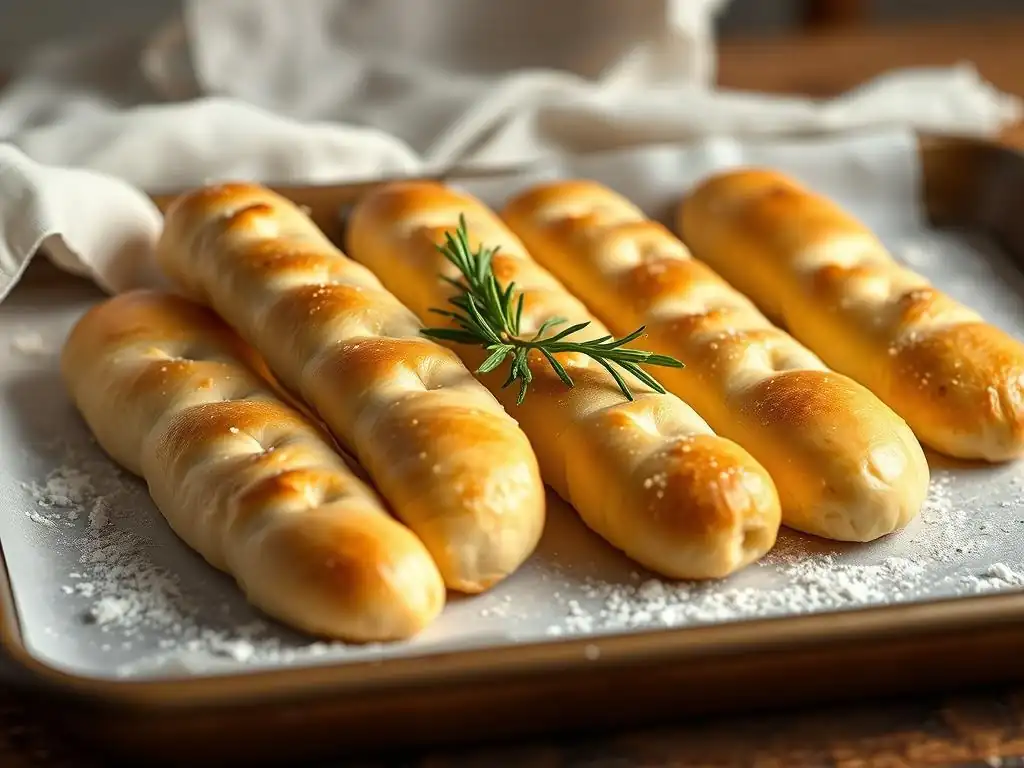
After shaping the breadsticks and placing them on the baking sheets, cover them loosely with plastic wrap or a light kitchen towel. This second rise, also known as proofing, is shorter than the first but equally important for achieving a light texture. Place the covered baking sheets in a warm spot for about 20-30 minutes.
During this final proof, the breadsticks will puff up slightly, indicating that the yeast is still active and producing gas. They won't double in size like the first rise, but they should look visibly fuller and softer. Towards the end of this proofing time, preheat your oven to 400°F (200°C). Ensuring the oven is fully preheated is vital for achieving a quick rise and golden crust during baking.
Step 6: Baking the Vegan Garlic Breadsticks
Once the oven is preheated and the breadsticks have completed their second rise, they are ready to bake. Place the baking sheets in the preheated oven. Bake for 12-18 minutes, or until the breadsticks are golden brown and sound hollow when tapped on the bottom. Baking time can vary depending on your oven and the thickness of your breadsticks, so start checking around the 12-minute mark.
Keep an eye on them as they bake to prevent burning. A beautiful golden color is the goal, indicating a crispy exterior has formed. Rotating the baking sheets halfway through the baking time can help ensure even browning, especially if your oven has hot spots. Once they reach that perfect golden hue, carefully remove them from the oven.
Step 7: Adding the Garlic Herb Oil
This is the magical step that transforms plain breadsticks into aromatic vegan garlic breadsticks. As soon as the breadsticks come out of the hot oven, while they are still piping hot on the baking sheet, generously brush them with the prepared garlic herb oil from Step 4. The heat of the breadsticks helps to warm the oil slightly and encourages it to soak into the crust.
Use a pastry brush to ensure each breadstick is well-coated with the flavorful mixture. Don't be shy with the oil; this is where a lot of the flavor comes from. The sizzling sound and incredible aroma as the oil hits the hot bread are truly rewarding. Let the breadsticks sit on the baking sheet for a few minutes after brushing to absorb the oil fully before transferring them.
Step 8: Serving and Storing Your Vegan Garlic Breadsticks
Your homemade vegan garlic breadsticks are best enjoyed warm, fresh out of the oven and brushed with the garlic oil. Serve them immediately as a side dish or appetizer. They pair wonderfully with pasta dishes like vegan spaghetti bolognese, hearty lentil soup, or a fresh green salad. Have some extra marinara sauce or vegan butter on hand for dipping!
If you happen to have any leftovers (which is unlikely! ), they can be stored in an airtight container at room temperature for 1-2 days. For longer storage, you can refrigerate them for up to 4 days or freeze them for up to 2-3 months. To reheat, wrap them in foil and warm in a preheated oven at 350°F (175°C) for about 5-10 minutes, or until heated through. Avoid microwaving, as it can make them chewy.
Tips and Tricks for Perfect Vegan Garlic Breadsticks
- Yeast Activation: Always double-check that your yeast is active before adding flour. This is the most common reason for bread not rising. Warm water (not hot!) and a pinch of sugar are key.
- Kneading: Proper kneading develops gluten, which gives bread its structure and chewiness. Knead until the dough is smooth and elastic.
- Flour Measurement: Measuring flour accurately is important. Using too much flour can result in dry, dense breadsticks. It's often best to weigh your flour if possible (1 cup all-purpose flour is typically around 120-125 grams). If measuring by volume, spoon the flour into the measuring cup and level it off without packing it down.
- Warm Environment for Rising: A consistent warm temperature helps the dough rise properly and within the expected timeframe. Avoid drafty spots.
- Don't Overbake: Keep an eye on the color. They should be golden brown, not dark brown or burnt. Overbaking will make them hard.
- Garlic Oil Timing: Brush the garlic oil on immediately after taking them out of the oven while they are still very hot. This allows the oil to soak in beautifully.
- Herb Variations: Feel free to experiment with different fresh or dried herbs in the garlic oil, such as fresh rosemary, thyme, or dried basil, to customize the flavor profile.
Variations on This Vegan Garlic Bread Recipe
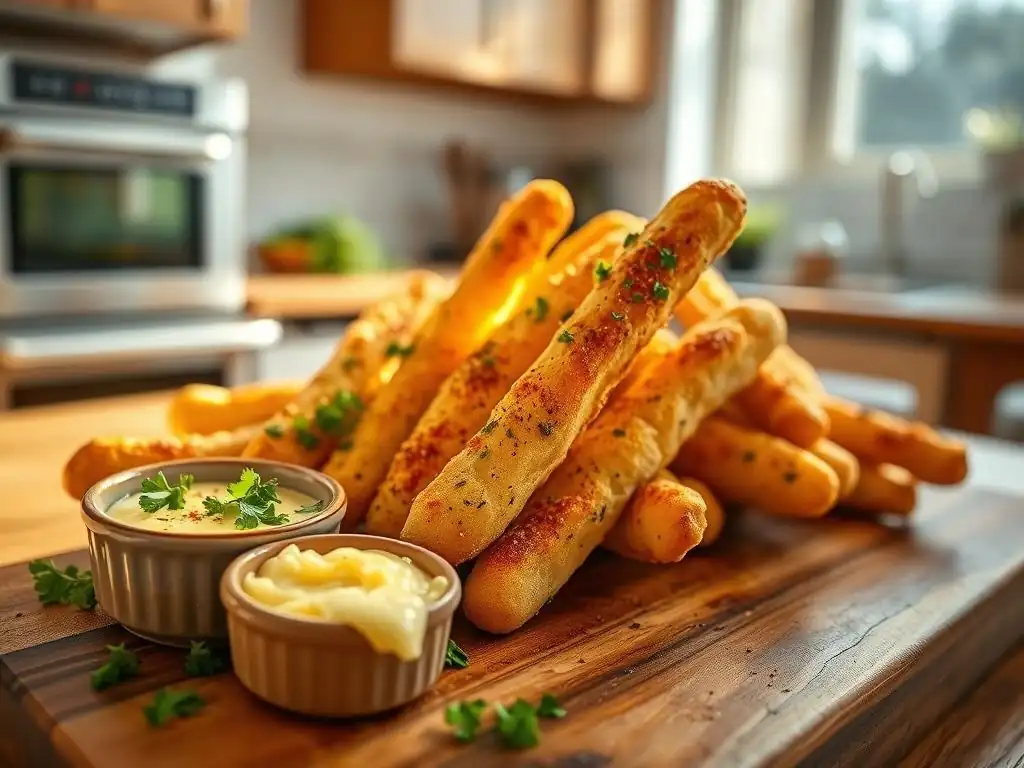
While the classic vegan garlic bread sticks recipe is fantastic on its own, you can easily adapt it to create exciting variations:
- Cheesy Vegan Garlic Breadsticks: Before the second rise, sprinkle the shaped breadsticks with your favorite shredded vegan cheese (like mozzarella or parmesan style). The cheese will melt and brown as they bake.
- Spicy Garlic Breadsticks: Add a pinch of red pepper flakes to the garlic herb oil for a subtle kick. You could also knead a small amount of finely minced jalapeño into the dough.
- Whole Wheat Breadsticks: Substitute up to half of the all-purpose flour with whole wheat flour for a heartier texture and nutty flavor. You might need slightly more liquid as whole wheat absorbs more.
- Everything Bagel Seasoning: After brushing with the garlic oil, sprinkle the warm breadsticks with everything bagel seasoning for an extra layer of flavor and texture.
- Different Shapes: Instead of classic sticks, you could shape the dough into small rolls, knots, or even a larger loaf to slice. Adjust baking time accordingly.
These variations allow you to put your own spin on the basic vegan garlic bread sticks recipe and cater to different tastes or occasions.
Vegan Garlic Breadsticks: A Delicious and Easy Recipe Conclusion
Making your own vegan garlic breadsticks at home is a simple yet incredibly rewarding project. This easy vegan garlic bread sticks recipe delivers wonderfully flavorful and textured breadsticks that are perfect for countless meals or just snacking. From the satisfying process of kneading the dough to the irresistible aroma that fills your kitchen as they bake, every step is enjoyable.
Whether you're following a vegan diet, have dairy allergies, or simply want to explore plant-based baking, this recipe provides a reliable path to delicious results. We've covered the essential steps, provided helpful tips, and even suggested variations to keep things interesting. So, gather your ingredients, follow this guide, and get ready to enjoy the best homemade vegan garlic breadsticks you've ever tasted. Happy baking!
Frequently Asked Questions
How difficult is this Vegan Garlic Bread Sticks Recipe to make for a beginner baker?
This recipe is designed to be quite beginner-friendly. We focus on simplicity and clear instructions, making it easy even if you're new to baking.
What kind of flour is best to use for these vegan garlic bread sticks?
While all-purpose flour works well, using bread flour will result in a chewier texture. This is because bread flour has a higher protein content.
Can I freeze the dough or the baked garlic bread sticks for later?
Yes, you can freeze either! Freeze the dough after the first rise or the baked sticks after they've cooled completely.
What's the best way to reheat the frozen garlic bread sticks?
Reheat frozen bread sticks in a preheated oven at 350°F (175°C) for about 5-10 minutes, or until warmed through.
Can I customize the garlic flavor in this recipe?
Absolutely! Feel free to adjust the amount of garlic or add other herbs like Italian seasoning or dried parsley to enhance the flavor.
Final Reflection: The Simple Joy of Vegan Garlic Bread
The accessibility of delicious, plant-based food is transforming kitchens worldwide, and these easy vegan garlic bread sticks are a perfect example. This recipe isn't just about satisfying a craving; it's a testament to the power of simple ingredients and creative cooking to create something truly special, even for those new to vegan cuisine. The ease of preparation makes it a perfect entry point for anyone curious about exploring plant-based eating.
The impact of readily available vegan recipes like this one extends beyond individual kitchens; it contributes to a growing movement towards more sustainable and compassionate food choices. It's a small step, but a significant one in a larger conversation about our relationship with food and the environment. Food is symbolic of love when words are inadequate.
- Alan D. Wolfelt. This simple recipe, shared and enjoyed, can be a powerful symbol of connection and shared experience, regardless of dietary restrictions.
Now, I invite you to try this recipe. Don't be intimidated by the simplicity; embrace it. Let the aroma of garlic and herbs fill your kitchen, and share the delicious results with loved ones. Consider how you can adapt this recipe to your own tastes, experimenting with different herbs or spices. More importantly, reflect on the power of accessible, delicious vegan food to bring people together and inspire a more mindful approach to cooking and eating. The journey to a more compassionate and sustainable food system starts with one delicious, homemade vegan garlic bread stick at a time.
Unleash Your Inner Baker: Make These Garlic Bread Sticks Tonight!
Thanks for spending some time with us – we hope you're feeling inspired to create some delicious, homemade vegan goodness! You now have the tools to make restaurant-quality garlic bread sticks without the fuss. Ready to get baking?
- Dive right in and make a batch of these amazing garlic bread sticks tonight! Use the recipe as a base and experiment with different herbs or spices.
- Share your creations with us on social media! Use #BakeWithEaseVegan and tag @BakeWithEase – we'd love to see your delicious results.
- Try a fun variation: Add some vegan parmesan cheese or a sprinkle of red pepper flakes for an extra kick!
So, what exciting flavour combinations will you create with your homemade vegan garlic bread sticks? Let us know in the comments below!