
Fluffy Vegan Pita Bread: Simple Homemade Recipe

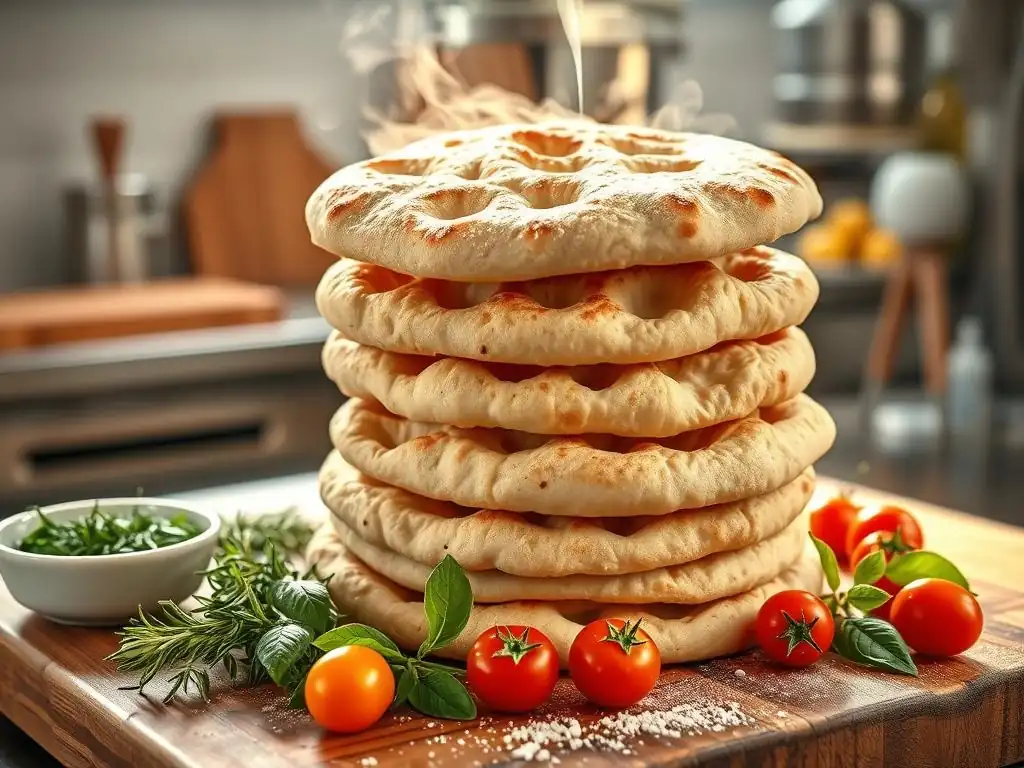
Welcome to BakeWithEase, your haven for effortless baking! Ever dreamed of perfectly puffed-up pita bread, bursting with flavor, without any animal products? Prepare to be amazed. Our guide to Easy Vegan Pita Bread unveils a surprisingly simple recipe, demystifying the bread-making process. Intrigued? Discover how you can create these delicious, versatile pockets of goodness right in your own kitchen... and that's just the beginning!
- Fluffy Vegan Pita Bread: Simple Homemade Recipe - BakeWithEase.com
- Introduction to Easy Vegan Pita Bread Baking
- Mastering the Art of Vegan Pita Bread: A Simple Recipe
-
Step-by-Step Guide to Making Fluffy Vegan Pita Bread
- Step 1: Activating the Yeast for a Fluffy Dough
- Step 2: Mixing the Vegan Pita Dough
- Step 3: First Rise: Allowing the Dough to Develop
- Step 4: Dividing and Shaping the Pita Dough
- Step 5: Second Rise: Achieving Maximum Fluffiness
- Step 6: Baking Your Vegan Pita Bread
- Step 7: Cooling and Storing Your Homemade Vegan Pita
- Tips and Tricks for the Best Vegan Pita Bread
- Serving Suggestions for Your Delicious Vegan Pita Bread
- Conclusion: Enjoy Your Homemade Easy Vegan Pita Bread
-
Frequently Asked Questions
- How difficult is this vegan pita bread recipe for beginners?
- What makes this pita bread "fluffy" and vegan?
- Can I use a different type of flour besides the one recommended?
- How long does it take to make this pita bread from start to finish?
- What are some serving suggestions for this vegan pita bread?
- Final Reflection: The Humble Pita, a Gateway to Vegan Baking
- Unleash Your Inner Baker: Fluffy Vegan Pita Perfection Awaits!
Fluffy Vegan Pita Bread: Simple Homemade Recipe - BakeWithEase.com
Introduction to Easy Vegan Pita Bread Baking
Baking your own bread at home is a rewarding experience, and mastering easy vegan pita bread is a fantastic step for any baker. These soft, pillowy pockets are incredibly versatile, perfect for stuffing with your favorite fillings or serving alongside dips. Unlike some breads that require complex techniques, baking vegan pita can be surprisingly simple, opening up a world of fresh, warm possibilities right from your own kitchen.
This guide from BakeWithEase is designed to walk you through every step of creating delicious, fluffy vegan pita bread. We'll cover everything from selecting the right ingredients to troubleshooting common issues, ensuring your baking journey is smooth and successful. Get ready to discover just how achievable and enjoyable making homemade pita can be, even if you're new to vegan baking or bread making in general.
Why Bake Your Own Vegan Pita Bread?
Baking your own easy vegan pita bread offers numerous advantages over buying store-bought versions. Firstly, there's the unparalleled freshness and taste; warm pita straight from the oven has a soft texture and rich flavor that simply can't be matched by packaged bread. You also have complete control over the ingredients, allowing you to avoid preservatives, artificial additives, or excessive salt often found in commercial products, ensuring a healthier option for you and your family.
Beyond freshness and control, baking at home is often more economical. While a package of store-bought pita might cost between $3 and $5, a batch of homemade pita (which typically yields 6-8 pockets) can cost significantly less, perhaps in the range of $0.50 to $1.00, depending on ingredient prices. This makes it a budget-friendly way to enjoy high-quality bread regularly, and the satisfaction of creating something so delicious from scratch is truly priceless.
The Appeal of Homemade, Fluffy Pita
The hallmark of a great pita bread is its fluffiness and ability to puff up into a perfect pocket when baked. This unique characteristic makes it ideal for stuffing with everything from falafel and hummus to grilled vegetables and salads. Achieving this airy texture at home is incredibly satisfying and results in a superior eating experience compared to flat, dense store-bought options.
Homemade pita also possesses a wonderful chewiness that complements a wide range of dishes. The simple combination of flour, water, yeast, and salt, when properly kneaded and baked, transforms into a bread with delightful structure and flavor. The aroma filling your kitchen as they bake is an added bonus, creating a warm and inviting atmosphere that store-bought bread just can't replicate.
BakeWithEase: Your Guide to Perfect Vegan Pita
At BakeWithEase, we believe that baking should be accessible and enjoyable for everyone, regardless of their experience level or dietary preferences. Our mission is to simplify the process, breaking down recipes into easy-to-follow steps that guarantee success. This guide to easy vegan pita bread is crafted with that philosophy in mind, providing clear instructions and helpful tips to ensure you achieve beautifully fluffy results on your first try.
We understand that venturing into bread baking, especially with a specific goal like achieving the perfect pita pocket, can seem daunting. That's why we focus on demystifying the techniques and explaining the why behind each step. With BakeWithEase as your guide, you'll build confidence in your baking skills and discover the joy of creating delicious homemade breads like this simple vegan pita recipe.
Mastering the Art of Vegan Pita Bread: A Simple Recipe
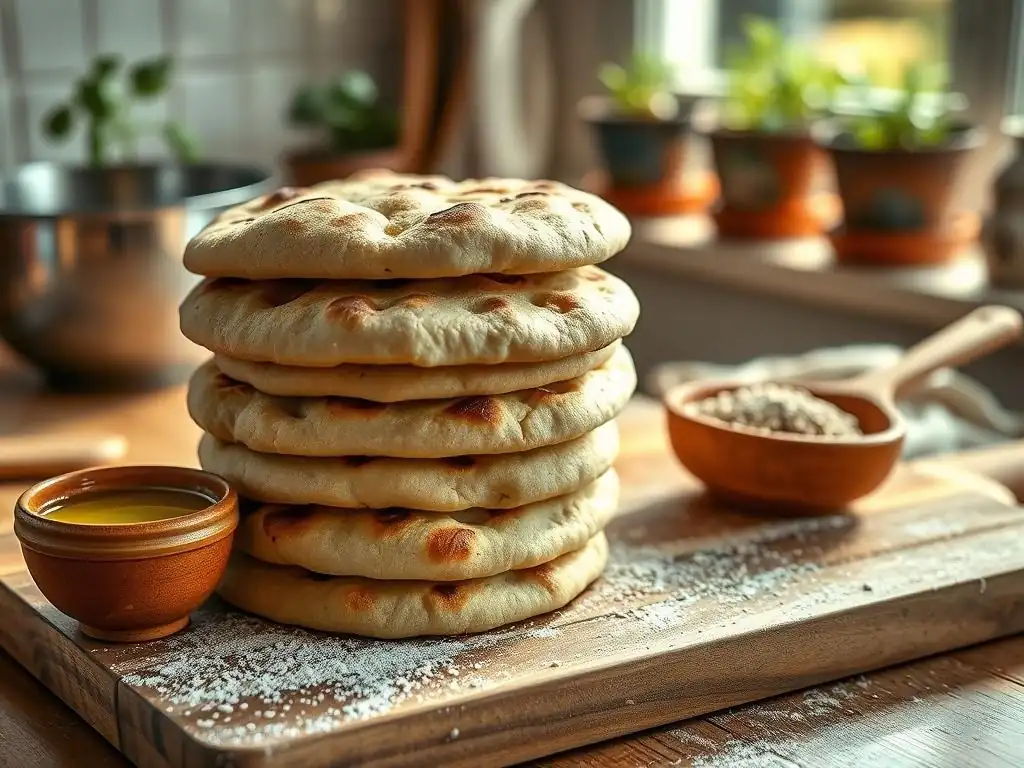
Baking delicious, fluffy vegan pita bread at home doesn't require years of experience or fancy equipment. The process relies on understanding a few basic principles of dough making and using high heat to achieve that signature puff. This simple recipe is designed for home bakers and yields incredibly satisfying results, proving that making impressive bread can indeed be easy.
Following this guide, you'll learn how simple ingredients combine to create a versatile and tasty bread. We'll walk you through the stages of mixing, kneading, rising, shaping, and baking, highlighting the key moments where attention to detail makes all the difference. Prepare to transform humble ingredients into warm, inviting pita pockets perfect for any meal.
Ingredients for Fluffy Vegan Pita
Gathering the right ingredients is the first step to baking successful easy vegan pita bread. You'll need just a few basic items, most of which you likely already have in your pantry. The quality of your ingredients can impact the final texture and flavor, so opting for fresh yeast and a good quality flour is recommended for the best results in your homemade pita.
Here is a list of the core ingredients you'll need:
- All-purpose flour or bread flour
- Instant or active dry yeast
- Warm water
- Salt
- A touch of sugar or other sweetener (optional, for yeast activation)
- Olive oil or other vegetable oil
Essential Flour for Vegan Pita Bread
The type of flour you use significantly impacts the texture of your easy vegan pita bread. All-purpose flour is readily available and works very well, producing a soft and pliable dough. For a slightly chewier texture and potentially better puff, you can opt for bread flour, which has a higher protein content (typically 12-14% compared to 10-12% in all-purpose). This higher protein helps develop strong gluten networks, essential for trapping the steam that creates the pita pocket.
While you can experiment with adding some whole wheat flour for added nutrition and flavor (perhaps substituting 1/4 to 1/3 of the all-purpose flour), using primarily white flour is generally recommended for achieving the classic light and fluffy texture and reliable puff. Ensure your flour is fresh and stored properly to maintain its quality.
Yeast: The Key to a Light and Airy Pita
Yeast is the magical ingredient that makes your easy vegan pita bread rise and become light and airy. You can use either active dry yeast or instant yeast for this recipe. Active dry yeast requires activation in warm water before mixing with the dry ingredients, while instant yeast can often be mixed directly into the flour, although proofing it first is a good way to ensure it's active.
For a standard recipe using about 3 cups of flour, you'll typically need 1 to 2 teaspoons of yeast. Using too little yeast can result in a slow rise and dense pita, while too much can lead to a strong yeasty flavor and overly rapid rise, potentially compromising texture. Always check the expiration date on your yeast package to ensure it's fresh and active; expired yeast is a common culprit for dough that doesn't rise.
Other Important Ingredients for Vegan Pita
Beyond flour and yeast, a few other ingredients play crucial roles in your simple vegan pita recipe. Warm water is essential for activating the yeast and hydrating the flour to form the dough; aim for a temperature between 105°F and 115°F (40°C to 46°C) for active dry yeast, slightly lower for instant yeast if proofing it separately. Salt is vital for flavor and also helps control the yeast activity and strengthen the gluten structure.
A small amount of sugar or other sweetener like maple syrup or agave nectar (around 1 teaspoon) is optional but recommended, especially when proofing active dry yeast. It provides food for the yeast, helping it become active quickly. Finally, a little olive oil or vegetable oil added to the dough contributes to a softer texture and can make the dough easier to handle.
Equipment Needed for Baking Vegan Pita Bread
You don't need a professional bakery setup to make wonderful easy vegan pita bread at home. Most of the equipment required are standard kitchen items you likely already own. Having the right tools, however, can make the process smoother and contribute to better results, particularly when it comes to baking these flatbreads at high temperatures.
From mixing the dough to baking the rounds, a few essential items will be your best friends in the kitchen. Don't worry if you don't have specialized equipment like a baking stone right away; a standard baking sheet works perfectly well for achieving lovely homemade pita.
Must-Have Tools for Perfect Pita
To get started with your simple vegan pita recipe, you'll need a large mixing bowl for combining ingredients and the first rise. A stand mixer with a dough hook is helpful for kneading but not essential; kneading by hand is perfectly viable and satisfying. Measuring cups and spoons are necessary for accurate ingredient proportions, which is key in baking.
For the baking stage, you'll need a baking sheet. To achieve the best puff, many bakers recommend preheating a baking stone or steel in your oven, which provides intense, even heat to the dough. If you don't have one, simply preheating your empty baking sheet in the oven before placing the pita on it can significantly improve the puff. Parchment paper can also be useful for transferring the delicate shaped dough onto the hot baking surface without losing its shape.
Step-by-Step Guide to Making Fluffy Vegan Pita Bread
Making fluffy vegan pita bread is a process broken down into several manageable steps, each contributing to the final texture and flavor. Following these steps patiently will ensure your success. This simple vegan pita recipe is designed to be beginner-friendly, guiding you from basic ingredients to beautifully puffed bread.
We'll cover everything from activating the yeast to the crucial high-temperature bake that creates the signature pocket. Pay attention to the dough's consistency and the rise times, as these are key indicators of progress. Let's get baking!
Step 1: Activating the Yeast for a Fluffy Dough
The first step in making easy vegan pita bread is often activating the yeast, especially if you're using active dry yeast. In a small bowl, combine the warm water (around 105-115°F or 40-46°C) with the yeast and a pinch of sugar (if using). Stir gently and let it sit for 5-10 minutes. You should see the mixture become foamy and bubbly on top; this indicates that the yeast is alive and active, ready to make your pita dough rise beautifully.
If your yeast mixture doesn't foam after 10 minutes, your water might not have been warm enough, or the yeast may be old or inactive. In this case, it's best to discard the mixture and start again with fresh yeast and properly heated water. This simple proofing step is a vital insurance policy, ensuring your dough will rise and your pita will puff as expected.
Step 2: Mixing the Vegan Pita Dough
Once your yeast is active (or if using instant yeast, you can proceed directly), it's time to mix the dough for your simple vegan pita recipe. In your large mixing bowl (or stand mixer bowl), combine the flour and salt. If using instant yeast that doesn't require proofing, add it here. Pour in the activated yeast mixture (or warm water and instant yeast) and the olive oil.
Using a wooden spoon or the dough hook attachment on a stand mixer, begin mixing the ingredients until they come together to form a shaggy dough. At this point, there might still be some dry bits of flour at the bottom of the bowl. Continue mixing or stirring until most of the flour is incorporated and the dough starts to pull away from the sides of the bowl.
Kneading Techniques for Elastic Vegan Dough
Kneading is a critical step for developing gluten, which provides the structure and elasticity needed for the pita to puff. If using a stand mixer, knead the dough with the dough hook on medium-low speed for about 6-8 minutes. The dough should become smooth, elastic, and pull cleanly away from the sides of the bowl. It should feel slightly tacky but not sticky.
If kneading by hand, turn the shaggy dough out onto a lightly floured surface. Knead by folding the dough in half towards you, pressing down and away with the heels of your hands, rotating the dough slightly with each push. Continue kneading for 8-10 minutes.
The dough will initially be sticky, but as you knead, it will become smoother, less sticky, and more elastic. You can perform the "windowpane test" to check for sufficient gluten development: pull a small piece of dough and stretch it gently; if you can stretch it thin enough to see light through it without it tearing, it's ready.
Step 3: First Rise: Allowing the Dough to Develop
The first rise, also known as bulk fermentation, is where the yeast gets to work, producing carbon dioxide gas that makes the dough expand. After kneading, form the dough into a smooth ball. Lightly oil the mixing bowl, place the dough ball inside, and turn it to coat with oil. Cover the bowl tightly with plastic wrap or a damp kitchen towel.
Place the covered bowl in a warm, draft-free spot. The ideal temperature is around 75-80°F (24-27°C). Let the dough rise until it has doubled in size. This typically takes about 60-90 minutes, but the time can vary depending on the temperature of your kitchen and the activity of your yeast. A slower, cooler rise can sometimes develop more flavor.
Step 4: Dividing and Shaping the Pita Dough
Once the dough has doubled in size, gently punch it down to release the air. Turn the dough out onto a lightly floured surface. Divide the dough into equal portions. For standard-sized pita bread, dividing the dough into 6 to 8 pieces works well. You can use a kitchen scale for precision, aiming for pieces around 80-100 grams each.
Take each portion and shape it into a smooth ball. You can do this by pulling the edges underneath the ball and pinching them together at the bottom, then rolling the ball gently against the counter under the palm of your hand to create surface tension and a smooth top. Cover the dough balls with a clean kitchen towel and let them rest for about 10-15 minutes. This rest period allows the gluten to relax, making the dough much easier to roll out.
Rolling Out Perfect Pita Rounds
After the rest period, the dough balls should be relaxed and pliable, perfect for rolling into your easy vegan pita bread rounds. Lightly flour your work surface and a rolling pin. Take one dough ball and flatten it slightly with your hand. Begin rolling from the center outwards, rotating the dough frequently to maintain a circular shape.
Aim for a thickness of about 1/4 inch (about 6-7mm). Avoid rolling them too thin (less than 1/8 inch), as this can prevent them from puffing properly. Also, try to keep the edges slightly thicker than the center if possible, although an even thickness is generally fine.
As you roll, ensure the dough isn't sticking to the surface; add a little more flour if needed, but don't use excessive flour, which can make the pita tough. Place the rolled rounds on a lightly floured surface or baking sheet, spaced apart, and cover them again with a kitchen towel while you roll the remaining pieces.
Step 5: Second Rise: Achieving Maximum Fluffiness
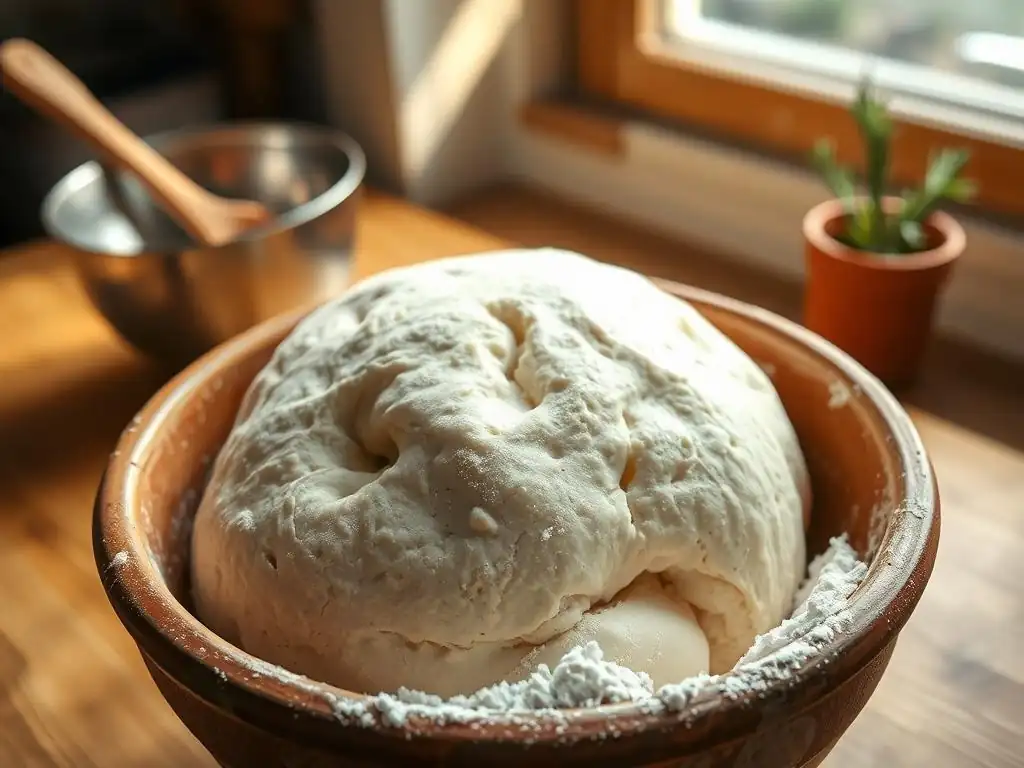
After shaping the dough into rounds, a brief second rise is beneficial for your easy vegan pita bread. This short rest period allows the dough to relax further and the yeast to produce a bit more gas, which contributes to the final fluffiness and helps ensure a good puff in the oven. Don't skip this step, as it makes a noticeable difference in the texture of your homemade pita.
Cover the rolled pita rounds loosely with a clean kitchen towel or plastic wrap. Let them rest at room temperature for about 20-30 minutes. They should look slightly puffy but won't double in size like they did during the first rise. While they are resting, this is the perfect time to preheat your oven and baking surface to the required high temperature, which is crucial for the pita to puff correctly.
Step 6: Baking Your Vegan Pita Bread
Baking is arguably the most exciting step in making easy vegan pita bread, as this is where the magic happens and the pockets form. The key to achieving that iconic puff is high heat. Preheat your oven to a very hot temperature, typically between 450°F and 500°F (230°C to 260°C). If you have a baking stone or steel, place it in the oven while it preheats; allow it to heat up for at least 30-60 minutes to ensure it's scorching hot.
Carefully transfer the rested pita rounds directly onto the hot baking surface. If using a baking sheet, preheat it in the oven first for about 10-15 minutes before placing the pita on it. Bake one or two pita at a time, depending on the size of your baking surface, to avoid crowding.
Oven Temperature and Baking Time for Optimal Results
The high oven temperature creates intense steam inside the dough, forcing the layers apart to form the pocket. Bake the pita for a very short time, typically 2-4 minutes per side. You'll see the pita puff up dramatically within the first minute or two. Once fully puffed, use tongs to carefully flip the pita and bake for another 1-2 minutes to lightly brown the other side.
Keep a close eye on the pita as they bake, as they cook very quickly at this high heat. They should be lightly golden brown in spots but not overly crisp. The goal is a soft, pliable bread with a distinct pocket. Remove the baked pita from the oven and place them in a clean kitchen towel or a resealable bag immediately to keep them soft and pliable.
Step 7: Cooling and Storing Your Homemade Vegan Pita
Once your easy vegan pita bread comes out of the oven, stacking them and covering them with a clean kitchen towel or placing them in a bag is important. This traps the steam, keeping the pita soft and preventing them from becoming dry or brittle as they cool. Let them cool for a few minutes before handling them too much.
For storage, allow the pita to cool completely at room temperature. Once cool, they can be stored in an airtight container or a resealable plastic bag at room temperature for 2-3 days. For longer storage, homemade vegan pita freezes exceptionally well. Simply place the cooled pita in a freezer-safe bag, squeezing out as much air as possible, and they will keep for up to 3 months. To reheat, you can warm them gently in a skillet, microwave, or oven.
Tips and Tricks for the Best Vegan Pita Bread
Baking delicious easy vegan pita bread is straightforward, but a few tips can help you achieve consistently perfect results. Understanding the nuances of dough handling and baking temperature is key to getting that beautiful puff and soft texture. Don't be discouraged if your first batch isn't perfect; practice makes perfect in baking!
Here are some insider tips and troubleshooting advice to elevate your homemade pita game. From ensuring a great puff to fixing common issues, these pointers will help you master this simple vegan pita recipe.
Achieving the Perfect Puff: Baking Secrets
The most coveted aspect of easy vegan pita bread is the full, separated pocket that forms during baking. The secret lies in the high heat of the oven and baking surface. When the dough hits a very hot surface, the moisture inside rapidly turns to steam. Because the gluten network you developed during kneading is strong and elastic, it traps this steam, forcing the top and bottom layers of the pita apart to create the pocket.
Using a preheated baking stone or steel is the most effective way to achieve maximum puff, as these surfaces retain and radiate intense heat. If you don't have one, preheating a heavy-duty baking sheet works as the next best option. Ensure your oven is fully preheated to the highest recommended temperature (450-500°F or 230-260°C) and bake the pita quickly. Overcrowding the baking surface can lower the temperature and inhibit puffing, so bake in batches if necessary.
Troubleshooting Common Vegan Pita Baking Problems
Even with a simple vegan pita recipe, issues can occasionally arise. Knowing how to identify and fix common problems will save you frustration and improve your results. Two of the most frequent complaints are pita that don't puff or pita that turn out too dense.
Let's look at why your pita might not be puffing or might be too heavy.
Why Isn't My Pita Puffy?
Several factors can prevent your easy vegan pita bread from puffing. The most common reason is insufficient oven temperature or a baking surface that isn't hot enough. Ensure your oven is accurately preheated and allow ample time for a baking stone or steel to heat up. Other causes include:
- Under-kneaded dough: Insufficient gluten development means the dough can't trap the steam effectively.
- Over-rolled dough: Rolling the pita too thin can cause them to become crisp before they have a chance to puff.
- Holes in the dough: Even small tears can allow steam to escape.
- Under-proofed or over-proofed dough: Dough that hasn't risen enough or has risen too much might not have the right structure to puff.
My Pita is Too Dense: What Went Wrong?
If your homemade vegan pita bread is coming out heavy and dense instead of light and airy, it's usually related to the dough rising or ingredients. Possible reasons include:
- Inactive yeast: If your yeast didn't proof or was expired, the dough won't rise properly.
- Insufficient rising time: The dough needs enough time in both the first and second rises to develop lightness. Cold kitchen temperatures can slow down the process; try finding a warmer spot.
- Too much flour: Adding too much flour during mixing or kneading can result in a stiff, heavy dough. The dough should be slightly tacky after kneading.
- Incorrect flour type: While all-purpose works, using flour with very low protein or substituting too much heavy flour (like rye) can impact texture.
Flavor Variations for Your Vegan Pita Bread
While plain easy vegan pita bread is delicious on its own, you can easily add flavor variations to complement different meals. Incorporating herbs, spices, or even different flours can transform your simple pita recipe into something uniquely yours. Experimenting with additions is a fun way to personalize your homemade pita.
Consider making a batch with a specific flavor profile in mind to pair with a particular dish, or simply to enjoy a different kind of flatbread. These additions are typically mixed into the dry ingredients or added during the kneading process.
Adding Herbs and Spices to Your Vegan Pita Dough
Adding dried herbs or spices is a simple way to infuse flavor into your easy vegan pita bread. For a Middle Eastern twist, mix in a tablespoon or two of za'atar blend into the dough. Other popular additions include dried rosemary, thyme, garlic powder, onion powder, or even a pinch of smoked paprika.
Add about 1-2 teaspoons of dried herbs or spices per batch of dough (using about 3 cups of flour). Fresh herbs can also be used, but they should be finely chopped and added towards the end of kneading. Remember that dried herbs are more potent than fresh ones, so adjust quantities accordingly.
Experimenting with Different Flours
While white flour is standard for fluffy pita, you can experiment by substituting a portion of the all-purpose or bread flour with other types. Replacing 1/4 to 1/3 of the white flour with whole wheat flour will add nuttiness and fiber, resulting in a slightly denser but still delicious pita.
Other flours like spelt or even a small amount of chickpea flour could be experimented with for different flavors and textures. However, be aware that substituting too much non-wheat flour or flours with lower gluten content will impact the dough's elasticity and the pita's ability to puff, potentially resulting in a flatter bread.
Serving Suggestions for Your Delicious Vegan Pita Bread
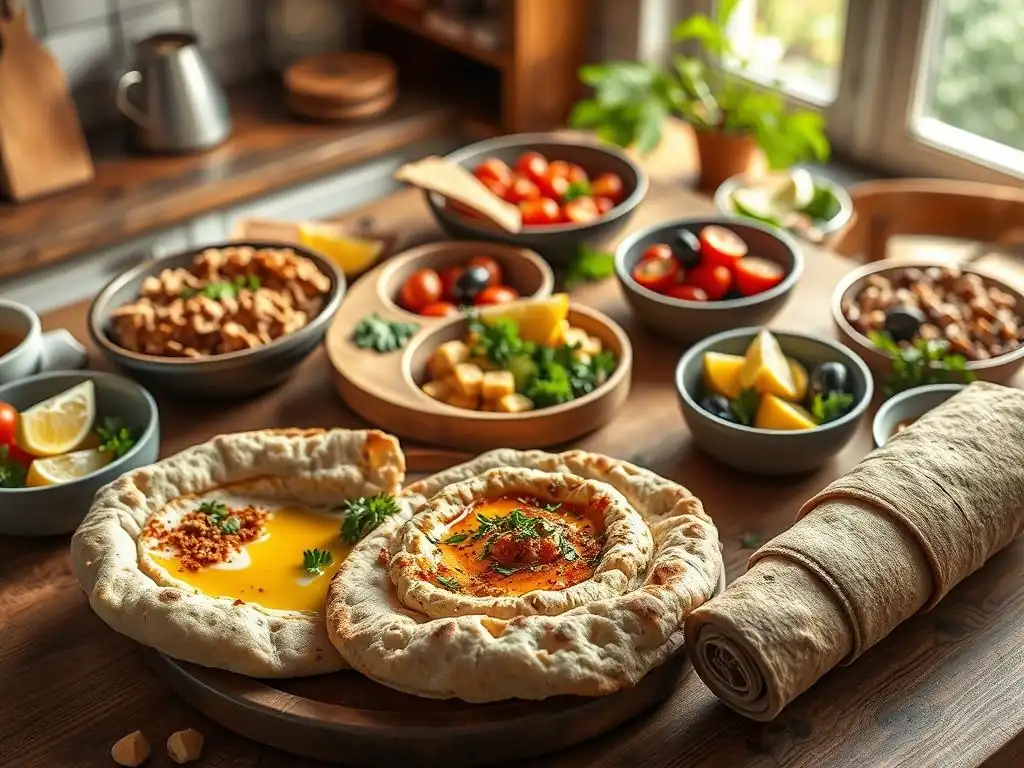
Once you've baked a batch of warm, fluffy easy vegan pita bread, the possibilities for enjoying them are endless! These versatile pockets are perfect for stuffing, dipping, or serving alongside a variety of dishes. The simple flavor of homemade pita complements both savory and sweet fillings, making them a staple for any meal.
Whether you're planning a full meal or just looking for a quick snack, your fresh vegan pita is ready to be the star.
Vegan Pita Bread Meal Ideas
The most classic way to enjoy easy vegan pita bread is by stuffing the pocket. They are the perfect vessel for traditional fillings like falafel, hummus, and fresh salads. Consider filling them with grilled or roasted vegetables such as bell peppers, onions, zucchini, and eggplant, perhaps tossed in a light vinaigrette.
Other delicious vegan filling ideas include spiced lentils, black beans and corn salsa, or even crumbled baked tofu or tempeh seasoned with your favorite spices. For a heartier option, stuff them with a mix of grains like quinoa or couscous combined with vegetables and herbs. The sturdy yet soft nature of the homemade pita holds up well to various textures and moisture levels.
Pairings and Complementary Dishes
Beyond stuffing, homemade vegan pita bread is fantastic for dipping. Serve warm wedges alongside classic Middle Eastern dips like hummus, baba ghanoush (roasted eggplant dip), muhammara (roasted red pepper and walnut dip), or a simple tahini sauce. The slight chewiness of the pita is perfect for scooping up generous amounts of dip.
They also make a great accompaniment to soups, stews, or curries, serving as a bread to soak up flavorful sauces. Consider pairing your easy vegan pita bread with a fresh tabbouleh salad, a simple Greek salad (minus the feta, or use a vegan version), or marinated olives for a light meal or appetizer spread.
Conclusion: Enjoy Your Homemade Easy Vegan Pita Bread
Congratulations! You've successfully baked your own batch of delicious, fluffy easy vegan pita bread right in your own kitchen. From activating the yeast to achieving that satisfying puff, you've mastered the steps of this simple recipe. The result is warm, soft, and incredibly versatile bread that's far superior to anything you'd find in a store.
Baking bread, especially something as rewarding as pita with its iconic pocket, is a wonderful skill to develop. This simple vegan pita recipe is just one example of how enjoyable and accessible homemade bread can be. We hope this guide has empowered you to bake more often and explore other exciting recipes.
We love seeing your baking creations! Did you make this easy vegan pita bread recipe? How did they turn out? What did you fill them with, or what did you serve them alongside? Sharing your experiences helps inspire other bakers in the BakeWithEase community.
Let us know about your successful batch of fluffy vegan pita bread. Did you try any flavor variations? What tips did you find most helpful? Your feedback and photos are a great way to connect with fellow baking enthusiasts and celebrate the joy of making delicious food from scratch. Happy baking!
Frequently Asked Questions
How difficult is this vegan pita bread recipe for beginners?
This recipe is designed for bakers of all levels, including beginners. The instructions are simple and step-by-step, using easy-to-find ingredients.
What makes this pita bread "fluffy" and vegan?
The fluffiness comes from the specific yeast activation and proofing process. It's vegan because it uses plant-based ingredients, excluding dairy and eggs.
Can I use a different type of flour besides the one recommended?
While the recipe is optimized for the recommended flour, you can experiment. However, different flours may affect the texture and rise of the pita bread.
How long does it take to make this pita bread from start to finish?
Expect the entire process, including proofing, to take approximately 2-3 hours. This includes preparation, proofing, and baking time.
What are some serving suggestions for this vegan pita bread?
This pita bread is incredibly versatile! Enjoy it with hummus, falafel, grilled vegetables, or use it to make delicious vegan wraps and sandwiches.
Final Reflection: The Humble Pita, a Gateway to Vegan Baking
The ease of making delicious, fluffy vegan pita bread at home is a testament to the accessibility and joy of plant-based cooking. This simple recipe demystifies a seemingly complex process, proving that creating satisfying, homemade bread doesn't require specialized skills or equipment. It's a gateway, not a gatekeeper.
This recipe, and the broader movement towards vegan baking, represents a significant shift in our culinary landscape. It's a reflection of growing awareness about ethical food choices and a desire for healthier, more sustainable options. The simple act of making your own pita bread connects you to the food you eat in a way that mass-produced alternatives simply cannot. The best things in life are simple,
a sentiment perfectly encapsulating the satisfaction of biting into a warm, homemade pita, bursting with flavour and made with love.
Now, I invite you to roll up your sleeves and try this recipe. Don't be intimidated by the seemingly simple instructions; the process itself is meditative and rewarding. The aroma of baking bread, the satisfying feel of the dough, and the ultimate taste of your creation – these are the experiences that make this more than just a recipe; it's a journey of culinary exploration and self-discovery. Embrace the simplicity, and enjoy the delicious results.
Unleash Your Inner Baker: Fluffy Vegan Pita Perfection Awaits!
Thanks for joining us on this baking adventure! We hope you've gained the confidence to create deliciously fluffy vegan pita bread at home. Now it's time to put your new skills to the test!
- Bake a batch of your own fluffy vegan pitas: Use our recipe as a springboard – experiment with different herbs, spices, or even fillings! Let your creativity soar!
- Share your pita creations with us! Snap a photo of your beautiful pita bread and tag us on social media – we’d love to see your culinary masterpieces.
- Explore other amazing vegan recipes on BakeWithEase.com – discover a world of flavour and plant-based goodness.
Ready to transform your kitchen into a pita paradise? What unique filling are you most excited to try in your freshly baked vegan pita bread?