
Quick Dinner Rolls Ready in Under 90 Minutes

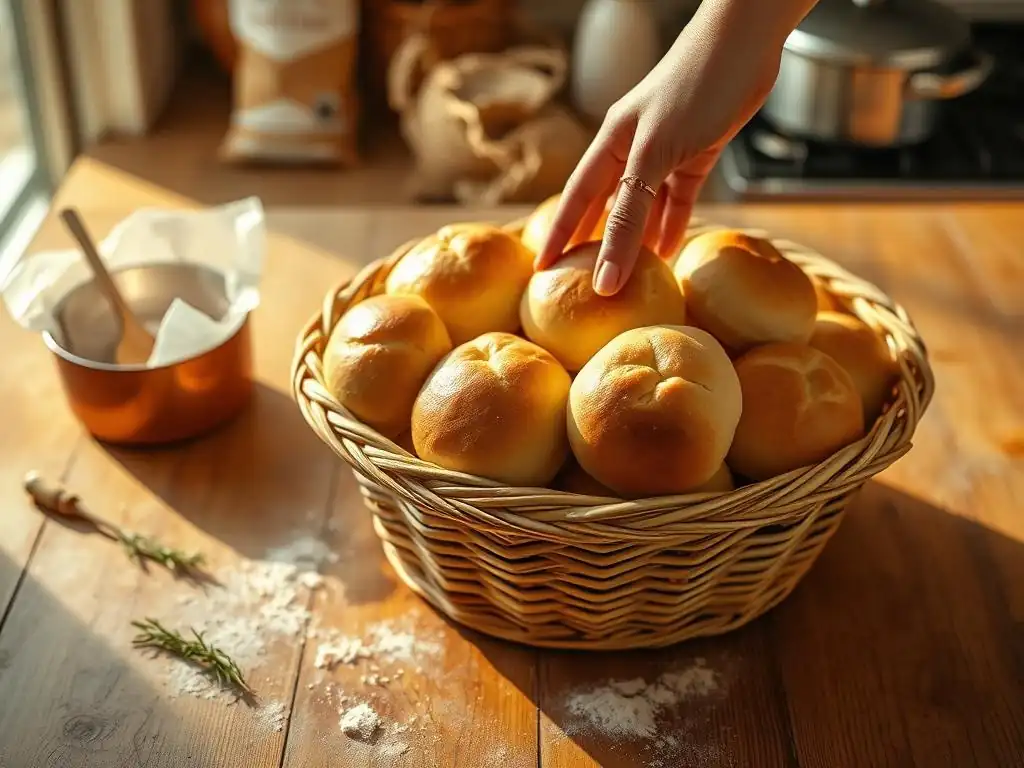
Welcome to BakeWithEase! Are you craving warm, fluffy dinner rolls but short on time? You're in the right place. Discover the secret to Easy Dinner Rolls ready in just 90 minutes – a game-changer for weeknight dinners and last-minute gatherings. Intrigued? Read on to unlock the recipe and transform your kitchen into a bakery in under an hour and a half!
- Quick Dinner Rolls Ready in Under 90 Minutes: BakeWithEase Recipe
- Introduction: Homemade Dinner Rolls in a Flash
- Preparing for Your Easy Dinner Rolls
-
Step-by-Step Guide: Baking Easy Dinner Rolls in Under 90 Minutes
- Step 1: Activating the Yeast for Quick Rising
- Step 2: Mixing the Dough for Perfect Texture
- Step 3: Kneading the Dough for Light and Airy Rolls
- Step 4: First Rise: Achieving Optimal Volume in Minimal Time
- Step 5: Shaping the Dinner Rolls: Simple Techniques
- Step 6: Second Rise: Ensuring a Light and Fluffy Crumb
- Step 7: Baking the Dinner Rolls to Golden Perfection
- Step 8: Cooling and Serving Your Delicious Rolls
- Tips for Baking the Best 90-Minute Dinner Rolls
- Variations and Add-Ins for Your Homemade Rolls
- Serving and Storing Your Quick Dinner Rolls
- Conclusion: Enjoying Your Easy, Homemade Dinner Rolls
-
Frequently Asked Questions
- What makes these dinner rolls "easy" to bake?
- Can I substitute any ingredients in the "Easy Dinner Rolls 90 Minutes" recipe?
- How long will it actually take to bake these "Easy Dinner Rolls"?
- What's the best way to store leftover "Easy Dinner Rolls"?
- What if my "Easy Dinner Rolls" don't rise properly?
- Final Reflection: The Joy of Effortless Baking
- Unleash Your Inner Baker: Perfect Dinner Rolls Await!
Quick Dinner Rolls Ready in Under 90 Minutes: BakeWithEase Recipe
Introduction: Homemade Dinner Rolls in a Flash
Craving Freshly Baked Rolls? This Recipe is For You!
There's nothing quite like the aroma and taste of warm, homemade bread, especially when it's fresh out of the oven. However, traditional bread making can feel like a long, time-consuming process, often requiring hours of rising time. This can be a barrier for busy individuals or those who decide last minute they need a batch of rolls for dinner. What if we told you that you could have soft, fluffy easy dinner rolls ready in under 90 minutes? Yes, it's possible!
This BakeWithEase recipe is specifically designed for speed without sacrificing quality. We've optimized the process to minimize waiting time, making it perfect for weeknight meals or impromptu gatherings. Forget about store-bought rolls; with a little planning and this simple guide, you can enjoy delicious, warm homemade dinner rolls in less time than it takes to watch a movie. Get ready to impress yourself and your family with this incredibly quick baking project.
Why These 90-Minute Dinner Rolls are Perfect for Busy Bakers
Life is busy, and finding spare hours for baking can be challenging. This recipe for easy dinner rolls in 90 minutes is a game-changer because it significantly cuts down on the conventional rising times while still delivering a delightful texture. Traditional recipes might call for two rises totaling several hours, but our accelerated method uses specific techniques to speed up yeast activity and dough development.
Beyond just saving time, these quick dinner rolls are incredibly versatile. They pair wonderfully with almost any meal, from stews and soups to roasts and salads. The satisfaction of serving something you've baked yourself, especially when it's this fast and easy, is immense. Plus, the ingredients are standard pantry staples, meaning you can likely whip up a batch whenever the craving strikes without a special trip to the grocery store. It's baking convenience at its finest.
Preparing for Your Easy Dinner Rolls
Ingredients for Soft & Fluffy Dinner Rolls (90-Minute Recipe)
To achieve soft, fluffy easy dinner rolls in 90 minutes, you'll need a few key ingredients. Precision isn't always required in baking, but for speed, using the right amounts helps. You'll typically need about 2 ¼ teaspoons of active dry or instant yeast, roughly 1 cup of warm water (around 105-115°F or 40-46°C), a tablespoon or two of sugar (this feeds the yeast), and maybe a teaspoon of salt for flavor.
You'll also need about 2 ½ to 3 cups of all-purpose flour. The exact amount can vary slightly depending on humidity and how you measure it, but start with the lower amount and add more as needed. Finally, a couple of tablespoons of melted butter or oil add richness and tenderness, and an egg can also contribute to softness and a richer color, though some simple recipes omit it. Having these ingredients measured and ready before you start is crucial for staying within the 90-minute timeframe.
Essential Baking Tools for Quick Dinner Roll Success
While you don't need a professional bakery setup, having the right tools makes the process of making these quick dinner rolls much smoother and faster. A large mixing bowl is essential for combining ingredients and allowing the dough to rise. If you have a stand mixer with a dough hook attachment, it will significantly speed up the kneading process, saving you manual effort and time.
Other helpful tools include measuring cups and spoons for accuracy, a kitchen scale if you prefer weighing ingredients (which can be more precise), and a baking sheet. Lining your baking sheet with parchment paper or a silicone baking mat will prevent sticking and make cleanup easier. A clean kitchen towel or plastic wrap is needed to cover the dough during the short rises. Having these items laid out and ready before you begin is part of the strategy for getting these easy dinner rolls done in 90 minutes.
Pro Tip: Ensuring Ingredients are at the Right Temperature
Temperature plays a critical role in the speed of this 90-minute dinner roll recipe, particularly when it comes to yeast activation and dough rising. Using water that is too cold won't activate the yeast effectively, slowing everything down. Water that is too hot can kill the yeast. Aim for water that feels warm to the touch, like a warm bath, ideally between 105-115°F (40-46°C) for active dry yeast, or slightly warmer up to 130°F (54°C) for instant yeast when mixed directly with flour.
Ensure other cold ingredients, like eggs or milk (if using), are at room temperature. Cold ingredients can chill the dough, slowing yeast activity and resulting in a longer rise time, pushing you over the 90-minute mark. Taking a few minutes to warm up your liquids and bring other ingredients to room temperature can make a significant difference in hitting that easy dinner rolls 90 minutes goal.
Step-by-Step Guide: Baking Easy Dinner Rolls in Under 90 Minutes
Step 1: Activating the Yeast for Quick Rising
The first critical step in achieving quick dinner rolls is ensuring your yeast is active and ready to work rapidly. If using active dry yeast, you'll need to "proof" it. In your warm water (105-115°F / 40-46°C), dissolve the sugar, then sprinkle the yeast over the top. Give it a gentle stir and let it sit for 5-10 minutes. You should see a foamy layer develop on the surface; this indicates the yeast is alive and active. If you don't see foam, your yeast might be old or the water temperature was off, and you'll need to start again.
If you're using instant yeast, you can often skip the proofing step and mix it directly with the dry ingredients. However, for this accelerated 90-minute dinner roll recipe, dissolving it in the warm water with sugar first can give it a head start, ensuring it's working optimally right away. This proactive step is key to minimizing the first rise time and keeping the process moving quickly towards your goal of easy dinner rolls in 90 minutes.
Step 2: Mixing the Dough for Perfect Texture
Once your yeast is bubbly (if proofing), it's time to combine the ingredients. In a large mixing bowl (or the bowl of your stand mixer), add the proofed yeast mixture, salt, melted butter or oil, and any egg if using. Gradually add the flour, starting with about 2 cups. Mix with a spoon, spatula, or the dough hook on low speed until a shaggy dough forms.
Continue adding flour, a tablespoon at a time, mixing after each addition, until the dough pulls away from the sides of the bowl but is still slightly sticky. Avoid adding too much flour at this stage, as it can result in dry, tough rolls. The dough should be soft and manageable, not stiff. Getting the hydration right here is fundamental for developing a tender crumb in your quick dinner rolls.
Step 3: Kneading the Dough for Light and Airy Rolls
Kneading is essential for developing the gluten structure in the dough, which is what gives the rolls their chewy yet light texture. If using a stand mixer, knead the dough with the dough hook on medium speed for about 5-7 minutes. The dough should become smooth, elastic, and less sticky, pulling cleanly away from the sides of the bowl.
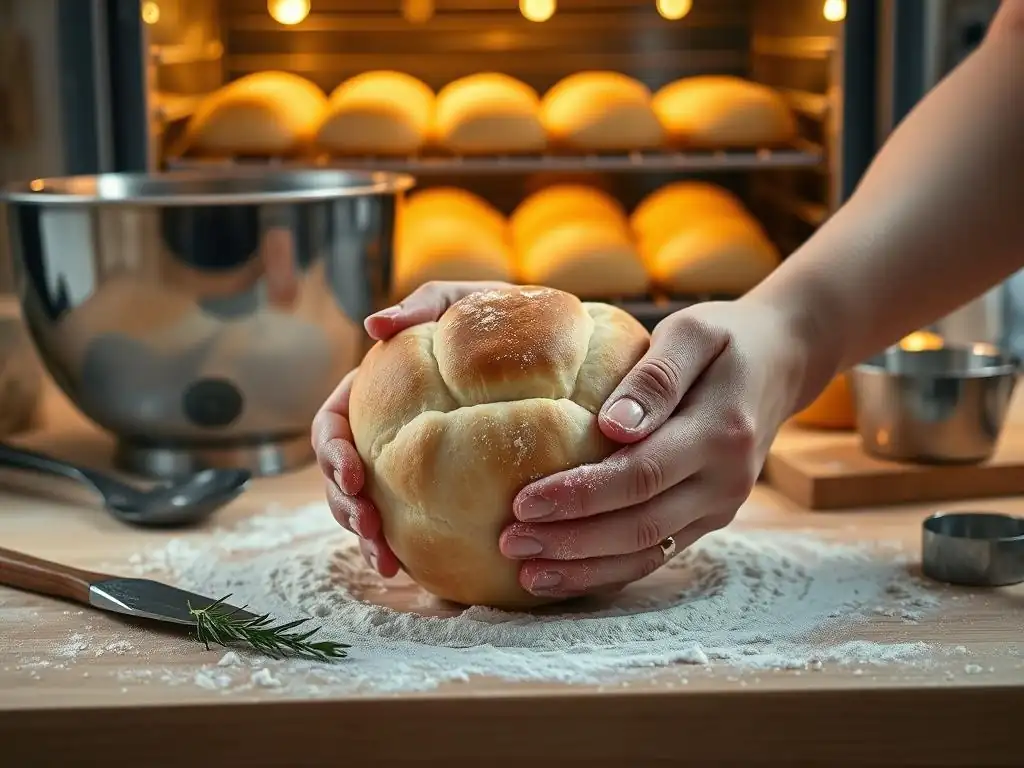
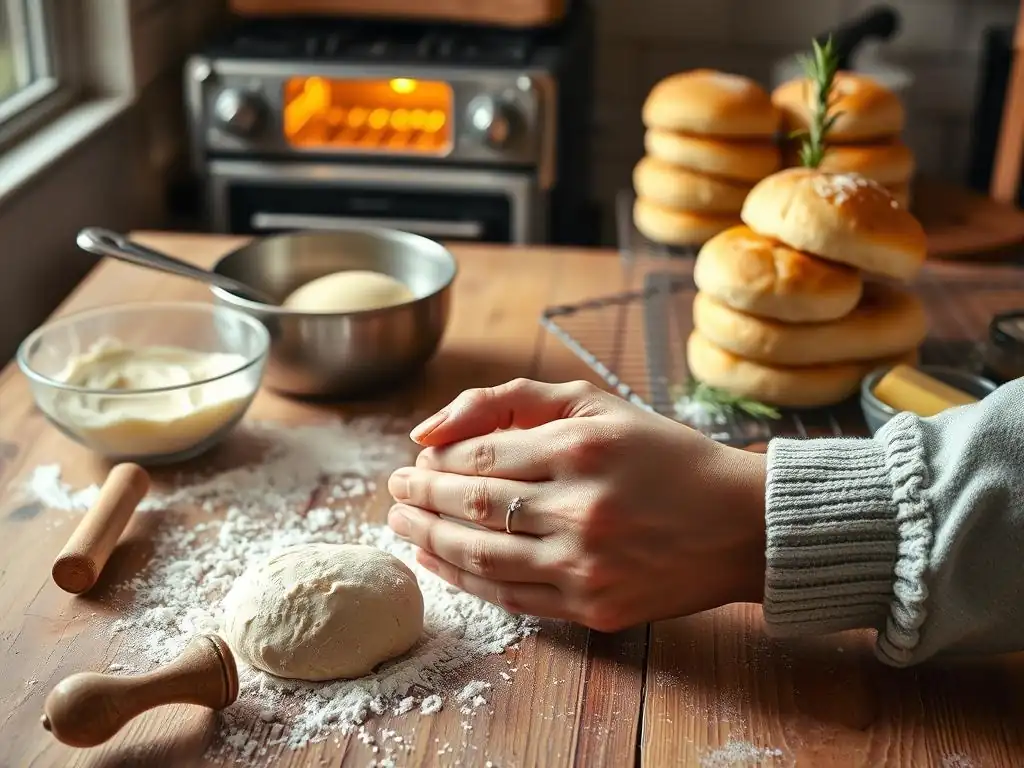
If kneading by hand, turn the dough out onto a lightly floured surface. Knead by folding the dough over on itself and pushing down with the heel of your hand, rotating the dough as you go. This will take about 8-10 minutes. The dough is ready when it's smooth and elastic and springs back slowly when gently poked. Properly developing gluten is vital for achieving the desired rise and texture in these easy dinner rolls made in 90 minutes.
Step 4: First Rise: Achieving Optimal Volume in Minimal Time
In a standard recipe, the first rise can take 1-2 hours or more. For our 90-minute dinner rolls, we need to significantly speed this up. Lightly grease the mixing bowl with oil or cooking spray. Place the kneaded dough in the bowl, turning to coat. Cover the bowl tightly with plastic wrap or a clean kitchen towel.
To accelerate the rise, place the covered bowl in a warm spot. This could be near a sunny window, on top of a warm (but not hot) oven, or even in a slightly warmed oven (turned off, with the light on). The dough should roughly double in size in about 20-30 minutes. The speed depends heavily on the warmth of the environment and the water temperature used initially. This rapid first rise is a key element of the easy dinner rolls 90 minutes process.
Step 5: Shaping the Dinner Rolls: Simple Techniques
Once the dough has doubled, gently punch it down to release the air. Turn the dough out onto a lightly floured surface. For uniform rolls, you can weigh the dough and divide it into equal portions (e.g., 10-12 rolls, around 50-60 grams each). Or, simply divide the dough visually into the desired number of pieces.
To shape each piece into a roll, take a portion and gently tuck the edges underneath, creating a smooth ball. You can also roll it between the palm of your hand and the counter with a circular motion. Arrange the shaped rolls on your prepared baking sheet, leaving about an inch or two of space between them to allow for expansion during the second rise and baking. This simple shaping keeps the process moving towards your quick dinner rolls goal.
Step 6: Second Rise: Ensuring a Light and Fluffy Crumb
With the rolls shaped, it's time for a second, shorter rise. Cover the baking sheet loosely with plastic wrap or a light kitchen towel. Again, place the sheet in a warm spot. Because the rolls are smaller and already shaped, this rise will be faster than the first.
Allow the rolls to rise for about 15-20 minutes, or until they look visibly puffy and have increased in size by about 50-75%. They won't double in size this time, but they should look soft and airy. While the rolls are rising, preheat your oven to the required temperature, typically around 400°F (200°C). This second rapid rise is crucial for achieving a light and fluffy texture in your easy dinner rolls 90 minutes from start to finish.
Step 7: Baking the Dinner Rolls to Golden Perfection
Once the oven is preheated and the rolls are puffy, they are ready to bake. For an extra golden crust, you can brush the tops of the rolls with an egg wash (one egg whisked with a tablespoon of water or milk) or melted butter just before placing them in the oven. This step is optional but adds a lovely finish.
Bake the rolls in the preheated oven for about 12-15 minutes. The exact time will depend on your oven and the size of your rolls. They are done when they are golden brown on top and sound hollow when tapped on the bottom. If you have a thermometer, the internal temperature should register around 190-200°F (88-93°C). Keep a close eye on them as they can go from perfectly golden to overdone quickly.
Step 8: Cooling and Serving Your Delicious Rolls
As soon as the quick dinner rolls come out of the oven, you can brush the tops with melted butter for extra flavor and a soft crust. This is best done while they are still hot. The butter melts into the warm crust, adding richness.
Allow the rolls to cool on the baking sheet for just a few minutes before serving. While it's tempting to tear into them immediately, letting them cool slightly allows the internal structure to set. Serve them warm, straight from the pan. Enjoy the incredible satisfaction of having created these delicious, homemade dinner rolls in under 90 minutes!
Tips for Baking the Best 90-Minute Dinner Rolls
Achieving the Perfect Golden Brown Crust
A beautiful golden brown crust is the hallmark of well-baked dinner rolls. Several factors contribute to this. First, ensure your oven is accurately preheated to 400°F (200°C). Baking at the correct temperature allows the outside to brown nicely while the inside cooks through. Using an oven thermometer can help verify your oven's temperature.
Secondly, brushing the rolls with an egg wash (egg whisked with a little water or milk) or melted butter before baking significantly enhances browning and gives the rolls a lovely sheen. Egg wash provides the deepest color, while butter gives a softer, richer crust. For the best results with your easy dinner rolls 90 minutes recipe, don't skip this simple finishing touch.
Preventing Dryness: Maintaining Moisture in Your Rolls
Dry dinner rolls can be disappointing. To ensure your quick dinner rolls are soft and moist, pay attention to hydration during mixing. Avoid adding too much flour; the dough should remain slightly sticky after kneading. Over-kneading can also lead to a tougher, drier texture, so stick to the recommended kneading times (5-7 minutes by mixer, 8-10 minutes by hand).
Another tip is to avoid overbaking. Bake the rolls only until they are golden brown and reach the correct internal temperature (190-200°F / 88-93°C). Baking too long will dry them out. Finally, brushing the hot rolls with melted butter immediately after they come out of the oven helps seal in moisture and keeps the crust soft as they cool slightly.
Troubleshooting Common Dinner Roll Baking Issues
Even with a straightforward recipe for easy dinner rolls in 90 minutes, you might encounter issues. If your dough isn't rising, check the water temperature used for the yeast – it might have been too hot or too cold, or the yeast might be expired. Ensure your rising spot is genuinely warm. If the rolls are dense, it could be due to not enough kneading (poor gluten development) or too much flour.
If the rolls baked unevenly, your oven might have hot spots. Try rotating the baking sheet halfway through the baking time. If the crust is too hard, you might have overbaked them or used too much egg wash. Remember that practice makes perfect, and keeping notes on what worked (or didn't) can help you master these quick dinner rolls.
Variations and Add-Ins for Your Homemade Rolls
Adding Herbs and Spices for Flavor Enhancement
Elevating your quick dinner rolls with herbs and spices is incredibly easy and adds wonderful flavor. Dried herbs like rosemary, thyme, or chives can be kneaded into the dough during the mixing stage. Start with a teaspoon or two for a subtle flavor, adding more to taste. Fresh herbs can also be used, though you might need a bit more, perhaps a tablespoon or two, finely chopped.
Garlic powder is another popular addition; about ½ to 1 teaspoon per batch adds a savory depth. You could even add a pinch of black pepper or a little onion powder. These simple additions transform your basic easy dinner rolls into something special, perfect for pairing with specific meals like Italian or herb-roasted dishes.
Creating Cheesy Dinner Rolls for a Savory Twist
Who doesn't love cheesy bread? Turning your 90-minute dinner rolls into cheesy delights is simple. During the last minute or two of kneading, incorporate about ½ cup to 1 cup of shredded cheese into the dough. Cheddar, Parmesan, or a blend of Italian cheeses work well.
Alternatively, you can sprinkle cheese on top of the rolls after the second rise and just before baking. This results in a crispy, cheesy topping. For an extra cheesy experience, do both! Cheesy quick dinner rolls are fantastic served warm alongside chili, soup, or as a snack on their own.
Sweet Dinner Rolls: Adding a Touch of Sweetness
While typically savory, you can easily adapt this easy dinner rolls 90 minutes recipe for a sweeter profile. Increase the sugar in the dough to 3-4 tablespoons. You can also add a teaspoon of vanilla extract during the liquid mixing stage.
For a cinnamon-sugar swirl effect, roll out the dough after the first rise into a rectangle, brush with melted butter, sprinkle with cinnamon sugar, roll it up like a log, and slice into rolls. Bake as directed. These slightly sweet variations are lovely served with breakfast, brunch, or alongside a lighter meal like ham.
Serving and Storing Your Quick Dinner Rolls
Serving Suggestions for Freshly Baked Dinner Rolls
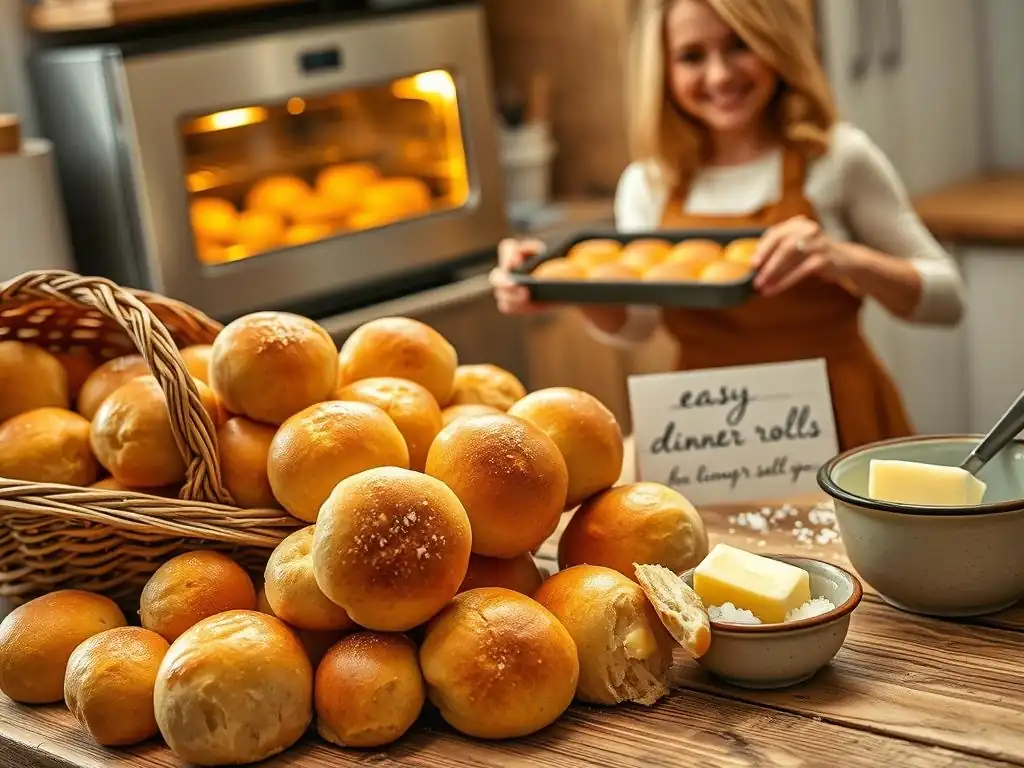
These quick dinner rolls are best served warm, ideally within minutes of coming out of the oven. A simple pat of butter melting on a warm roll is pure bliss. They are the perfect accompaniment to almost any dinner, soaking up sauces and complementing main dishes like roast chicken, beef stew, or pasta.
Beyond dinner, these easy dinner rolls are great for making small sandwiches or sliders with leftover meats or cheese. They are also wonderful served alongside a hearty soup or salad for a complete meal. The speed and ease of this 90-minute recipe mean you can have fresh rolls whenever the craving strikes.
Storing Leftover Rolls to Maintain Freshness
If by some miracle you have any of these delicious quick dinner rolls leftover, proper storage is key to keeping them fresh. Once completely cooled, store them in an airtight container or a resealable plastic bag at room temperature. Avoid refrigerating bread, as it tends to dry it out quickly.
Stored properly, the rolls should remain soft for 1-2 days. For longer storage, you can freeze the cooled rolls. Wrap them tightly in plastic wrap, then place them in a freezer-safe bag or container. They can be frozen for up to 2-3 months.
Reheating Dinner Rolls for Optimal Taste and Texture
Reheating leftover homemade dinner rolls brings them back to their warm, soft glory. If the rolls were stored at room temperature, a quick warm-up in the oven or microwave works well. For the oven, wrap the rolls loosely in foil and warm at 300°F (150°C) for 5-10 minutes.
For a faster method, wrap a roll in a damp paper towel and microwave on high for 20-30 seconds. If reheating from frozen, you can thaw them overnight in the refrigerator or on the counter, then reheat as above. Alternatively, you can reheat frozen rolls directly from the freezer, wrapped in foil in a 300°F (150°C) oven for about 15-20 minutes. Reheating ensures you can enjoy that fresh-baked taste even days later.
Conclusion: Enjoying Your Easy, Homemade Dinner Rolls
Quick Dinner Rolls: A Baking Achievement in Under 90 Minutes
Congratulations! You've mastered the art of making delicious, soft, homemade dinner rolls in under 90 minutes. This recipe proves that you don't need hours of waiting time to enjoy the simple pleasure of fresh bread from your own oven. By optimizing the yeast activity and streamlining the process, we've made easy dinner rolls in 90 minutes a reality for even the busiest baker.
From activating the yeast to shaping and baking, each step is designed for speed and efficiency while ensuring a lovely texture and flavor. These quick dinner rolls are a testament to the fact that fast baking can still be fantastic baking. Whether for a last-minute dinner addition or just because, this recipe is sure to become a go-to in your kitchen.
We love seeing what our community bakes! If you try this recipe for easy dinner rolls 90 minutes, we encourage you to share your experience. Did you add any variations? How did they turn out? Your successes and insights can inspire other bakers in the BakeWithEase community.
Baking is a journey, and sharing your creations is part of the fun. Whether you're a beginner just starting out or looking for quick wins in the kitchen, these 90-minute dinner rolls offer a rewarding baking experience. Happy baking, and enjoy your warm, homemade rolls!
Frequently Asked Questions
What makes these dinner rolls "easy" to bake?
These dinner rolls are considered easy due to their simplified recipe and shorter proofing time. The recipe uses common ingredients and straightforward instructions, making it accessible for beginners.
Can I substitute any ingredients in the "Easy Dinner Rolls 90 Minutes" recipe?
While substitutions are possible, they may affect the final texture and flavor. For best results, stick to the original recipe, especially when starting out. However, you can experiment later!
How long will it actually take to bake these "Easy Dinner Rolls"?
The total time, including preparation, proofing, and baking, should be under 90 minutes, as the recipe title suggests. This makes them a great option for a quick weeknight dinner addition.
What's the best way to store leftover "Easy Dinner Rolls"?
Store leftover rolls in an airtight container at room temperature for up to 2 days, or freeze them for longer storage. Reheat them in the oven or microwave for a freshly baked taste.
What if my "Easy Dinner Rolls" don't rise properly?
Insufficient rising can be due to expired yeast or a too-cold environment for proofing. Ensure your yeast is active and proof the dough in a warm place for optimal results.
Final Reflection: The Joy of Effortless Baking
The pursuit of quick and delicious dinner rolls isn't just about saving time; it's about reclaiming the joy of home cooking. In a world obsessed with instant gratification, the ability to create something warm, comforting, and homemade in under 90 minutes is a powerful antidote to the pressures of modern life. This recipe, designed for ease and efficiency, proves that even the most time-constrained individuals can experience the satisfaction of baking.
The simple act of kneading dough, the intoxicating aroma of rising yeast, and the golden-brown perfection of freshly baked rolls—these are sensory experiences that connect us to a richer, more fulfilling way of life. These aren't just ingredients; they're memories in the making, passed down through generations and shared around tables filled with laughter and love. The best things in life are homemade.
This sentiment, often heard, rings truer than ever when considering the simple pleasure of a warm dinner roll.
Now, consider your own kitchen. What small act of culinary creation could you incorporate into your week? Perhaps it's not dinner rolls, but a batch of cookies, a simple loaf of bread, or even just a perfectly brewed cup of coffee. Take a moment to reflect on the power of slowing down, engaging your senses, and finding joy in the everyday rituals of home. Embrace the simplicity, savor the process, and discover the unexpected rewards that await you in the heart of your own kitchen.
Unleash Your Inner Baker: Perfect Dinner Rolls Await!
Thanks for joining us on this delicious journey! We hope you're feeling inspired and ready to create some amazing dinner rolls. You've learned valuable tips and tricks – now it's time to put them into practice!
- Bake a batch of these incredible rolls today! Use the recipe you just learned to impress your family and friends.
- Share your baking journey with us! Post a picture of your finished rolls on social media using #BakeWithEaseDinnerRolls and tag us. We love seeing your creations!
- Explore our other quick bread recipes for more delicious inspiration – we've got plenty more where this came from!
Ready to experience the joy of homemade bread? What will your first batch of these perfect dinner rolls be paired with?