
Simple Rye Bread with Just Caraway Seeds

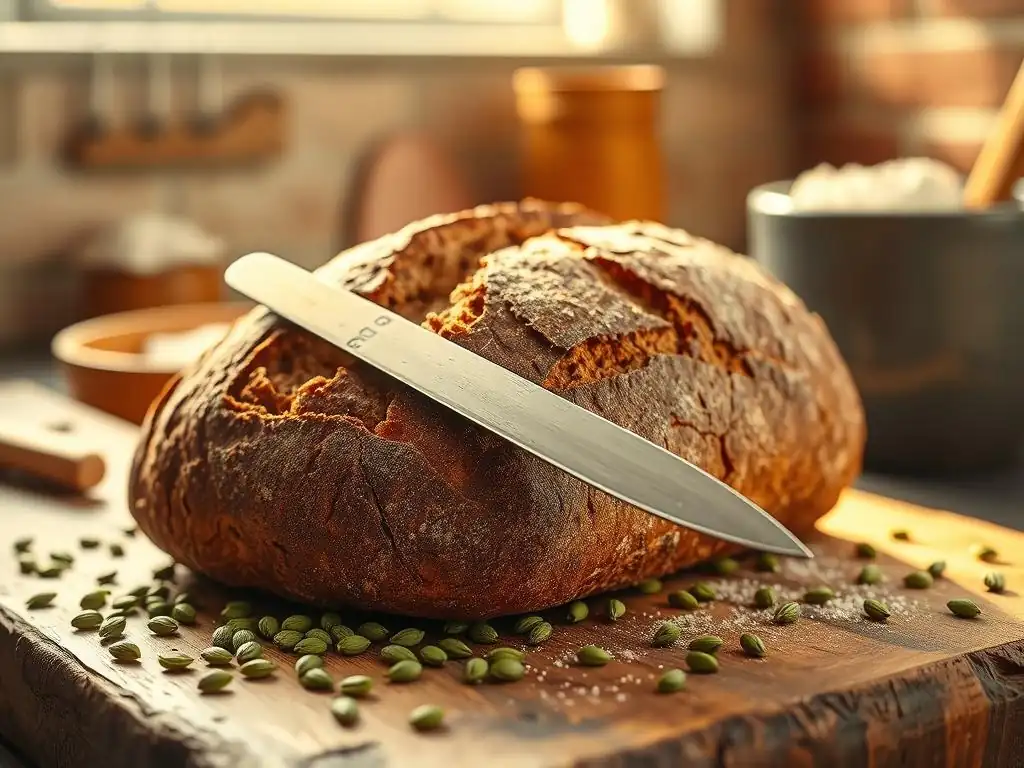
Welcome to BakeWithEase, your haven for mastering delicious baked goods! Ever dreamt of effortlessly creating that perfect, crusty loaf? This week, we're demystifying rye bread with our guide to Simple Rye Bread with Just Caraway Seeds. Discover how to achieve bakery-quality results with this surprisingly easy recipe, and unlock the secrets to a flavorful loaf that will impress everyone. Intrigued? Let's get baking!
- Classic Caraway Rye Bread: A Simple Recipe from BakeWithEase
- Introduction to Classic Caraway Rye Bread Baking
- Mastering the Basics: Ingredients for Classic Caraway Rye Bread
- Step-by-Step Guide: Baking Your Simple Caraway Rye Bread
- Tips and Tricks for the Best Caraway Rye Bread
- Serving and Storing Your Homemade Caraway Rye Bread
- Conclusion: Enjoying Your Classic Caraway Rye Bread
-
Frequently Asked Questions
- What makes this rye bread recipe "easy" for beginner bakers?
- Can I substitute other seeds for the caraway seeds in this rye bread?
- How do I know when my rye bread is properly proofed?
- What's the best way to store leftover rye bread to keep it fresh?
- What are some serving suggestions for this simple caraway seed rye bread?
- Final Reflection: The Enduring Comfort of Simple Rye
- Unleash Your Inner Baker: Craft Your Perfect Rye Loaf!
Classic Caraway Rye Bread: A Simple Recipe from BakeWithEase
Introduction to Classic Caraway Rye Bread Baking
Why Bake Your Own Caraway Rye Bread?
Baking your own bread at home offers a uniquely rewarding experience that store-bought loaves simply cannot replicate. The aroma filling your kitchen as the bread bakes is unparalleled, creating a cozy and inviting atmosphere. Beyond the sensory pleasure, baking allows you complete control over the ingredients, meaning you can avoid preservatives and artificial additives often found in commercial bread. This is particularly appealing for those seeking a healthier, more natural diet. Furthermore, the satisfaction of slicing into a warm loaf you crafted yourself, with its perfect crust and soft interior, is truly immense.
Making your own easy caraway seed rye bread also provides a deeper connection to the food you eat and the process behind it. It's a tangible skill that builds confidence in the kitchen. You can tailor the loaf to your preferences, adjusting the amount of caraway seeds for more or less flavor, or experimenting with different types of rye flour. The cost savings can also add up over time, especially if you frequently purchase artisanal loaves. It's a simple pleasure that brings warmth and deliciousness right to your table.
BakeWithEase: Your Guide to Simple Rye Bread Recipes
At BakeWithEase, we believe that baking delicious bread, including classic rye, should be accessible and enjoyable for everyone, regardless of their experience level. Our mission is to demystify the baking process, breaking down complex techniques into simple, manageable steps. We provide clear instructions, helpful tips, and reliable recipes designed to help you achieve fantastic results right in your home kitchen. Whether you're just starting your baking journey or looking to expand your repertoire, you'll find guidance and inspiration here.
This recipe for a simple caraway rye bread is a perfect example of our approach. We focus on straightforward methods and readily available ingredients to ensure that you can successfully bake a flavorful, authentic rye loaf without feeling overwhelmed. We'll walk you through each stage, from mixing the dough to achieving that perfect golden crust. Our goal is to empower you to bake with confidence and discover the joy of creating delicious, homemade bread.
Mastering the Basics: Ingredients for Classic Caraway Rye Bread
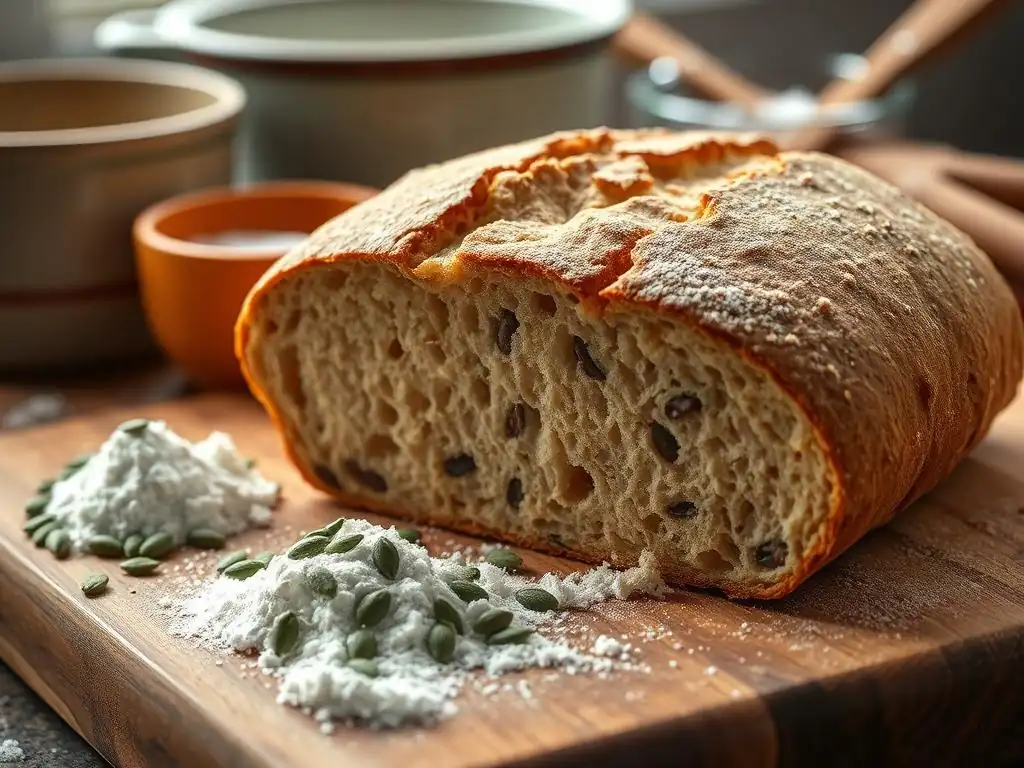
Key Ingredients for Authentic Rye Flavor
Crafting a delicious easy caraway seed rye bread starts with understanding the core ingredients that give it its distinctive character. Unlike wheat bread, rye bread relies heavily on rye flour and the traditional spice, caraway seeds, to define its taste and texture. Getting these elements right is crucial for achieving that authentic, slightly tangy, and aromatic flavor profile that makes rye bread so beloved.
While the process is simple, paying attention to the quality and type of these key ingredients will significantly impact the final outcome of your homemade caraway seed rye bread. We'll explore the specific roles each plays and how to choose the best options for your baking project.
Rye Flour: Choosing the Right Type
Rye flour is the foundation of any rye bread, and it behaves quite differently from wheat flour. It contains less gluten than wheat, which affects dough structure and handling. There are several types of rye flour, typically categorized by how much of the grain is included: light, medium, dark, and pumpernickel. Light rye flour is milled from the inner part of the grain kernel and has a milder flavor and lighter color. Medium rye is slightly darker with a more pronounced rye flavor.
For this simple caraway seed rye bread recipe, you can use either light or medium rye flour. Using 30-50% rye flour blended with strong bread flour is common for a classic loaf that's easier to handle than 100% rye. Dark rye flour, milled from the whole grain including the bran, imparts a much stronger, earthier flavor and denser texture, often requiring different techniques or sourdough starters. Choosing a good quality rye flour from a reputable mill will ensure the best flavor and performance in your baking.
Caraway Seeds: The Signature Flavor
Caraway seeds are arguably the most iconic flavor component of classic rye bread, providing that warm, slightly anise-like, and peppery note. These small, dark seeds are the fruit of a plant in the parsley family and are distinct from cumin seeds, although they are sometimes confused. The amount of caraway seeds used can be adjusted based on personal preference, but typically, a recipe for a standard loaf might call for 1 to 2 tablespoons of whole seeds.
Using fresh, whole caraway seeds is recommended for the most potent and authentic flavor. Some bakers prefer to lightly toast the seeds before adding them to the dough to enhance their aroma, but this is optional for a simple recipe. The seeds are usually mixed directly into the dough, distributing their unique taste throughout the loaf, making every slice of your easy caraway seed rye bread a flavorful experience.
Other Essential Ingredients
Beyond rye flour and caraway seeds, other standard bread-making ingredients are necessary. Strong bread flour, which has a higher protein content (around 12-14%) than all-purpose flour, provides the necessary gluten structure to help the loaf hold its shape and rise, especially when combined with lower-gluten rye flour. Yeast, whether active dry or instant, is the leavening agent that makes the bread rise.
Water is essential for hydrating the flours and activating the yeast; the water temperature is important for yeast activity (typically warm, around 105-115°F for active dry, or cooler for instant). Salt is crucial for flavor, controlling yeast activity, and strengthening the gluten structure. Some recipes might also include a touch of sugar or molasses, which can help feed the yeast and add a subtle sweetness and color to the crust. Using filtered water can sometimes yield better results depending on your tap water quality.
Step-by-Step Guide: Baking Your Simple Caraway Rye Bread
Step 1: Preparing the Dough
The first step in baking your easy caraway seed rye bread is mixing the ingredients to form the dough. This stage is critical for hydrating the flours, distributing the yeast and salt, and beginning the process of gluten development (primarily from the wheat flour component). Accurate measurement of ingredients is important, especially when working with rye flour, as it absorbs water differently than wheat. Using a kitchen scale for flour and water is highly recommended for consistency.
Start by combining the flours, yeast, salt, and caraway seeds in a large mixing bowl. If your recipe includes sugar or molasses, add it now. Then, gradually add the warm water while mixing with a spoon or a stand mixer on a low speed. Mix until a shaggy dough forms and there are no dry pockets of flour remaining. This initial mixing brings all the ingredients together before kneading begins.
Mixing the Ingredients
Combine the dry ingredients: rye flour, bread flour, salt, and caraway seeds in your mixing bowl. Whisk them together briefly to ensure they are evenly distributed. If using instant yeast, you can mix it directly with the dry ingredients. If using active dry yeast, it's often recommended to hydrate it first in the warm water with a pinch of sugar (if using) for about 5-10 minutes until it becomes foamy.
Once the dry ingredients are mixed and the yeast is ready (if pre-hydrating), add the water to the dry ingredients. Mix with a sturdy spoon, dough whisk, or in a stand mixer fitted with a dough hook. Mix until all the flour is incorporated and the dough starts to come together. It will likely look shaggy and a bit sticky at this stage, which is normal for rye doughs.
Achieving the Right Dough Consistency
Rye dough tends to be stickier and less elastic than purely wheat dough due to the lower gluten content of rye flour. Kneading helps develop the gluten structure in the wheat flour and integrate the rye flour and seeds. Knead the dough on a lightly floured surface or in a stand mixer for about 8-10 minutes, or until the dough is relatively smooth and elastic. It may still feel a bit tacky compared to a pure wheat dough.
You can perform the windowpane test, although it will be less pronounced with rye flour present. Gently stretch a small piece of dough; if it stretches thin enough to see light through before tearing, the gluten is sufficiently developed. If the dough feels too dry, add a tiny bit more water; if too wet and sticky, add a tablespoon of bread flour at a time, but avoid adding too much flour, as this can result in a dense loaf. The goal is a dough that holds its shape but is still moist.
Step 2: First Proofing: Developing the Flavors
After kneading, the dough needs time to rise, which is called proofing or fermentation. This first rise is crucial for developing the flavors in the bread, as the yeast produces alcohol and organic acids. It also allows the dough to double in size, creating a light and airy texture. Place the dough in a lightly oiled bowl, turning to coat, then cover it tightly with plastic wrap or a damp tea towel to prevent it from drying out.
The ideal proofing environment is a warm, draft-free place. A temperature between 75°F and 80°F (24°C-27°C) is generally optimal for yeast activity. Proofing time will vary depending on the temperature and the amount of yeast used, but typically takes 60-90 minutes, or until the dough has roughly doubled in volume. You can test if it's ready by gently poking it with a floured finger; if the indentation remains, it's usually done.
Creating the Ideal Proofing Environment
Finding a warm, consistent spot can sometimes be tricky. One common method is to place the covered bowl in a turned-off oven with the oven light on. The heat from the light bulb provides just enough warmth. Another option is to place the bowl on top of your refrigerator or in a microwave (turned off). Avoid placing it in direct sunlight, which can get too hot and kill the yeast.
Ensure the dough is well-covered to maintain humidity around the dough surface. If the surface dries out, a skin can form, which restricts the dough's ability to rise evenly. Using a generously sized bowl is also important to allow the dough plenty of room to expand during this first fermentation phase.
Step 3: Shaping the Rye Bread Loaf
Once the first proofing is complete, gently turn the dough out onto a lightly floured surface. The goal now is to shape the dough into the desired loaf shape, typically a boule (round) or a batard (oval). Shaping helps to create tension on the surface of the dough, which provides structure and helps the loaf hold its shape during the second rise and baking. Avoid deflating the dough too much; be gentle while handling it.
For a boule, gently fold the edges of the dough towards the center multiple times, then flip the dough over and cup your hands around it, rotating it against the surface to create surface tension and form a neat ball. For a batard, fold the dough into a rectangle, then roll it up tightly, sealing the seam with your fingers. Pay attention to creating an even shape without trapped air bubbles, which can cause blowouts during baking.
Techniques for a Perfect Loaf Shape
Shaping is a skill that improves with practice. The key is to build tension on the exterior of the loaf while ensuring the seam is sealed well underneath. For a boule, imagine you're tucking the dough underneath itself repeatedly. For a batard, making sure each roll is tight will give the final loaf good structure.
Dust your hands and the work surface lightly with flour, but avoid using too much, as this can prevent the dough from sealing properly. If the dough is sticking excessively, a bench scraper can be a helpful tool for manipulation. The final shape should be firm and hold its form without spreading out excessively.
Step 4: Second Proofing: Preparing for Baking
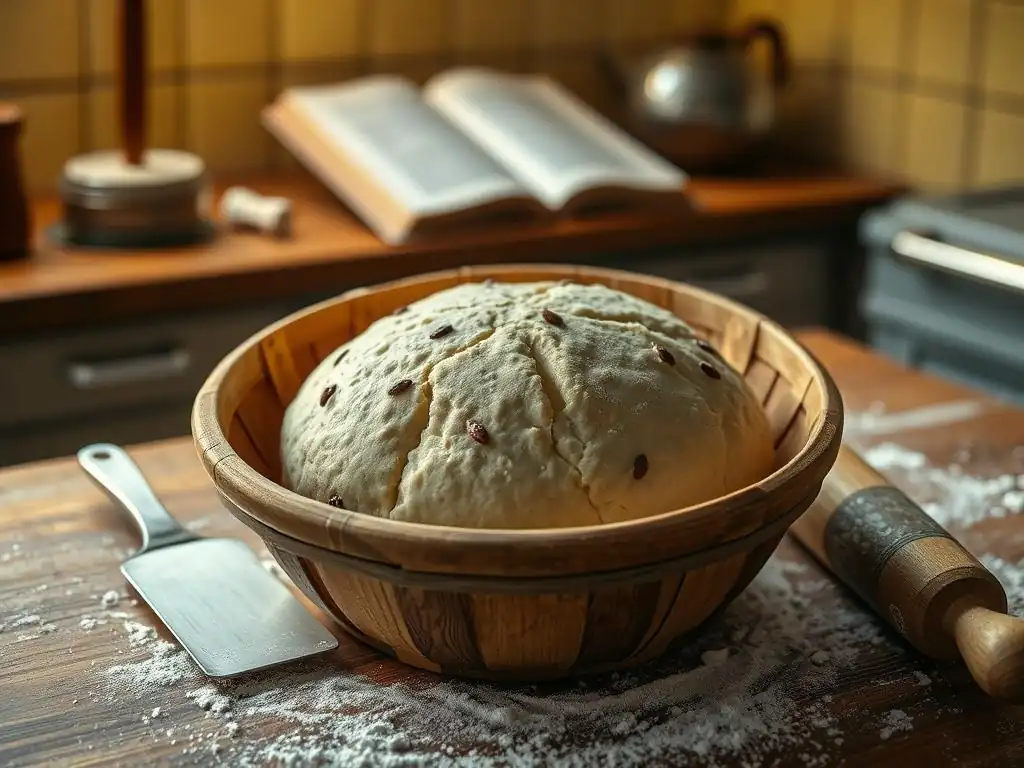
After shaping, the loaf needs a second, shorter proofing period. This is often called the final proof or bench rest. During this time, the dough relaxes slightly and undergoes a final rise before hitting the hot oven. This proofing can be done on a baking sheet lined with parchment paper, in a loaf pan, or in a proofing basket (banneton) dusted generously with flour.
Cover the shaped loaf loosely with plastic wrap or a light tea towel. The second proof typically takes 30-60 minutes, depending on the room temperature. The loaf should increase in volume again, but it won't double in size like it did during the first proof. You can test readiness by gently pressing the side of the loaf with a finger; if the indentation springs back slowly and only partially, it's ready to bake. If it springs back immediately, it needs more time. If it doesn't spring back at all, it might be over-proofed.
Step 5: Baking Your Caraway Rye Bread to Perfection
Baking is the stage where the magic happens – the dough transforms into a delicious loaf with a crispy crust and soft interior. Proper oven temperature and technique are essential for achieving a good result with your simple caraway seed rye bread. Preheating your oven adequately is key to ensuring the loaf gets a good initial burst of heat, known as oven spring.
Many bakers recommend baking rye bread at a relatively high temperature initially to set the crust, then reducing the temperature to ensure the interior cooks through without the crust burning. Creating steam in the oven during the first part of baking also helps the crust stay pliable longer, allowing the loaf to expand fully before the crust hardens.
Oven Temperature and Baking Time
Preheat your oven to a high temperature, typically between 400°F and 450°F (200°C-230°C). If using a baking stone or steel, make sure it has preheated for at least 30-60 minutes. Carefully transfer the shaped loaf to the hot stone or baking sheet. For a standard-sized loaf (around 1.5-2 pounds), bake at the initial high temperature for about 15-20 minutes.
After the initial high-temperature phase, reduce the oven temperature to around 375°F or 400°F (190°C-200°C) and continue baking for another 20-30 minutes, or until the internal temperature of the bread reaches 200°F-210°F (93°C-99°C). The total baking time for an easy caraway seed rye bread loaf is usually between 35 and 50 minutes.
Achieving a Crispy Crust
Creating steam in the oven is one of the most effective ways to achieve a beautiful, crispy crust. You can do this by placing a tray or cast iron pan on the bottom rack of your oven while it preheats. Just before you place the bread in the oven, pour about a cup of hot water into the hot tray (be cautious of the steam!). Close the oven door quickly to trap the steam.
Alternatively, you can bake the bread in a Dutch oven with the lid on for the first 20-25 minutes, then remove the lid to allow the crust to brown. This method effectively traps steam around the loaf. Baking directly on a preheated stone or steel also helps create a good crust on the bottom of the loaf. A well-baked crust should be a deep golden brown color and sound hollow when tapped on the bottom.
Tips and Tricks for the Best Caraway Rye Bread
Troubleshooting Common Rye Bread Baking Issues
Even with a simple recipe, baking can sometimes present challenges. One common issue with rye bread is density. Rye flour, being lower in gluten, naturally produces a denser loaf than wheat bread. However, excessive density can be disappointing. This is often caused by insufficient kneading (not developing the wheat gluten enough), overworking the dough (which can make rye dough tough), or under-proofing (not allowing the yeast enough time to produce gas).
Another frequent problem is a sticky dough that is difficult to handle. This can happen if too much water is used relative to the flour, or if the humidity in your kitchen is high. While rye dough is inherently stickier than wheat dough, it shouldn't be unmanageable. Proper measuring, especially of flour by weight, is key to avoiding this. A slightly sticky dough is preferable to a dry one, as it usually results in a moister loaf.
Dense Bread Solutions
If your simple caraway seed rye bread turns out dense, consider these adjustments for your next bake. First, ensure you are using a good quality bread flour alongside the rye flour to provide adequate gluten structure. Make sure you are kneading the dough sufficiently to develop this gluten, but stop before it becomes overworked (which can make rye dough tough and dense).
Proofing time is also critical. Ensure your dough has risen adequately during both the first and second proofs. A good rule of thumb is to check if the dough has increased significantly in volume (first proof) and is puffy but not overly airy (second proof). Baking at the correct temperature is also important; an oven that isn't hot enough can lead to poor oven spring and a denser crumb.
Avoiding a Sticky Dough
To manage sticky rye dough, accurate measurement is paramount. Weighing your flour and water is far more precise than using volume measurements (cups). If the dough is still too sticky after the initial mix, add flour in small increments (tablespoon by tablespoon) while kneading until it reaches a manageable consistency – it should be tacky but not sticking excessively to your hands or the work surface.
Working on a lightly floured surface helps, but avoid adding excessive amounts of flour during kneading or shaping, as this can dry out the dough and affect the final texture. A bench scraper can be invaluable for handling and shaping sticky dough. Remember that rye dough will always be a bit stickier than a pure wheat dough due to its composition.
Enhancing the Flavor Profile
While this recipe focuses on a simple caraway seed rye bread, there are ways to subtly enhance its flavor profile if you wish to experiment. The type of rye flour you choose will have a significant impact. Using a portion of medium or even dark rye flour instead of only light rye will introduce deeper, earthier notes to the bread, creating a more complex flavor. However, be aware that increasing the percentage of darker rye flours can affect the dough's handling and the loaf's density.
Another way to deepen the flavor is through a longer, slower fermentation, perhaps by cold proofing the dough in the refrigerator overnight after shaping. This slow fermentation allows more complex flavors to develop. While not part of this simple recipe, incorporating a rye sourdough starter or a small amount of rye sour into the dough can also add a characteristic tang associated with many traditional rye breads.
Experimenting with Different Rye Flours
As mentioned, swapping out some or all of the light rye for medium or dark rye will dramatically change the taste of your easy caraway seed rye bread. For instance, replacing 1/4 or 1/3 of the light rye with medium rye can add noticeable depth without making the dough too difficult to handle. Dark rye will introduce a very strong, slightly bitter flavor and require more hydration, often resulting in a much denser loaf.
Starting with a simple recipe using light or medium rye is recommended for beginners. Once you are comfortable with the basics, you can gradually increase the percentage of darker rye flours or experiment with different types of rye flour blends available from specialty suppliers to find your preferred flavor and texture.
Adding Other Seeds or Spices
While caraway seeds are the star of this simple caraway seed rye bread, you can certainly add other seeds or spices to complement the flavor profile. Dill seeds, for example, pair wonderfully with caraway and rye, adding a slightly different aromatic note. A pinch of ground coriander or fennel seeds can also enhance the complexity of the caraway flavor.
Other seeds like poppy seeds, sesame seeds, or sunflower seeds can be added to the dough for texture and flavor, or sprinkled on top of the loaf before baking for visual appeal and a crunchy crust. If adding other seeds to the dough, keep the total amount of seeds similar to the caraway seed quantity to avoid overwhelming the rye flavor or affecting the dough structure too much.
Serving and Storing Your Homemade Caraway Rye Bread
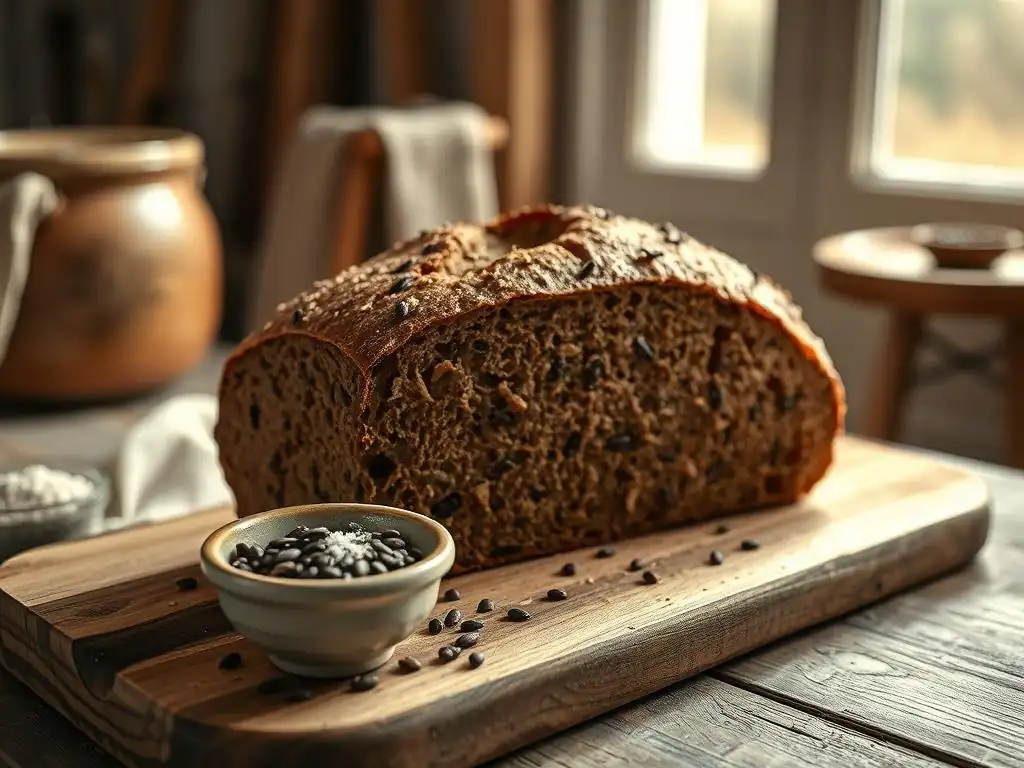
Delicious Serving Suggestions
Homemade easy caraway seed rye bread is incredibly versatile and delicious served in many ways. Its robust flavor pairs particularly well with savory toppings. Classic pairings include cream cheese and lox, smoked salmon, or various cold cuts and cheeses. A simple slice toasted and buttered is also a true delight, allowing the caraway flavor to shine.
Consider serving it alongside soups, stews, or chili, where its hearty texture can stand up to rich liquids. It also makes an excellent base for open-faced sandwiches, piled high with your favorite toppings. The slightly tangy notes of the rye and the aromatic caraway seeds complement strong flavors like sharp cheddar cheese, pickles, or sauerkraut beautifully.
Pairing Ideas
Here are a few specific ideas for enjoying your homemade caraway seed rye bread:
- Classic Deli Style: Thinly sliced and paired with pastrami or corned beef, Swiss cheese, and a smear of mustard.
- Scandinavian Inspiration: Topped with smoked fish (like herring or salmon), dill, and a squeeze of lemon.
- Simple & Savory: Toasted and topped with avocado and a sprinkle of flaky sea salt.
- With Soup: Use thick slices for dunking in hearty soups like split pea or borscht.
- Cheese Board Addition: Include slices on a cheese board alongside strong cheeses, pickles, and cured meats.
Proper Storage for Freshness
To keep your easy caraway seed rye bread fresh for as long as possible, proper storage is important. Once the loaf has cooled completely (this is crucial to prevent sogginess), store it at room temperature. The best method is to wrap it tightly in a linen or cotton bread bag, which allows the crust to breathe slightly while protecting the crumb.
Alternatively, you can wrap the cooled loaf tightly in plastic wrap or place it in a sealed plastic bag. This will keep the crumb soft but may soften the crust over time. Avoid storing bread in the refrigerator, as this tends to make it stale faster. For longer storage, you can slice the cooled loaf and freeze the slices in a freezer-safe bag or container. Frozen rye bread can be easily toasted directly from the freezer. A whole loaf can be frozen wrapped tightly in plastic wrap and then aluminum foil; thaw at room temperature before slicing.
Conclusion: Enjoying Your Classic Caraway Rye Bread
Celebrate the Taste of Homemade Bread
Baking your own easy caraway seed rye bread is a rewarding process that culminates in the simple pleasure of enjoying a freshly baked loaf. From the satisfying feel of the dough to the incredible aroma that fills your home as it bakes, every step contributes to the final product. Slicing into the warm loaf, seeing the perfect distribution of caraway seeds, and tasting that distinctive rye flavor is a moment to savor.
This simple recipe provides a solid foundation for creating a delicious and authentic loaf. It demonstrates that you don't need complex techniques or specialized equipment to achieve wonderful results. Sharing your homemade caraway seed rye bread with family and friends is a special experience, showcasing your effort and the superior taste of bread made with care.
Explore More Rye Bread Recipes on BakeWithEase
Now that you've mastered this simple caraway seed rye bread, you might be inspired to explore the wider world of rye baking. BakeWithEase offers a variety of other rye bread recipes, ranging from light sandwich loaves to denser, darker ryes, and even recipes incorporating sourdough starters for that classic tang. Each recipe is designed with the home baker in mind, providing clear instructions and helpful tips.
Expanding your skills to include different types of rye flour, varying hydration levels, or trying longer fermentation methods can open up a whole new dimension of flavor and texture. We encourage you to browse our collection, try new recipes, and continue your baking journey with confidence. Baking easy caraway seed rye bread is just the beginning of many delicious possibilities.
Frequently Asked Questions
What makes this rye bread recipe "easy" for beginner bakers?
This recipe focuses on simple techniques and readily available ingredients, avoiding complex processes and hard-to-find components. The step-by-step guide helps ensure success even for those new to bread baking.
Can I substitute other seeds for the caraway seeds in this rye bread?
While caraway seeds are a key component of traditional rye bread, you can substitute. However, the flavor will change. Consider using fennel seeds or dill seeds for a similar, but not identical, taste.
How do I know when my rye bread is properly proofed?
The dough should have almost doubled in size and feel light and airy to the touch. Gently press the dough with your finger; if the indentation slowly springs back, it's likely ready to bake.
What's the best way to store leftover rye bread to keep it fresh?
Wrap the bread tightly in plastic wrap or store it in an airtight container at room temperature. For longer storage, slice the bread and freeze it in a zip-top bag. This prevents staling and freezer burn.
What are some serving suggestions for this simple caraway seed rye bread?
This bread is delicious on its own, toasted with butter, or used for sandwiches. It pairs well with cured meats, cheeses, and soups, making it a versatile addition to any meal.
Final Reflection: The Enduring Comfort of Simple Rye
The humble caraway seed rye bread, a seemingly simple loaf, speaks volumes about the enduring power of tradition and the satisfaction found in uncomplicated pleasures. In a world obsessed with culinary complexity and instant gratification, this recipe offers a refreshing counterpoint: a testament to the beauty of mindful baking and the rich rewards of using just a few, carefully chosen ingredients. It's a reminder that sometimes, less truly is more.
The aroma of baking rye, punctuated by the warm, earthy scent of caraway, evokes a powerful sense of nostalgia and home for many. It's a smell that transcends generations, connecting us to our culinary heritage and the comforting rituals of family meals. This simple bread, with its straightforward method, allows us to participate in that heritage, to connect with something larger than ourselves through the act of creation. Bread is the staff of life,
they say, and in this recipe, we find a tangible connection to that enduring truth.
Now, I invite you to consider the possibilities. Don't just bake this bread; experience it. Savor the texture, the aroma, the taste. Reflect on the simplicity of the process and the profound satisfaction it brings. Perhaps this recipe will inspire you to explore other simple, traditional recipes, to slow down, and to appreciate the beauty of uncomplicated pleasures in your own life. The journey of baking, like life itself, is often found in the small, carefully chosen steps.
Unleash Your Inner Baker: Craft Your Perfect Rye Loaf!
Thanks for taking the time to explore the art of simple rye bread baking! We hope you’ve gained the confidence to tackle this classic recipe. Now it's time to put your newfound skills into action.
- Bake your own caraway rye loaf: The recipe is designed to be simple and straightforward. Don't be afraid to experiment with the amount of caraway seeds to suit your taste! This is your chance to create something truly delicious.
- Share your baking journey: Snap a photo of your finished loaf and share it on social media using #BakeWithEaseRye! We'd love to see your creations and be inspired by your baking adventures.
- Dive deeper into rye: Explore other rye bread recipes on BakeWithEase.com (While I can't link directly, you know where to find us!). Discover the amazing world of sourdough rye, or perhaps try a sweeter version with raisins and honey.
What unique twist will you add to your next rye bread creation?