
Tiny Holes in Bread? Troubleshooting Underdevelopment

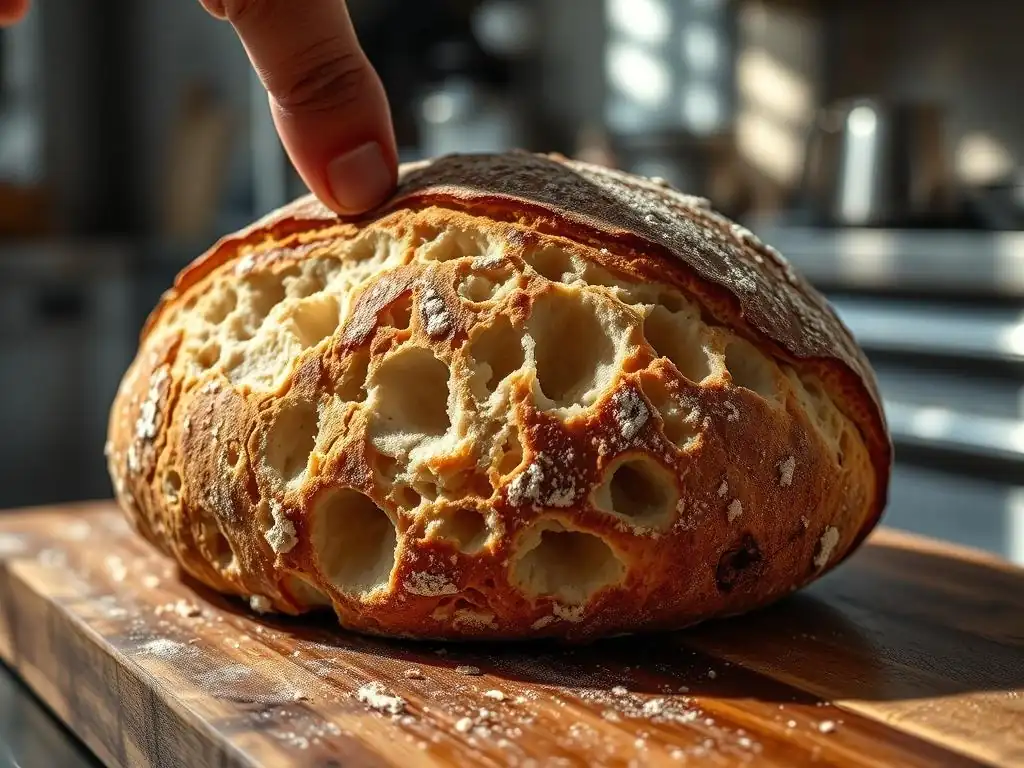
Welcome to BakeWithEase, your kitchen companion for all things baking! Ever wondered why your bread has those frustrating, tiny holes inside? This week, we're diving deep into underdeveloped bread troubleshooting tips, unlocking the secrets to achieving perfectly risen loaves. Curious to learn how to banish those pesky imperfections and bake bread that's both beautiful and delicious? Let's get started!
- Tiny Holes in Bread? Troubleshooting Underdevelopment: Bake With Ease
- Understanding Underdeveloped Bread: A Baker's Guide
- Common Causes of Bread Underdevelopment
- Underdeveloped Bread Troubleshooting Tips: A Step-by-Step Approach
- Preventing Underdevelopment in Bread Baking: Proactive Measures
- Salvaging Underdeveloped Bread: What Can You Do?
- Conclusion: Bake With Ease - Achieving Perfectly Developed Bread Every Time
- Frequently Asked Questions
- Final Reflection: The Humble Loaf and the Pursuit of Perfection
- Unleash Your Inner Baker: Perfecting Your Loaf!
Tiny Holes in Bread? Troubleshooting Underdevelopment: Bake With Ease
Welcome to Bake With Ease! If you've ever pulled a loaf of bread from the oven, admired its golden crust, only to slice into it and find a crumb structure riddled with tiny, dense holes instead of the airy, open texture you dreamed of, you're likely dealing with underdeveloped bread. This common issue can be frustrating, but understanding its root causes and applying effective underdeveloped bread troubleshooting tips can turn your baking woes into triumphs. Let's explore why this happens and how to fix it.
Understanding Underdeveloped Bread: A Baker's Guide
Underdeveloped bread is a term bakers use to describe dough that hasn't reached its full potential during the fermentation and baking process. This lack of development manifests in several ways, often resulting in a loaf that is dense, heavy, and lacks the desirable open crumb structure. It's a sign that the gluten network, which provides the framework for the dough, hasn't been properly formed or supported.
Recognizing underdeveloped bread is the first step towards fixing the issue. It's not just about the holes; it's about the overall texture and volume of the loaf. By identifying the signs early, either during the dough stage or after baking, you can better pinpoint the cause and apply the right underdeveloped bread troubleshooting tips for your next bake.
What Does Underdeveloped Bread Look Like? Identifying the Signs
Underdeveloped bread often presents a few tell-tale signs. Before baking, the dough might feel stiff or resist stretching, tearing easily when you try to pull it thin (the "windowpane test" will show a ragged, non-transparent membrane). It may also not increase significantly in volume during bulk fermentation or proofing.
After baking, the signs become even clearer. The loaf might be smaller and denser than expected. The crust can be thick and hard, rather than thin and crisp. Most notably, the interior crumb will lack large, irregular air pockets, instead showing a tight, uniform structure with numerous small, sometimes seemingly tiny holes. This contrasts sharply with a well-developed loaf, which boasts an open, varied crumb. For example, a properly developed sourdough loaf might have air pockets several centimeters wide, while an underdeveloped one shows a dense network of holes perhaps only a few millimeters across.
The Link Between Underdevelopment and Tiny Holes in Bread
The presence of tiny, dense holes in bread is a direct consequence of underdevelopment, particularly related to the gluten structure. Gluten, formed when water interacts with proteins in flour (glutenin and gliadin), creates an elastic network that traps the gases produced by yeast during fermentation. This trapped gas is what causes the dough to rise and creates the airy pockets in the final loaf.
When the dough is underdeveloped, the gluten network isn't strong or elastic enough to effectively capture these gases. Instead of forming larger, distinct bubbles, the gas is dispersed into many small pockets throughout the weak structure. During baking, these small pockets expand but remain small due to the poor gluten development, resulting in that characteristic dense crumb with numerous tiny holes. Think of it like trying to blow up a balloon with a weak membrane – it might inflate a little, but it won't hold a large volume of air and will likely feel tight and unyielding.
Common Causes of Bread Underdevelopment
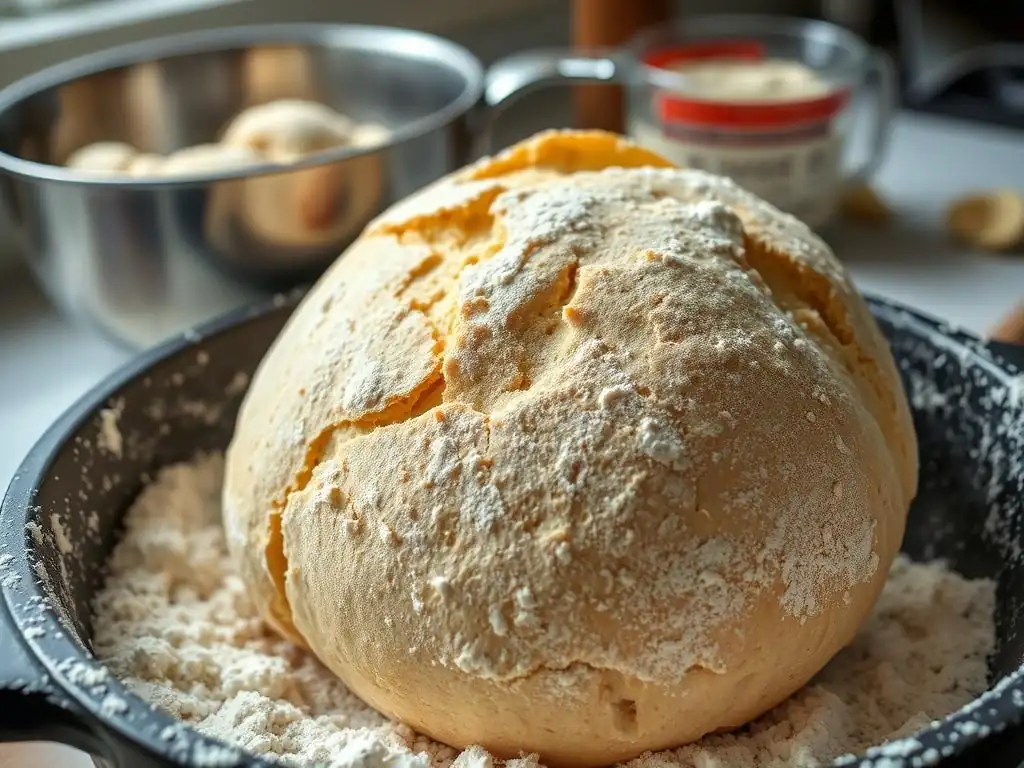
Underdevelopment in bread dough can stem from several factors, often working in combination. Pinpointing the exact cause requires evaluating your process from start to finish. Understanding these common culprits is crucial for effective underdeveloped bread troubleshooting tips.
We'll delve into the primary reasons: issues with gluten development, inadequate proofing, problems with the yeast, and improper oven conditions. Each plays a vital role in the final structure and texture of your bread.
Insufficient Gluten Development: The Foundation of Bread Structure
Gluten development is arguably the most critical factor in creating bread with a good structure. It's the protein matrix that gives dough its elasticity and strength, allowing it to trap the gases produced by yeast and expand during fermentation and baking. Without sufficient gluten development, the dough cannot hold its shape or achieve an open crumb.
Proper gluten development is achieved through a combination of hydration (water activating the proteins) and mechanical action (kneading or folding). The type of flour used also significantly impacts the potential for gluten formation. Addressing these aspects is fundamental to successful bread baking and applying underdeveloped bread troubleshooting tips.
Lack of Kneading: Why Proper Kneading Matters for Gluten Strength
Kneading is the process that aligns and strengthens the gluten strands in the dough. As you work the dough, whether by hand or stand mixer, these protein chains link together, forming a strong, elastic network. Insufficient kneading means this network remains weak and undeveloped.
A dough that hasn't been kneaded enough will feel shaggy and tear easily. It won't pass the "windowpane test," where a small piece of dough can be stretched thin enough to see light through it without tearing. For instance, a standard lean dough might require 10-15 minutes of hand kneading or 6-8 minutes in a stand mixer on medium speed to develop adequately. Skipping or shortening this step is a common reason for a dense crumb with tiny holes.
Using Weak Flour: Choosing the Right Flour for Bread Baking
The type of flour you use has a significant impact on gluten development. Bread flour, for example, typically contains 12-14% protein, providing ample gluten-forming potential. All-purpose flour usually has a lower protein content, around 10-12%, making it less ideal for rustic loaves requiring a strong structure.
Using flour with too little protein, or flour that has been improperly stored (which can degrade protein quality), will limit how strong the gluten network can become, regardless of how much you knead. If your recipe calls for bread flour and you substitute all-purpose, you might find your dough struggles to develop sufficient strength, leading to underdeveloped bread and those frustrating tiny holes. Always check the protein content on the flour packaging.
Inadequate Proofing Time: Letting Your Dough Rise to Its Potential
Proofing, or fermentation, is the period when yeast produces gases that cause the dough to rise. This rise is essential for developing the final texture and volume of the bread. Inadequate proofing—either too short (under-proofing) or sometimes even too long (over-proofing, which can lead to collapse)—can contribute to underdeveloped bread characteristics.
The duration of proofing depends heavily on temperature, yeast activity, and the type of dough. Learning to recognize the signs of properly proofed dough, rather than relying solely on time, is a critical skill for successful baking.
Under-Proofing vs. Over-Proofing: Recognizing the Difference
Under-proofing occurs when the dough hasn't had enough time to rise. The yeast hasn't produced enough gas to significantly expand the gluten network. An under-proofed dough will look dense and won't have increased much in volume. When poked gently, the indentation will spring back immediately. Baking an under-proofed loaf often results in a dense crumb, sometimes with a "gum line" near the bottom, and those characteristic tiny holes.
Over-proofing happens when the dough rises for too long, and the gluten network weakens or collapses because the yeast has consumed most of the available sugars. An over-proofed dough might look puffy but fragile; when poked, the indentation will remain. While over-proofing can also lead to issues, under-proofing is a much more common cause of the specific dense crumb with tiny holes associated with underdeveloped bread.
Temperature's Role in Proofing: Creating the Ideal Environment
Temperature significantly impacts yeast activity and thus proofing time. Yeast is most active in temperatures between 75°F and 85°F (24°C and 29°C). Proofing at cooler temperatures will slow down fermentation, requiring longer times. Proofing at warmer temperatures will speed it up.
If your proofing environment is too cool, the dough may take significantly longer to rise than the recipe suggests, leading to accidental under-proofing if you follow the time cue only. For instance, a dough that might double in size in 1 hour at 80°F could take 2-3 hours or more at 65°F. Consistent temperature control is key to reliable proofing and avoiding underdevelopment issues.
Yeast Issues: Ensuring Active and Healthy Yeast
Yeast is the engine of fermentation, producing the carbon dioxide gas that makes bread rise. If your yeast isn't active or you use the wrong amount, the dough won't rise properly, directly contributing to underdeveloped bread and a dense crumb with tiny holes.
Ensuring your yeast is viable and using the correct quantity specified in the recipe are fundamental steps that should not be overlooked in your underdeveloped bread troubleshooting tips.
Expired or Inactive Yeast: Testing Your Yeast's Viability
Yeast is a living organism, and like any living thing, it has a shelf life. Using expired or inactive yeast is a sure path to a flat, dense loaf. Dry yeast can lose viability over time, especially if not stored properly in a cool, dry place or the refrigerator/freezer after opening.
To test if your dry yeast is active, dissolve 1 teaspoon of sugar in 1/4 cup of warm water (around 105-115°F or 40-46°C). Stir in 2 1/4 teaspoons of yeast (the amount in one standard packet). Wait 5-10 minutes. If the mixture becomes foamy and increases in volume, your yeast is active and ready to use. If not, it's time to get fresh yeast.
Insufficient Yeast: Using the Correct Amount for Your Recipe
Using too little yeast for the amount of flour and liquid in your recipe will result in a slow or insufficient rise. While long, slow fermentation can develop great flavor, using significantly less yeast than intended for a standard recipe will likely lead to under-proofing within the expected timeframe and thus underdeveloped bread.
Recipes are typically balanced to achieve a proper rise within a certain time frame at a standard temperature. For example, a typical bread recipe using 4 cups of flour might call for 2 1/4 teaspoons of active dry yeast. Deviating significantly from this ratio without adjusting proofing time and temperature can lead to problems. Always measure your yeast accurately.
Improper Oven Temperature: Achieving the Right Bake
While gluten development and proofing happen before the oven, the baking process itself, particularly the initial phase often called "oven spring," is crucial for the final crumb structure. If the oven temperature is too low or steam is insufficient, it can hinder the final expansion of the loaf and contribute to a denser texture.
Ensuring your oven is accurately calibrated and creating the right baking environment are important final underdeveloped bread troubleshooting tips.
Oven Calibration: Ensuring Accurate Temperature Readings
Oven thermostats can be inaccurate, sometimes by as much as 25-50°F (15-30°C). If your oven is running cooler than the recipe calls for, your bread won't experience the rapid heat necessary for optimal oven spring – the final burst of rising that occurs in the first 10-15 minutes of baking.
An oven thermometer is an inexpensive tool that sits inside your oven and gives you an accurate reading of the actual temperature. Baking at a temperature lower than intended can result in a slower, less vigorous rise in the oven, potentially contributing to a denser crumb and smaller, less open holes.
Steam's Influence: Creating a Crusty Exterior and Proper Oven Spring
Steam in the oven is critical during the first part of baking lean bread (like sourdough or baguettes). Steam keeps the surface of the dough moist and flexible, allowing it to expand fully before the crust sets. Without sufficient steam, the crust forms too quickly, restricting the dough's ability to expand during oven spring.
This restricted expansion can lead to a denser crumb and prevent the formation of those beautiful, large air pockets, contributing to the appearance of underdeveloped bread with tiny holes. Methods like using a Dutch oven, a baking stone with a steam tray, or spraying the oven walls can introduce necessary steam.
Underdeveloped Bread Troubleshooting Tips: A Step-by-Step Approach
If you're consistently getting underdeveloped bread with tiny holes, it's time to systematically evaluate your process. These underdeveloped bread troubleshooting tips will guide you through identifying and correcting common issues.
Think of this as a checklist for your next bake. By focusing on these key areas, you can significantly improve your results and start baking loaves with the open, airy crumb you desire.
Step 1: Evaluate Your Ingredients - Flour Quality and Yeast Activity
Start at the beginning. Are your ingredients fresh and appropriate for the recipe?
- Check Your Flour: What is the protein content of the flour you're using? Is it bread flour (12-14% protein) if the recipe recommends it, or are you using lower-protein all-purpose flour (10-12%)? Ensure your flour hasn't been sitting in the pantry for years; very old flour can degrade.
- Test Your Yeast: Perform the yeast viability test described earlier. If your yeast doesn't foam, it's inactive and needs to be replaced. Are you using the correct type of yeast (active dry, instant, fresh) and amount specified in the recipe?
Ingredients Checklist:
- [ ] Flour type matches recipe (e.g., Bread Flour)
- [ ] Flour protein content is adequate
- [ ] Flour is relatively fresh
- [ ] Yeast is within expiration date
- [ ] Yeast viability tested (if using dry yeast)
- [ ] Correct amount of yeast used
Addressing ingredient issues is a foundational underdeveloped bread troubleshooting tip. Using fresh, high-quality ingredients sets the stage for successful dough development. For instance, switching from an inexpensive all-purpose flour to a reputable brand of bread flour can make a noticeable difference in gluten development potential.
Step 2: Master the Art of Kneading - Techniques for Gluten Development
Proper kneading is paramount for creating a strong gluten network capable of trapping gas and producing an open crumb.
- Assess Your Kneading Time/Method: Are you kneading for the recommended duration? Are you kneading vigorously enough? For hand kneading, this means pushing, folding, and turning the dough rhythmically. For a stand mixer, ensure the dough is properly engaging with the hook and not just riding up the sides.
- Perform the Windowpane Test: This is the ultimate test for gluten development. Take a small piece of dough (about golf ball size), flatten it gently, and try to stretch it into a thin membrane. If you can stretch it thin enough to see light through without it tearing, your gluten is well-developed. If it tears easily, it needs more kneading.
- Consider Hydration: Dough hydration (the ratio of water to flour) affects how the dough feels and kneads. Very low-hydration doughs can be stiff and hard to knead, while very high-hydration doughs require different techniques like stretch-and-folds rather than traditional kneading. Ensure your hydration level is appropriate for your chosen method.
Kneading Evaluation:
- [ ] Kneading time meets or exceeds recipe recommendation
- [ ] Kneading technique is effective (hand or mixer)
- [ ] Dough passes the windowpane test
- [ ] Hydration level is appropriate for the technique
Insufficient kneading is a leading cause of underdeveloped bread. Adding a few extra minutes of kneading or incorporating a few rounds of stretch-and-folds during bulk fermentation can dramatically improve gluten strength and help prevent those tiny holes.
Step 3: Optimize Proofing Conditions - Time, Temperature, and Humidity
Proofing is where the dough gains volume. Getting it right is crucial for preventing underdevelopment.
- Monitor Dough Volume: Don't rely solely on time. Learn to recognize when your dough has increased sufficiently in volume. For the first rise (bulk fermentation), many recipes call for the dough to double in size. For the second rise (proofing), it might be closer to 50-75% increase, and the dough should look puffy and feel airy.
- Control Temperature: Is your proofing environment consistently warm (75-85°F or 24-29°C)? If your kitchen is cool, find a warmer spot (like inside a turned-off oven with the light on, which usually provides gentle warmth) or use a proofing box. Adjust proofing time based on temperature – cooler temperatures require significantly longer times.
- Perform the Poke Test: Gently poke the dough with a floured finger. If the indentation springs back immediately, it's under-proofed. If it springs back slowly, leaving a small indentation, it's likely perfectly proofed. If it doesn't spring back at all and stays indented, it might be over-proofed (though under-proofing is more common for the dense crumb issue).
Proofing Optimization:
- [ ] Dough volume increase is monitored (not just time)
- [ ] Proofing temperature is appropriate (75-85°F ideal)
- [ ] Proofing time adjusted for temperature
- [ ] Dough passes the poke test for proofing
Under-proofing is a frequent culprit behind underdeveloped bread troubleshooting requests. Giving your dough adequate time in a warm environment to develop volume is essential for a light, airy crumb.
Step 4: Refine Your Baking Technique - Oven Temperature and Steam
The final step is the bake itself. Ensure your oven is ready to give the dough its final push.
- Verify Oven Temperature: Use an oven thermometer to confirm your oven reaches and maintains the correct temperature specified in the recipe. Preheating for a sufficient time (often 30-60 minutes) is also crucial, especially when using a baking stone or Dutch oven.
- Ensure Sufficient Steam (for lean loaves): If baking a lean bread (flour, water, salt, yeast) directly on a stone or pan, use a method to create steam in the oven during the first 10-15 minutes. This could involve a tray of hot water, spraying the oven walls, or using a Dutch oven, which naturally traps steam.
- Check Baking Time: Ensure you are baking the loaf for the full recommended time, or until the internal temperature reaches 200-210°F (93-99°C). Under-baking can also contribute to a slightly dense, gummy texture, although it's less likely to cause the specific tiny-hole structure of underdevelopment compared to kneading or proofing issues.
Baking Refinement:
- [ ] Oven temperature verified with thermometer
- [ ] Oven is adequately preheated
- [ ] Steam introduced during the initial bake (if needed)
- [ ] Loaf baked to correct internal temperature (200-210°F)
Proper oven conditions ensure the dough gets the best chance to expand fully during oven spring, contributing to a lighter texture and helping to open up the crumb structure. These underdeveloped bread troubleshooting tips cover the entire process, from start to finish.
Preventing Underdevelopment in Bread Baking: Proactive Measures
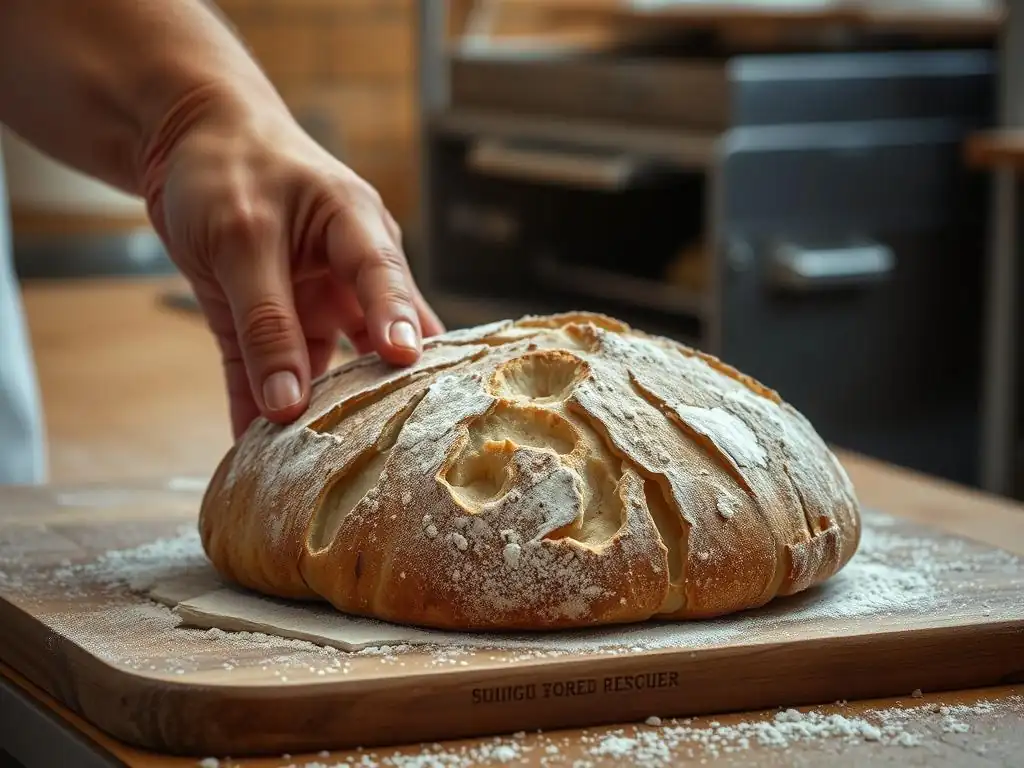
Instead of always needing underdeveloped bread troubleshooting tips, let's look at how to prevent the problem from happening in the first place. Being mindful of a few key principles during your baking process can dramatically increase your success rate.
Consistency and attention to detail are your best friends when it comes to avoiding underdeveloped bread. By focusing on quality ingredients, precise measurements, and careful technique, you set yourself up for a well-developed, airy loaf every time.
Choosing the Right Flour: Selecting High-Quality Bread Flour
As discussed, flour quality is paramount. For most standard yeasted bread recipes aiming for a good crumb structure, opting for a high-quality bread flour with a protein content of 12% or higher is the best starting point.
Different brands and types of flour vary. While a generic all-purpose might work for some recipes, specifically choosing bread flour provides the necessary protein for a strong gluten network. Look for terms like "strong flour" or check the protein percentage on the nutrition label. Some bakers even prefer specific regional flours known for their protein quality. Investing in good flour is a simple yet effective preventative measure against underdeveloped bread.
Precise Measurements: Ensuring Accurate Ingredient Ratios
Baking is often described as a science, and accurate measurement is key. The ratio of flour to water, yeast, and salt significantly impacts dough development and fermentation. Using too much flour or too little water can result in a stiff dough that's difficult to knead and hinders proper gluten formation. Using too little yeast will lead to under-proofing.
Using a digital scale to weigh your ingredients, especially flour and water, is far more accurate than using volume measurements (cups). For example, a cup of all-purpose flour can weigh anywhere from 120g to 150g depending on how packed it is, leading to significant variations in hydration. Weighing ensures you're consistently using the correct ratios specified in the recipe, which is vital for predictable dough development and avoiding the need for underdeveloped bread troubleshooting tips.
Monitoring Dough Temperature: Keeping an Eye on Dough Development
Dough temperature is a critical, often overlooked, factor influencing fermentation speed and gluten development. Warm dough ferments faster, while cold dough ferments slower. The ideal finished dough temperature after mixing/kneading for many bread types is around 75-78°F (24-26°C).
Using an instant-read thermometer to check your dough temperature can help you predict fermentation time more accurately and prevent under-proofing. If your dough is significantly colder than the target temperature after mixing, you know it will take longer to rise. Conversely, if it's warmer, it will be faster. Adjusting your proofing schedule based on dough temperature is a proactive step to ensure proper development.
The Importance of Patience: Giving Your Dough the Time It Needs
Bread baking requires patience. Dough development and fermentation take time, and trying to rush the process is a primary reason for underdeveloped bread. While recipes provide time estimates, these are based on specific conditions (like temperature).
Learn to read the dough itself, using visual cues and the poke test, rather than strictly adhering to the clock. If your kitchen is cool, accept that the dough will need more time to rise. Rushing an under-proofed dough into the oven is a guaranteed way to end up with a dense loaf and those tiny holes. Allowing the dough sufficient time to develop strength and volume is perhaps the most important preventative measure.
Salvaging Underdeveloped Bread: What Can You Do?
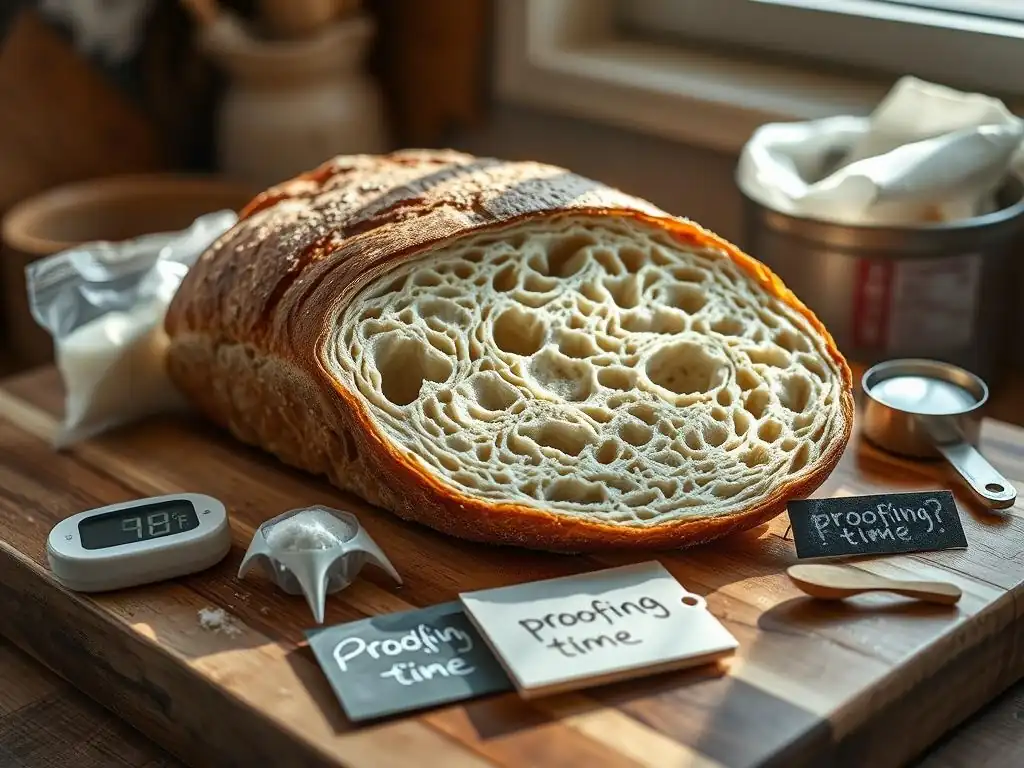
So, you've baked a loaf and sliced into it, only to find the dreaded dense crumb with tiny holes. While you can't un-bake it and fix the structure, an underdeveloped loaf is by no means a total failure! There are still plenty of delicious ways to use it.
Furthermore, viewing an underdeveloped loaf as a learning opportunity is key. By analyzing what went wrong, you can refine your technique and avoid repeating the same mistakes in the future.
Repurposing Underdeveloped Bread: Creative Ways to Use "Failed" Loaves
Even dense, underdeveloped bread can be transformed into tasty dishes. Its texture might not be ideal for sandwiches, but it's perfect for applications where the bread is altered or incorporated into other ingredients.
Here are a few ideas:
- Breadcrumbs: Cube the bread, let it dry out, and then process it into fresh breadcrumbs. These are excellent for coating cutlets, topping casseroles, or mixing into meatballs.
- Croutons: Cut the bread into cubes, toss with olive oil and seasonings, and bake until crispy. Perfect for salads or soups.
- French Toast or Bread Pudding: The slightly denser texture can actually hold up well in custardy dishes like French toast or bread pudding, absorbing the liquid without becoming mushy.
- Strata or Savory Bakes: Similar to bread pudding but savory, layering bread cubes with cheese, vegetables, and eggs creates a delicious meal.
- Pappa al Pomodoro or Ribollita: These Italian soups are designed to use stale bread, which thickens the broth beautifully.
Learning from Mistakes: Analyzing Your Baking Process for Improvement
Every bake, successful or not, offers a chance to learn. If you've ended up with underdeveloped bread, review the underdeveloped bread troubleshooting tips and think back through your process.
Ask yourself:
- Did I use the right flour?
- Did I knead long enough? Did the dough pass the windowpane test before the first rise?
- Was my yeast active?
- What was the temperature of my dough and proofing environment? Did the dough double (or increase appropriately) in volume? Did it pass the poke test?
- Was my oven preheated correctly? Did I use steam if needed?
Consider keeping a baking journal to note details like ingredient brands, temperatures, times, and observations about the dough's feel and appearance. This can help you identify patterns and pinpoint exactly where things went wrong, leading to better results on your next attempt.
Conclusion: Bake With Ease - Achieving Perfectly Developed Bread Every Time
Dealing with underdeveloped bread and those frustrating tiny holes is a common challenge for bakers. However, by understanding the fundamental principles of gluten development, fermentation, and baking, and by applying systematic underdeveloped bread troubleshooting tips, you can overcome this hurdle.
Remember to start with quality ingredients, knead sufficiently to build a strong gluten structure, give your dough adequate time to proof in a suitable environment, and bake in a properly preheated oven, using steam when necessary. Don't be discouraged by less-than-perfect loaves; instead, learn from them and enjoy finding creative ways to use them. With practice and attention to detail, you'll soon be consistently baking beautifully developed bread with an open, airy crumb, truly baking with ease!
Frequently Asked Questions
Why does my bread have tiny holes?
Tiny holes in bread are often a sign of underdevelopment, meaning the gluten wasn't properly formed during mixing and fermentation. This can lead to trapped gas bubbles.
What are some common causes of underdeveloped bread?
Common causes include insufficient kneading, too little hydration, or too short of a fermentation time. These factors all contribute to weak gluten structure.
How does kneading affect bread development?
Kneading is crucial for developing the gluten in the dough. It aligns the gluten strands, creating a strong, elastic network that traps gas and gives bread its characteristic texture and structure.
What role does fermentation play in bread development?
Fermentation allows yeast to produce gas, which expands the dough. It also develops flavor and strengthens the gluten network, contributing to a light and airy crumb.
What are some quick tips for troubleshooting underdeveloped bread?
Try kneading for longer, adding a little more water to the dough, or extending the fermentation time in a warm environment. These adjustments can significantly improve gluten development.
Final Reflection: The Humble Loaf and the Pursuit of Perfection
The quest for the perfect loaf is more than just a culinary pursuit; it's a microcosm of problem-solving and the importance of understanding the fundamentals. A seemingly insignificant tiny hole in your bread can be a symptom of a larger issue, highlighting the delicate balance required in baking. Ignoring these "tiny holes" can lead to consistently disappointing results, emphasizing the need for careful observation and iterative improvement.
The journey of baking, much like life itself, is filled with unexpected challenges. Each failed attempt, each imperfectly risen loaf, teaches valuable lessons about patience, attention to detail, and the importance of understanding the underlying processes. The only true wisdom is in knowing you know nothing.
- Socrates. This quote resonates deeply because even with extensive knowledge, baking (and life!) always presents new variables and unexpected outcomes. The process of troubleshooting, of identifying the root cause of those tiny holes, mirrors the larger process of problem-solving in other areas of life.
Now, consider your own "tiny holes"—those seemingly small imperfections or setbacks in your own endeavors. What seemingly insignificant details might you be overlooking? I encourage you to approach your challenges with the same meticulous attention to detail you would apply to perfecting a sourdough starter. Don't be discouraged by imperfections; instead, embrace them as opportunities for growth and learning. Take the time to analyze, adjust, and refine your approach. The perfect loaf, and the perfect outcome in any pursuit, is a journey, not a destination.
Unleash Your Inner Baker: Perfecting Your Loaf!
Thanks for taking the time to explore the mysteries of those pesky tiny holes! We hope you now have a better understanding of underdevelopment in your bread baking. Ready to take your skills to the next level?
- Dive deeper: Try experimenting with different hydration levels in your next batch, paying close attention to the dough's texture and rise. This is your key to consistent success!
- Share your experience: Tell us about your baking journey in the comments below – we love hearing about your wins (and your learning moments! ).
- Challenge yourself: Try a new bread recipe this week, focusing on the techniques you’ve learned today to avoid those pesky holes.
What adjustments will you make in your next bread baking adventure to achieve a perfect, hole-free loaf?