
Understanding Whole Wheat Flour: From Atta to StoneGround

Welcome to BakeWithEase, where the joy of baking meets the simplicity of execution! Ever wondered how to unlock the full potential of whole wheat flour in your baking adventures? This article, "Understanding Whole Wheat Flour: From Atta to StoneGround," delves into the nuances of this versatile ingredient, offering practical tips and tricks to elevate your bread baking game. Discover the secrets to creating delicious and nutritious loaves that will impress even the most discerning palates. Ready to bake with confidence? Let's get started!
- Understanding Whole Wheat Flour: From Milling to Baking
- Introduction to Whole Wheat Flour for Baking
- The Fundamentals of Whole Wheat Flour
- Demystifying Different Types of Whole Wheat Flour
- Whole Wheat Flour Baking Tips for Beginners
- Troubleshooting Common Whole Wheat Baking Issues
- Recipes for Success: Using Whole Wheat Flour
- Storing Whole Wheat Flour for Optimal Freshness
- Advanced Techniques for Whole Wheat Flour Baking
- Conclusion: Embrace the Versatility of Whole Wheat Flour
-
Frequently Asked Questions
- What are the key differences between whole wheat flour and all-purpose flour in baking?
- How can I prevent whole wheat baked goods from becoming too dense?
- What types of recipes are best suited for using whole wheat flour?
- How should I store whole wheat flour to maintain its freshness?
- What adjustments should I make when substituting whole wheat flour for all-purpose flour in a recipe?
- Final Reflection: The Enduring Power of Whole Wheat Flour
- Unlock the Power of Whole Wheat: Bake Your Best Loaf Yet!
Understanding Whole Wheat Flour: From Milling to Baking
Introduction to Whole Wheat Flour for Baking
Why Choose Whole Wheat Flour for Baking?
Choosing whole wheat flour for your baking endeavors offers a wealth of benefits, extending beyond just nutrition. It introduces a depth of flavor and a rustic texture that white flour simply can't replicate. Whole wheat flour, containing all parts of the wheat kernel—bran, germ, and endosperm—provides a richer, nuttier taste that enhances everything from simple loaves of bread to hearty muffins.
Many bakers find that incorporating whole wheat flour adds character and complexity to their creations, moving away from the often bland profile of baked goods made solely with refined flour. It's about embracing a more wholesome and flavorful approach to baking.
Beyond flavor, the nutritional profile of whole wheat flour is a major draw. It's packed with fiber, vitamins (like B vitamins and vitamin E), minerals (such as iron, magnesium, and zinc), and antioxidants that are largely removed during the processing of white flour. A typical serving of whole wheat flour might contain around 12-14% protein and significantly more dietary fiber—often double or triple that of white flour.
These components contribute to a lower glycemic index compared to white flour, helping to manage blood sugar levels. For anyone looking to make their baked goods more nutritious without sacrificing taste, exploring whole wheat flour baking tips is a fantastic starting point.
Exploring Different Types of Whole Wheat Flour
The world of whole wheat flour is surprisingly diverse, offering various options each with unique characteristics that influence baking results. Understanding these differences is key to successful whole wheat flour baking tips. The most common type found in supermarkets is often labeled simply "whole wheat flour," typically milled from hard red wheat, giving it a robust flavor and higher protein content suitable for bread. However, the grind can vary; some are finely ground, while others are coarser.
Then there are specialized types like white whole wheat flour, milled from a naturally lighter-colored wheat variety (hard white wheat) but still containing the whole kernel. This offers the nutritional benefits of whole wheat with a milder flavor and lighter color, making it a good transition flour.
Other options include stone-ground whole wheat flour, known for its coarser texture and rich flavor, and heritage grain flours like spelt, which is also a type of whole grain flour with distinct baking properties. Each type requires slightly different handling, especially concerning hydration and resting times, so exploring these varieties opens up new possibilities for your whole wheat baking tips journey.
The Fundamentals of Whole Wheat Flour
What is Whole Wheat Flour? A Comprehensive Overview
Whole wheat flour is a type of flour milled from the entire wheat kernel. Unlike refined white flour, which primarily consists of the endosperm, whole wheat flour includes the bran (the outer layer), the germ (the embryo), and the endosperm (the starchy interior). This inclusion of all three parts is what gives whole wheat flour its distinct color, texture, flavor, and nutritional density. The process typically involves grinding the cleaned wheat kernels into a fine powder, ensuring all components are retained.
The quality and characteristics of whole wheat flour can vary significantly based on the type of wheat used (e.g., hard red winter, hard white spring), the milling process (roller-milled vs. stone-ground), and even the specific growing conditions. For example, a hard red wheat flour will generally have a higher protein content (around 13-15%) and stronger gluten-forming capabilities, making it ideal for rustic bread, while a softer white wheat might yield flour with lower protein (around 10-12%) better suited for pastries or softer loaves. Understanding these nuances is fundamental to applying effective whole wheat flour baking tips.
The Composition of Whole Wheat Flour: Bran, Germ, and Endosperm
Let's break down the three main components of the wheat kernel that make up whole wheat flour. The bran is the hard outer layer, making up about 14.5% of the kernel's weight. It's rich in fiber, B vitamins, and minerals. In baking, the bran particles are sharp and can cut through gluten strands, potentially inhibiting gluten development and affecting dough structure.
The germ is the embryo of the wheat kernel, comprising about 2.5% of the weight. It's packed with nutrients, including healthy fats, vitamin E, B vitamins, and antioxidants. The germ's fat content can reduce the shelf life of whole wheat flour compared to white flour (which has the germ removed) and can also impart a distinct flavor.
The endosperm is the largest part, about 83% of the kernel's weight, and is primarily composed of starch and protein. This is the part used to make white flour. The protein in the endosperm, specifically glutenin and gliadin, forms gluten when hydrated and kneaded, providing structure to baked goods. The presence of bran and germ in whole wheat flour means the endosperm component is a smaller proportion of the total, influencing how gluten develops compared to white flour. These structural differences are crucial when considering whole wheat flour baking tips for achieving desired textures.
Nutritional Benefits of Baking with Whole Wheat Flour
Baking with whole wheat flour significantly boosts the nutritional value of your baked goods. As mentioned, it retains the fiber, vitamins, minerals, and antioxidants found in the whole wheat kernel that are largely stripped away when making refined flour. A cup of whole wheat flour can contain roughly 12-16 grams of dietary fiber, whereas a cup of white flour might only have 3-4 grams. This higher fiber content aids digestion and contributes to a feeling of fullness.
Furthermore, whole wheat flour provides a good source of essential nutrients. It's rich in B vitamins like niacin, thiamine, and riboflavin, which are vital for energy metabolism. Minerals such as magnesium, iron, zinc, and selenium are also present in higher amounts.
Magnesium, for instance, is important for muscle and nerve function, while iron is crucial for oxygen transport. Including whole wheat flour in your diet through baking is an easy and delicious way to increase your intake of these beneficial compounds, making your favorite treats not just delicious but also more nourishing. These nutritional advantages are a primary reason many bakers seek out whole wheat flour baking tips.
Demystifying Different Types of Whole Wheat Flour
Atta Flour: The Indian Whole Wheat Flour
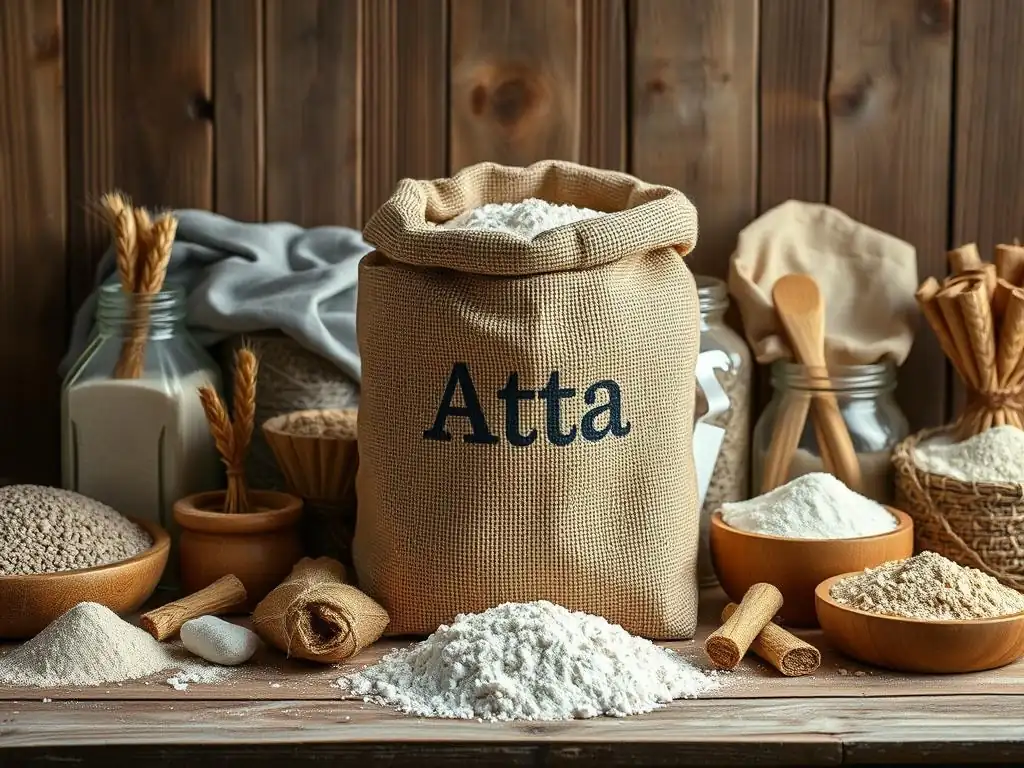
Atta flour is a specific type of whole wheat flour widely used in the Indian subcontinent, primarily for making flatbreads like chapati, roti, and paratha. It is traditionally milled from durum wheat, or sometimes a blend of durum and common wheat varieties. Atta is characterized by its fine texture, which is achieved through a chakki (stone grinding) process, although modern roller mills are also used. This fine grind, combined with moderate protein content (often around 11-13%), gives atta dough a unique elasticity and softness, allowing it to be rolled out very thin without tearing.
The fine texture and specific protein structure of atta make it particularly absorbent. When using atta flour for baking, you'll often find it requires more water than standard North American whole wheat flour to achieve a pliable dough. This high absorption is essential for creating soft, flexible flatbreads that puff up nicely when cooked.
While primarily known for flatbreads, atta can also be used in other whole wheat baking, though its unique properties mean that standard recipes might need adjustments to hydration levels and kneading times. Understanding atta's characteristics is a valuable whole wheat flour baking tip for exploring international bread styles.
Stone-Ground Whole Wheat Flour: A Rustic Baking Experience
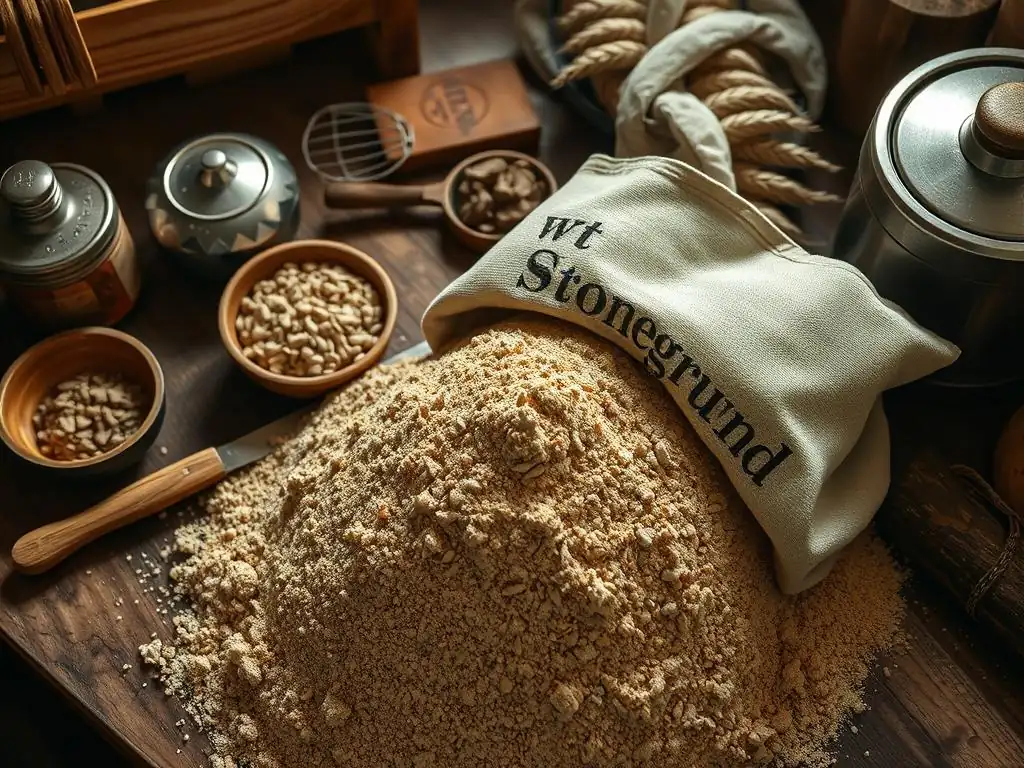
Stone-ground whole wheat flour is produced by grinding wheat kernels between two large millstones. This traditional method tends to mill at a lower temperature than high-speed roller mills, which some believe helps preserve the flour's nutrients and flavor compounds. Stone grinding also typically results in a coarser flour with larger bran and germ particles visible within the flour. This coarser texture contributes to a more rustic crumb in baked goods and imparts a stronger, nuttier flavor compared to finely milled flours.
Baking with stone-ground whole wheat flour often requires adjusting hydration and kneading techniques. The larger bran particles can interfere more significantly with gluten development, potentially leading to denser results if not handled correctly. Bakers often find that stone-ground flours benefit from longer hydration periods (like autolyse) to allow the bran to soften and absorb water, which can improve dough handling and final texture.
The robust flavor of stone-ground flour makes it excellent for artisan bread, hearty muffins, and scones, offering a distinctive taste that highlights the natural qualities of the wheat. Incorporating stone-ground flour is a great way to enhance your whole wheat flour baking tips repertoire.
White Whole Wheat Flour: A Lighter Option for Baking
White whole wheat flour is a type of whole wheat flour milled from hard white wheat, a naturally lighter-colored wheat variety compared to the hard red wheat typically used for regular whole wheat flour. Despite its name and appearance, white whole wheat flour contains the entire wheat kernel—bran, germ, and endosperm—just like traditional whole wheat flour. This means it offers the same nutritional benefits, including high fiber and nutrient content.
The key difference lies in its flavor and color. White whole wheat flour has a milder, slightly sweeter taste and a lighter color than regular whole wheat flour. This makes it an excellent option for bakers who want the nutritional advantages of whole grains but prefer a less intense flavor or a lighter-colored crumb in their baked goods.
It can often be substituted for regular whole wheat flour in recipes, though some adjustments to hydration might be needed as it can absorb slightly differently. It's also a popular choice for transitioning from white flour to whole wheat, as it provides a less drastic change in taste and texture, making it a versatile tool in whole wheat flour baking tips.
Spelt Flour: An Ancient Grain Option
Spelt (Triticum spelta) is an ancient grain that is a distant relative of modern wheat. While often discussed separately, spelt flour is essentially a type of whole grain flour when the entire kernel is milled. It has a unique nutty, slightly sweet flavor profile that differs from common wheat. Spelt contains gluten, but its gluten structure is different from that of modern wheat; it is more fragile and water-soluble.
This difference in gluten structure means spelt dough can be stickier and requires gentler handling. Over-kneading spelt dough can easily break down the gluten network, resulting in a dense or crumbly texture. Spelt flour also tends to absorb liquids differently than common wheat flours.
It often requires less hydration and shorter mixing times. Bakers using spelt flour for the first time might need to experiment with recipes, starting with slightly less liquid than they would use for standard whole wheat flour. Despite these differences, spelt is a wonderful grain for baking, producing flavorful loaves of bread, muffins, and cookies, offering a delicious variation on standard whole wheat flour baking tips.
Whole Wheat Flour Baking Tips for Beginners
Mastering the Art of Whole Wheat Bread Baking
Baking bread with whole wheat flour can be incredibly rewarding, but it often requires a slightly different approach than baking with white flour. One of the most important whole wheat flour baking tips is to understand the impact of bran and germ on gluten development. These components can interfere with the formation of a strong gluten network, which is essential for trapping gases and creating a light, airy crumb. Therefore, whole wheat doughs often benefit from techniques that encourage gluten development without overworking the dough.
This might include using a stand mixer for thorough kneading (but being careful not to overdo it), or employing methods like stretch and folds during bulk fermentation. Allowing the dough sufficient time to autolyse (rest after mixing flour and water but before adding salt and yeast) is also highly effective. A typical autolyse for whole wheat dough might last 20-60 minutes, allowing the bran to hydrate and the gluten to begin forming on its own, leading to a smoother, more extensible dough that's easier to handle and rises better. Patience and observation are key when mastering whole wheat bread.
Key Considerations for Baking with Whole Wheat Flour
When incorporating whole wheat flour into your baking, several factors deserve special attention. Firstly, hydration is critical. Whole wheat flour typically absorbs more liquid than white flour due to the presence of the bran and germ. Recipes might call for a higher percentage of water, sometimes up to 75-85% hydration for bread, compared to 60-70% for white flour. However, the exact absorption varies by flour type and grind, so it's essential to add water gradually and feel the dough.
Secondly, resting and fermentation times might need adjustment. The bran can sometimes slow down yeast activity slightly, while warmer ambient temperatures can help compensate. Allowing for a longer bulk fermentation or proofing period can help ensure the dough develops properly. Finally, the bake itself. Whole wheat bread can sometimes brown faster due to the sugars present in the bran and germ. Monitoring the bake time and using techniques like tenting with foil if the crust is browning too quickly are helpful whole wheat flour baking tips.
Understanding Whole Wheat Flour Absorption Rates
Whole wheat flour consistently requires more liquid than white flour to achieve the same dough consistency. This is primarily because the bran and germ components are highly absorbent. While white flour's absorption rate might hover around 60-65% (meaning 60-65 grams of water per 100 grams of flour), whole wheat flour often requires 70-80% hydration or even higher, depending on the specific flour and grind. A finely milled whole wheat flour might absorb less than a coarsely stone-ground one with larger bran particles.
It's important to note that this absorption isn't instantaneous. The bran, especially, takes time to soften and fully hydrate. This is why techniques like autolyse or overnight fermentation are particularly beneficial when working with whole wheat.
They give the flour ample time to soak up the liquid, resulting in a more manageable dough that's less likely to feel dry or stiff. When trying new whole wheat flour baking tips or recipes, start with the recommended hydration but be prepared to add a little more water if the dough feels too dry, or a touch more flour if it's excessively sticky.
Troubleshooting Common Whole Wheat Baking Issues
Dealing with Dense Whole Wheat Bread
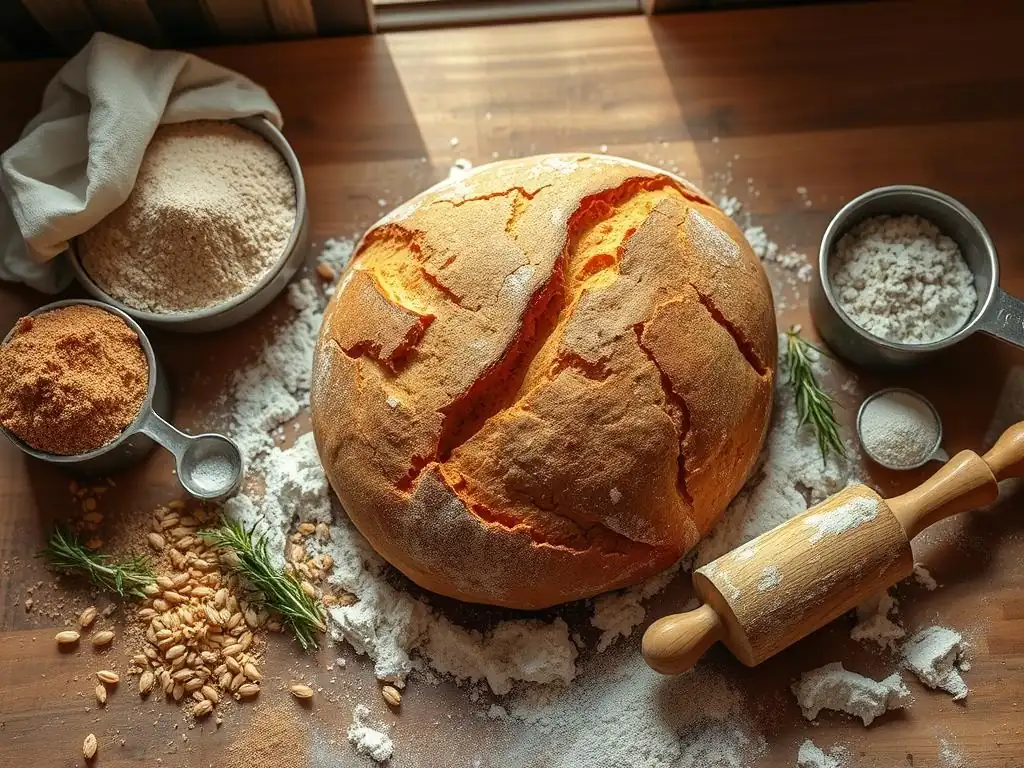
One of the most common frustrations for bakers using whole wheat flour is ending up with a dense loaf instead of a light, airy one. This often stems from issues related to gluten development and gas retention. The bran and germ particles in whole wheat flour can physically interfere with the formation of the gluten network, making it harder for the dough to trap the carbon dioxide gas produced by yeast.
To combat this, ensure adequate kneading or folding to develop gluten, but avoid overworking, which can tear the fragile whole wheat gluten structure. Proper hydration is also key; a dough that is too dry won't develop gluten effectively.
Allowing sufficient fermentation time, including a good bulk ferment and proof, is crucial for the yeast to produce enough gas to lift the dough. Techniques like autolyse, using a tangzhong or preferment (like a poolish or levain), or adding a small amount of vital wheat gluten (typically 1-2% of the flour weight) can also significantly improve crumb structure and reduce density, offering practical whole wheat flour baking tips for achieving better results.
Overcoming Bitterness in Whole Wheat Baked Goods
Sometimes, baked goods made with whole wheat flour can have a slightly bitter or off-flavor. This can be attributed to several factors. One cause is the presence of tannins in the bran, which can contribute a slightly bitter note. Another is the fat content in the germ; if the flour is old or improperly stored, these fats can become rancid, leading to unpleasant flavors.
To minimize bitterness, start with fresh, properly stored whole wheat flour. Look for flour that hasn't been sitting on the shelf for too long. Using techniques that promote hydration and fermentation can also help break down some compounds in the flour that contribute to bitterness.
Some bakers find that adding a touch of sweetener (sugar, honey, or molasses) or a small amount of dairy (milk or yogurt) can help balance or mask any bitter notes. Selecting white whole wheat flour can also be a good option, as it tends to have a milder flavor profile than red whole wheat. These whole wheat flour baking tips can help you achieve delicious, flavor-balanced results.
Managing Gluten Development in Whole Wheat Dough
Managing gluten development is perhaps the most critical aspect of successful whole wheat baking, especially for bread. The bran and germ act like tiny razor blades in the dough, cutting through the developing gluten strands. This makes it harder to build a strong, elastic network capable of supporting a good rise. Unlike white flour dough, which can often withstand vigorous and prolonged kneading, whole wheat dough requires a more nuanced approach.
Techniques that encourage gluten development without excessive mechanical stress are highly effective. The autolyse method, mentioned earlier, is invaluable as it allows enzymes in the flour to start the gluten formation process with just water, reducing the need for heavy kneading. Stretch and folds performed during the bulk fermentation stage are also gentler than continuous kneading but effectively strengthen the dough.
Paying close attention to the dough's feel – it should become smoother and more elastic over time but will likely remain less extensible than a white flour dough – is key. Learning to read the dough is one of the most advanced whole wheat flour baking tips you can develop.
Recipes for Success: Using Whole Wheat Flour
Simple Whole Wheat Bread Recipe for Beginners
Here is a basic recipe to get you started with whole wheat bread, incorporating some key whole wheat flour baking tips.
Ingredients:
- 350g warm water (approx. 100-105°F or 38-40°C)
- 7g active dry yeast or instant yeast
- 500g whole wheat flour (standard or white whole wheat)
- 10g salt
- Optional: 10g honey or molasses for flavor and color
Instructions (Task List):
- [ ] In a large bowl, combine water and yeast. If using active dry, let sit 5-10 minutes until foamy. If using instant, proceed immediately.
- [ ] Add the whole wheat flour, salt, and optional sweetener. Mix with a spoon or spatula until a shaggy dough forms and no dry flour remains.
- [ ] Cover the bowl and let rest for 20-30 minutes (Autolyse).
- [ ] After resting, turn the dough out onto a lightly floured surface (or keep in bowl) and knead for 8-10 minutes until it becomes smoother and more elastic. It will still feel less smooth than white dough. Alternatively, perform 3-4 sets of stretch and folds over 1-2 hours during bulk fermentation.
- [ ] Place the dough in a lightly oiled bowl, cover, and let rise in a warm place for 1-1.5 hours, or until doubled in size.
- [ ] Gently punch down the dough, shape it into a loaf, and place it in a greased loaf pan (approx. 9x5 inches).
- [ ] Cover the pan and let the loaf proof for another 45-60 minutes, or until it has nearly doubled in size and looks puffy.
- [ ] Preheat your oven to 375°F (190°C) during the last 15-20 minutes of proofing.
- [ ] Bake for 30-40 minutes, or until the crust is golden brown and the internal temperature reaches 190-200°F (88-93°C).
- [ ] Remove from pan and let cool completely on a wire rack before slicing.
Hearty Whole Wheat Pancakes
Using whole wheat flour in pancakes adds fiber and a wonderful nutty flavor. This recipe is quick and easy, showcasing simple whole wheat flour baking tips for breakfast.
Ingredients:
- 1 cup whole wheat flour
- 1 tablespoon sugar (or other sweetener)
- 2 teaspoons baking powder
- ½ teaspoon salt
- 1 large egg
- 1 cup milk (dairy or non-dairy)
- 2 tablespoons melted butter or oil
Instructions (Task List):
- [ ] In a large bowl, whisk together the whole wheat flour, sugar, baking powder, and salt.
- [ ] In a separate bowl, whisk together the egg, milk, and melted butter/oil.
- [ ] Pour the wet ingredients into the dry ingredients.
- [ ] Mix just until combined. A few lumps are okay; do not overmix, as this can develop gluten too much and make pancakes tough.
- [ ] Let the batter rest for 5-10 minutes. This allows the whole wheat flour to hydrate slightly and the baking powder to start working.
- [ ] Heat a lightly greased griddle or non-stick pan over medium heat.
- [ ] Pour ¼ cup portions of batter onto the hot griddle.
- [ ] Cook for 2-3 minutes per side, or until bubbles appear on the surface and the edges look set, then flip and cook until golden brown.
- [ ] Serve immediately with your favorite toppings!
Storing Whole Wheat Flour for Optimal Freshness
Best Practices for Storing Whole Wheat Flour
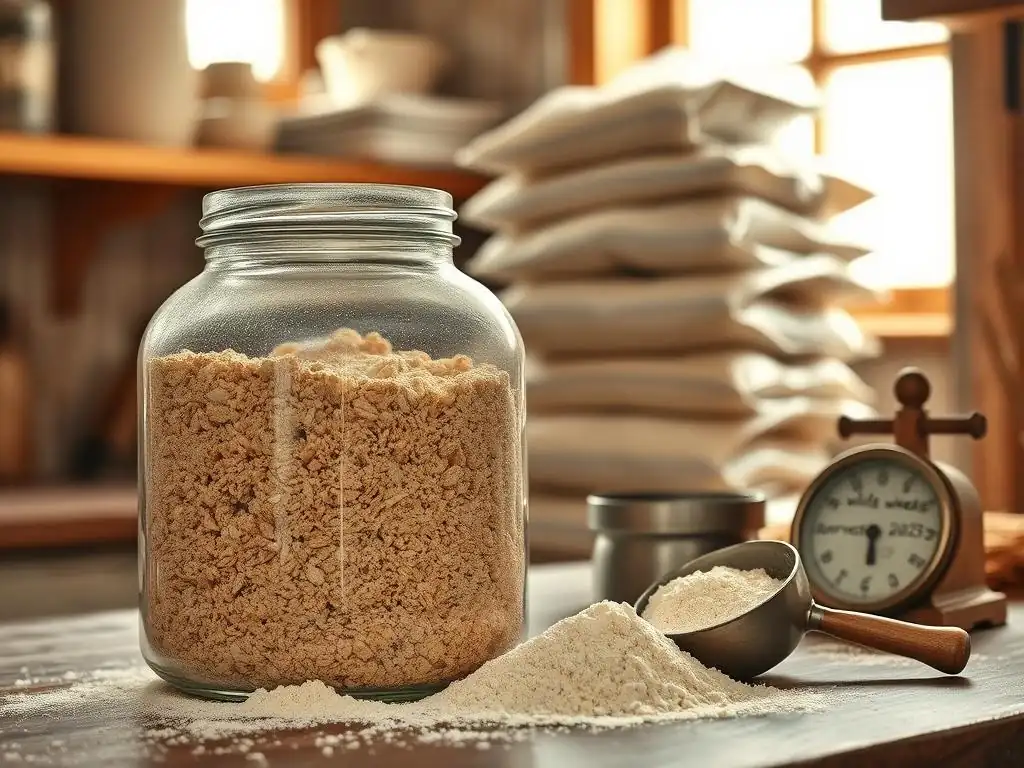
Proper storage is crucial for maintaining the quality and extending the shelf life of whole wheat flour. Because it contains the germ, which is rich in oils, whole wheat flour is more susceptible to rancidity compared to white flour. Exposure to air, moisture, heat, and light are the main culprits that degrade flour quality. The best approach is to store whole wheat flour in an airtight container.
Suitable containers include glass jars with tight-fitting lids, sturdy plastic containers designed for food storage, or even heavy-duty freezer bags with the air squeezed out. The goal is to minimize exposure to oxygen and prevent absorption of moisture or odors from the environment. Storing the flour in its original paper bag is generally not recommended for long-term storage as these bags are not airtight. Following these simple whole wheat flour baking tips for storage will ensure your ingredients are fresh when you're ready to bake.
Extending the Shelf Life of Whole Wheat Flour
To significantly extend the shelf life of whole wheat flour, refrigeration or freezing is highly recommended, especially if you don't use it frequently or live in a warm, humid climate. Storing whole wheat flour in the refrigerator at around 40°F (4°C) can keep it fresh for up to 6 months. Ensure it's in an airtight container to prevent it from absorbing refrigerator odors.
For even longer storage, the freezer is your best friend. Whole wheat flour can last in the freezer for up to a year or even longer when stored in an airtight container or freezer bag. Freezing halts the oxidation process that leads to rancidity.
When you need to use frozen flour, simply measure out the amount you need and let it come to room temperature before using it in your recipe. This prevents condensation from forming, which could add unwanted moisture to your dough or batter. Implementing these whole wheat flour baking tips for storage will save you money and ensure consistent results.
Advanced Techniques for Whole Wheat Flour Baking
Sourdough Baking with Whole Wheat Flour
Incorporating whole wheat flour into sourdough baking adds incredible depth of flavor and nutritional value. Whole wheat flour feeds a sourdough starter vigorously due to its rich nutrient profile, often leading to a very active starter. However, the presence of bran and germ affects the dough structure, making it different from a white flour sourdough. A common approach is to use a blend of whole wheat and white bread flour, for example, a 50/50 or 70/30 whole wheat to white ratio, to balance flavor, nutrition, and structure.
When using a high percentage of whole wheat in sourdough, you'll likely need higher hydration (75-85% is common). The fermentation times might be slightly different due to the flour type and starter activity. Pay attention to the dough's signs rather than strictly following times.
The long fermentation inherent in sourdough is particularly beneficial for whole wheat, as the acidity and enzymes help break down the bran, improving texture and potentially making nutrients more available. Mastering whole wheat sourdough requires practice but yields loaves with unparalleled complexity and goodness. These advanced whole wheat flour baking tips combine traditional methods with modern whole-grain understanding.
Utilizing the Autolyse Method for Improved Texture
The autolyse method is a simple yet powerful technique, especially beneficial when baking with whole wheat flour. It involves mixing just the flour and water from a recipe and letting the mixture rest for a period (typically 20 minutes to an hour, or even longer). Salt and yeast (or starter) are added after the autolyse period. This resting phase allows the flour to fully hydrate without the presence of salt (which tightens gluten) or yeast (whose activity can interfere with initial gluten development).
For whole wheat flour, autolyse is particularly effective because it gives the bran time to soften by absorbing water. This softening reduces the bran's tendency to cut gluten strands during kneading. It also allows the flour's enzymes (protease and amylase) to start breaking down proteins and starches, making the dough more extensible and easier to work with.
The result is a dough that requires less kneading to develop strength, leading to a potentially lighter crumb and improved volume in the final baked good. Implementing autolyse is one of the most impactful whole wheat flour baking tips for enhancing dough handling and bread texture.
Conclusion: Embrace the Versatility of Whole Wheat Flour
Unleashing the Potential of Whole Wheat Flour in Your Baking
Whole wheat flour is far more versatile than many initially believe. While often associated with dense, rustic loaves, with the right whole wheat flour baking tips and techniques, it can produce a wide range of delicious and nutritious baked goods, from light and airy breads (perhaps using white whole wheat or a blend) to tender muffins, cookies, and even delicate pastries when used appropriately. Its rich, nutty flavor complements many ingredients, like nuts, seeds, fruits, and spices, opening up a world of creative baking possibilities.
Embracing whole wheat flour means understanding its unique properties – its higher absorption, the impact of bran and germ on gluten, and its nutritional density. By adjusting hydration, employing techniques like autolyse and gentle kneading, and paying attention to fermentation, you can overcome common challenges and consistently produce baked goods that are not only healthier but also bursting with complex flavor. Don't be afraid to experiment with different types of whole wheat flour, ratios, and recipes. The journey of mastering whole wheat flour baking tips is rewarding, leading to more flavorful, wholesome, and satisfying results in your kitchen.
Frequently Asked Questions
What are the key differences between whole wheat flour and all-purpose flour in baking?
Whole wheat flour contains the bran and germ, giving it a nuttier flavor and higher fiber content. All-purpose flour is refined, lacking these components, resulting in a lighter texture in baked goods. This difference impacts the final product's taste and structure.
How can I prevent whole wheat baked goods from becoming too dense?
To avoid dense results, try combining whole wheat flour with all-purpose flour. Also, add extra moisture like honey or molasses and consider using a longer kneading or mixing time to develop gluten.
What types of recipes are best suited for using whole wheat flour?
Whole wheat flour shines in recipes where its nutty flavor complements the dish, such as breads, muffins, and cookies. It can also be used in pancakes and waffles for a healthier twist.
How should I store whole wheat flour to maintain its freshness?
Due to its bran and germ content, whole wheat flour is prone to rancidity. Store it in an airtight container in a cool, dark place like the refrigerator or freezer to extend its shelf life.
What adjustments should I make when substituting whole wheat flour for all-purpose flour in a recipe?
Start by substituting only a portion of the all-purpose flour with whole wheat. You may need to increase the liquid in the recipe slightly and allow the dough to rest for a bit longer to fully absorb the moisture.
Final Reflection: The Enduring Power of Whole Wheat Flour
The resurgence of whole wheat flour in modern baking isn't just a trend; it's a return to nutritional wisdom and flavor complexity. From artisan sourdoughs to everyday loaves, the demand for whole grain goodness is undeniable, reflecting a growing awareness of the benefits of incorporating nutrient-rich foods into our diets. This shift signifies a conscious move away from overly processed ingredients and a renewed appreciation for the simple, wholesome power of nature's bounty.
The journey through different types of whole wheat flour, from the robust character of atta to the nuanced texture of stone-ground varieties, has highlighted the incredible diversity within this seemingly simple ingredient. This exploration underscores the importance of understanding the subtle differences in flour types and how they impact the final product. The best bread is made with love, and a deep understanding of your ingredients.
This quote, while not directly attributed, encapsulates the spirit of mindful baking that whole wheat flour encourages. It's a reminder that baking isn't just about following a recipe; it's about connecting with the process and appreciating the unique qualities of each ingredient.
Now, consider your own baking journey. Will you embrace the challenge of incorporating whole wheat flour into your next loaf? Experiment with different varieties, explore new recipes, and discover the unique flavors and textures that await. Don't be afraid to adjust recipes to suit your preferences and the specific flour you're using. The rewards – a healthier, more flavorful, and deeply satisfying bread – are well worth the effort. Let the journey of whole wheat baking inspire you to explore the world of mindful cooking and the simple pleasures of nourishing yourself with wholesome, delicious food.
Unlock the Power of Whole Wheat: Bake Your Best Loaf Yet!
Thanks for exploring the wonderful world of whole wheat flour with us! You've now gained valuable insights into the nuances of different types, from atta to stone-ground. Ready to put your new knowledge to the test?
- Bake a whole wheat masterpiece! Try one of the recipes suggested within the article – or experiment with your own creation using your newfound knowledge of flour types.
- Share your baking journey! Post a picture of your whole wheat creation on social media and tag #BakeWithEaseWholeWheat – let's inspire each other!
- Discover more baking secrets: Explore other articles on our site dedicated to flour types and baking techniques.
What exciting whole wheat recipe will you create first? Let us know in the comments!