
Mint Chocolate NutFree Fudge Squares: St. Patrick’s Day Edition

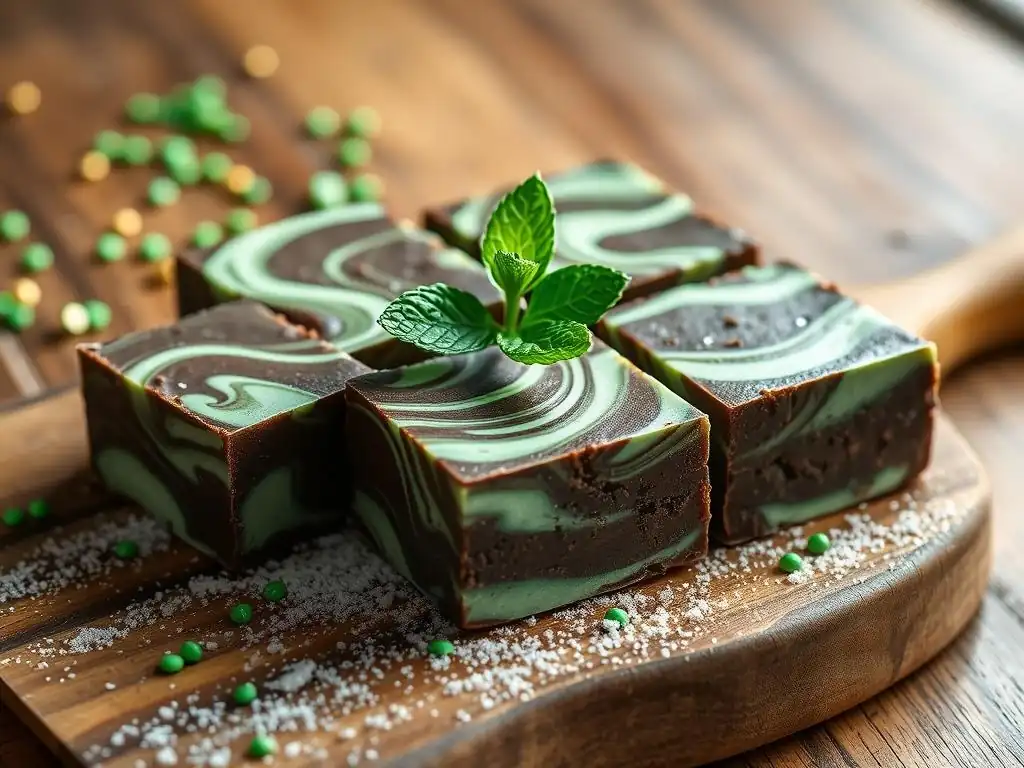
Welcome to BakeWithEase, where baking becomes a joy, not a chore! Ever dreamt of creating the perfect St. Patrick's Day treat that's both decadent and inclusive? We're diving deep into the world of dietary-specific baking with a recipe that's sure to become a new favorite. Curious about how to whip up delicious, nut-free fudge squares bursting with mint chocolate goodness? Let's unlock the secrets together...
- Mint Chocolate Chip Fudge Squares: St. Patrick’s Day Edition - BakeWithEase
- Celebrate St. Patrick's Day with Delicious Fudge Squares
- Why This Mint Chocolate Chip Fudge is Perfect for St. Patrick's Day
- Ingredients for Your St. Patrick's Day Fudge Squares
- Step-by-Step Guide: Baking Mint Chocolate Chip Fudge Squares
- Tips for the Best St. Patrick’s Day Fudge Squares
- Baking Tips for Success
- More Delicious Recipes from BakeWithEase
- Enjoy Your St. Patrick's Day Mint Chocolate Chip Fudge Squares!
-
Frequently Asked Questions
- What makes these fudge squares a good choice for St. Patrick’s Day?
- Are these fudge squares difficult to make, even for a beginner baker?
- The title mentions "Nut-Free." What can I use instead of nuts for texture and flavor?
- How can I ensure my fudge squares have that perfect, smooth fudge texture?
- Can these St. Patrick's Day fudge squares be made ahead of time?
- Final Reflection: A Sweet Taste of Tradition and Innovation
- Unleash Your Inner Leprechaun: Bake Some Magic!
Mint Chocolate Chip Fudge Squares: St. Patrick’s Day Edition - BakeWithEase
Celebrate St. Patrick's Day with Delicious Fudge Squares
Get ready to add a splash of festive green to your St. Patrick's Day celebrations with these delightful Mint Chocolate Chip Fudge Squares! This recipe is designed for ease and maximum flavor, combining the rich indulgence of chocolate fudge with the cool, refreshing taste of mint and the delightful crunch of Andes mint chips. Perfect for sharing with friends and family, these St. Patrick’s Day fudge squares are sure to be a hit, bringing a touch of Irish cheer to any gathering.
Whether you're hosting a party, looking for a fun activity with the kids, or simply want to treat yourself, this recipe for St. Patrick’s Day fudge squares is incredibly straightforward. It requires no baking, just a bit of melting, mixing, and chilling. The vibrant green hue and classic mint-chocolate combination make them visually appealing and perfectly themed for the holiday. Let's dive into how you can create these simple yet spectacular treats.
Why This Mint Chocolate Chip Fudge is Perfect for St. Patrick's Day
A Festive Treat for Everyone
These St. Patrick’s Day fudge squares are an absolute crowd-pleaser, making them ideal for any holiday event. The bright green color, often achieved using crème de menthe or food coloring (if omitting liqueur), immediately evokes the spirit of St. Patrick's Day. The combination of rich chocolate and cool mint is a classic pairing that most people adore, ensuring these squares disappear quickly from the dessert table.
Moreover, this specific recipe, designed with the BakeWithEase philosophy in mind, is naturally nut-free, addressing a common dietary need. According to recent surveys, approximately 0.6% of the U.S. population has a peanut allergy, and 0.5% have a tree nut allergy, totaling millions of individuals. By providing a delicious, nut-free option like these St. Patrick’s Day fudge squares, you can ensure that more guests can safely enjoy a holiday treat without worry, fostering a more inclusive celebration.
Easy Baking for St. Patrick's Day Celebrations
Preparing for St. Patrick's Day can be busy, but this fudge recipe simplifies your dessert planning. Unlike many traditional baked goods that require precise oven temperatures and timings, this fudge relies on melting and chilling. This means less stress and more time to enjoy the festivities. The process typically takes less than 20-30 minutes of active preparation time before the chilling phase begins.
The simplicity makes these St. Patrick’s Day fudge squares an excellent project for novice bakers or even a fun activity to do with children. Measuring ingredients, stirring the mixture, and pressing it into a pan are all straightforward steps. Chilling is the longest part, usually requiring about 2-3 hours minimum, but this passive time allows you to focus on other tasks while the fudge sets up perfectly. It's a low-stress, high-reward recipe perfect for busy holidays.
Ingredients for Your St. Patrick's Day Fudge Squares
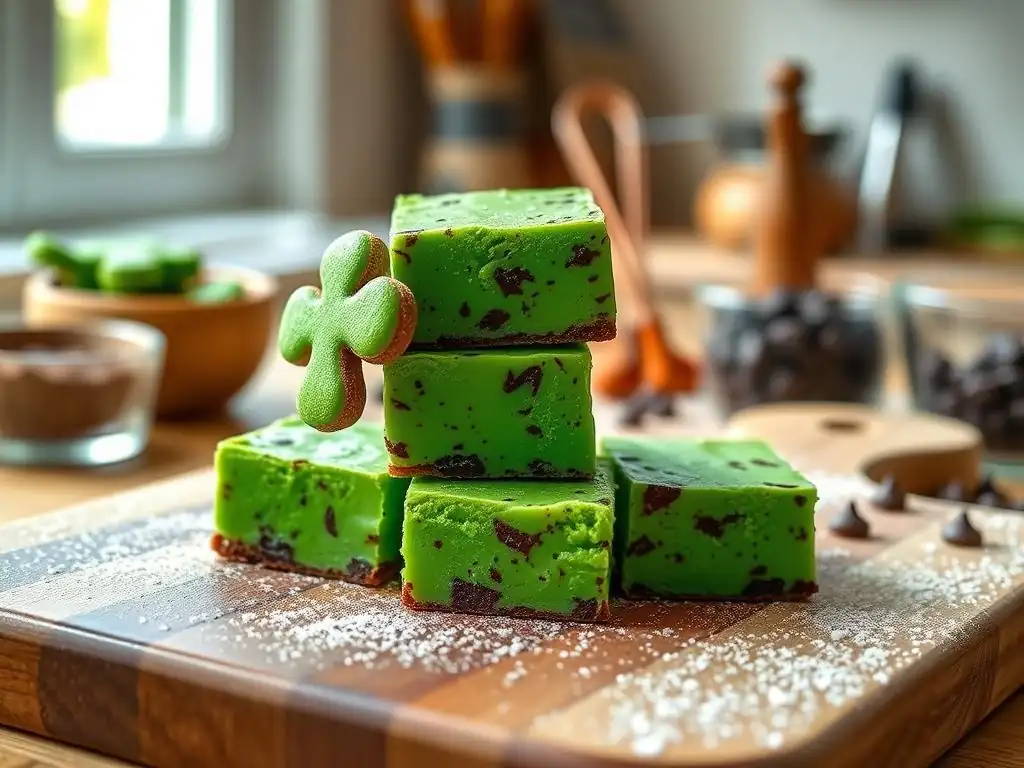
Key Ingredients for Mint Chocolate Chip Fudge
Crafting delicious fudge starts with quality ingredients. The base of this recipe relies on the interaction between sweetened condensed milk, chocolate chips, and butter, which melt together to form a smooth, rich consistency. The sweetened condensed milk provides the necessary structure and sweetness without requiring boiling to specific temperatures like traditional fudge.
The distinct mint flavor comes from both peppermint extract and green crème de menthe liqueur. Peppermint extract offers a concentrated, pure mint taste, while the crème de menthe adds another layer of flavor complexity and contributes the vibrant green color, making these truly festive St. Patrick’s Day fudge squares. Andes mint baking chips are stirred in at the end to provide pockets of intense minty chocolate flavor and a slight textural variation.
Ingredients:
- 1 can (14 ounces) sweetened condensed milk
- 3 cups semi-sweet chocolate chips
- 1/2 cup unsalted butter, softened
- 1 teaspoon vanilla extract
- 1/2 teaspoon peppermint extract
- 1/4 cup green crème de menthe liqueur
- 1/2 cup Andes mint baking chips
Substitutions and Variations
While the listed ingredients provide the optimal flavor and texture for these St. Patrick’s Day fudge squares, there are some potential substitutions depending on availability or dietary needs. If you prefer to avoid alcohol, the crème de menthe liqueur can be omitted. To retain the green color, you can add a few drops of green food coloring along with the peppermint extract. Start with 2-3 drops and add more until the desired shade is reached.
For the chocolate, while semi-sweet chips are recommended, you could use milk chocolate for a sweeter fudge or dark chocolate for a richer, less sweet result. Note that changing the type of chocolate might slightly alter the final texture, as different chocolates have varying amounts of cocoa butter. If you cannot find Andes mint baking chips, you can finely chop Andes mint candies instead. Ensure all substitutions are also nut-free if that is a requirement for your St. Patrick’s Day fudge squares.
Step-by-Step Guide: Baking Mint Chocolate Chip Fudge Squares
Preparing the Fudge Base
Begin by lining an 8x8 inch (or similar size, like 9x9 inch) baking pan with parchment paper, allowing some overhang on the sides. This overhang will make it much easier to lift the set fudge out of the pan later for cutting. In a medium-sized saucepan, combine the sweetened condensed milk, semi-sweet chocolate chips, and softened butter. Place the saucepan over low heat.
Stir the mixture continuously as the ingredients melt. The key here is low and slow heat to prevent the chocolate from seizing or burning. It will take approximately 5-10 minutes for everything to become smooth and fully combined. Continue stirring until the mixture is completely homogenous and glossy, with no visible lumps of chocolate or butter. Remove the pan from the heat once smooth.
Creating the Mint Chocolate Chip Swirl
Once the base is smooth and off the heat, it's time to add the flavorings and the special St. Patrick's Day touch. Stir in the vanilla extract and the peppermint extract. Mix thoroughly to ensure the extracts are evenly distributed throughout the warm chocolate mixture. The aroma of mint will immediately begin to fill your kitchen!
Next, carefully pour in the green crème de menthe liqueur (or add green food coloring if substituting). Gently stir it into the fudge mixture. If using liqueur, the color should start to develop as you stir. Avoid over-mixing at this stage, as you want the color to be uniform but the texture to remain smooth. Finally, fold in the Andes mint baking chips, distributing them as evenly as possible.
Baking to Perfection: Achieving the Ideal Fudge Texture
This recipe doesn't involve traditional baking in an oven; "baking to perfection" here refers to the crucial chilling process that sets the fudge. Once the ingredients are combined and the Andes chips are folded in, immediately pour the mixture into the prepared 8x8 inch pan lined with parchment paper. Use a spatula to spread the fudge evenly into the corners and smooth the top surface.
For the perfect texture – firm enough to cut cleanly but still soft and yielding – the fudge needs to chill. Place the pan in the refrigerator for at least 2 to 3 hours, or until the fudge is completely firm. Some people find that chilling it overnight yields the best results. Once firm, use the parchment paper overhang to lift the entire slab of fudge out of the pan onto a cutting board.
Tips for the Best St. Patrick’s Day Fudge Squares
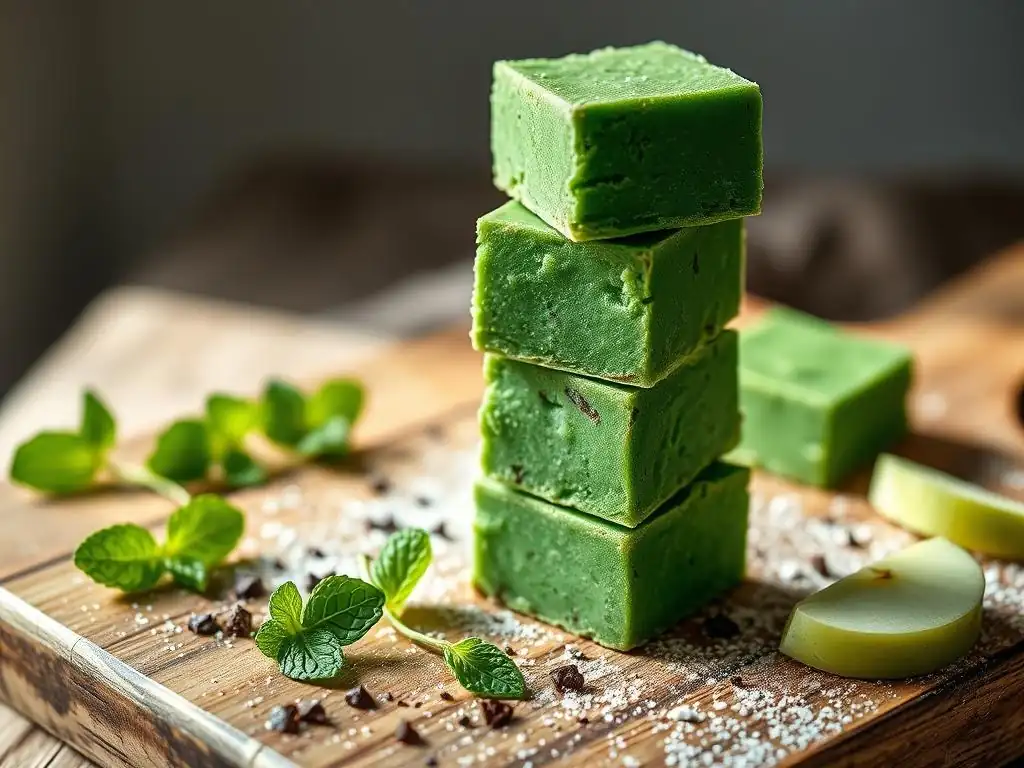
Achieving the Perfect Fudge Consistency
The ideal fudge consistency is smooth, creamy, and firm enough to hold its shape when cut. The secret to achieving this with this no-bake method lies primarily in the quality of ingredients and the chilling time. Using good quality chocolate chips and sweetened condensed milk helps ensure a smooth melt and proper set. Avoid using chocolate melts or coating wafers, as they contain different fats that can result in a waxy texture.
Ensure the fudge is fully chilled before attempting to cut it. Cutting too early will result in a messy, sticky experience. A chilling time of at least 2-3 hours is necessary, but 4 hours or even overnight in the refrigerator provides the best firmness for clean cuts. If the fudge feels too soft after this time, it may need more chilling or perhaps slightly less liquid was needed during the initial melting phase (though this is rare with this specific recipe ratio).
Storing Your Fudge Squares
Proper storage is key to keeping your St. Patrick’s Day fudge squares fresh and delicious. Once cut, store the fudge in an airtight container at room temperature for up to 1-2 weeks. Layering the squares with parchment paper between layers can prevent them from sticking together.
If you prefer a firmer texture or live in a warm climate, you can store the fudge in the refrigerator. Refrigerated fudge can last slightly longer, potentially up to 2-3 weeks, but it may become very firm. Allow it to sit at room temperature for 10-15 minutes before serving for a softer bite. For longer storage, fudge can be frozen for up to 2-3 months. Wrap squares tightly in plastic wrap and then place them in a freezer-safe container. Thaw in the refrigerator or at room temperature before enjoying.
Creative Serving Suggestions for St. Patrick's Day
Elevate your St. Patrick’s Day fudge squares beyond just placing them on a plate. Once cut into squares, you can arrange them creatively. Consider using a shamrock-shaped cookie cutter to cut out festive shapes from the fudge slab before cutting into squares (you'll have scraps, but it's fun! ).
Present the fudge on a green platter or alongside other green-themed treats like pistachio cookies or lime Jell-O. You could also drizzle a little extra melted white or dark chocolate over the tops and sprinkle with green sprinkles or edible glitter before the drizzle sets. For a touch of elegance, place each fudge square in a mini paper or foil candy cup. Serving these festive St. Patrick’s Day fudge squares is almost as fun as making them!
Baking Tips for Success
Ensuring Even Baking
While this is a no-bake recipe, "even baking" translates to ensuring the fudge mixture melts smoothly and sets evenly. Using a heavy-bottomed saucepan helps distribute heat more uniformly, preventing hot spots that could scorch the chocolate. Stirring constantly is also crucial during the melting phase to promote even heating and prevent sticking to the bottom of the pan.
Once the fudge mixture is poured into the prepared pan, take a moment to spread it evenly. Use an offset spatula or the back of a spoon to push the mixture into the corners and create a level surface. This ensures that all the St. Patrick’s Day fudge squares you cut later will have a consistent thickness, leading to uniform texture and appearance.
Using High-Quality Chocolate
The quality of your chocolate chips significantly impacts the final taste and texture of your fudge. Using high-quality semi-sweet chocolate chips will result in a smoother, richer, and more satisfying fudge. Chocolate chips designed for baking typically contain stabilizers that help them hold their shape, but they melt down beautifully when combined with other ingredients over low heat.
Avoid using chocolate that contains vegetable oils as the primary fat, as this can lead to a greasy or waxy texture that doesn't have the desirable snap and creaminess of good fudge. While store-brand chips are often perfectly fine, opting for a reputable brand known for its quality chocolate can make a noticeable difference in your St. Patrick’s Day fudge squares.
More Delicious Recipes from BakeWithEase
- Chocolate Fudge Recipe
- Peppermint Bark Recipe
Enjoy Your St. Patrick's Day Mint Chocolate Chip Fudge Squares!
Frequently Asked Questions
What makes these fudge squares a good choice for St. Patrick’s Day?
These Mint Chocolate Fudge Squares are perfect for St. Patrick's Day because of their vibrant green color from the mint and the chocolatey sweetness that everyone loves. They are a festive and delicious treat to celebrate the holiday.
Are these fudge squares difficult to make, even for a beginner baker?
No, these fudge squares are designed to be easy to make, even for beginners. BakeWithEase.com focuses on simple recipes with step-by-step guides and readily available ingredients.
The title mentions "Nut-Free." What can I use instead of nuts for texture and flavor?
Since this recipe is nut-free, you can use ingredients like sunflower seeds, toasted coconut flakes, or dried cranberries to add texture and flavor. These provide a similar satisfying crunch and chewiness.
How can I ensure my fudge squares have that perfect, smooth fudge texture?
To achieve a smooth texture, be sure to melt the chocolate slowly and evenly, stirring frequently. Also, avoid overcooking the fudge mixture, as this can lead to a grainy or dry result.
Can these St. Patrick's Day fudge squares be made ahead of time?
Yes, these fudge squares can definitely be made ahead of time! They actually taste better after they have had a chance to chill and set in the refrigerator. Store them in an airtight container for up to a week.
Final Reflection: A Sweet Taste of Tradition and Innovation
The vibrant green hue of these Mint Chocolate Nut-Free Fudge Squares isn't just a nod to St. Patrick's Day; it's a symbol of how culinary traditions can be reimagined and shared. These squares offer a delicious twist on a classic, proving that festive treats can be both inclusive and incredibly satisfying. The recipe's success lies not only in its delightful taste but also in its adaptability to dietary needs, making it a treat everyone can enjoy.
Creating this recipe was more than just a baking project; it was a journey into the heart of holiday celebrations and the importance of inclusivity. The simple act of adapting a traditional recipe to be nut-free highlights how small changes can make a big difference. It's about acknowledging the diverse needs within our communities and ensuring that everyone feels included in the joy of shared celebrations. Food is symbolic of love when words are inadequate.
- Alan D. Wolfelt. This quote perfectly encapsulates the spirit of this recipe – a way to express care and connection through a simple, delicious treat.
This St. Patrick's Day, and every day, I encourage you to embrace the spirit of adaptation and inclusivity. Don't be afraid to experiment with your favorite recipes, making them your own and sharing them with those you love. Try your hand at these Mint Chocolate Nut-Free Fudge Squares, and let the sweet taste of tradition and innovation inspire you to create your own delicious and meaningful moments. Let the vibrant green remind you of the joy of sharing and the power of simple acts of kindness.
Unleash Your Inner Leprechaun: Bake Some Magic!
Thanks for joining us on this delicious St. Patrick's Day baking adventure! We hope you've gained some inspiration and confidence to create your own batch of these delightful mint chocolate fudge squares. Ready to take the next step?
- Whip up a batch: Grab your ingredients and follow the recipe to create these amazing, nut-free fudge squares – they're easier than you think!
- Share your creation: Post a picture of your fudge squares on social media and tag us – we'd love to see your baking masterpiece! Use #BakeWithEaseStPatricksDay
- Challenge a friend: Dare a friend to bake along with you – double the fun, double the fudge!
What unique twist will you add to your own Mint Chocolate Fudge Squares this St. Patrick's Day?