
Cracking the Code: Safe Storage Temperatures for Home Baker Ingredients

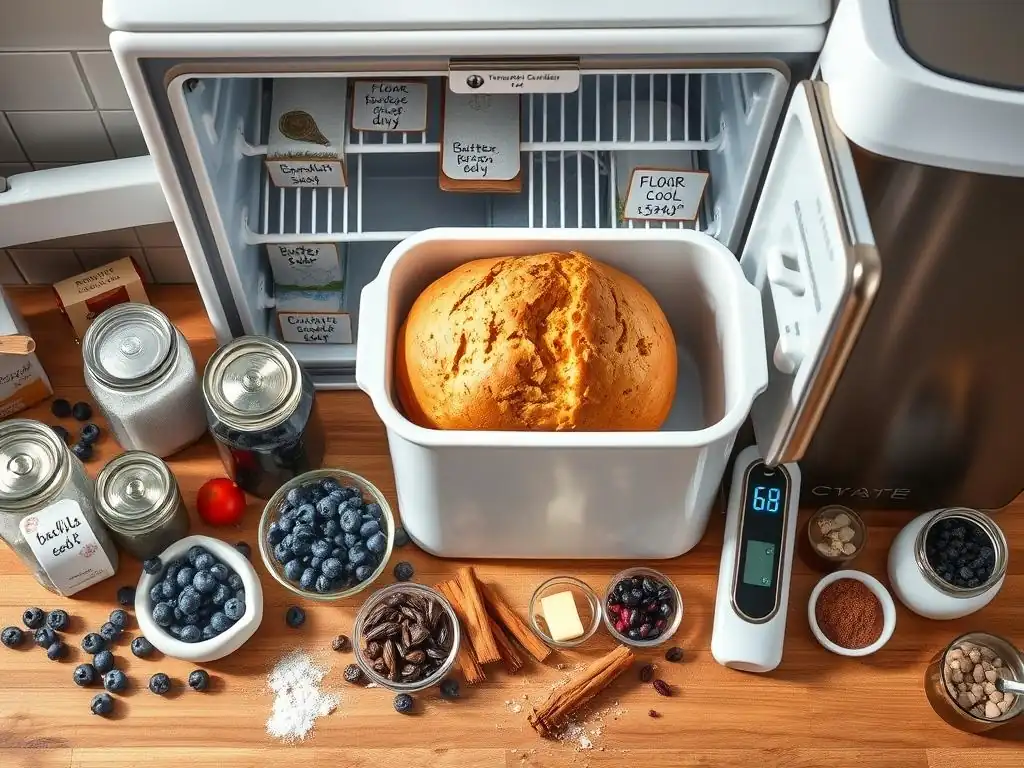
Welcome to BakeWithEase, where we demystify the delicious world of baking! Ever wondered if your ingredients are truly safe and fresh? This article, "Cracking the Code: Safe Storage Temperatures for Home Baker Ingredients," dives deep into the critical, yet often overlooked, aspect of proper ingredient storage temperatures. Discover how mastering this simple technique can elevate your baking, ensure food safety, and even save you money. Keep reading to unlock the secrets to a perfectly stocked and safe baking pantry... the answers might surprise you!
- Bake It Safe: Ensuring Food Safety for Your Home Baking Business
- Understanding the Importance of Proper Ingredient Storage Temperatures
-
Key Ingredients and Their Ideal Storage Temperatures
- Flour Storage Guidelines: Maintaining Freshness and Preventing Infestation
- Sugar Storage: Preventing Clumping and Maintaining Texture
- Fat Storage: Butter, Shortening, and Oils
- Egg Storage: Maintaining Freshness and Preventing Bacterial Growth
- Dairy Storage: Milk, Cream, and Cheese
- Leavening Agent Storage: Yeast, Baking Soda, and Baking Powder
- Chocolate Storage: Preserving Flavor and Preventing Bloom
- Nuts and Seeds Storage: Preventing Rancidity
- Temperature Monitoring and Control for Food Safety
- Troubleshooting Common Storage Problems
- Best Practices for Labeling and Dating Ingredients
- Resources for Further Information on Food Safety
-
Frequently Asked Questions
- How crucial is maintaining proper storage temperatures for baking ingredients?
- What are the ideal storage temperatures for common baking ingredients like flour and sugar?
- How should I store ingredients like yeast and baking powder to maintain their potency?
- What is the best way to store butter and eggs to ensure freshness?
- What happens if I don't follow recommended storage temperatures for baking ingredients?
- Final Reflection: The Sweet Science of Safe Storage
- Unlock Your Baking Potential: Master Ingredient Storage!
Bake It Safe: Ensuring Food Safety for Your Home Baking Business
Running a home baking business or simply baking for friends and family means delicious treats, but it also comes with the important responsibility of ensuring everything you make is safe to eat. Food safety isn't just about hygiene during preparation; it starts with how you handle and store your ingredients long before they ever hit the mixing bowl. Understanding and implementing proper ingredient storage temperatures is absolutely fundamental to preventing spoilage, inhibiting bacterial growth, and maintaining the quality and integrity of your baking supplies.
Ignoring recommended storage guidelines can lead to costly waste from spoiled ingredients and, more importantly, pose health risks. Imagine spending hours crafting a beautiful cake, only for it to be compromised because the butter wasn't stored correctly, or the flour had gone rancid. For home bakers, especially those selling their goods, this level of care is paramount to building trust and ensuring every bite is not only tasty but also safe. Mastering proper storage techniques is truly a core skill in the art of baking.
Understanding the Importance of Proper Ingredient Storage Temperatures
Why Temperature Matters: Preventing Spoilage and Maintaining Quality
Temperature is a critical factor in the longevity and safety of most food ingredients. Microorganisms, like bacteria, yeasts, and molds, that cause spoilage thrive in specific temperature ranges. The "danger zone" for bacterial growth is generally considered to be between 40°F (4°C) and 140°F (60°C).
Keeping perishable ingredients like dairy, eggs, and fats below this range significantly slows down bacterial activity, extending their usable life and preventing them from becoming hazardous. Non-perishable ingredients like flour, sugar, and grains are less susceptible to bacterial spoilage at room temperature but are still vulnerable to pests, mold, and quality degradation if stored in warm, humid conditions. For example, flour stored above 70°F (21°C), especially with high humidity, can quickly develop off-flavors and become a breeding ground for pantry pests.
Beyond preventing outright spoilage, proper ingredient storage temperatures also preserve the quality, texture, and flavor of your ingredients. Fats can go rancid when exposed to warmth and light, resulting in unpleasant tastes in your baked goods. Chocolate can develop 'bloom' (those white streaks or spots) if it experiences temperature fluctuations, affecting its texture and melting properties.
Even seemingly stable ingredients like baking powder can lose their potency if stored in warm or damp environments, leading to flat cakes and cookies. Adhering to recommended temperatures ensures your ingredients perform as they should, contributing to consistent and delicious baking results every time.
The Impact of Improper Storage on Baking Results
The consequences of improper ingredient storage temperatures extend directly to the final product you pull from the oven. Using ingredients that have been stored incorrectly can ruin a recipe, even if your technique is flawless. For instance, butter that has absorbed odors from the refrigerator due to poor packaging will transfer those off-flavors into your delicate pastry dough or buttercream.
Flour that has become slightly stale or humidified can affect the gluten development in bread or lead to dense cakes. Consider the difference between a cake made with fresh, potent baking powder stored correctly in a cool, dry place versus one made with baking powder that has been sitting open in a warm, humid kitchen cabinet for months – the latter is likely to result in a poor rise.
Furthermore, ingredients that have started to spoil or degrade can introduce unwanted variables into your baking. Fats that are beginning to turn rancid have a lower smoke point and altered chemical structure, affecting how they interact with other ingredients during mixing and baking. Chocolate with bloom might not melt smoothly, impacting the consistency of glazes or ganaches.
Even something as simple as clumped brown sugar, resulting from improper humidity control at room temperature, can make accurate measuring difficult, throwing off the delicate balance of a recipe. Consistent, proper ingredient storage temperatures are therefore not just about safety and shelf life, but are a vital step in ensuring the success and quality of every single bake.
Key Ingredients and Their Ideal Storage Temperatures
Flour Storage Guidelines: Maintaining Freshness and Preventing Infestation
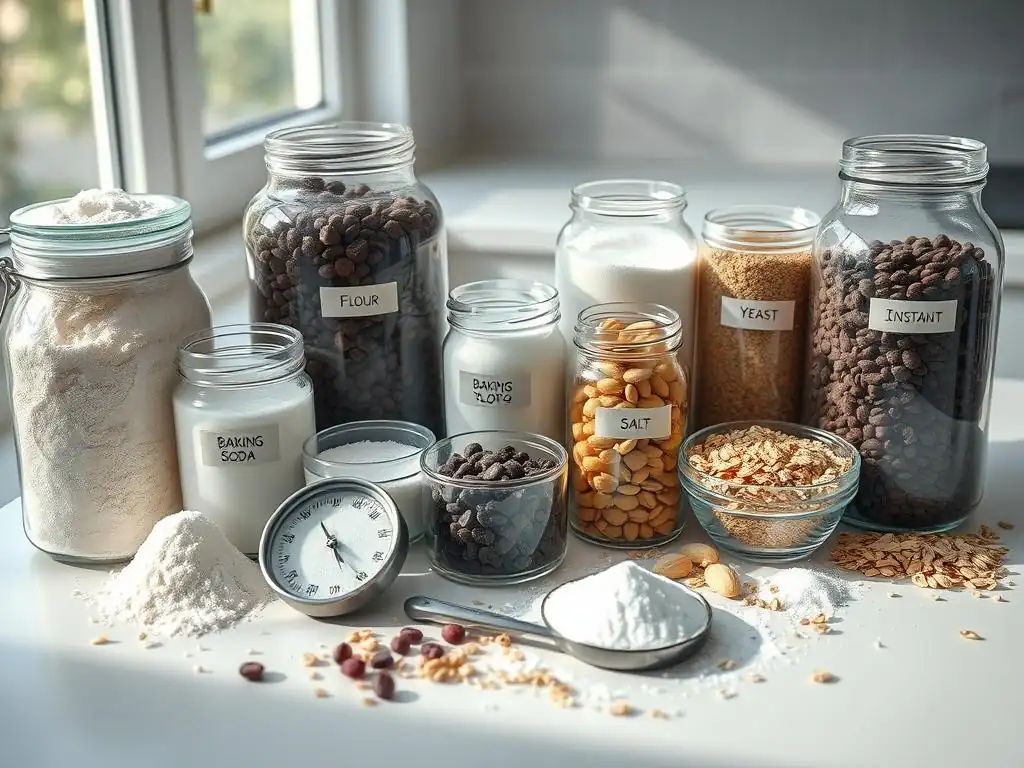
Flour is a pantry staple, but it's surprisingly susceptible to spoilage and pests if not stored correctly. The primary concerns are rancidity (especially in whole grain flours due to their oil content), absorption of moisture and odors, and infestation by pantry moths or beetles. Keeping flour cool and dry is key.
Best Temperatures for Storing Different Types of Flour (All-Purpose, Whole Wheat, Gluten-Free)
For most common flours like all-purpose white flour, storage at a cool room temperature, ideally between 50°F and 70°F (10°C and 21°C), is sufficient if you plan to use it within a few months. However, for extended storage or for types like whole wheat, oat, or nut flours which have higher oil content and can go rancid faster, refrigeration or even freezing is highly recommended. Refrigerated flour should be kept at or below 40°F (4°C), where it can last up to 6-8 months.
Freezing flour at 0°F (-18°C) or below can extend its shelf life even further, often up to a year or more, and it also kills any potential insect eggs that might be present. Gluten-free flours, particularly those made from nuts or seeds, also benefit significantly from cooler storage temperatures to prevent rancidity.
Tips for Preventing Flour Spoilage: Humidity and Airtight Containers
Controlling humidity is just as important as temperature for flour storage. Flour readily absorbs moisture from the air, which can lead to clumping, mold growth, and a shorter shelf life. Always store flour in airtight containers made of plastic, glass, or metal. Original paper bags are porous and offer little protection against moisture or pests.
Before storing, especially in the refrigerator or freezer, ensure the flour is sealed tightly to prevent it from absorbing odors from other foods. If you are storing flour in the freezer, allow it to come to room temperature in its sealed container before opening to prevent condensation from forming, which introduces moisture. Proper ingredient storage temperatures combined with airtight containers are your best defense against stale flour and pantry invaders.
Sugar Storage: Preventing Clumping and Maintaining Texture
Sugar is relatively stable due to its low moisture content, which inhibits microbial growth. The main challenges with sugar storage are preventing it from clumping (especially brown sugar) or hardening, and keeping it free from pests and moisture.
Recommended Temperatures for Storing Granulated, Brown, and Powdered Sugar
Granulated white sugar stores best at a cool room temperature, ideally between 60°F and 70°F (15°C and 21°C). Excessive heat can potentially cause it to melt slightly and re-crystallize into hard clumps, though this is less common in typical home environments unless stored near heat sources. Brown sugar, with its added molasses, has a higher moisture content and is prone to drying out and hardening. It also stores well at cool room temperature, but preventing moisture loss is key.
Powdered sugar (confectioners' sugar) contains cornstarch to prevent clumping and is also best stored at cool room temperature. While temperature isn't the primary issue for sugar safety (it's more about quality), consistent, cool, dry conditions are optimal for maintaining its texture and usability. Avoid storing sugar near heat or sources of significant temperature fluctuation.
How to Prevent Sugar from Hardening or Melting
The key to preventing sugar issues lies in moisture control and airtight storage. For granulated and powdered sugar, simply keep them in tightly sealed containers in a dry pantry. For brown sugar, which hardens when it loses moisture, an airtight container is essential. To soften hardened brown sugar, you can place a piece of bread, a few marshmallows, or a specialized terracotta brown sugar saver (soaked in water) inside the container for a day or two.
The sugar will absorb moisture from these items. Conversely, if brown sugar becomes too moist and starts to clump excessively, spreading it on a baking sheet and letting it air dry slightly, or gently warming it in a low oven (then letting it cool completely) before returning it to an airtight container can help. Proper ingredient storage temperatures combined with smart moisture management keep your sugar ready for baking.
Fat Storage: Butter, Shortening, and Oils
Fats are fundamental in baking, providing richness, tenderness, and structure. However, they are susceptible to rancidity, which is the chemical decomposition of fats that results in off-flavors and smells. Heat, light, and air accelerate this process.
Optimal Temperature Ranges for Storing Butter and Margarine
Butter is a dairy product and is highly perishable. It must be stored in the refrigerator at temperatures at or below 40°F (4°C). Many refrigerators are set to around 37°F (3°C), which is ideal. Butter can absorb odors easily, so it should be kept in its original wrapper and ideally placed in an airtight container or the butter compartment of your fridge.
For longer storage, butter freezes exceptionally well. Wrapped tightly to prevent freezer burn and odor absorption, unsalted butter can last 6-9 months in the freezer at 0°F (-18°C), while salted butter lasts slightly longer, around 9-12 months, due to the preservative effect of salt. Margarine, depending on its composition, also requires refrigeration and can often be frozen, following similar guidelines.
Storing Shortening and Oils: Preventing Rancidity
Solid shortenings, like vegetable shortening, are more stable than butter due to hydrogenation. An opened container of shortening can typically be stored at cool room temperature (around 60°F to 70°F / 15°C to 21°C) for several months. However, refrigeration can further extend its shelf life.
Liquid oils, such as vegetable oil, canola oil, or olive oil, should be stored in a cool, dark place away from heat and light, which accelerate rancidity. A pantry or cupboard is usually suitable, provided it doesn't get warm. While not strictly about temperature, ensuring the caps are tightly sealed minimizes exposure to air.
Oils with higher levels of polyunsaturated fats (like flaxseed oil) are more prone to rancidity and may benefit from refrigeration after opening. Coconut oil, which is solid at room temperature below about 76°F (24°C), should be stored in a cool, dark place; refrigeration isn't necessary but won't harm it. Maintaining proper ingredient storage temperatures and minimizing exposure to light and air are crucial for keeping fats fresh.
Egg Storage: Maintaining Freshness and Preventing Bacterial Growth
Eggs are a key ingredient in countless baked goods, providing structure, richness, and leavening. Safe egg storage is primarily about preventing the growth of bacteria, particularly Salmonella.
Refrigerator Temperature Guidelines for Egg Storage
In the United States, commercially sold eggs are typically washed and then refrigerated to prevent bacterial growth. They must be stored in the refrigerator at a consistent temperature of 40°F (4°C) or below. Store eggs in their original carton on an interior shelf of the refrigerator, rather than in the door, where temperatures fluctuate more.
The carton helps protect the eggs from absorbing odors and reduces moisture loss. Properly stored in the refrigerator, fresh eggs can last for 3-5 weeks beyond the packing date. It's vital to avoid leaving eggs out at room temperature for extended periods; a single session of being left out for more than two hours in the danger zone (above 40°F / 4°C) can allow bacteria to multiply rapidly.
Considerations for Storing Fresh vs. Pasteurized Eggs
Fresh, unwashed eggs (often from backyard chickens or some farmers' markets) have a natural protective bloom on the shell that helps prevent bacteria from entering. These can sometimes be stored at cool room temperature (below 70°F / 21°C) for a week or two, provided they are truly unwashed and the environment is stable.
However, for maximum safety, refrigeration at 40°F (4°C) or below is still the safest option, especially if you plan to store them longer or use them in recipes where they aren't fully cooked (like certain frostings or sauces). Pasteurized eggs, which have been heat-treated to kill bacteria, offer an extra layer of safety and are often recommended for recipes calling for raw eggs.
These must also be stored in the refrigerator at 40°F (4°C) or below and have a shorter shelf life once opened, typically needing to be used within 3-7 days depending on the product. Adhering to proper ingredient storage temperatures for eggs is non-negotiable for food safety.
Dairy Storage: Milk, Cream, and Cheese
Dairy products are highly perishable and require strict temperature control to prevent spoilage and bacterial growth. They are used extensively in baking for moisture, richness, and flavor.
Ideal Refrigerator Temperatures for Milk and Cream
Milk and cream must be stored in the refrigerator at a temperature of 40°F (4°C) or below. The ideal range is often cited as 34°F to 38°F (1°C to 3°C). Like eggs, store milk and cream on an inner shelf of the refrigerator where the temperature is most stable, not in the door. Always keep the containers tightly closed to prevent odor absorption and spoilage.
Once opened, milk and cream typically last about 7-10 days when stored correctly. Signs of spoilage include a sour smell, thickened texture, or curdling. Ultra-pasteurized (UHT) milk and cream have a longer shelf life before opening and can be stored at room temperature, but must be refrigerated at 40°F (4°C) or below after opening and used within the same timeframe as regular pasteurized dairy. Maintaining proper ingredient storage temperatures is essential for dairy safety.
Storage Tips for Different Types of Cheese (Hard, Soft, Fresh)
Cheese storage varies depending on the type. Hard cheeses like cheddar or Parmesan are less perishable due to lower moisture content and can last for several weeks or even months in the refrigerator (40°F / 4°C or below).
Wrap them tightly, ideally in cheese paper or parchment paper followed by plastic wrap, to allow them to breathe slightly while preventing drying out or mold. Soft cheeses like cream cheese, ricotta, or mascarpone are highly perishable and must be kept strictly refrigerated at 40°F (4°C) or below and used relatively quickly after opening, usually within 1-2 weeks.
Fresh cheeses like mozzarella or feta stored in brine should be kept in their liquid in a sealed container in the refrigerator. For all cheeses, discard immediately if mold appears (unless it's a mold-ripened cheese like blue or brie, but even then, cut away any non-intentional mold generously) or if it develops an off smell or texture.
Leavening Agent Storage: Yeast, Baking Soda, and Baking Powder
Leavening agents are crucial for giving baked goods their rise and texture. While they don't pose a food safety risk in the same way as perishables, proper storage is vital for maintaining their effectiveness.
Maintaining the Potency of Yeast Through Proper Storage
Yeast is a living organism that requires specific conditions to remain active. Dry active yeast and instant yeast are best stored in an airtight container in a cool, dry place, ideally between 50°F and 70°F (10°C and 21°C). Once opened, dry yeast should be stored in the refrigerator (40°F / 4°C or below) to extend its shelf life; it can last for several months this way. For even longer storage, dry yeast can be frozen at 0°F (-18°C), where it can remain potent for a year or more.
Fresh yeast (cake yeast) is highly perishable and must be stored in the refrigerator at 40°F (4°C) or below and used within a few weeks of purchase. Freezing fresh yeast is not recommended as it can damage the cell structure. Always check the expiration date and proof yeast if unsure of its viability.
How to Store Baking Soda and Baking Powder to Prevent Loss of Effectiveness
Baking soda and baking powder lose their effectiveness when exposed to moisture or high heat. Both should be stored in airtight containers in a cool, dry pantry, ideally between 50°F and 70°F (10°C and 21°C). Avoid storing them above the stove or near other heat-generating appliances. Baking soda can also absorb odors, so keep the box tightly closed or transfer it to a sealed container.
Baking powder, being a double-acting leavener, is particularly sensitive to moisture. Ensure the lid is always securely fastened. While they don't require refrigeration for safety, maintaining proper ingredient storage temperatures and keeping them dry is key to ensuring your cakes and muffins rise properly. A simple test for baking powder's freshness is to add a teaspoon to a few tablespoons of hot water; it should fizz vigorously.
Chocolate Storage: Preserving Flavor and Preventing Bloom
Chocolate is sensitive to temperature and humidity, which can affect its texture and appearance, though typically not its safety unless it's a product containing perishable fillings. The main concerns are melting and 'bloom'.
The Ideal Temperature Range for Storing Chocolate
Chocolate is best stored in a cool, dark place with minimal temperature fluctuation. The ideal temperature range is generally considered to be between 60°F and 70°F (15°C and 21°C). Temperatures much above this can cause it to soften or melt, while temperatures below 50°F (10°C) can lead to condensation when brought back to room temperature, contributing to bloom.
Avoid storing chocolate in the refrigerator unless your home environment is consistently warmer than 75°F (24°C) and humid, as the refrigerator can be too cold and humid, leading to sugar bloom and absorption of odors. If you must refrigerate, place the chocolate in an airtight container first.
Preventing Chocolate Bloom: Temperature Fluctuations and Humidity
Bloom refers to the appearance of white or grayish streaks or spots on the surface of chocolate. There are two types: fat bloom and sugar bloom. Fat bloom occurs when chocolate gets too warm and the cocoa butter melts and separates, rising to the surface and re-crystallizing. Sugar bloom occurs when chocolate is exposed to moisture, causing the sugar on the surface to dissolve and then re-crystallize as fuzzy white spots.
Both are caused by improper temperature or humidity control. To prevent bloom, store chocolate at a consistent cool temperature (60-70°F / 15-21°C) and low humidity (below 50% is ideal) in an airtight container away from direct light. While bloomed chocolate is still safe to eat and often fine for melting in baking, it doesn't look appealing and can have a slightly different texture. Proper ingredient storage temperatures and humidity control are crucial for maintaining chocolate quality.
Nuts and Seeds Storage: Preventing Rancidity
Nuts and seeds are rich in oils, making them prone to rancidity when exposed to heat, light, and air over time. Rancid nuts have a bitter, unpleasant flavor that can ruin baked goods.
Recommended Temperatures for Storing Nuts and Seeds
For short-term storage (a few weeks), nuts and seeds in their shells or tightly sealed packages can be kept in a cool, dark pantry, ideally between 50°F and 70°F (10°C and 21°C). However, shelled nuts and seeds, especially those you won't use quickly, benefit greatly from refrigeration or freezing. Storing them in the refrigerator at 40°F (4°C) or below can extend their shelf life significantly, often for several months.
For long-term storage, freezing at 0°F (-18°C) or below is the best option; nuts and seeds can last for a year or more in the freezer. The cold temperatures slow down the oxidation process that causes rancidity.
Tips for Extending the Shelf Life of Nuts and Seeds
Always store nuts and seeds in airtight containers (glass jars, rigid plastic containers, or heavy-duty freezer bags) to protect them from moisture, odors, and freezer burn if freezing. Before freezing, ensure they are completely dry. If buying in bulk, consider dividing them into smaller portions before freezing so you only thaw what you need.
When taking nuts or seeds from the refrigerator or freezer, allow them to come to room temperature in their sealed container before opening to prevent condensation, which can introduce moisture and potentially lead to mold. Properly managing proper ingredient storage temperatures and minimizing exposure to air and light are key to keeping nuts and seeds fresh and flavorful for your baking.
Temperature Monitoring and Control for Food Safety
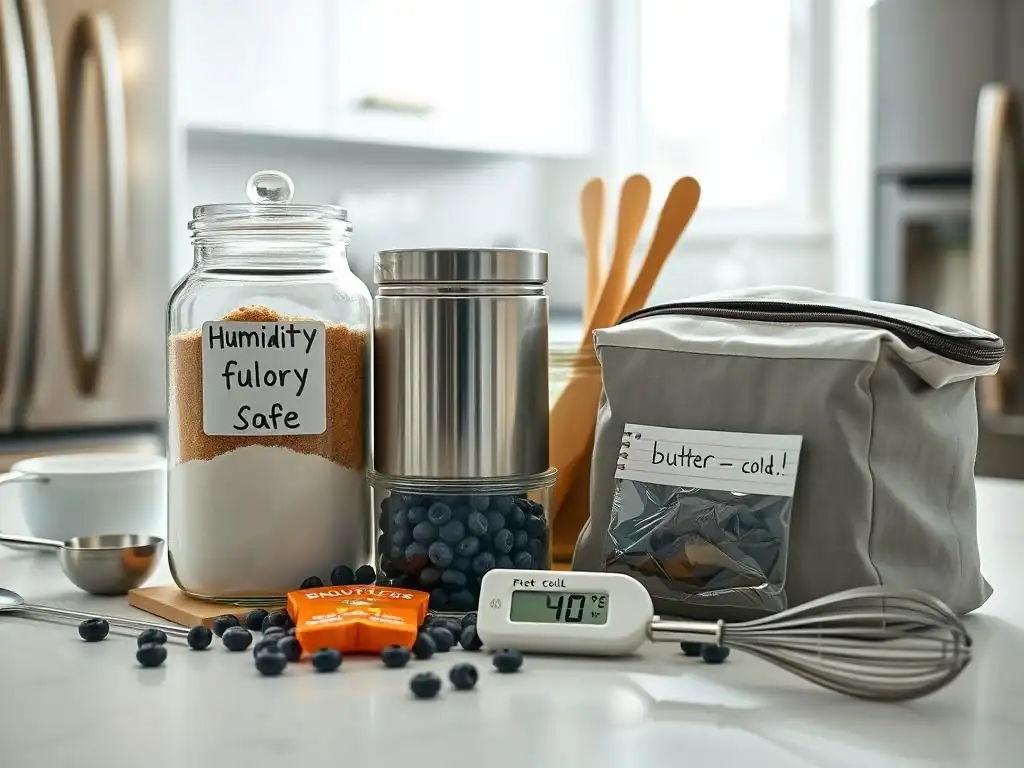
Maintaining proper ingredient storage temperatures isn't just about knowing the numbers; it's about actively monitoring and controlling the environment where your ingredients are kept. This is a fundamental aspect of food safety for any baker.
The Importance of Using a Refrigerator Thermometer
Relying solely on your refrigerator's dial or digital display is not enough to guarantee food safety temperatures. Refrigerator temperatures can fluctuate, and the internal display may not accurately reflect the temperature throughout the unit. Using a simple, inexpensive refrigerator thermometer placed on a middle shelf provides an accurate reading of the actual temperature where your food is stored.
The FDA recommends keeping your refrigerator at or below 40°F (4°C) and your freezer at 0°F (-18°C). Regularly checking these thermometers ensures that your perishable ingredients like dairy, eggs, and fats are kept out of the temperature danger zone, drastically reducing the risk of harmful bacterial growth. This small step provides significant peace of mind regarding proper ingredient storage temperatures.
Maintaining Consistent Temperatures in Your Pantry
While not as critical as refrigeration, maintaining consistent, cool temperatures in your pantry is important for the quality and shelf life of dry goods like flour, sugar, grains, and spices. Avoid storing pantry items in cabinets located directly above or next to heat-generating appliances like ovens, dishwashers, or refrigerators. These areas can become surprisingly warm, accelerating spoilage.
If your pantry tends to get warm in the summer, consider moving more sensitive items like whole wheat flour or nuts to the refrigerator during those months. Good air circulation can also help maintain a more stable temperature. Aim for a pantry temperature ideally between 50°F and 70°F (10°C and 21°C) to optimize the shelf life of your dry ingredients.
Implementing a Temperature Log for Ingredient Storage
For home bakers, especially those operating a business, keeping a simple temperature log can be a useful practice. This involves checking your refrigerator and freezer thermometers daily or weekly and jotting down the temperature on a chart or in a notebook. This helps you identify if your appliances are consistently holding safe temperatures or if there are fluctuations that need addressing.
It can also provide documentation if you ever need to demonstrate safe practices. While perhaps more formal than many home bakers require, it's a straightforward way to add an extra layer of diligence to ensuring proper ingredient storage temperatures are maintained, providing confidence in the safety of your ingredients.
Troubleshooting Common Storage Problems
Even with the best intentions and knowledge of proper ingredient storage temperatures, issues can arise. Knowing how to troubleshoot common problems can save ingredients and prevent frustration.
Dealing with Clumped Sugar
Clumped granulated or powdered sugar is usually a sign of exposure to moisture. If it's just slightly clumpy, a few pulses in a food processor or sifting can break up the clumps. For more severe clumping, especially if the sugar feels damp, spreading it out on a baking sheet and letting it air dry for a few hours can help. Ensure it's stored in a truly airtight container afterward.
Hardened brown sugar, as mentioned earlier, is due to loss of moisture. Adding a moisture source like a bread slice or terracotta disk to the airtight container will soften it. Avoid adding moisture sources to granulated or powdered sugar, as this will cause clumping. Proper ingredient storage temperatures in a dry environment prevent these issues.
Preventing Rancidity in Fats and Oils
Rancidity in fats and oils is irreversible and results in an unpleasant, often paint-like odor and taste. The best approach is prevention through proper storage. Always store oils in cool, dark places away from heat sources. Refrigerate butter and shortenings, and freeze butter for long-term storage. Once fats smell or taste rancid, they should be discarded as they will negatively impact your baked goods. Using airtight, opaque containers can also help protect sensitive oils from light and air exposure. Understanding the role of proper ingredient storage temperatures in slowing oxidation is key here.
Reviving Stale Flour
Flour can become stale over time, developing off-flavors. While you can't fully restore stale flour to its original freshness, sometimes sifting it can help aerate it slightly. If the flour smells musty or truly off, or shows any signs of mold or pests, it's best to discard it. To prevent staleness, always store flour in airtight containers in a cool, dry place.
Refrigerating or freezing significantly extends its shelf life, especially for whole grain flours. Bringing frozen flour back to room temperature slowly in its sealed container prevents condensation. Maintaining proper ingredient storage temperatures is the most effective way to avoid stale flour in the first place.
Best Practices for Labeling and Dating Ingredients
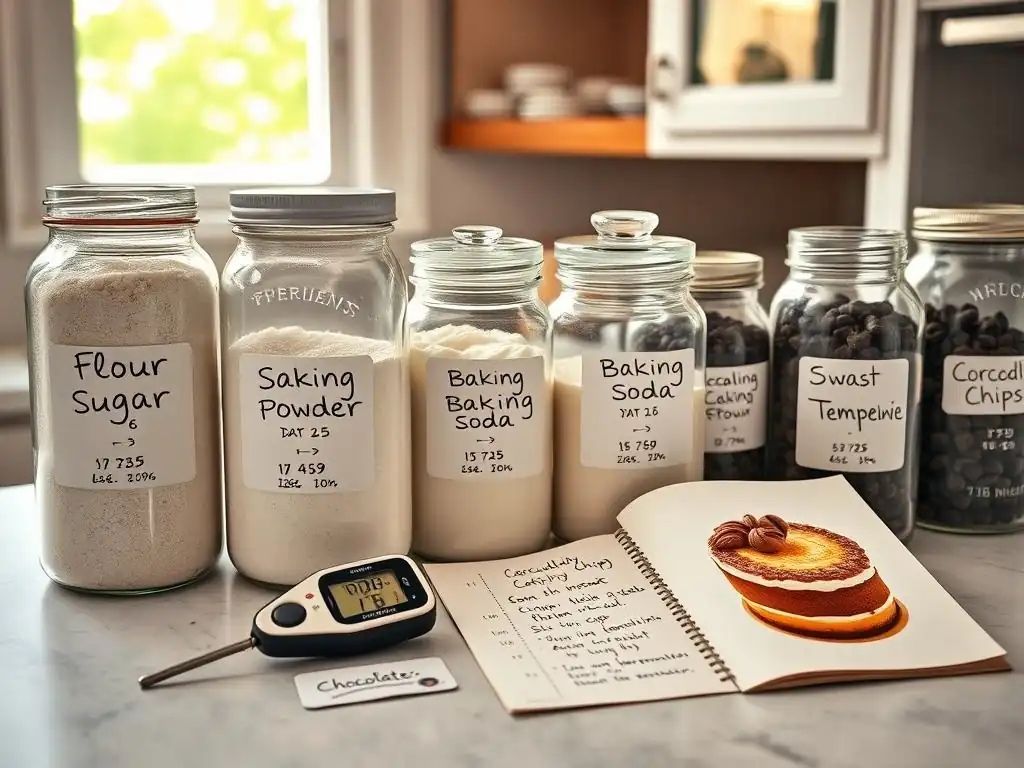
Knowing the proper ingredient storage temperatures is only half the battle; you also need to know how long your ingredients have been stored. Effective labeling and dating are simple yet crucial steps in managing your inventory and ensuring freshness.
Ensuring FIFO (First In, First Out) Rotation
The FIFO principle is a fundamental inventory management practice: the first items you store should be the first items you use. This prevents older ingredients from getting lost in the back of the pantry or refrigerator, potentially expiring or becoming stale before you use them. When you purchase new ingredients, place them behind existing stock of the same item. This ensures you're always reaching for the oldest item first. Implementing FIFO, alongside proper ingredient storage temperatures, minimizes waste and maximizes the use of your ingredients at their peak quality.
Creating a Labeling System for Easy Identification
A clear labeling system makes implementing FIFO easy and helps you quickly identify ingredients and their age. Use masking tape and a permanent marker to label containers with the ingredient name and the date you purchased or opened it. For items transferred from their original packaging, include the expiration or "best by" date if available.
This simple visual cue allows you to quickly grab the oldest package and helps you track inventory levels. For frozen items, double-labeling with the date is especially important, as it's harder to assess quality by sight alone. Consistent labeling is a cornerstone of effective ingredient management and supports safe practices alongside maintaining proper ingredient storage temperatures.
Resources for Further Information on Food Safety
Ensuring food safety in your home baking is an ongoing learning process. While understanding proper ingredient storage temperatures is a vital component, there are many other aspects to explore, from hygiene practices to safe handling of finished products.
Links to Relevant Food Safety Organizations and Guidelines
[Placeholder for links - cannot include per instructions]
Reliable sources like the FDA (Food and Drug Administration), the USDA (United States Department of Agriculture), and local health departments offer comprehensive guides on food safety practices relevant to home food preparation and small businesses. Searching their websites for terms like "food safety at home," "safe handling of ingredients," or "time and temperature control" can provide valuable, science-based information.
Recommended Books and Articles on Ingredient Storage
[Placeholder for links/titles - cannot include per instructions]
Many excellent resources, including cookbooks with dedicated food safety sections and specialized guides on pantry management, delve deeper into the specifics of storing various ingredients. Look for publications from reputable culinary institutions or food science experts. Articles from university extension offices or government agricultural departments can also be excellent sources for detailed information on maintaining proper ingredient storage temperatures and overall ingredient longevity.
Frequently Asked Questions
How crucial is maintaining proper storage temperatures for baking ingredients?
Maintaining proper storage temperatures is absolutely crucial. It directly impacts the shelf life and quality of your ingredients, preventing spoilage and ensuring successful bakes.
What are the ideal storage temperatures for common baking ingredients like flour and sugar?
Flour and sugar are best stored in a cool, dry place at temperatures between 60-70°F (15-21°C). This helps prevent moisture absorption and pest infestation.
How should I store ingredients like yeast and baking powder to maintain their potency?
Yeast and baking powder should be stored in airtight containers in a cool, dry place. Avoid excessive heat or humidity, as this can reduce their effectiveness and impact rising.
What is the best way to store butter and eggs to ensure freshness?
Butter should be stored in the refrigerator at around 40°F (4°C) to prevent spoilage. Eggs should also be refrigerated in their carton to maintain optimal freshness and prevent contamination.
What happens if I don't follow recommended storage temperatures for baking ingredients?
Failure to adhere to recommended temperatures can lead to spoilage, reduced effectiveness, and potential health risks. It can also significantly affect the taste and texture of your baked goods.
Final Reflection: The Sweet Science of Safe Storage
Maintaining proper ingredient storage temperatures isn't just about extending shelf life; it's about ensuring food safety and unlocking the full potential of your baking. Ignoring these crucial details can lead to spoiled ingredients, disappointing results, and even potential health risks. The seemingly simple act of storing ingredients correctly is a cornerstone of successful baking.
The impact of proper ingredient storage extends far beyond the individual kitchen. It influences the quality of baked goods enjoyed across communities, shaping our culinary experiences and traditions. The best baking begins with the best ingredients, handled with care.
This simple truth highlights the profound connection between ingredient preservation and the overall enjoyment of food. From the professional baker to the home enthusiast, understanding these principles elevates the entire baking process.
Now, consider your own pantry and refrigerator. What adjustments can you make to ensure your ingredients are stored at their optimal temperatures? Take a moment to review your current practices, and commit to implementing even one small change. By embracing the principles outlined in this article, you'll not only improve the quality of your baking but also contribute to a safer and more sustainable approach to food handling. The journey to perfect baking begins with a well-organized and properly stored ingredient collection.
Unlock Your Baking Potential: Master Ingredient Storage!
Thanks for taking the time to learn about safe ingredient storage! We hope you now feel more confident in keeping your baking supplies fresh and ready to use. Ready to put this new knowledge into practice?
- Prioritize your pantry: Take a few minutes to reorganize your baking ingredients based on the temperature guidelines discussed. This is the key step to longer-lasting ingredients!
- Share your newly-organized pantry: Show off your baking storage system on social media using #BakeWithEasePantry! Let's inspire other bakers!
- Explore our recipe archive: Find delicious recipes that use ingredients you already have, minimizing waste and maximizing flavor.
What's the first ingredient you're going to organize and why? Let us know in the comments!