
Advanced Sourdough Tool Kit: Essential Equipment for Serious Bakers

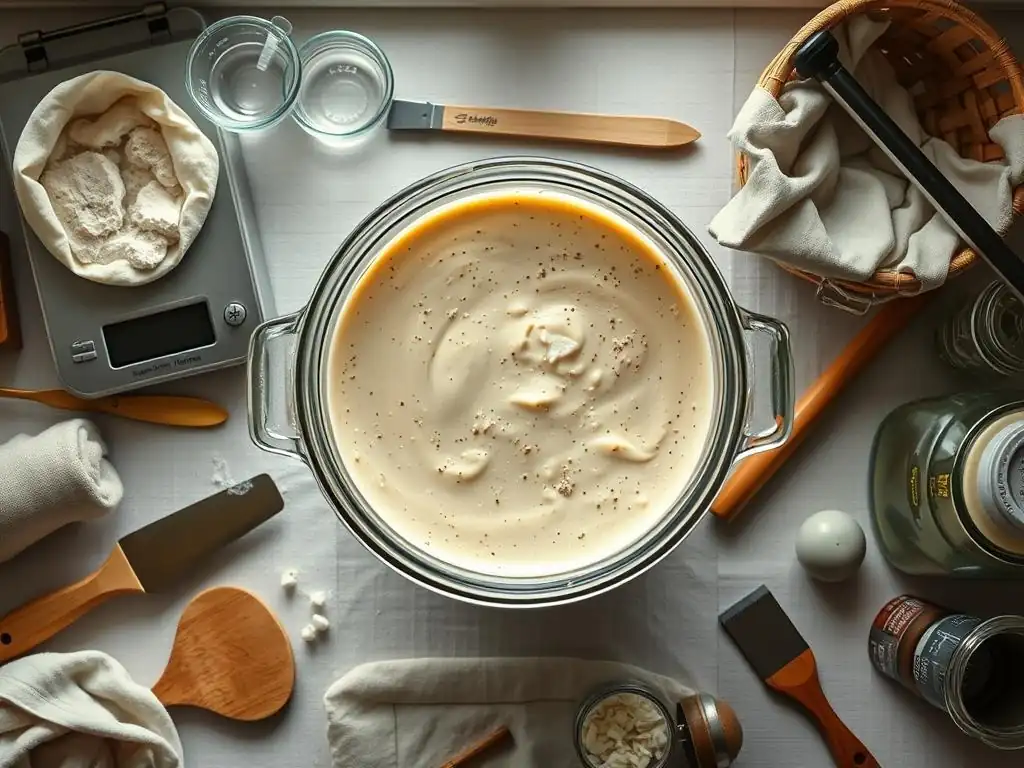
Welcome to BakeWithEase, your haven for baking mastery! Are you ready to unlock the secrets to truly exceptional sourdough? Beyond basic recipes, we delve into the essential tools that separate a good loaf from an unforgettable one. This week, we're diving deep into the Sourdough Starter Maintenance Equipment Guide. Curious about the pro-level equipment that keeps a thriving starter bubbling with life? Let's explore the tools that will elevate your sourdough game to a whole new level!
- Introduction: Level Up Your Sourdough Baking with the Right Tools
- Mastering Sourdough Starter Maintenance: Key Equipment
- Essential Dough Handling Tools for Advanced Sourdough
- Baking Equipment for Perfect Sourdough Loaves
- Measuring and Mixing Tools for Consistent Results
- Cleaning and Storage: Maintaining Your Sourdough Equipment
- Conclusion: Building Your Ultimate Sourdough Baking Arsenal
-
Frequently Asked Questions
- What is the most important piece of equipment for sourdough starter maintenance, according to BakeWithEase?
- Why does "Advanced Sourdough Tool Kit: Essential Equipment for Serious Bakers" recommend using glass jars for sourdough starter storage?
- What type of thermometer is best for sourdough baking, based on BakeWithEase's advice?
- What is a dough scraper, and why is it considered essential for sourdough baking in this guide?
- Aside from the equipment specifically for sourdough, does the guide suggest any general baking tools that are helpful?
- Final Reflection: The Journey of Sourdough, One Tool at a Time
- Unleash Your Inner Sourdough Maestro!
Introduction: Level Up Your Sourdough Baking with the Right Tools
Why Advanced Bakers Need Dedicated Sourdough Equipment
As you move beyond your first few sourdough loaves and delve deeper into the craft, you quickly discover that having the right tools isn't just convenient – it's essential for achieving consistent, high-quality results. Basic kitchen gear might suffice for beginner recipes, but mastering advanced sourdough techniques, from precise starter hydration adjustments to delicate dough handling and perfect oven spring, demands specialized equipment. These tools are designed to provide the control, accuracy, and efficiency needed to elevate your baking from good to truly exceptional.
Investing in dedicated sourdough equipment minimizes variables, allowing you to troubleshoot more effectively and replicate successful bakes consistently. For instance, maintaining a robust and predictable starter, a cornerstone of successful sourdough, relies heavily on precise measurement and environmental control, areas where specialized tools shine. This guide will walk you through the essential gear every serious sourdough enthusiast should consider adding to their arsenal, covering everything from maintaining your starter to baking that perfect loaf.
BakeWithEase's Guide to Essential Sourdough Tools
Welcome to BakeWithEase's comprehensive guide to the tools that will transform your sourdough journey. We've curated a list of essential equipment, broken down by function, to help you build a toolkit capable of handling complex recipes and techniques. Whether you're focusing on developing a stronger, more active starter, improving your shaping skills, or achieving that coveted crust and crumb, the right equipment makes all the difference.
This guide covers everything from the fundamental items needed for accurate sourdough starter maintenance to specialized tools for dough handling and baking. We'll discuss why each tool is important, what features to look for, and how it contributes to the overall success of your sourdough bakes. Think of this as your roadmap to outfitting your kitchen for serious sourdough production, ensuring you have the necessary gear to tackle any challenge and bake with confidence.
Mastering Sourdough Starter Maintenance: Key Equipment
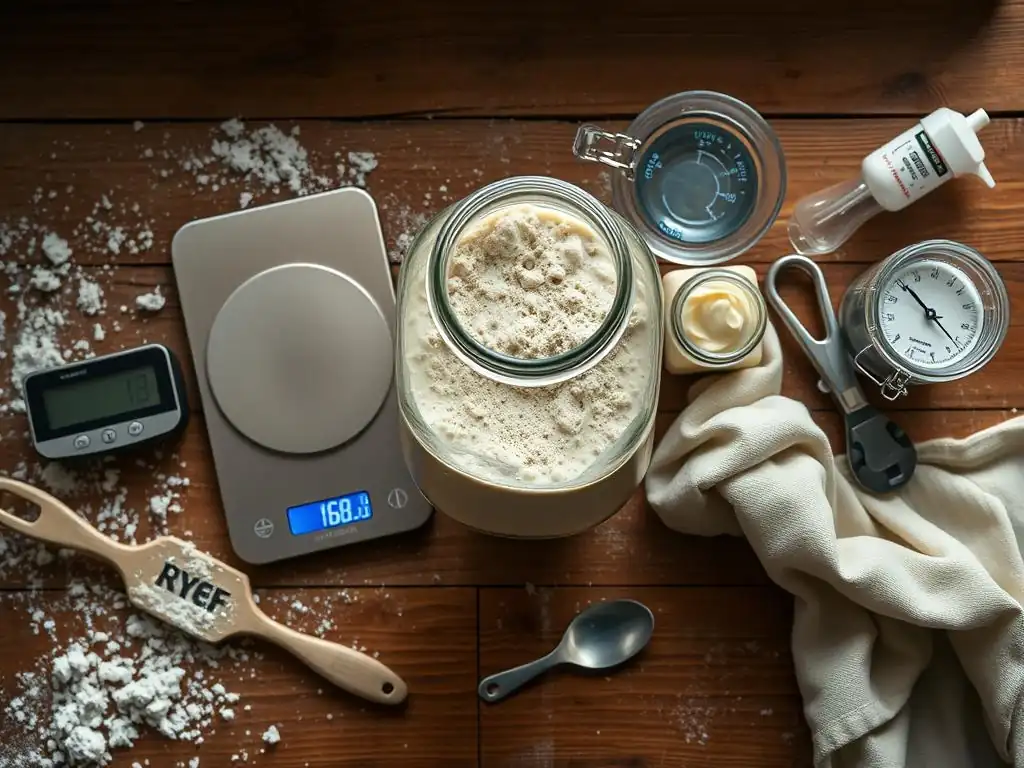
High-Quality Kitchen Scale: Precise Measurements for a Perfect Starter
Accuracy is paramount when maintaining a sourdough starter. Unlike volume measurements (cups, spoons), which can vary significantly based on how ingredients are scooped or packed, weight measurements provide absolute consistency. A difference of just 10-15 grams of flour or water can drastically alter the hydration level and overall consistency of your starter, impacting its activity and feeding cycle. Using a digital scale that measures in grams is crucial for replicating feeding ratios accurately (e.g., 1:1:1 or 1:2:2 ratios of starter, water, and flour by weight).
Look for a scale with a minimum capacity of 1kg (2.2 lbs) to handle larger batches if needed, and ideally, one that measures in increments of 0.1 grams for ultimate precision, especially when dealing with smaller starter amounts or specific recipes. While a 1-gram increment scale is acceptable for general baking, the finer precision of a 0.1-gram scale is particularly beneficial for monitoring subtle changes in starter weight or experimenting with very small test feeds. This level of accuracy is a non-negotiable part of any serious sourdough starter maintenance equipment guide.
Thermometer: Monitoring Starter Temperature for Optimal Activity
Temperature plays a critical role in the activity and health of your sourdough starter. Yeast and bacteria cultures within the starter thrive within specific temperature ranges. For most common sourdough starters, an ideal temperature range for fermentation is between 75°F and 80°F (24°C to 27°C). Temperatures significantly outside this range can slow down fermentation (colder) or cause undesirable bacteria to flourish (warmer), leading to inconsistent rise, off flavors, or even mold.
Having a reliable thermometer allows you to monitor the ambient temperature where your starter is stored or even the temperature of the starter itself after feeding. A simple probe thermometer or an infrared thermometer can be useful. Knowing the temperature helps you adjust your feeding schedule, hydration levels, or storage location to ensure your starter remains vigorous and predictable. This monitoring is a key element in any effective sourdough starter maintenance equipment guide.
Dedicated Sourdough Starter Jars: Choosing the Right Container
While almost any clean jar can hold a starter initially, using dedicated jars offers distinct advantages for serious bakers focused on sourdough starter maintenance. The right jar provides ample space for the starter to double or triple in size without overflowing, allows for easy cleaning, and facilitates monitoring the starter's activity. Choosing a jar with straight sides is particularly helpful, as it makes it easy to see how much the starter has risen and fallen, providing visual cues about its peak activity.
Wide-mouth jars are preferable for easy access when feeding, stirring, and transferring starter. Avoid jars with narrow necks that make scraping down the sides difficult, as dried starter can harbor unwanted mold. Having multiple jars is also useful – one for your active starter, one for discard storage, and perhaps one for backup or travel.
Glass vs. Plastic Jars for Sourdough Starters
Glass jars are the most popular choice for sourdough starters for several reasons. They are non-reactive, meaning they won't impart any flavors or chemicals to your starter. They are also transparent, offering a clear view of the starter's bubbles, rise, and texture, which is essential for tracking its health and activity. Glass is easy to clean thoroughly and doesn't scratch easily, reducing places for bacteria to hide. Common options include Mason jars, Weck jars, or simple wide-mouth canning jars.
Plastic containers, while lightweight and less prone to breaking, are generally not recommended for long-term starter storage or active fermentation. Some plastics can be porous over time, potentially harboring bacteria or absorbing odors. They can also scratch, creating crevices that are difficult to clean. While a plastic container might be okay for short-term discard storage, glass remains the superior choice for active starter maintenance due to its hygiene and transparency benefits.
Sizing Your Starter Jar: Matching Capacity to Your Baking Needs
The ideal size of your starter jar depends on how much starter you typically maintain and how often you bake. A common recommendation is to use a jar that is at least 2-3 times the volume of your fed starter. For example, if you typically feed 50g of starter with 50g water and 50g flour (150g total), a jar with a capacity of 300ml to 500ml (roughly 10-17 ounces) would give it plenty of room to grow without overflowing.
If you maintain a larger quantity of starter or plan to scale up your recipes, you might need a larger jar, perhaps 750ml or even 1 liter (about 25-34 ounces). Having jars of slightly different sizes can be useful depending on your feeding routine or whether you're building up a larger amount for a specific bake. Ensure the jar has a lid that can be loosely placed or screwed on just finger-tight to allow gases produced during fermentation to escape, preventing pressure buildup.
Dough Scraper: Efficiently Managing Your Starter
While primarily known for handling dough on a bench, a small, flexible dough scraper is surprisingly useful for sourdough starter maintenance. Its flexibility allows you to easily scrape down the sides of your starter jar after feeding, ensuring all the flour and water are incorporated and preventing a crust from forming on the edges. This keeps your starter hydrated evenly and makes it easier to monitor its rise.
A flexible scraper is also invaluable for transferring thick, sticky starter from its jar into a mixing bowl without waste. It conforms to the curves of the jar, getting every last bit. This simple, inexpensive tool significantly improves the efficiency and cleanliness of your sourdough starter maintenance routine.
Essential Dough Handling Tools for Advanced Sourdough
Banneton Baskets: Achieving Professional-Looking Loaves
Banneton baskets, also known as proving baskets or brotforms, are indispensable tools for shaping and proofing your sourdough loaves before baking. They give the dough structure and shape during its final rise (cold proofing in the refrigerator is common for sourdough), preventing it from spreading outwards. The natural materials of the basket, like cane or wood pulp, wick away a small amount of moisture from the surface of the dough, creating a slight skin that contributes to a crispier crust. Using a banneton helps you achieve that classic artisanal loaf shape and texture.
Proofing in a banneton is particularly beneficial for high-hydration sourdough doughs, which can be very slack and difficult to handle without support during the final proof. The basket holds the dough's shape, ensuring it maintains its structure when transferred to the oven. This leads to better oven spring and a more aesthetically pleasing loaf with consistent crumb structure.
Different Shapes and Materials of Banneton Baskets
Banneton baskets come in various shapes and materials. The most common shapes are round (for boules) and oval (for bâtards). You can also find specialty shapes like long loaves (for baguettes) or triangular ones. Choosing the shape depends on the type of loaf you want to bake. A 9-inch round banneton is standard for a typical 800-1000g loaf, while a 10-inch oval works well for a similar weight bâtard.
The primary materials are natural cane (rattan) and wood pulp. Cane bannetons are the most traditional and are recognized by their spiral pattern imprinted on the dough. They are durable and effective at wicking moisture. Wood pulp bannetons (often called "smooth" bannetons) have solid walls and create a smooth surface on the dough. Some bakers prefer them for certain dough types or for achieving a different crust texture. Both require proper preparation (flouring) and care.
Preparing and Caring for Your Banneton Basket
Before using a new banneton, especially cane ones, it's crucial to prepare it to prevent the dough from sticking. Lightly mist the inside with water and dust generously with flour, typically rice flour or a blend of rice flour and bread flour, as rice flour is less likely to be absorbed by the dough. Allow it to dry completely. For subsequent uses, simply dust well with flour before placing the shaped dough inside.
- Preparation Checklist:
- [ ] Lightly mist (for new cane)
- [ ] Dust generously with rice flour or blend
- [ ] Let dry completely (for new cane)
- [ ] Dust generously before each use
After use, turn the banneton upside down and tap out as much excess flour as possible. Never wash a cane banneton with water and soap, as this can damage the material and encourage mold growth. If dough sticks, let it dry completely and then brush it out with a stiff brush. For wood pulp bannetons, a gentle wipe might be possible, but drying thoroughly is key. Always store bannetons in a dry, airy place to prevent mold.
Dough Whisk (Danish Dough Whisk): Gently Combining Ingredients
A Danish dough whisk is a unique tool specifically designed for mixing wet, sticky doughs, including high-hydration sourdough. Its open coil design allows it to cut through the dough and incorporate ingredients without developing gluten prematurely or getting bogged down like a conventional spoon or whisk. This is particularly useful during the initial mixing (autolyse or bulk fermentation start) when you want to combine flour and water or starter gently before kneading or stretching and folding.
Using a dough whisk minimizes the amount of dough sticking to the tool compared to a spoon or spatula, making the mixing process cleaner and more efficient. It's also surprisingly effective at breaking up a stiff sourdough starter when incorporating it into the main dough mixture. While not strictly essential (you can use your hands or a sturdy spoon), it's a tool that many serious sourdough bakers find invaluable for its ease of use with wet doughs.
Bench Scraper: Shaping and Dividing Dough with Precision
A sturdy bench scraper, also known as a bench knife or dough cutter, is a multi-functional tool essential for handling sourdough dough on your work surface. Its primary uses include dividing large batches of dough into smaller portions, scraping dough off your counter, and assisting with shaping, particularly for techniques like the "stitch" or gathering the dough into a tight boule.
Look for a bench scraper with a stiff metal blade (stainless steel is common) and a comfortable handle. A measurement guide etched onto the blade can be helpful for dividing dough into precise weights. Using a bench scraper allows you to work with sticky dough more efficiently without adding excessive amounts of flour to your surface, which can alter the dough's hydration and negatively impact the final crumb.
Lame: Scoring Your Sourdough for Optimal Oven Spring
A lame (pronounced "lahm") is a razor-sharp blade used to score the surface of sourdough dough just before baking. Scoring serves two crucial purposes: it allows the dough to expand predictably in the oven (oven spring) by creating weak points for gases to escape, and it creates beautiful patterns that define the look of artisanal bread. Without proper scoring, the expanding dough might burst unpredictably at the weakest point, often along the sides or bottom, resulting in a less attractive and potentially less well-risen loaf.
The precision of a sharp blade ensures a clean cut that opens up beautifully during baking. Trying to score with a regular knife, even a sharp one, is often less effective as it can drag or tear the sticky dough surface. A dedicated lame holds a razor blade securely, allowing for quick, confident cuts.
Different Lame Styles and Blade Options
Lames come in several styles. The most basic is a straight lame, which holds a single-edge razor blade flat. These are good for simple cuts or making geometric patterns. A curved lame, which holds the blade in a slight curve, is often preferred for creating ears (the flap of crust that lifts up) on a loaf. The curved blade allows you to cut at an angle, guiding the expansion upwards and outwards. Some lames are designed to hold double-edge razor blades, which can be broken in half to provide multiple sharp cutting edges.
Many lames feature a handle for better grip and control, some made of wood or plastic. Others are simpler holders. The key is that they securely hold an extremely sharp blade. Standard double-edge razor blades (like those used for shaving, but new and unused) are the most common and readily available refills. Always handle blades with extreme caution and dispose of used blades safely.
Mastering Scoring Techniques for Stunning Results
Mastering scoring takes practice, but having a sharp lame is the first step. Hold the lame at a roughly 30-45 degree angle to the dough surface for creating ears or angled cuts. For simple straight cuts or geometric patterns, you can hold the lame more vertically. The depth of the cut is also important – typically, cuts should be about 1/4 to 1/2 inch deep. Too shallow, and the dough might still burst elsewhere; too deep, and the loaf might collapse.
Practicing on dough scraps or even inexpensive playdough can help you get a feel for the lame before working on your precious sourdough loaves. Common scoring patterns include a single long slash (for bâtards), a cross or square pattern (for boules), or intricate leaf or wheat patterns. The pattern you choose can also influence how the loaf expands.
Baking Equipment for Perfect Sourdough Loaves
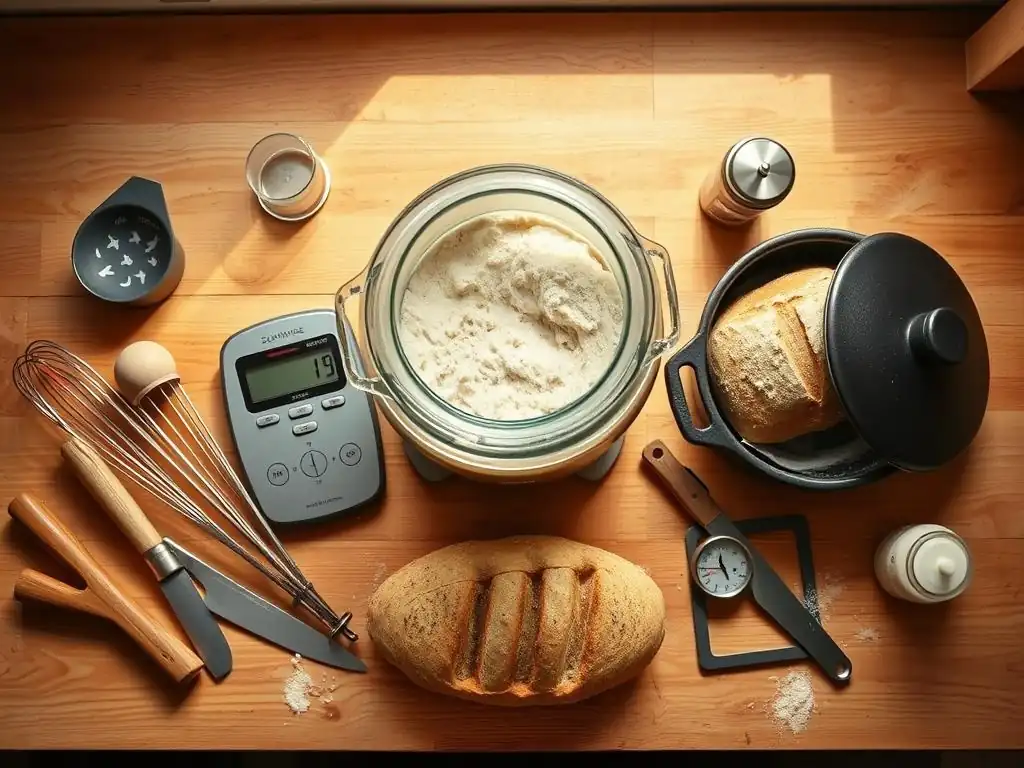
Dutch Oven: Creating a Steamy Baking Environment
A Dutch oven is arguably the most popular and effective tool for baking sourdough at home, especially for achieving a professional-quality crust and crumb. Its heavy lid traps the moisture released by the dough as it heats up, creating a steamy environment inside the pot.
This steam is crucial during the initial phase of baking because it keeps the surface of the dough soft and pliable, allowing it to expand fully during oven spring. Without sufficient steam, the crust forms too quickly and hardens, restricting the dough's expansion and resulting in a denser loaf with less volume and a less open crumb.
After the initial steaming period (typically the first 20-30 minutes), removing the lid allows the crust to dry out and brown beautifully. The heavy cast iron of the Dutch oven also retains and radiates heat effectively, ensuring the bottom of the loaf bakes through and develops a nice crust. This controlled environment mimics the conditions of a professional steam-injected oven.
Choosing the Right Size and Material for Your Dutch Oven
Dutch ovens are typically made from cast iron, either enameled or bare. Enameled cast iron is popular because it's easier to clean and doesn't require seasoning like bare cast iron. However, bare cast iron can often withstand higher temperatures without the enamel potentially discoloring over time. Both materials work exceptionally well for trapping steam and conducting heat.
For baking a standard 800-1000g sourdough loaf, a round Dutch oven with a capacity of 5 to 7 quarts (roughly 4.7 to 6.6 liters) is ideal. Ensure the pot is wide enough to comfortably fit your shaped loaf with some room for expansion. An oven-safe knob on the lid is also important if you plan to bake at high temperatures (often 450-500°F / 230-260°C).
Using a Dutch Oven for Optimal Sourdough Crust and Crumb
To use a Dutch oven for sourdough, preheat it thoroughly in your oven, usually at the baking temperature, for 30-60 minutes. This ensures the pot is screaming hot when the dough goes in. Carefully transfer your proofed dough into the hot Dutch oven using parchment paper or a pizza peel. Score the dough just before placing it in the pot.
Bake with the lid on for the initial phase (e.g., 20-25 minutes at 475°F / 245°C) to trap steam and maximize oven spring. Then, carefully remove the lid and continue baking for another 20-30 minutes (often at a slightly lower temperature, e.g., 450°F / 230°C) until the crust is deeply golden brown and the loaf is cooked through (internal temperature around 205-210°F / 96-99°C).
Baking Stone or Steel: Alternative to Dutch Oven Baking
While Dutch ovens are excellent for trapping steam, a baking stone or steel offers an alternative approach, particularly if you have a way to introduce steam into your oven manually. A baking stone (made of ceramic or cordierite) or a baking steel (made of steel) is preheated in the oven and provides an intensely hot surface that transfers heat rapidly to the base of the dough. This thermal mass helps achieve excellent oven spring from the bottom up and contributes to a well-developed bottom crust.
Baking steels generally conduct heat more efficiently than stones and are less prone to breaking from thermal shock. When using a stone or steel, you'll need to create steam in your oven using other methods, such as placing a tray of hot water or lava rocks on a rack below the stone/steel during the initial baking phase. This method requires careful timing and execution to ensure adequate steam for oven spring.
Pizza Peel: Safely Transferring Dough to Hot Surfaces
If you're using a baking stone or steel, a pizza peel is an essential tool for safely transferring your shaped and proofed sourdough dough onto the preheated surface. Attempting to slide raw dough onto a scorching hot stone or steel by hand is difficult and dangerous. A pizza peel, typically made of wood or metal, allows you to gently slide the dough from a floured surface or parchment paper onto the hot stone/steel without deforming its shape.
To use a pizza peel effectively, generously flour the peel or place the dough on parchment paper on the peel before transferring. A quick, confident slide is key. Metal peels are thinner and can be easier to get under dough, while wooden peels are better at absorbing moisture, which can help prevent sticking initially.
Measuring and Mixing Tools for Consistent Results
Digital Kitchen Scale: Accurate Ingredient Measurements
We mentioned this for starter maintenance, but it bears repeating for the main dough: a digital kitchen scale is non-negotiable for serious sourdough baking. Sourdough recipes, especially those for higher hydration doughs, are typically written in grams because precise ratios of flour, water, salt, and starter are critical for success. Variations of even 10-20 grams can significantly impact the dough's texture, fermentation rate, and final outcome.
Measuring flour by volume can be off by as much as 20% depending on how densely it's packed. Water volume is more consistent, but measuring all ingredients by weight eliminates guesswork and ensures that when a recipe calls for a specific hydration percentage or starter ratio, you can hit it exactly every time. This consistency is fundamental to improving your results and troubleshooting effectively.
Mixing Bowls: Choosing the Right Size and Material
You'll need several mixing bowls of various sizes for sourdough baking. A large bowl is necessary for mixing the main dough, accommodating the volume of flour, water, starter, and salt, and providing space for the dough to undergo bulk fermentation, which involves significant expansion. A bowl with a capacity of 4-8 quarts (roughly 4-7.5 liters) is suitable for a standard 1-2 loaf recipe.
Mixing bowls come in materials like glass, stainless steel, ceramic, and plastic. Stainless steel is durable, lightweight, and easy to clean, making it a popular choice. Glass is heavy but allows you to see the dough's development. Ceramic and plastic bowls are also viable options. Having a few smaller bowls is also useful for weighing out ingredients or holding water during stretching and folding.
Spatulas and Scrapers: Efficiently Incorporating Ingredients
While a dough whisk is great for initial mixing, spatulas and bowl scrapers are essential for incorporating ingredients fully, scraping down the sides of the mixing bowl, and handling the sticky dough during early stages of bulk fermentation. A sturdy rubber or silicone spatula is useful for mixing in the starter and salt after the autolyse period.
A flexible bowl scraper, often made of plastic, is perfect for gathering dough from the sides of the mixing bowl, especially during stretching and folding or when transferring the dough. These simple tools help minimize waste and keep your workspace cleaner while ensuring all ingredients are well-combined.
Cleaning and Storage: Maintaining Your Sourdough Equipment
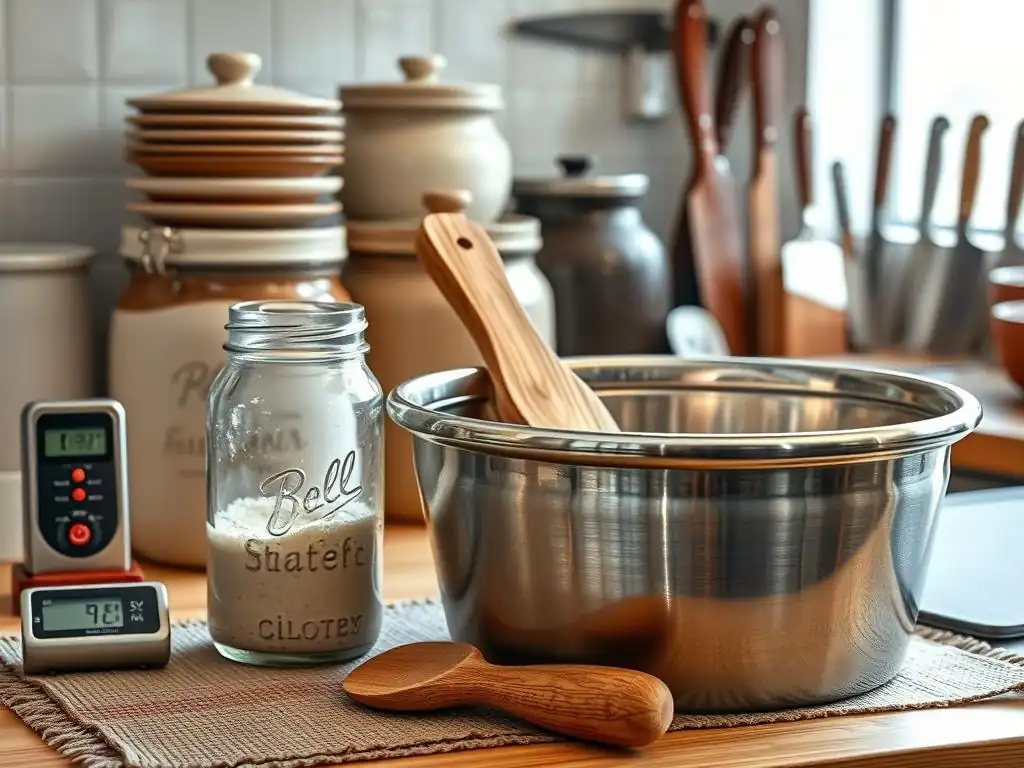
Best Practices for Cleaning Sourdough Tools
Proper cleaning is vital to prevent mold and bacteria buildup on your sourdough equipment, which could negatively impact your starter or dough. For most non-porous tools like scales, thermometers, metal scrapers, and glass jars, washing with warm, soapy water is sufficient. Ensure all dried dough or starter residue is completely removed, as even small amounts can harbor unwanted microbes. Rinse thoroughly and dry completely before storing.
For porous items like banneton baskets, cleaning methods differ (as noted earlier, usually involves brushing only). Wooden handles on tools should not be submerged for long periods and should be dried immediately after washing. Keeping your tools clean is as important for successful sourdough baking as the tools themselves.
Proper Storage Techniques to Prolong Equipment Lifespan
Storing your sourdough equipment correctly helps maintain its condition and prolong its lifespan. Ensure all items, especially bannetons and tools with wooden components, are completely dry before storing to prevent mold or rust. Bannetons should be stored in a dry, airy place, ideally not stacked tightly unless fully dry.
Metal tools should be stored away from excessive moisture. Scales should be kept in a dry spot and ideally protected from dust. Storing equipment neatly not only keeps your kitchen organized but also makes it easier to access the tools you need quickly for your next bake or sourdough starter maintenance routine.
Conclusion: Building Your Ultimate Sourdough Baking Arsenal
Investing in Quality Tools for Long-Term Sourdough Success
As you've seen, building an advanced sourdough tool kit involves acquiring specialized equipment designed to enhance precision, improve handling, and optimize baking conditions. Investing in quality tools isn't just about having fancy gadgets; it's about empowering yourself with the means to consistently produce exceptional sourdough bread. A reliable scale ensures accurate feeding for your starter, a good banneton provides structure for proofing, and a Dutch oven creates the perfect environment for baking.
While some tools are more critical than others (the scale and Dutch oven being high on the list), each piece of equipment discussed plays a role in refining your process and results. Think of these tools as partners in your baking journey, helping you control variables and execute techniques with greater skill and confidence.
Expanding Your Tool Kit as Your Sourdough Journey Evolves
Your sourdough toolkit doesn't have to be built overnight. Start with the essentials that address the areas where you need the most improvement, perhaps focusing first on the sourdough starter maintenance equipment guide items if your starter consistency is an issue, or a Dutch oven if your crust needs work. As you gain experience and tackle more complex recipes, you can gradually add more specialized tools.
The world of sourdough baking is vast and rewarding. By equipping yourself with the right tools, you're not just buying objects; you're investing in your ability to bake better bread, understand the process more deeply, and enjoy the journey of mastering this ancient craft. Happy baking!
Frequently Asked Questions
What is the most important piece of equipment for sourdough starter maintenance, according to BakeWithEase?
The article highlights a digital kitchen scale as crucial for accurate measurements, ensuring consistent results in your sourdough starter's feeding ratios and hydration levels.
Why does "Advanced Sourdough Tool Kit: Essential Equipment for Serious Bakers" recommend using glass jars for sourdough starter storage?
Glass jars are recommended because they are non-reactive, allowing you to easily monitor the starter's growth and activity without affecting its flavor or composition.
What type of thermometer is best for sourdough baking, based on BakeWithEase's advice?
A digital instant-read thermometer is recommended for accurately monitoring the temperature of your dough and starter, which is vital for optimal fermentation and gluten development.
What is a dough scraper, and why is it considered essential for sourdough baking in this guide?
A dough scraper helps you handle sticky sourdough with ease, preventing it from sticking to surfaces and making it easier to shape and transfer the dough.
Aside from the equipment specifically for sourdough, does the guide suggest any general baking tools that are helpful?
Yes, the guide implies that general baking tools such as measuring cups and spoons are essential, as well as a good quality mixing bowl, to ensure accurate measurements for consistent results.
Final Reflection: The Journey of Sourdough, One Tool at a Time
The pursuit of the perfect sourdough loaf isn't just about the recipe; it's about the journey, a journey significantly enhanced by the right tools. Mastering sourdough requires dedication, patience, and a carefully curated arsenal of equipment. This article has explored the essential tools that elevate the sourdough baking experience from hobby to passion.
The impact of quality equipment on the sourdough baking process is profound. It's not merely about convenience; it's about consistency, precision, and ultimately, the joy of creating something truly special. The best bread is made with love, and the right tools are a testament to that love.
This unspoken truth resonates deeply with me, as the right tools have transformed my own sourdough journey from frustrating experimentation to consistent, delicious results. The subtle differences in texture, rise, and overall flavor achievable with the right equipment are truly remarkable.
Now, it's your turn. Consider your own sourdough journey. What tools have you found indispensable? What challenges have you overcome? Take a moment to reflect on your process, identify areas for improvement, and perhaps even invest in a new tool to elevate your baking to the next level. The world of sourdough is vast and rewarding; embrace the journey, one perfectly risen loaf at a time.
Unleash Your Inner Sourdough Maestro!
Thanks for diving deep into the world of advanced sourdough baking! We hope you've gained valuable insights and inspiration to elevate your bread-making skills. Now it's time to put that knowledge into action.
- Invest in your dream sourdough tool: Consider that special piece of equipment you've been eyeing – a new banneton, a precise digital scale, or a powerful stand mixer – to truly transform your baking experience. This is your chance to upgrade your process!
- Share your sourdough journey: Post a picture of your latest loaf on social media and tag us @BakeWithEase! Let's inspire each other in the wonderful world of sourdough.
- Explore advanced sourdough techniques: Dive deeper into specific techniques mentioned in the article – try a new hydration level or experiment with different flours. The possibilities are endless!
What unique sourdough creation will you bake next? Let's hear about it in the comments!