
LongTerm Starter Storage: Keeping Your Culture Alive and Thriving


Welcome to BakeWithEase, where delicious creations begin! Ever wondered how to keep your precious sourdough starter alive and kicking, even when life gets busy? Unlock the secrets to sourdough starter longterm storage and ensure your culture thrives, ready for your next baking adventure. Dive in to discover expert tips and techniques, perfect for intermediate bakers looking to master the art of keeping their starter happy and healthy!
- Long-Term Sourdough Starter Storage: Keeping Your Culture Alive and Thriving
- Introduction to Sourdough Starter Longevity
- Methods for Storing Sourdough Starter Long-Term
- Choosing the Best Long-Term Storage Method for Your Sourdough
- Preparing Your Sourdough Starter for Storage
- Reviving Your Sourdough Starter After Long-Term Storage
- Maintaining a Healthy Sourdough Starter for Future Storage
- Tips and Tricks for Successful Long-Term Sourdough Starter Storage
- Troubleshooting Long-Term Sourdough Starter Storage
- Conclusion: Ensuring the Longevity of Your BakeWithEase Sourdough Starter
-
Frequently Asked Questions
- What is the best way to store my sourdough starter for long periods if I won't be baking?
- How long can a dehydrated sourdough starter last in storage?
- What is the process for rehydrating a dehydrated sourdough starter?
- Can I freeze my sourdough starter for long-term storage, and if so, how?
- What are the signs that my sourdough starter has gone bad after long-term storage?
- Final Reflection: The Enduring Legacy of Our Starter Cultures
- Unleash Your Baking Legacy: Start Storing Today!
Long-Term Sourdough Starter Storage: Keeping Your Culture Alive and Thriving
Introduction to Sourdough Starter Longevity
Why Long-Term Storage for Your Sourdough Starter is Important
Life happens, and sometimes our regular baking routine gets interrupted. Maybe you're going on vacation, moving, or simply need a break. For passionate bakers, the thought of neglecting a beloved sourdough starter can be stressful.
This is where understanding sourdough starter longterm storage becomes invaluable. It's not just about preserving a culture; it's about safeguarding months or even years of cultivation and the unique flavor profile your starter has developed. Knowing how to effectively store your starter for an extended period ensures that your hard work isn't lost and that you can jump right back into baking delicious bread whenever you're ready.
Effective sourdough starter longterm storage methods provide peace of mind. Instead of discarding or constantly feeding a large amount of starter you won't use for weeks or months, you can put it into a state of dormancy. This saves flour and time, reduces waste, and keeps your precious starter viable for future baking adventures. Whether your starter is just a few months old or a seasoned veteran of several years, mastering these techniques is a crucial skill for any dedicated sourdough baker looking to maintain their culture through periods of inactivity.
Understanding Sourdough Starter Dormancy
Sourdough starter is a living ecosystem of wild yeasts and lactic acid bacteria. Under normal feeding conditions, these microbes are active, consuming flour and water and producing the gases that leaven bread, along with organic acids that give sourdough its characteristic tang. Dormancy, in the context of sourdough starter longterm storage, refers to slowing down the metabolic activity of these microbes to a near halt. This is typically achieved by reducing their access to food and creating an environment that inhibits rapid growth, such as low temperatures or lack of moisture.
When a starter is put into a state of dormancy, the yeasts and bacteria become much less active. They consume significantly less food and produce minimal waste products. This allows the starter to survive for extended periods without regular feeding.
Think of it like hibernation for your microbial pets. While they aren't actively thriving and bubbling, they are still alive, waiting for conditions to become favorable again so they can wake up and resume their energetic activity. The key to successful sourdough starter longterm storage is inducing this safe state of dormancy and knowing how to gently bring the culture back to full strength when needed.
Methods for Storing Sourdough Starter Long-Term
Drying Sourdough Starter for Extended Storage
Drying is arguably the longest-term method for sourdough starter longterm storage, potentially preserving your culture for years, even decades, if stored correctly. This method works by removing the essential moisture that microbes need to thrive. Without water, their metabolic processes effectively stop, putting them into a deep state of suspended animation. It's a bit like creating a sourdough starter time capsule. The process is relatively simple and results in a stable, lightweight product that doesn't require refrigeration, making it ideal for travel or gifting.
The dried starter flakes or powder contain dormant yeasts and bacteria. When you're ready to bake again, you simply rehydrate these flakes with water and begin a series of feedings. The microbes gradually wake up and resume their normal activity, often within a few days. This method is particularly useful if you anticipate needing to store your starter for many months or even years, as it offers unparalleled stability compared to refrigeration or freezing. It's also a fantastic way to create a backup copy of your precious starter, ensuring you never lose your unique culture entirely.
Step-by-Step Guide to Drying Sourdough Starter
Drying your starter for sourdough starter longterm storage is a straightforward process. First, ensure your starter is healthy and recently fed. Let it peak or just slightly past its peak activity. Spread a thin layer (about 1-2 mm thick) of active starter onto a piece of parchment paper or a silicone baking mat. You can use a spatula or offset knife to spread it evenly. Aim for a thickness that will dry relatively quickly but isn't so thin it becomes impossible to scrape off.
Allow the starter to air dry completely at room temperature. This typically takes 12-24 hours, depending on the humidity of your environment. You'll know it's dry when it's brittle and snaps easily, like a potato chip. Once fully dry, break the brittle sheet into smaller flakes or grind it into a powder using a clean coffee grinder or mortar and pestle.
Store the dried flakes or powder in an airtight container, like a glass jar or zip-top bag, away from light, heat, and moisture. Label it clearly with the date. Stored this way, it can remain viable for many years.
- [ ] Feed starter and let it peak.
- [ ] Spread thin layer on parchment paper/silicone mat.
- [ ] Allow to air dry completely (12-24 hours).
- [ ] Break into flakes or grind into powder.
- [ ] Store in an airtight container away from light, heat, moisture.
- [ ] Label with date.
Rehydrating Dried Sourdough Starter: Awakening Your Culture
Rehydrating dried starter for sourdough starter longterm storage requires patience. Start with a small amount of the dried flakes or powder, say 10-15 grams. Place it in a clean jar and add an equal weight of warm water (around 25-30°C or 77-86°F), so 10-15 grams of water. Mix well to dissolve the flakes/powder completely. Some sources recommend letting this mixture sit for a few hours or overnight to allow the microbes to fully rehydrate before adding flour.
After the initial rehydration period, begin feeding the mixture. Add an equal weight of flour (e.g., 10-15 grams) to the rehydrated starter. Mix until combined. For the first few days, use a 1:1:1 feeding ratio (starter:water:flour) twice a day.
You might not see much activity initially. As the microbes wake up and start reproducing, you'll begin to see small bubbles and a slight rise. Continue feeding twice daily, gradually increasing the feeding ratio to 1:2:2 or 1:3:3 as the starter becomes more active. It can take anywhere from 2 days to a week or more for the starter to become consistently active and ready for baking after being rehydrated from long-term storage.
Freezing Sourdough Starter for Later Use
Freezing is another effective method for sourdough starter longterm storage, typically preserving the culture for several months up to a year. While it doesn't offer the multi-year longevity of drying, it's often perceived as a quicker and less labor-intensive process for those who anticipate needing their starter within a year or so. Freezing suspends the metabolic activity of the yeasts and bacteria by turning the water within the starter into ice crystals, making it unavailable for microbial processes.
When you freeze a starter, some of the microbial population may not survive the freezing and thawing process due to ice crystal formation disrupting cell walls. However, enough viable organisms typically remain to revive the culture with a few regular feedings. This method is convenient if you have excess starter after a feeding or bake and want to store it without the drying process. It's important to note that freezing can sometimes slightly alter the starter's characteristics compared to drying, but a healthy starter should recover well.
Preparing Sourdough Starter for Freezing
To prepare your starter for freezing as a sourdough starter longterm storage method, ensure it is well-fed and active. Feed your starter 4-12 hours before freezing, allowing it to reach its peak or slightly past. This ensures a high concentration of vigorous microbes. You can freeze your starter at any hydration level, but a stiffer starter (lower hydration) might be marginally more resilient to freezing damage. However, a standard 100% hydration starter freezes perfectly fine.
Portion the active starter into convenient sizes for thawing. Small containers, ice cube trays (transferring cubes to a bag once frozen), or even spreading a thin layer on parchment paper to break off pieces later are all options. Ensure the containers or bags are airtight to prevent freezer burn, which can damage the starter and its viability. Label each container with the date and the starter's hydration level if it's not your usual. Freeze as quickly as possible; slower freezing can create larger ice crystals that are more damaging to the microbes.
Thawing and Reviving Frozen Sourdough Starter
Thawing frozen sourdough starter for sourdough starter longterm storage requires a gentle approach. Transfer the frozen starter portion to a clean jar. Allow it to thaw gradually in the refrigerator overnight or at room temperature for a few hours. Avoid using a microwave or hot water bath, as sudden temperature changes can harm the microbes. Once thawed, the starter will likely look separated and inactive; this is normal. Discard any liquid that may have separated.
Begin the revival process by feeding the thawed starter. Start with a small amount of thawed starter (e.g., 20-30 grams) and feed it with equal parts water and flour (1:1:1 ratio). Mix well. Feed twice a day, discarding a portion before each feeding as you would with a regular maintenance schedule. Use warm water (around 25-30°C or 77-86°F) to encourage microbial activity. It typically takes 2-4 days of consistent feeding for a frozen starter to regain its full strength and characteristic bubbly activity, ready for baking. Be patient, as some starters might take longer.
Choosing the Best Long-Term Storage Method for Your Sourdough
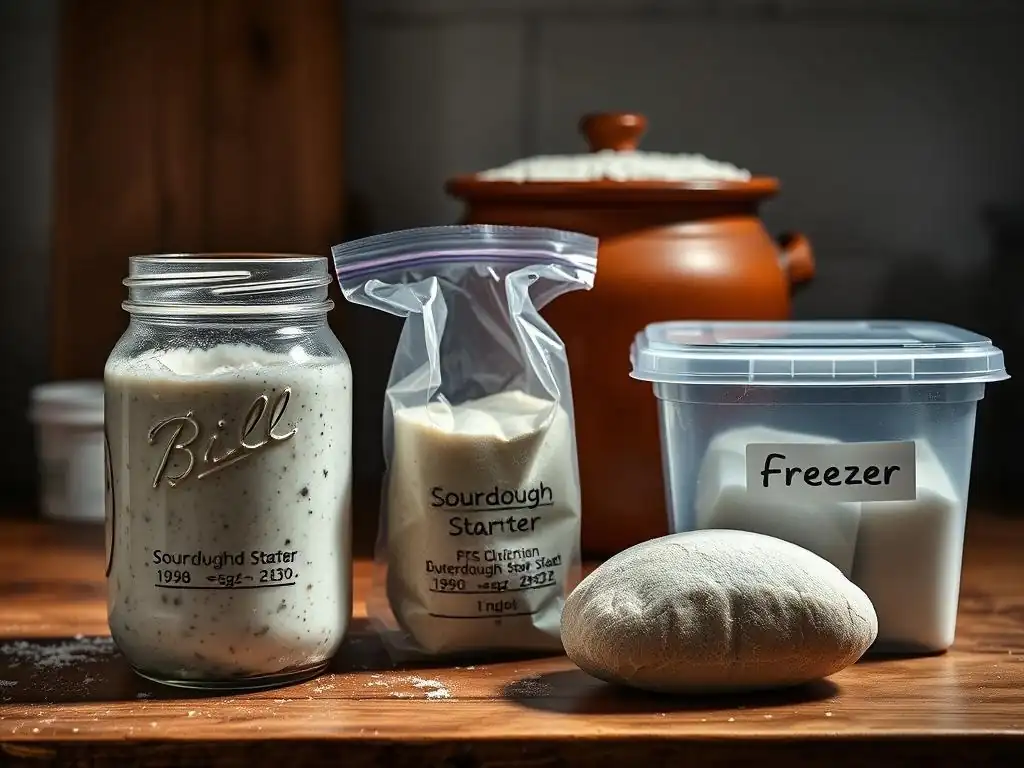
Comparing Drying vs. Freezing Sourdough Starter
When deciding between drying and freezing for sourdough starter longterm storage, consider the intended duration and convenience. Drying offers significantly longer storage potential, often measured in years. It also results in a shelf-stable product that doesn't require freezer space and is easy to transport. Rehydrating and reviving a dried starter can sometimes take a little longer (up to a week or more) compared to thawing and reviving a frozen one, though this varies greatly depending on the starter's health and revival conditions.
Freezing is generally quicker to prepare for storage and often quicker to revive (typically 2-4 days). It's a good option for storing excess starter from regular feedings or for periods of inactivity lasting several weeks to a year. However, it requires freezer space and the risk of cell damage from ice crystals is higher than with drying, potentially impacting a small percentage of the microbial population. The choice often comes down to how long you need to store it and which revival process seems more manageable for your needs.
Factors to Consider: Convenience, Resources, and Revival Time
Several factors should influence your choice of sourdough starter longterm storage method. Convenience is a big one: is it easier for you to spread and dry starter, or portion and freeze it? Do you have ample freezer space, or would a shelf-stable dried product be better? Drying requires a warm, low-humidity environment for effective drying, while freezing requires consistent freezer temperature. Consider the resources available to you.
Revival time is another key factor. If you need your starter ready to bake within 2-3 days of deciding to revive it, freezing might be a better fit, as revival from frozen is often faster. If you can afford to wait 4-7 days or even longer, drying provides the security of very long-term viability. Think about your typical baking frequency and how far in advance you plan. For ultimate security and flexibility, some bakers choose to keep both a refrigerated backup (for shorter breaks) and a dried backup (for very long-term sourdough starter longterm storage or emergencies).
Preparing Your Sourdough Starter for Storage
Feeding and Hydration Before Long-Term Storage
Regardless of whether you choose to dry or freeze your starter for sourdough starter longterm storage, its health and activity level before storage are paramount. A weak or unhealthy starter will not store well and will be difficult, if not impossible, to revive. About 4-12 hours before you plan to dry or freeze, give your starter a robust feeding. Use your standard flour and water ratio (often 1:1:1 or 1:2:2 starter:water:flour by weight).
Feed it with the type of flour you normally use to maintain it – typically bread flour or a mix of bread and whole wheat flour. Ensure it is active and bubbly and has at least doubled in size after this final feeding before preparing it for storage. The hydration level doesn't critically impact storage success, but ensuring it's well-fed and vigorous is the single most important step to guarantee successful sourdough starter longterm storage and future revival.
Ensuring a Healthy and Active Sourdough Starter
A healthy, active starter is the foundation of successful sourdough starter longterm storage. What does a healthy starter look like? It should consistently double or triple in size after feeding within a predictable timeframe (usually 4-8 hours at room temperature, depending on temperature and feeding ratio). It should have numerous bubbles throughout and on the surface. The aroma should be pleasant and slightly tangy, not overwhelmingly acidic or acetone-like.
If your starter isn't showing these signs, it needs attention before you store it long-term. Feed it regularly (perhaps twice a day) with a consistent schedule and ratio. Ensure you are using good quality, unbleached flour and filtered water. Maintain a consistent temperature, ideally around 24-28°C (75-82°F), to encourage robust activity. Only when your starter is consistently doubling within 4-8 hours after feeding should you proceed with the drying or freezing process for long-term storage. Starting with a strong culture significantly increases the chances of successful revival.
Reviving Your Sourdough Starter After Long-Term Storage
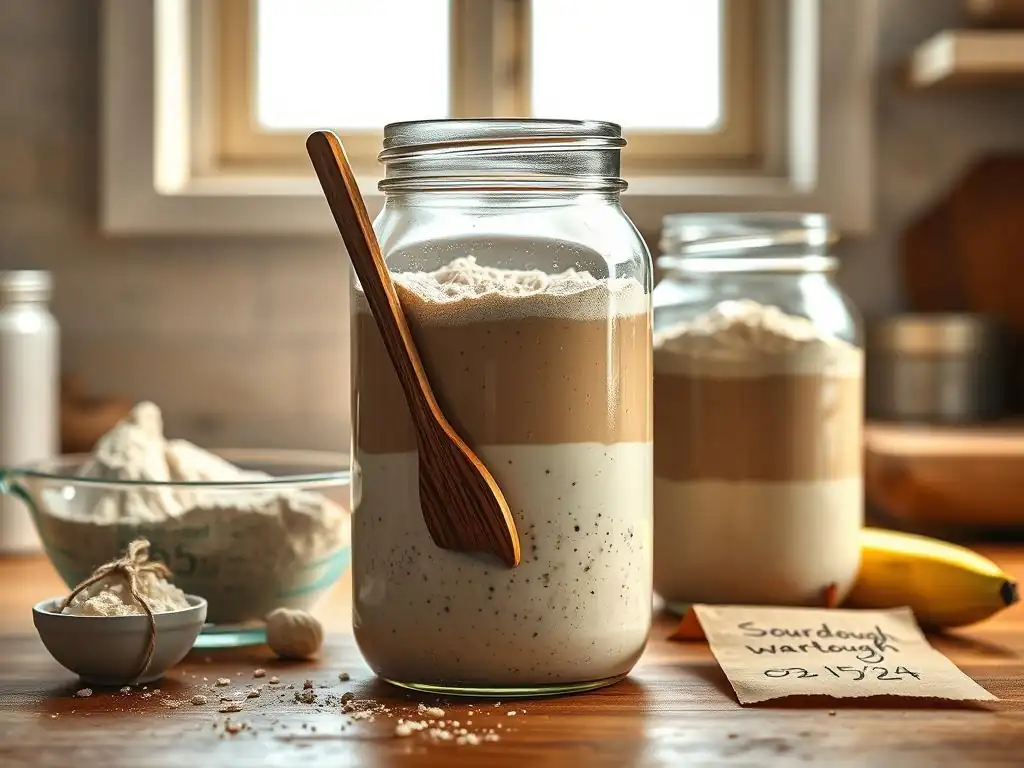
Signs of a Successfully Revived Sourdough Starter
Reviving a starter after sourdough starter longterm storage, whether dried or frozen, requires patience and consistent feeding. You'll know your starter is successfully revived when it exhibits the classic signs of health and activity you saw before storage. The most obvious sign is consistent, predictable rising after feeding – it should at least double in volume within 4-8 hours when fed at typical room temperature (around 24°C or 75°F) using a 1:1:1 or 1:2:2 ratio.
Other signs include a bubbly texture throughout the starter, not just on the surface, and the presence of small bubbles breaking the surface. The aroma should be pleasant, yeasty, and slightly acidic, not overly strong or off-putting. It should also pass the float test reliably if you typically use that method (a small piece floats in water). Achieving these signs consistently over 2-3 consecutive feedings indicates that your starter is back to full strength and ready to be used for baking.
Troubleshooting Common Issues When Reviving a Starter
It's not uncommon to encounter minor issues when reviving a starter from sourdough starter longterm storage. The most frequent problem is a lack of initial activity. Don't panic if you don't see bubbles or rising in the first day or two after rehydrating or thawing. The microbes are waking up and need time to reproduce. Ensure you are feeding with warm water (around 25-30°C or 77-86°F) and placing the starter in a warm spot.
If activity is very slow, try increasing the frequency of feedings to every 12 hours, or even every 8 hours if you can manage it, while keeping the feeding ratio relatively small (e.g., 1:1:1). This provides more frequent access to fresh food. Ensure you are discarding most of the starter before each feed to maintain a manageable volume and concentrate the microbial population. If you see mold (fuzzy, colored patches), discard the starter and start the revival process again with a fresh portion of your stored starter. Persistence and consistent, warm feedings are key to overcoming sluggishness.
Maintaining a Healthy Sourdough Starter for Future Storage
Regular Feeding Schedules for a Strong Culture
Preventative maintenance is key to ensuring your starter is always ready for potential sourdough starter longterm storage or daily baking. A regular feeding schedule is the cornerstone of a strong culture. For a starter kept at room temperature, this typically means feeding once or twice a day, depending on the temperature and feeding ratio. A common schedule is a 1:1:1 feeding every 12 hours.
If you keep your starter in the refrigerator for shorter-term storage (e.g., a week or two), it still needs periodic feeding. A good rule of thumb is to feed it once a week.
Take it out, let it warm up for an hour or two, discard most of it, feed it with fresh flour and water, let it sit at room temperature for 2-4 hours to show some activity, and then return it to the fridge. Consistent feeding, even when refrigerated, keeps the microbial population healthy and resilient, making it easier to transition to sourdough starter longterm storage methods like drying or freezing when needed.
Identifying and Addressing Problems Early
Knowing how to spot issues early in your starter prevents problems from escalating and ensures it's healthy enough for sourdough starter longterm storage. Common problems include hooch (a dark liquid on top, indicating hunger), a very strong, acidic or acetone-like smell (also indicates hunger or imbalance), or slow/sluggish activity. These are often signs that the starter needs more frequent feeding or a larger feeding ratio.
Address these issues promptly by adjusting your feeding routine. Increase feeding frequency or the amount of fresh flour and water you provide relative to the starter volume (e.g., switch from 1:1:1 to 1:2:2 or 1:3:3). Ensure you are discarding a significant portion before each feed to manage volume and provide fresh food. If you see mold (fuzzy, colored growth), unfortunately, the starter is compromised and should be discarded. A healthy starter is your best defense against issues and your best preparation for successful sourdough starter longterm storage.
Tips and Tricks for Successful Long-Term Sourdough Starter Storage
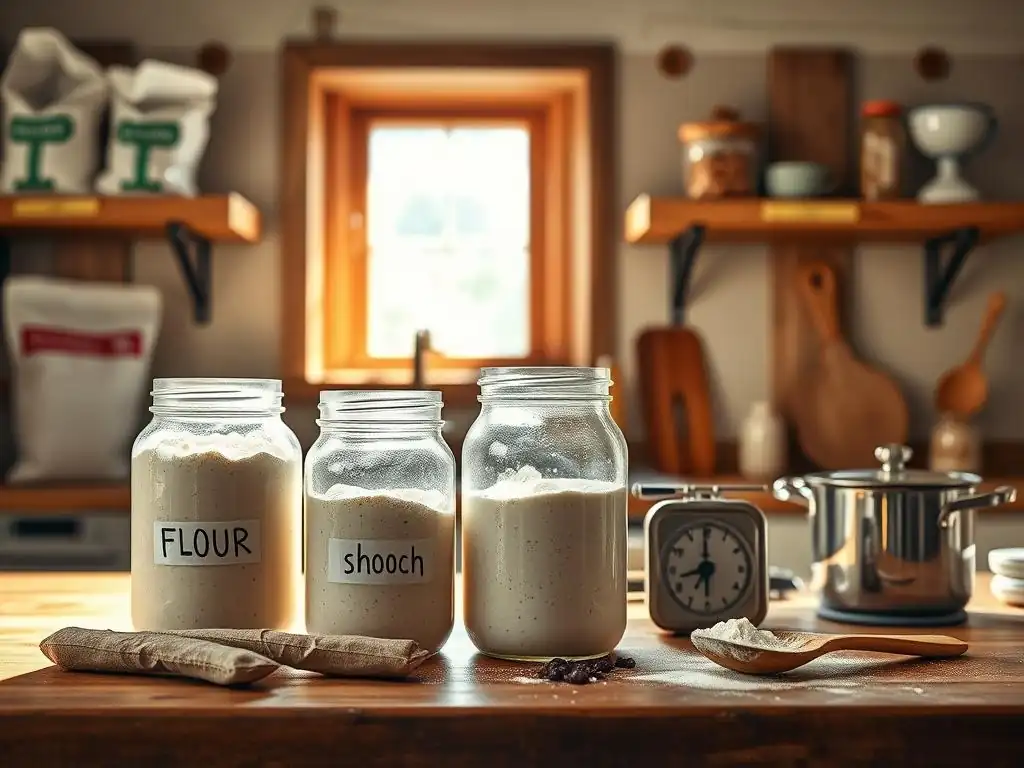
Best Practices for Packaging and Labeling
Proper packaging and labeling are crucial for successful sourdough starter longterm storage. For dried starter, use airtight containers like glass jars with tight-fitting lids or heavy-duty zip-top bags, pressing out as much air as possible. Ensure the container is completely dry before adding the dried starter. Store the container in a cool, dark, dry place, like a pantry shelf, not above the stove or near a window.
For frozen starter, use freezer-safe containers, ice cube trays specifically designed for freezing, or thick freezer bags. Minimize air exposure to prevent freezer burn. If using ice cube trays, transfer the frozen cubes to a freezer bag once solid. Always label your stored starter clearly with the date it was stored. This is essential for knowing how long it's been in storage and managing your revival expectations. Including the starter's hydration level (e.g., "100% Hydration") can also be helpful.
Optimizing Storage Conditions for Each Method
Optimizing the environment for sourdough starter longterm storage is key to its viability. Dried starter needs a cool, dark, dry place. Humidity is the enemy of dried starter; it can encourage mold growth or prematurely activate the microbes. Temperatures should ideally be consistent and below room temperature if possible, though a regular pantry temperature is usually sufficient. Avoid extreme temperature fluctuations.
Frozen starter needs a consistently cold freezer, ideally at or below -18°C (0°F). Avoid storing it in the freezer door, where temperatures fluctuate more with opening and closing. The colder and more stable the temperature, the better the starter will fare. Ensure the container is sealed tightly to prevent freezer burn, which is dehydration caused by cold air exposure. Proper storage conditions maximize the lifespan and revival potential of your sourdough starter longterm storage backup.
Troubleshooting Long-Term Sourdough Starter Storage
Addressing Mold and Contamination Concerns
Mold is the most serious issue you might encounter with sourdough starter longterm storage, particularly with dried starter if it wasn't dried completely or stored properly. Mold appears as fuzzy patches of various colors (green, black, white, orange). If you see mold on your dried starter, unfortunately, the entire batch is likely contaminated and should be discarded. This is why ensuring it is bone dry before storage is critical.
With frozen starter, mold is less common because the cold inhibits growth. However, if thawed starter develops mold during the revival process, it indicates that either the starter wasn't healthy before freezing, the revival environment wasn't clean, or the culture was too weakened by freezing. In most cases, if mold appears on a starter during revival, it's safest to discard it and attempt revival with a fresh portion of your stored starter, ensuring clean jars and utensils. Prevention through proper preparation and storage is the best strategy.
Dealing with Inactive or Weak Starters
An inactive or weak starter after attempted revival from sourdough starter longterm storage is a common frustration. The microbes have survived but are sluggish. This usually isn't a sign that the starter is dead, just that it needs more consistent care to regain strength. The primary solution is patient, regular feeding with ideal conditions.
Ensure you are feeding with warm water (around 25-30°C / 77-86°F) and placing the starter in a warm spot (like an oven with the light on, not the oven itself). Feed twice a day, discarding most of the starter before each feed. Use a feeding ratio that provides plenty of fresh food, like 1:2:2 or even 1:3:3 (starter:water:flour).
Be patient; it can take several days or even a week of consistent, warm feedings to see robust activity. If after a week of dedicated feeding there is still no significant activity, the stored starter might have lost too much viability, and you may need to start over or revive a different portion if you stored multiple backups.
Conclusion: Ensuring the Longevity of Your BakeWithEase Sourdough Starter
Mastering sourdough starter longterm storage is an invaluable skill for any dedicated baker. Whether you choose to dry your starter for multi-year security or freeze it for shorter breaks, these methods provide a reliable way to preserve your unique culture and ensure you can always return to baking your favorite loaves. Remember that the key to successful long-term storage lies in starting with a healthy, active starter and following the storage and revival steps patiently and diligently.
By understanding the principles of dormancy and implementing best practices for drying or freezing, you safeguard your investment of time and effort. You'll have peace of mind knowing your BakeWithEase sourdough starter is waiting for you, ready to be awakened whenever inspiration strikes. So, take the time to prepare a backup; your future baking self will thank you!
Frequently Asked Questions
What is the best way to store my sourdough starter for long periods if I won't be baking?
The best method is to dehydrate your starter. Spread it thinly on parchment paper, let it dry completely, and then store the dried flakes in an airtight container.
How long can a dehydrated sourdough starter last in storage?
A properly dehydrated sourdough starter can last for several years if stored correctly. Keep it in a cool, dark place, away from moisture and light.
What is the process for rehydrating a dehydrated sourdough starter?
Rehydrate by mixing the dried starter flakes with equal parts water and flour. Feed it regularly over a few days until it becomes active and bubbly again.
Can I freeze my sourdough starter for long-term storage, and if so, how?
Yes, you can freeze it. Use a freezer-safe container, leaving some headspace. Thaw it in the refrigerator and then feed it a few times to revive its activity before baking.
What are the signs that my sourdough starter has gone bad after long-term storage?
If, after rehydrating or thawing, your starter shows signs of mold, an unpleasant odor that persists after feeding, or fails to rise after several feeds, it's likely gone bad.
Final Reflection: The Enduring Legacy of Our Starter Cultures
The meticulous care we give our sourdough starters mirrors the vital need to preserve and nurture our cultural heritage. Failing to do so risks losing not just a culinary tradition, but a living link to generations past. The seemingly simple act of feeding and storing a starter becomes a powerful metaphor for the ongoing effort required to maintain cultural continuity.
The impact of sourdough starters extends far beyond the kitchen; they represent a tangible connection to history, a testament to the enduring power of shared practices and knowledge. These living organisms, passed down through families and communities, embody the spirit of preservation and the importance of passing on traditions. Tradition is not the worship of ashes, but the preservation of fire.
– Gustav Mahler. This quote perfectly encapsulates the essence of maintaining our sourdough starters – it's not about clinging to the past, but about keeping the flame of our cultural heritage burning bright.
Consider your own starter. What stories does it hold? What connections does it represent? I urge you to reflect on the responsibility we bear in safeguarding not only our sourdough starters, but also the broader cultural traditions that enrich our lives. Take the time to document your starter's journey, share its story with others, and ensure its legacy continues for generations to come. The future of our culinary heritage, and indeed, many aspects of our culture, depends on our commitment to this vital act of preservation.
Unleash Your Baking Legacy: Start Storing Today!
Thanks for diving into the world of long-term starter storage! You've now got the knowledge to keep your precious sourdough culture thriving for years to come. Ready to put your newfound skills into action?
- Secure your starter's future: Immediately follow the best-practice storage method detailed in the article to ensure your starter’s safekeeping.
- Share your success: Tell us about your long-term storage method and your favourite starter recipes in the comments below – let's build a community of bakers!
- Challenge yourself: Try a different long-term storage technique next time, and share your results!
What unique methods will you use to preserve your baking legacy for generations to come?