
Unlock the Potential of Your Oven for Perfect Choux

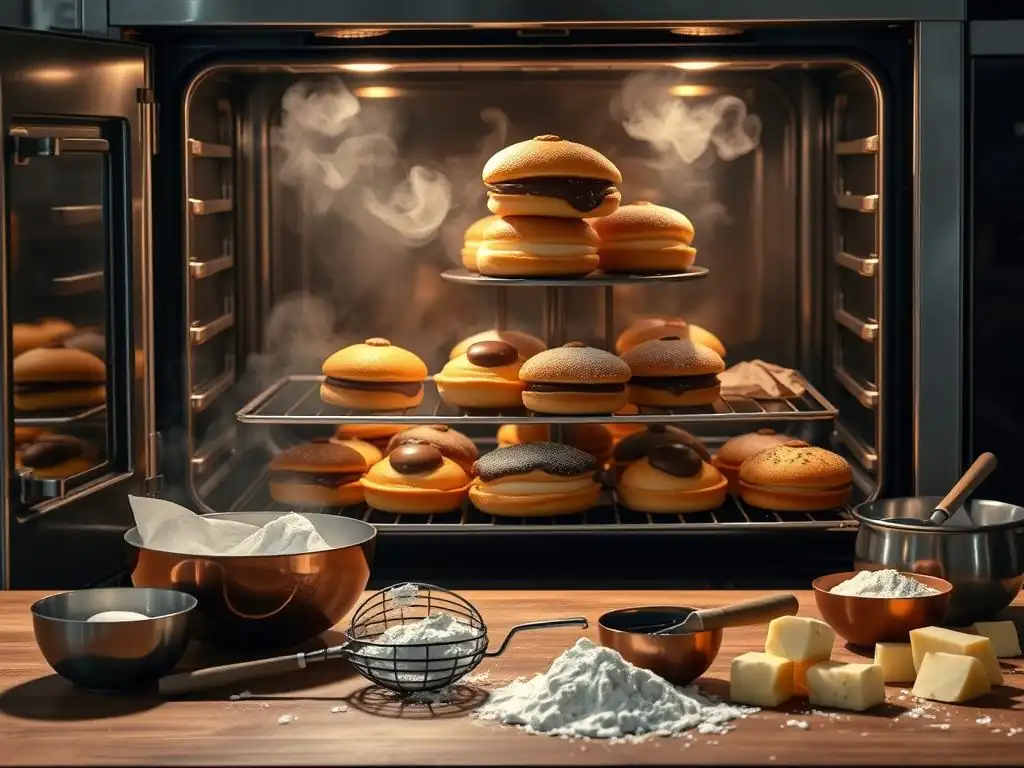
Welcome to BakeWithEase, your trusted guide to baking brilliance! Ever dreamt of light-as-air éclairs or perfectly puffed cream puffs? This article dives deep into the secrets behind crafting the perfect choux pastry, a foundational skill that unlocks a world of delectable desserts. Discover the techniques and tips that will transform your baking, and prepare to impress with your newfound expertise. Ready to master the art of choux? Let's get started!
- Mastering Oven Techniques for Perfect Choux Pastry
- Introduction to Choux Pastry Baking
- Optimizing Your Oven for Choux Pastry
- Steam's Impact on Choux Pastry: Achieving the Perfect Rise
- Baking Choux Pastry: A Detailed Guide
- Troubleshooting Oven-Related Choux Pastry Issues
- Refining Your Choux Pastry Recipe
- Advanced Choux Pastry Techniques
- Conclusion: Achieving Choux Pastry Perfection
-
Frequently Asked Questions
- What exactly is choux pastry, and why is it considered challenging?
- What are the key ingredients in a perfect choux pastry recipe?
- What are the most common mistakes people make when baking choux pastry?
- How can BakeWithEase help me master the art of making choux pastry?
- Can I freeze choux pastry, and if so, how should I do it?
- Final Reflection: Mastering the Art of the Perfect Choux
- Unleash Your Inner Pâtissier: Master Choux Pastry Today!
Mastering Oven Techniques for Perfect Choux Pastry
Introduction to Choux Pastry Baking
Understanding the Science Behind Choux Pastry
Choux pastry, or pâte à choux, is a marvel of baking chemistry. Unlike most pastries that rely on chemical leaveners like baking powder or soda, choux achieves its remarkable rise solely through steam. The dough is first cooked on the stovetop, gelatinizing the starch in the flour and creating a stable structure capable of holding moisture.
Eggs are then beaten in, providing protein and additional moisture. When this dough hits the hot oven, the water within it rapidly turns to steam, expanding dramatically and puffing up the pastry. This creates the characteristic hollow interior, essential for filling with delicious creams or mousses, making it a key component in any perfect choux pastry recipe.
The initial cooking phase is crucial for developing this steam-holding matrix. Heating the flour, water, and butter mixture to around 160-180°F (70-80°C) on the stovetop ensures the starch granules swell and burst, absorbing the liquid and forming a thick, cohesive paste. This paste, when cooled slightly and combined with eggs, forms a strong, elastic dough. It's this elasticity and the pre-gelatinized starch structure that allows the dough to expand significantly under steam pressure in the oven without collapsing, ultimately resulting in that desired light and airy shell vital for a truly perfect choux pastry recipe.
The Oven's Crucial Role in Choux Pastry Success
The oven is arguably the most critical piece of equipment when striving for a perfect choux pastry recipe. Its role goes far beyond simply providing heat; it's about controlling temperature, managing steam, and facilitating the precise drying process needed for crisp exteriors. The initial high heat is necessary to generate the rapid burst of steam that causes the dramatic rise. Without sufficient heat energy, the water won't vaporize quickly enough, leading to flat or dense choux.
Furthermore, the oven's ability to maintain consistent temperature throughout the baking cycle is paramount. Fluctuations can cause the pastry to rise unevenly, collapse, or become soggy. After the initial rise, the temperature is typically reduced to allow the pastry to dry out and develop a firm, crisp shell. Proper air circulation within the oven also plays a role in this drying process. Mastering your oven's quirks is essential for consistently producing a perfect choux pastry recipe.
Optimizing Your Oven for Choux Pastry
Ideal Oven Temperature for Choux Pastry Development
Achieving a perfect choux pastry recipe heavily relies on using the correct oven temperature profile. A common and highly effective method involves starting at a high temperature, typically around 400-425°F (200-220°C), for the first 10-15 minutes. This initial blast of heat is designed to rapidly generate steam within the dough, causing the quick and significant puffing action. Think of it as jump-starting the steam engine inside each pastry. This high heat also helps set the structure quickly before it can collapse.
Following this initial high-temperature phase, the temperature is usually reduced to a moderate level, around 350-375°F (175-190°C), for the remainder of the baking time (often another 20-30 minutes, depending on size). This lower temperature allows the pastry to cook through evenly and, crucially, dry out completely. The goal is to achieve a deeply golden-brown color, which indicates the shell is firm and crisp. Pulling them out too early, even if they look puffed, will result in a soggy interior as condensation forms during cooling.
Oven Calibration: Achieving Accurate and Consistent Baking
An uncalibrated oven is a common saboteur of a perfect choux pastry recipe. Many home ovens can be off by as much as 25-50°F (15-30°C) from the temperature they indicate. This variance can drastically affect the steam generation and drying phases.
If your oven runs cool, the initial puff might be weak; if it runs hot, the outside might brown too quickly before the inside is cooked or dried. Using an inexpensive oven thermometer is the simplest way to check your oven's accuracy. Place it in the center of the oven and check the reading after the oven has preheated for at least 20-30 minutes.
If your oven temperature consistently deviates, you have a few options. You can manually adjust the temperature setting each time you bake choux (e.g., if it reads 25°F low, set it 25°F higher). Some modern ovens allow for internal calibration adjustments via their settings menu – check your oven's manual. For significant or inconsistent variations, professional calibration might be necessary. Knowing your oven's true temperature is fundamental to replicating a perfect choux pastry recipe consistently.
Rack Placement: Ensuring Even Heat Distribution
The placement of your baking sheet within the oven significantly impacts heat distribution and, consequently, the evenness of your perfect choux pastry recipe. Hot air circulates within the oven cavity, and different areas can have varying temperatures. Generally, baking on the middle rack is recommended for choux pastry. This position typically provides the most even heat from both the top and bottom heating elements, promoting uniform rising and browning.
Avoid placing the baking sheet too close to the top or bottom elements, as this can lead to uneven cooking – bottoms burning before tops are set, or tops browning too quickly. If baking multiple sheets, it's better to bake one sheet at a time if possible. If you must bake two sheets, place them on the upper and lower-middle racks and rotate them halfway through the baking time to ensure even exposure to heat. Proper rack placement minimizes hot spots and cold spots, contributing to a batch of uniformly beautiful choux.
Steam's Impact on Choux Pastry: Achieving the Perfect Rise
Steam Generation Methods: Creating a Moist Baking Environment
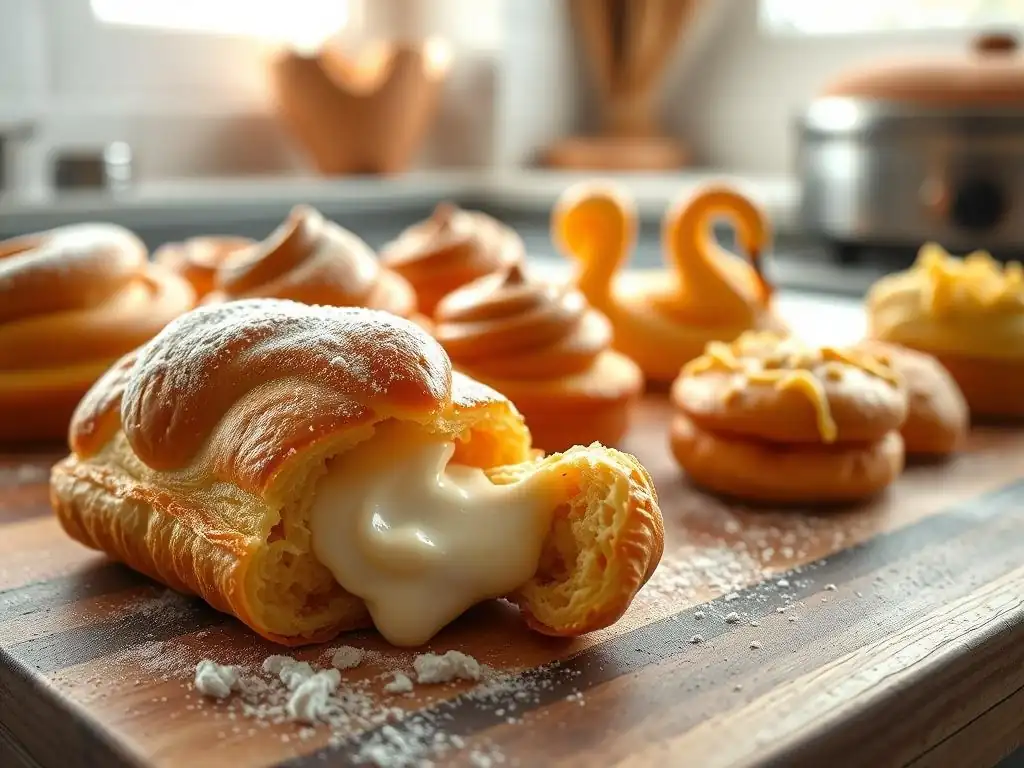
Introducing steam into the oven during the initial high-temperature phase is a technique widely used by bakers aiming for a perfect choux pastry recipe. The added moisture in the oven atmosphere helps keep the exterior of the choux dough pliable for a longer period, allowing it to expand further under the internal steam pressure before the crust sets. This results in a larger, more hollow pastry shell. Without added steam, the surface can dry out and set too quickly, restricting the potential rise.
There are several effective methods for generating steam. One common approach is placing a pan of hot water on the bottom rack of the oven while it preheats. The water evaporates, creating a steamy environment. Another method involves placing an empty metal pan on the bottom rack during preheating and carefully pouring hot water into it just before placing the choux in the oven. Be extremely cautious when doing this to avoid burns. The sudden contact of water with the hot metal creates an immediate burst of steam.
Water Bath vs. Spritzing: Choosing the Right Technique
When adding steam for your perfect choux pastry recipe, two popular techniques are the water bath (or steam pan) and spritzing. The water bath method, as described above, provides a continuous source of steam throughout the initial baking phase. A pan of hot water on the bottom rack releases steam gradually as the water evaporates, maintaining a humid environment. This is a relatively hands-off approach once the pan is in place.
Spritzing involves misting the oven walls with water from a spray bottle just before closing the door after placing the choux inside. Some bakers repeat this once or twice in the first few minutes. This method creates a very intense burst of steam initially but doesn't maintain humidity as long as a water bath. Both methods can be effective; the choice often comes down to personal preference and oven characteristics. For a consistent and sustained humid environment, the water bath is often preferred for a perfect choux pastry recipe.
The Science of Steam: How it Affects Choux Structure
The science behind steam's positive effect on a perfect choux pastry recipe lies in its interaction with the dough's surface. As the choux bakes, the exterior is exposed to the oven's dry heat, causing it to start forming a crust. However, the internal moisture is rapidly turning to steam, pushing outwards. If the crust forms too quickly and rigidly, it resists this outward pressure, limiting the pastry's expansion and potentially leading to cracks or a less voluminous result.
By adding steam to the oven atmosphere, the air surrounding the choux is more humid. This slows down the rate at which the surface of the choux dough dries out and sets. The exterior remains flexible for those crucial first 10-15 minutes, allowing the internal steam pressure to fully inflate the pastry to its maximum potential before the crust hardens. Once the crust has set and the temperature is reduced, the focus shifts from expansion to drying, and the added steam is no longer needed.
Baking Choux Pastry: A Detailed Guide
Step 1: Preheating and Steam Preparation for Optimal Results
The first step towards a perfect choux pastry recipe is thorough preheating. Your oven needs to reach the initial high temperature (e.g., 400-425°F or 200-220°C) and stabilize there. This usually takes at least 20-30 minutes after the oven indicates it's reached the set temperature. During this preheating phase, if you are using the water bath method for steam, place your pan of hot water on the bottom rack. The goal is to have both the oven and the steam environment ready simultaneously.
Once the oven is fully preheated and the steam is generating (if using a water bath), quickly transfer your piped choux dough onto the prepared baking sheet into the oven. Minimize the time the oven door is open to prevent significant heat loss. If using the spritzing method, quickly spritz the oven walls with water immediately after closing the door. This careful and swift execution of preheating and steam setup is foundational for initiating the powerful steam expansion needed for a perfect choux pastry recipe.
Step 2: Monitoring Expansion and Color Development
After placing the choux in the preheated, steamy oven, resist the urge to open the door for at least the first 10-15 minutes. This initial phase is where the magic happens – the rapid expansion powered by steam. Peeking too early can cause a drop in temperature and humidity, potentially leading to the choux collapsing. Watch through the oven window as they puff up dramatically.
Once the initial high-heat period is over (e.g., after 10-15 minutes), reduce the oven temperature to the lower setting (e.g., 350-375°F or 175-190°C). Now, you can carefully open the door briefly if needed to vent steam (see Step 3). Continue baking and observe the color development. The choux should turn a deep golden brown, not just light yellow. This rich color indicates that the pastry has cooked through and, more importantly, dried out sufficiently to hold its shape and become crisp. This drying phase often takes another 20-30 minutes or longer, depending on the size of the choux.
Step 3: Venting: Releasing Steam for Crispness
After the choux have fully puffed and the temperature has been reduced, some bakers advocate for venting the oven. This involves opening the oven door slightly for a few seconds or propping it open with a wooden spoon for the last 5-10 minutes of baking. The purpose of venting is to allow the humid air inside the oven to escape and be replaced by drier air, facilitating the final drying out of the pastry shell.
This step helps ensure the choux pastry is crisp and not prone to becoming soggy after cooling. By releasing trapped moisture from the oven cavity, you encourage the shells to dry from the outside in. While not strictly necessary in all ovens, especially convection ovens which circulate air effectively, venting can be a helpful technique, particularly in standard ovens, to guarantee that coveted crisp exterior essential for a perfect choux pastry recipe.
Step 4: Cooling: Preventing Soggy Pastry
Proper cooling is the final, crucial step to preserving the crispness you worked so hard to achieve for your perfect choux pastry recipe. Once the choux are deeply golden brown, look dry, and feel light when lifted, they are ready to come out of the oven. Do not leave them on the hot baking sheet immediately after removing them from the oven.
Transfer the baked choux immediately to a wire rack. A wire rack allows air to circulate around the entire pastry, preventing condensation from forming on the bottom as they cool. Condensation is the enemy of crisp choux; it will quickly turn the bottom soggy. Let them cool completely on the rack before filling. Sometimes, pricking a small hole in the bottom of each choux right after taking them out of the oven can help trapped steam escape, further ensuring a dry interior and contributing to a perfect choux pastry recipe.
Insufficient Rise: Diagnosing Temperature Problems
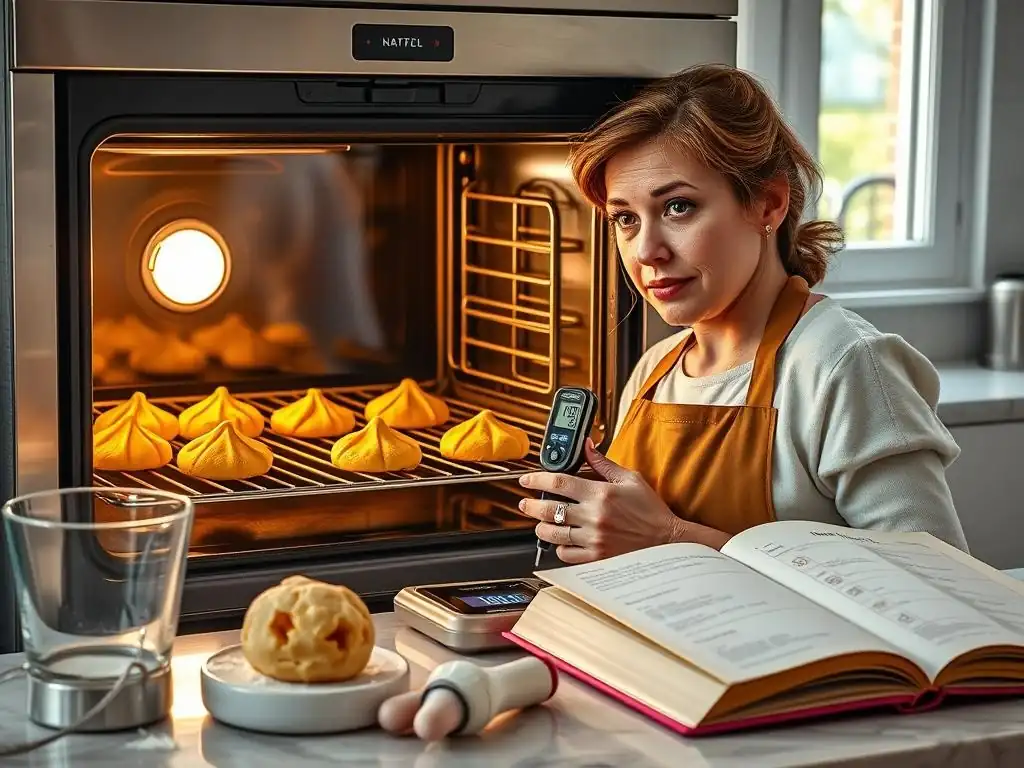
One of the most frustrating issues when attempting a perfect choux pastry recipe is insufficient rise, resulting in flat or dense pastries. This problem is almost always linked to the oven temperature, particularly during the initial baking phase. If the oven temperature is too low, the water inside the dough won't convert to steam rapidly enough or with enough force to create significant expansion. The structure sets before sufficient puffing occurs.
An uncalibrated oven that runs cool is a frequent culprit. Ensure your oven is accurately calibrated and fully preheated to the required high temperature (400-425°F or 200-220°C) before inserting the choux. Also, avoid opening the oven door during the first 10-15 minutes, as this causes a significant temperature drop that can stifle the rise. Using adequate steam in the initial phase also helps promote a better rise by keeping the exterior pliable longer.
Soggy Pastry: Addressing Moisture Control
Soggy choux pastry, where the shells lose their crispness shortly after baking, is often a sign of insufficient drying in the oven or improper cooling. If the choux are removed from the oven too early, they may look puffed and golden but still contain too much internal moisture. When they cool, this moisture condenses, making the pastry soft and damp.
To combat sogginess and achieve a perfect choux pastry recipe, ensure the choux are baked until they are a deep golden brown and feel very light. This indicates they have dried out thoroughly. If you're unsure, you can sacrifice one pastry to check the interior – it should be relatively dry and hollow. Also, ensure you are using the reduced temperature phase (350-375°F or 175-190°C) for long enough. Finally, always cool the baked choux completely on a wire rack to allow air circulation and prevent condensation. Venting the oven during the final stages can also help.
Cracking: Managing Heat and Steam Levels
Cracking on the surface of choux pastry can occur for a few reasons related to heat and steam. If the oven temperature is too high, especially initially, the exterior can set and harden too quickly before the internal steam pressure has finished expanding the dough. As the steam continues to push outwards, the rigid crust cracks to release the pressure.
Conversely, insufficient steam in the oven environment can also contribute to cracking. If the air is too dry, the surface of the choux dries out and sets prematurely, similar to the effect of excessively high heat. Ensure you are using a reliable steam generation method (water bath or spritzing) during the crucial initial baking period. Finding the right balance of initial high heat and sufficient humidity is key to minimizing cracking and achieving a smooth surface on your perfect choux pastry recipe.
Uneven Baking: Correcting Calibration and Placement
Unevenly baked choux, where some puff more than others, or some brown faster on one side, is typically an oven-related issue stemming from inconsistent heat distribution. This can be caused by an uncalibrated oven with hot or cold spots, or by improper rack placement. If your oven runs hotter in certain areas, the choux in those spots will rise and brown faster than those in cooler areas.
To address uneven baking and improve your perfect choux pastry recipe, first, check your oven's calibration with an oven thermometer. If it's off, adjust your temperature setting accordingly. Ensure you are baking on the middle rack for the most even heat. If baking multiple trays, rotate them halfway through the baking time to ensure all pastries receive equal exposure to heat. Piping uniform sizes of dough also helps ensure they bake at the same rate.
Refining Your Choux Pastry Recipe
Recipe Adaptation: Customizing for Your Oven's Characteristics
No two ovens are exactly alike, and achieving a perfect choux pastry recipe often requires adapting standard recipes to your specific oven's characteristics. If your oven consistently runs a bit cool, you might need to increase the initial temperature slightly or bake for a few extra minutes in each phase. Conversely, if it runs hot, you might need to decrease the temperature settings or shorten baking times.
Pay close attention to how your choux bakes in your oven. Does the top brown much faster than the bottom? You might need to adjust rack placement or use a baking sheet that conducts heat differently. Do they consistently come out slightly soft? You might need to extend the drying phase at the lower temperature. Keeping notes on your baking trials and the results can help you fine-tune the temperature, time, and steam strategy specifically for your oven, leading to more consistent success with your perfect choux pastry recipe.
Ingredient Selection: The Impact of Quality on Choux
While oven techniques are paramount, the quality of your ingredients also plays a role in the success of a perfect choux pastry recipe. Using fresh, high-quality ingredients ensures the dough performs as expected. For instance, using fresh, large eggs provides the right amount of moisture and protein needed for proper emulsification and structure development. Stale eggs can affect the dough's consistency and the final rise.
The type of flour can also have a subtle impact. Using a standard all-purpose flour with a moderate protein content (around 10-12%) is generally suitable. Flour that is too low in protein might not provide enough structure, while flour that is too high could make the dough too tough. Using good quality butter with the correct fat content is also important, as it contributes to the texture and richness of the choux. While oven mastery is key, starting with quality ingredients lays a solid foundation for a perfect choux pastry recipe.
Piping Technique: Achieving Uniformity for Even Baking
The way you pipe your choux dough onto the baking sheet directly affects how evenly they bake, which is crucial for a perfect choux pastry recipe. Uniformly sized and shaped pastries will cook at the same rate, ensuring that when one is perfectly golden and crisp, they all are. Inconsistent sizes mean some will be overbaked and potentially tough, while others might be underbaked and soggy.
Use a piping bag fitted with a round or star tip to pipe the dough. Apply even pressure as you pipe to create mounds or éclairs of similar size. Leave adequate space between each piece of dough, as they will expand significantly in the oven; crowding them can impede air circulation and lead to uneven baking and sticking. Practicing your piping technique to achieve consistent shapes and sizes is an important step often overlooked but essential for a perfect choux pastry recipe.
Advanced Choux Pastry Techniques
Storing Baked Choux: Maintaining Crispness
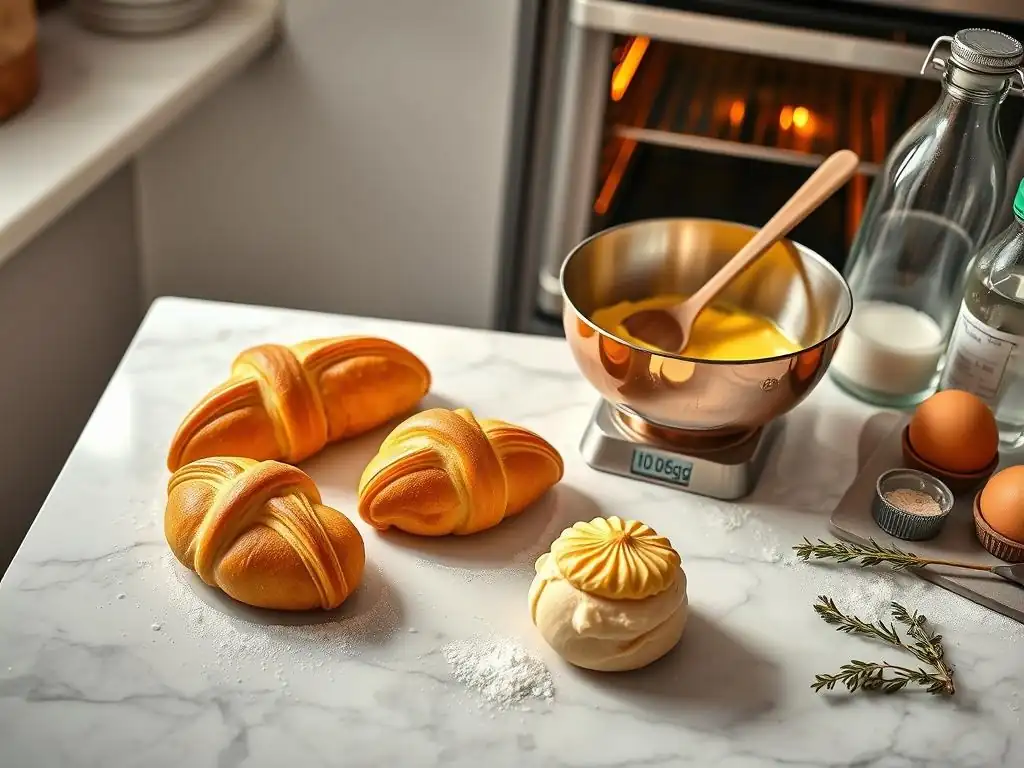
Once you've achieved a perfect choux pastry recipe with beautifully crisp shells, proper storage is key to maintaining that texture. Choux pastry is best enjoyed the day it's baked, especially when filled, as fillings can quickly make the shells soggy. However, plain, unfilled choux shells can be stored.
Allow the baked choux shells to cool completely on a wire rack. Once fully cool, store them in an airtight container at room temperature. Avoid refrigerating unfilled shells, as the humidity in the refrigerator can make them soft.
If you need to store them for more than a day or two, or want to prepare them in advance, you can freeze the baked, unfilled shells. Place them in a single layer on a baking sheet to freeze, then transfer them to a freezer bag or container. To re-crisp frozen or slightly soft shells, place them on a baking sheet in a preheated oven at 300-325°F (150-160°C) for 5-10 minutes until crisp again.
Choux Pastry Variations: Éclairs, Cream Puffs, and More
The beauty of mastering a perfect choux pastry recipe is that it opens the door to a world of delicious variations. The basic dough is the foundation for many classic French pastries. Cream puffs (profiteroles) are typically round piped shapes, perfect for filling with whipped cream, pastry cream, or even ice cream, and often topped with chocolate sauce.
Éclairs are elongated shapes, usually filled with pastry cream or custard and topped with a glaze, most commonly chocolate. Other variations include gougères, which are savory choux pastries often mixed with cheese before baking, making them a delightful appetizer. Paris-Brest is a large ring of choux pastry, sliced horizontally and filled with praline cream. Each variation uses the same fundamental dough and baking principles, proving the versatility of a perfect choux pastry recipe.
Filling and Decoration: Elevating Your Choux Creations
While achieving a perfect choux pastry recipe shell is a significant accomplishment, the final step is often filling and decorating. The hollow interior is specifically designed to hold delicious fillings, transforming the simple shell into an exquisite dessert or savory bite. Classic fillings include diplomat cream (pastry cream lightened with whipped cream), simple whipped cream, chocolate mousse, or flavored pastry creams like coffee or praline.
For savory choux like gougères, fillings might include cheese sauces or spreads. Decoration elevates the visual appeal. Éclairs are typically topped with a glaze (fondant, chocolate, or caramel). Cream puffs can be dusted with powdered sugar, drizzled with chocolate, or topped with a crackly craquelin layer baked onto the choux. Mastering the baking provides the perfect canvas; the filling and decoration add the flavor and flair to complete your perfect choux pastry recipe creation.
Conclusion: Achieving Choux Pastry Perfection
Mastering the art of choux pastry is a rewarding journey for any baker. While the recipe itself is relatively simple, achieving consistent, perfectly puffed, and crisp shells hinges significantly on understanding and controlling your oven. From setting the ideal temperature profile and ensuring accurate calibration to managing steam and understanding the importance of proper cooling, each oven technique plays a vital role in the outcome.
By paying close attention to these details – preheating thoroughly, using steam, baking until deeply golden, venting, and cooling on a wire rack – you can overcome common challenges like flat or soggy choux. Remember that every oven is different, and a willingness to observe and adapt your approach based on your oven's performance is key. With practice and attention to these oven-focused techniques, you'll be well on your way to consistently creating a perfect choux pastry recipe, ready to be filled and enjoyed in all its glorious variations.
Frequently Asked Questions
What exactly is choux pastry, and why is it considered challenging?
Choux pastry is a light, airy pastry dough used to make profiteroles, éclairs, and other treats. It's considered challenging due to the precise technique required for proper expansion during baking.
What are the key ingredients in a perfect choux pastry recipe?
The essential ingredients are water, butter, flour, and eggs. The ratio of these ingredients is crucial for achieving the desired light and airy texture.
What are the most common mistakes people make when baking choux pastry?
Common mistakes include using incorrect ingredient ratios, not cooking the dough sufficiently before adding eggs, and opening the oven door too early, causing the pastry to collapse.
How can BakeWithEase help me master the art of making choux pastry?
BakeWithEase offers simple recipes, step-by-step guides, and easy-to-find ingredients. We also provide tips and techniques to avoid common pitfalls and achieve perfect results.
Can I freeze choux pastry, and if so, how should I do it?
Yes, you can freeze baked choux pastry shells. Freeze them individually on a baking sheet before transferring them to a freezer bag. Thaw completely before filling.
Final Reflection: Mastering the Art of the Perfect Choux
The pursuit of the perfect choux pastry, once a culinary enigma, is now more accessible than ever. Understanding the science behind this delicate dough, as explored in this article, unlocks a world of delicious possibilities, from airy éclairs to delicate profiteroles. No longer need the fear of a deflated choux hold you back from achieving pastry perfection.
This journey into the heart of choux pastry has been a personal one, revealing not just the technicalities of baking but also the patience and precision required to truly master a craft. The subtle nuances of temperature, the importance of hydration, and the satisfying rise of the dough in the oven – these are details that resonate far beyond the kitchen. The most beautiful things in the world cannot be seen or even touched - they must be felt with the heart.
This quote, while not directly about baking, speaks to the deeper satisfaction found in mastering a skill and the pride in the creation of something beautiful and delicious.
Now, it's your turn. Don't let the perceived complexity of choux pastry intimidate you. Armed with the knowledge shared in this article, experiment, embrace the process, and allow yourself the joy of creating these delightful treats. The perfect choux pastry awaits – dare to unlock its potential within your own oven.
Unleash Your Inner Pâtissier: Master Choux Pastry Today!
Thanks for taking the time to explore the art of perfect choux pastry! You've now got the knowledge to create amazing profiteroles, éclairs, and more. Ready to put your newfound skills to the test?
- Bake your first batch of choux today! Use the recipe and tips from the article to create your own delicious choux pastry. Don’t be afraid to experiment!
- Share your creations! Post a picture of your choux masterpieces on social media and tag us – we'd love to see them.
- Challenge a friend to bake along with you! It's even more fun when you share the experience.
What unique flavor combination will you try in your first choux pastry adventure? Let us know in the comments below!